Small Farm Big Life

  • Gluten Free Recipe Index
  • Subscribe
  • Resources
menu icon
go to homepage
  • Home
  • Gluten Free Recipe Index
  • Subscribe
  • My Story
  • Resources
  • Free Guides
    • Email
    • Facebook
    • Instagram
    • Pinterest
  • subscribe
    search icon
    Homepage link
    • Home
    • Gluten Free Recipe Index
    • Subscribe
    • My Story
    • Resources
    • Free Guides
    • Email
    • Facebook
    • Instagram
    • Pinterest
  • ×

    Black Beans and Corn Salad

    This easy recipe for black beans and corn salad is the perfect summer side dish! It's a zesty cold salad that you can make ahead. The vegan recipe is full of colorful veggies with a lime dressing.

    This Black Beans and Corn Salad is a vibrant and healthy dish that's perfect for summer gatherings, BBQs, or as a fresh side for tacos.

    It's a refreshing combination of beans and corn salad flavors, offering a boost of plant-based protein in every bite.

    Whether you're looking for a vegetable potluck dish or a healthy lunch side, this colorful salad is easy to make and ideal for warm-weather meals.

    You can find all of my salad recipes here: Gluten Free Salad Recipes

    a small white bowl of black beans and corn salad next to a silver bowl of corn tortilla chips.
    [feast_advanced_jump_to]

    Ingredients

    • Black Beans
    • Whole Kernel Sweet Corn
    • Tomatoes
    • Sweet Onion
    • Cilantro
    • Minced Garlic
    • Olive Oil
    • White Vinegar
    • Lime Juice
    • Granulated Sugar
    • Sea Salt
    • Coarse Ground Black Pepper
    • Ground Cumin

    Instructions

    In a large serving bowl add the beans, corn, tomatoes, onion, cilantro and garlic.

    In a small bowl whisk together the olive oil, white vinegar, lime juice, sugar, salt, pepper and cumin. Pour over the salad veggies and stir to coat.

    Refrigerate in an air tight container for at least 1 hour before serving. I prefer to refrigerate overnight.

    Supplies

    Frequently Asked Questions

    What is the difference between black beans and corn salad and salsa?

    There is very little difference between this black beans and corn salad and a fresh black bean salsa. I love to eat this recipe on it's own as a salad side dish or as a dip with gluten free corn tortilla chips.

    How long does this salad last in the fridge?

    This salad will last in a sealed container in the refrigerator for up to 5 days. I love to make it the day before I want to serve the salad or as a dip with tortilla chips. Making it the day before ensures it's really cold when you serve it and the flavors have time to meld together.

    More Recipes You Might Enjoy

    • Healthy Mexican Street Corn Salad
    • Cheesy Slow Cooker Creamed Corn
    • Easy Fried Frozen Corn
    • Gluten Free Zucchini Squash and Corn Casserole

    I get a lot of my ingredients from Thrive Market. Thrive Market has been a game changer for me eating gluten free. They have so many options I can't get at my rural grocery stores! Use this link to get 40% off your first order!

    Print
    clock clock iconcutlery cutlery iconflag flag iconfolder folder iconinstagram instagram iconpinterest pinterest iconfacebook facebook iconprint print iconsquares squares iconheart heart iconheart solid heart solid icon

    Black Beans and Corn Salad


    5 Stars 4 Stars 3 Stars 2 Stars 1 Star

    No reviews

    • Author: Elaine VanVleck
    • Total Time: 15 minutes
    • Yield: 6 servings 1x
    • Diet: Gluten Free
    Print Recipe
    Pin Recipe

    Description

    This easy recipe for black beans and corn salad is the perfect summer side dish! It's a zesty cold salad that you can make ahead. The vegan recipe is full of colorful veggies with a lime dressing.


    Ingredients

    Scale
    • 15 ounce can Black Beans, drained and rinsed
    • 15.25 ounce can Whole Kernel Sweet Corn, drained
    • 2 Vine Ripe Tomatoes, chopped (about 1 cup)
    • 1 large Sweet Onion, finely chopped
    • ½ cup Cilantro, minced
    • 2 Tbsp Minced Garlic
    • 2 Tbsp Olive Oil
    • 2 Tbsp White Vinegar
    • 1 Tbsp Lime Juice
    • 1 Tbsp Granulated Sugar
    • ½ tsp Sea Salt
    • ½ tsp Coarse Ground Black Pepper
    • ¼ tsp Ground Cumin

    Instructions

    In a large serving bowl add the beans, corn, tomatoes, onion, cilantro and garlic.

    In a small bowl whisk together the olive oil, white vinegar, lime juice, sugar, salt, pepper and cumin. Pour over the salad veggies and stir to coat.

    Refrigerate in an air tight container for at least 1 hour before serving. I prefer to refrigerate overnight.

    • Prep Time: 15 minutes
    • Category: Side Dish, Salads, Dips
    • Method: Mixing
    • Cuisine: Gluten Free

    Did you make this recipe?

    Tag @smallfarmbiglife on Instagram and hashtag it #smallfarmbiglife

    Top Tip

    I love to serve this recipe as a side dish or with chips as a dip. Either way it is a delicious hit at gatherings! When serving it as a dip I like to use round gluten free corn tortilla chips. It is so refreshing on a hot day!

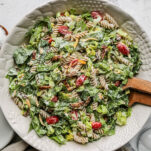
    Gluten Free BLT Pasta Salad

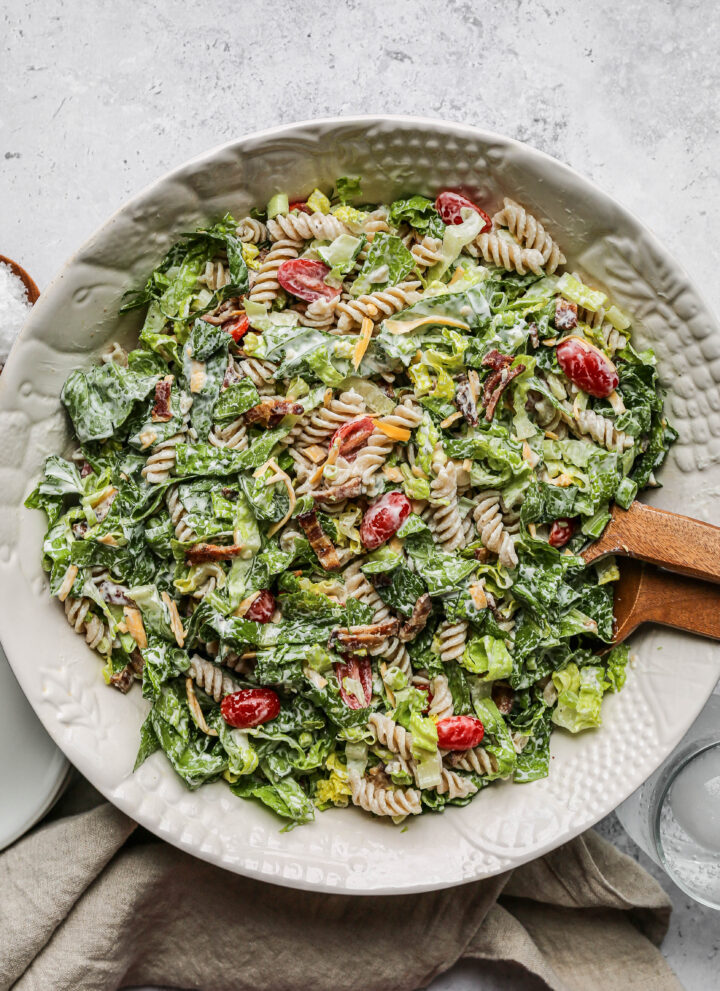
    This gluten free BLT pasta salad is the cold pasta salad recipe you are going to want to make all summer long. It has everything you love about a classic BLT: crispy bacon, fresh romaine lettuce, and juicy cherry tomatoes, all tossed with tender gluten free fusilli pasta and a creamy homemade dressing made with mayo, sour cream, garlic, and a splash of apple cider vinegar.

    Shredded cheddar cheese takes it completely over the top. It is hearty enough to serve as a lunch on its own and easy enough to throw together in about 30 minutes.
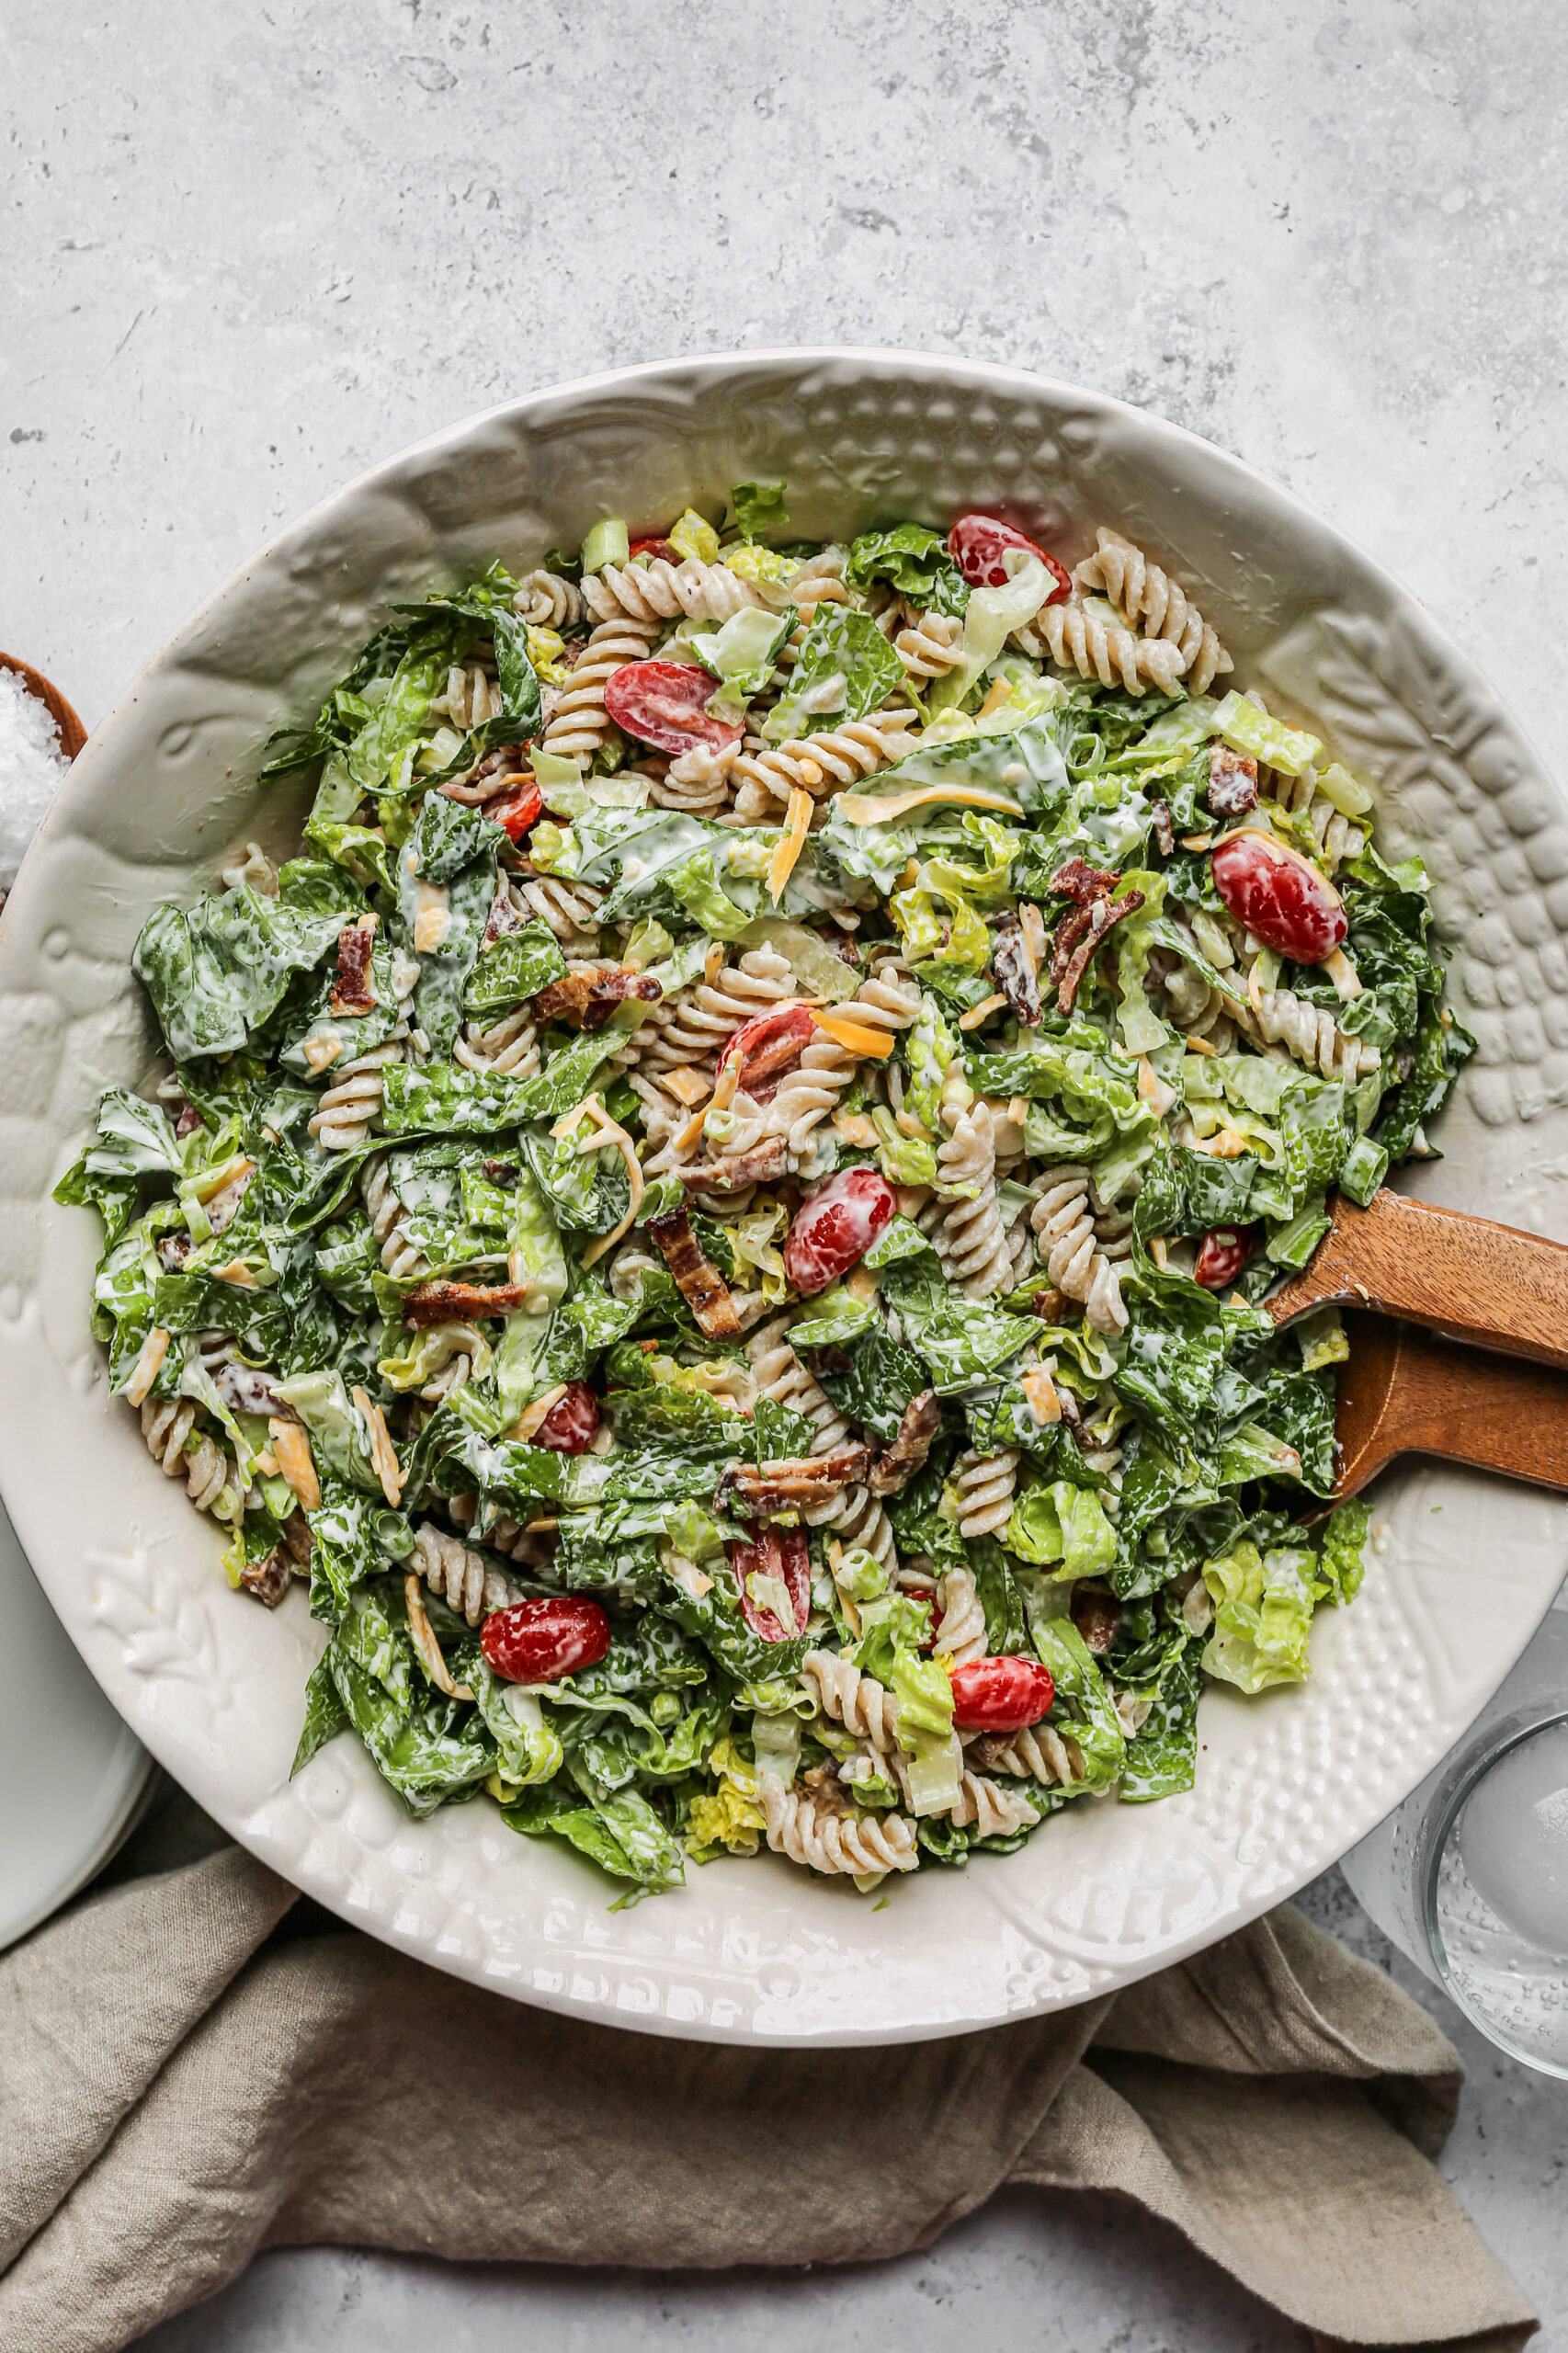
    a large white serving bowl of gluten free BLT pasta salad with wooden serving spoons.

    This is one of those gluten free side dishes that travels well, feeds a crowd, and disappears fast at every BBQ, potluck, and summer gathering I bring it to.

    The homemade dressing is the secret weapon here. It is tangy, creamy, and so much better than anything from a bottle.

    If you are looking for a cold pasta salad with bacon that everyone at the table can enjoy, gluten free or not, this is the recipe to bookmark.

    If you are looking for more pasta salad recipes try my Gluten Free Green Goddess Pasta Salad, my Gluten Free Pesto Pasta Salad, my Easy Gluten Free Bow Tie Pasta Salad, or my Easy Gluten Free Macaroni Salad.

    You can find all of my salad recipes here: Gluten Free Salad Recipes
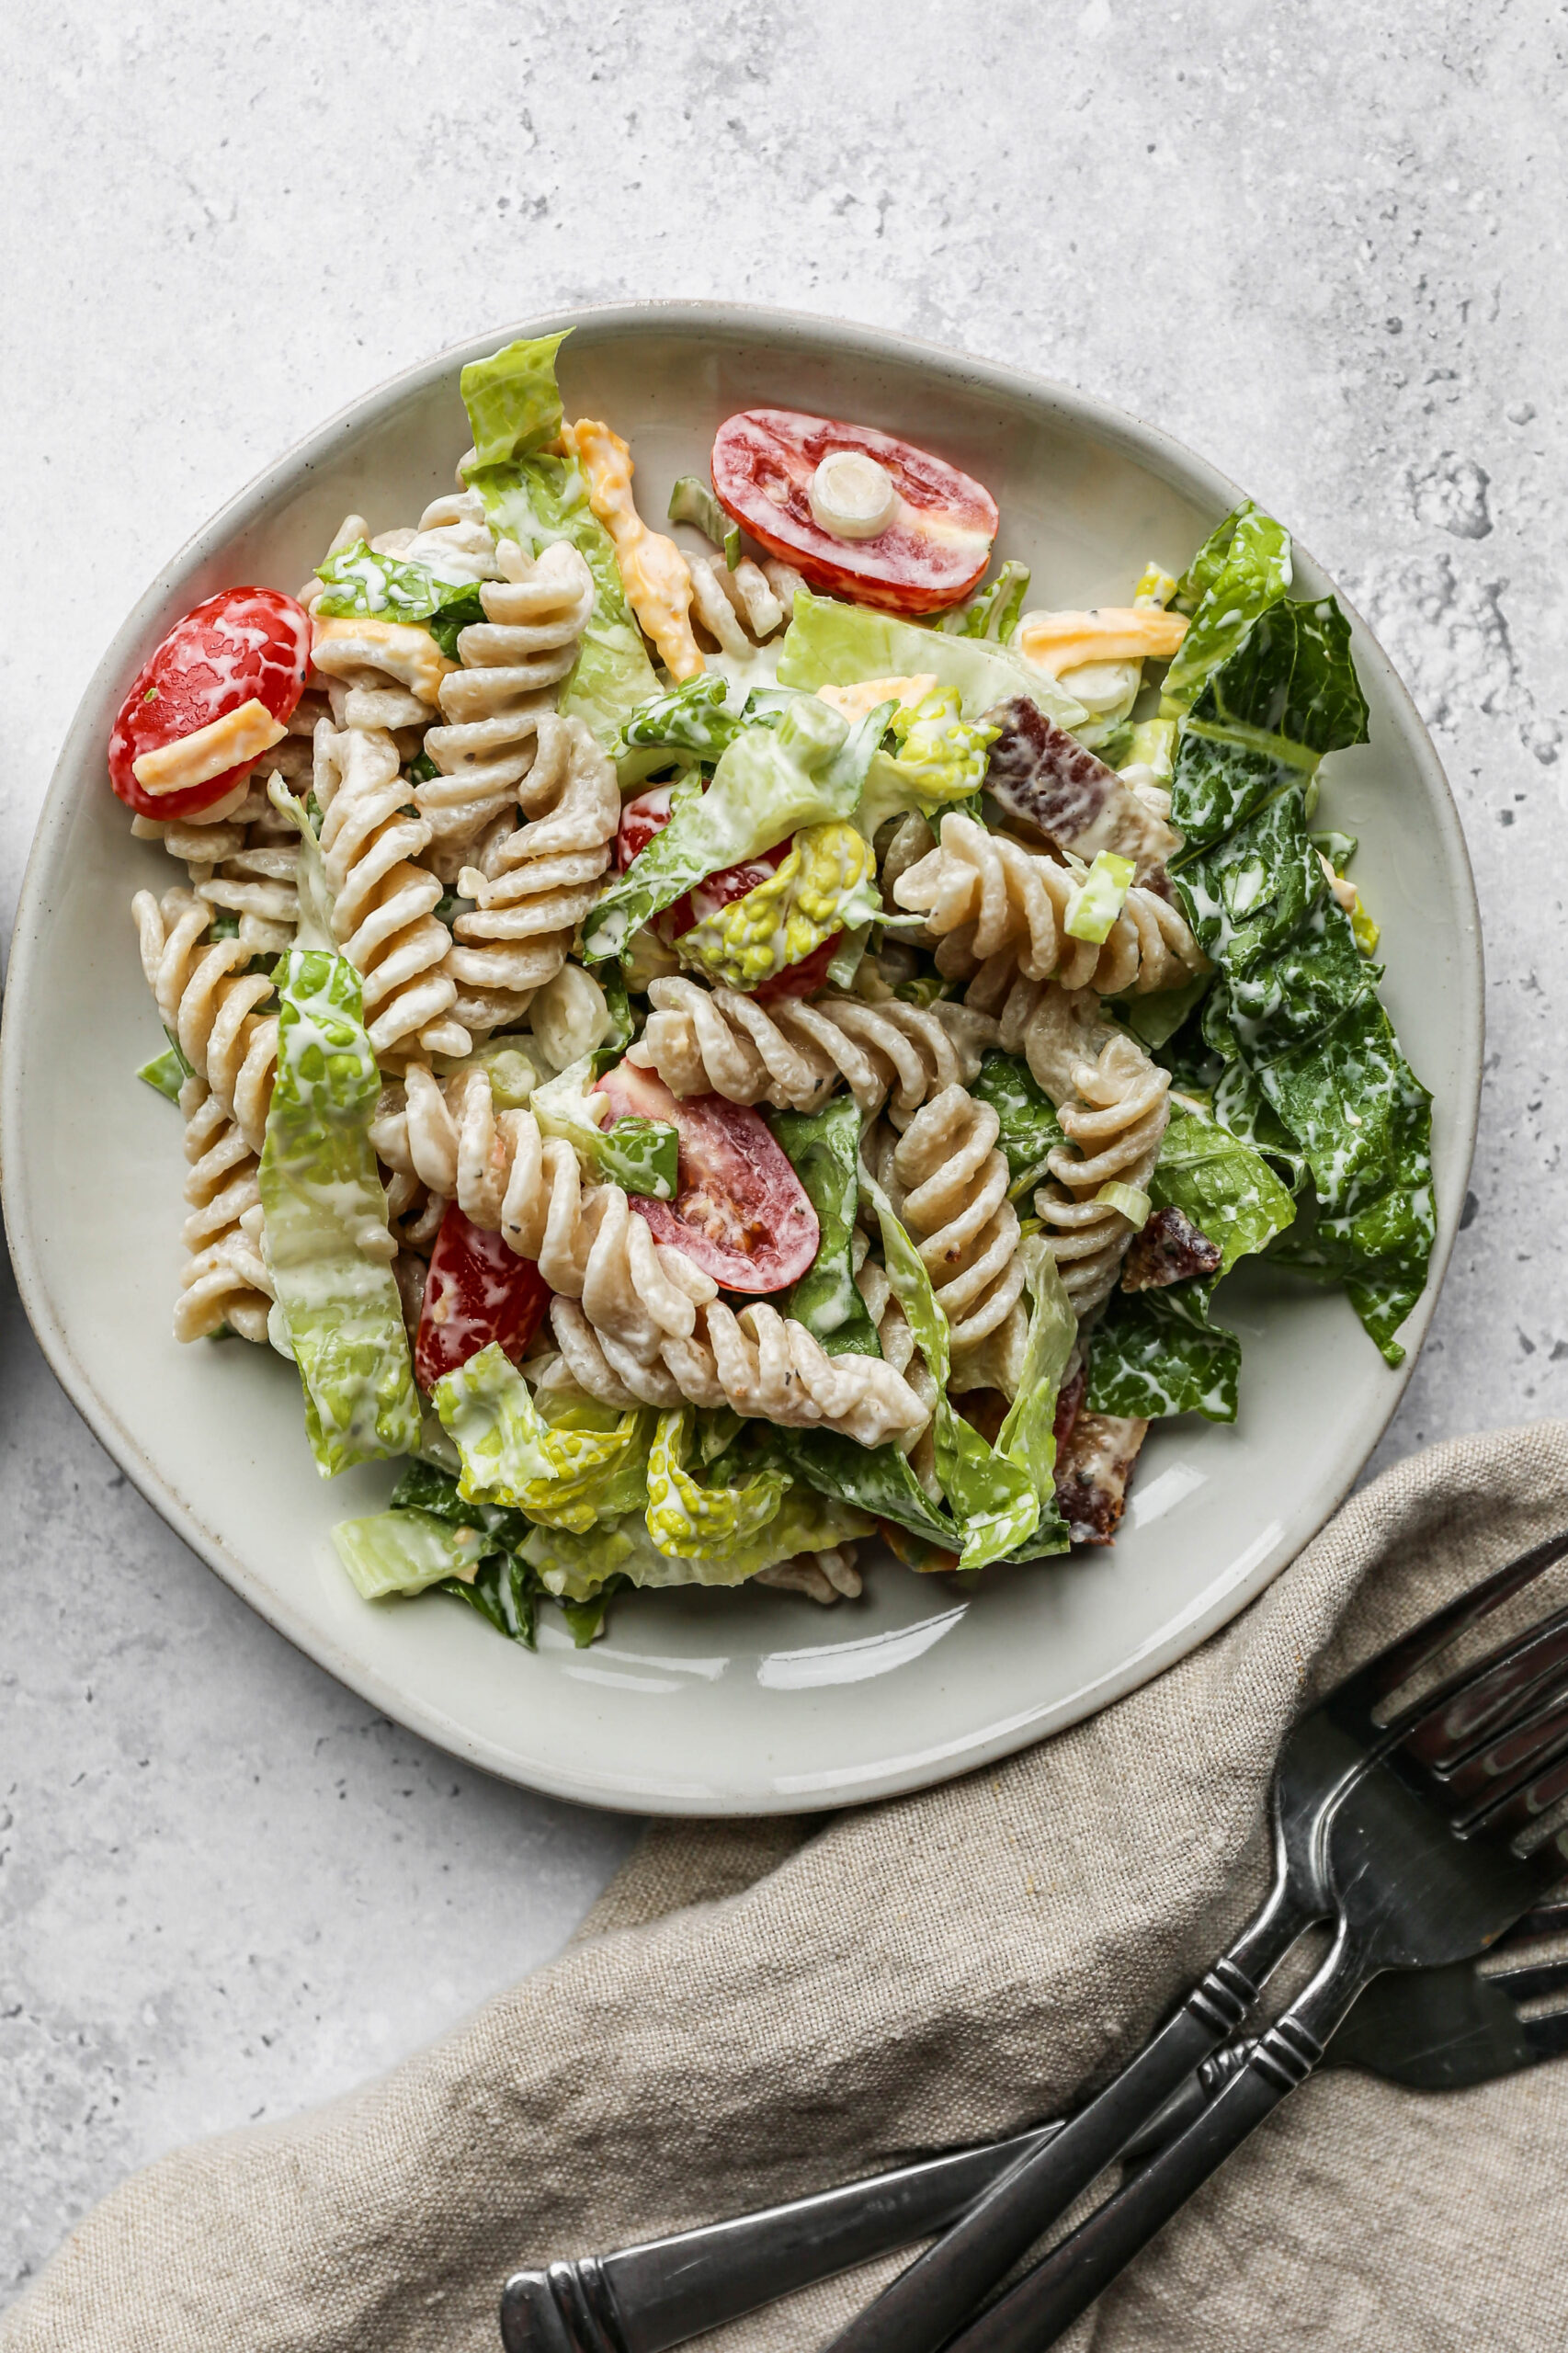
    a white plate of gluten free BLT pasta salad next to a small wooden bowl of salt.
    [feast_advanced_jump_to]

    Ingredients

    • Gluten Free Fusilli Pasta
    • Bacon
    • Minced Garlic
    • Green Onions
    • Romaine Lettuce
    • Cherry Tomatoes
    • Sour Cream
    • Mayonnaise
    • Apple Cider Vinegar
    • Sea Salt
    • Coarse Ground Black Pepper
    • Cheddar Cheese

    Instructions

    Cook the bacon and let it cool. Chop the bacon into small chunks. Set aside.

    Cook the pasta per the instructions on the box. Drain the pasta and rinse in cold water. Add to a large serving bowl.

    In the large serving bowl also add the bacon, onions, lettuce, tomatoes and shredded cheese.

    In a small bowl whisk together the minced garlic, sour cream, mayonnaise, apple cider vinegar, salt and pepper. Pour this mixture over the salad. Stir the salad to coat with the dressing.

    Refrigerate for at least 30 minutes before serving.

    This salad is best served the same day, but will keep for up to 2 days before the lettuce gets too soggy.

    Supplies

    More Recipes You Might Enjoy

    • The Best Old Fashioned Chicken Salad
    • Gluten Free Green Goddess Pasta Salad
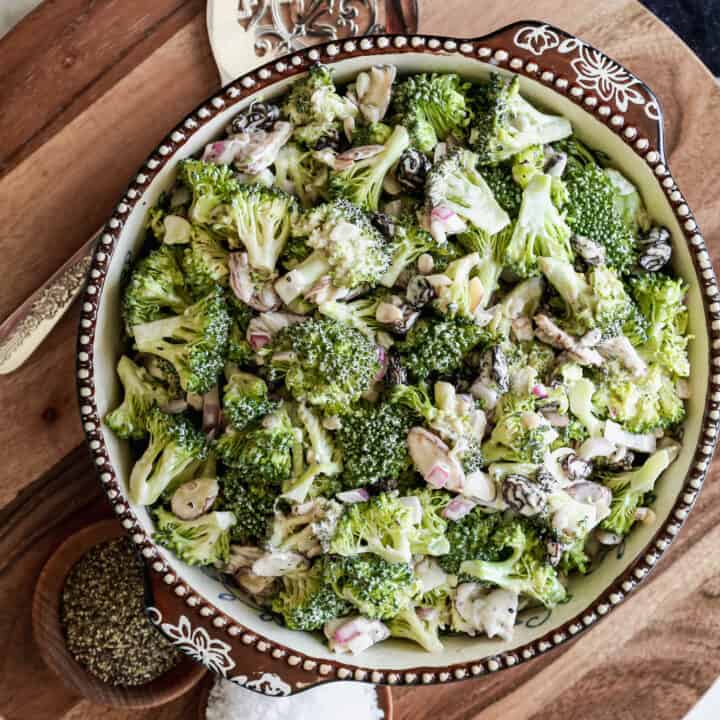
    • Sugar Free Broccoli Salad
    • Easy Pea Salad

    I get a lot of my ingredients from Thrive Market. Thrive Market has been a game changer for me eating gluten free. They have so many options I can't get at my rural grocery stores! Use this link to get 40% off your first order!

    Print
    clock clock iconcutlery cutlery iconflag flag iconfolder folder iconinstagram instagram iconpinterest pinterest iconfacebook facebook iconprint print iconsquares squares iconheart heart iconheart solid heart solid icon

    Gluten Free BLT Pasta Salad


    5 Stars 4 Stars 3 Stars 2 Stars 1 Star

    4 from 1 review

    • Author: Elaine VanVleck
    • Total Time: 30 minutes
    • Yield: 6 servings 1x
    • Diet: Gluten Free
    Print Recipe
    Pin Recipe

    Description

    This gluten free BLT pasta salad is a creamy, crowd-pleasing cold pasta salad loaded with crispy bacon, fresh romaine lettuce, juicy cherry tomatoes, shredded cheddar, and tender gluten free fusilli, all tossed in a tangy homemade mayo and sour cream dressing. Ready in 30 minutes and perfect for BBQs, potlucks, and summer gatherings.


    Ingredients

    Scale
    • 12 ounce box Gluten Free Fusilli Pasta, cooked and drained
    • 8 slices Bacon, cooked and chopped
    • 6 Green Onions, chopped
    • 4 cups Romaine Lettuce, chopped (approximately one head of lettuce)
    • 10 ounces Cherry Tomatoes, cut in half
    • 2 Tbsp Minced Garlic
    • ½ cup Sour Cream
    • ½ cup Mayonnaise
    • 2 Tbsp Apple Cider Vinegar
    • ½ tsp Sea Salt
    • ¼ tsp Coarse Ground Black Pepper
    • 1 cup Cheddar Cheese, shredded

    Instructions

    Cook the bacon and let it cool. Chop the bacon into small chunks. Set aside.

    Cook the pasta per the instructions on the box. Drain the pasta and rinse in cold water. Add to a large serving bowl.

    In the large serving bowl also add the bacon, onions, lettuce, tomatoes and shredded cheese.

    In a small bowl whisk together the minced garlic, sour cream, mayonnaise, apple cider vinegar, salt and pepper. Pour this mixture over the salad. Stir the salad to coat with the dressing.

    Refrigerate for at least 30 minutes before serving.

    This salad is best served the same day, but will keep for up to 2 days before the lettuce gets too soggy.

    • Prep Time: 20 minutes
    • Cook Time: 10 minutes
    • Category: Side Dish, Salads
    • Method: Mixing
    • Cuisine: American

    Did you make this recipe?

    Tag @smallfarmbiglife on Instagram and hashtag it #smallfarmbiglife

    If you make this Gluten Free BLT Pasta Salad, I would love to hear what you think! Leave a star rating and a comment below. It helps other readers find this recipe and it means so much to me.

    Storage

    Store leftover BLT pasta salad in an airtight container in the refrigerator for up to 2 days. Keep in mind that the romaine lettuce will begin to wilt after the first day, so this salad is always best eaten the same day it is made. Because the dressing contains mayonnaise, do not leave the salad sitting at room temperature for more than two hours. This salad is not suitable for freezing.

    Top Tip

    Rinse your cooked pasta thoroughly in cold water and let it drain completely before adding it to the bowl. Gluten free pasta soaks up dressing faster than regular pasta, so giving it a good rinse and a few extra minutes to drain means your dressing stays creamy and coats every bite instead of disappearing into the noodles.

    Didn't find the answer you're looking for?

    Ask AI to answer based on this recipe:

    ChatGPT
    Google AI
    Perplexity
    Grok
    Claude

    Frequently Asked Questions

    How long does gluten free pasta salad last in the fridge?

    This salad keeps in a sealed container in the refrigerator for 1 to 2 days. After that the lettuce will begin to wilt and the texture will suffer. Because the dressing contains mayonnaise, be sure to refrigerate the salad promptly after serving and do not leave it sitting out for more than two hours.

    How do you keep gluten free pasta from getting hard in a cold pasta salad?

    Cook your gluten free pasta slightly past al dente. You want it a little softer than you would for a hot pasta dish because it will firm up as it chills. Rinsing it in cold water immediately after draining stops the cooking and prevents clumping. If the pasta absorbs too much dressing as it sits, drizzle a little extra mayo or a splash of apple cider vinegar over the top and toss before serving.

    Can I make this BLT pasta salad ahead of time?

    You can make this salad a few hours ahead, but because it contains romaine lettuce, it is best assembled and served the same day. If you want to get ahead, cook the pasta, bacon, and dressing up to 24 hours in advance and store them separately in the refrigerator. Toss everything together with the lettuce and tomatoes right before serving for the freshest result.

    What gluten free pasta works best for this recipe?

    Gluten free fusilli is ideal because the spiral shape holds onto the creamy dressing really well. You could also use gluten free rotini, penne, or shells. Whatever you choose, stick with a rice based or rice and corn blend pasta for the best texture in a cold salad. Avoid bean based pastas here as they tend to get mushy and fall apart once chilled

    Can I add protein to make this a main dish?

    Absolutely. Grilled or rotisserie chicken is a great addition if you want to turn this into a heartier meal. Diced ham also works beautifully with the BLT flavor profile. Just add your protein when you assemble the salad and toss everything together with the dressing as usual.

    Can I use a different dressing?

    The homemade mayo and sour cream dressing is what makes this salad special, but you can swap in a bottled ranch dressing if you are short on time. Just make sure to check the label to confirm it is certified gluten free. My creamy Caesar dressing would also be delicious here and plays nicely with the romaine and bacon.

    Strawberry Daiquiri Mocktails

    This Strawberry Daiquiri Mocktail is one of the most popular recipes on my site and once you make it you will completely understand why. Frozen strawberries, simple syrup, lime juice, lemon juice, soda water, and ice go into the blender and come out as the most gorgeous and refreshing slushy frozen drink that tastes like a classic strawberry daiquiri without any alcohol.

    It takes literally 5 minutes and the result is so pretty and so delicious that it works for absolutely any occasion from a casual Tuesday afternoon to a full summer party spread.

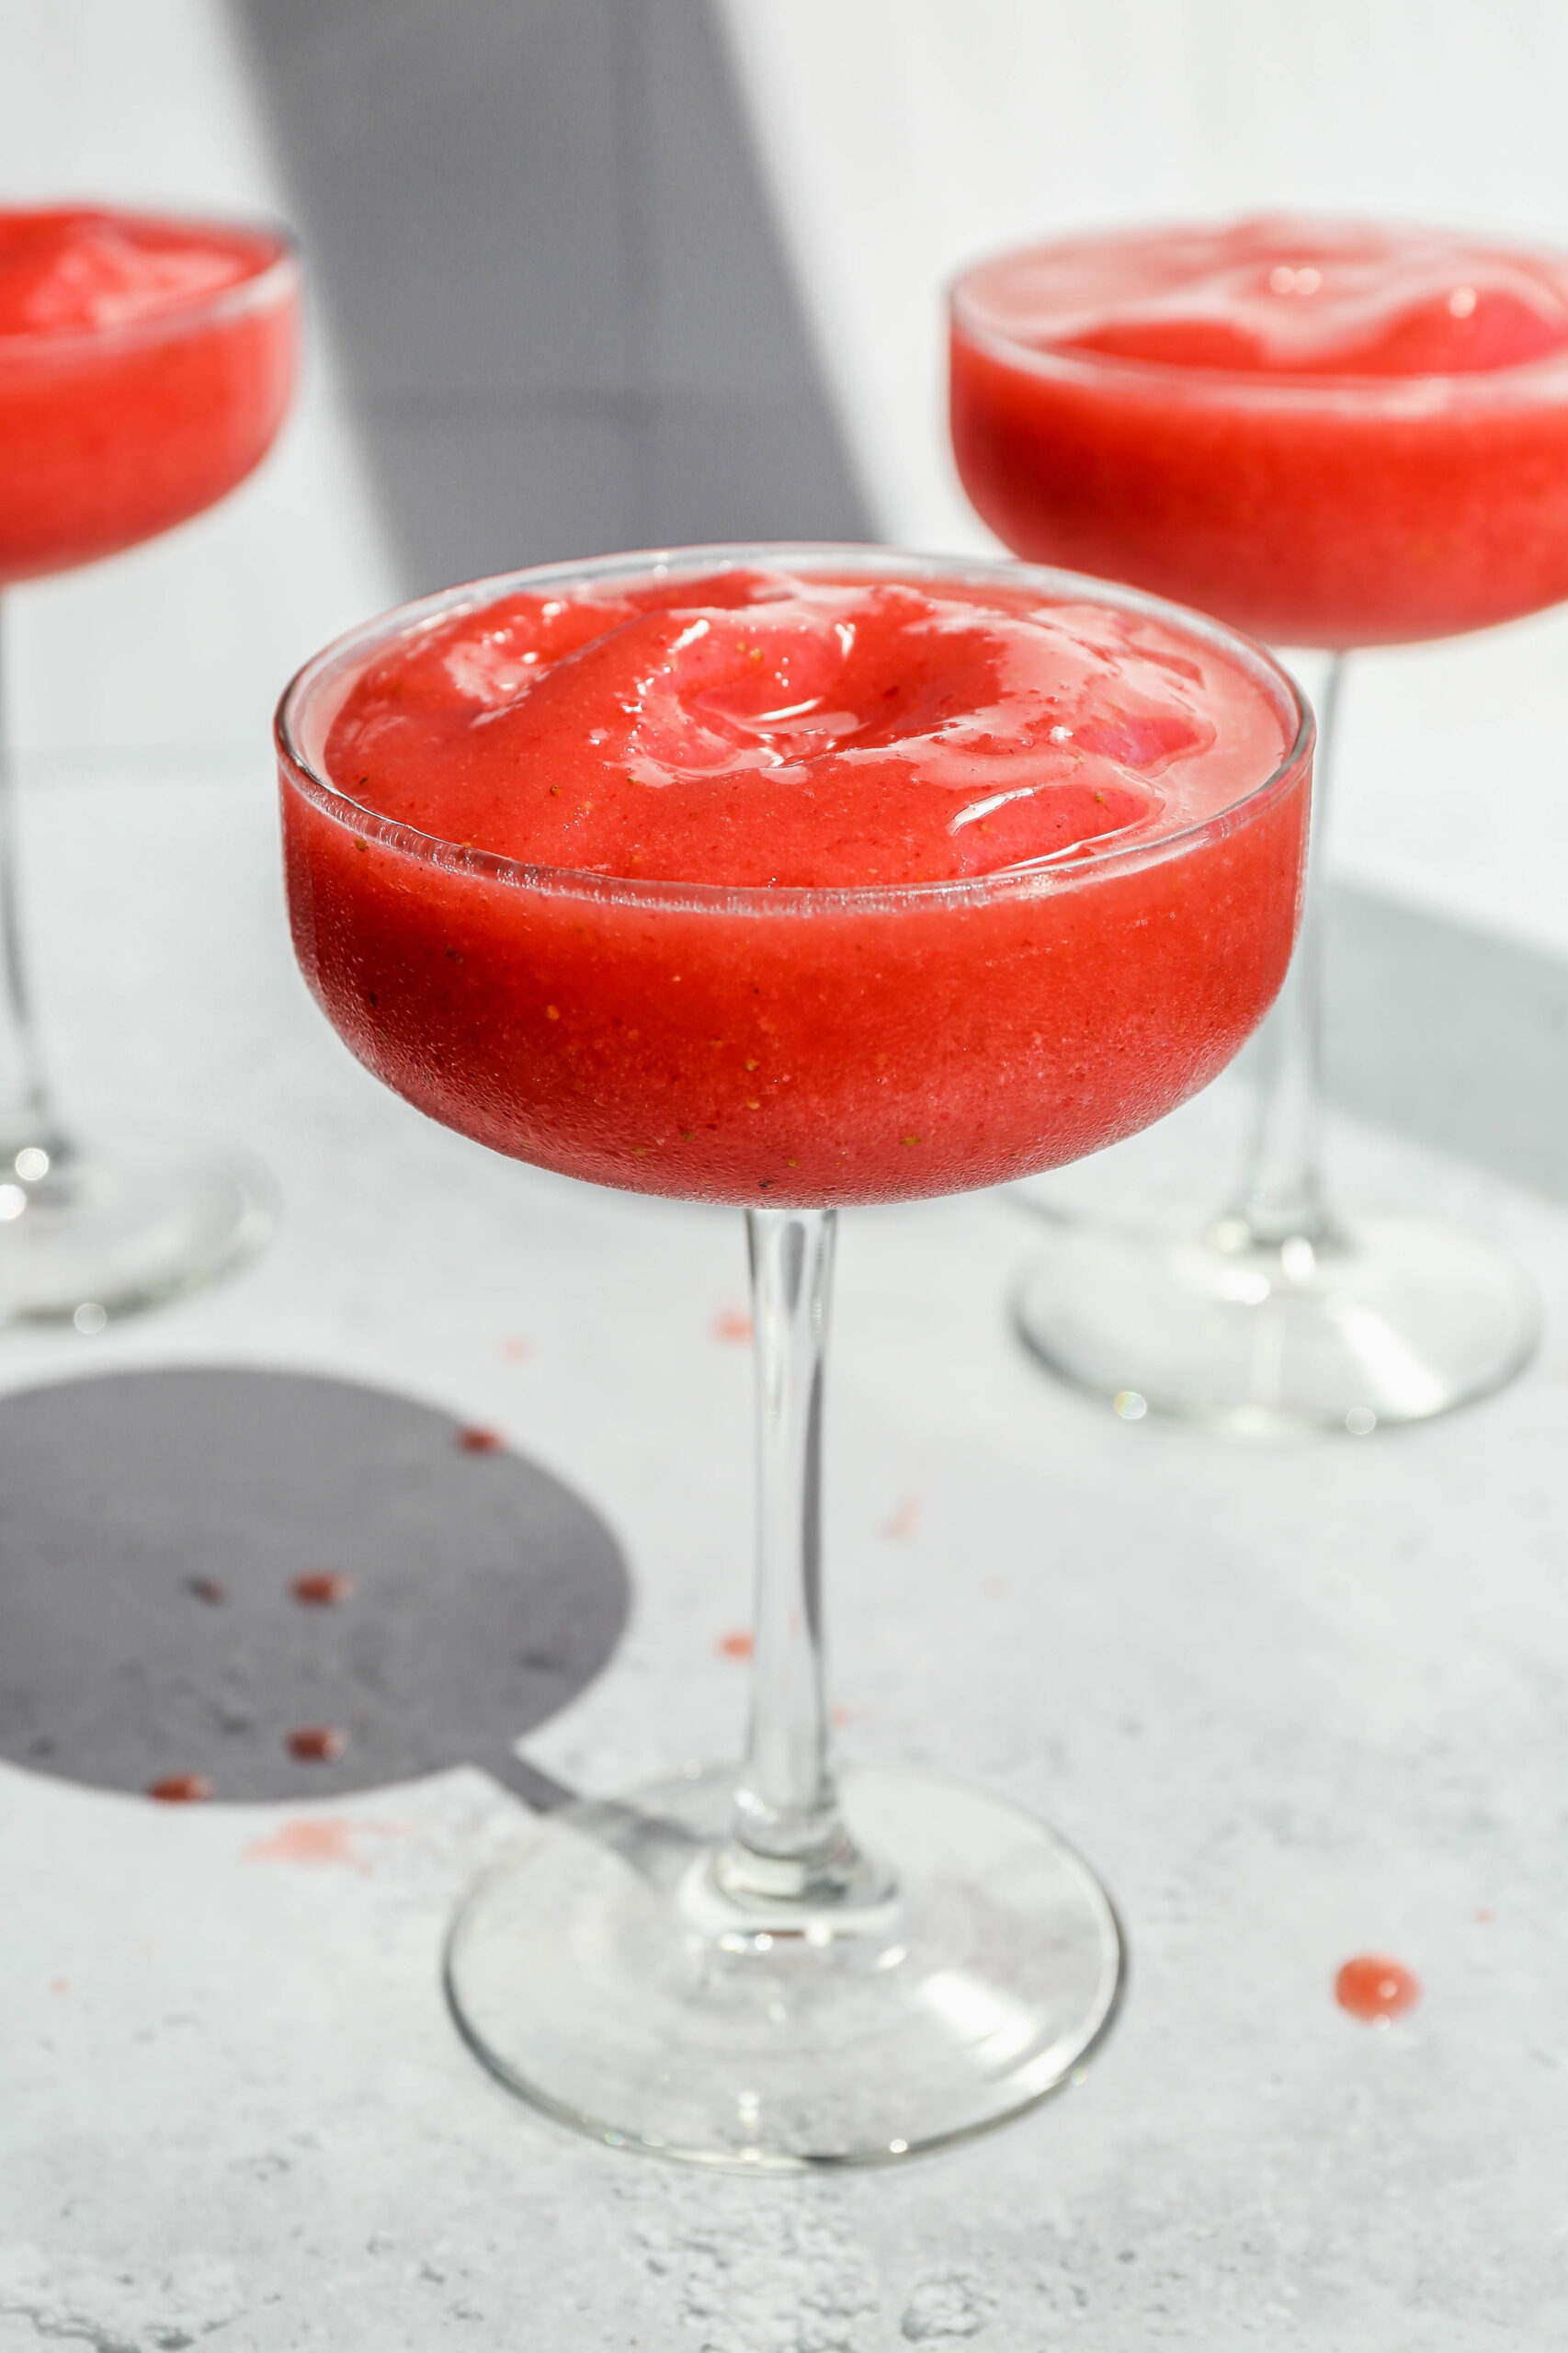
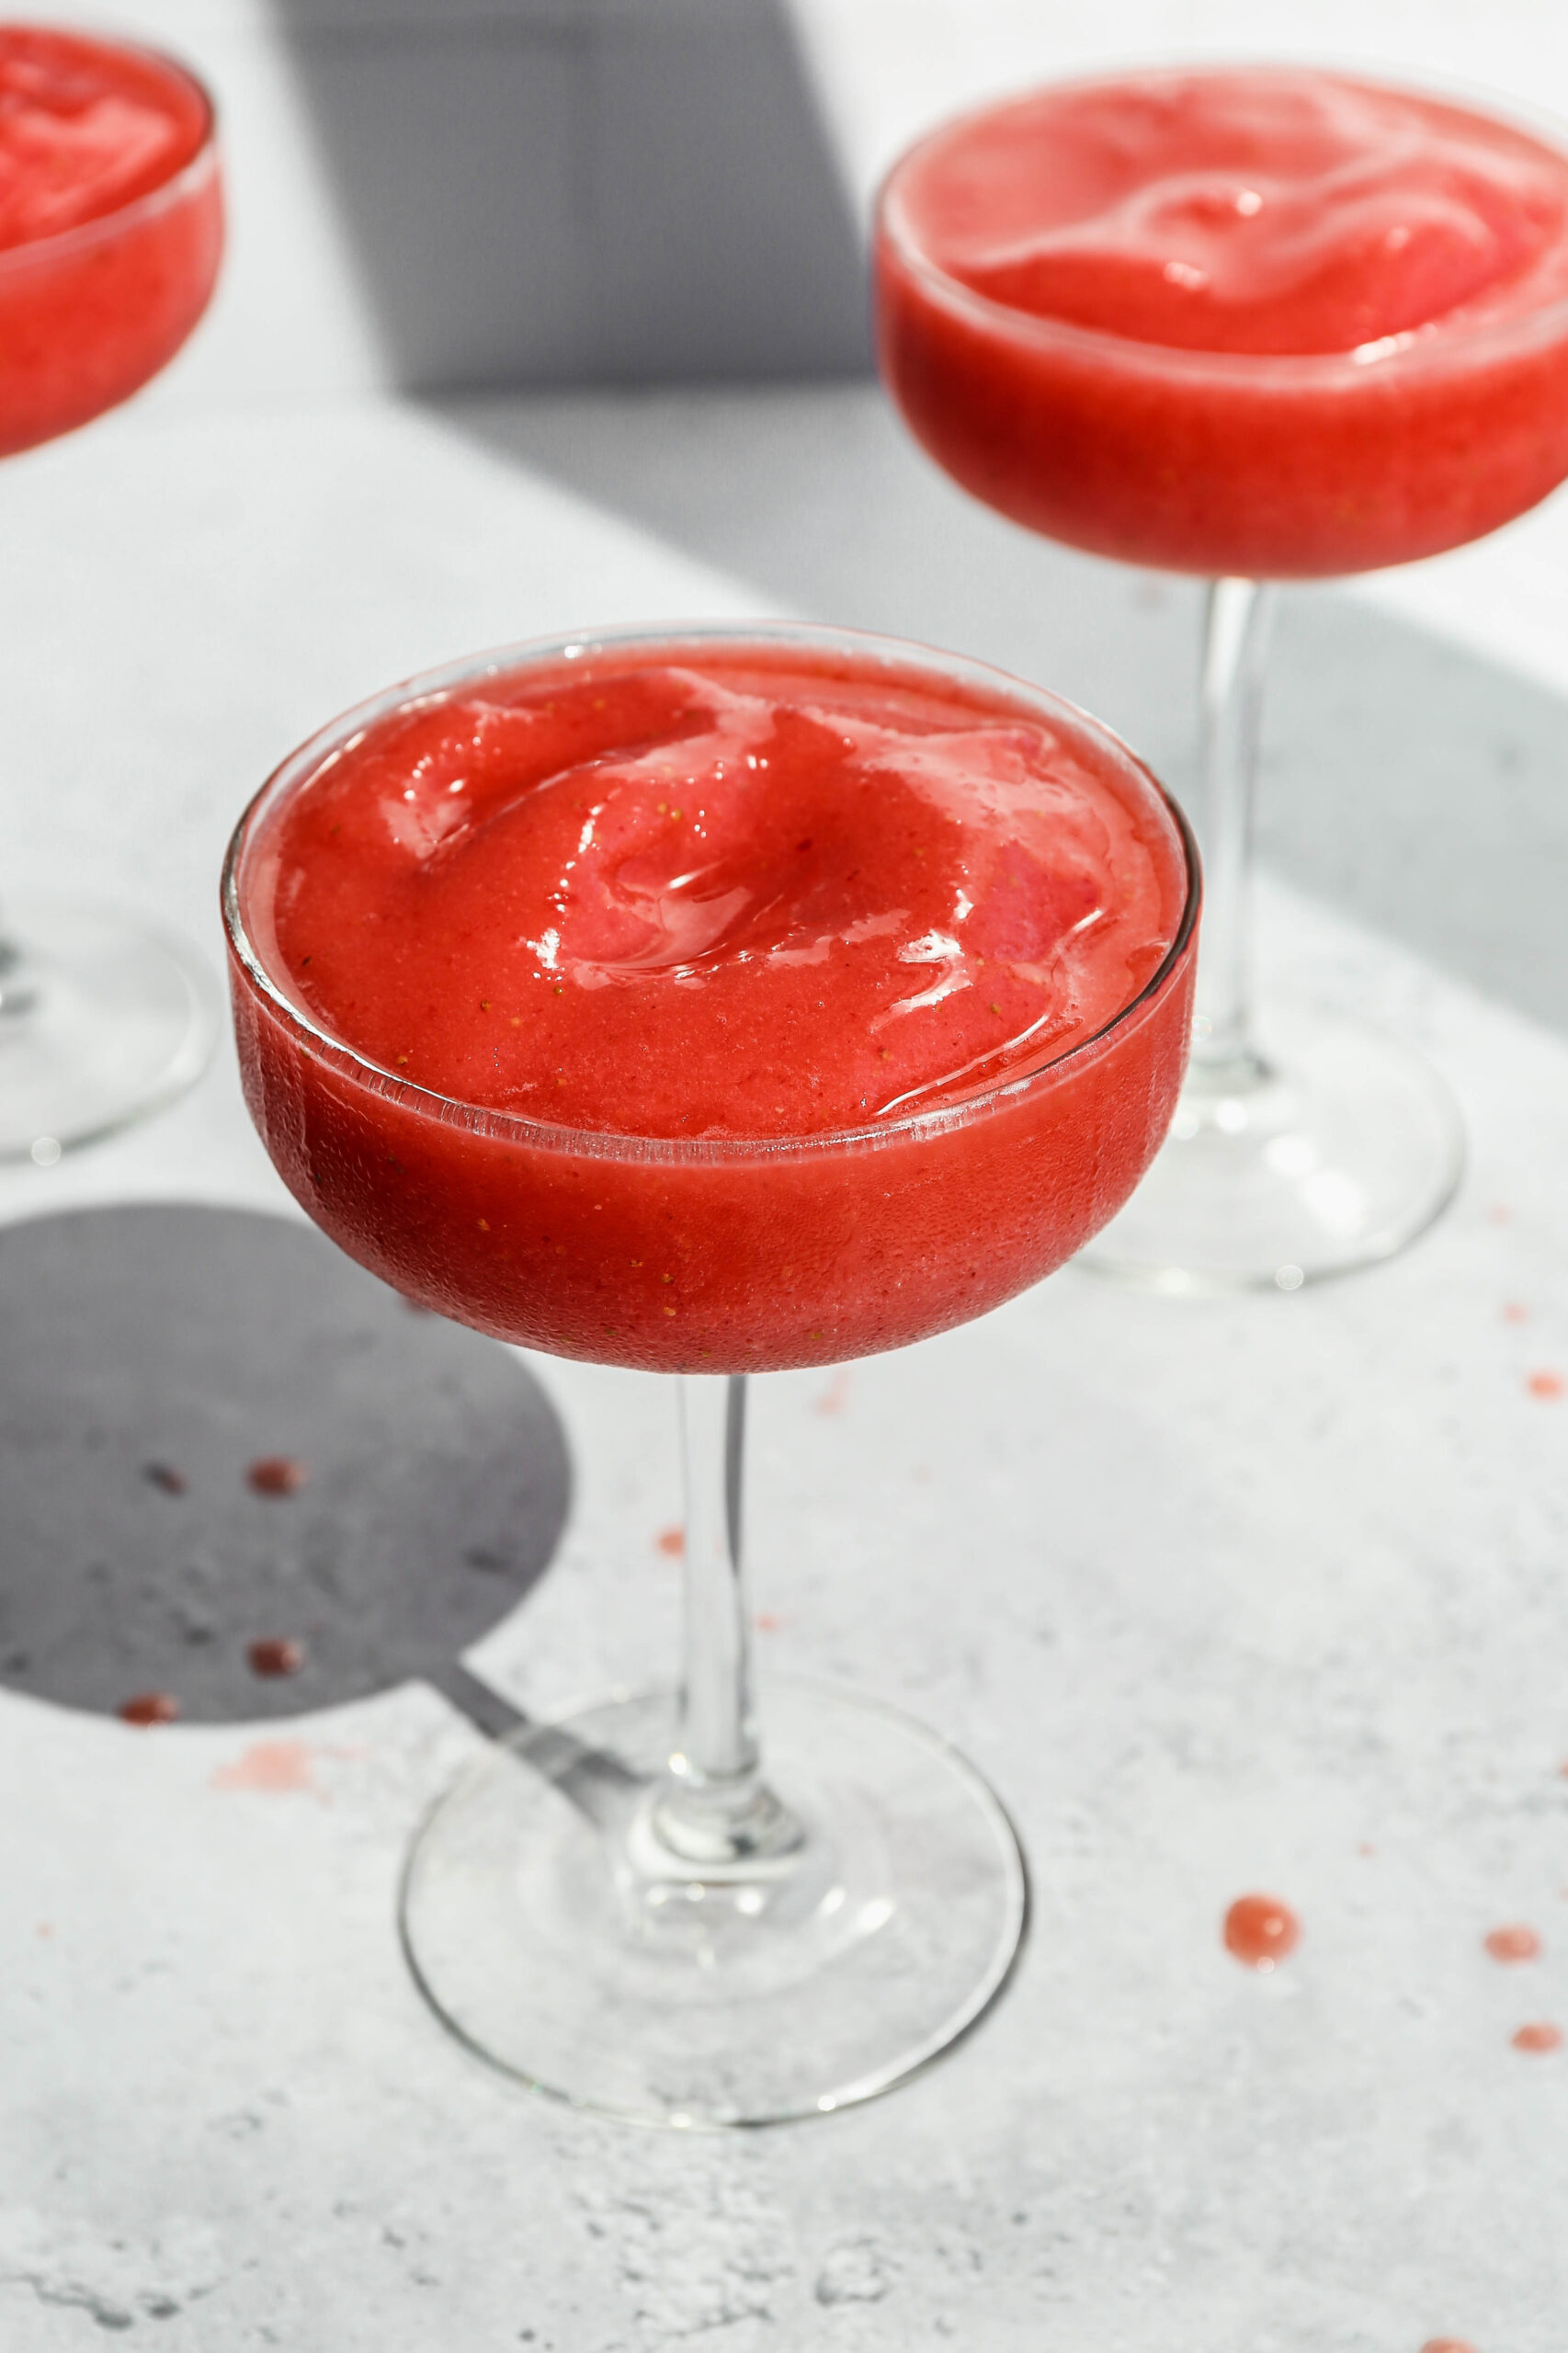
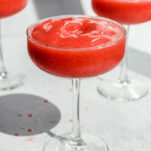
    a long stemmed cocktail coupe of strawberry daiquiri mocktail.

    I love that this recipe works for everyone at the table! Kids love it just as much as adults and nobody feels left out.

    The bright strawberry flavor is sweet and tangy and the slushy frozen texture makes it feel like a real treat especially on a hot day.

    If you make the simple syrup ahead of time and keep it in the refrigerator you can blend these up in just a few minutes whenever the craving strikes.

    If you are looking for more non alcoholic mocktail recipes you might also enjoy my Easy Frozen Watermelon Margarita Mocktail, my Pina Colada Mocktail, my Frozen Cranberry Margarita Mocktail, my Long Island Iced Tea Mocktails or my Classic Margarita Mocktail.

    three long stem coupe glasses of strawberry daiquiri mocktails.
    [feast_advanced_jump_to]

    Ingredients

    • Frozen Strawberries
    • Simple Syrup or use the recipe below to make your own
    • Lime Juice
    • Lemon Juice
    • Soda Water or Strawberry Seltzer
    • Ice
    • Sea Salt

    Instructions

    Place frozen strawberries, simple syrup, lime juice, lemon juice, soda water or seltzer, ice and salt into your blender. Blend until smooth.

    Serve immediately while the drinks are still slushy and frozen.

    Supplies

    More Recipes You Might Enjoy

    • Easy Frozen Watermelon Margarita Mocktail
    • Pina Colada Mocktail
    • Classic Margarita Mocktail
    • Long Island Iced Tea Mocktails

    I get a lot of my ingredients from Thrive Market. Thrive Market has been a game changer for me eating gluten free. They have so many options I can't get at my rural grocery stores! Use this link to get 40% off your first order!

    Print
    clock clock iconcutlery cutlery iconflag flag iconfolder folder iconinstagram instagram iconpinterest pinterest iconfacebook facebook iconprint print iconsquares squares iconheart heart iconheart solid heart solid icon

    Strawberry Daiquiri Mocktails


    5 Stars 4 Stars 3 Stars 2 Stars 1 Star

    No reviews

    • Author: Elaine VanVleck
    • Total Time: 5 minutes
    • Yield: 4 servings 1x
    • Diet: Gluten Free
    Print Recipe
    Pin Recipe

    Description

    This Strawberry Daiquiri Mocktail is the most refreshing and beautiful non alcoholic frozen drink that comes together in just 5 minutes in your blender with frozen strawberries, simple syrup, lime juice, lemon juice, soda water, and ice. The result is a perfectly slushy and fruity virgin daiquiri that is bright, sweet, tangy, and completely irresistible for kids and adults alike. Naturally gluten free and the ultimate summer party drink for any occasion!


    Ingredients

    Scale
    • 2 cups Frozen Strawberries
    • ½ cup Simple Syrup or use recipe in notes to make your own
    • 2 Tbsp Lime Juice
    • 2 Tbsp Lemon Juice
    • 12 ounces Soda Water or Strawberry Seltzer
    • 1 cup Ice
    • Pinch of Sea Salt

    Instructions

    Place frozen strawberries, simple syrup, lime juice, lemon juice, soda water or seltzer, ice and salt into your blender. Blend until smooth.

    Serve immediately while the drinks are still slushy and frozen.

    Notes

    To make simple syrup combine ½ cup boiling water and ½ cup granulated sugar. Let cool before using in this mocktail. Store in the refrigerator for up to a week.

    • Prep Time: 5 minutes
    • Cook Time: 0 minutes
    • Category: Drinks
    • Method: Blender
    • Cuisine: American

    Did you make this recipe?

    Tag @smallfarmbiglife on Instagram and hashtag it #smallfarmbiglife

    If you made this Strawberry Daiquiri Mocktail I would love to hear what you thought! Please leave a star rating and a comment below. This is one of my most popular summer drink recipes and I hope it becomes a staple in your home too!

    Storage

    This strawberry daiquiri mocktail is best served immediately while it is still slushy and frozen. If you need to make it a little ahead of time blend everything together without the ice and store the mixture in a sealed container in the refrigerator for up to a few hours then blend with ice right before serving. Leftover blended mocktail can be stored in the refrigerator but it will lose its slushy texture as the ice melts. You can blend it again with a handful of fresh ice to restore the frozen texture before serving.

    Top Tip

    Make the simple syrup ahead of time and store it in a sealed jar in the refrigerator for up to one week. Having it ready to go means you can blend up a batch of these strawberry daiquiri mocktails in just minutes whenever you need them.

    To make simple syrup combine half a cup of boiling water with half a cup of granulated sugar and stir until the sugar is completely dissolved. Let it cool completely before using. It is also delicious stirred into lemonade or iced tea.

    Didn't find the answer you're looking for?

    Ask AI to answer based on this recipe:

    ChatGPT
    Google AI
    Perplexity
    Grok
    Claude

    Frequently Asked Questions

    Does strawberry daiquiri contain alcohol?

    A traditional strawberry daiquiri would contain rum, but this mocktail is non alcoholic. It can be enjoyed by adults and kids! It's a homemade drink full of flavor but minus the booze.

    What do you call a cocktail without alcohol?

    A cocktail recipe that is made without alcohol can be referred to as a mocktail, virgin cocktail or just alcohol free. If you are searching for recipes that don't have booze in them these are all good terms to look up.

    What does a mocktail consist of?

    A mocktail is typically very similar to it's cocktail counterpart but just doesn't include the alcohol. Mocktails sometimes include more seltzer water and juices to give them a bit of a kick without any booze involved.

    Can I make this strawberry daiquiri mocktail for a crowd?

    Yes! Simply multiply the ingredients by however many servings you need and blend in batches. You can also make a large pitcher of the strawberry mixture without ice and then blend individual glasses with ice as you serve them so everything stays perfectly slushy. This works beautifully for summer parties and gatherings.

    Can I use fresh strawberries instead of frozen?

    Yes but frozen strawberries are my strong preference for this recipe because they are what gives the mocktail its beautiful slushy frozen texture without diluting the flavor with too much ice. If you use fresh strawberries add extra ice to the blender to compensate. Fresh strawberries will give you a brighter flavor especially during peak strawberry season but the texture will be slightly different.

    Can I make this into a cocktail?

    Yes! Simply add 1 to 2 ounces of white rum to the blender with the other ingredients for a classic frozen strawberry daiquiri. The rest of the recipe stays exactly the same. The base recipe is perfectly balanced for either a mocktail or cocktail version.

    Air Fryer Roasted Parmesan Broccoli

    This easy recipe for air fryer roasted parmesan broccoli is the perfect vegetable side dish! The fresh broccoli florets are air fried with garlic, lemon and olive oil for a healthy meal. This is a quick way to have a side dish on the table for dinner.

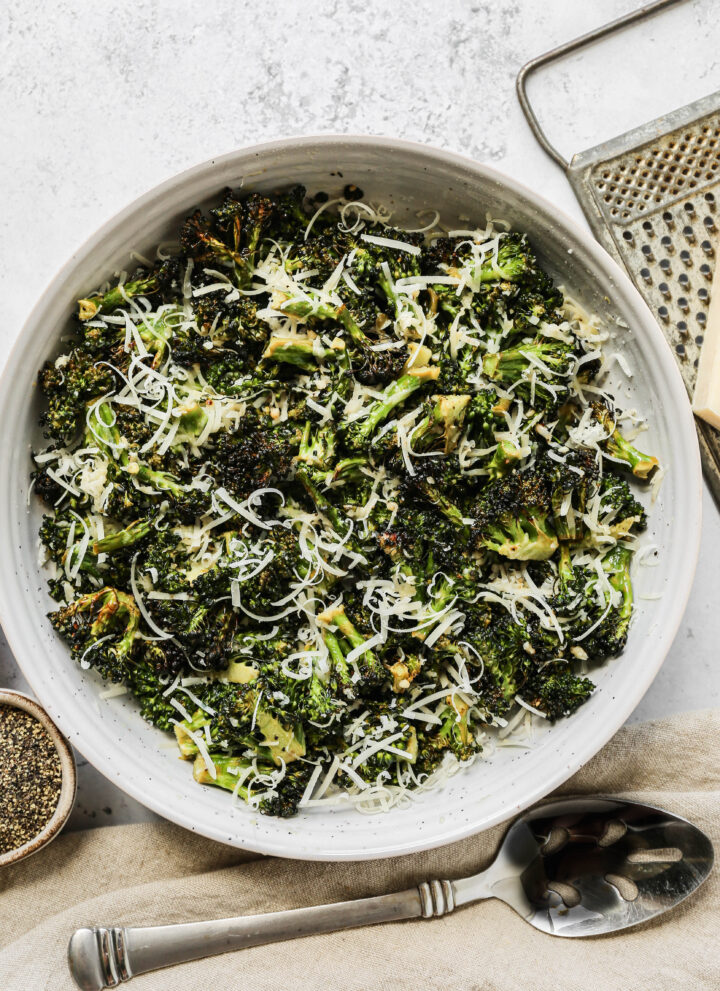
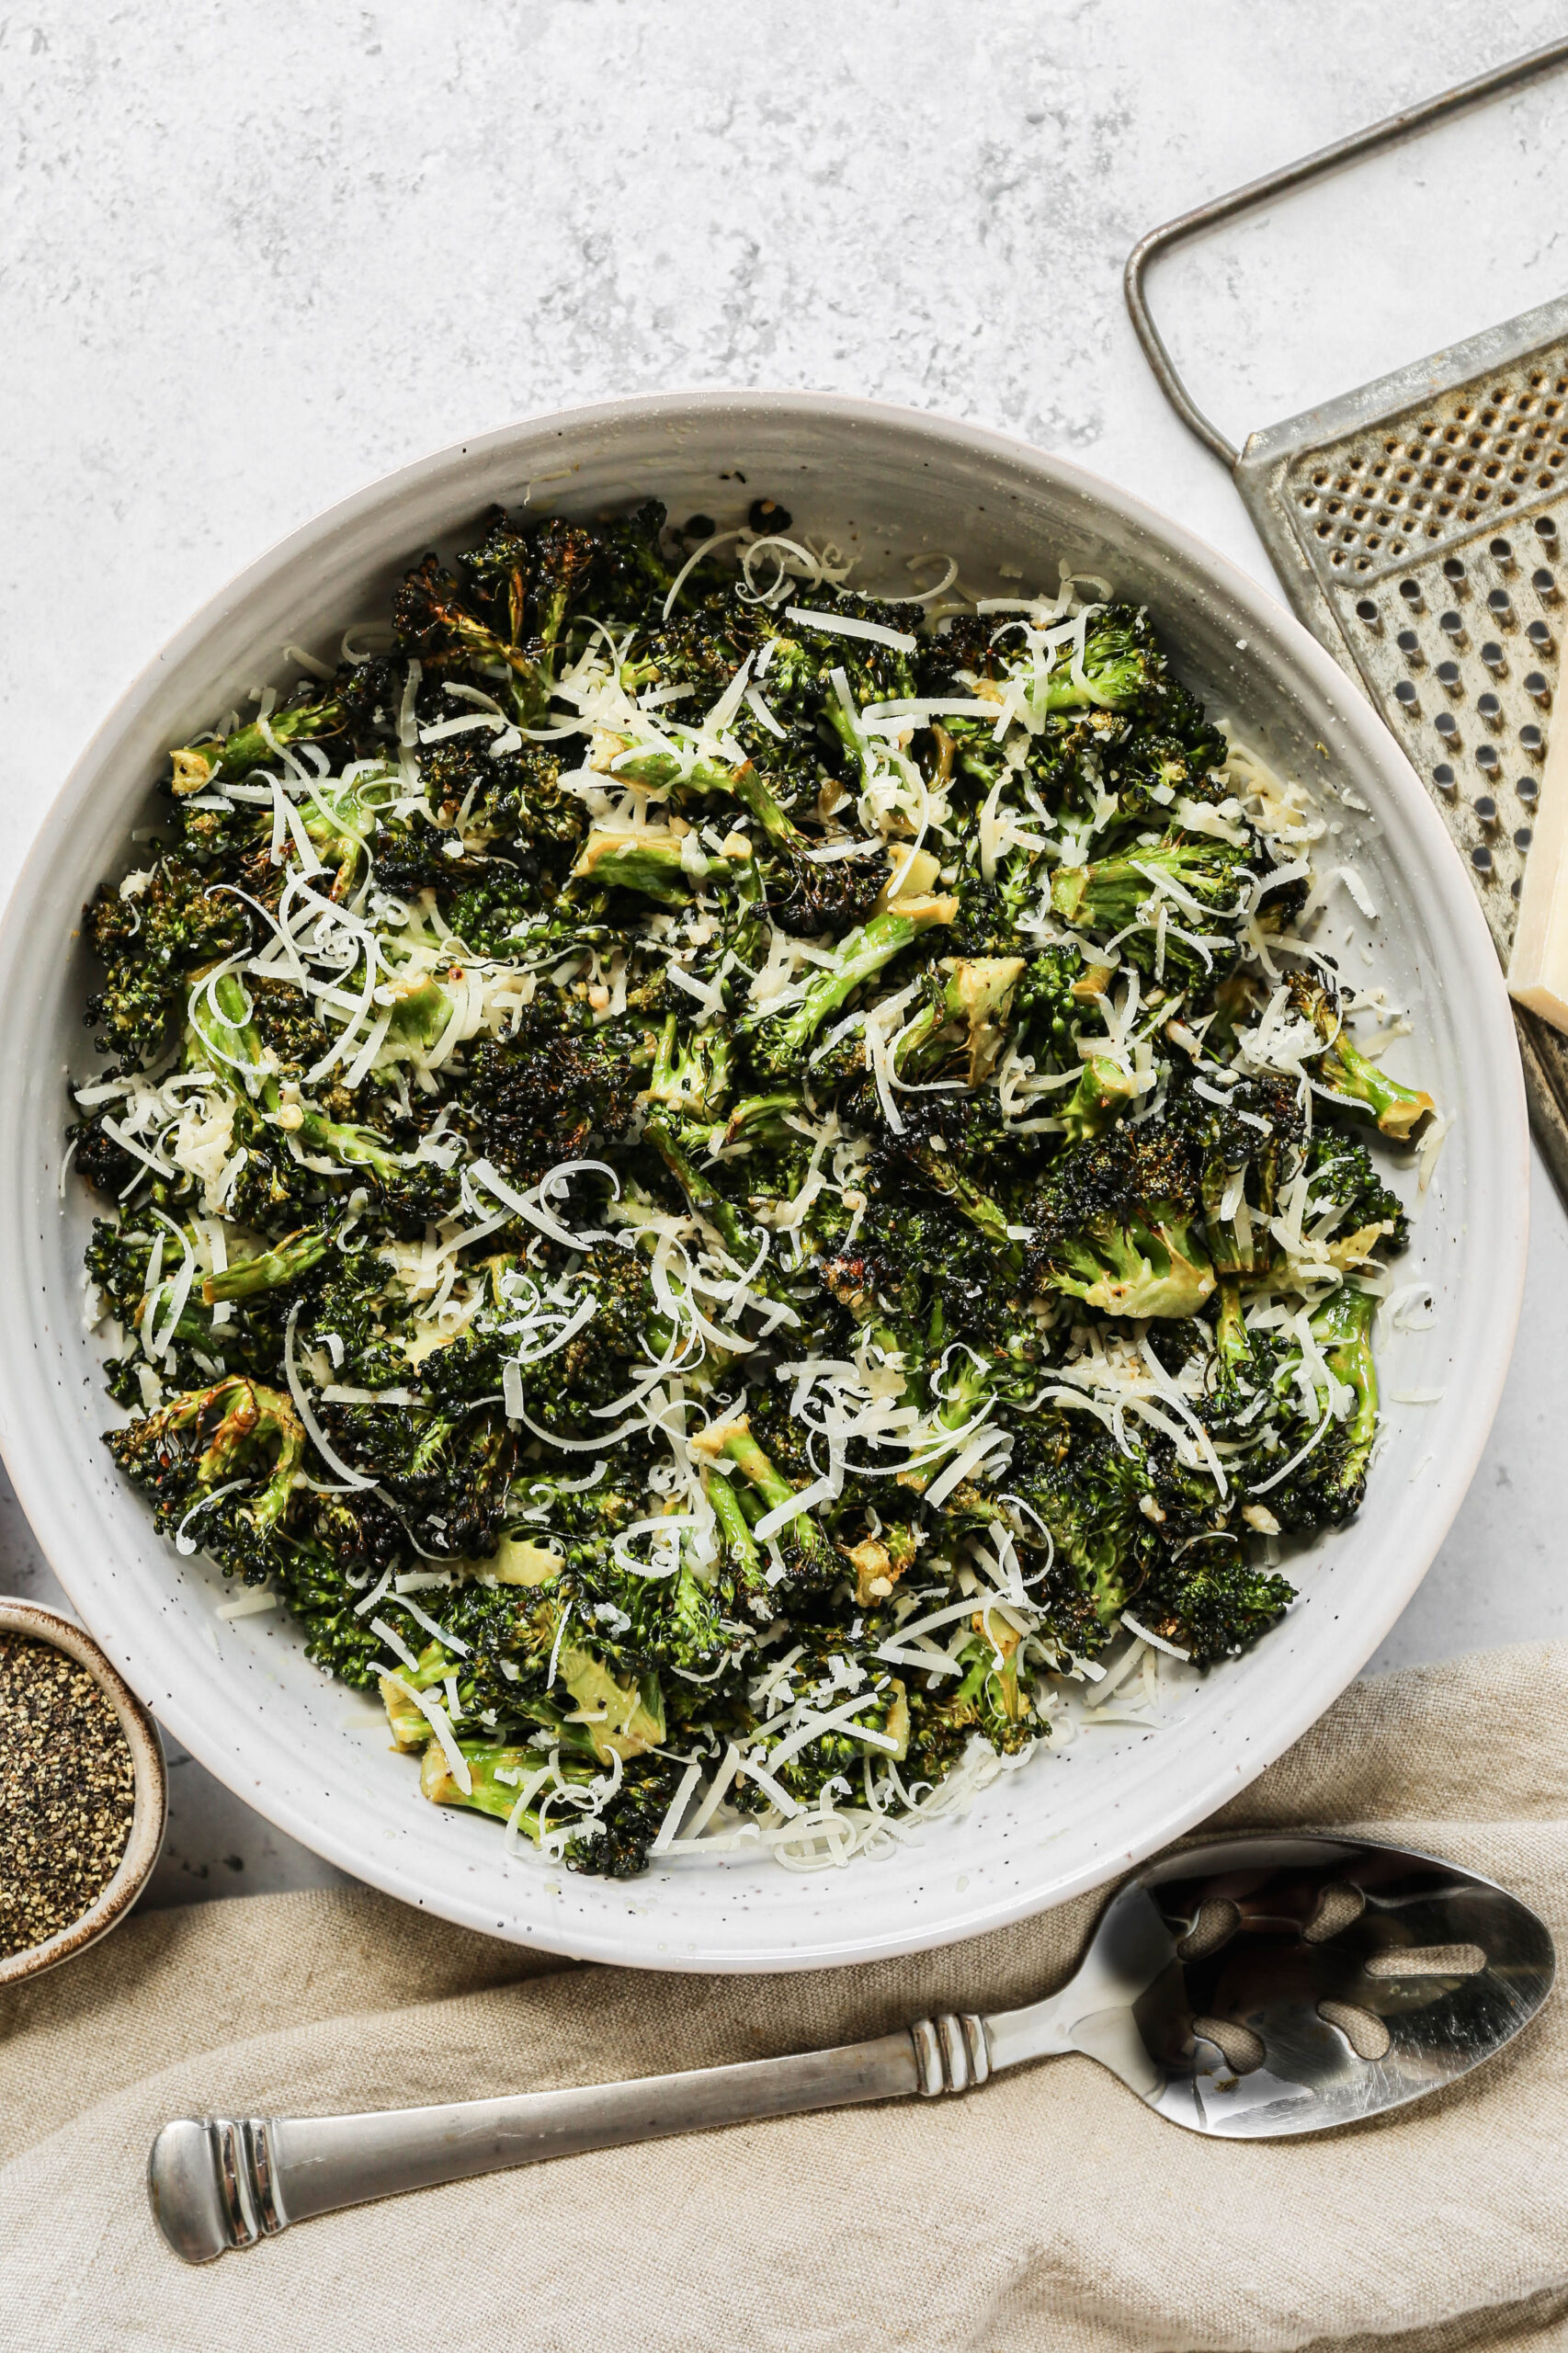
    a white bowl of air fryer roasted parmesan broccoli next to a cheese grater and block of parmesan cheese.

    If you are looking for more broccoli recipes try my Sugar Free Broccoli Salad or my Instant Pot Chicken and Broccoli Casserole.

    You can find all of my side dish recipes here: Gluten Free Side Dish Recipes

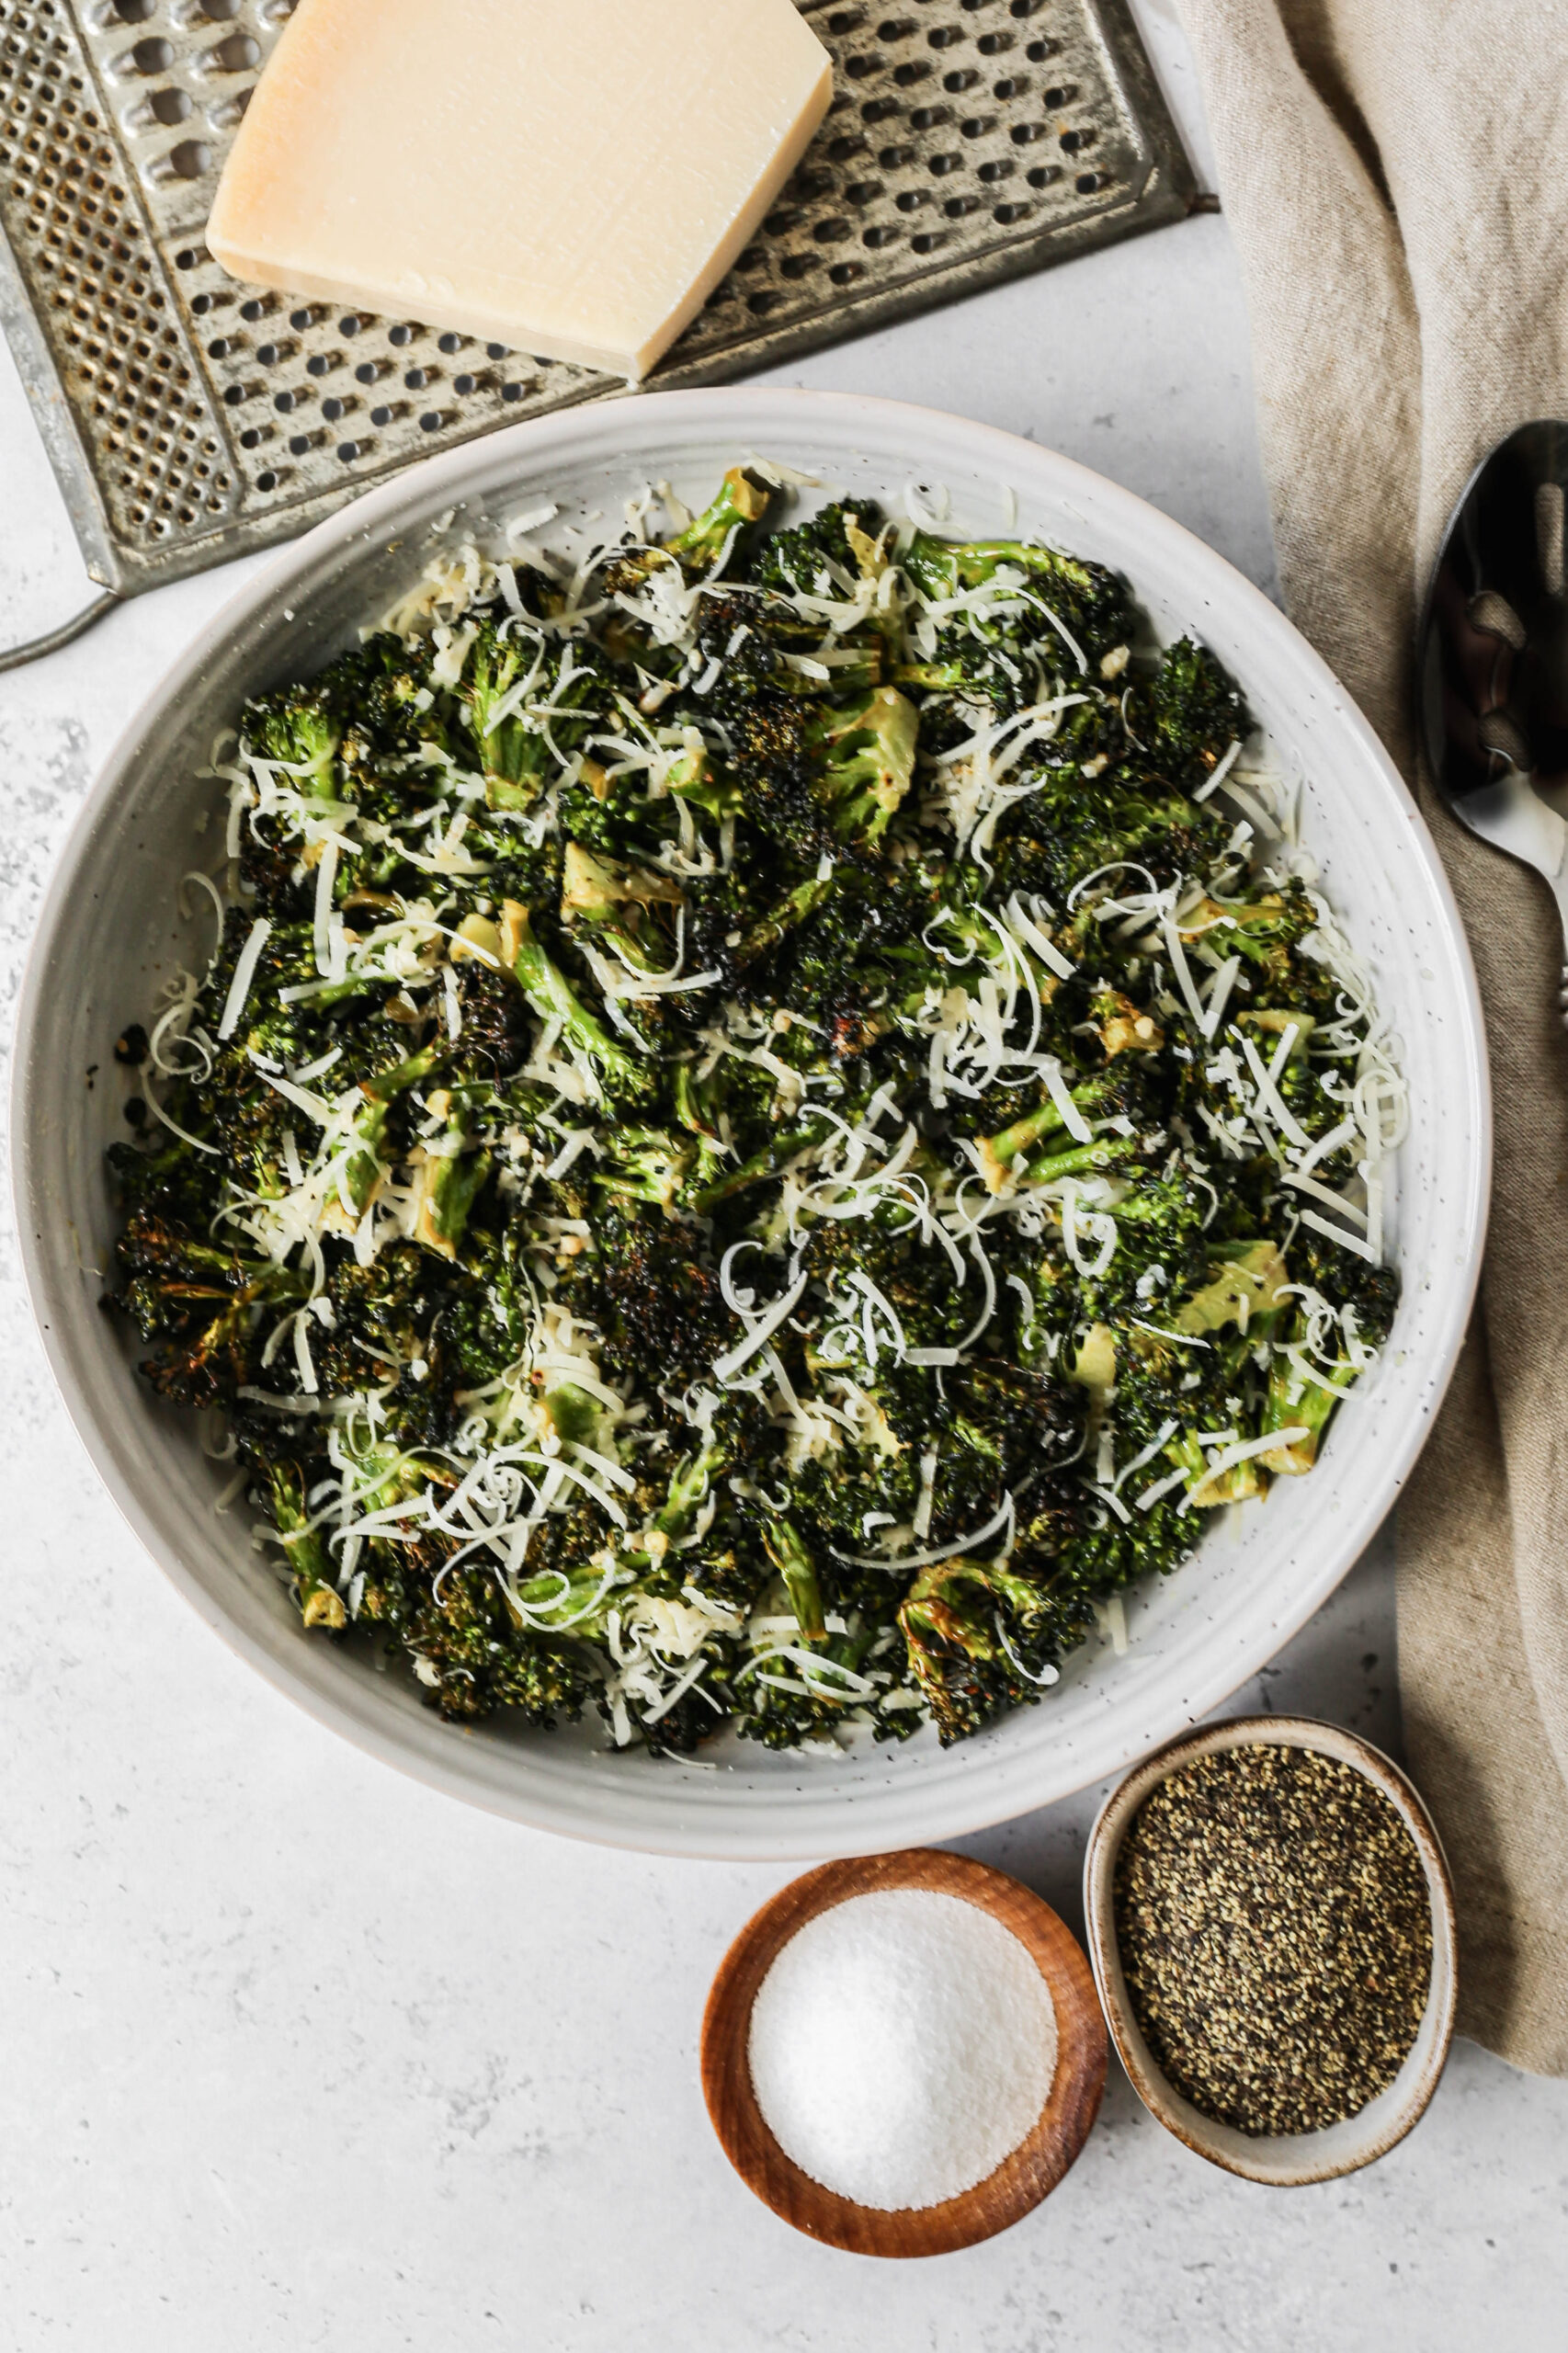
    a white bowl of air fryer roasted parmesan broccoli next to a small wooden bowl of salt.
    [feast_advanced_jump_to]

    Ingredients

    • Broccoli Florets
    • Olive Oil
    • Lemon Juice
    • Minced Garlic
    • Sea Salt
    • Onion Powder
    • Coarse Ground Black Pepper
    • Parmesan Cheese

    Instructions

    In a large mixing bowl combine the broccoli, olive oil, lemon juice, garlic, salt, onion powder and pepper. Stir to coat the broccoli.

    Pour the broccoli into the basket of your air fryer and spread evenly.

    Air fry at 350 degrees for 3 minutes.

    Pour into a serving bowl and sprinkle with finely grated parmesan cheese. Stir to coat the broccoli with the cheese.

    Serve the air fryer roasted parmesan broccoli immediately.

    Supplies

    Frequently Asked Questions

    Do you have to boil broccoli before frying?

    No, there is not need to boil or blanch the broccoli with this recipe. Use fresh, raw broccoli and it will turn out tender and delicious.

    How do I clean my air fryer?

    Air fryers are so easy to clean! Remove the basket and break it apart. Using a soap and water wash the two parts and rinse clean. Do not submerge your air fryer unit in water.

    If the inside of your air fryer is dirty you can lightly wipe clean with a wet cloth. I rarely notice the inside of my air fryer needing to be cleaned. Usually this only happens if I overfill the basket.

    More Recipes You Might Enjoy

    • Air Fryer Roasted Zucchini Squash
    • Air Fryer Grilled Vegetable Orzo Salad
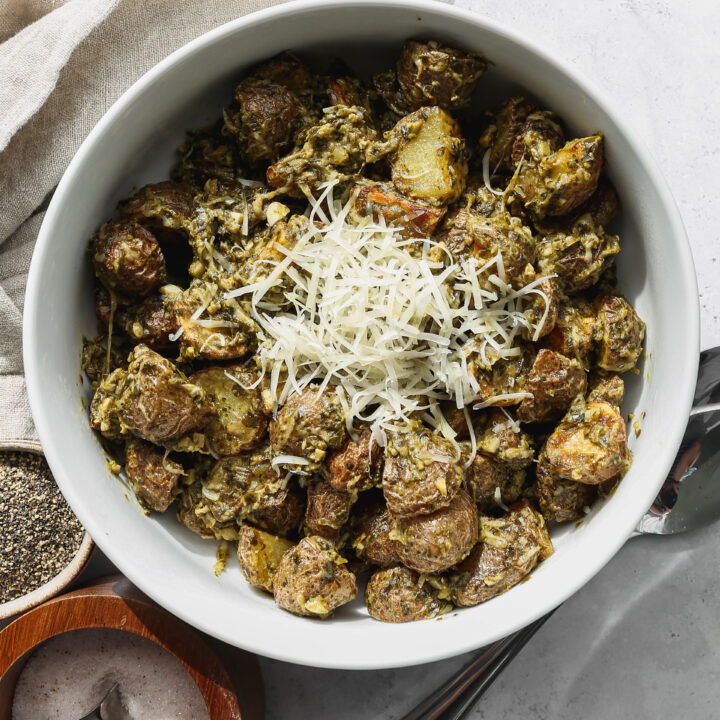
    • Air Fryer Pesto Baby Potatoes
    • Gluten Free Air Fryer Fajitas

    I get a lot of my ingredients from Thrive Market. Thrive Market has been a game changer for me eating gluten free. They have so many options I can't get at my rural grocery stores! Use this link to get 25% off your first order!

    Print
    clock clock iconcutlery cutlery iconflag flag iconfolder folder iconinstagram instagram iconpinterest pinterest iconfacebook facebook iconprint print iconsquares squares iconheart heart iconheart solid heart solid icon

    Air Fryer Roasted Parmesan Broccoli


    5 Stars 4 Stars 3 Stars 2 Stars 1 Star

    No reviews

    • Author: Elaine VanVleck
    • Total Time: 13 minutes
    • Yield: 4 servings 1x
    • Diet: Gluten Free
    Print Recipe
    Pin Recipe

    Description

    This easy recipe for air fryer roasted parmesan broccoli is the perfect vegetable side dish! The fresh broccoli florets are air fried with garlic, lemon and olive oil for a healthy meal. This is a quick way to have a side dish on the table for dinner.


    Ingredients

    Scale

    4 cups Broccoli Florets (32 ounce package or approximately 2 heads)
    2 tablespoon Olive Oil
    2 tablespoon Lemon Juice
    1 tablespoon Minced Garlic
    ½ teaspoon Sea Salt
    ½ teaspoon Onion Powder
    ¼ teaspoon Coarse Ground Black Pepper
    ⅓ cup Parmesan Cheese, finely grated


    Instructions

    In a large mixing bowl combine the broccoli, olive oil, lemon juice, garlic, salt, onion powder and pepper. Stir to coat the broccoli.

    Pour the broccoli into the basket of your air fryer and spread evenly.

    Air fry at 350 degrees for 3 minutes.

    Pour into a serving bowl and sprinkle with finely grated parmesan cheese. Stir to coat the broccoli with the cheese.

    Serve the air fryer roasted parmesan broccoli immediately.

    • Prep Time: 10 minutes
    • Cook Time: 3 minutes
    • Category: Air Fried, Vegetables, Side Dish
    • Method: Air Fryer
    • Cuisine: Gluten Free

    Did you make this recipe?

    Tag @smallfarmbiglife on Instagram and hashtag it #smallfarmbiglife

    Gluten Free No Bake Key Lime Pie

    Summer on the farm means hot afternoons, fresh limes from the store, and desserts that do not require turning on the oven. This Gluten Free No Bake Key Lime Pie is one I make all season long. It has a sweet gluten free graham cracker crust and a creamy, tangy filling made with cream cheese, sweetened condensed milk, and fresh lime juice.

    No baking, no fuss, and it tastes like a little bit of sunshine in every bite.

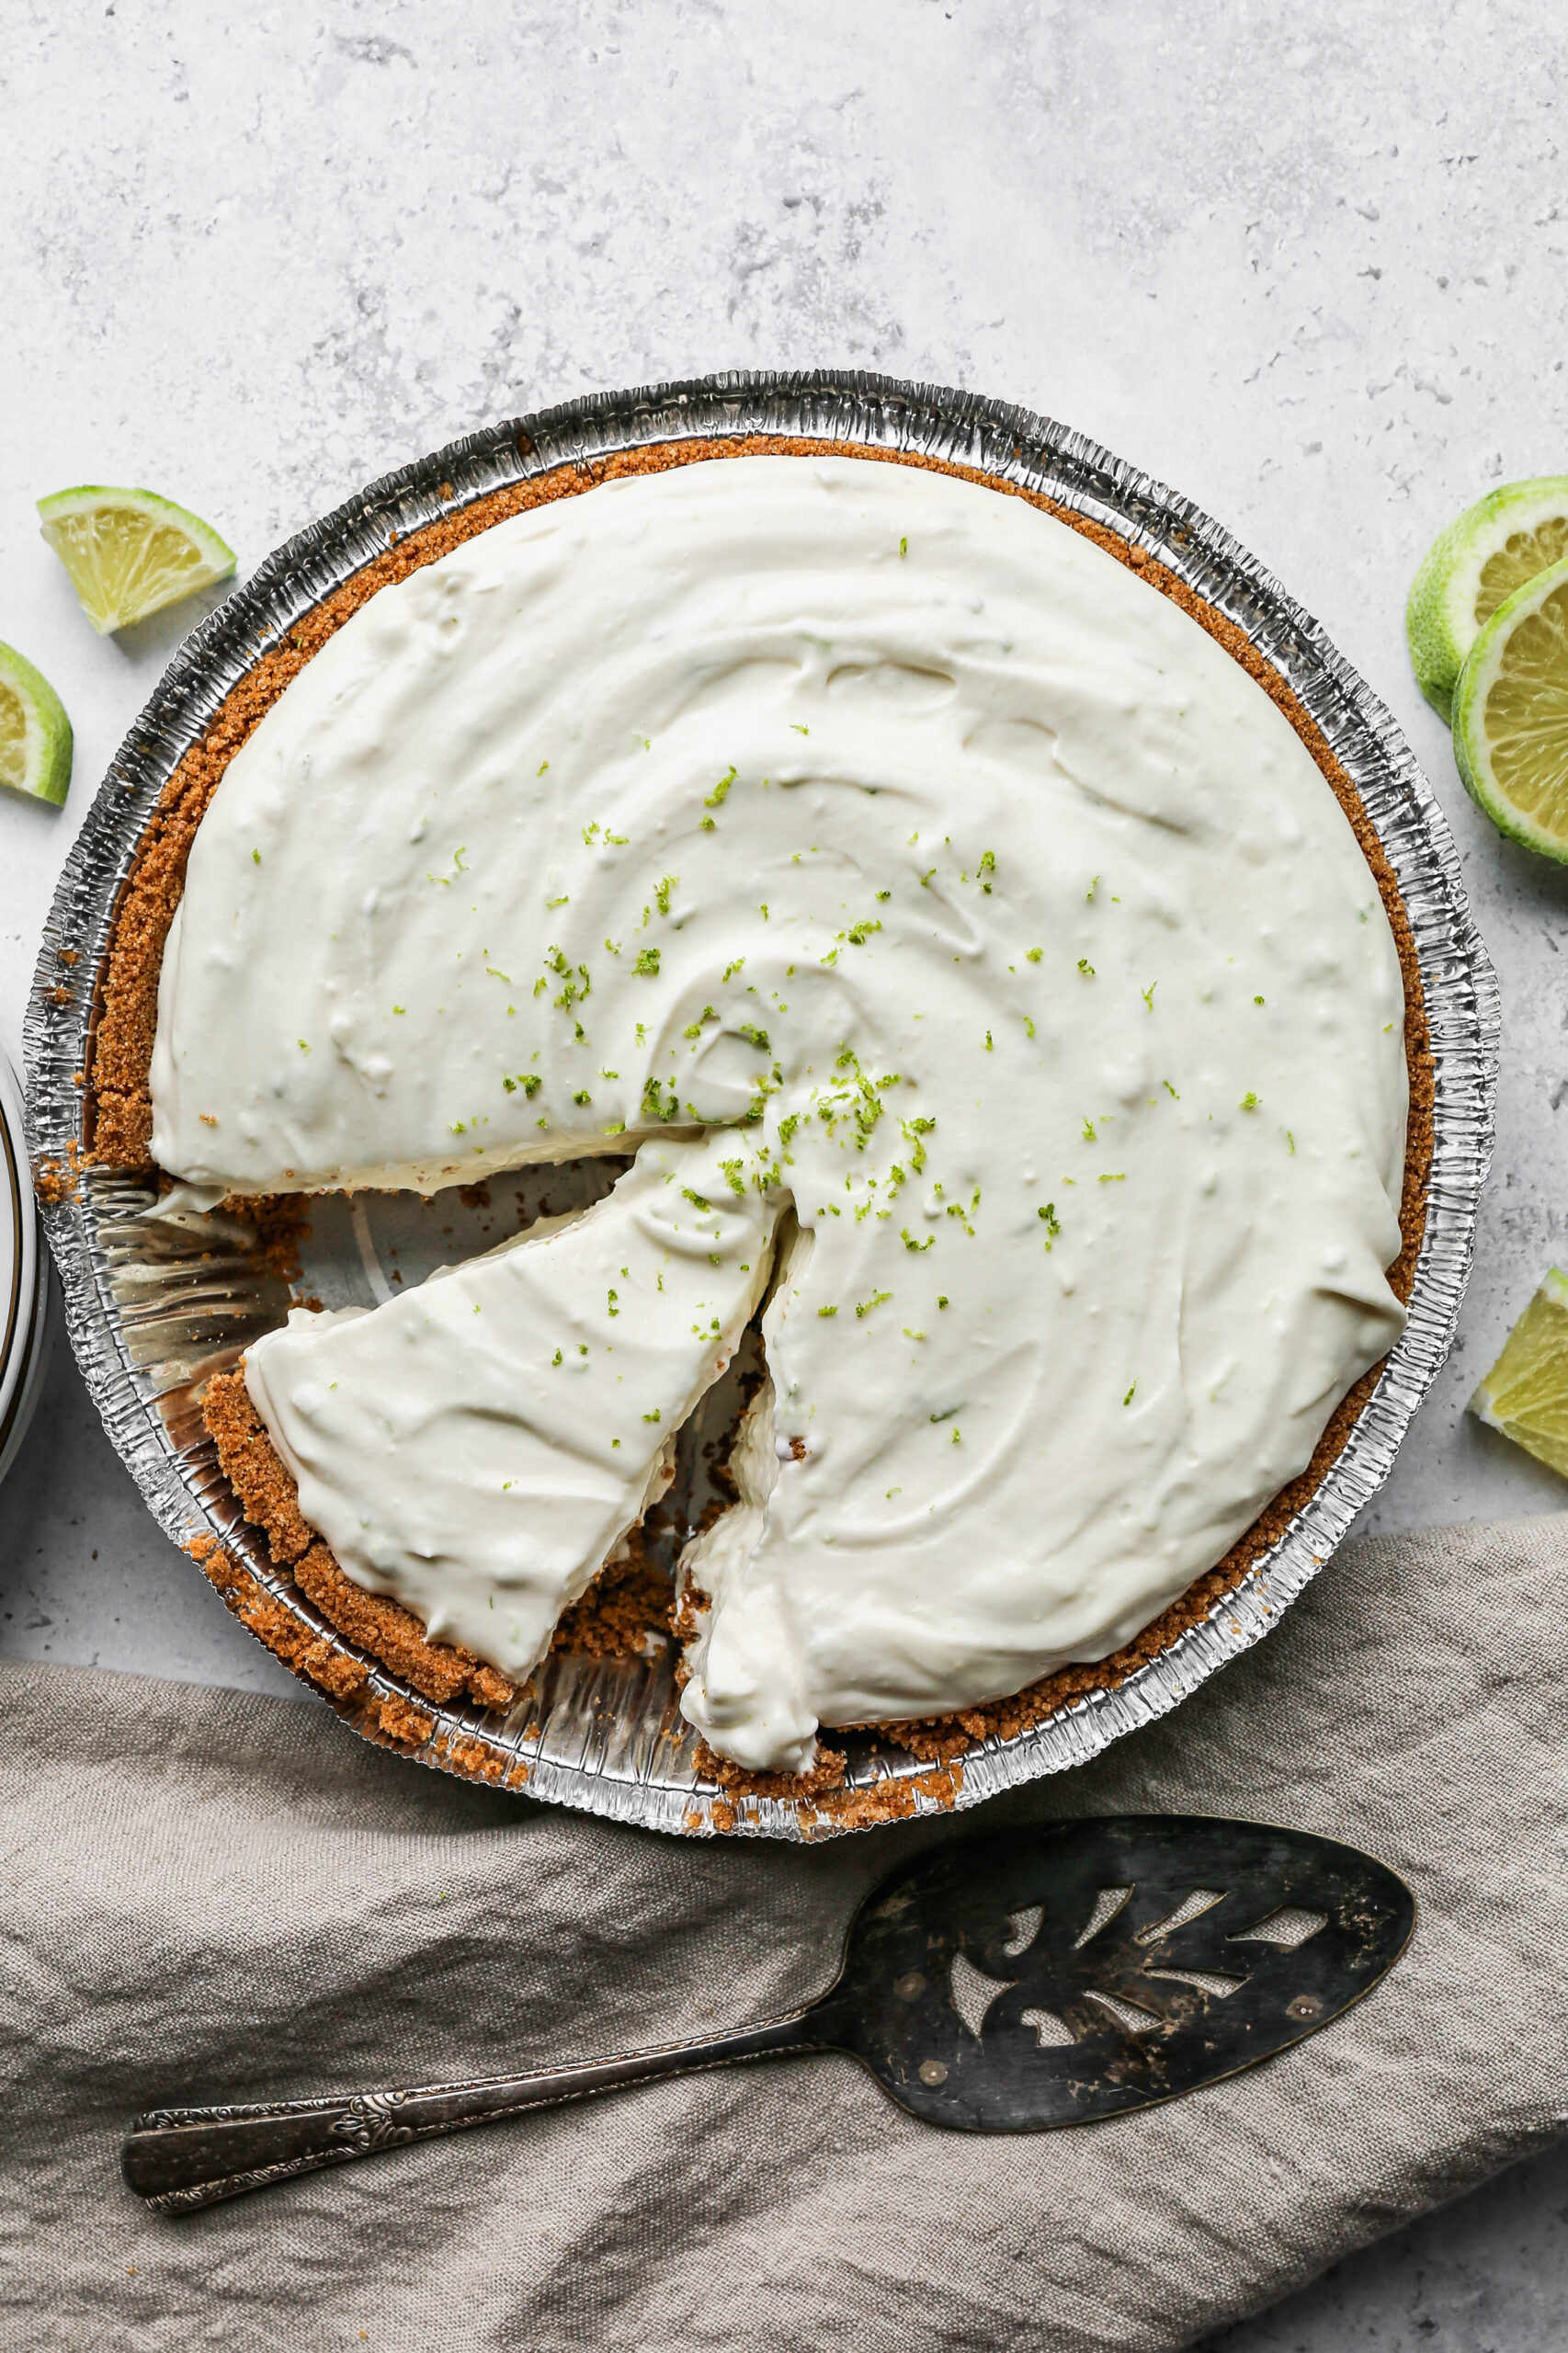
    a gluten free no bake key lime pie in a gluten free graham cracker crust next to sliced limes.

    I love making this pie the day before I need it. The extra time in the refrigerator lets the filling set up perfectly so every slice holds its shape.

    Whether you are headed to a potluck, a Fourth of July cookout, or just want a refreshing dessert after dinner, this easy gluten free key lime pie is always a hit.

    For more citrus inspired recipes try my Gluten Free No Bake Lemon Icebox Pie, my Gluten Free Lemon Curd, my Gluten Free Lemon Bundt Cake with Lemon Glaze, or my Gluten Free Iced Lemon Cookies.

    You can find more desserts here: Gluten Free Dessert Recipes

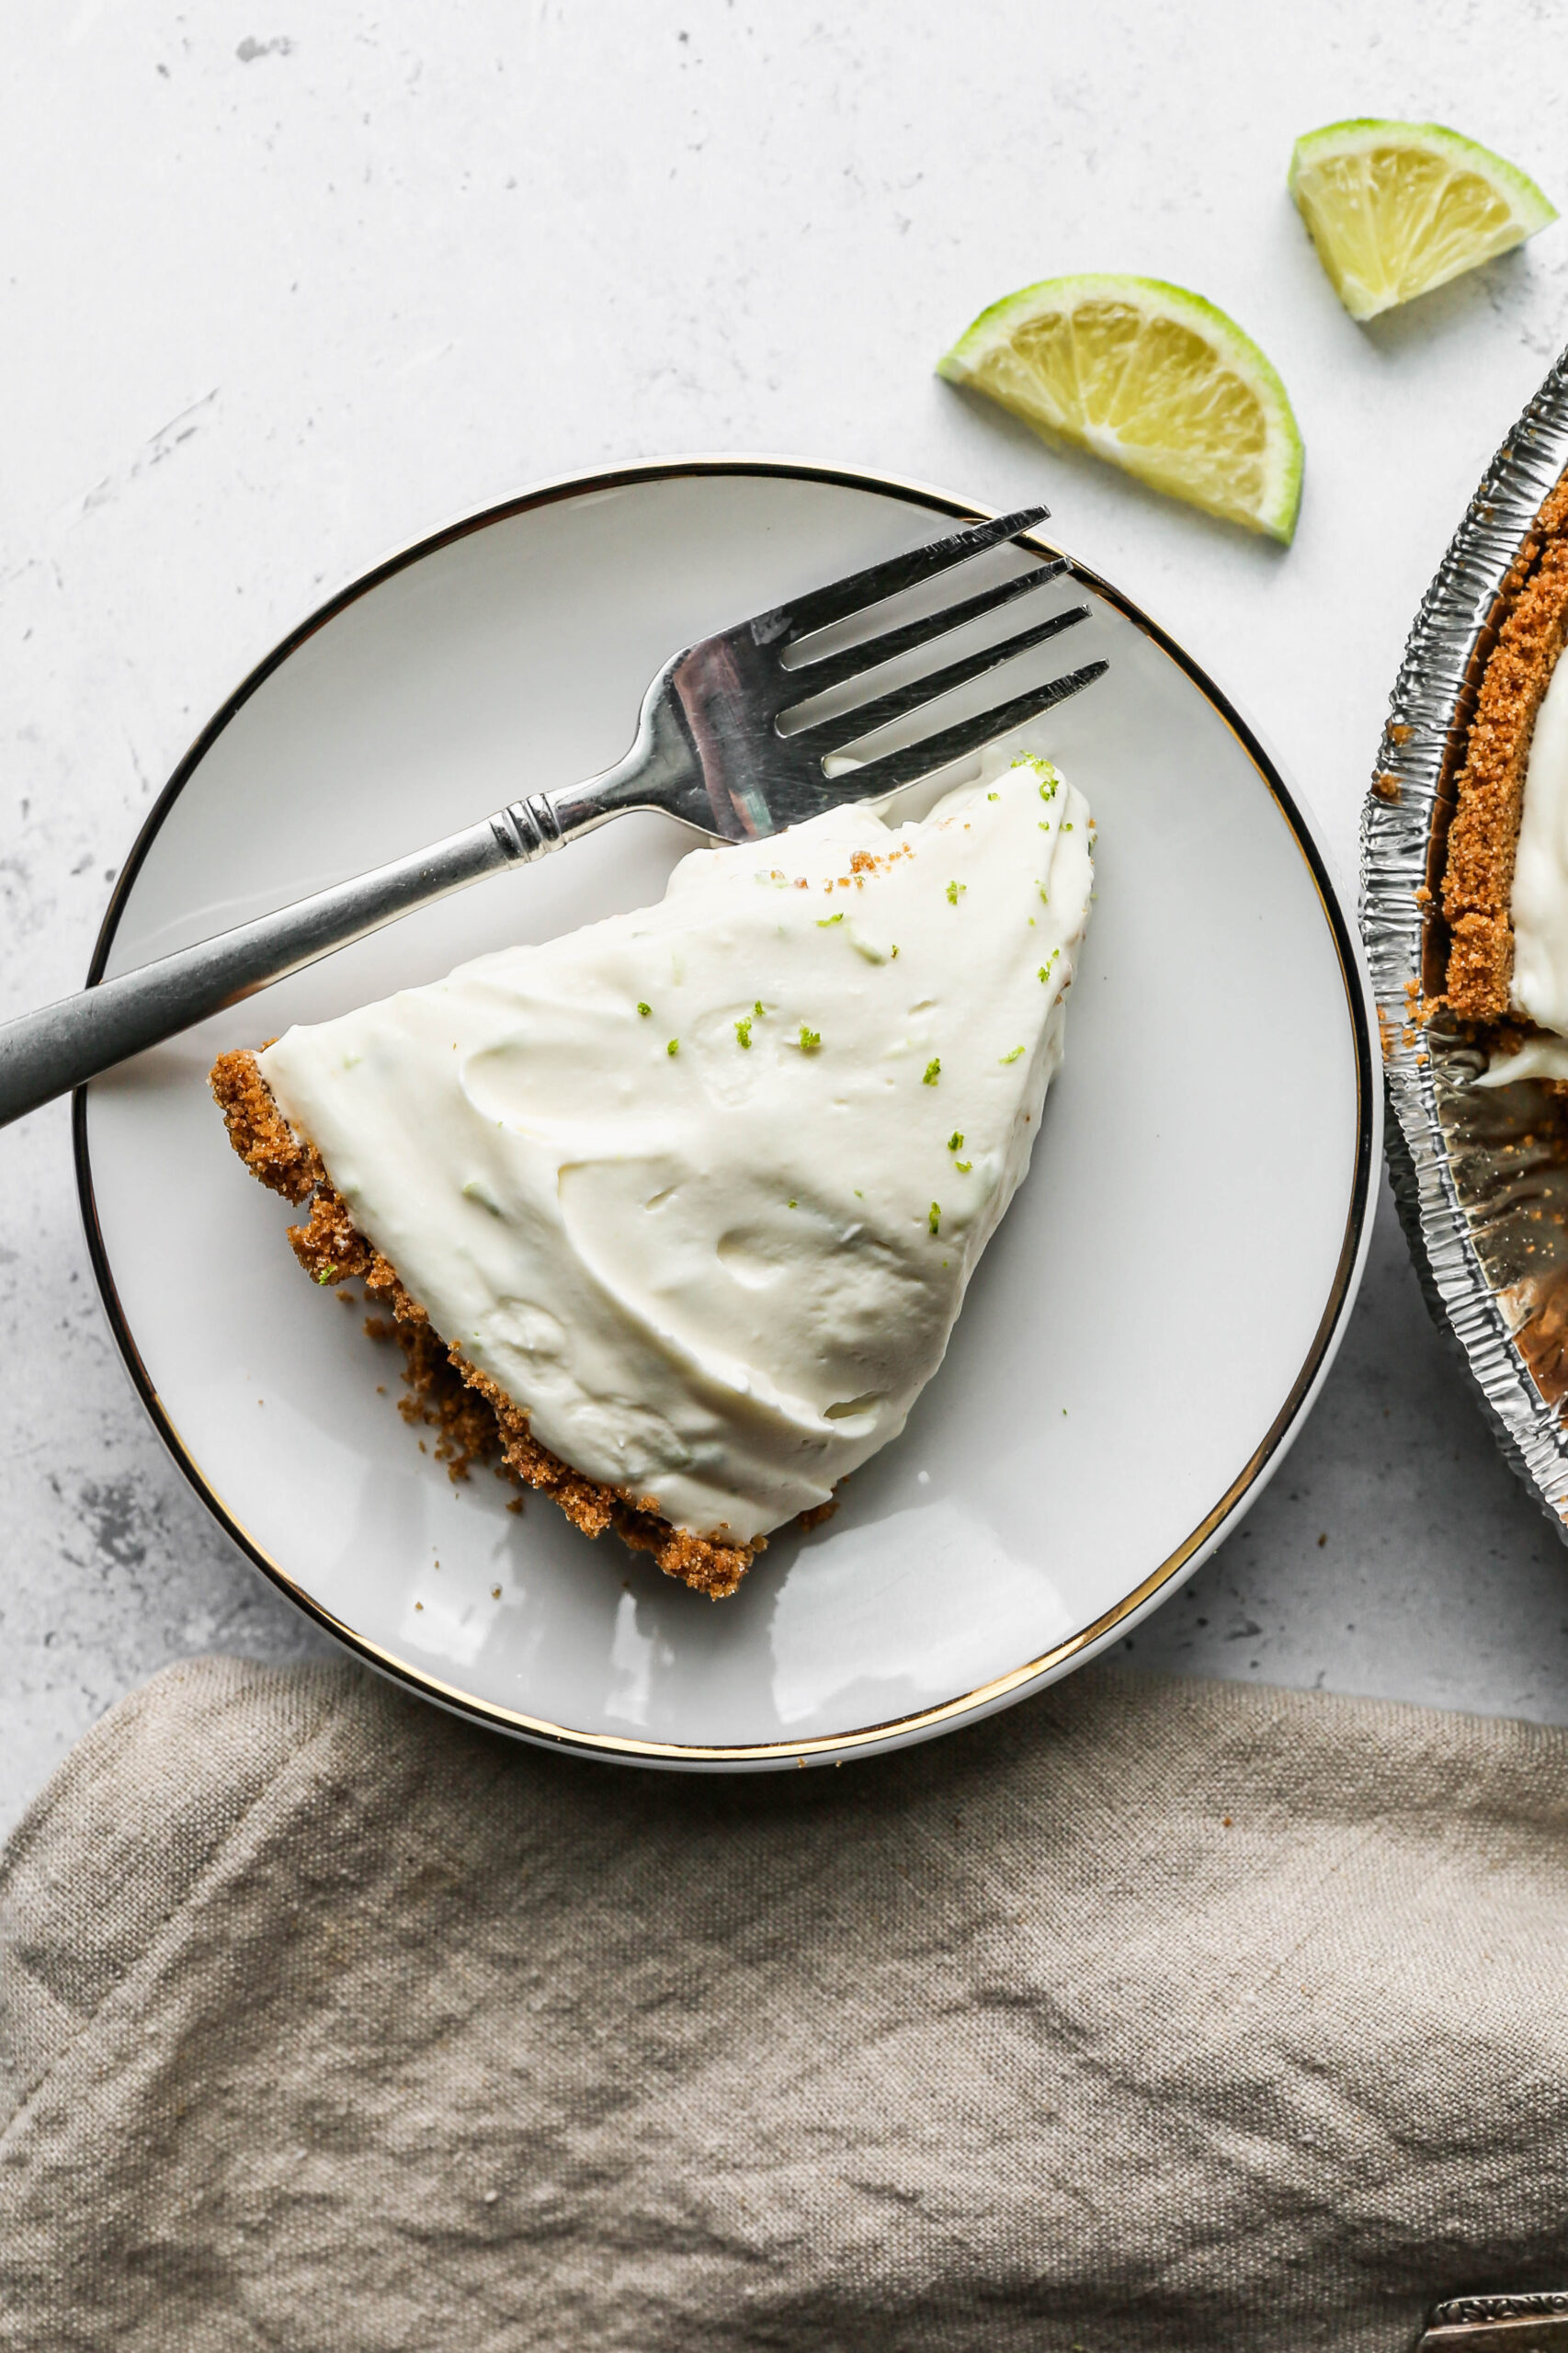
    a slice of gluten free no bake key lime pie on a white plate next to a slices lime.
    [feast_advanced_jump_to]

    Key Lime Juice vs Regular Lime Juice

    Key limes are smaller, more tart, and harder to find fresh at most grocery stores. Bottled key lime juice is widely available and works perfectly in this recipe.

    Regular lime juice is a great substitute if you cannot find key lime juice. The flavor will be slightly less tart but still bright and delicious. Use fresh limes if you can, since the juice and zest both add flavor to this pie.

    Substitutions

    This recipe is easy to adjust based on what you have on hand.

    • Heavy whipping cream or Cool Whip. I usually make my own whipped cream with heavy whipping cream and powdered sugar, but thawed Cool Whip works as a quick substitute if you are short on time.
    • Cream cheese or mascarpone. Mascarpone cheese can be used in place of cream cheese for a slightly milder and creamier filling.
    • Lime juice. Bottled key lime juice, fresh key lime juice, or regular lime juice all work well in this recipe.

    Serving Suggestions

    This pie is beautiful served simply, but a few finishing touches make it extra special.

    • Top each slice with a dollop of whipped cream. Add a thin lime slice or a little extra lime zest on top for color and flavor.
    • Serve cold straight from the refrigerator. This pie is meant to be served chilled, so keep it in the fridge until you are ready to slice and serve.

    Storage

    Store this pie covered in the refrigerator for up to three days. Because the filling contains dairy and fresh citrus juice, it is best enjoyed within that time for the freshest flavor and texture. Keep it chilled until serving.

    Top Tip

    For the cleanest slices, run your knife under hot water and wipe it dry before cutting each slice. This pie has a rich, creamy filling that can stick to a cold knife. A warm knife glides through easily and gives you perfectly clean slices every time.

    Frequently Asked Questions

    Does key lime pie contain gluten?

    This recipe is gluten free because it uses a gluten free graham cracker crust. Most store bought key lime pie uses a crust that contains gluten, so always check before buying. The filling is made from whipped cream, cream cheese, sweetened condensed milk, lime juice, and lime zest. These ingredients are naturally gluten free, but always read the label to be sure.

    What can I use if I don't have key lime juice?

    Regular lime juice works well in this recipe too. You can use bottled lime juice or juice from fresh limes. Key lime juice has more flavor, so I recommend it when possible. You can also try lemon juice, orange juice, or a mix of both for a different citrus pie.

    Can I make this pie ahead of time?

    Yes, and I actually recommend it. Make this pie the day before you plan to serve it and let it chill overnight. The extra time in the refrigerator allows the filling to set up completely, so each slice holds its shape when you cut into it.

    How long does this pie last in the refrigerator?

    Store this pie covered in the refrigerator for up to three days. Because the filling contains dairy and fresh citrus juice, it is best enjoyed within that time for the freshest flavor and texture.

    Can I use a different type of crust?

    A gluten free graham cracker crust is my favorite for this pie, but a gluten free shortbread cookie crust would also work well. Just make sure the crust is fully set before adding the filling so it holds together when sliced.

    Didn't find the answer you're looking for?

    Ask AI to answer based on this recipe:

    ChatGPT
    Google AI
    Perplexity
    Grok
    Claude

    Supplies

    More Recipes You Might Enjoy
    • Gluten Free No Bake Lemon Icebox Pie
    • Gluten Free No Bake S'mores Pie
    • Classic Margarita Mocktail
    • Gluten Free Frog Eye Salad

    I get a lot of my ingredients from Thrive Market. Thrive Market has been a game changer for me eating gluten free. They have so many options I can't get at my rural grocery stores! Use this link to get 40% off your first order!
    Print
    clock clock iconcutlery cutlery iconflag flag iconfolder folder iconinstagram instagram iconpinterest pinterest iconfacebook facebook iconprint print iconsquares squares iconheart heart iconheart solid heart solid icon

    Gluten Free No Bake Key Lime Pie


    5 Stars 4 Stars 3 Stars 2 Stars 1 Star

    No reviews

    • Author: Elaine VanVleck
    • Total Time: 15 minutes
    • Yield: 8 servings 1x
    • Diet: Gluten Free
    Print Recipe
    Pin Recipe

    Description

    A creamy no bake key lime pie filling made with cream cheese, sweetened condensed milk, fresh lime juice, and lime zest, folded with whipped cream and poured into a gluten free graham cracker crust. This easy make ahead dessert is the perfect refreshing treat for summer.


    Ingredients

    Scale
    • 1 Gluten Free Graham Cracker Crust

    Whipped Cream:

    • 1 cup Heavy Whipping Cream
    • 2 Tbsp. Powdered Sugar

    Filling:

    • 8 ounce package Cream Cheese, softened
    • 14 ounce can Sweetened Condensed Milk
    • ½ cup Key Lime Juice
    • 1 Tbsp. Lime Zest

    Instructions

    In the bowl of your stand mixer whisk the heavy whipping cream and powdered sugar until stiff peaks form. Transfer to a bowl and store in the refrigerator until you are ready for it.

    In the same bowl of your stand mixer add the cream cheese and beat 1-2 minutes until smooth. Add the sweetened condensed milk slowly while beating until it is incorporated into the cream cheese.

    While the mixer is running slowly add the lime juice and then add the lime zest beat just until these ingredients are incorporated into the cream cheese mixture.

    Remove the bowl from your stand mixer and then using a spatula fold in the whipped cream to the cream cheese mixture.

    Pour the mixture into your prepared gluten free graham cracker crust and refrigerate for at least 4 hours. I prefer to refrigerate overnight so the pie is really cold and set up well when I serve it.

    If you made this recipe please leave a star rating and comment below. It helps other readers find this recipe and means so much to me.

    Notes

    If you don't want to make whipped cream you can use store bought whipped cream.

    • Prep Time: 15 minutes
    • Cook Time: 0 minutes
    • Category: Pie, Dessert
    • Method: Mixing
    • Cuisine: American

    Did you make this recipe?

    Tag @smallfarmbiglife on Instagram and hashtag it #smallfarmbiglife

    If you make this Gluten Free No Bake Key Lime Pie, I would love to hear what you think! Leave a comment below and let me know how it turned out, or tag me on Instagram so I can see your pie.

    This is one of those easy desserts you will want to make all summer long, so save it to your favorite Pinterest board so you always have it ready when you need a refreshing no bake treat!

    Ingredients

    • Gluten Free Graham Cracker Crust
    • Heavy Whipping Cream or Cool Whip
    • Powdered Sugar
    • Cream Cheese
    • Sweetened Condensed Milk
    • Key Lime Juice
    • Lime Zest

    Instructions

    In the bowl of your stand mixer whisk the heavy whipping cream and powdered sugar until stiff peaks form. Transfer to a bowl and store in the refrigerator until you are ready for it.

    In the same bowl of your stand mixer add the cream cheese and beat 1-2 minutes until smooth. Add the sweetened condensed milk slowly while beating until it is incorporated into the cream cheese.

    While the mixer is running slowly add the lime juice and then add the lime zest beat just until these ingredients are incorporated into the cream cheese mixture.

    Remove the bowl from your stand mixer and then using a spatula fold in the whipped cream to the cream cheese mixture.

    Pour the mixture into your prepared gluten free graham cracker crust and refrigerate for at least 4 hours. I prefer to refrigerate overnight so the pie is really cold and set up well when I serve it.

    • « Previous Page
    • 1
    • …
    • 42
    • 43
    • 44
    • 45
    • 46
    • …
    • 100
    • Next Page »

    Welcome! I'm Elaine

    I'm so glad you are here! I share easy gluten free recipes from my small farm in Washington.

    Be sure to sign up for my newsletter to stay up to date on all of my new recipes.

    More about me...
    • Instagram
    • Pinterest
    • Facebook
    • Twitter
    • Mail

    Load up on new recipes, exclusive goodies, + more!
    Sign up below to stay up-to-date on news, events, and special deals.
    Thank you for subscribing!

    Easy Meals Recipes

    • Gluten Free Instant Pot Chili Mac and Cheese
    • Gluten Free Taco Casserole
    • Gluten Free Cowboy Baked Beans
    • Gluten Free Walking Taco Casserole
    • Gluten Free Creamy Beef and Mushroom Pasta
    • Gluten Free Instant Pot Chicken and Dumplings
    • Instant Pot Mexican Style Beef and Rice
    • Gluten Free Chicken Parmesan Pasta Casserole
    • Gluten Free One Pot Hamburger Helper Copycat
    • Gluten Free Salisbury Steak with Mushroom Gravy
    • Gluten Free Air Fryer Fajitas
    • Gluten Free Sloppy Joe Casserole

    Footer

    back to top

    About

    • Privacy Policy
    • Shop my Amazon Page
    • Follow me on LTK

    Newsletter

    • Sign Up! for emails and updates

    Contact

    • Contact
    • Media Kit
    • About Me

    As an Amazon Associate I earn from qualifying purchases.

    I may get commissions for purchases made through links on this site.

    Copyright © 2026 Brunch Pro on the Brunch Pro Theme