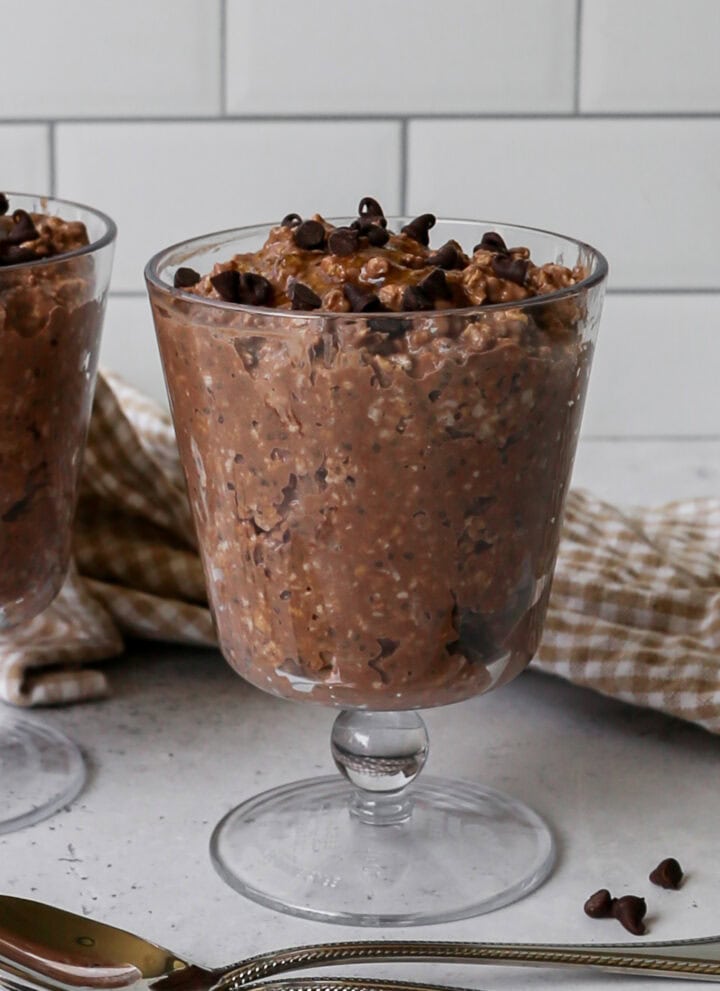
These High Protein Mocha Overnight Oats are the ultimate make ahead breakfast for anyone who loves the combination of chocolate and coffee first thing in the morning. Gluten free quick oats are stirred together with Greek yogurt, chocolate protein powder, espresso powder, unsweetened cocoa powder, and chia seeds, then left to chill overnight so breakfast is ready and waiting for you when you wake up.
Each serving is packed with protein to keep you full and satisfied all morning long, and the rich mocha flavor makes it feel more like a treat than a healthy breakfast.
What makes these high protein overnight oats so easy is that everything comes together in one container in just a few minutes the night before. There is no cooking, no blending, and no morning prep required.
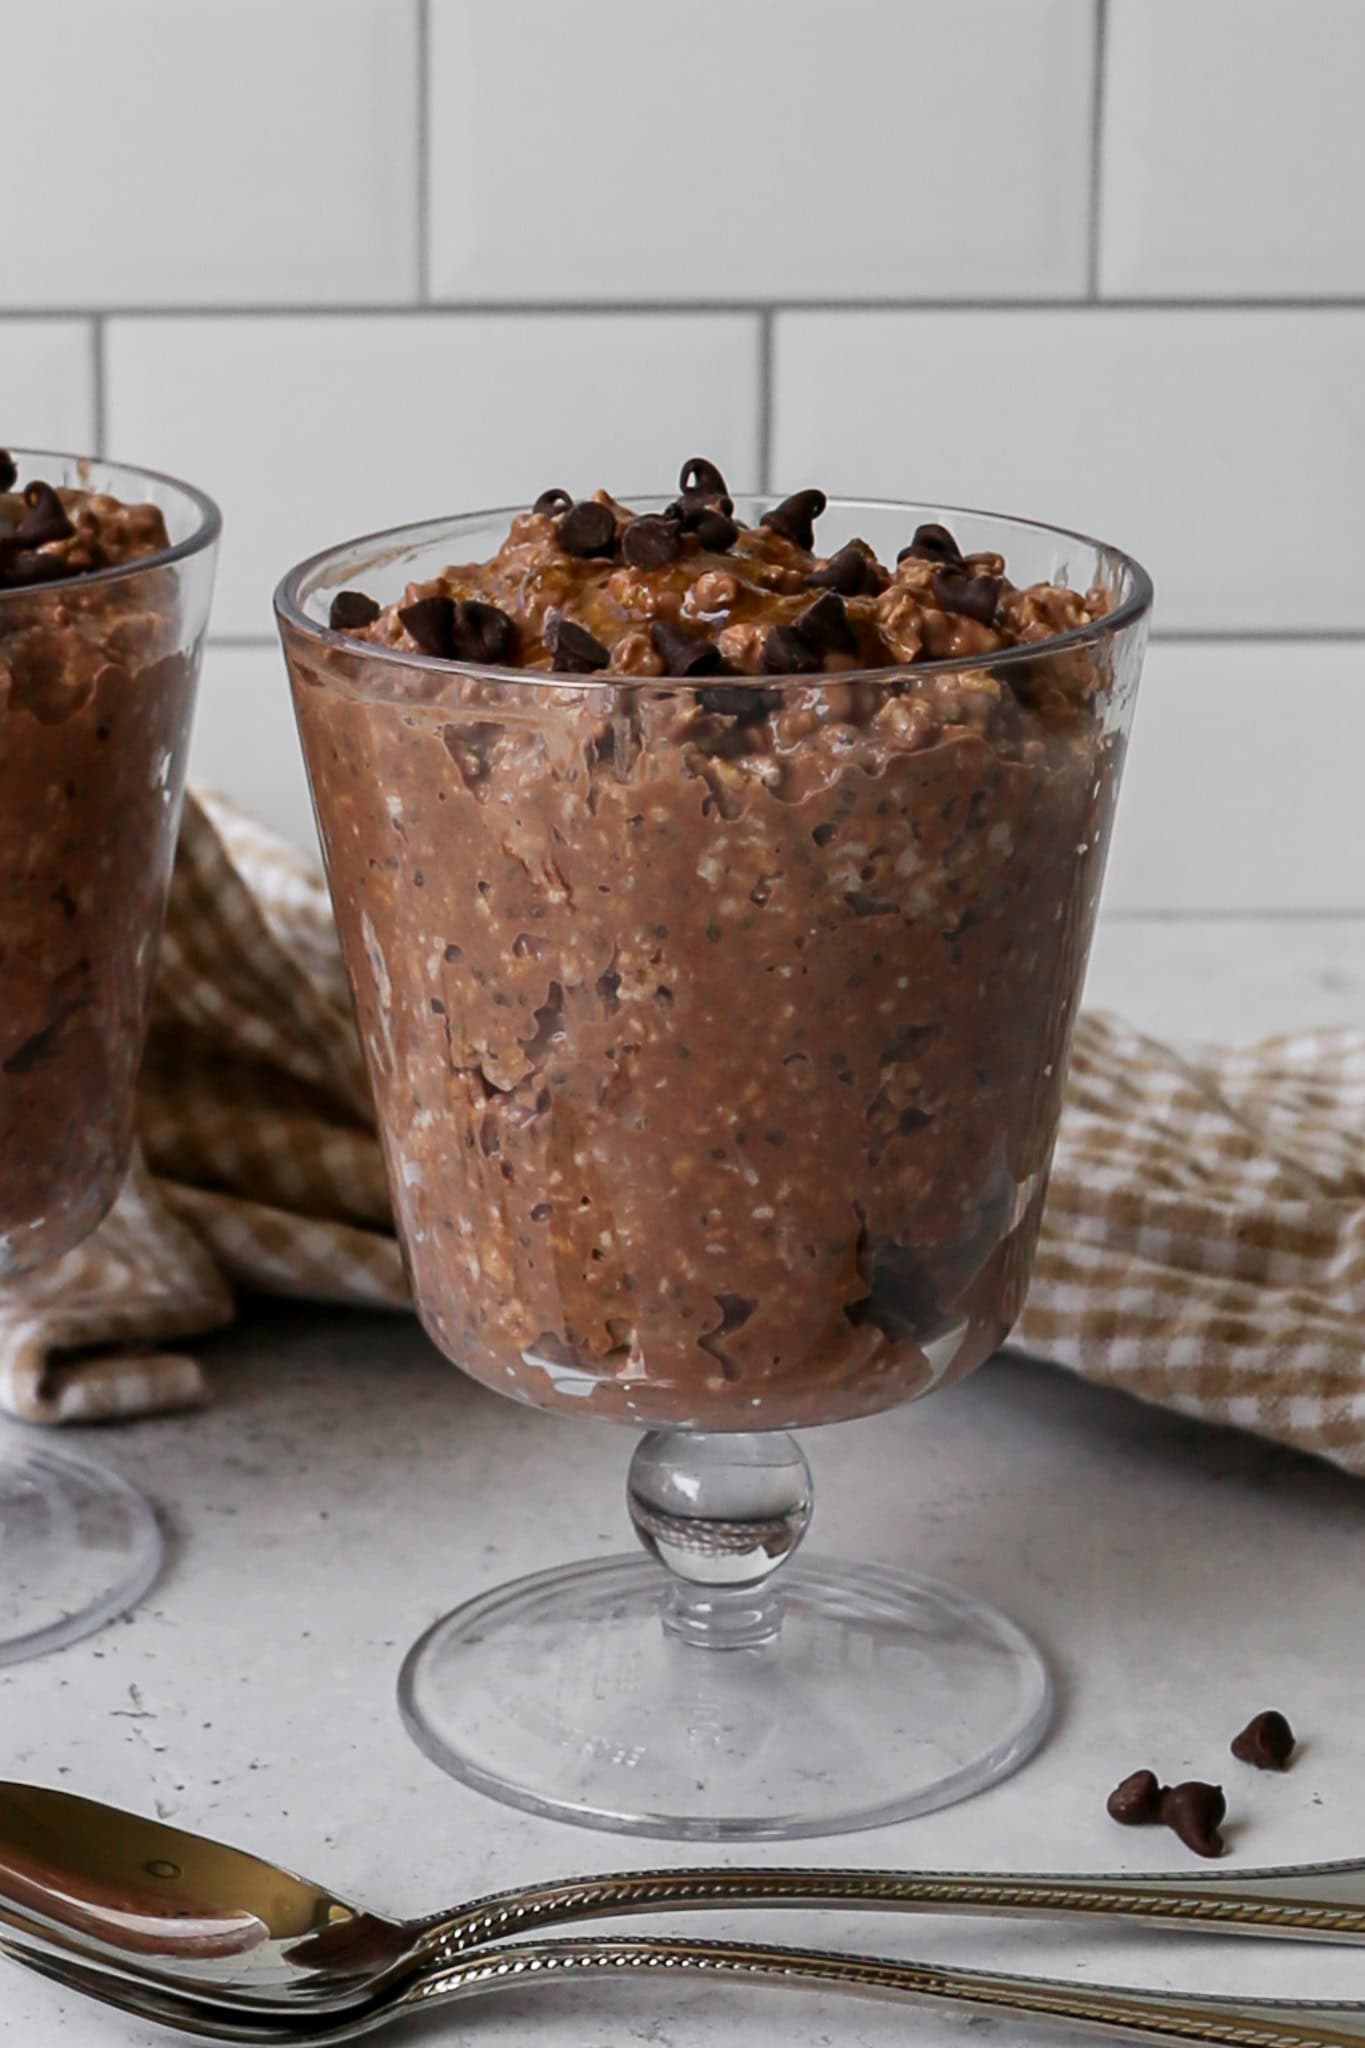
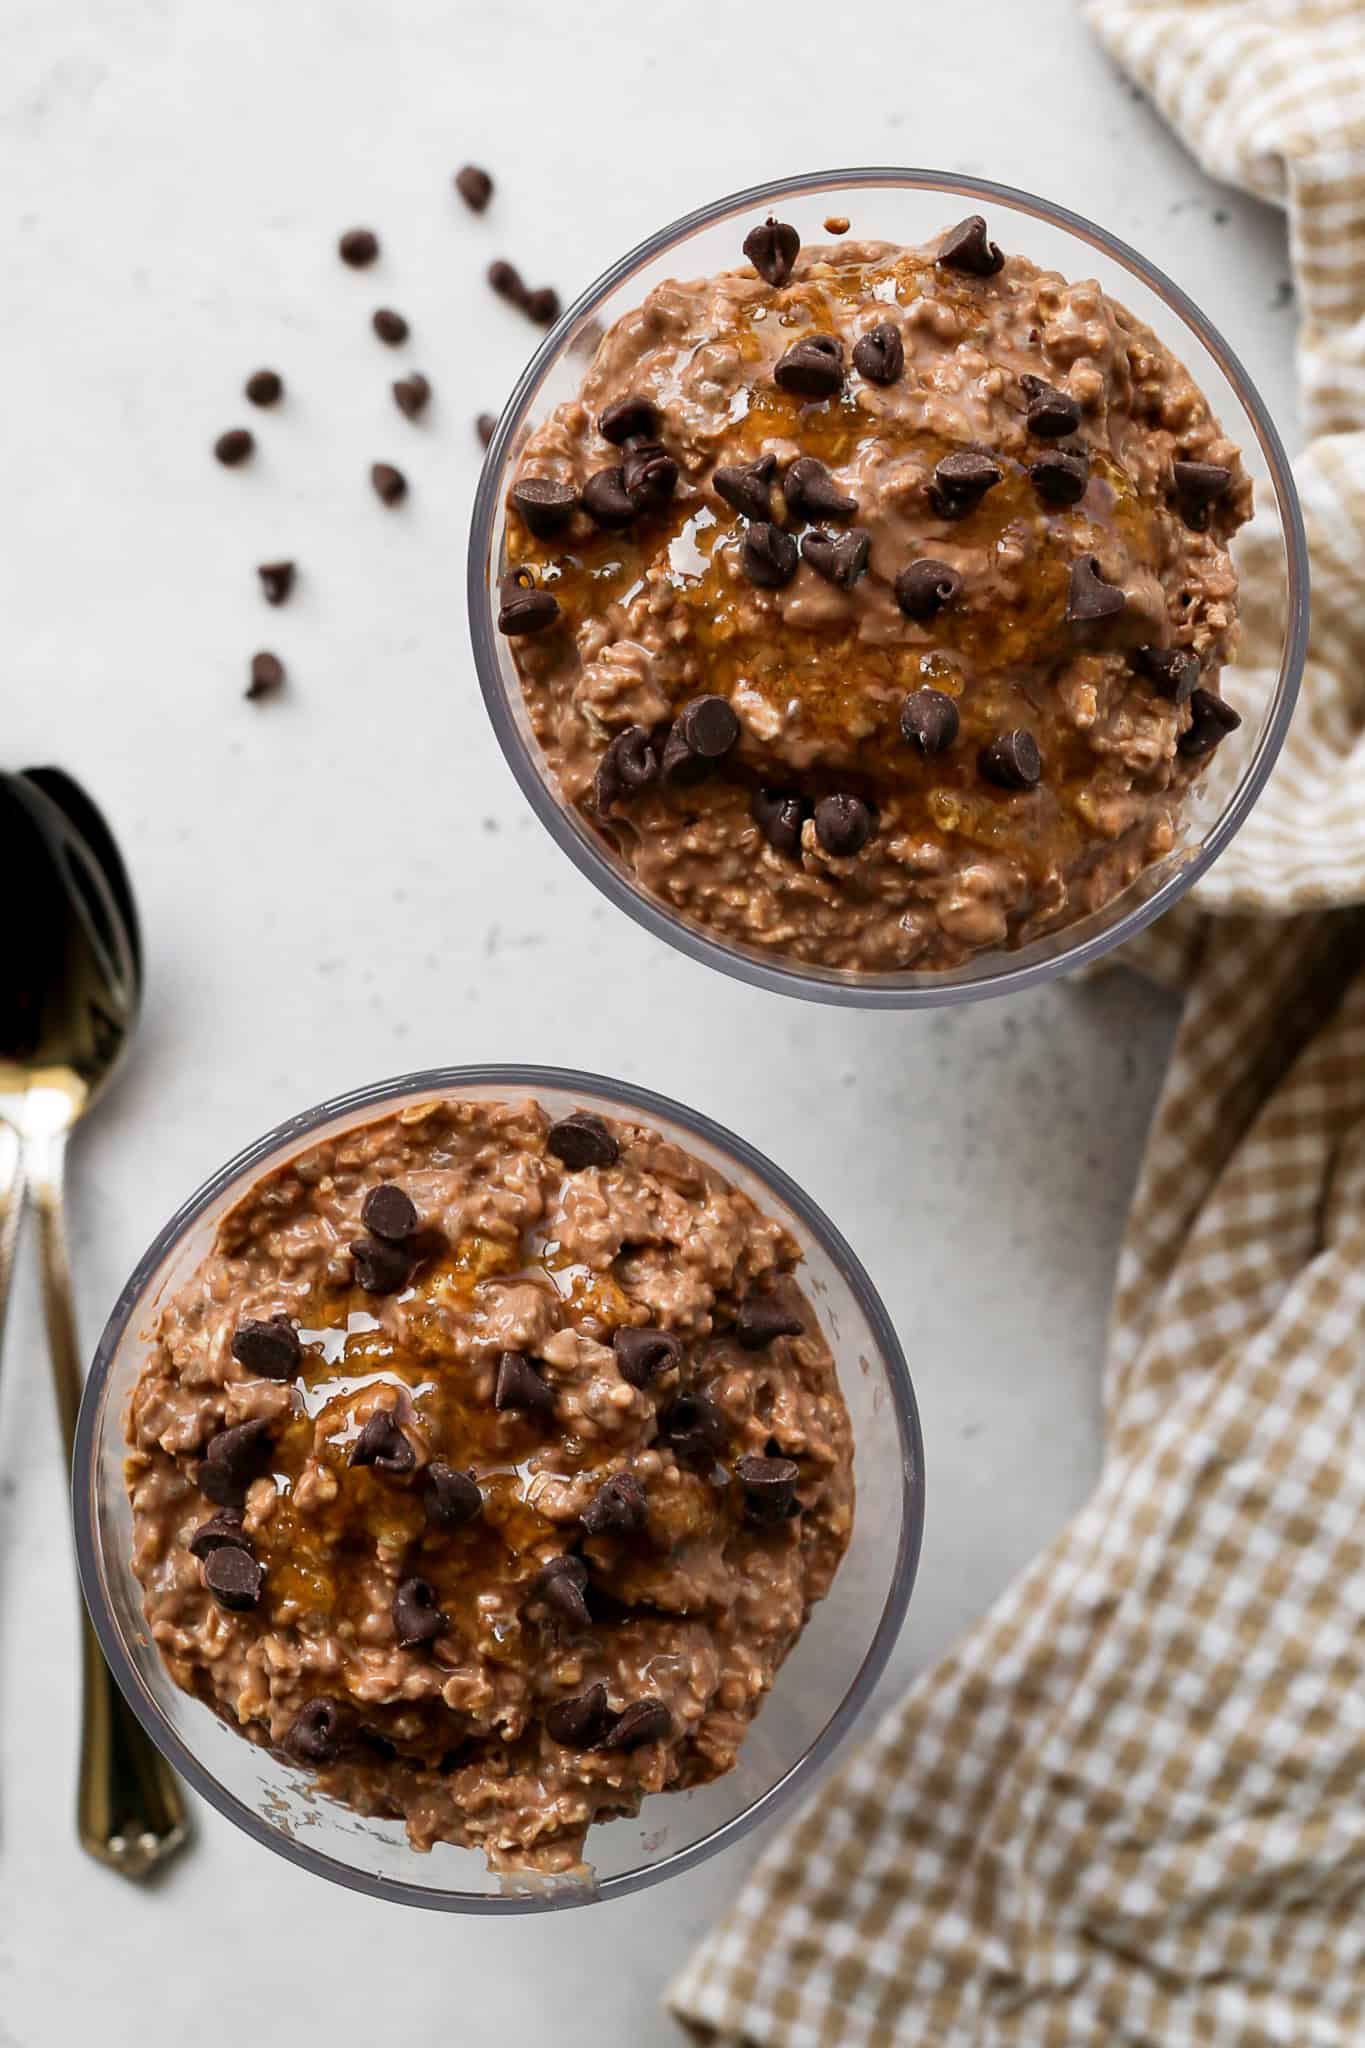
Simply stir, refrigerate, and wake up to a thick and creamy gluten free breakfast that tastes like a chocolate mocha in oat form. Top them with a few mini chocolate chips and a drizzle of honey for an extra indulgent finish, or enjoy them plain straight from the refrigerator.
Whether you are meal prepping for a busy week or just want a no effort gluten free breakfast that actually keeps you full, this is the recipe to add to your regular rotation.
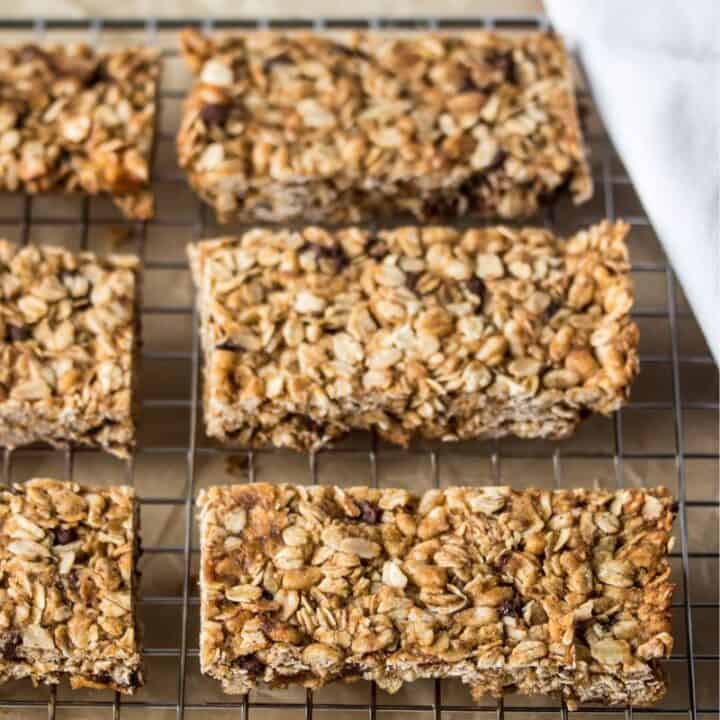
If you are looking for more gluten free oats recipes try my Gluten Free Oatmeal Raisin Overnight Oats, my Pumpkin Apple Baked Oatmeal with Streusel Topping, my Gluten Free Chocolate Chip Oat Granola Bars or my Gluten Free Old Fashioned Iced Oatmeal Cookies.
You can find all my breakfast recipes here: Gluten Free Breakfast Recipes
Instructions
In an air tight container whisk together the milk, yogurt, espresso powder, cocoa powder, protein powder, chia seeds, maple syrup, vanilla and salt until the mixture is smooth and the powders are completely dissolved.
Add the gluten free oats and stir to combine.
Cover the container and refrigerate for at least 6 hours. I like to refrigerate mine overnight.
When you are ready to serve the overnight oats, stir the oats and add a splash of milk if they are too thick for you.
This makes two servings that you can serve cold or heat in the microwave to serve warm.
I top mine with a few mini chocolate chips and drizzle of honey. It's optional, but delicious.
Supplies


More Recipes You Might Enjoy


I get a lot of my ingredients from Thrive Market. Thrive Market has been a game changer for me eating gluten free. They have so many options I can't get at my rural grocery stores! Use this link to get 40% off your first order!
High Protein Mocha Overnight Oats
- Total Time: 6 hours 10 minutes
- Yield: 2 servings 1x
- Diet: Gluten Free
Description
Gluten free quick oats stirred together with Greek yogurt, chocolate protein powder, espresso powder, unsweetened cocoa powder, and chia seeds for a thick and creamy high protein overnight oats recipe that tastes like a chocolate mocha. Make them the night before and wake up to a ready to eat gluten free breakfast that is packed with protein and full of rich mocha flavor.
Ingredients
- 1 cup Gluten Free Quick Oats
- 1 cup Milk of Choice
- ½ cup Plain Greek Yogurt
- 1 tsp Nescafe Gold Espresso Powder
- 1 Tbsp Unsweetened Cocoa Powder
- 2 Tbsp Chia Seeds
- 1 scoop Chocolate Protein Powder
- 2 Tbsp Maple Syrup or Honey
- 1 tsp Vanilla Extract
- Pinch of Salt
- Mini Chocolate Chips, optional
Instructions
In an air tight container whisk together the milk, yogurt, espresso powder, cocoa powder, protein powder, chia seeds, maple syrup, vanilla and salt until the mixture is smooth and the powders are completely dissolved.
Add the gluten free oats and stir to combine.
Cover the container and refrigerate for at least 6 hours. I like to refrigerate mine overnight.
When you are ready to serve the overnight oats, stir the oats and add a splash of milk if they are too thick for you.
This makes two servings that you can serve cold or heat in the microwave to serve warm.
I top mine with a few mini chocolate chips and drizzle of honey. It's optional, but delicious.
If you made this recipe please leave a star rating and comment below. It helps other readers find this recipe and means so much to me.
- Prep Time: 6 hours, 10 minutes
- Cook Time: 0 minutes
- Category: Breakfast, Snacks
- Method: Instant Pot
- Cuisine: American
If you make these High Protein Mocha Overnight Oats, I would love to hear what you think! Leave a comment below and let me know how they turned out, or tag me on Instagram so I can see your breakfast bowl.
This is one of those recipes you will want to meal prep every single week, so save it to your favorite Pinterest board so you always have it ready when you need a quick and easy high protein gluten free breakfast!
Storage
Store the overnight oats in an airtight container in the refrigerator for up to four days, making them a great option for weekly meal prep. The oats will continue to thicken as they sit so add a splash of milk and give them a good stir before serving if they are thicker than you like.
Wait to add the mini chocolate chips and honey topping until right before you eat so they stay fresh. Do not freeze overnight oats as the texture of the oats and chia seeds does not hold up well after thawing.
Top Tip
Make sure you whisk the espresso powder, cocoa powder, and protein powder into the milk and yogurt mixture until they are completely dissolved before adding the oats. Protein powder and cocoa powder in particular can clump if they are not fully incorporated into the liquid first, which affects both the texture and the consistency of the finished overnight oats. Taking an extra minute to whisk everything smooth before stirring in the oats makes a big difference in the final result.
Frequently Asked Questions
Yes, you can leave out the protein powder and the overnight oats will still be delicious. Keep in mind that removing the protein powder will reduce the protein content significantly and may make the oats slightly thinner in consistency. You can compensate by adding an extra tablespoon of chia seeds or an extra dollop of Greek yogurt to help thicken them back up.
Quick oats give you the best creamy texture for overnight oats. If you only have gluten free rolled oats on hand those will work too but the texture will be slightly chewier and less creamy than the quick oat version. Always make sure your oats are certified gluten free if you are sensitive to gluten cross contamination.
Absolutely. These overnight oats are delicious served cold straight from the refrigerator but they also heat beautifully in the microwave. Heat in 30 second intervals stirring in between until warmed through, and add a splash of milk to loosen them up if needed before serving.
Yes, any liquid sweetener will work in this recipe. Agave nectar is a good option if you prefer a milder sweetness. You can also use a sugar free sweetener like monk fruit syrup if you want to reduce the sugar content. Start with less than the recipe calls for and adjust to taste since sweetener preferences vary.
Didn't find the answer you're looking for?
Ask AI to answer based on this recipe: