This list of 10 gluten free chocolate desserts are all easy to make and delicious. You'll find recipes for cakes, cookies, pies, and much more. There are treats and baked goods for gluten free and low carb diets to enjoy.
If you're craving indulgent chocolate treats but need to keep things gluten-free, there are plenty of mouthwatering options to choose from. Gluten-free chocolate cake recipes range from rich and fudgy to light and airy, offering a variety of textures and flavors.
Whether you're baking a decadent, moist cake for a special occasion or whipping up easy chocolate brownies or cookies, these recipes ensure you can enjoy the sweetness of chocolate without any gluten.
Many of these desserts are simple to prepare, requiring only a handful of ingredients and no refrigeration, making them perfect for last-minute cravings or quick weeknight treats.
Easy Gluten Free Chocolate Desserts
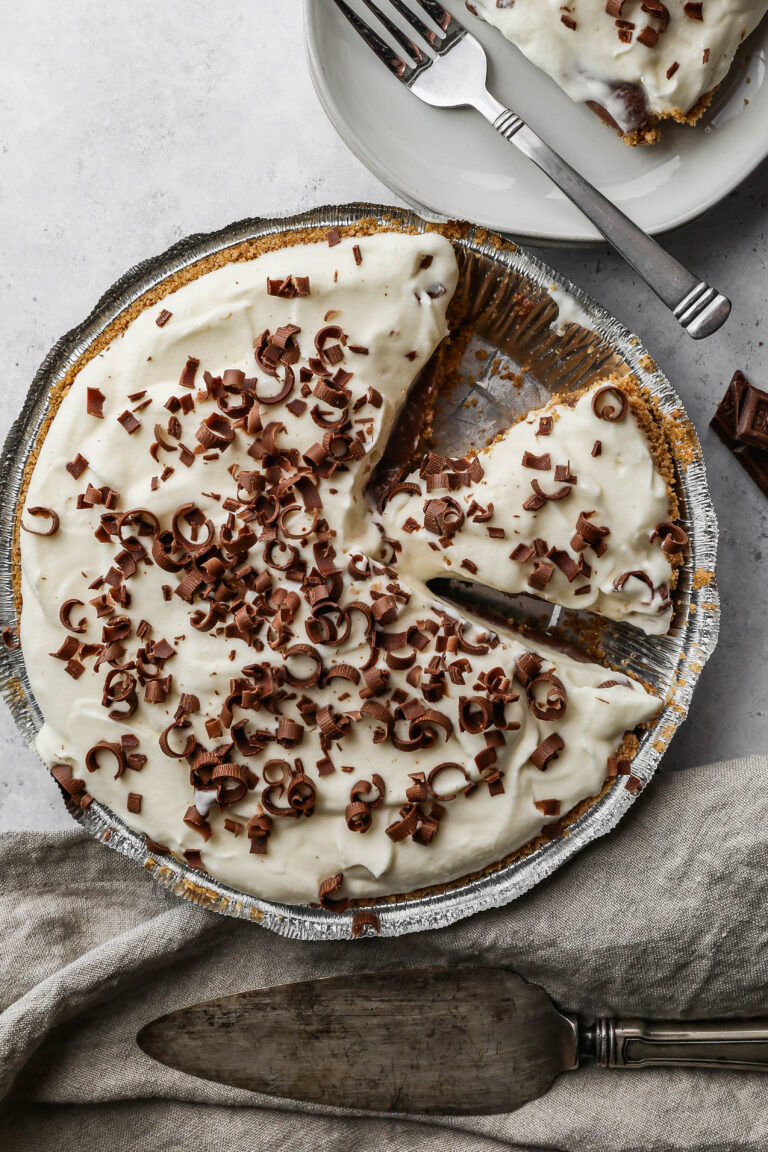
Gluten Free No Bake S'mores Pie
This easy recipe for gluten free no bake s'mores pie uses a gluten free graham cracker crust. It's a quick dessert to make with chocolate pudding and marshmallow fluff for a topping. I added some milk chocolate shavings on top of this delicious cold pie.
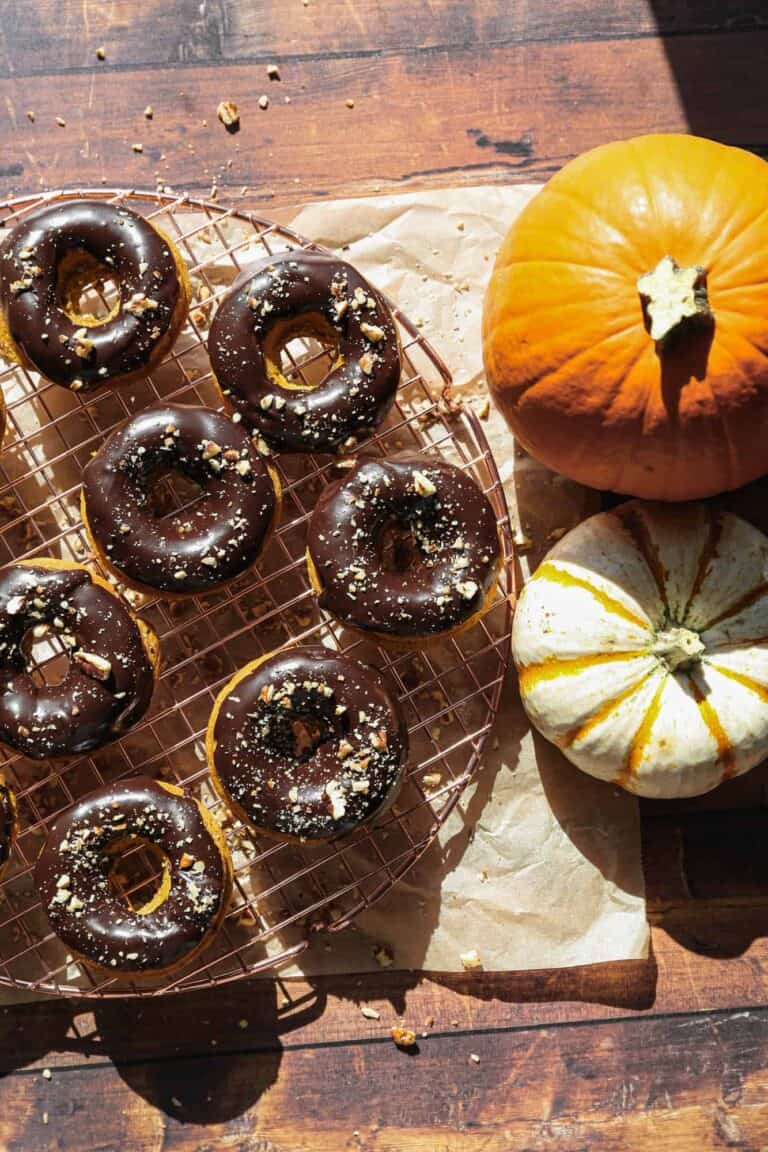
Gluten Free Baked Pumpkin Donuts with Chocolate Glaze
These easy gluten free baked pumpkin donuts have an amazing homemade chocolate glaze! For this recipe you don't need a fryer and just use your oven. They are the best fall treat or breakfast!
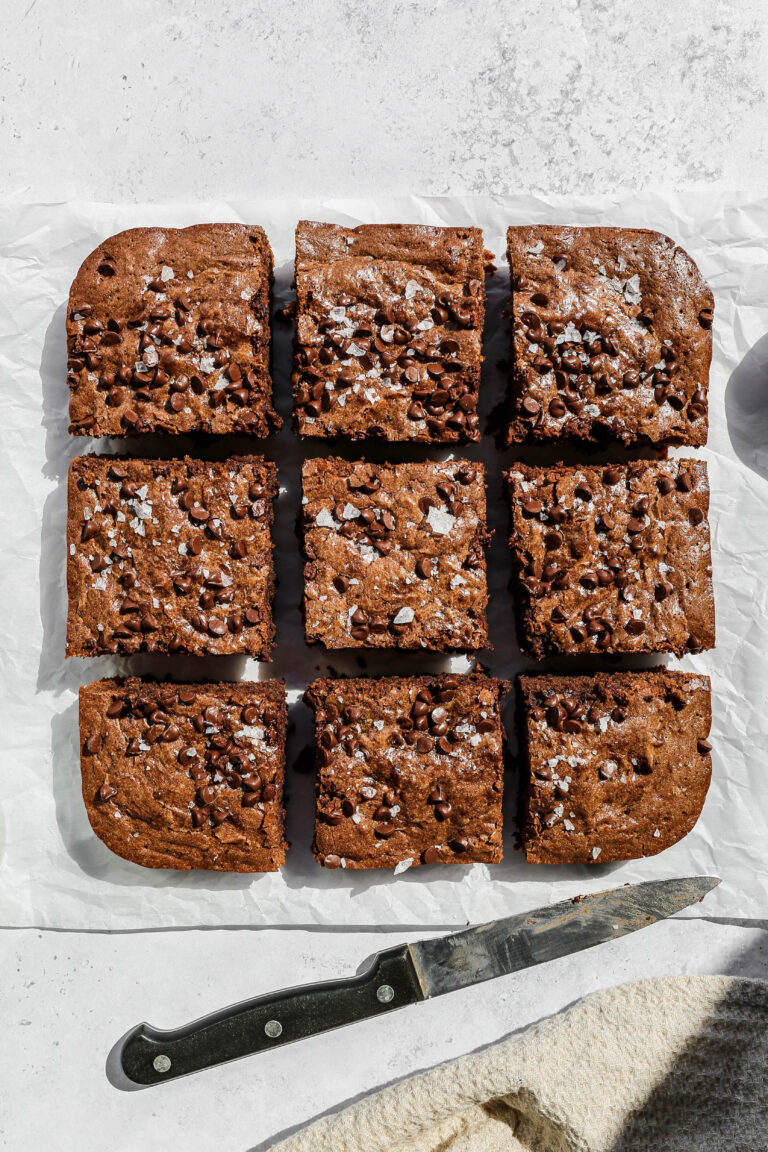
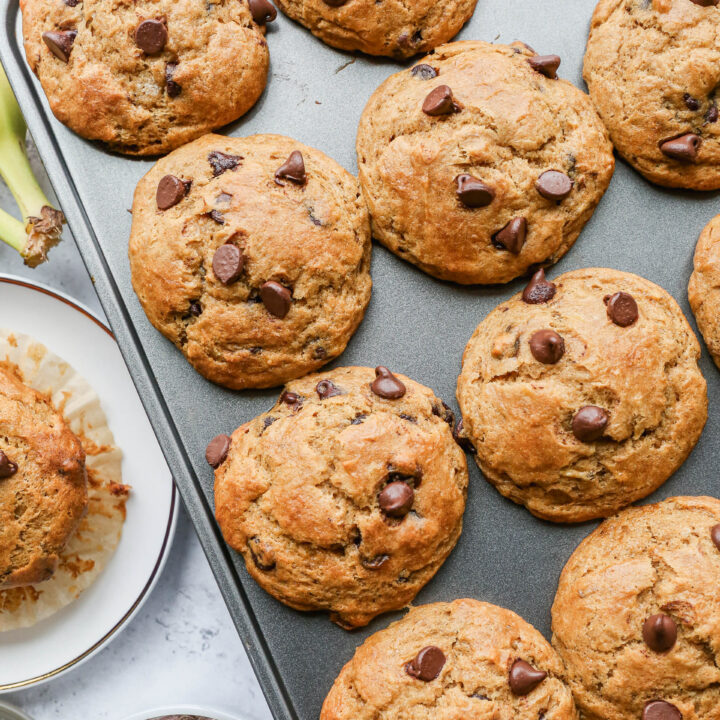
Easy Gluten Free Zucchini Brownies
These easy gluten free zucchini brownies use chocolate chips and make the best brownies! Adding zucchini makes this recipe a healthier alternative. It's a simple way to add some vegetables to your sweets.
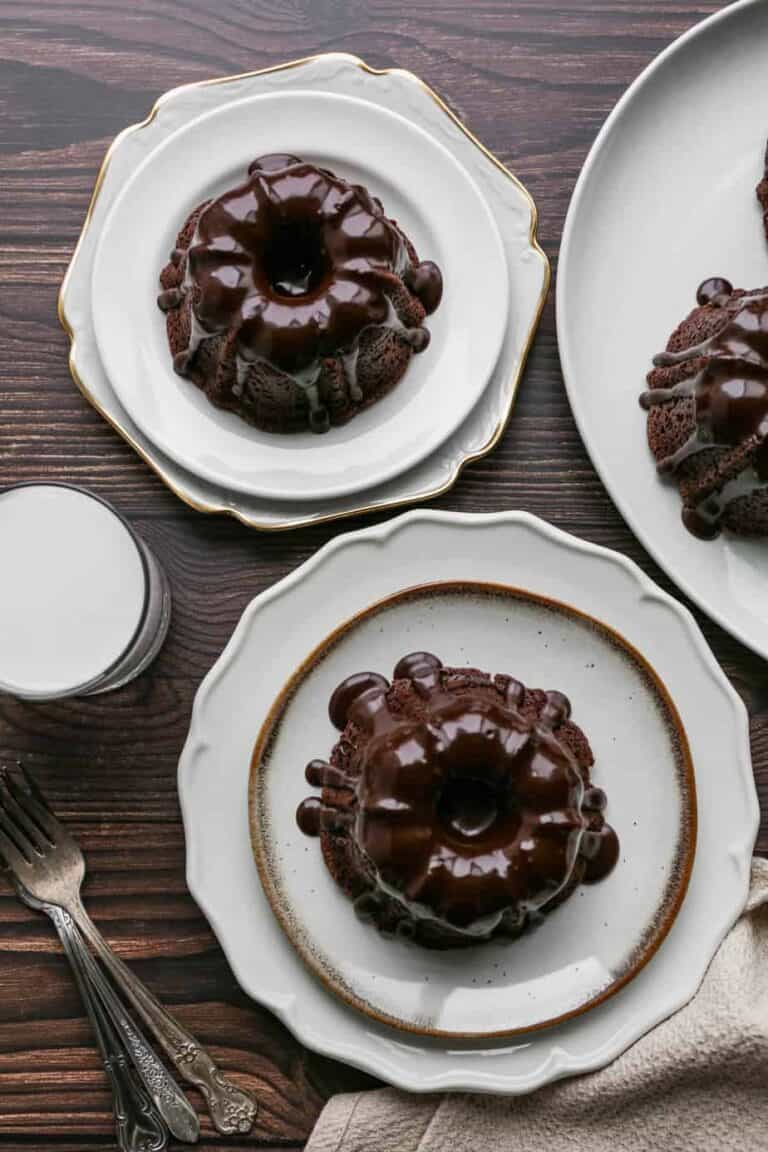
Gluten Free Double Chocolate Bundt Cake
This easy recipe for gluten free double chocolate bundt cake is made from scratch. The cake includes cocoa powder, chocolate chips and a glossy chococlate glaze. This is such an easy gluten free chocolate cake!
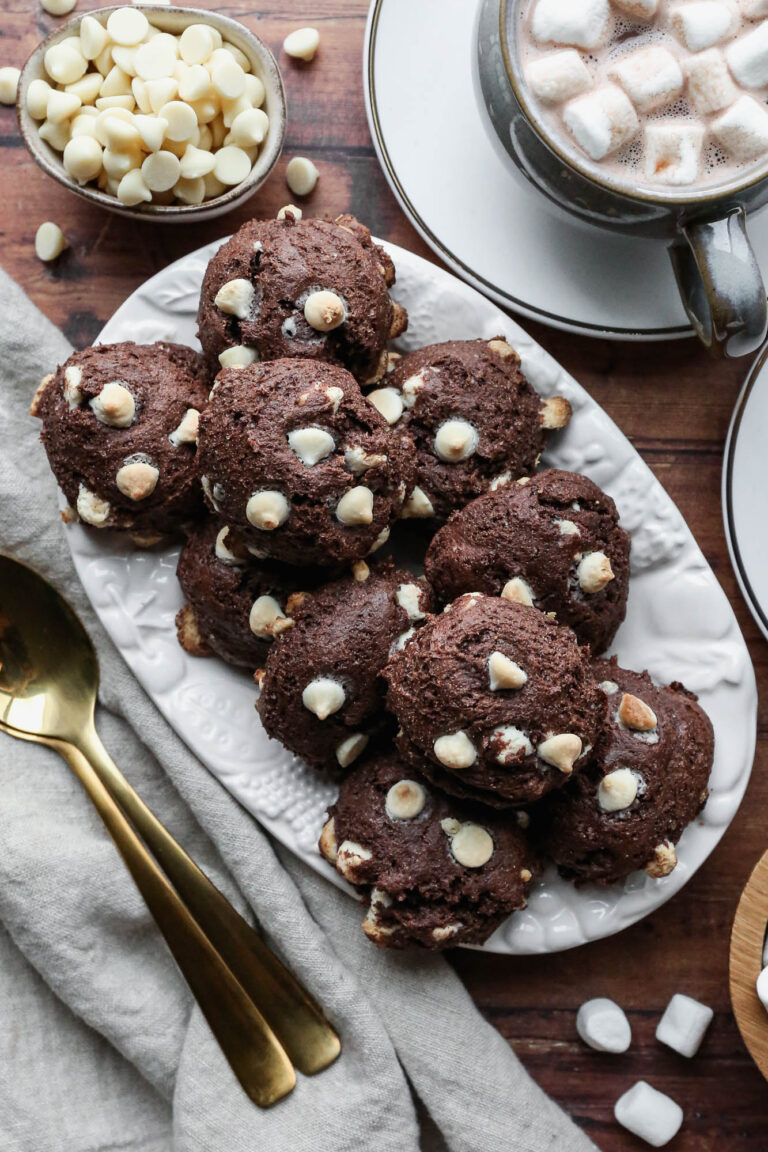
Gluten Free Hot Cocoa Cookies
This easy recipe for gluten free hot cocoa cookies is the best! These cookies are simple to make and come out chewy and delicious. They use white chocolate chips instead of marshmallows and have a nice hot cocoa flavor.
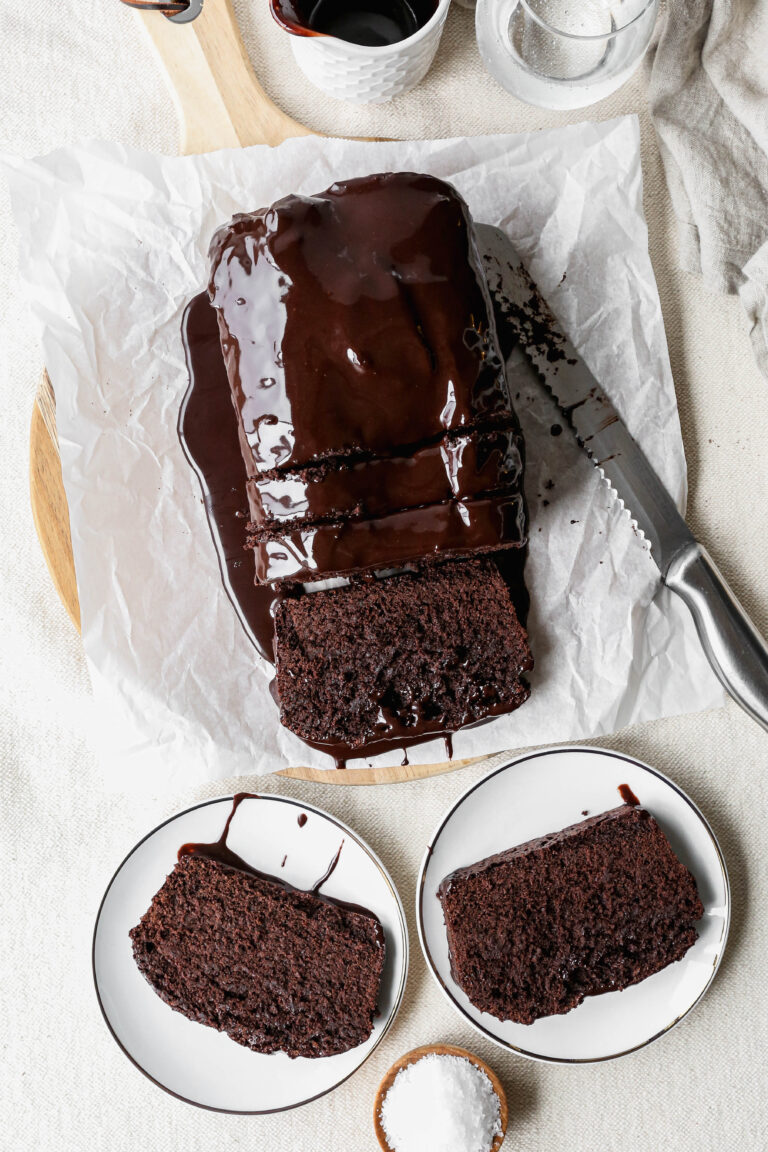
Gluten Free Chocolate Pound Cake
This moist recipe for gluten free chocolate pound cake is an easy dessert. This homemade gluten free baking recipe is really simple to make a loaf cake and chocolate icing to pour over top. The slices of pound cake are delicious served with coffee or a big glass of cold milk!
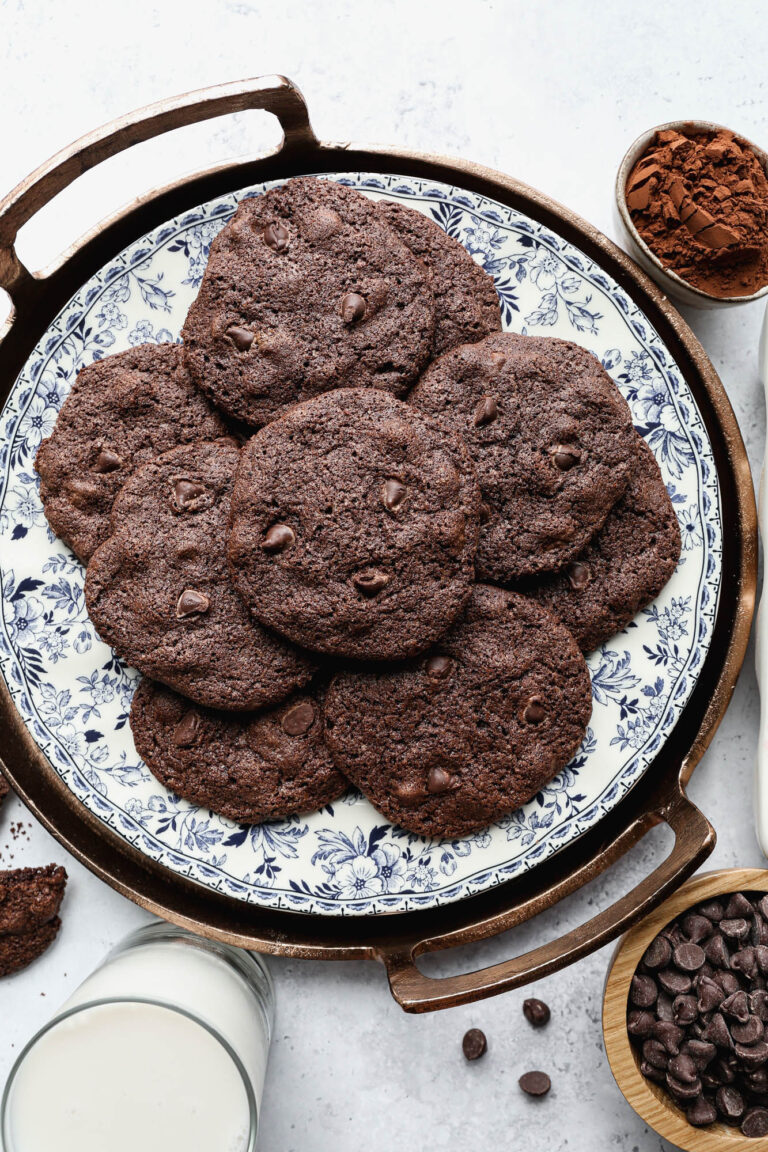
Gluten Free Double Chocolate Chip Cookies
This recipe makes the best chewy gluten free double chocolate cookies! These easy and soft cookies are made with cocoa powder and chocolate chips. #glutenfree #recipe #chocolate #cookies
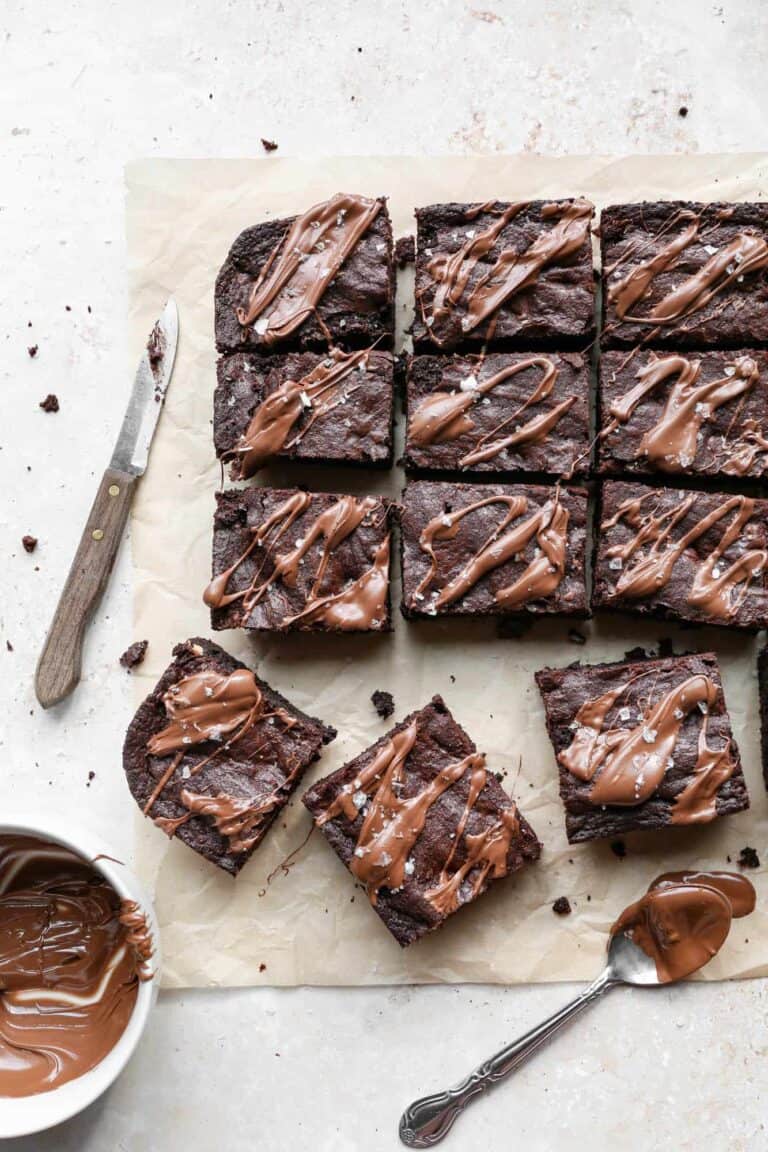
Gluten Free Triple Chocolate Brownies
These simple gluten free triple chocolate brownies are made from scratch and make a perfect dessert. These chocolate chip brownies are so easy and moist! I think you will love this homemade recipe.
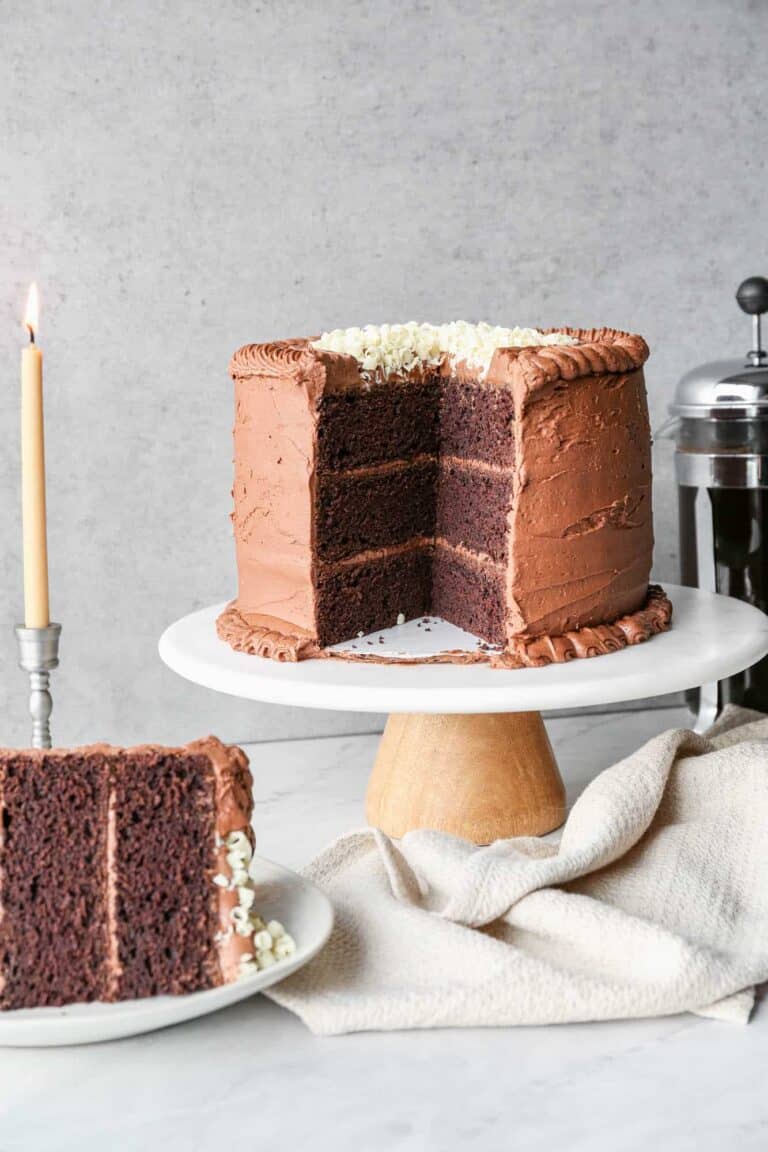
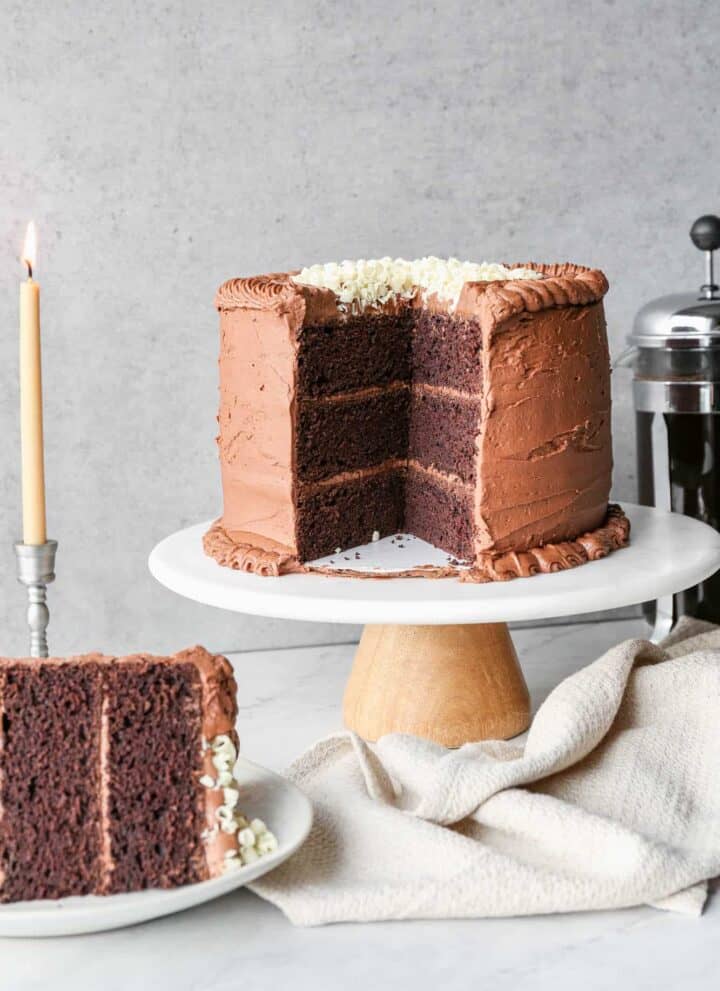
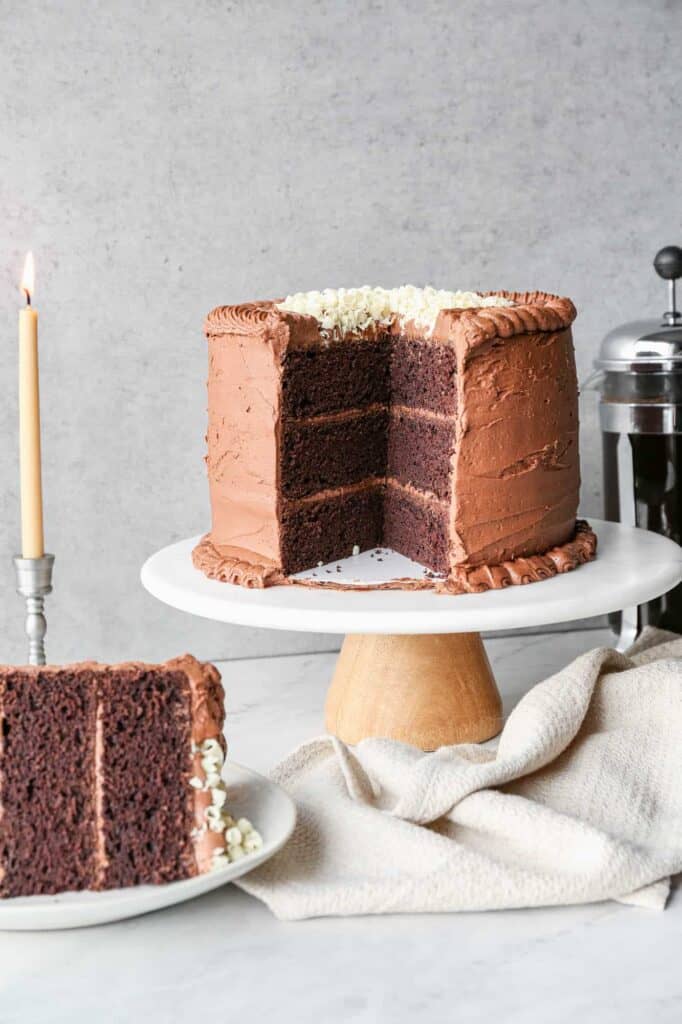
Gluten Free Chocolate Mayonnaise Cake
This easy gluten free chocolate mayonnaise cake is my take on a classic 1950s southern recipe. The old fashioned homemade chocolate cake is moist and perfect for dessert. I added chocolate buttercream frosting for the filling and icing.
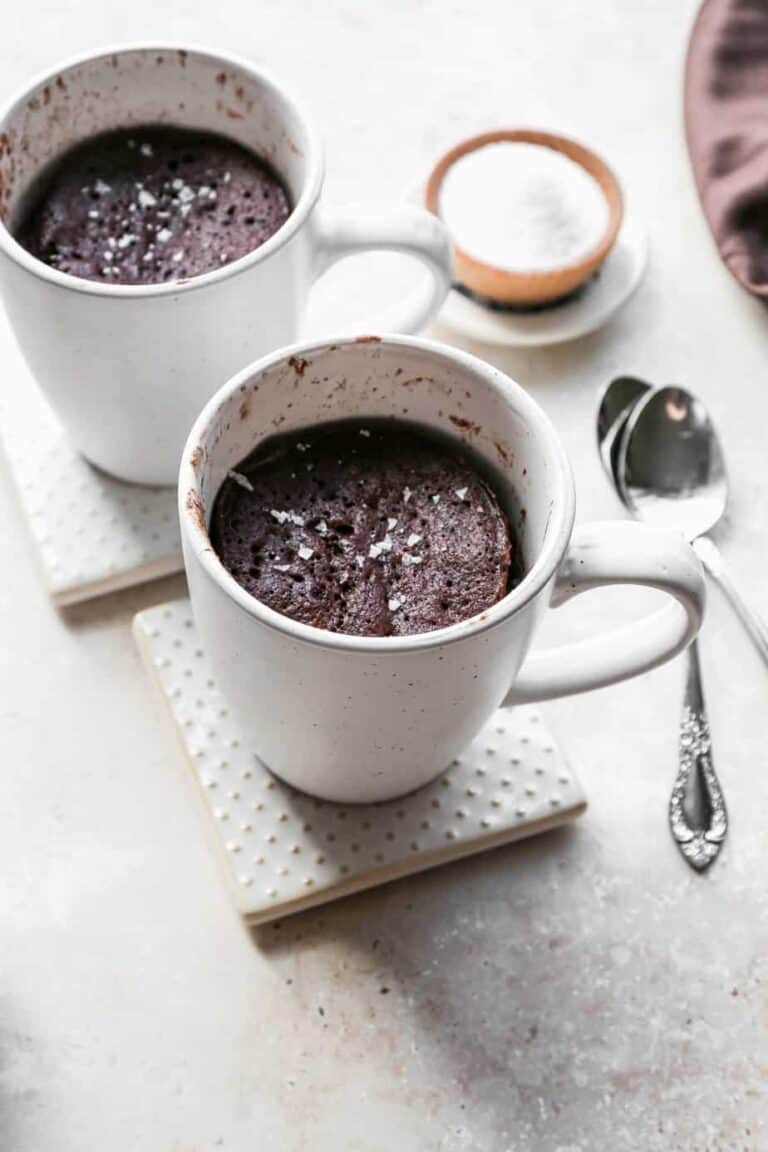
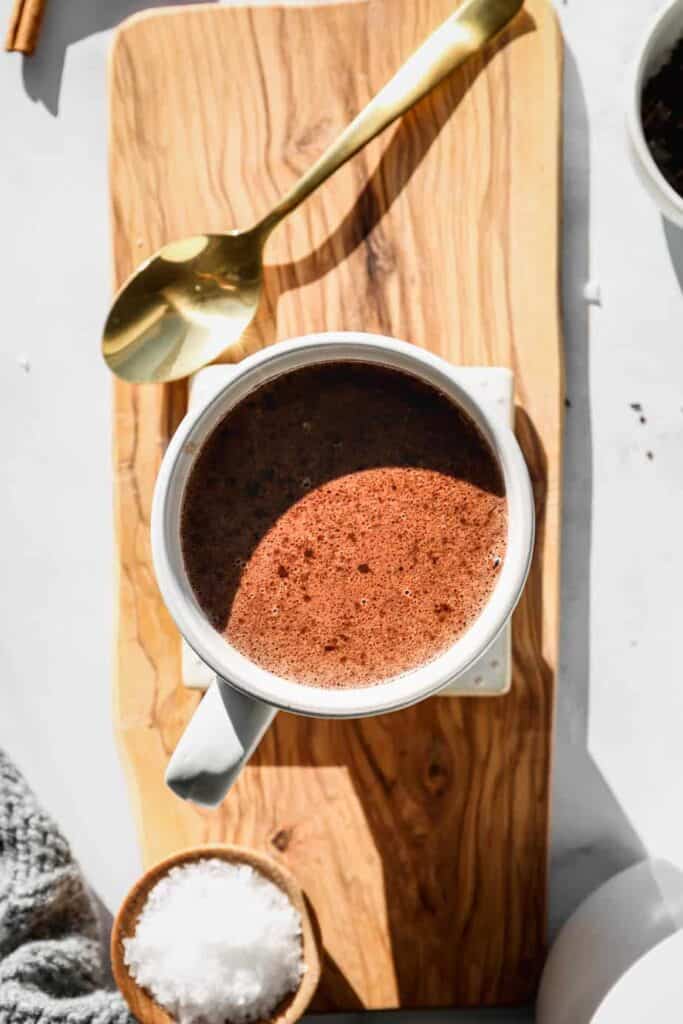
Low Carb Gluten Free Chocolate Mug Cake
This easy low carb gluten free chocolate mug cake recipe is made in the microwave. It uses almond flour and cocoa powder to make a rich chocolate dessert that's perfect for a Keto diet.
Chocolate Desserts Supplies
The best cocoa powder: Rodelle Gourmet Baking Cocoa
My favorite chocolate chips: Ghirardelli 60% Cacao Baking Chips
The best dairy-free chocolate chips: Enjoy Life Semi Sweet Chocolate Mini Chips
Chocolate bar: Lindt 85% Dark Chocolate Bar
More Recipes You Might Enjoy


I get a lot of my ingredients from Thrive Market. Thrive Market has been a game changer for me eating gluten free. They have so many options I can't get at my rural grocery stores! Use this link to get 25% off your first order!