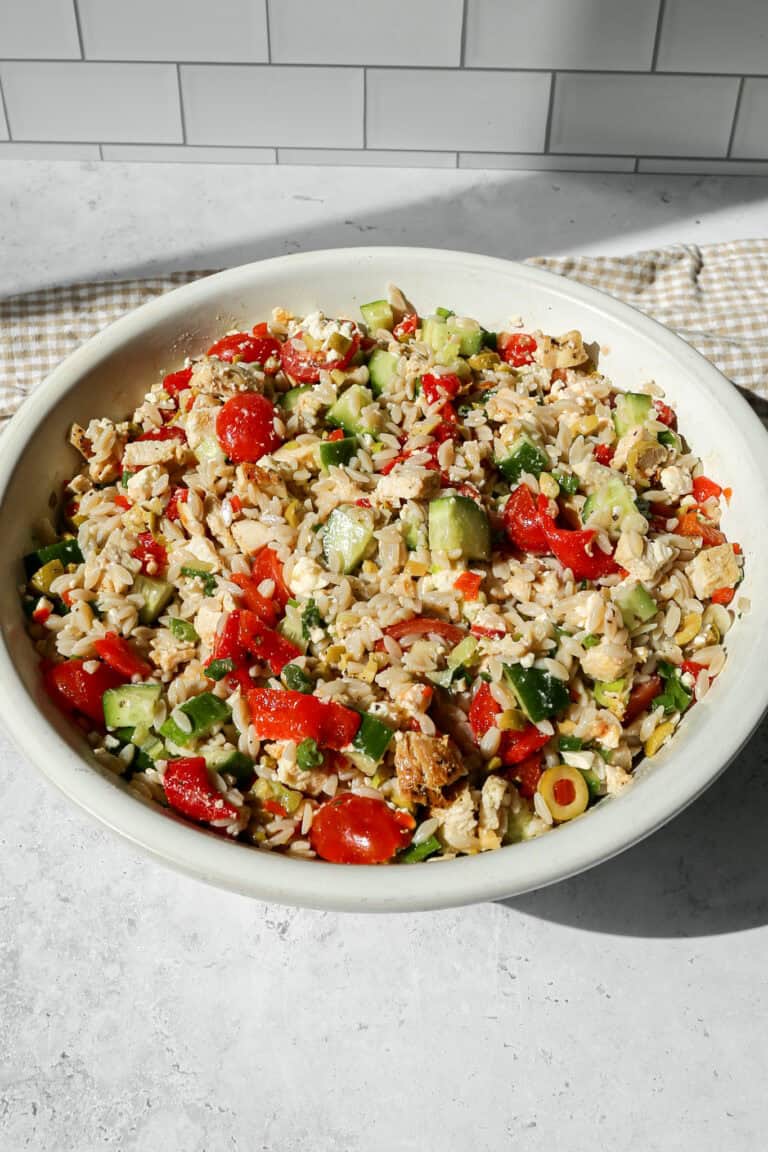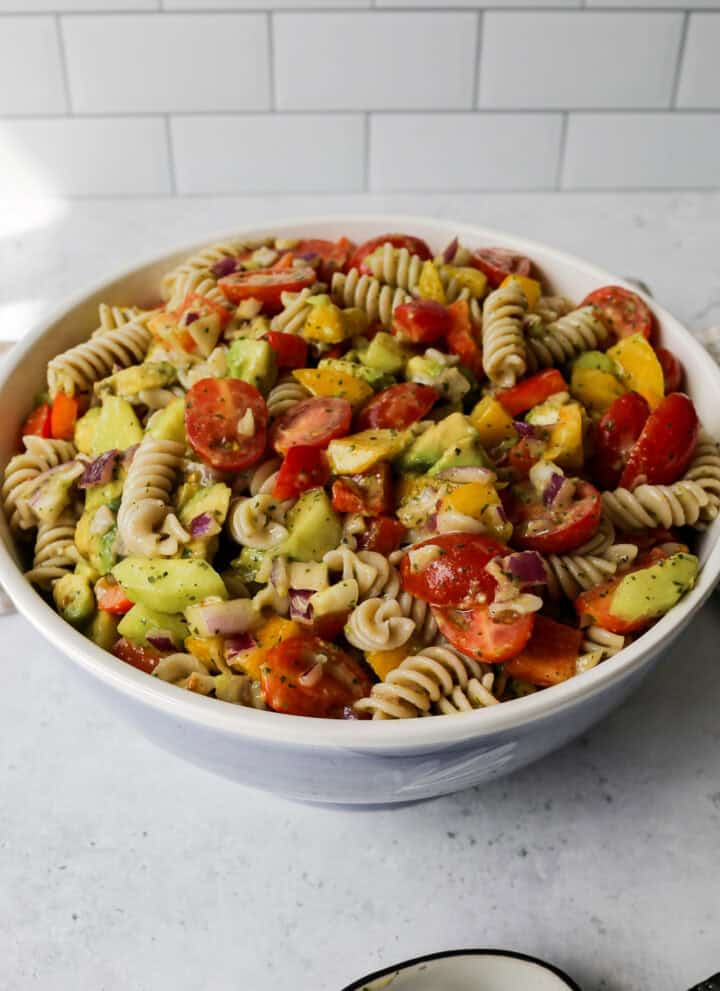
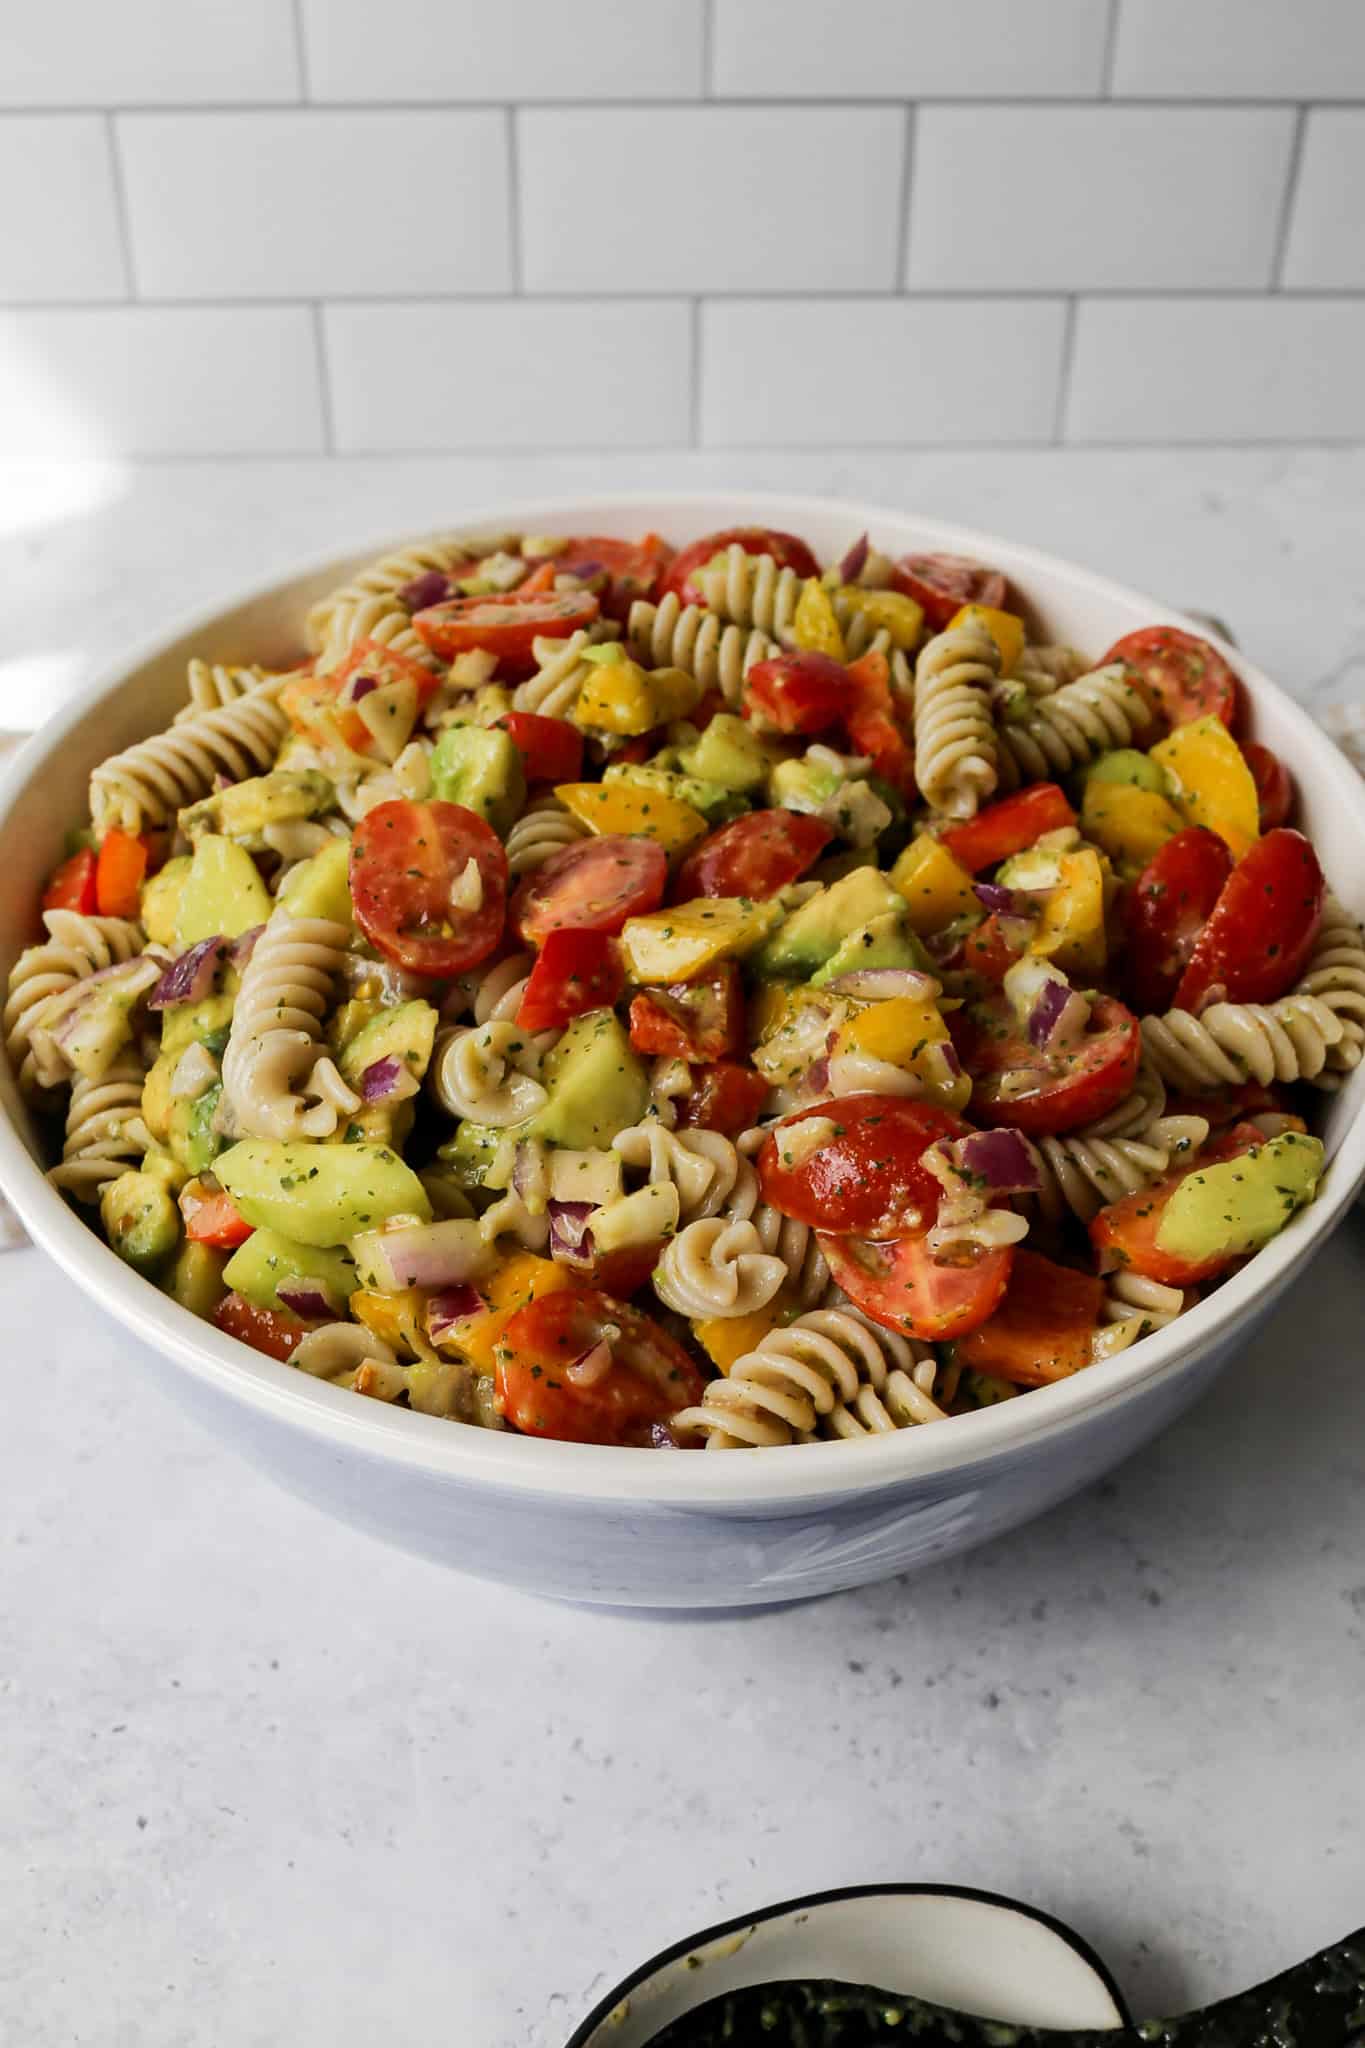
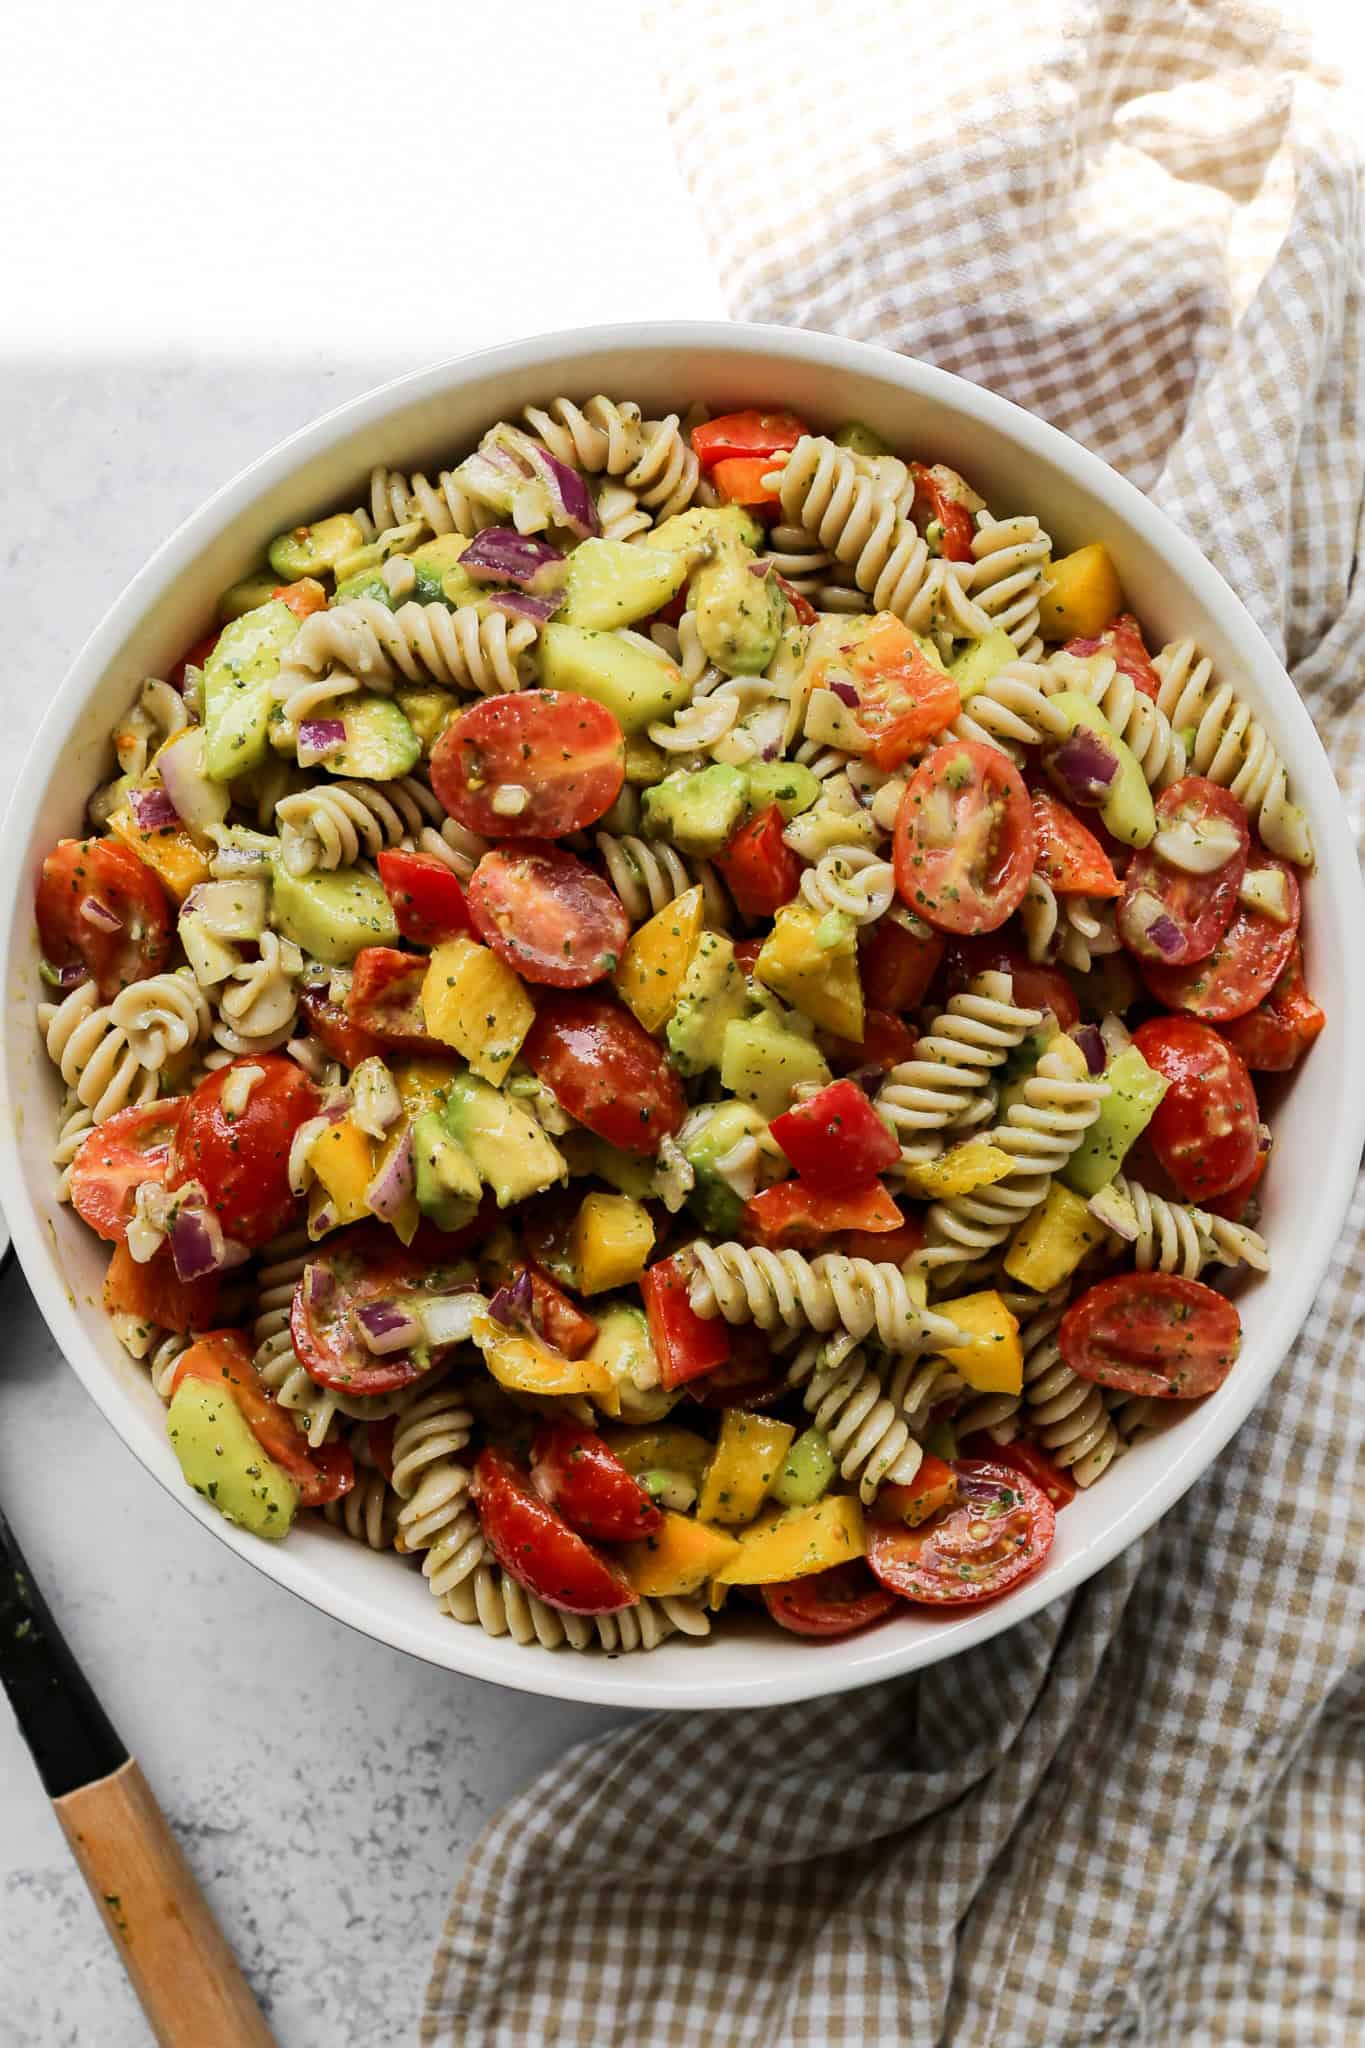
This easy gluten free lime cilantro pasta salad is the most vibrant and flavorful cold pasta salad you are going to make all summer long. Gluten free fusilli pasta gets tossed with juicy halved grape tomatoes, crisp cucumber, colorful bell peppers, red onion, and creamy chunks of fresh avocado and then coated in the most incredible homemade lime cilantro dressing made with fresh lime juice, cilantro leaves, olive oil, and a perfectly balanced blend of cumin, garlic powder, and a touch of sugar.
Everything comes together in just 30 minutes and the bright, zesty, herbaceous dressing makes this one of the most crowd pleasing and refreshing gluten free pasta salad recipes you will ever bring to a summer gathering.
What makes this gluten free cilantro lime pasta salad truly special is that it gets even better the longer it sits. The pasta absorbs the vibrant lime cilantro dressing overnight and every single ingredient melds together into a deeply flavorful cold pasta salad that is even more delicious on day two than it was on day one.
It is completely gluten free from start to finish, packed with fresh vegetables, and the kind of make ahead summer side dish that works beautifully for BBQs, potlucks, picnics, and easy weeknight dinners.
If you love bold and fresh flavors and are looking for a gluten free pasta salad that stands out from the crowd this is the recipe to add to your summer rotation.
If you are looking for more gluten free pasta salad recipes try my Gluten Free BLT Pasta Salad, my Gluten Free Green Goddess Pasta Salad, my Easy Gluten Free Bow Tie Pasta Salad or my Easy Gluten Free Macaroni Salad.
You can find all of my salad recipes here: Gluten Free Salad Recipes
Instructions
Bring a large pot of salted water to a boil. Cook the gluten free fusilli pasta per the instructions on the box. Drain the cooked pasta and rinse thoroughly in cold water until completely cooled. Pour the drained and rinsed pasta into a large mixing bowl.
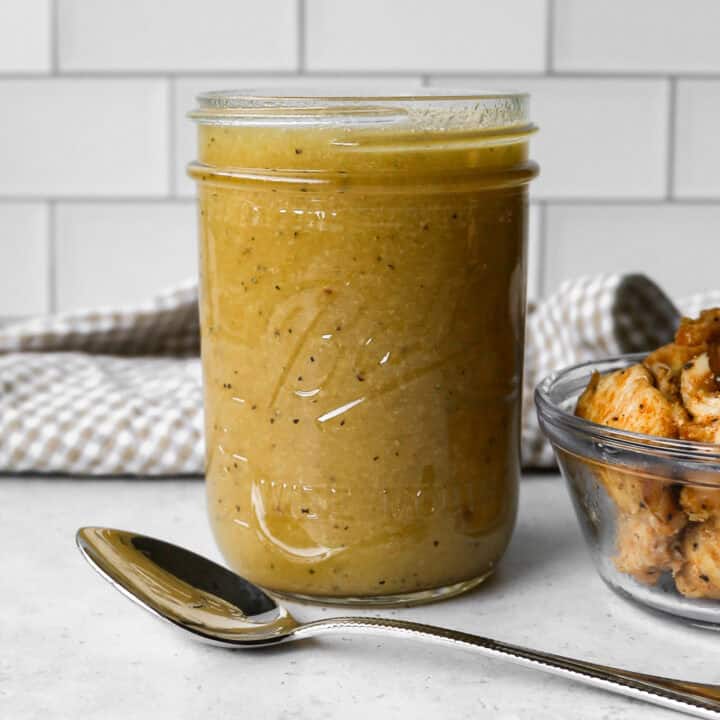
While the pasta is cooking make the lime cilantro dressing. Add the lime juice, fresh cilantro leaves, olive oil, sugar, garlic powder, salt, ground cumin, and black pepper to a blender or food processor. Blend until the dressing is smooth and the cilantro is very finely chopped and evenly incorporated throughout the dressing.
Pour the lime cilantro dressing over the cooled pasta in your mixing bowl and stir to coat the pasta evenly.
Add the halved grape tomatoes, finely diced red onion, chopped cucumber, red bell pepper chunks, and yellow bell pepper chunks to the mixing bowl. Stir all of the ingredients together until everything is evenly coated in the dressing.
Cover the bowl tightly and refrigerate for at least 30 minutes before serving. For the best possible flavor make this salad the day before and refrigerate overnight. The pasta will absorb the lime cilantro dressing and the flavors will meld together beautifully overnight making this salad even more delicious on day two.
Right before serving add the fresh avocado chunks and gently fold them into the salad.
Supplies


More Recipes You Might Enjoy


I get a lot of my ingredients from Thrive Market. Thrive Market has been a game changer for me eating gluten free. They have so many options I can't get at my rural grocery stores! Use this link to get 40% off your first order!
Gluten Free Lime Cilantro Pasta Salad
- Total Time: 30 minutes
- Yield: 8 servings 1x
- Diet: Gluten Free
Description
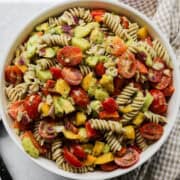
This easy gluten free lime cilantro pasta salad is packed with fresh vegetables and tossed in a vibrant homemade lime cilantro dressing made with fresh lime juice, cilantro, olive oil, and cumin! Gluten free fusilli pasta, juicy grape tomatoes, crisp cucumber, colorful bell peppers, red onion, and creamy avocado chunks come together in just 30 minutes for the most refreshing and crowd pleasing gluten free summer pasta salad!
Ingredients
- 16 ounce box Jovial Gluten Free Brown Rice Fusilli
- ½ cup Lime Juice
- ½ cup Fresh Cilantro Leaves
- ½ cup Olive Oil
- 3 tsp Granulated Sugar
- 1 tsp Garlic Powder
- 1 tsp Salt
- ½ tsp Ground Cumin
- ½ tsp Black Pepper
- 1 pint Grape or Cherry Tomatoes, halved
- 1 small Red Onion, finely diced
- 1 cup Cucumber peeled, seeded and chopped
- 2 Avocados seeded, peeled and cut into ½ inch chunks
- 1 Red Bell Pepper seed and chopped
- 1 Yellow Bell Pepper seeded and chopped
Instructions
Bring a large pot of salted water to a boil. Cook the gluten free fusilli pasta per the instructions on the box. Drain the cooked pasta and rinse thoroughly in cold water until completely cooled. Pour the drained and rinsed pasta into a large mixing bowl.
While the pasta is cooking make the lime cilantro dressing. Add the lime juice, fresh cilantro leaves, olive oil, sugar, garlic powder, salt, ground cumin, and black pepper to a blender or food processor. Blend until the dressing is smooth and the cilantro is very finely chopped and evenly incorporated throughout the dressing.
Pour the lime cilantro dressing over the cooled pasta in your mixing bowl and stir to coat the pasta evenly.
Add the halved grape tomatoes, finely diced red onion, chopped cucumber, red bell pepper chunks, and yellow bell pepper chunks to the mixing bowl. Stir all of the ingredients together until everything is evenly coated in the dressing.
Cover the bowl tightly and refrigerate for at least 30 minutes before serving. For the best possible flavor make this salad the day before and refrigerate overnight. The pasta will absorb the lime cilantro dressing and the flavors will meld together beautifully overnight making this salad even more delicious on day two.
Right before serving add the fresh avocado chunks and gently fold them into the salad.
- Prep Time: 20 minutes
- Cook Time: 10 minutes
- Category: Side Dish, Salads
- Method: Chopped
- Cuisine: American
If you make this Gluten Free Lime Cilantro Pasta Salad I would love to hear what you think! Leave a star rating and a comment below and let me know what you served it with.
Don't forget to save this recipe to your Pinterest boards so you can find it again all summer long!
Storage
Store this gluten free lime cilantro pasta salad in an airtight container in the refrigerator for up to 3 days. Keep in mind that the avocado will begin to brown after the first day so for the best appearance and texture add the avocado right before serving rather than mixing it in when you first assemble the salad.
The pasta will absorb some of the lime cilantro dressing as it sits which actually makes the flavor even better on day two. If the salad seems a little dry after sitting in the refrigerator drizzle a small amount of olive oil and lime juice over the top and give it a good stir before serving to freshen everything back up.
This pasta salad is not suitable for freezing as the vegetables will become mushy and watery and the avocado will turn brown once thawed.
Top Tip
Add the avocado chunks right before serving rather than mixing them in with the rest of the ingredients when you first assemble the salad. Avocado browns and becomes mushy quickly once cut and mixed into a dressed salad so adding it at the last minute keeps it looking fresh, vibrant, and beautiful. If you are making this salad the day before a gathering mix everything together except the avocado and store it covered in the refrigerator overnight. Cut and add the fresh avocado chunks right before you are ready to serve for the best color, texture, and presentation every single time.
Didn't find the answer you're looking for?
Ask AI to answer based on this recipe:
Frequently Asked Questions
Yes and I actually recommend it! This pasta salad gets even better the longer it sits in the refrigerator as the pasta absorbs the vibrant lime cilantro dressing and all the flavors meld together beautifully. Make it the day before your gathering and store it covered in the refrigerator overnight for the best possible flavor. Just wait to add the avocado chunks until right before serving to keep them fresh and prevent them from browning. Give the salad a good stir before serving and add a drizzle of olive oil and lime juice if it needs a little refreshing.
Yes! While gluten free fusilli works beautifully because the spiral shape holds onto the lime cilantro dressing so well you can substitute any short gluten free pasta shape you have on hand. Gluten free rotini, penne, bowties, or shells all work well in this recipe. Avoid long pasta shapes like spaghetti or fettuccine as they do not hold the dressing as well and are harder to mix and serve evenly in a cold pasta salad.
Absolutely! Cilantro is a polarizing herb and many people either love it or strongly dislike it. If you are not a cilantro fan you can simply leave it out and replace it with fresh flat leaf parsley for a similar fresh herb flavor without the distinctive cilantro taste. The dressing will still be bright and flavorful from the fresh lime juice, olive oil, cumin, and garlic powder. You can also reduce the amount of cilantro rather than leaving it out entirely if you want just a hint of the herb without it being the dominant flavor.
The best way to keep the avocado fresh and vibrant is to add it right before serving rather than mixing it in when you first assemble the salad. The lime juice in the dressing does help slow the browning process but avocado will still begin to turn brown after several hours in a dressed salad.
Absolutely! This lime cilantro pasta salad is wonderful as a vegetarian side dish but is also delicious with added protein for a more substantial main course. Grilled or rotisserie chicken sliced or shredded over the top is a classic and delicious addition. Black beans or chickpeas are a great plant based protein option that would work beautifully with the Mexican inspired flavors in this salad. Grilled shrimp is another wonderful option that pairs perfectly with the bright lime and cilantro dressing.
Absolutely! This recipe is very easy to customize with whatever fresh vegetables you have on hand or whatever looks good at the farmers market. Sweet corn cut fresh from the cob, black beans, diced jalapeño for a little heat and diced mango are all wonderful additions that would complement the lime cilantro dressing beautifully. Feel free to mix and match your favorite summer vegetables to make this pasta salad your own.