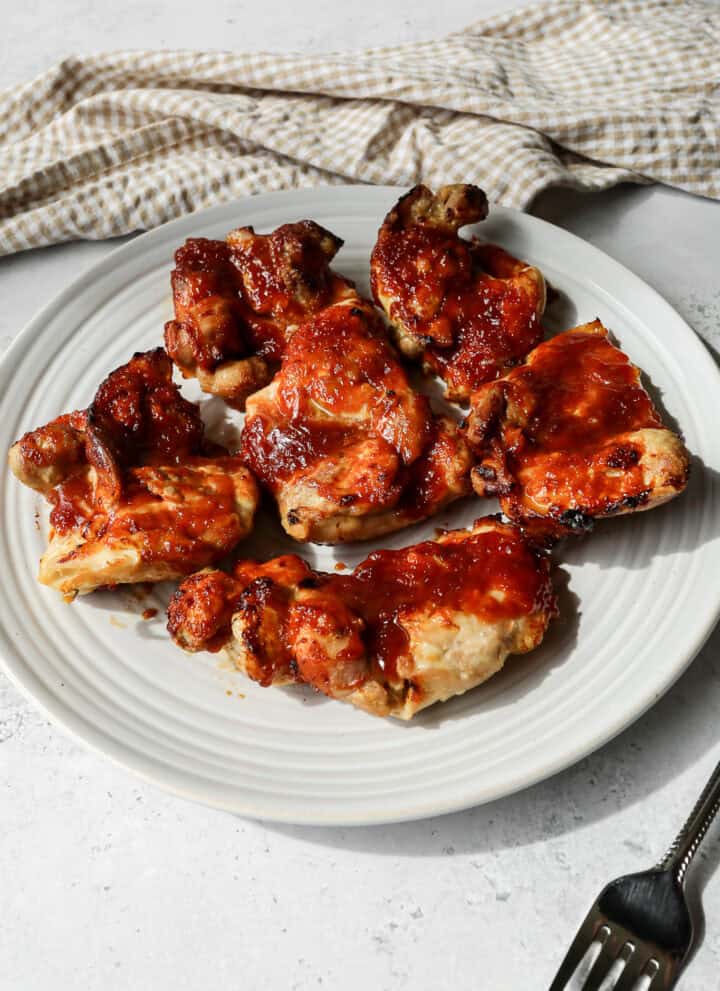
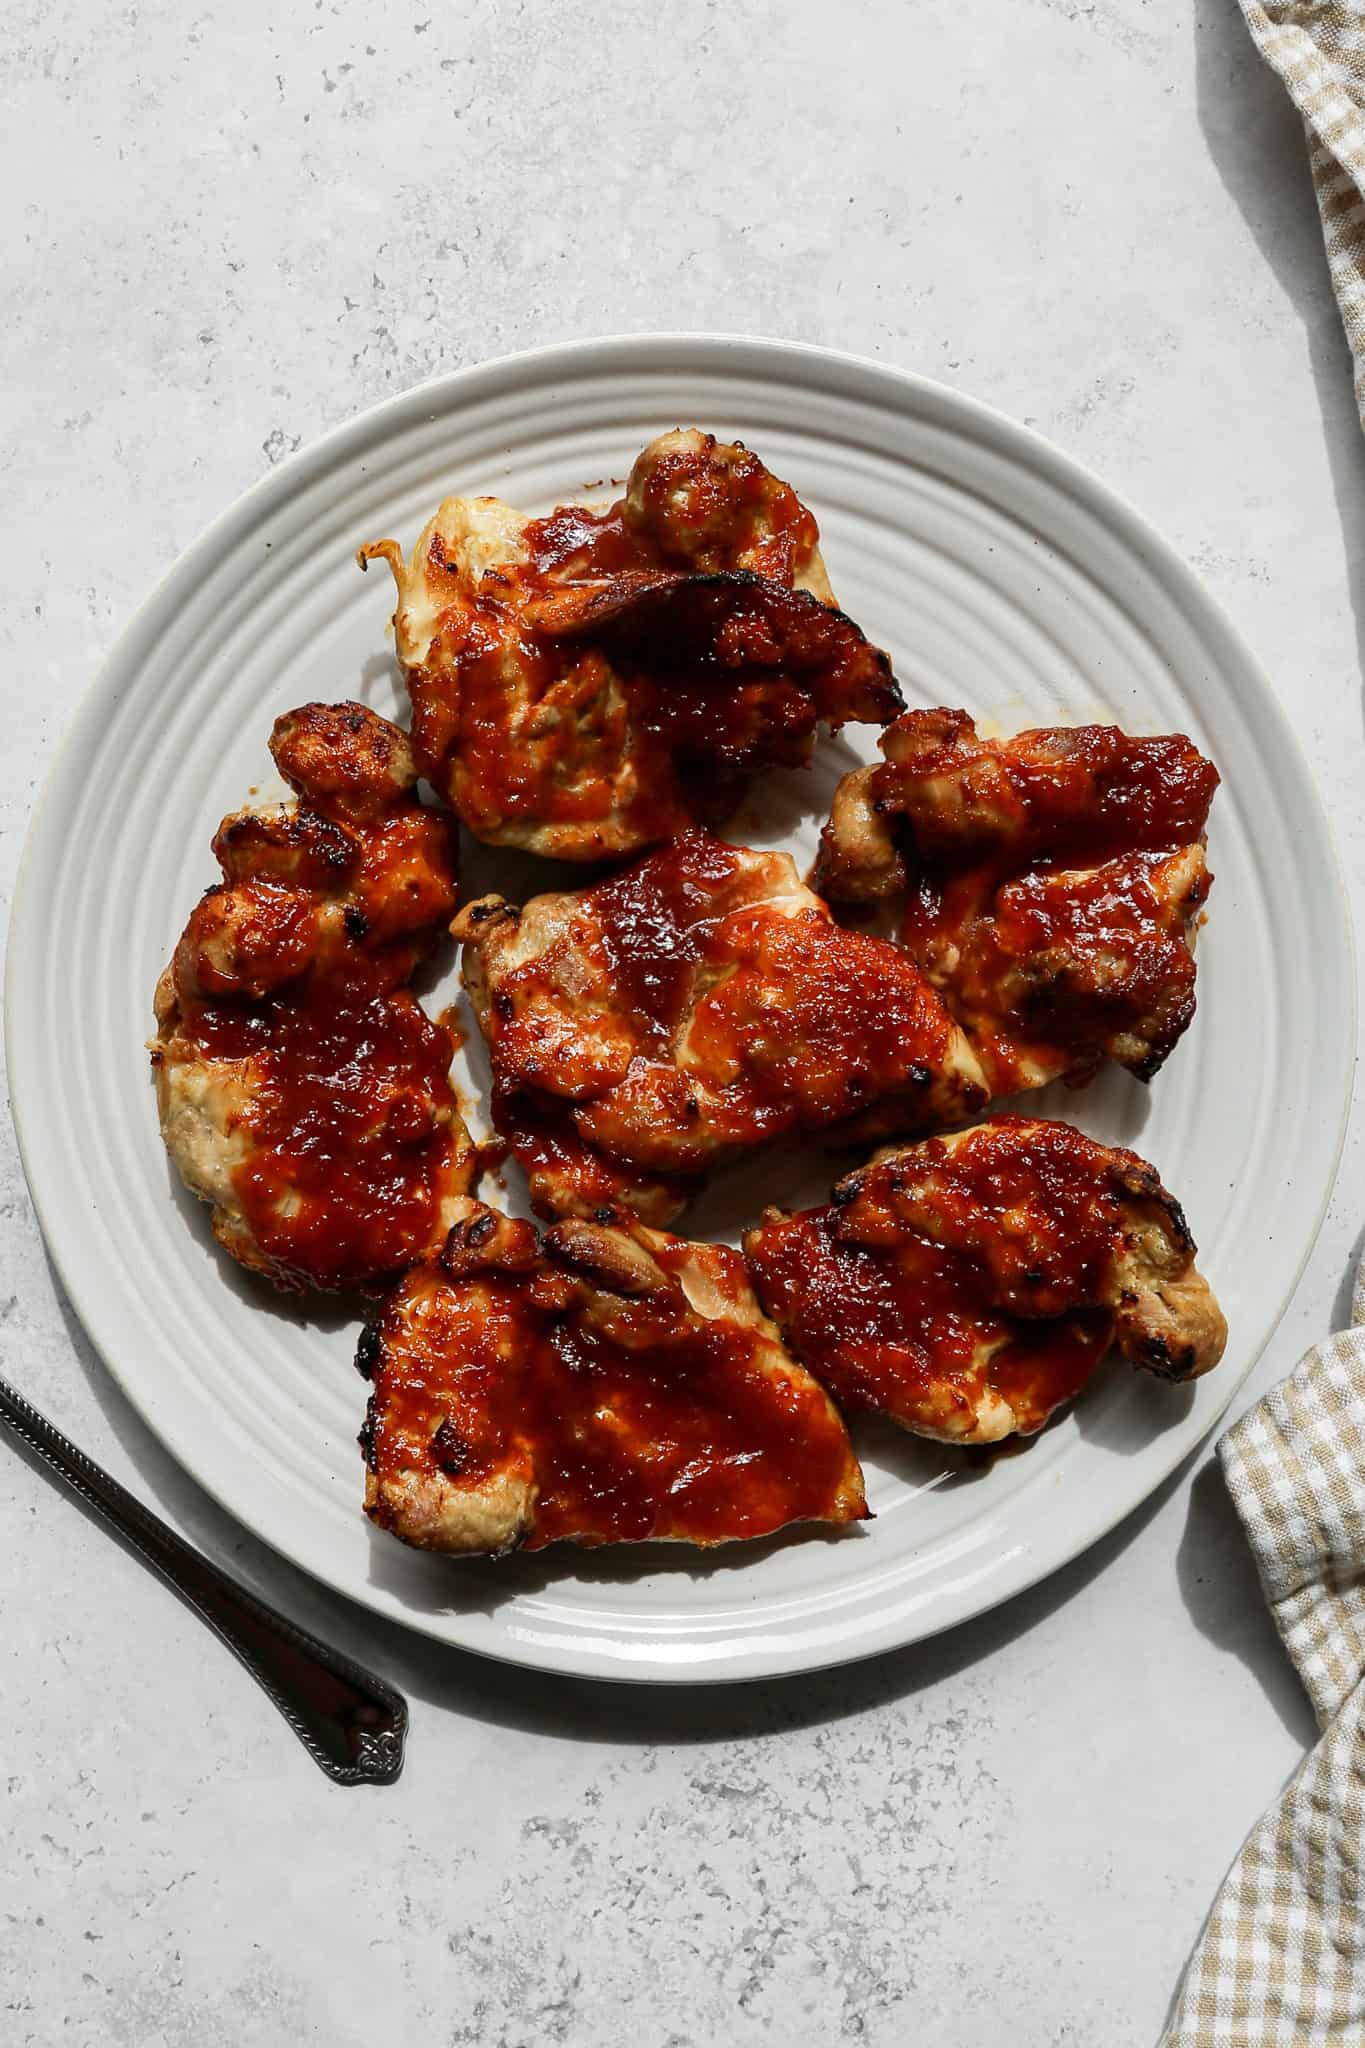
These gluten free air fryer BBQ chicken thighs are about to become your new weeknight dinner staple. Boneless skinless chicken thighs get coated in a rich and smoky homemade BBQ sauce made from scratch with ketchup, brown sugar, apple cider vinegar, gluten free Worcestershire sauce, yellow mustard, and a perfectly balanced blend of spices, then air fried until tender, juicy, and caramelized to perfection.
The homemade BBQ sauce comes together in just minutes and is so much better than anything from a bottle, making this one of those easy gluten free dinner recipes that feels impressive without requiring a lot of effort.

The air fryer is the secret weapon here. It cooks the chicken thighs quickly and evenly while creating that gorgeous sticky and caramelized BBQ coating that you normally only get from a grill or oven.
The whole recipe is ready in under 30 minutes which makes it perfect for busy weeknights when you need a hearty and satisfying gluten free dinner on the table fast.
Serve these air fryer BBQ chicken thighs with your favorite summer sides like coleslaw, baked beans, or a simple cucumber salad and dinner is done.
If you are looking for more chicken recipes try my Air Fryer Teriyaki Chicken Thighs, my Air Fryer Honey Mustard Chicken Thighs, my Air Fryer Lemon Garlic Chicken Thighs or my Gluten Free Crispy Air Fryer Chicken Cutlets.
You can find all my meal recipes here: Gluten Free Meal Recipes
Instructions
In a small bowl whisk together the ketchup, brown sugar, apple cider vinegar, gluten free worcestershire sauce, yellow mustard, salt, onion powder, ground cumin, smoked paprika and garlic powder.
Spray your air fryer basket with some oil to keep the chicken from sticking.
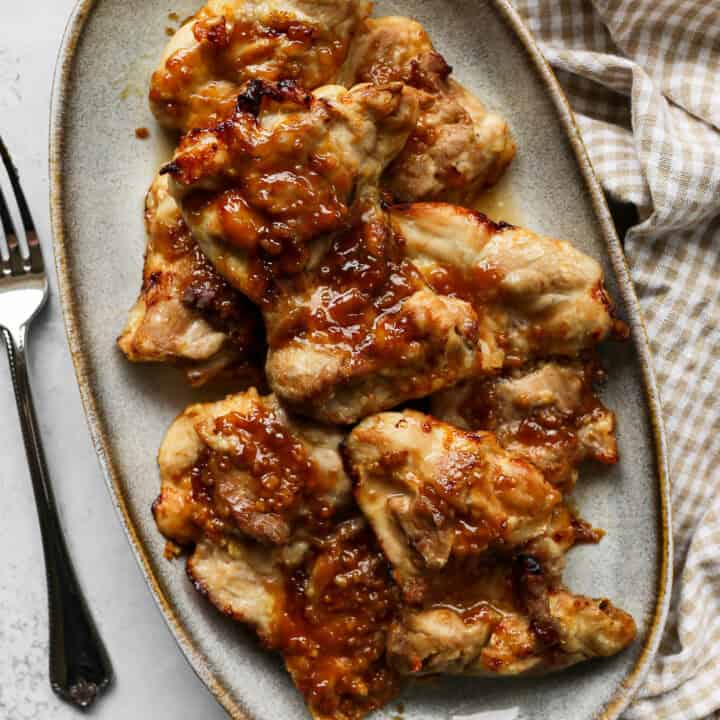
Place the chicken thighs in a single layer with a little space between each in your air fryer basket.
Brush half the barbecue sauce over the chicken thighs.
Air fry at 350 degrees for 14 minutes. At 7 minutes flip the thighs over and brush the other half of the barbecue sauce onto them. Continue to air fry until done.
Chicken is done when the internal temperature of the thickest part is at least 165 degrees.
Supplies


More Recipes You Might Enjoy


I get a lot of my ingredients from Thrive Market. Thrive Market has been a game changer for me eating gluten free. They have so many options I can't get at my rural grocery stores! Use this link to get 40% off your first order!

Air Fryer BBQ Chicken Thighs
- Total Time: 19 minutes
- Yield: 6 servings 1x
- Diet: Gluten Free
Description
These gluten free air fryer BBQ chicken thighs are tender, juicy, and coated in a rich homemade BBQ sauce made from scratch with ketchup, brown sugar, apple cider vinegar, and smoky spices. Ready in under 30 minutes and completely gluten free, these easy air fryer chicken thighs are the perfect weeknight dinner served with your favorite summer sides!
Ingredients
- 6 Boneless Skinless Chicken Thighs
- ½ cup Ketchup
- ¼ cup Brown Sugar
- 2 Tbsp Apple Cider Vinegar
- 1 Tbsp Gluten Free Worcestershire Sauce
- 1 Tbsp Yellow Mustard
- ½ tsp Salt
- ½ tsp Onion Powder
- ½ tsp Ground Cumin
- ½ tsp Smoked Paprika
- ½ tsp Garlic Powder
Instructions
In a small bowl whisk together the ketchup, brown sugar, apple cider vinegar, gluten free worcestershire sauce, yellow mustard, salt, onion powder, ground cumin, smoked paprika and garlic powder.
Spray your air fryer basket with some oil to keep the chicken from sticking.
Place the chicken thighs in a single layer with a little space between each in your air fryer basket.
Brush half the barbecue sauce over the chicken thighs.
Air fry at 350 degrees for 14 minutes. At 7 minutes flip the thighs over and brush the other half of the barbecue sauce onto them. Continue to air fry until done.
Chicken is done when the internal temperature of the thickest part is at least 165 degrees.
- Prep Time: 5 minutes
- Cook Time: 14 minutes
- Category: Chicken, Meat
- Method: Air Fryer
- Cuisine: American
If you make these Gluten Free Air Fryer BBQ Chicken Thighs I would love to hear what you think! Leave a star rating and a comment below and let me know what you served them with.
Don't forget to save this recipe to your Pinterest boards so you can find it again on busy weeknights!
Storage
Store leftover air fryer BBQ chicken thighs in an airtight container in the refrigerator for up to 3 to 4 days. Reheat individual portions in the air fryer at 350 degrees for 3 to 4 minutes until warmed through and the BBQ sauce is sticky and caramelized again. You can also reheat in the microwave but the air fryer will give you a much better texture and keep the outside from getting rubbery. These chicken thighs also freeze well. Store in a freezer safe container or zip lock bag for up to 3 months and thaw overnight in the refrigerator before reheating.
Top Tip
Use a meat thermometer to check the internal temperature of the thickest part of the chicken thigh before pulling it out of the air fryer. Boneless skinless chicken thighs vary in size and thickness which means cooking times can vary slightly from one batch to the next. The chicken is safe to eat when the internal temperature reaches 165 degrees but pulling it out right at 165 degrees and letting it rest for a few minutes will give you the juiciest result every time. Never rely on color alone to determine doneness with chicken thighs as the BBQ sauce can make them look fully cooked before they actually are.
Didn't find the answer you're looking for?
Ask AI to answer based on this recipe:
Frequently Asked Questions
Yes but the cooking time will need to be adjusted. Bone in chicken thighs are thicker and take longer to cook through than boneless so plan on adding 5 to 8 additional minutes to the total cook time. Always check the internal temperature of the thickest part of the thigh away from the bone and make sure it reaches at least 165 degrees before serving. The homemade BBQ sauce works beautifully on bone in thighs so the flavor will be just as delicious.
Absolutely! If you are short on time you can substitute your favorite store bought BBQ sauce for the homemade version in this recipe. Just make sure to check the label and use a certified gluten free BBQ sauce as many store bought versions contain gluten. The homemade BBQ sauce comes together in just minutes though and is so much better than anything from a bottle so I always recommend making it from scratch when you have the time.
Yes! This homemade BBQ sauce works beautifully on chicken wings too. If you are using chicken wings air fry at 400 degrees for 20 to 25 minutes flipping halfway through until the skin is crispy and the internal temperature reaches 165 degrees. The cook time and temperature will be different from the chicken thighs so keep that in mind when making the switch.
Make sure to spray your air fryer basket generously with oil before adding the chicken thighs. A light coating of avocado oil or olive oil spray works best and prevents the chicken and BBQ sauce from sticking to the basket during cooking. Avoid using aerosol cooking sprays like PAM on your air fryer basket as they can damage the nonstick coating over time. A refillable oil mister filled with avocado oil is a great investment for air fryer cooking.
Yes! The homemade BBQ sauce can be made up to a week in advance and stored in a sealed jar or airtight container in the refrigerator until you are ready to use it. Making the sauce ahead of time makes this recipe even faster on busy weeknights. You can also make a double batch of the sauce and use it on other recipes throughout the week like grilled chicken, burgers, or pulled pork.
These BBQ chicken thighs pair beautifully with so many classic sides. My Gluten Free Cowboy Baked Beans, Pineapple Coleslaw, Gluten Free Macaroni Salad, and Gluten Free BLT Pasta Salad are all perfect alongside this recipe for a complete and satisfying gluten free meal. For a lighter option a simple green salad or air fryer roasted vegetables work great too.