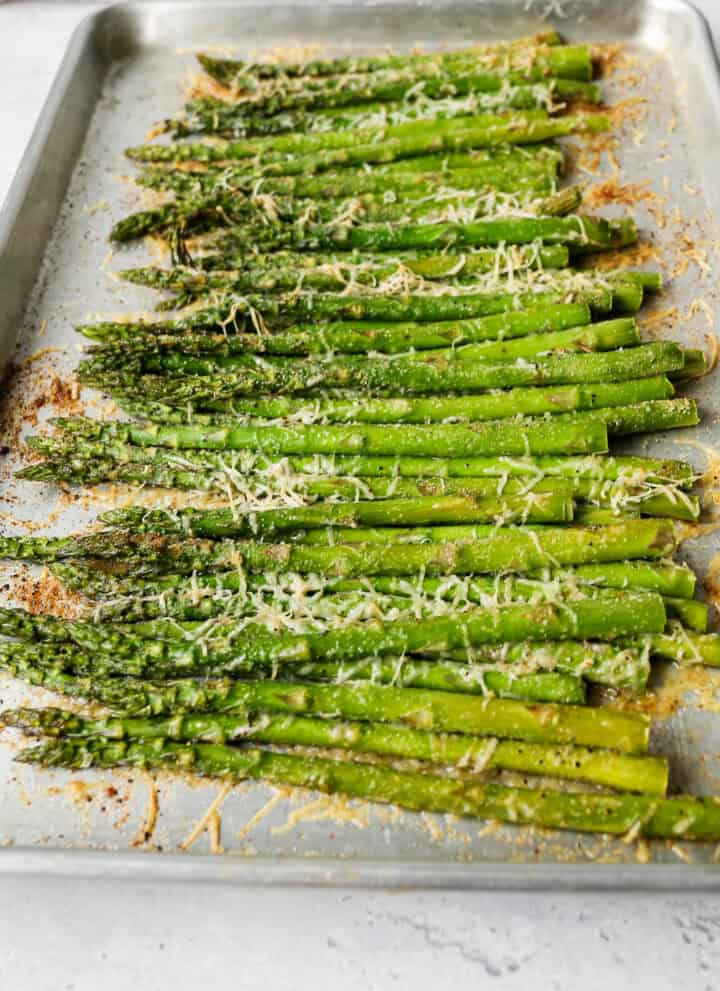
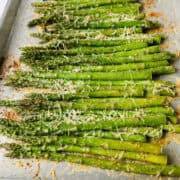
If you are looking for a simple and impressive vegetable side dish that comes together in just 15 minutes, this oven roasted garlic parmesan asparagus is exactly what you need. Fresh asparagus spears get drizzled with olive oil, topped with finely grated parmesan cheese, and seasoned with a simple blend of garlic powder, onion powder, salt, and pepper before roasting in a hot oven until perfectly tender with crispy golden edges.
It is one of those easy gluten free side dishes that looks and tastes like it came from a restaurant but requires almost no effort at all.

Roasted asparagus is a spring and summer staple in our house and this garlic parmesan version is by far the most requested.
The high oven temperature is the secret to getting that beautiful caramelized parmesan crust on the outside while keeping the asparagus perfectly tender on the inside.
It pairs beautifully with just about any main dish from grilled chicken and steak to pork tenderloin and baked fish, making it one of the most versatile and crowd pleasing gluten free vegetable side dishes you can add to your recipe rotation.
Once you try roasted asparagus with parmesan you will never go back to steaming it again.
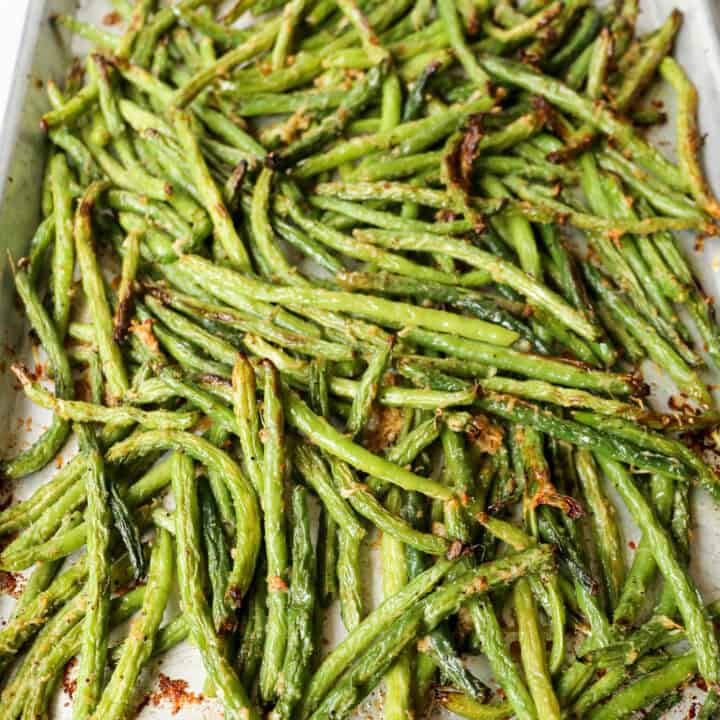
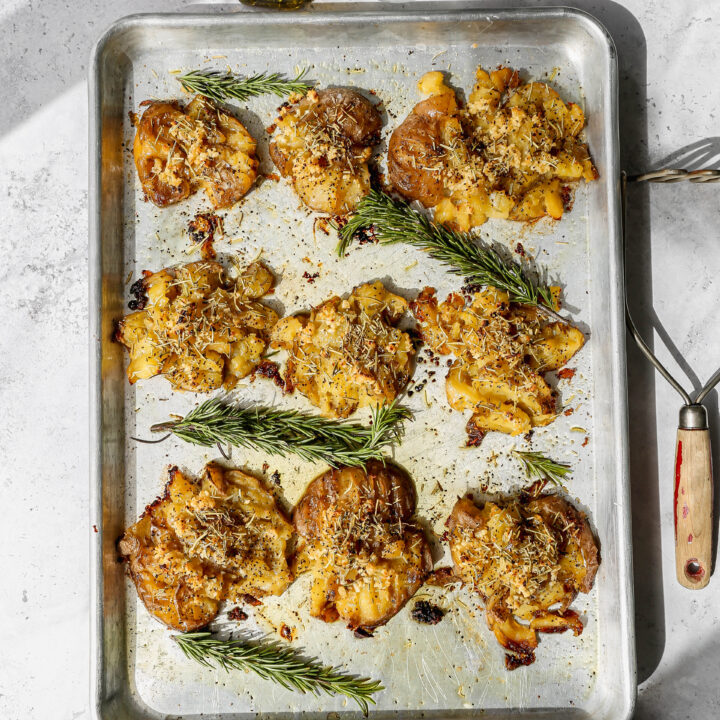
If you are looking for delicious veggie recipes try my Oven Roasted Parmesan Green Beans, my Air Fryer Roasted Zucchini Squash, my Crispy Garlic and Rosemary Smashed Potatoes or my Air Fryer Roasted Parmesan Broccoli.
You can find all of my side dish recipes here: Gluten Free Side Dishes
Instructions
Preheat your oven to 425 degrees.
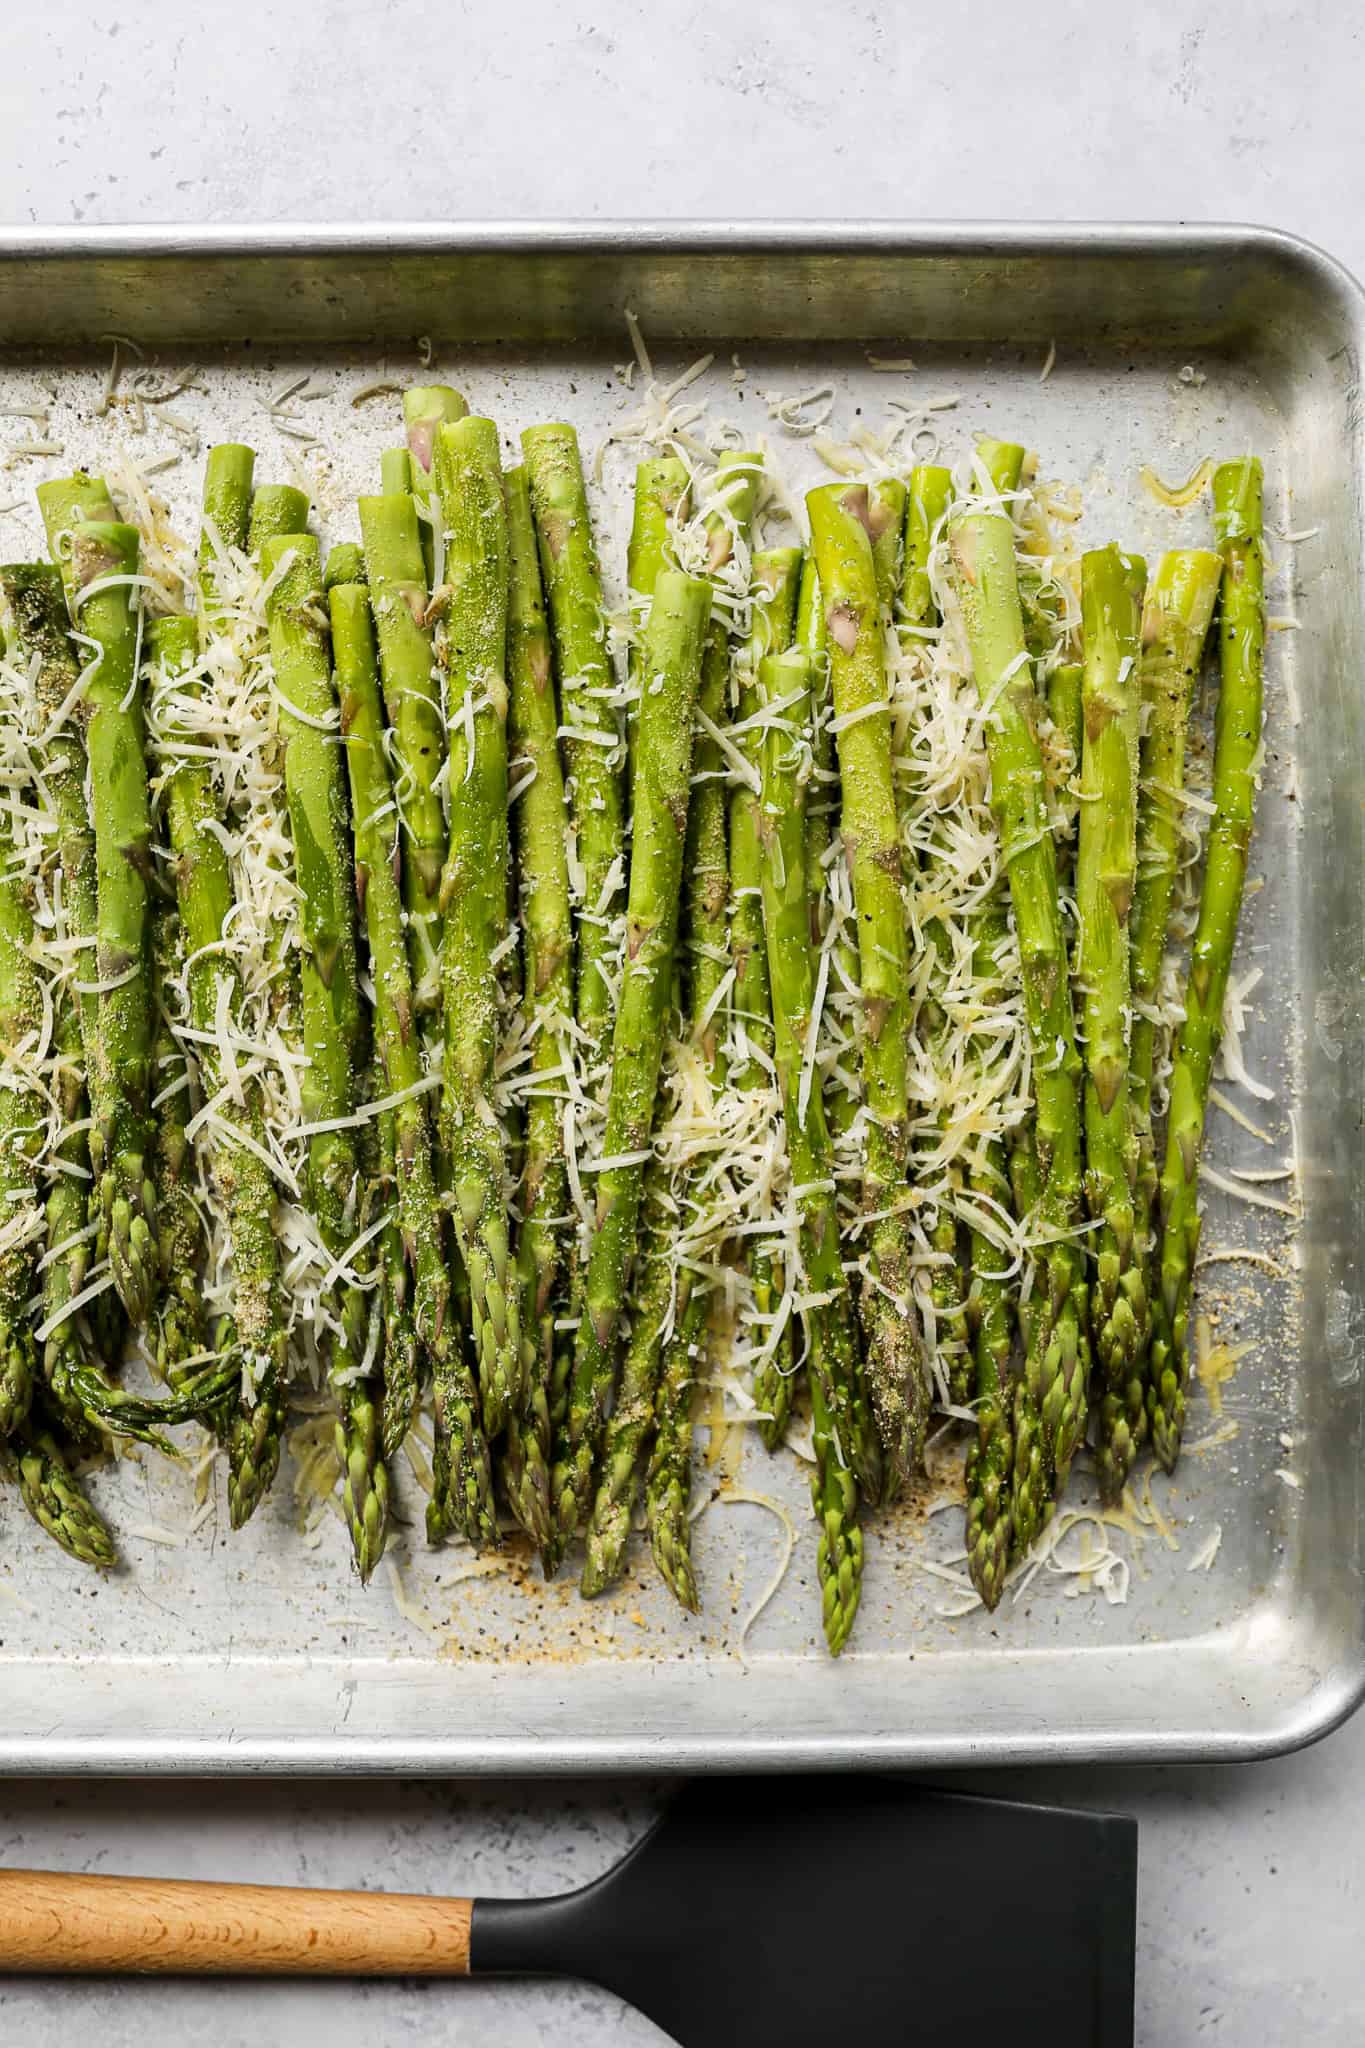
Cut the tough ends of your asparagus off and lay the asparagus in an even layer on the baking pan. Drizzle the olive oil over top.
In a small bowl whisk together the onion powder, garlic powder, sat and pepper.
Finely grate your parmesan cheese and then sprinkle over the asparagus evenly.
Sprinkle the spice mixture over the asparagus and cheese.
Use your hands to mix the asparagus to make sure it's all coated in oil, cheese and the spice mixture.
Bake at 425 degrees for 10 minutes.
Serve immediately.
Supplies


More Recipes You Might Enjoy


I get a lot of my ingredients from Thrive Market. Thrive Market has been a game changer for me eating gluten free. They have so many options I can't get at my rural grocery stores! Use this link to get 40% off your first order!
Oven Roasted Garlic Parmesan Asparagus
- Total Time: 15 minutes
- Yield: 6 servings 1x
- Diet: Gluten Free
Description
This easy oven roasted garlic parmesan asparagus is a simple and impressive gluten free side dish ready in just 15 minutes! Fresh asparagus spears are drizzled with olive oil, topped with finely grated parmesan cheese, and seasoned with garlic powder and onion powder before roasting at high heat until perfectly tender with crispy golden edges. The perfect easy gluten free vegetable side dish for any occasion!
Ingredients
- 2 bundles Fresh Asparagus, ends trimmed
- 2 Tbsp Olive Oil
- ½ cup Parmesan Cheese, finely grated
- 1 tsp Onion Powder
- 1 tsp Garlic Powder
- 1 tsp Salt
- ½ tsp Black Pepper
Instructions
Preheat your oven to 425 degrees.
Cut the tough ends of your asparagus off and lay the asparagus in an even layer on the baking pan. Drizzle the olive oil over top.
In a small bowl whisk together the onion powder, garlic powder, sat and pepper.
Finely grate your parmesan cheese and then sprinkle over the asparagus evenly.
Sprinkle the spice mixture over the asparagus and cheese.
Use your hands to mix the asparagus to make sure it's all coated in oil, cheese and the spice mixture.
Bake at 425 degrees for 10 minutes.
Serve immediately.
- Prep Time: 5 minutes
- Cook Time: 10 minutes
- Category: Side Dish, Vegetables
- Method: Baking
- Cuisine: American
If you make this Oven Roasted Garlic Parmesan Asparagus I would love to hear what you think! Leave a star rating and a comment below and let me know what you served it with.
Don't forget to save this recipe to your Pinterest boards so you can find it again all spring and summer long!
Storage
Store leftover roasted garlic parmesan asparagus in an airtight container in the refrigerator for up to 3 days. Keep in mind that roasted asparagus is always best served fresh immediately out of the oven as it will soften and lose its crispy parmesan edges as it sits. To reheat, spread the asparagus in a single layer on a baking sheet and warm in a 400 degree oven for 3 to 5 minutes until heated through. Avoid reheating in the microwave as it will make the asparagus soggy and limp. This recipe is not suitable for freezing as the asparagus will become mushy and watery once thawed.
Top Tip
Make sure your asparagus spears are completely dry before drizzling them with olive oil and adding the parmesan and spices. Excess moisture on the asparagus will cause it to steam in the oven rather than roast, which means you will end up with soft and limp spears instead of the perfectly tender asparagus with crispy caramelized parmesan edges you are going for. Pat the asparagus dry with paper towels after washing and make sure they are spread in a single even layer on the baking pan.
Didn't find the answer you're looking for?
Ask AI to answer based on this recipe:
Frequently Asked Questions
The easiest way to trim asparagus is to lay your spear on the cutting board and gently press your knife into the end starting at an inch up. Move the knife up and press gently until you find the spot the knife will go through easily. This takes longer than snapping it, but typically leaves you with more asparagus.
At 425 degrees asparagus typically takes about 10 minutes to roast perfectly. You will know it is done when the spears are bright green and tender when pierced with a fork and the parmesan cheese is golden and slightly crispy on the edges. Thinner asparagus spears will cook faster than thick ones so keep an eye on them after the 8 minute mark to make sure they do not overcook. Overcooked asparagus will turn an olive green color and become mushy so pull them out as soon as they are tender.
Both work well but they do cook at slightly different rates. Thin asparagus spears will be done in about 8 to 10 minutes at 425 degrees while thicker spears may need 12 to 15 minutes. If your asparagus bundle contains a mix of thin and thick spears try to group similar sizes together on the pan so everything finishes at the same time. Personally I love thin asparagus for roasting because it gets slightly crispy on the edges which gives you the best texture.
Finely grating your own parmesan from a block is strongly recommended for the best results. Pre grated parmesan from a shaker container contains anti caking agents that prevent it from melting and crisping up properly in the oven. Freshly grated parmesan melts beautifully onto the asparagus and creates that gorgeous golden crispy crust that makes this recipe so delicious. A microplane or the fine side of a box grater works perfectly for grating parmesan for this recipe.
Absolutely! This recipe is very easy to customize to suit your taste. A pinch of red pepper flakes adds a nice kick of heat, fresh lemon zest brightens everything up beautifully, and a drizzle of balsamic glaze over the finished asparagus adds a lovely sweet and tangy flavor. You can also add a little smoked paprika to the spice blend for a deeper smoky flavor that pairs especially well with grilled meats.
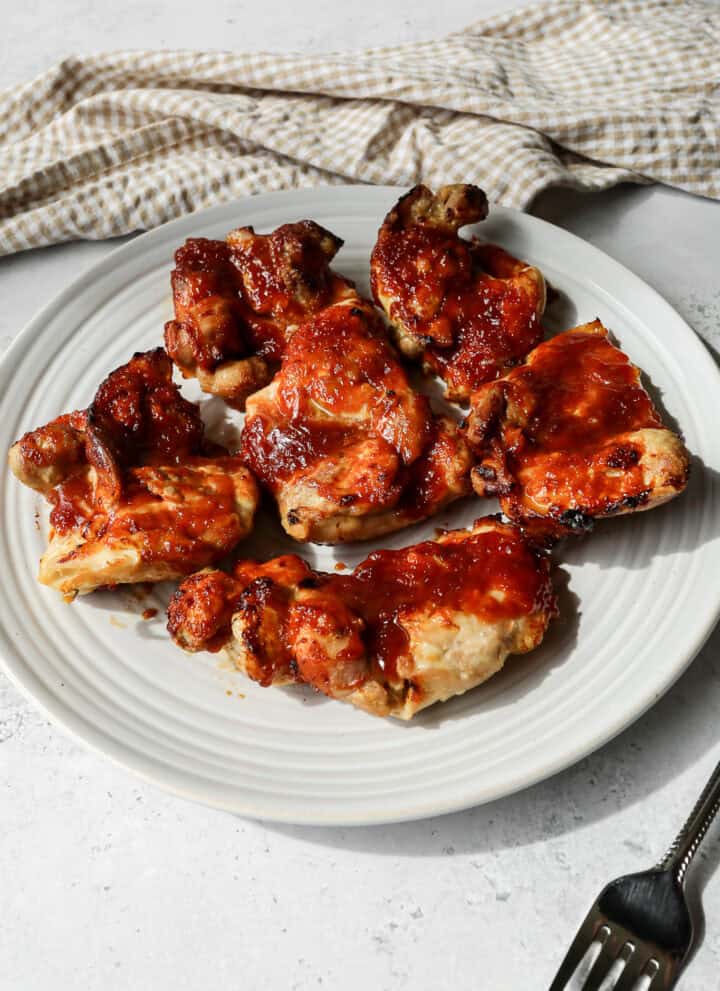
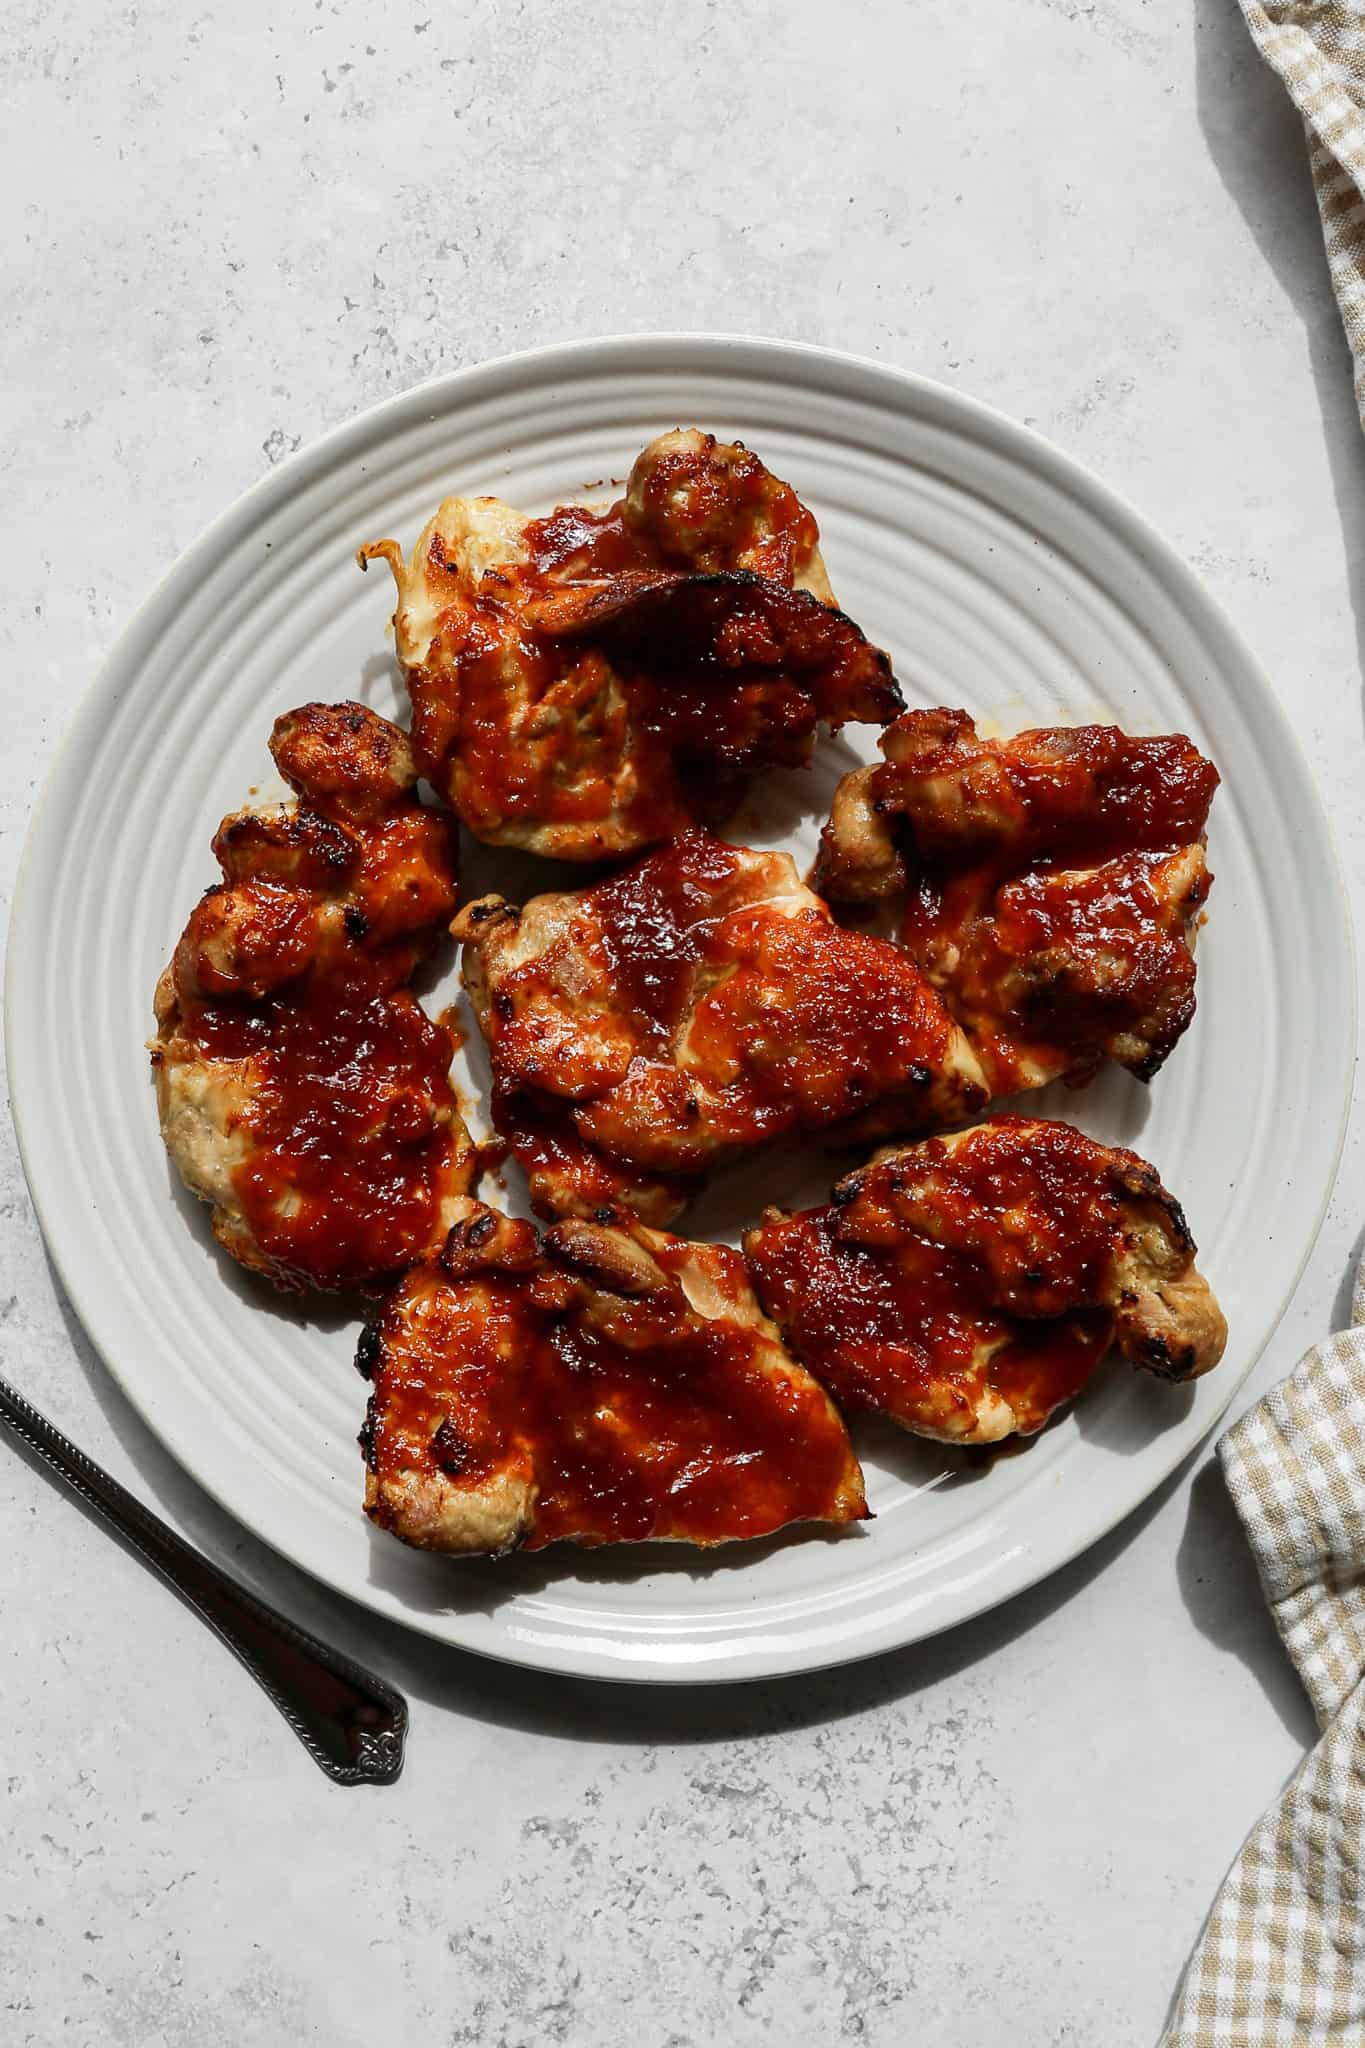
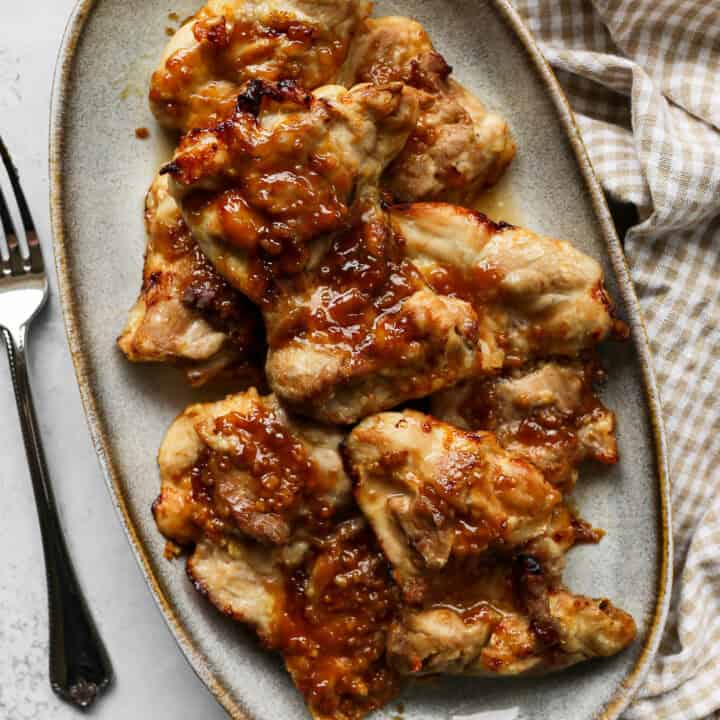
This roasted asparagus pairs beautifully with so many different main dishes. It is wonderful alongside grilled chicken, baked chicken thighs, pork tenderloin, steak, and baked fish. For a complete gluten free meal I love serving it with my Air Fryer BBQ Chicken Thighs, my Air Fryer Lemon Garlic Chicken Thighs, or my Air Fryer Teriyaki Chicken Thighs. It is also a gorgeous side dish for Easter dinner, Mother's Day brunch, and any spring or summer gathering where you want an impressive but effortless vegetable side.