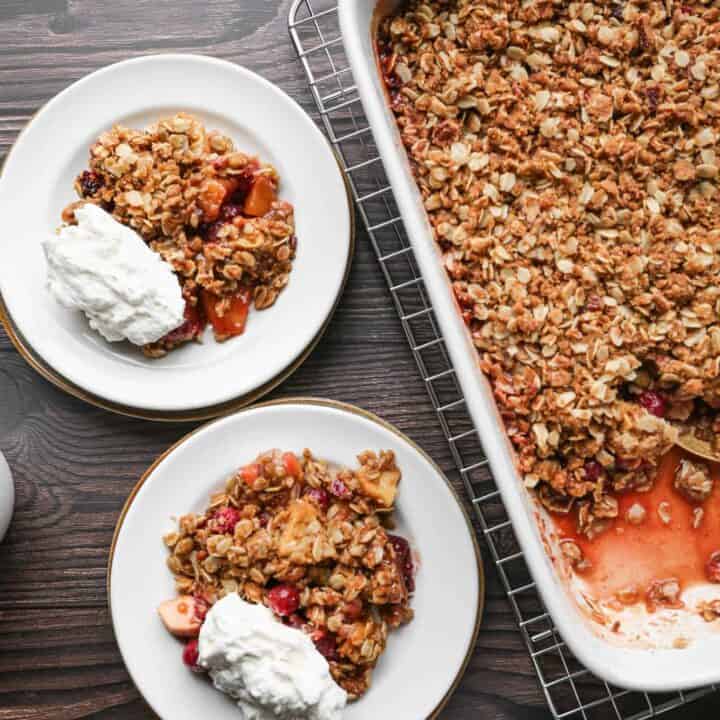
This gluten free apple crisp is easy to make from scratch. The homemade topping is made with oats which makes this a healthier option. This simple recipe is similar to the old fashioned apple crisp I grew up eating.
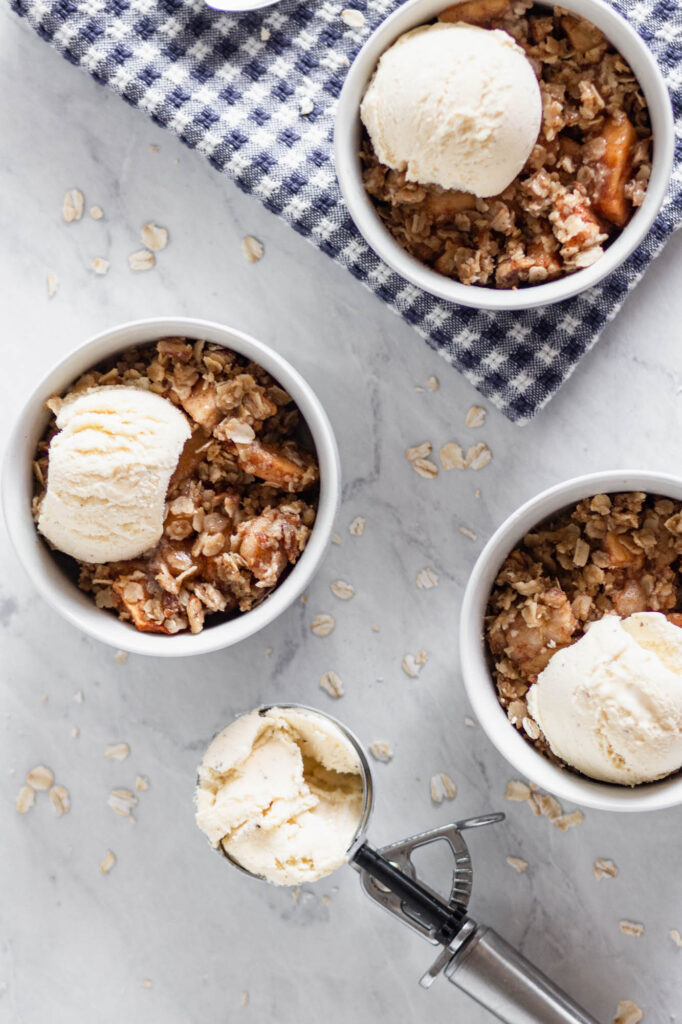
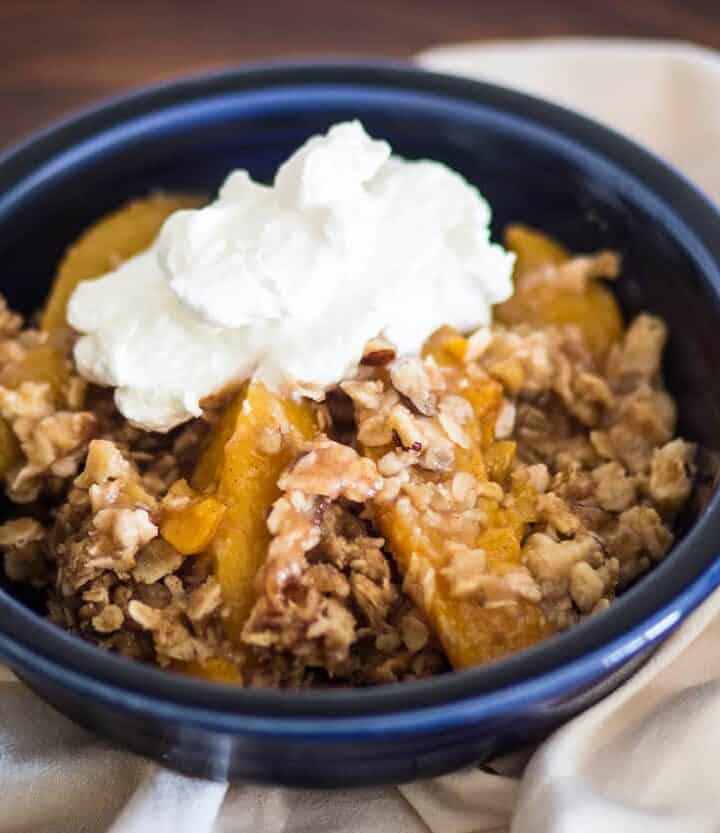
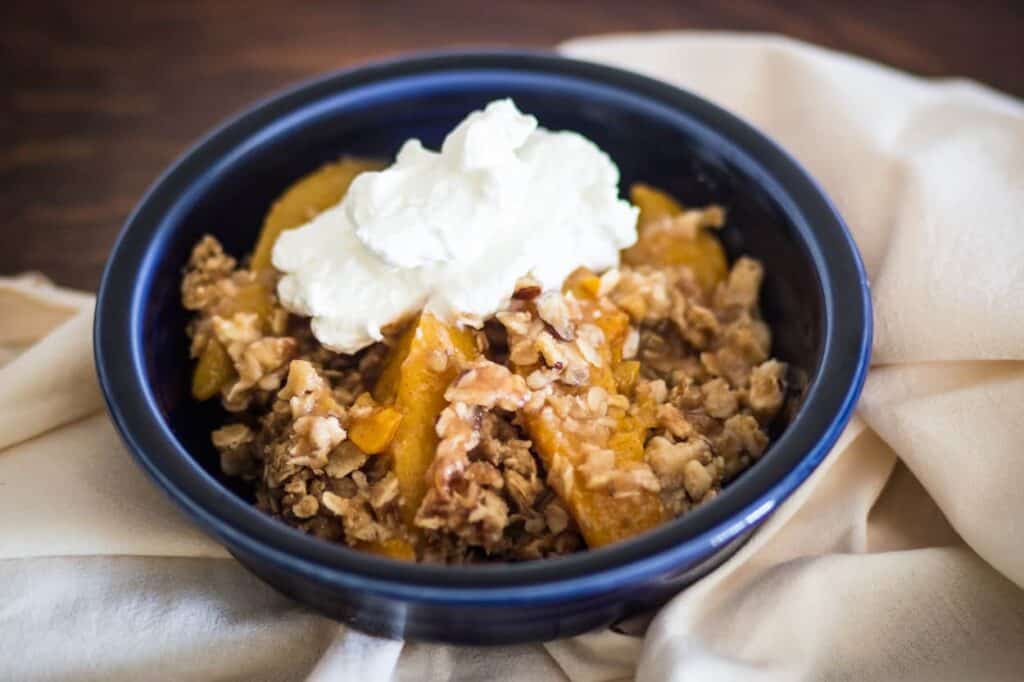
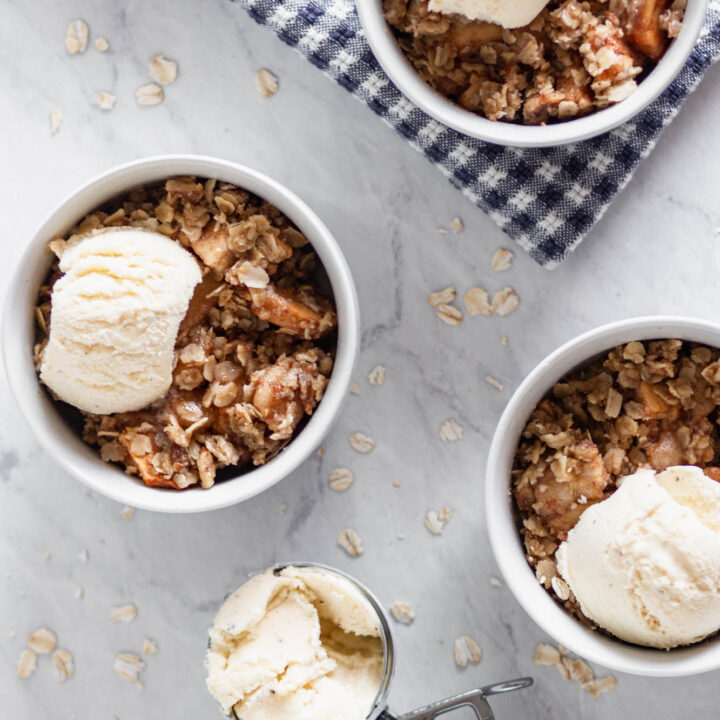
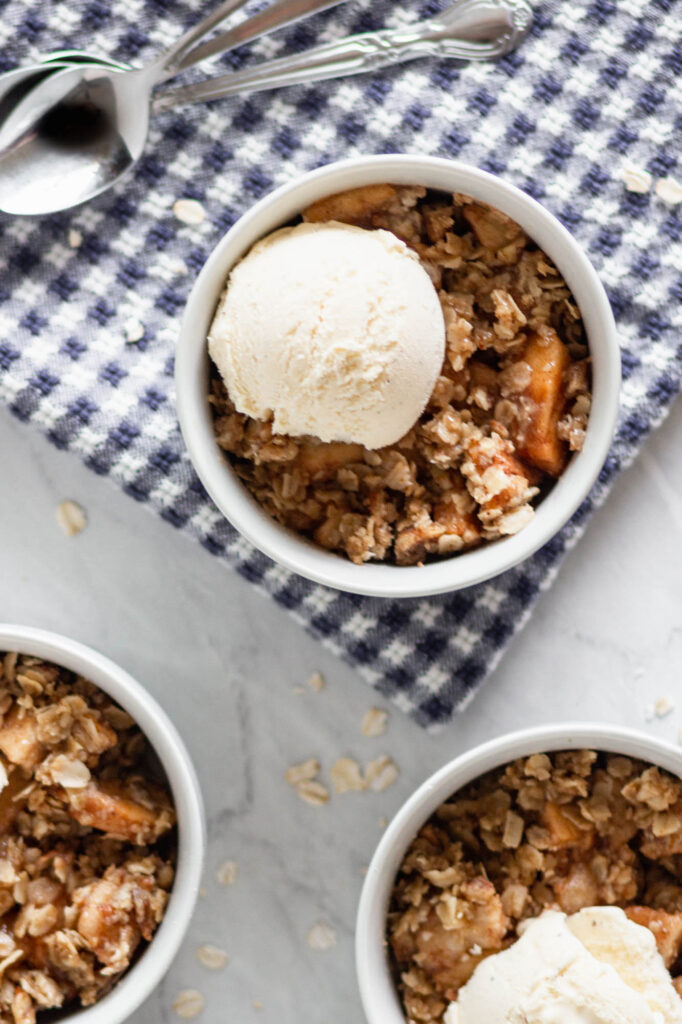
I like to mix sweet and tart apples in this recipe to give this dessert a mix of flavors. This gluten free apple crisp is delicious warm served with vanilla ice cream. It is simple to make this dessert ahead of time and simply reheat it to serve.
If you are looking for more apple recipes try my Gluten Free Cranberry Apple Crisp, my Overnight Apple Pie Chia Pudding, my Gluten Free Apple Almond Cake or my Gluten Free Apple Spice Cookies.
You can find all of my dessert recipes here: Gluten Free Desserts Recipes
Instructions
Preheat oven to 350 degrees.
In a large bowl combine cored, peeled and sliced apples with sugar, arrowroot powder, lemon juice, cinnamon and apple pie spice. Stir until apples are coated. Pour this mixture into a 9x13 baking dish.
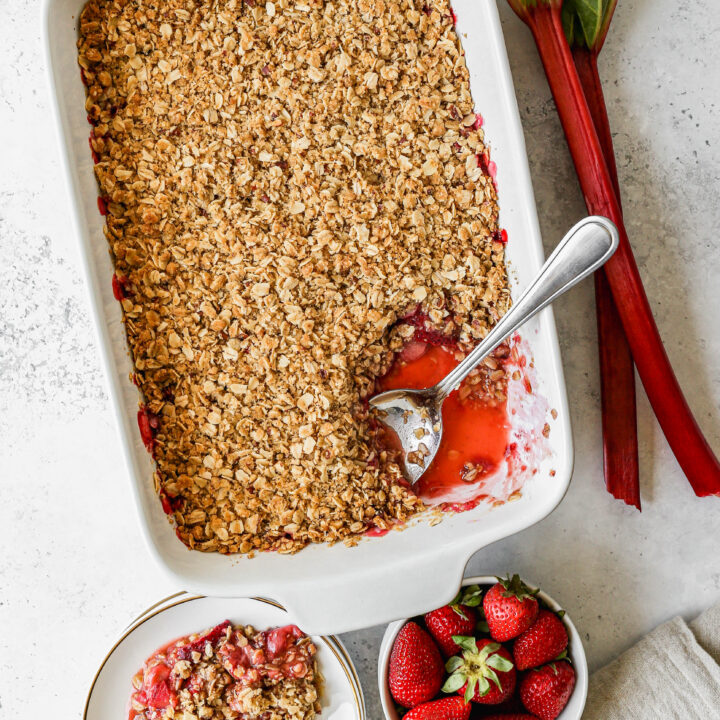
In the bowl of your stand mixer combine the topping ingredients: rolled oats, brown sugar, brown rice flour, sea salt, melted butter and chopped pecans. Mix until a crumble forms. Pour this crumble mixture over the apples in the 9x13 pan.
Bake for 30 minutes or until the topping is browned and the apple mixture is bubbling.
Let cool slightly before serving. I like to serve my apple crisp warm with vanilla ice cream on top.
Gluten Free Apple Crisp Supplies

Frequently Asked Questions
Yes. You will just need to make sure that the oats you are using are certified gluten free. Regular rolled oats or oatmeal is typically processed along with wheat flour and can be contaminated with gluten. There will be a seal of certification on anything that is gluten free.
The biggest difference is that a crisp contains oats and a crumble does not. Both a crumble and crisp are a topping that goes over a fruit mixture and is baked until bubbling and browned.
A crisp gets its name because the oats in the topping will become crispy when baked. A crumble is usually made with a flour base and will not be crispy or crunchy.
Yes! This is a very simple recipe to make. I make it frequently because it's easy to put together and to have a dessert in a hurry. You could even make it the day before you need it.

If you like this recipe you might also enjoy:

I get a lot of my ingredients from Thrive Market. Thrive Market has been a game changer for me eating gluten free. They have so many options I can't get at my rural grocery stores! Use this link to get 25% off your first order!
Gluten Free Apple Crisp
- Total Time: 50 minutes
- Yield: 8 servings
- Diet: Gluten Free
Description
This gluten free apple crisp is easy to make from scratch. The homemade topping is made with oats making this a healthier option. This simple recipe is similar to the old fashioned apple crisp I grew up eating.
Ingredients
Filling:
10-12 Apples, sweet and tart mixed, cored, peeled & sliced
¼ cup Granulated Sugar
2 Tbsp. Arrowroot Powder
2 Tbsp. Lemon Juice
1 tsp. Ground Cinnamon
1 tsp. Apple Pie Spice
Topping:
1 ½ cups Rolled Oats
¾ cup Brown Sugar
½ cup Brown Rice Flour
1 tsp. Sea Salt
½ cup Unsalted Butter, melted
½ cup Toasted Pecans or Walnuts, chopped
Instructions
Preheat oven to 350 degrees.
In a large bowl combine cored, peeled and sliced apples with sugar, arrowroot powder, lemon juice, cinnamon and apple pie spice. Stir until apples are coated. Pour this mixture into a 9x13 baking dish.
In the bowl of your stand mixer combine the topping ingredients: rolled oats, brown sugar, brown rice flour, sea salt, melted butter and chopped pecans. Mix until a crumble forms. Pour this crumble mixture over the apples in the 9x13 pan.
Bake for 30 minutes or until the topping is browned and the apple mixture is bubbling.
Let cool slightly before serving. I like to serve my apple crisp warm with vanilla ice cream on top.
- Prep Time: 20 minutes
- Cook Time: 30 minutes
- Category: Dessert
- Method: Baking
- Cuisine: Gluten Free