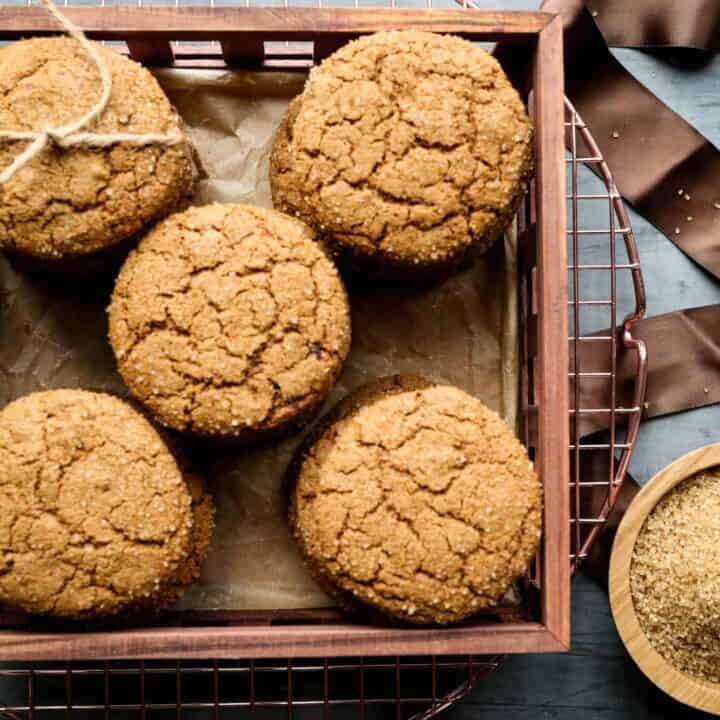
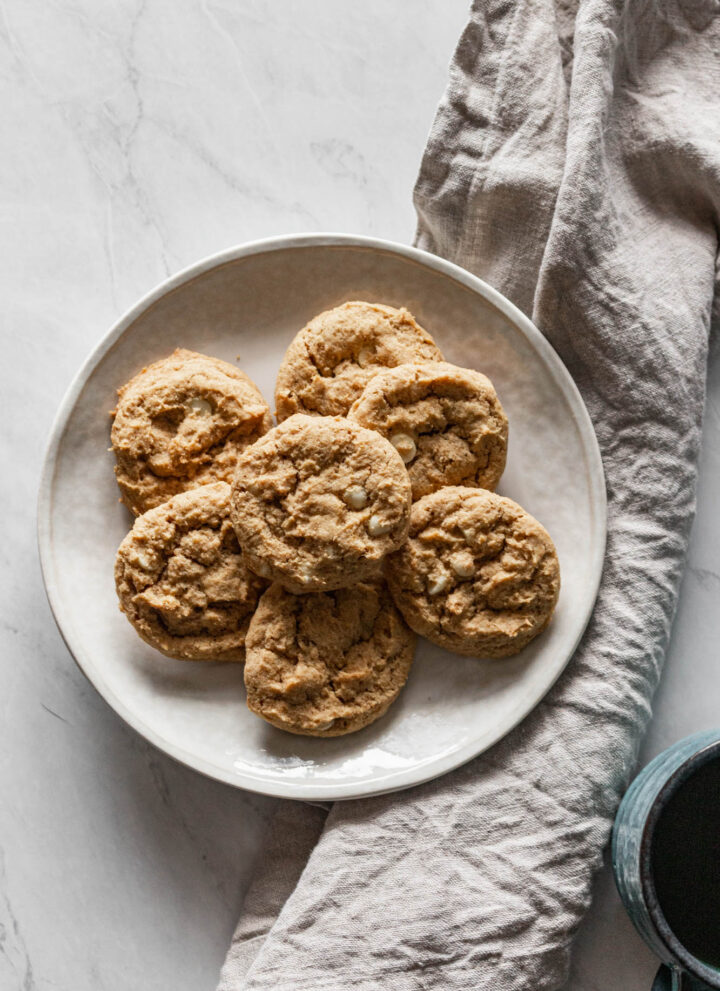
This easy recipe for gluten free gingerbread cookies are soft and chewy. They are the classic Christmas recipe made healthy! These cookies are the best homemade gluten free gingerbread. They are not your usual roll out cookies, but are super simple to make.

I am a fan of molasses! I love the black licorice flavor and the richness it brings to recipes. These cookies have that deep, dark molasses flavor. There isn't any refined sugar in these cookies, so they are bit healthier than the usual recipe.

How long will gingerbread cookies stay fresh?
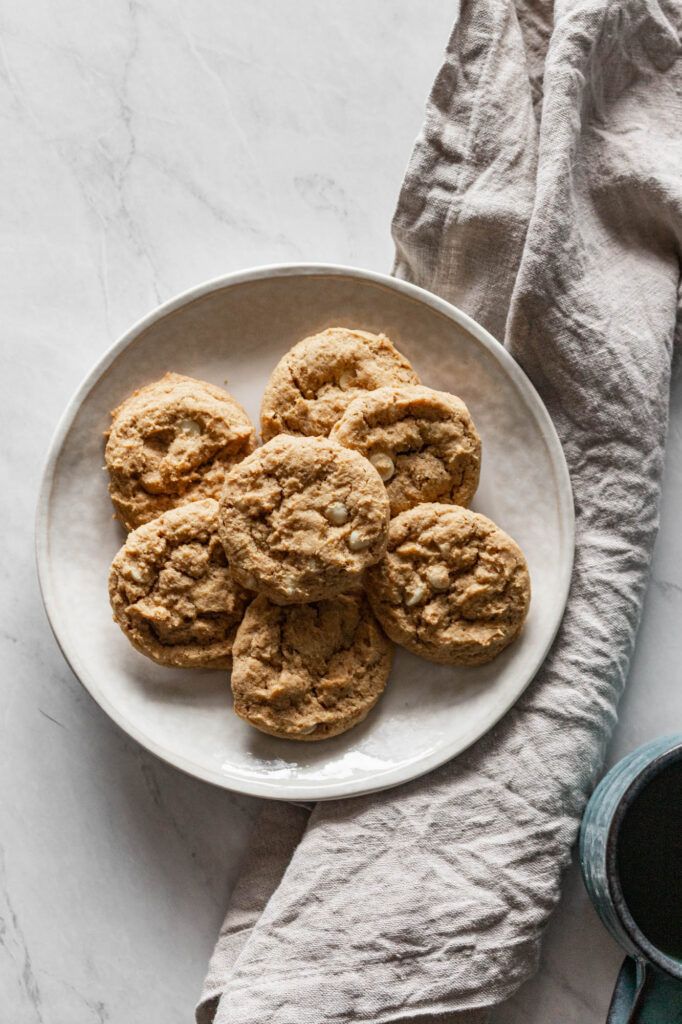
These cookies need to be stored in an airtight container to help them stay fresh. If stored properly they can last up to a week. The airtight container will help the cookies maintain their soft, chewy texture.
Can gingerbread cookies be frozen?
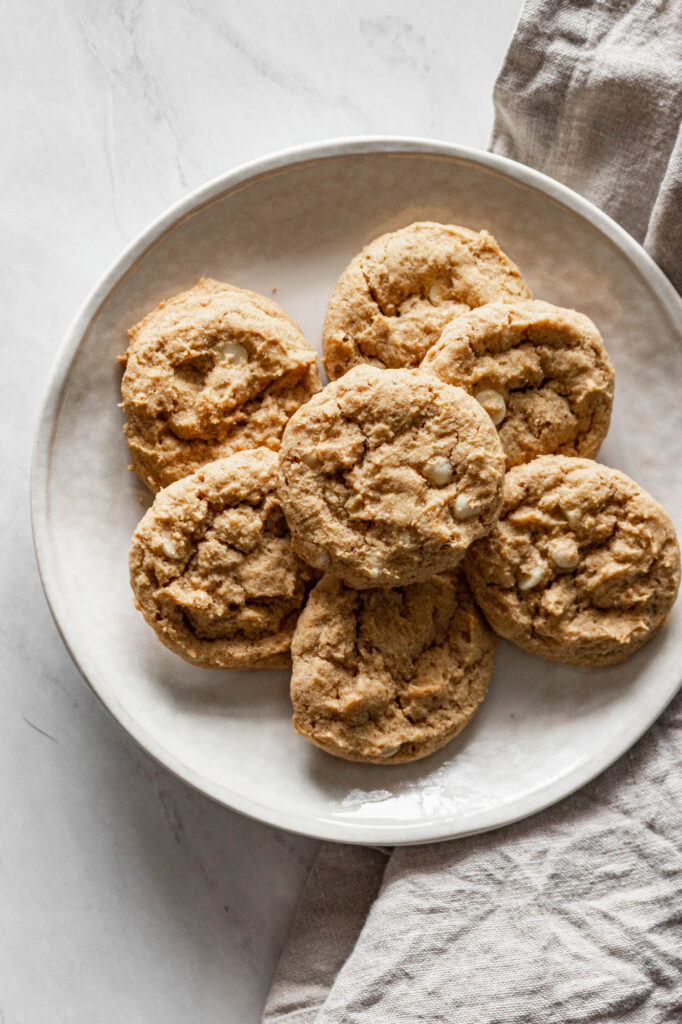
Yes! These cookies freeze really well. Make sure you use a freezer safe container so they don't get ice crystals on them. When you defrost the cookies take them out of the container and place them on a towel to absorb any moisture they pick up in the freezer.
How can I tell when gingerbread cookies are done?
These cookies will be firm to the touch when they are done. With the dark coloring from molasses it's hard to tell if they are browned. They should not have a glossy look to them like they are raw.
If you like this recipe you might also enjoy:
Gluten Free Gingersnap Cookies
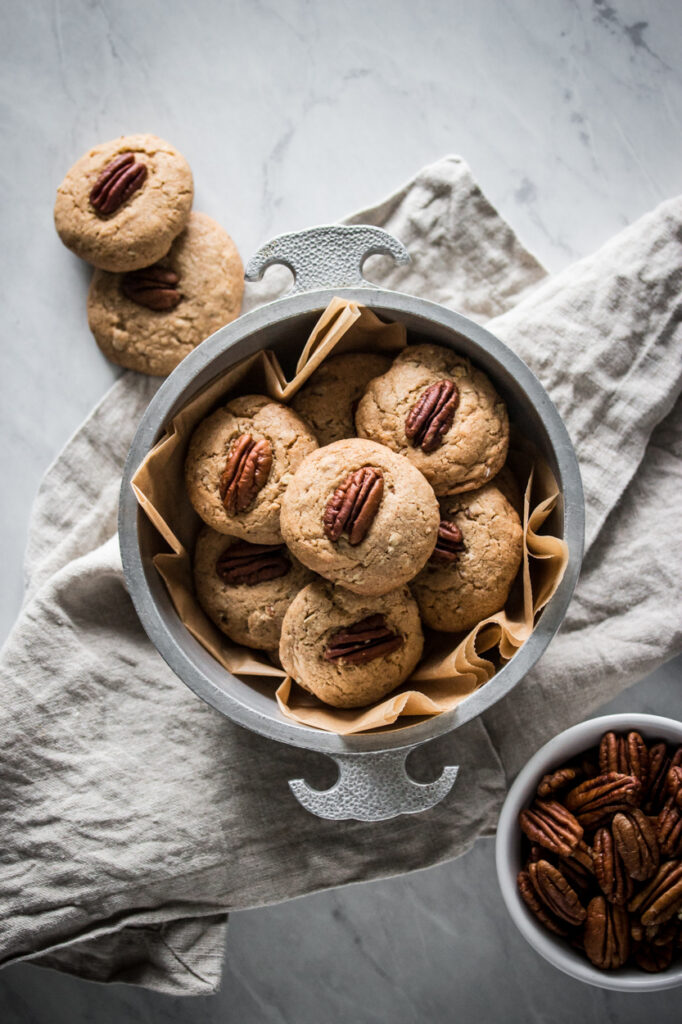
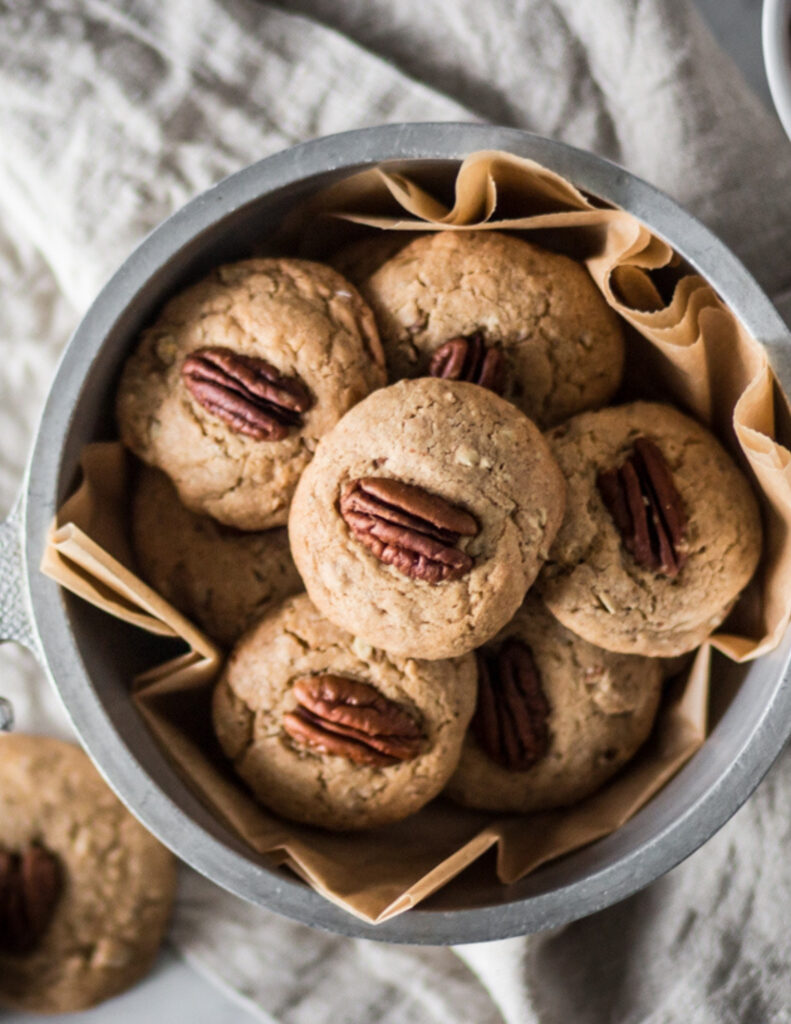
Gluten Free Ginger Cookies
Gluten Free Gingerbread Scones
Gluten Free Gingerbread Bundt Cake
I get some of my ingredients from Thrive Market. Thrive Market has been a game changer for me eating gluten free. They have so many options I can't get at my rural grocery stores! Use this link to get 25% off your first order!
PrintGluten Free Gingerbread Cookies
- Total Time: 25 minutes
- Yield: 20 1x
Description
This easy recipe for gluten free gingerbread cookies are soft and chewy. They are the classic Christmas recipe made healthy! These cookies are the best homemade gluten free gingerbread. They are not your usual roll out cookies, but are super simple to make.
Ingredients
2 cups Almond Flour
¼ cup Coconut Flour
2 Tbsp. Tapioca Flour
1 Tbsp. Coconut Sugar
½ tsp. Baking Soda
¼ tsp. Sea Salt
2 tsp. Ground Ginger
1 ¼ tsp. Ground Cinnamon
¼ tsp. Ground Cloves
2 large Eggs
¼ tsp. Vanilla Extract
½ cup Molasses
1 Tbsp. Unsalted Butter, melted
Instructions
Preheat your oven to 350 degrees. Line two baking sheets with parchment paper.
In the bowl of your stand mixer, mix together the almond flour, coconut flour, tapioca flour, coconut sugar, baking soda, sea salt, ground ginger, ground cinnamon and ground cloves until the dry ingredients are combined.
Add the eggs, vanilla extract, molasses and butter. Mix until all the ingredients are combined.
You may need to refrigerate the dough for an hour so it isn't too sticky to work with.
Using a cookie scoop or tablespoon place the dough on your baking sheets two inches apart. The cookies will spread a little.
Bake 12-15 minutes or until the cookies are firm when touched.
Let the cookies cool for 10 minutes on the baking sheet before moving them to a cooling rack. Let the cookies cool completely before you store them in an airtight container.
Notes
You can replace the butter with coconut oil if you are dairy-free.
- Prep Time: 10 minutes
- Cook Time: 15 minutes
- Category: Cookies
- Method: Baking
- Cuisine: Christmas, Gluten Free