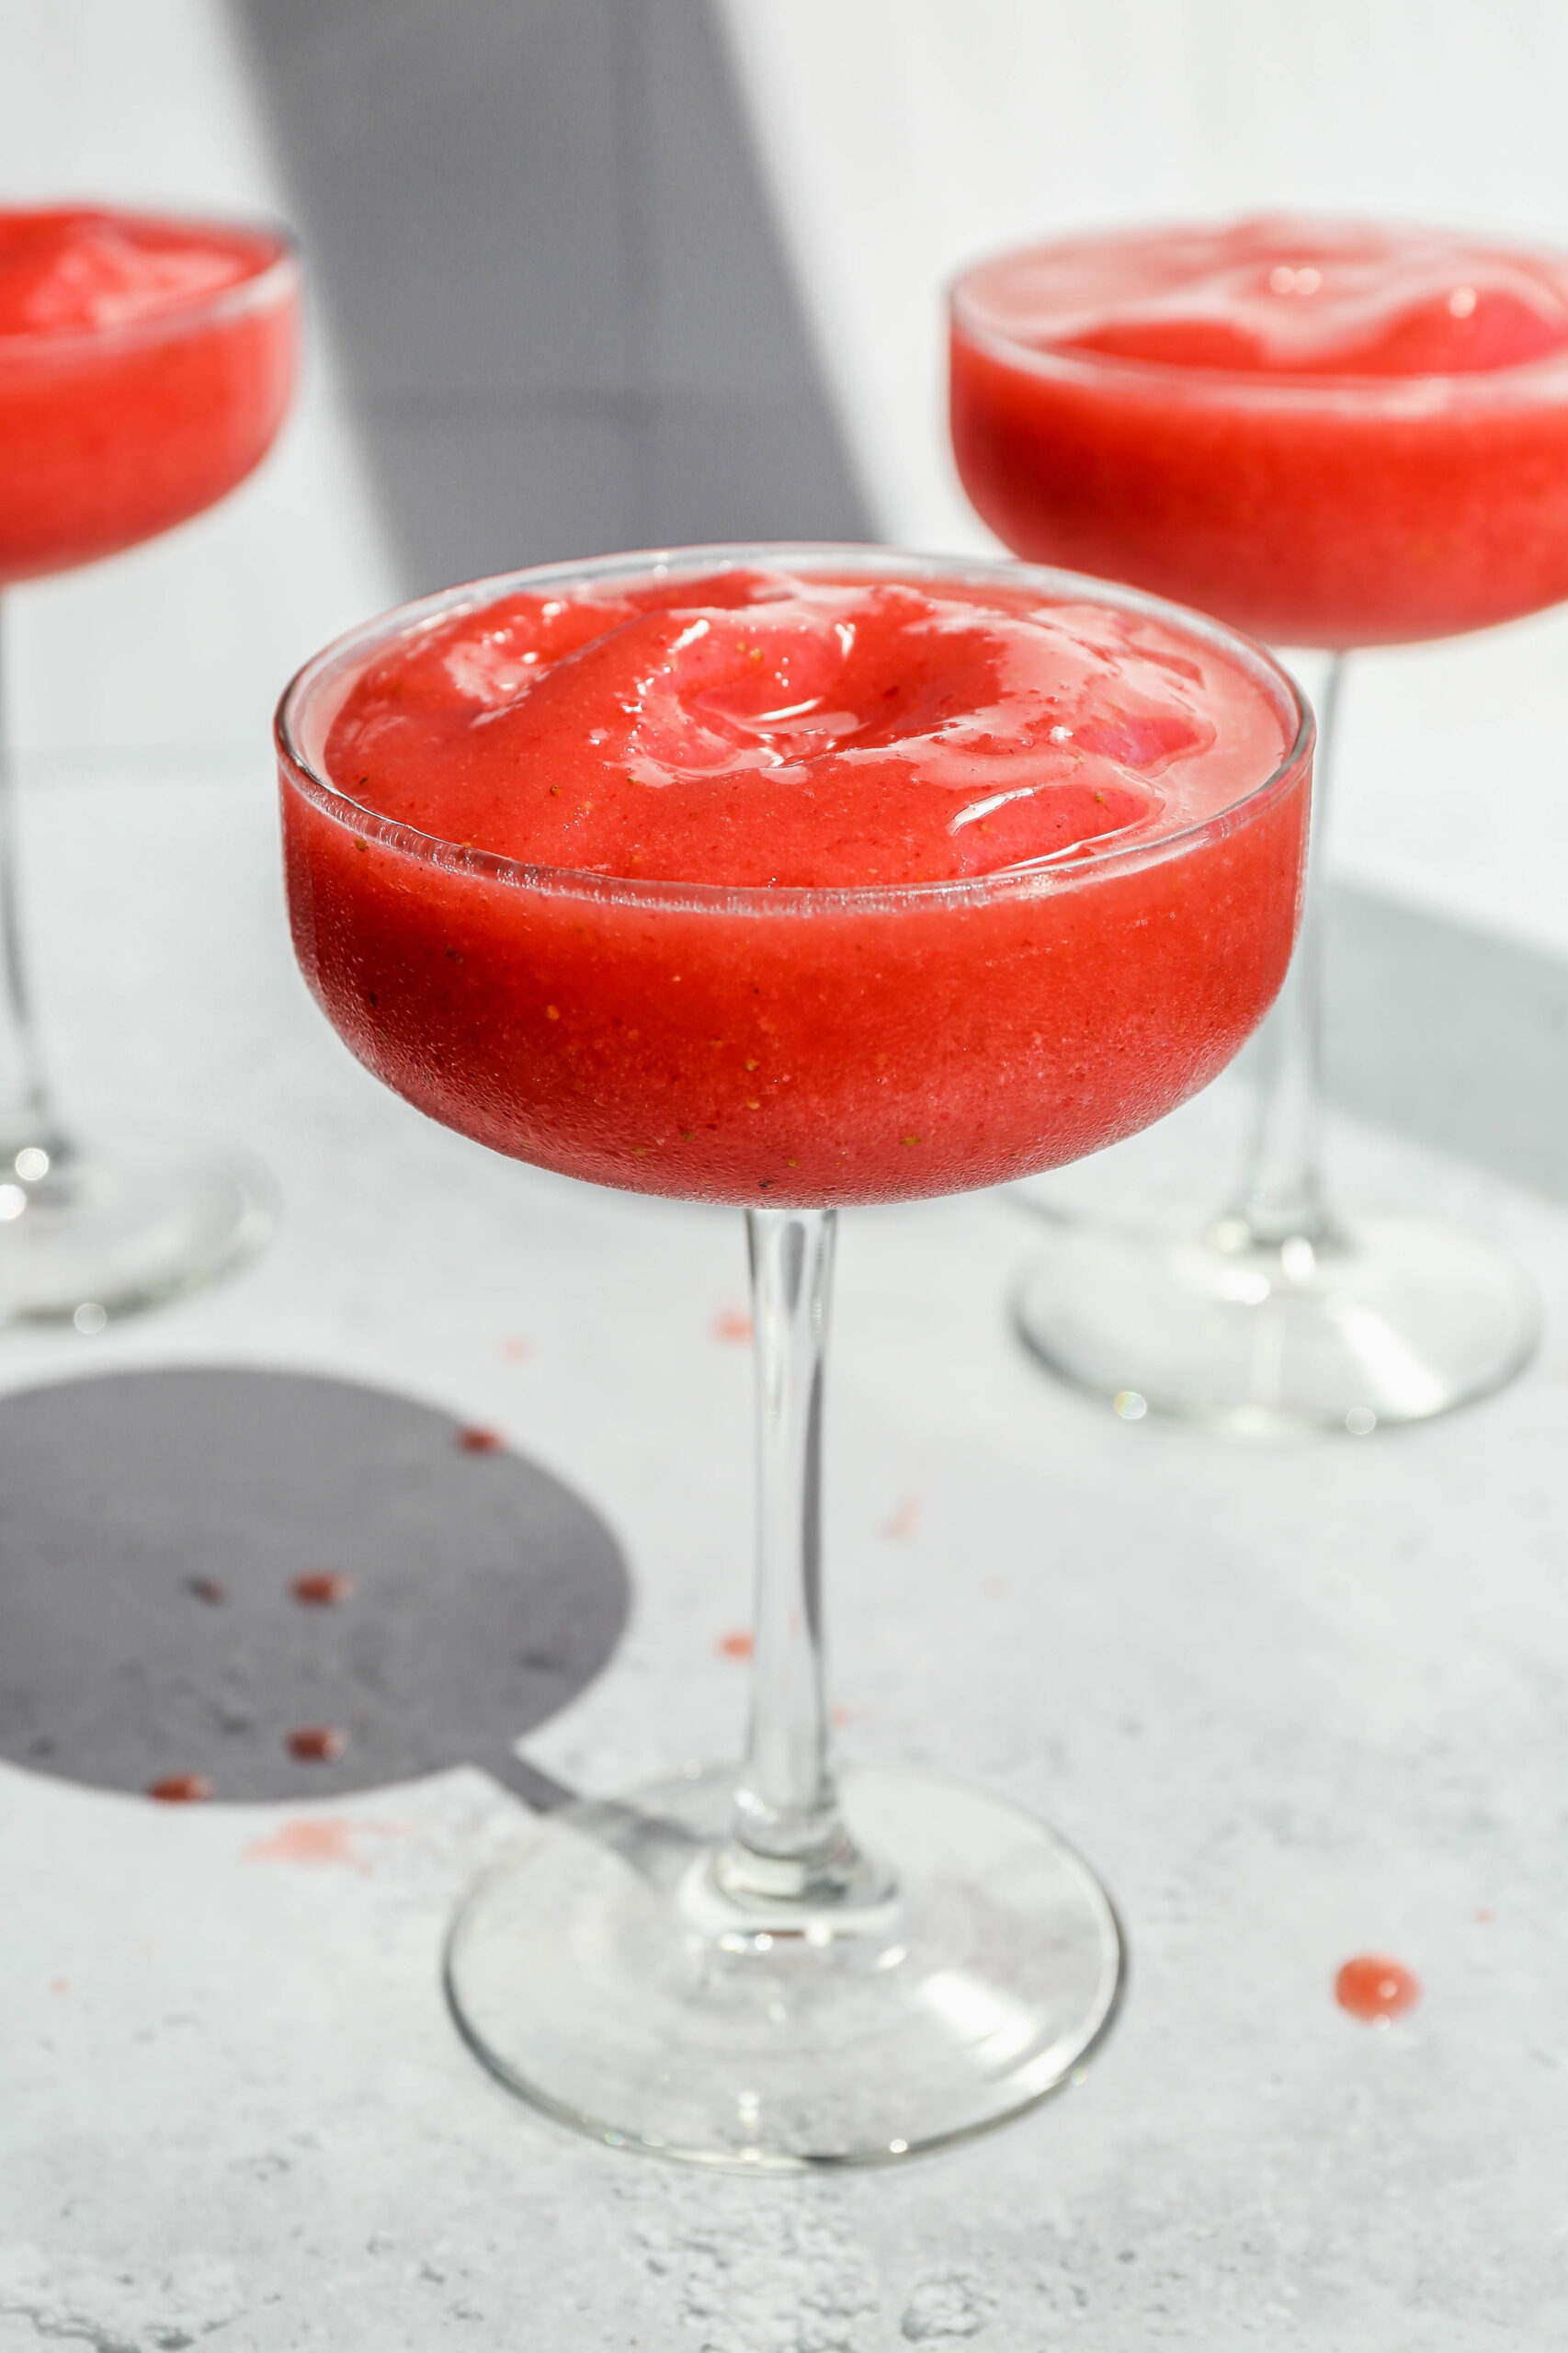
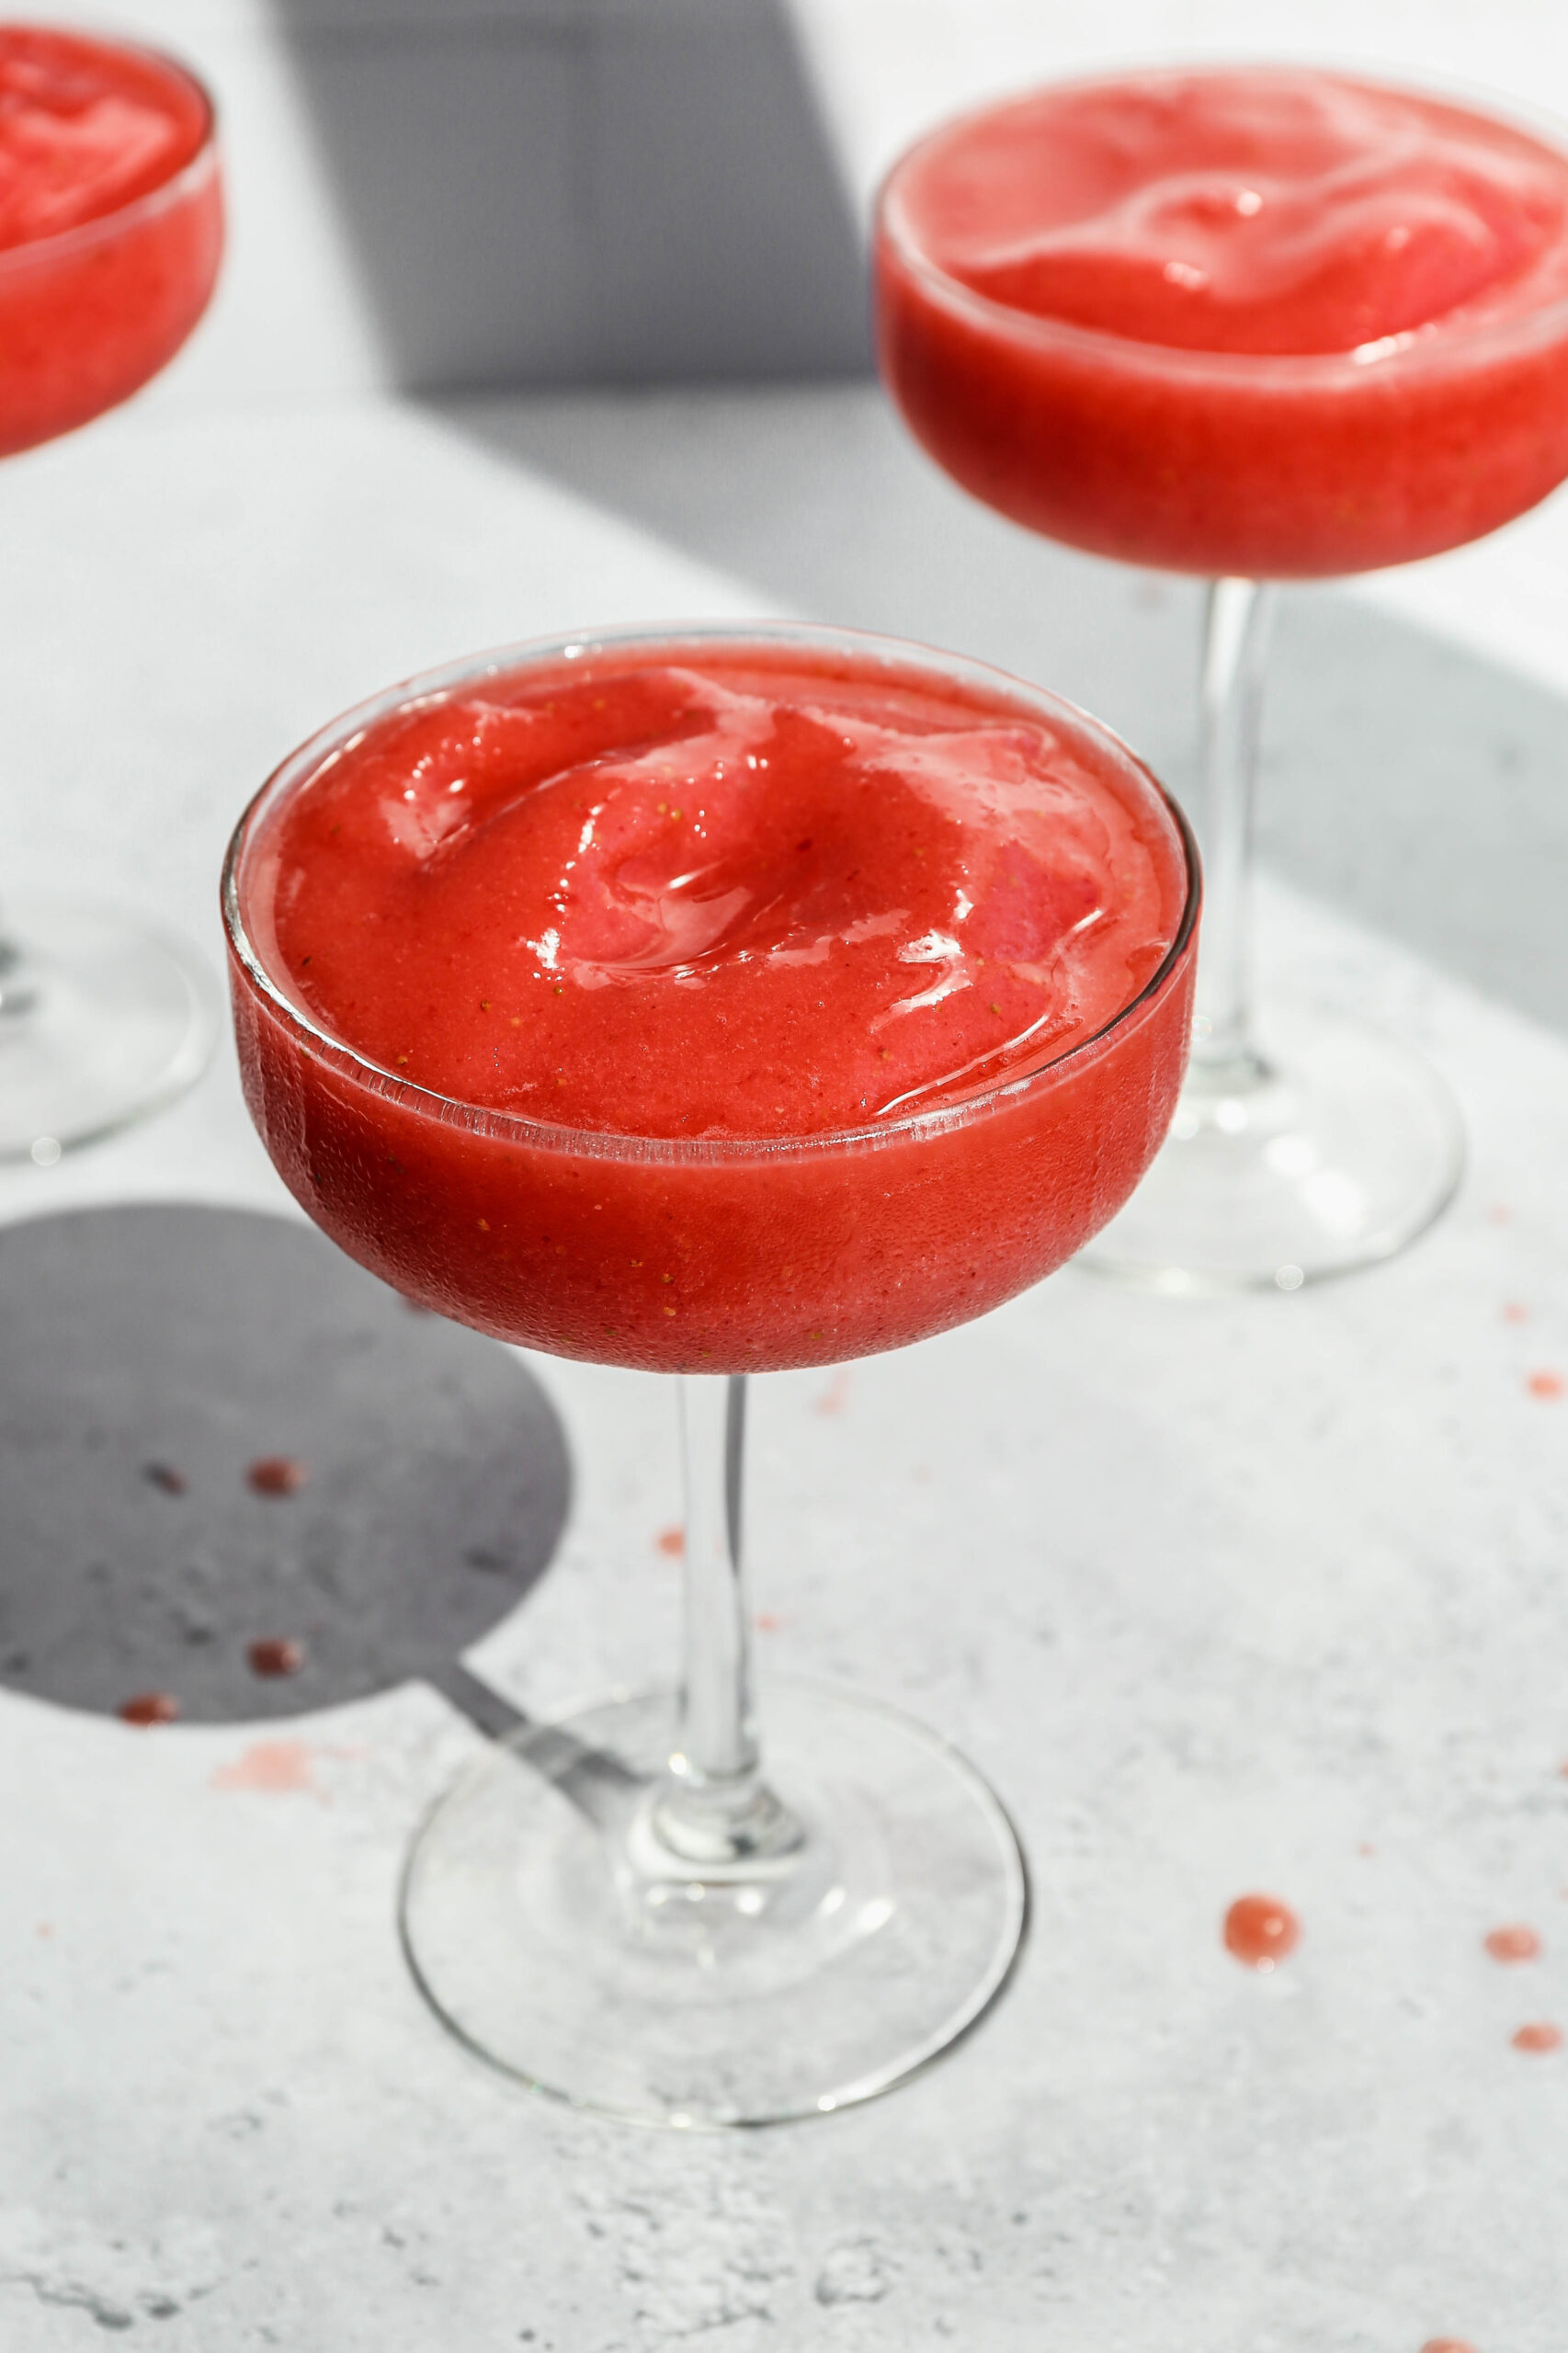
This Strawberry Daiquiri Mocktail is one of the most popular recipes on my site and once you make it you will completely understand why. Frozen strawberries, simple syrup, lime juice, lemon juice, soda water, and ice go into the blender and come out as the most gorgeous and refreshing slushy frozen drink that tastes like a classic strawberry daiquiri without any alcohol.
It takes literally 5 minutes and the result is so pretty and so delicious that it works for absolutely any occasion from a casual Tuesday afternoon to a full summer party spread.
I love that this recipe works for everyone at the table! Kids love it just as much as adults and nobody feels left out.
The bright strawberry flavor is sweet and tangy and the slushy frozen texture makes it feel like a real treat especially on a hot day.
If you make the simple syrup ahead of time and keep it in the refrigerator you can blend these up in just a few minutes whenever the craving strikes.
If you are looking for more non alcoholic mocktail recipes you might also enjoy my Easy Frozen Watermelon Margarita Mocktail, my Pina Colada Mocktail, my Frozen Cranberry Margarita Mocktail, my Long Island Iced Tea Mocktails or my Classic Margarita Mocktail.
Ingredients
- Frozen Strawberries
- Simple Syrup or use the recipe below to make your own
- Lime Juice
- Lemon Juice
- Soda Water or Strawberry Seltzer
- Ice
- Sea Salt
Instructions
Place frozen strawberries, simple syrup, lime juice, lemon juice, soda water or seltzer, ice and salt into your blender. Blend until smooth.
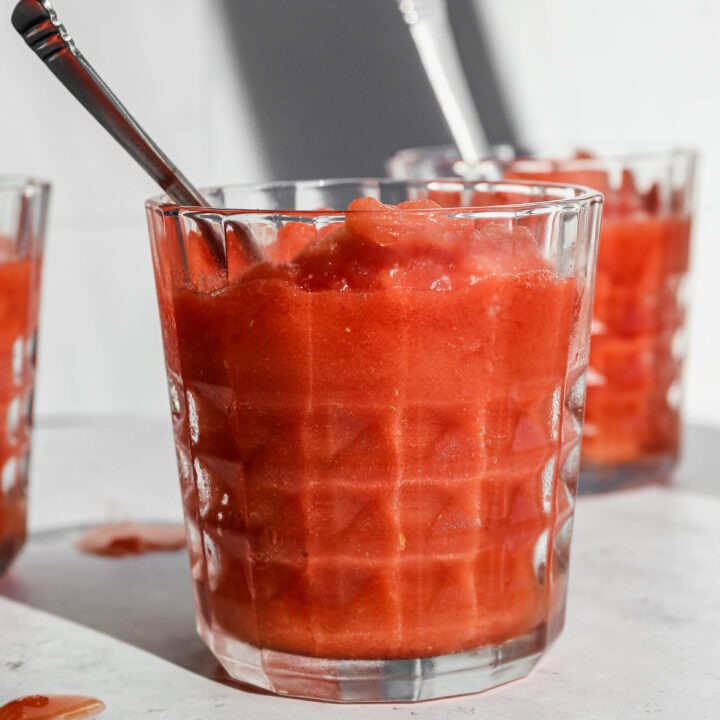
Serve immediately while the drinks are still slushy and frozen.
Supplies


More Recipes You Might Enjoy


I get a lot of my ingredients from Thrive Market. Thrive Market has been a game changer for me eating gluten free. They have so many options I can't get at my rural grocery stores! Use this link to get 40% off your first order!
PrintStrawberry Daiquiri Mocktails
- Total Time: 5 minutes
- Yield: 4 servings 1x
- Diet: Gluten Free
Description
This Strawberry Daiquiri Mocktail is the most refreshing and beautiful non alcoholic frozen drink that comes together in just 5 minutes in your blender with frozen strawberries, simple syrup, lime juice, lemon juice, soda water, and ice. The result is a perfectly slushy and fruity virgin daiquiri that is bright, sweet, tangy, and completely irresistible for kids and adults alike. Naturally gluten free and the ultimate summer party drink for any occasion!
Ingredients
- 2 cups Frozen Strawberries
- ½ cup Simple Syrup or use recipe in notes to make your own
- 2 Tbsp Lime Juice
- 2 Tbsp Lemon Juice
- 12 ounces Soda Water or Strawberry Seltzer
- 1 cup Ice
- Pinch of Sea Salt
Instructions
Place frozen strawberries, simple syrup, lime juice, lemon juice, soda water or seltzer, ice and salt into your blender. Blend until smooth.
Serve immediately while the drinks are still slushy and frozen.
Notes
To make simple syrup combine ½ cup boiling water and ½ cup granulated sugar. Let cool before using in this mocktail. Store in the refrigerator for up to a week.
- Prep Time: 5 minutes
- Cook Time: 0 minutes
- Category: Drinks
- Method: Blender
- Cuisine: American
If you made this Strawberry Daiquiri Mocktail I would love to hear what you thought! Please leave a star rating and a comment below. This is one of my most popular summer drink recipes and I hope it becomes a staple in your home too!
Storage
This strawberry daiquiri mocktail is best served immediately while it is still slushy and frozen. If you need to make it a little ahead of time blend everything together without the ice and store the mixture in a sealed container in the refrigerator for up to a few hours then blend with ice right before serving. Leftover blended mocktail can be stored in the refrigerator but it will lose its slushy texture as the ice melts. You can blend it again with a handful of fresh ice to restore the frozen texture before serving.
Top Tip
Make the simple syrup ahead of time and store it in a sealed jar in the refrigerator for up to one week. Having it ready to go means you can blend up a batch of these strawberry daiquiri mocktails in just minutes whenever you need them.
To make simple syrup combine half a cup of boiling water with half a cup of granulated sugar and stir until the sugar is completely dissolved. Let it cool completely before using. It is also delicious stirred into lemonade or iced tea.
Didn't find the answer you're looking for?
Ask AI to answer based on this recipe:
Frequently Asked Questions
A traditional strawberry daiquiri would contain rum, but this mocktail is non alcoholic. It can be enjoyed by adults and kids! It's a homemade drink full of flavor but minus the booze.
A cocktail recipe that is made without alcohol can be referred to as a mocktail, virgin cocktail or just alcohol free. If you are searching for recipes that don't have booze in them these are all good terms to look up.
A mocktail is typically very similar to it's cocktail counterpart but just doesn't include the alcohol. Mocktails sometimes include more seltzer water and juices to give them a bit of a kick without any booze involved.
Yes! Simply multiply the ingredients by however many servings you need and blend in batches. You can also make a large pitcher of the strawberry mixture without ice and then blend individual glasses with ice as you serve them so everything stays perfectly slushy. This works beautifully for summer parties and gatherings.
Yes but frozen strawberries are my strong preference for this recipe because they are what gives the mocktail its beautiful slushy frozen texture without diluting the flavor with too much ice. If you use fresh strawberries add extra ice to the blender to compensate. Fresh strawberries will give you a brighter flavor especially during peak strawberry season but the texture will be slightly different.
Yes! Simply add 1 to 2 ounces of white rum to the blender with the other ingredients for a classic frozen strawberry daiquiri. The rest of the recipe stays exactly the same. The base recipe is perfectly balanced for either a mocktail or cocktail version.