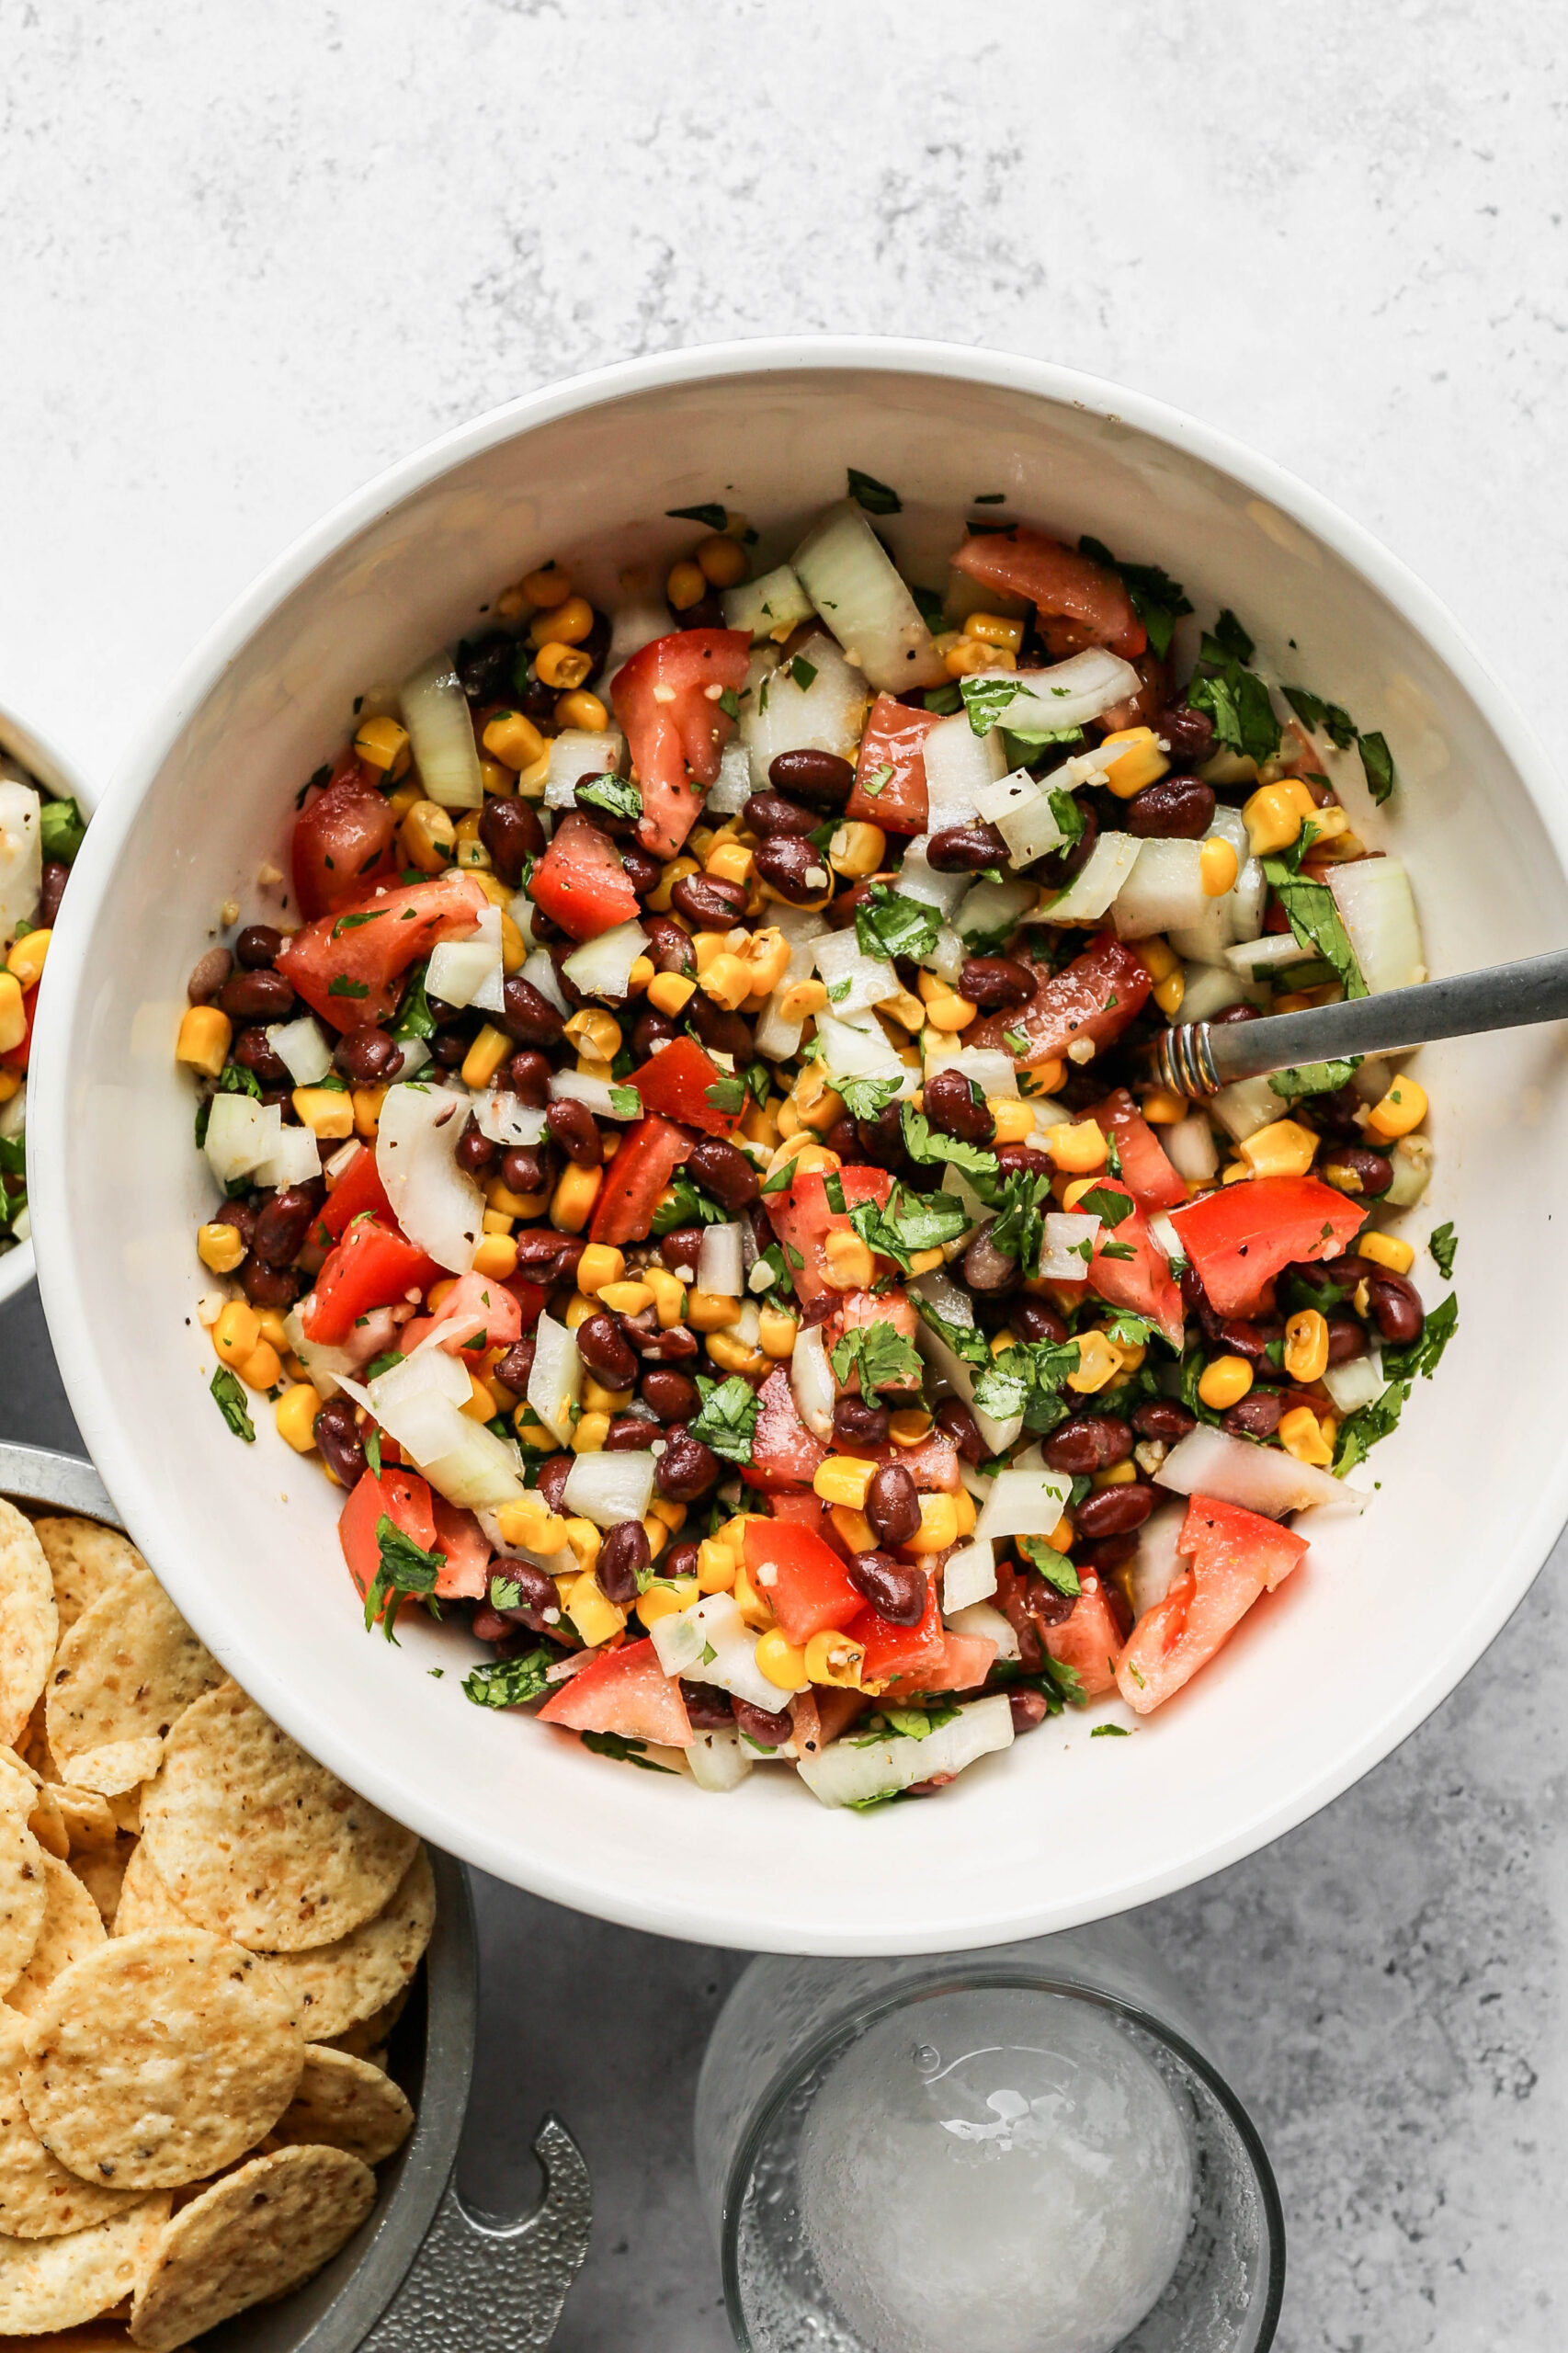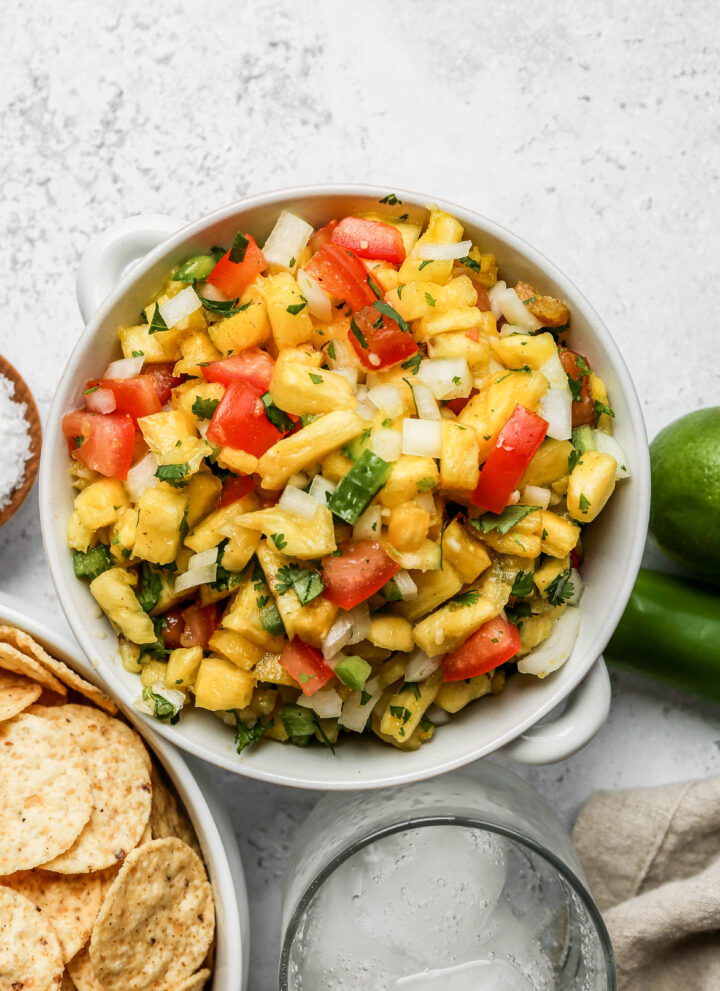
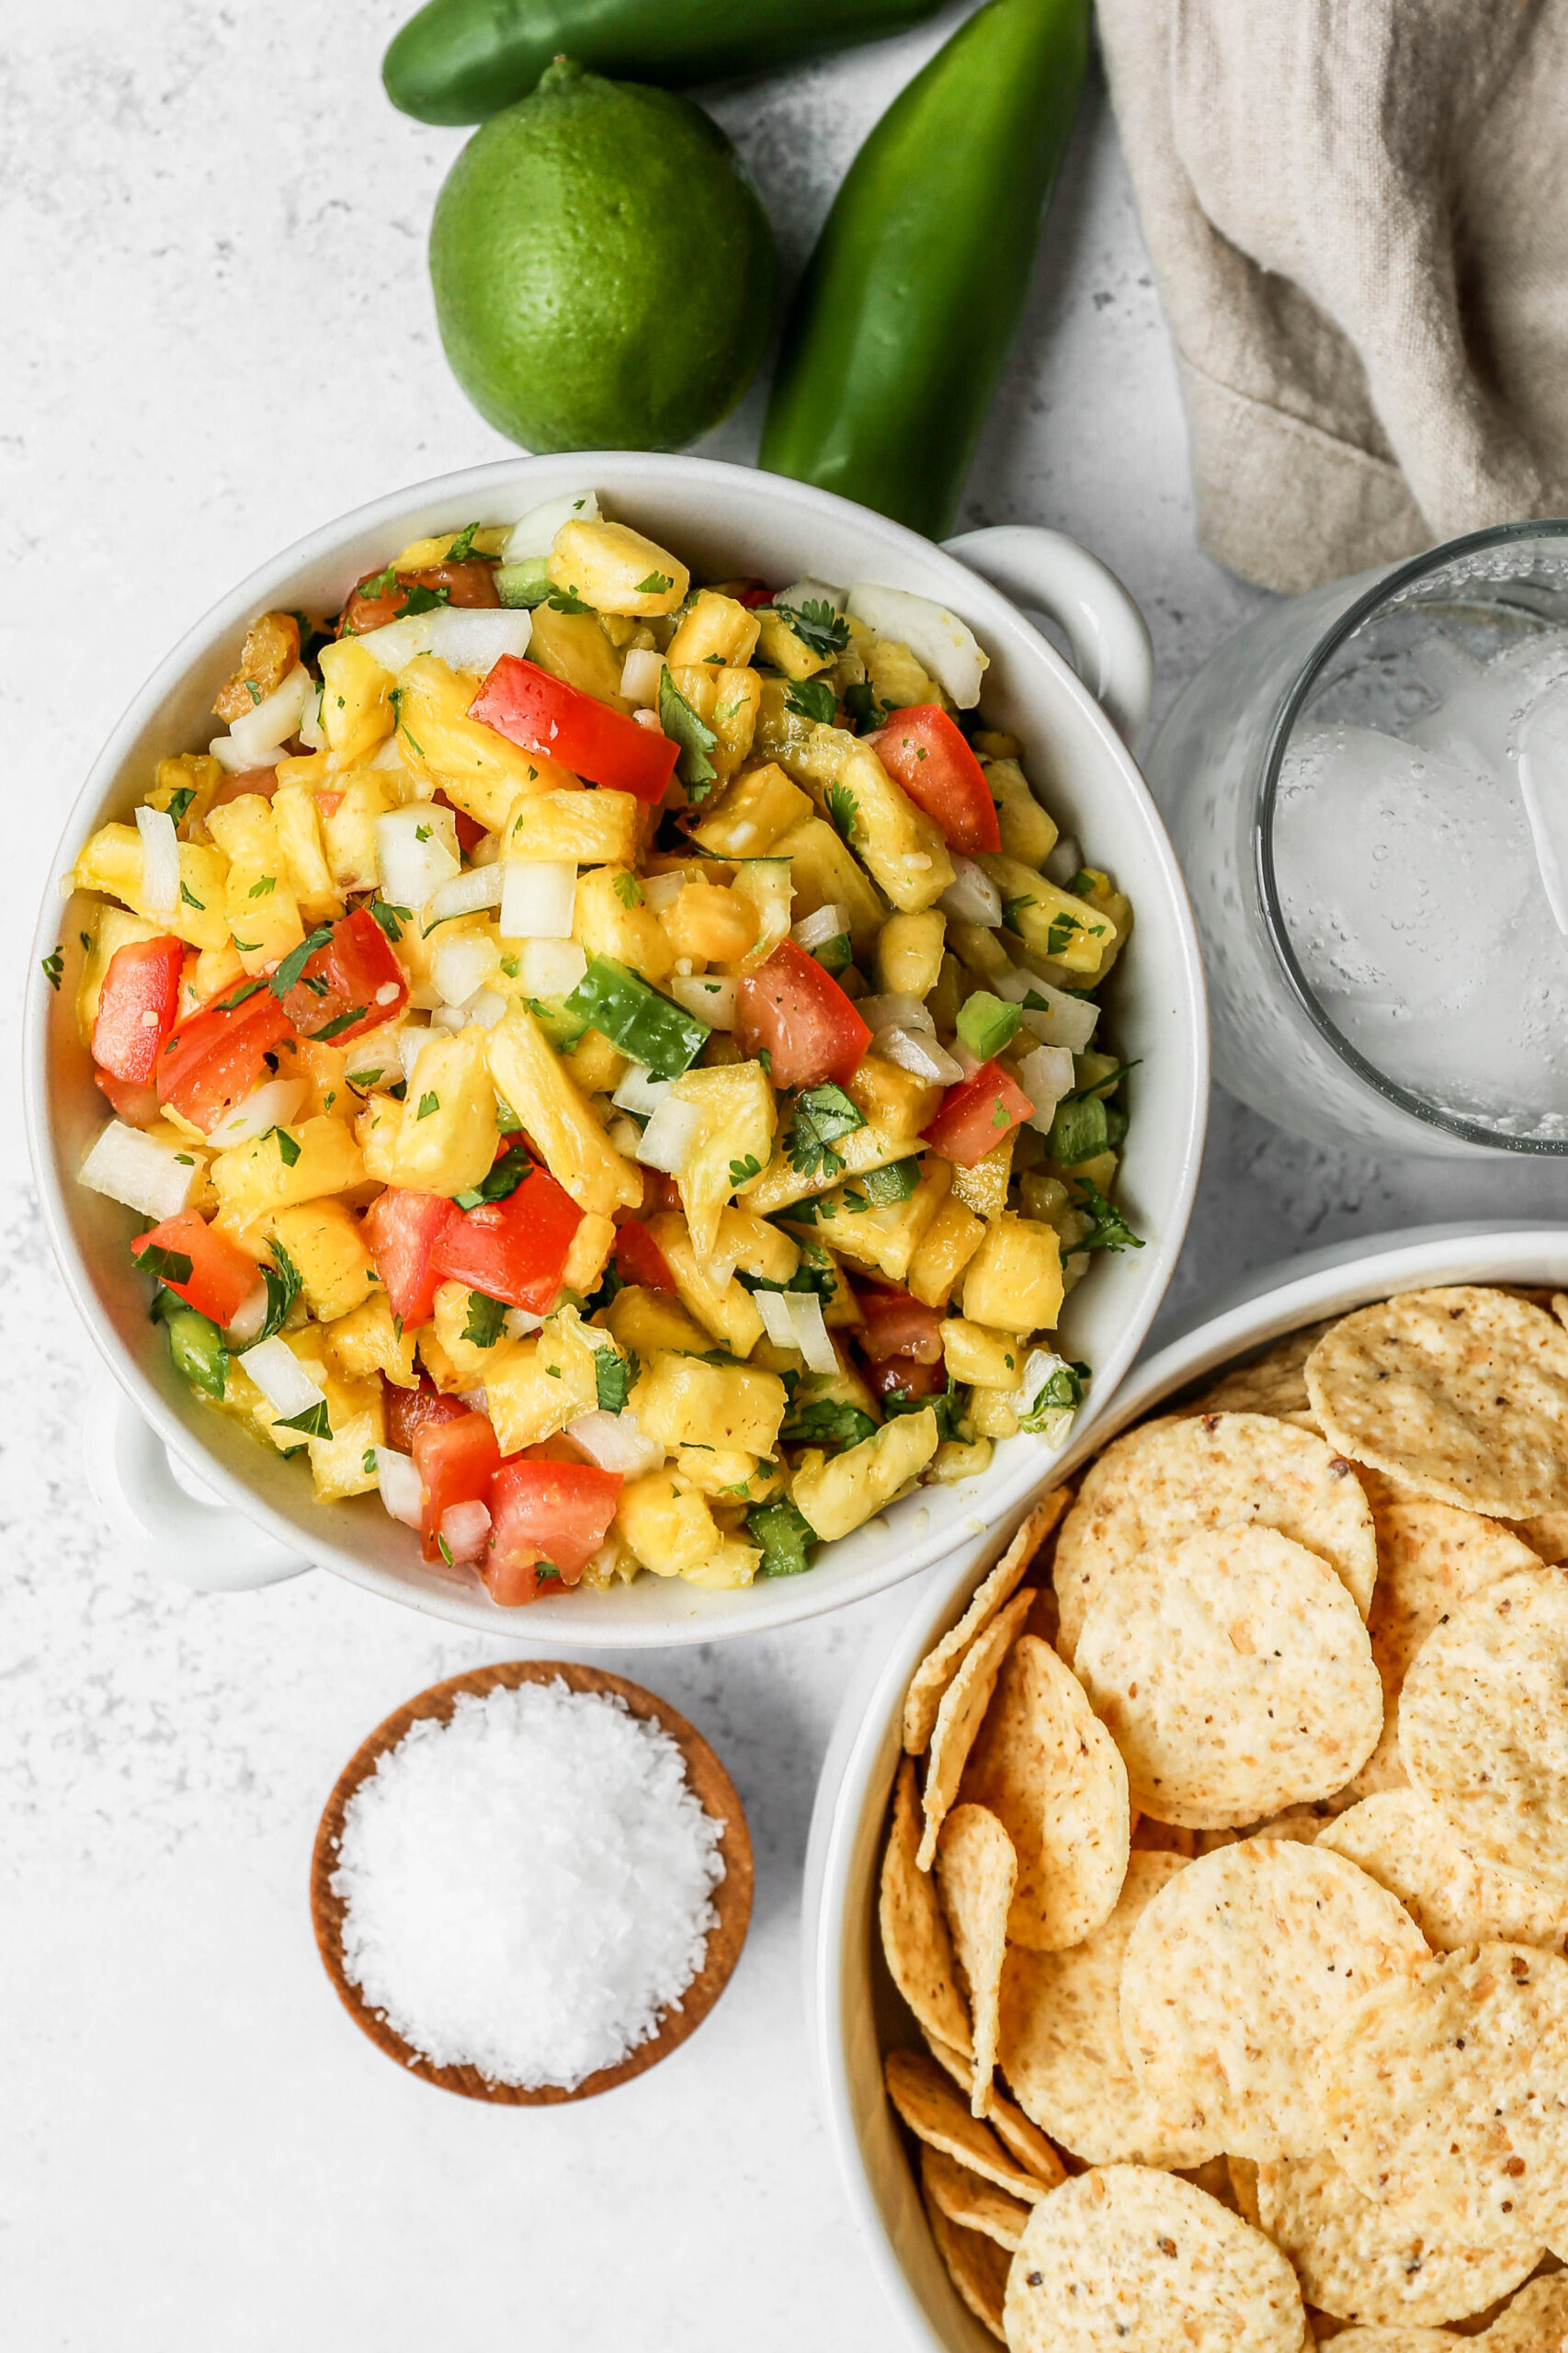
This recipe for easy fresh pineapple salsa is perfect with fish, chicken, tacos or as an appetizer. This homemade salsa is made with fresh pineapple, tomatoes, cilantro and jalapeno peppers. It has a mild flavor that is perfect for summer barbecues.

If you are looking for more pineapple recipes try my Pineapple Coleslaw, my Gluten Free Pineapple Bars, my Gluten Free Mango Pineapple Smoothie, or my Gluten Free Pineapple Upside Down Cake.
You can find all of my salad recipes here: Gluten Free Salad Recipes
Instructions
Combine all of the ingredients in a large bowl and stir to mix.
Refrigerate in a sealed container for at least 2 hours before serving.
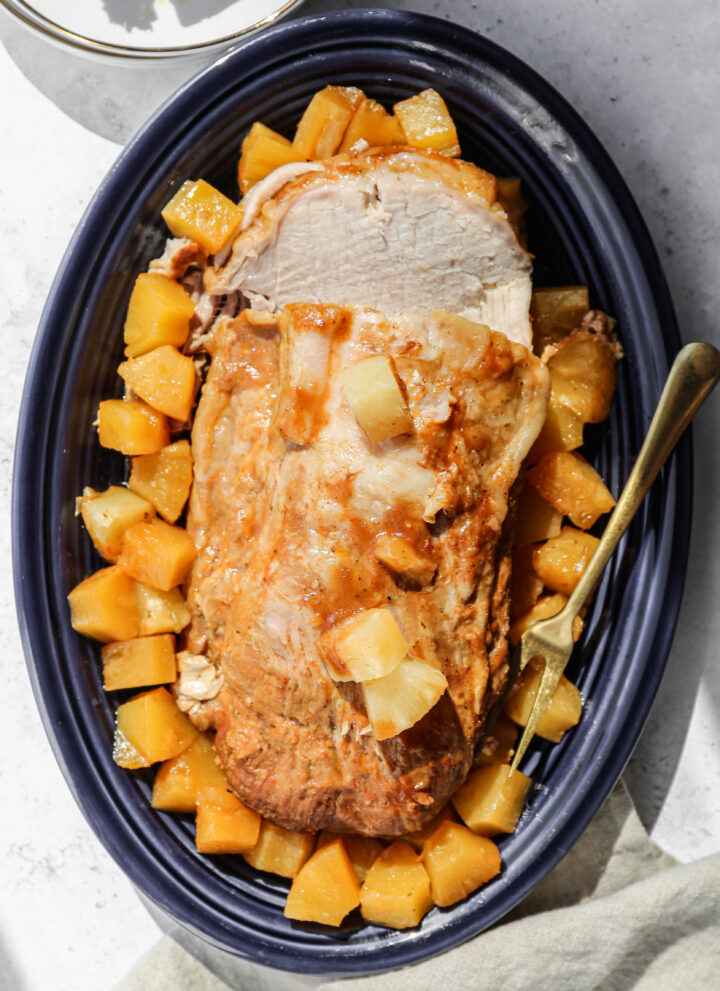
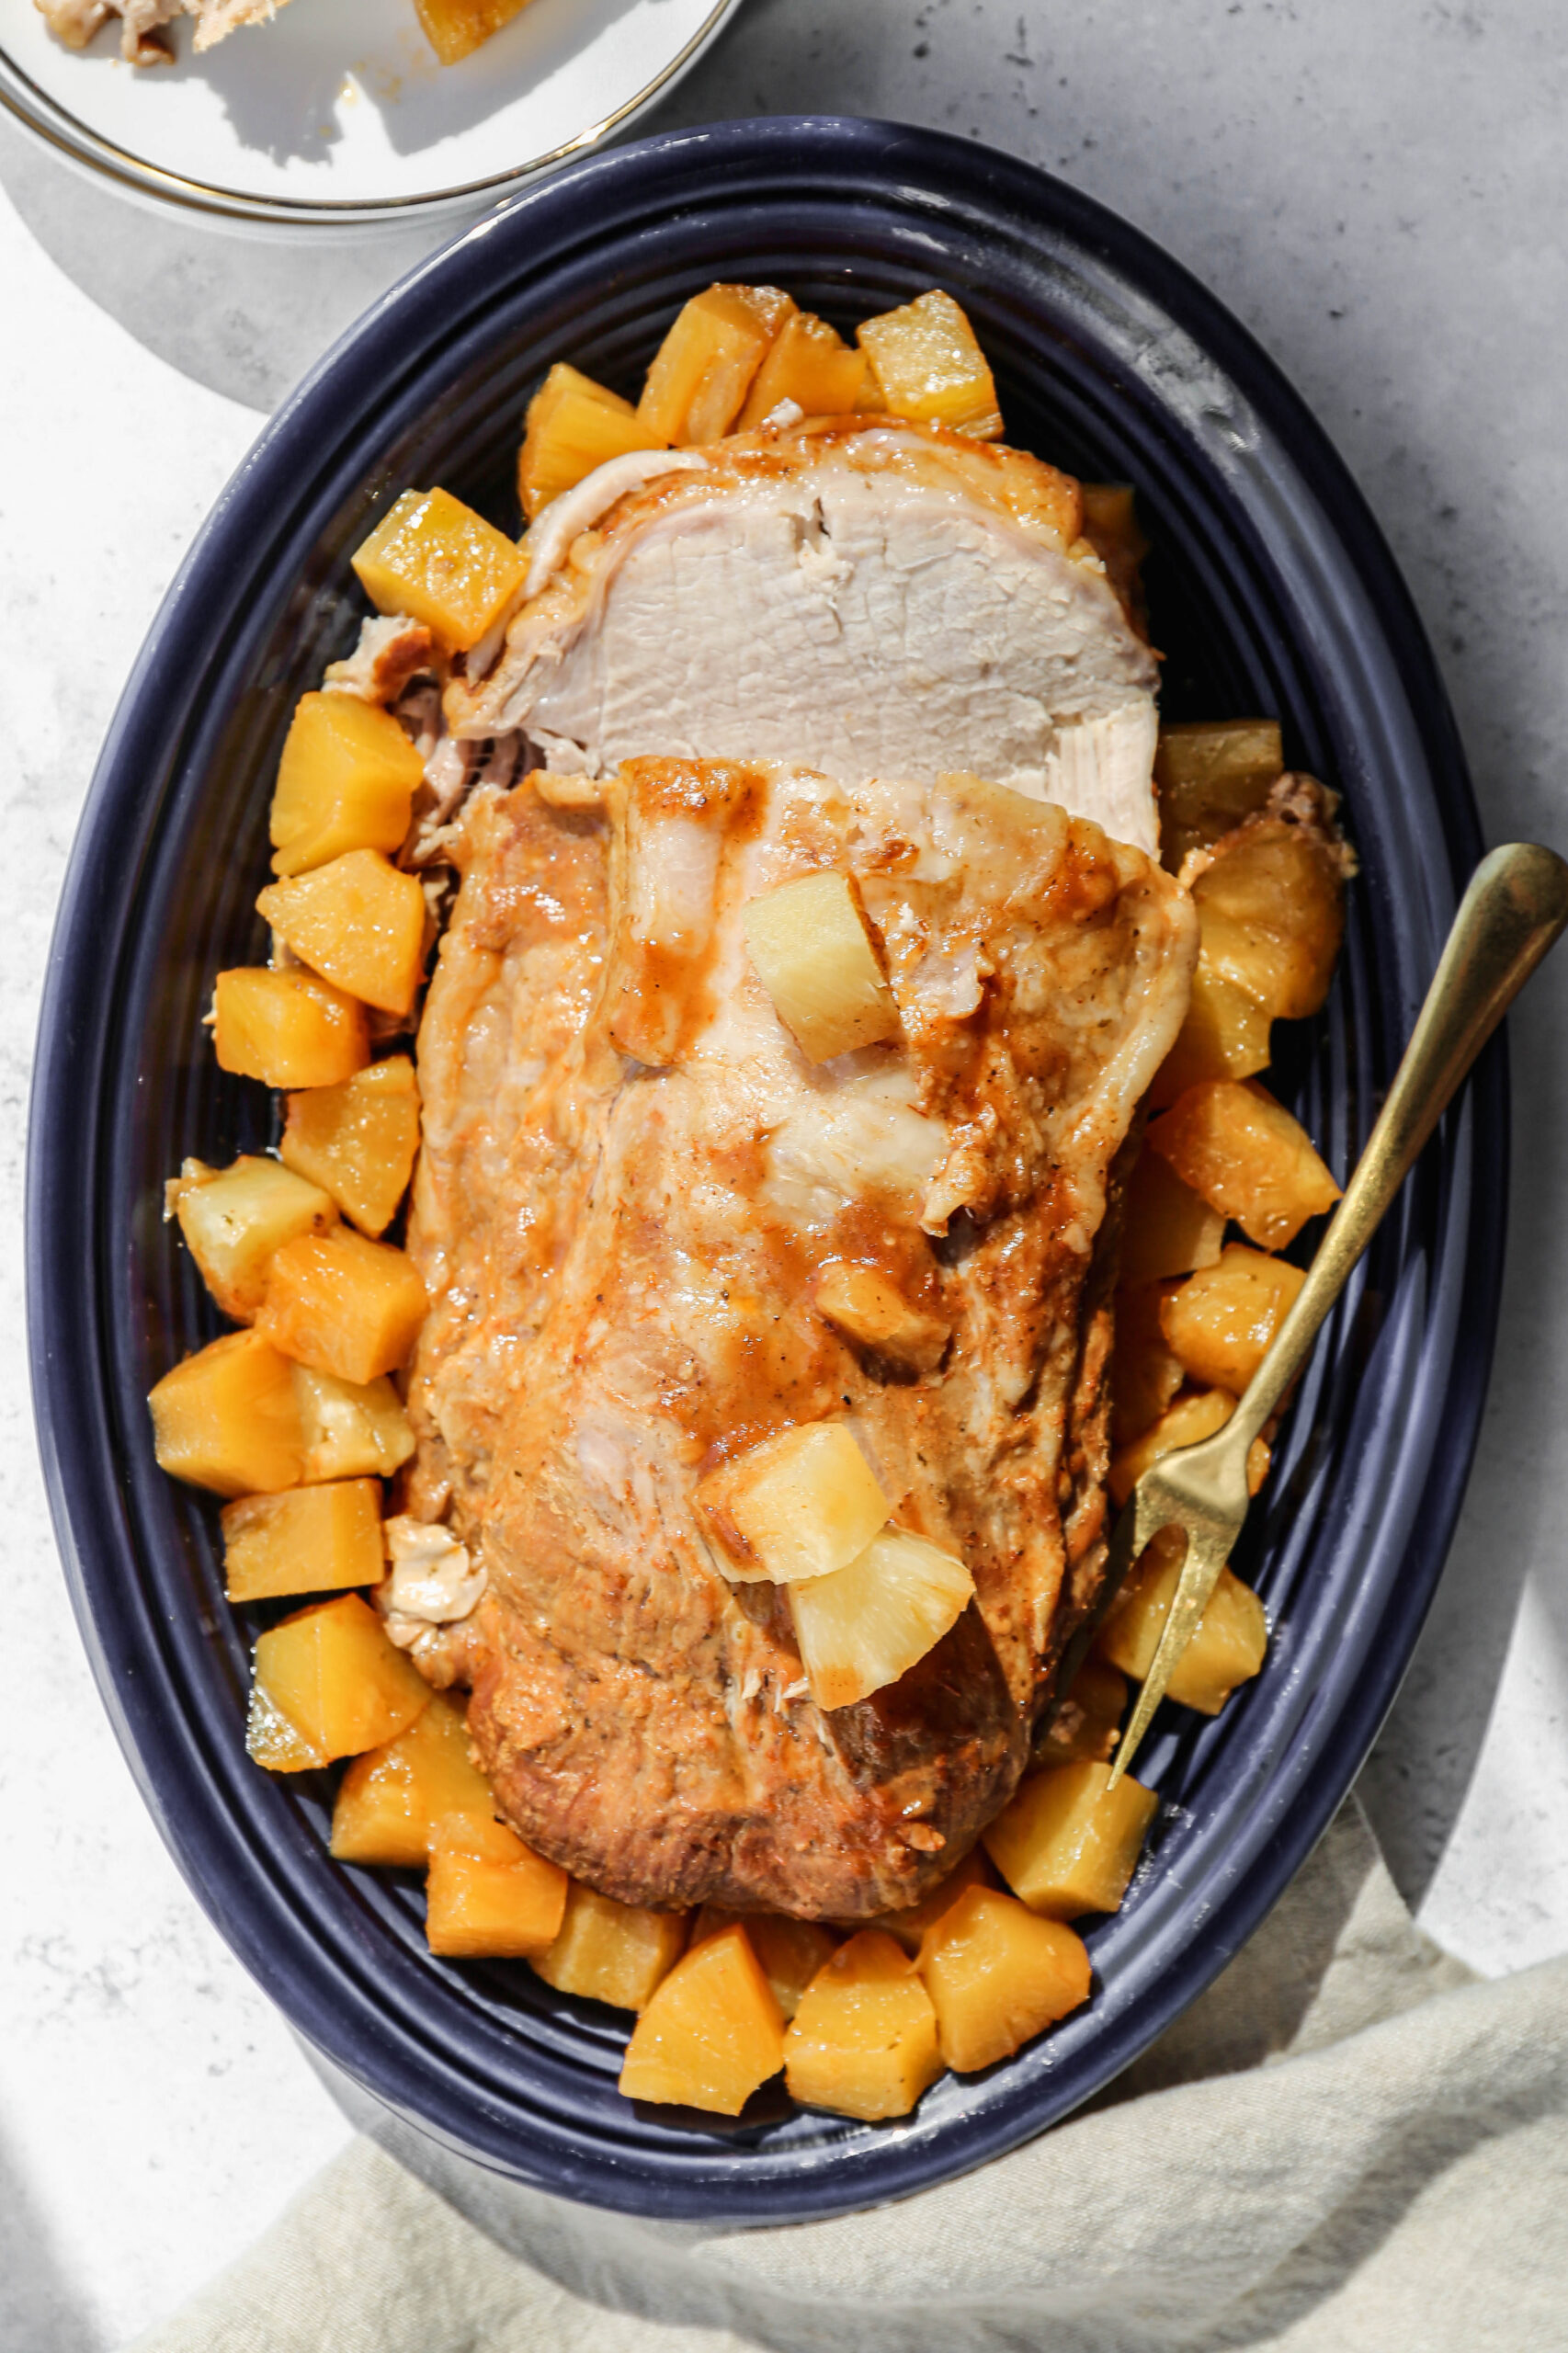
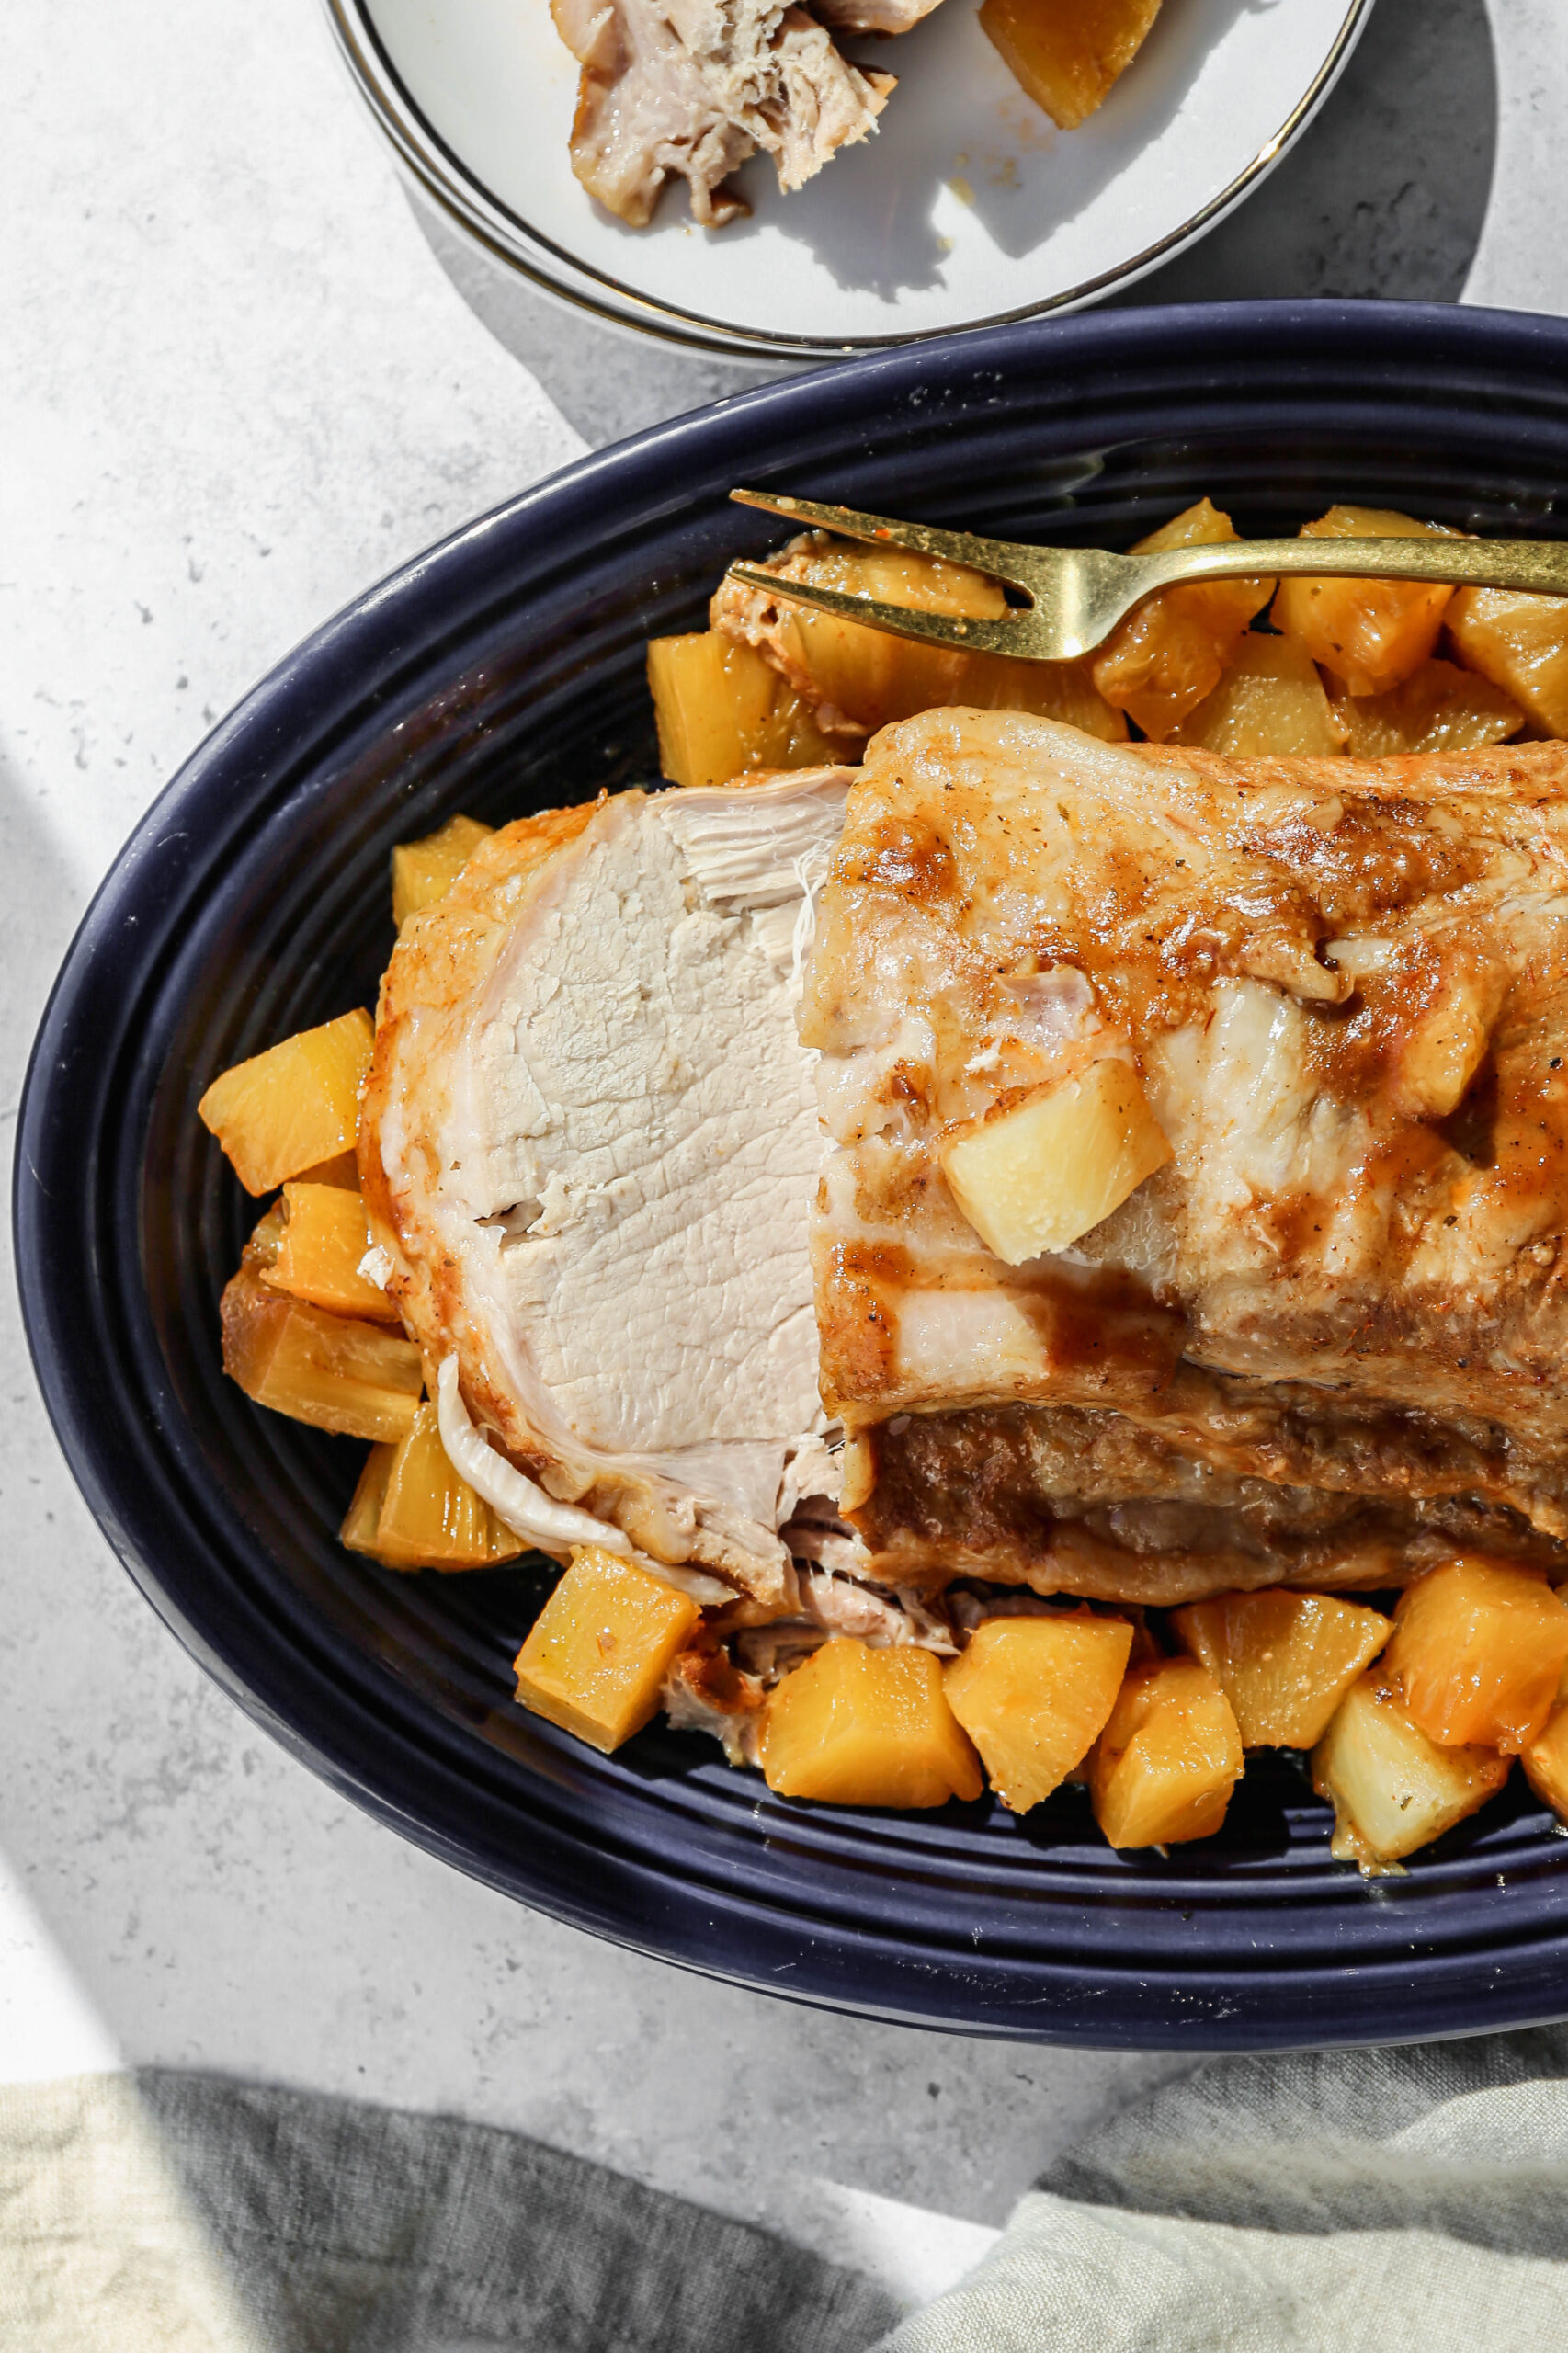
Serve with gluten free tortilla chips, with fish tacos, on chicken or on pork.
Supplies

Frequently Asked Questions
This easy fresh pineapple salsa is perfect to serve with gluten free tortilla chips as a bbq appetizer. It is also delicious served with fish tacos, over pork tenderloin or with chicken.
For this recipe I would definitely use a ripe, fresh pineapple. The flavor is completely different and a lot more muted if you use canned pineapple. This salsa will turn out a lot better with a lot more flavor if you use finely diced fresh pineapple.
To choose a fresh pineapple that is ripe you want the outside shell to be firm, but with a bit of give when you gently squeeze it. If the pineapple is completely hard it is likely not ripe. You also want to pull on the center leaves at the top. If there is give to the leaves or if one comes out the pineapple is ripe and ready to use now.

More Recipes You Might Enjoy


I get a lot of my ingredients from Thrive Market. Thrive Market has been a game changer for me eating gluten free. They have so many options I can't get at my rural grocery stores! Use this link to get 25% off your first order!
Easy Fresh Pineapple Salsa
- Total Time: 15 minutes
- Yield: 10 servings 1x
- Diet: Gluten Free
Description
This recipe for easy fresh pineapple salsa is perfect with fish, chicken, tacos or as an appetizer. This homemade salsa is made with fresh pineapple, tomatoes, cilantro and jalapeno peppers. It has a mild flavor that is perfect for summer barbecues.
Ingredients
1 Fresh Pineapple, diced
2 large Tomatoes, seeded and chopped
1 small Sweet Onion, diced
⅓ cup Fresh Cilantro, minced
1 large Jalapeno Pepper, seeded and diced
1 tablespoon Lime Juice
1 tablespoon Minced Garlic
½ teaspoon Ground Coriander
½ teaspoon Ground Cumin
½ teaspoon Sea Salt
Gluten Free Tortilla Chips, for serving
Instructions
Combine all of the ingredients in a large bowl and stir to mix.
Refrigerate in a sealed container for at least 2 hours before serving.
Serve with gluten free tortilla chips, with fish tacos, on chicken or on pork.
- Prep Time: 15 minutes
- Category: Appetizers, Dips
- Method: Chopped
- Cuisine: Gluten Free