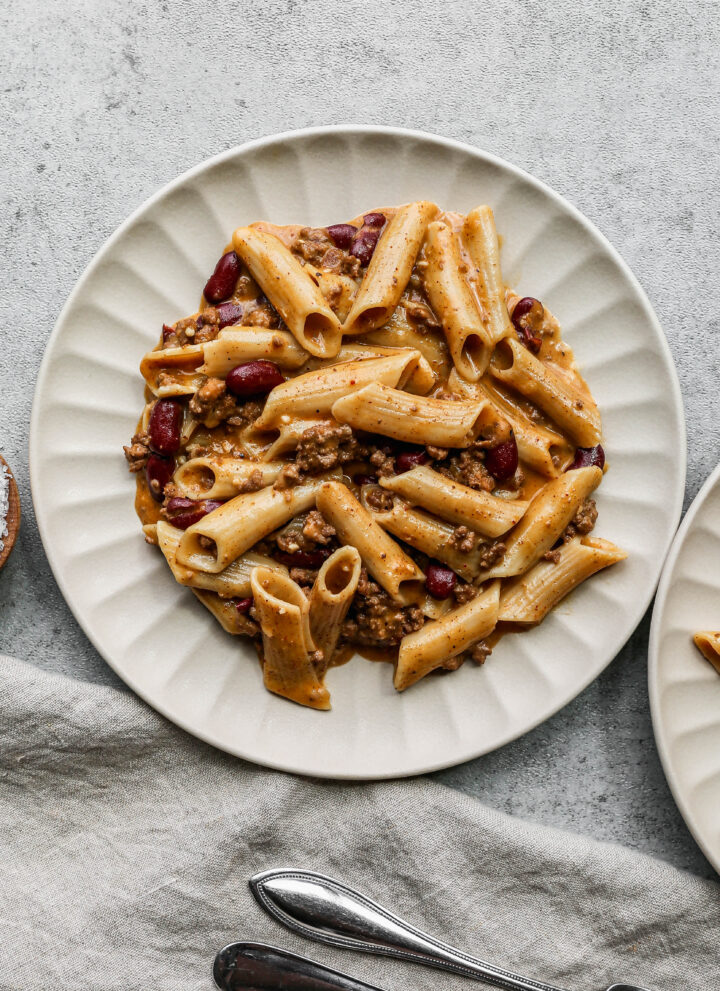
This easy recipe for gluten free instant pot chili mac and cheese is perfect for weeknight dinners. It's a cheap and simple homemade meal with ground beef, beans and pasta. This healthy instant pot pasta recipe is sure to become your families new favorite supper!
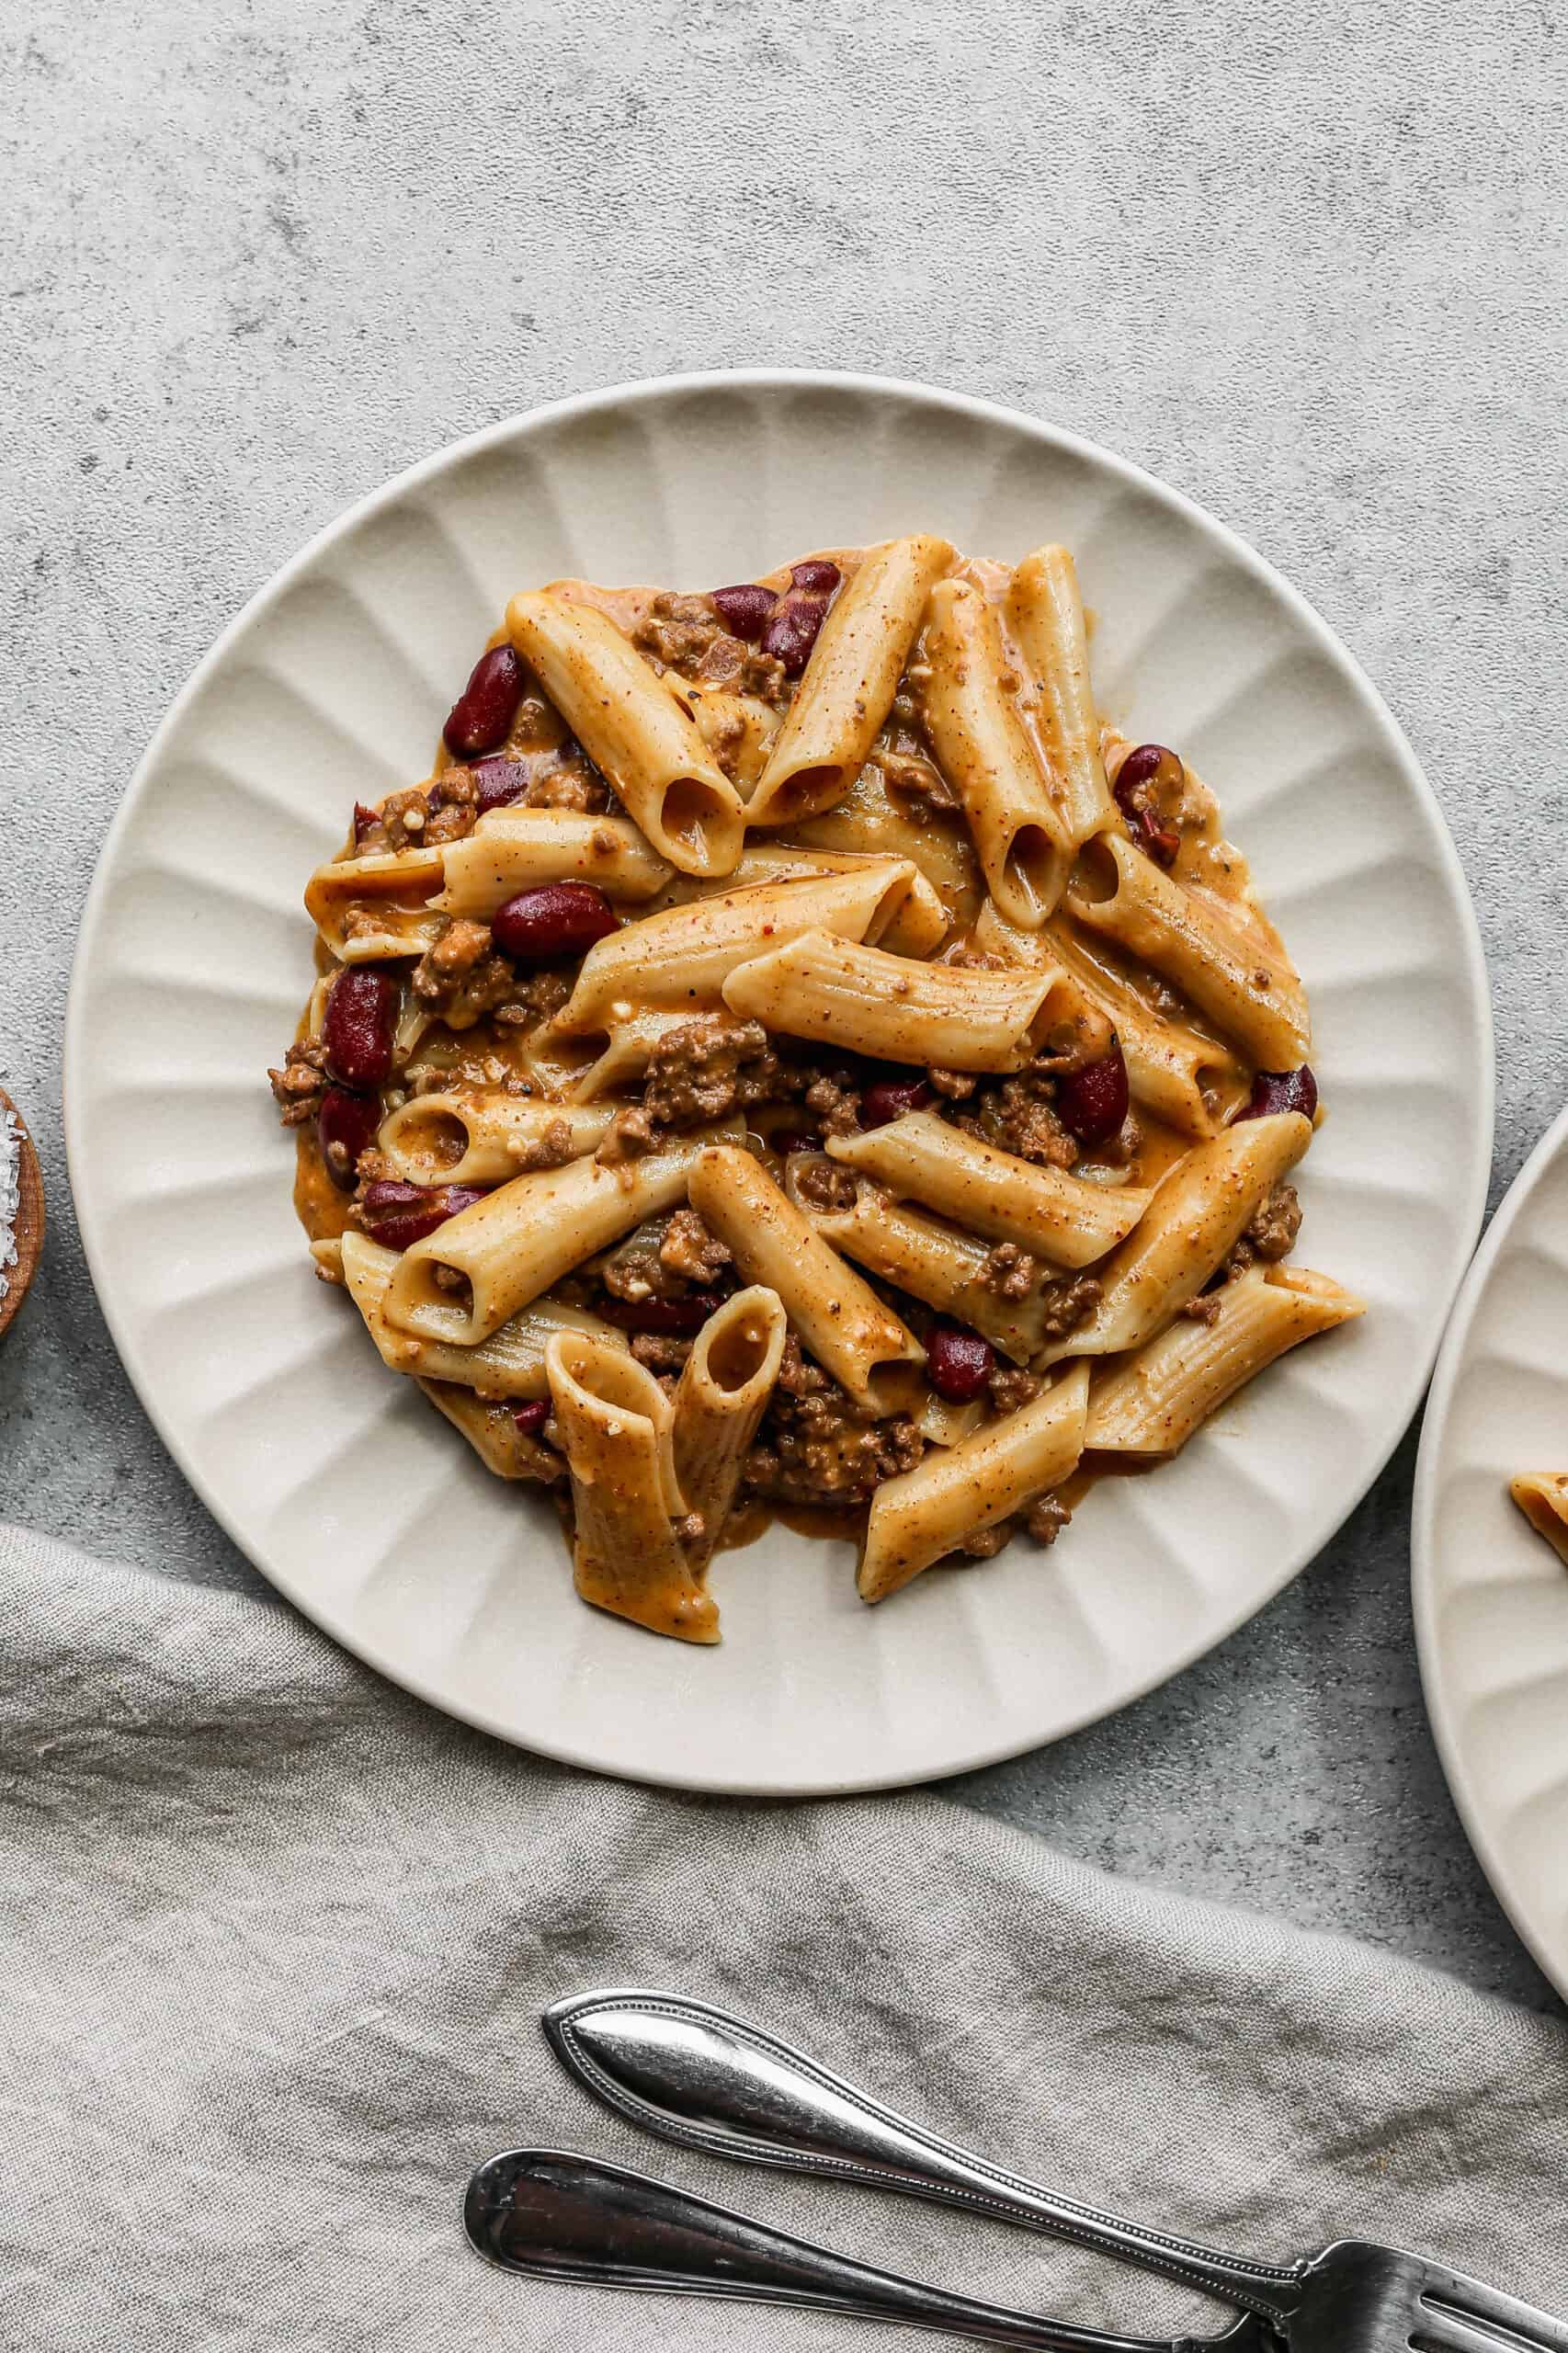
Gluten-Free Instant Pot Chili Mac and Cheese is a one-pot meal that combines hearty chili with elbow pasta and creamy mac and cheese, all cooked in the pressure cooker for a quick, delicious dinner.
This recipe uses gluten-free elbow pasta and ground beef, making it a great option for those with dietary restrictions. The Instant Pot method ensures a speedy cook time, with flavors melding together beautifully in one pot, minimizing clean-up while delivering a comforting, satisfying meal.
Perfect for busy weeknights, this gluten-free chili mac offers the best of both worlds-a spicy, savory chili paired with the rich, cheesy goodness of mac and cheese.
If you are looking for more gluten free beef recipes you might also like my Gluten Free Creamy Beef and Mushroom Pasta, Instant Pot Mexican Style Beef and Rice or my recipe for Slow Cooker Hawaiin Meatballs.
You can find my Instant Pot recipes here: Gluten Free Instant Pot Recipes

Instructions
In your instant pot using the manual mode cook the ground beef until almost all of the pink is gone. Add the onion and saute until they're translucent, about 2-3 minutes.
Add the uncooked pasta, beans, chili powder, garlic, salt, cumin, pepper, beef broth and water to the instant pot in an even layer. Do not stir! This will prevent the pasta from sticking to the bottom of the pot.
Using manual pressure cook for 5 minutes. Let the steam release naturally.
Carefully remove the lid. Stir in the shredded cheese and heavy cream.
Serve with extra cheese on top and sour cream if you like.
Hint: Not all gluten free pasta holds up well in the instant pot or in general. I really like this Jovial Gluten Free Brown Rice Penne Pasta or these Tinkyada Gluten Free Elbow Pasta best.
Supplies

Substitutions
- Ground Beef - you can use ground turkey, but I would not omit meat from the recipe
- Gluten Free Penne Pasta - I used penne pasta because it holds up well and is hearty, but you could also use elbow noodles or rotini. I think brown rice pasta stays together much better than gluten free pastas with corn
- Beef Broth - you could also use chicken broth or vegetable broth. Using broth instead of just water gives more flavor
- Heavy Cream - you could use milk, but it won't be as creamy. You could substitute sour cream or cream cheese and still get a nice creamy texture
Storing and Reheating
I love this recipe as leftovers the next day! Store the leftovers in an air tight container in the refrigerator for up to 5 days. To reheat dish up a serving on a plate or in a bowl. Then, either add an ice cube on top or a wet paper towel on top and reheat for 1 minute in the microwave.
If using an ice cube take what's left out of the bowl and throw away. Stir the chili mac and cheese and serve.

Other Gluten Free Ground Beef Recipes
- Gluten Free Salisbury Steak with Mushroom Gravy
- Instant Pot Beef and Bean Burrito Casserole
- Gluten Free One Pot Hamburger Helper Copycat Recipe
- Instant Pot Beef and Vegetable Soup
- Gluten Free Cowboy Baked Beans
- Gluten Free Walking Taco Casserole
I get some of my ingredients from Thrive Market. Thrive Market has been a game changer for me eating gluten free. They have so many options I can't get at my rural grocery stores! Use this link to get 25% off your first order!
Equipment
A 6-quart Instant Pot Duo Pressure Cooker is perfect for making this recipe, but I like to have the 8-quart Instant Pot Duo Pressure Cooker for doubling recipes and making larger batches.
Gluten Free Instant Pot Chili Mac and Cheese
- Total Time: 20 minutes
- Yield: 6 servings 1x
- Diet: Gluten Free
Description
This easy recipe for gluten free instant pot chili mac and cheese is perfect for weeknight dinners. It's a cheap and simple homemade meal with ground beef, beans and pasta. This healthy instant pot pasta recipe is sure to become your families new favorite supper!
Ingredients
1 pound Ground Beef
1 medium Yellow Onion, chopped
12 ounce box Jovial Gluten Free Brown Rice Pasta, uncooked
15.5 ounce can Kidney Beans, drained and rinsed
1 tablespoon Minced Garlic
3 teaspoon Chili Powder
1 ½ teaspoon Sea Salt
1 teaspoon Ground Cumin
½ teaspoon Coarse Ground Black Pepper
2 cups Beef Broth
1 cup Water
2 cups Cheddar Cheese, shredded
¼ cup Heavy Cream
Instructions
In your instant pot using the manual mode cook the ground beef until almost all of the pink is gone. Add the onion and saute until they're translucent, about 2-3 minutes.
Add the uncooked pasta, beans, chili powder, garlic, salt, cumin, pepper, beef broth and water to the instant pot in an even layer. Do not stir! This will prevent the pasta from sticking to the bottom of the pot.
Using manual pressure cook for 5 minutes. Let the steam release naturally.
Carefully remove the lid. Stir in the shredded cheese and heavy cream.
Serve with extra cheese on top and sour cream if you like.
- Prep Time: 15 minutes
- Cook Time: 5 minutes
- Category: Meals, Dinner
- Method: Instant Pot
- Cuisine: Gluten Free
Frequently Asked Questions
For this recipe you will brown the ground beef and cook the onion, so you will only need to pressure cook the recipe for 5 minutes using the manual mode. Then, let the pressure release manually.
Top Tip
I love a quick and easy dinner recipe that uses ground beef! It's a bonus that it is made in the instant pot so it doesn't heat up my house during the warm months.