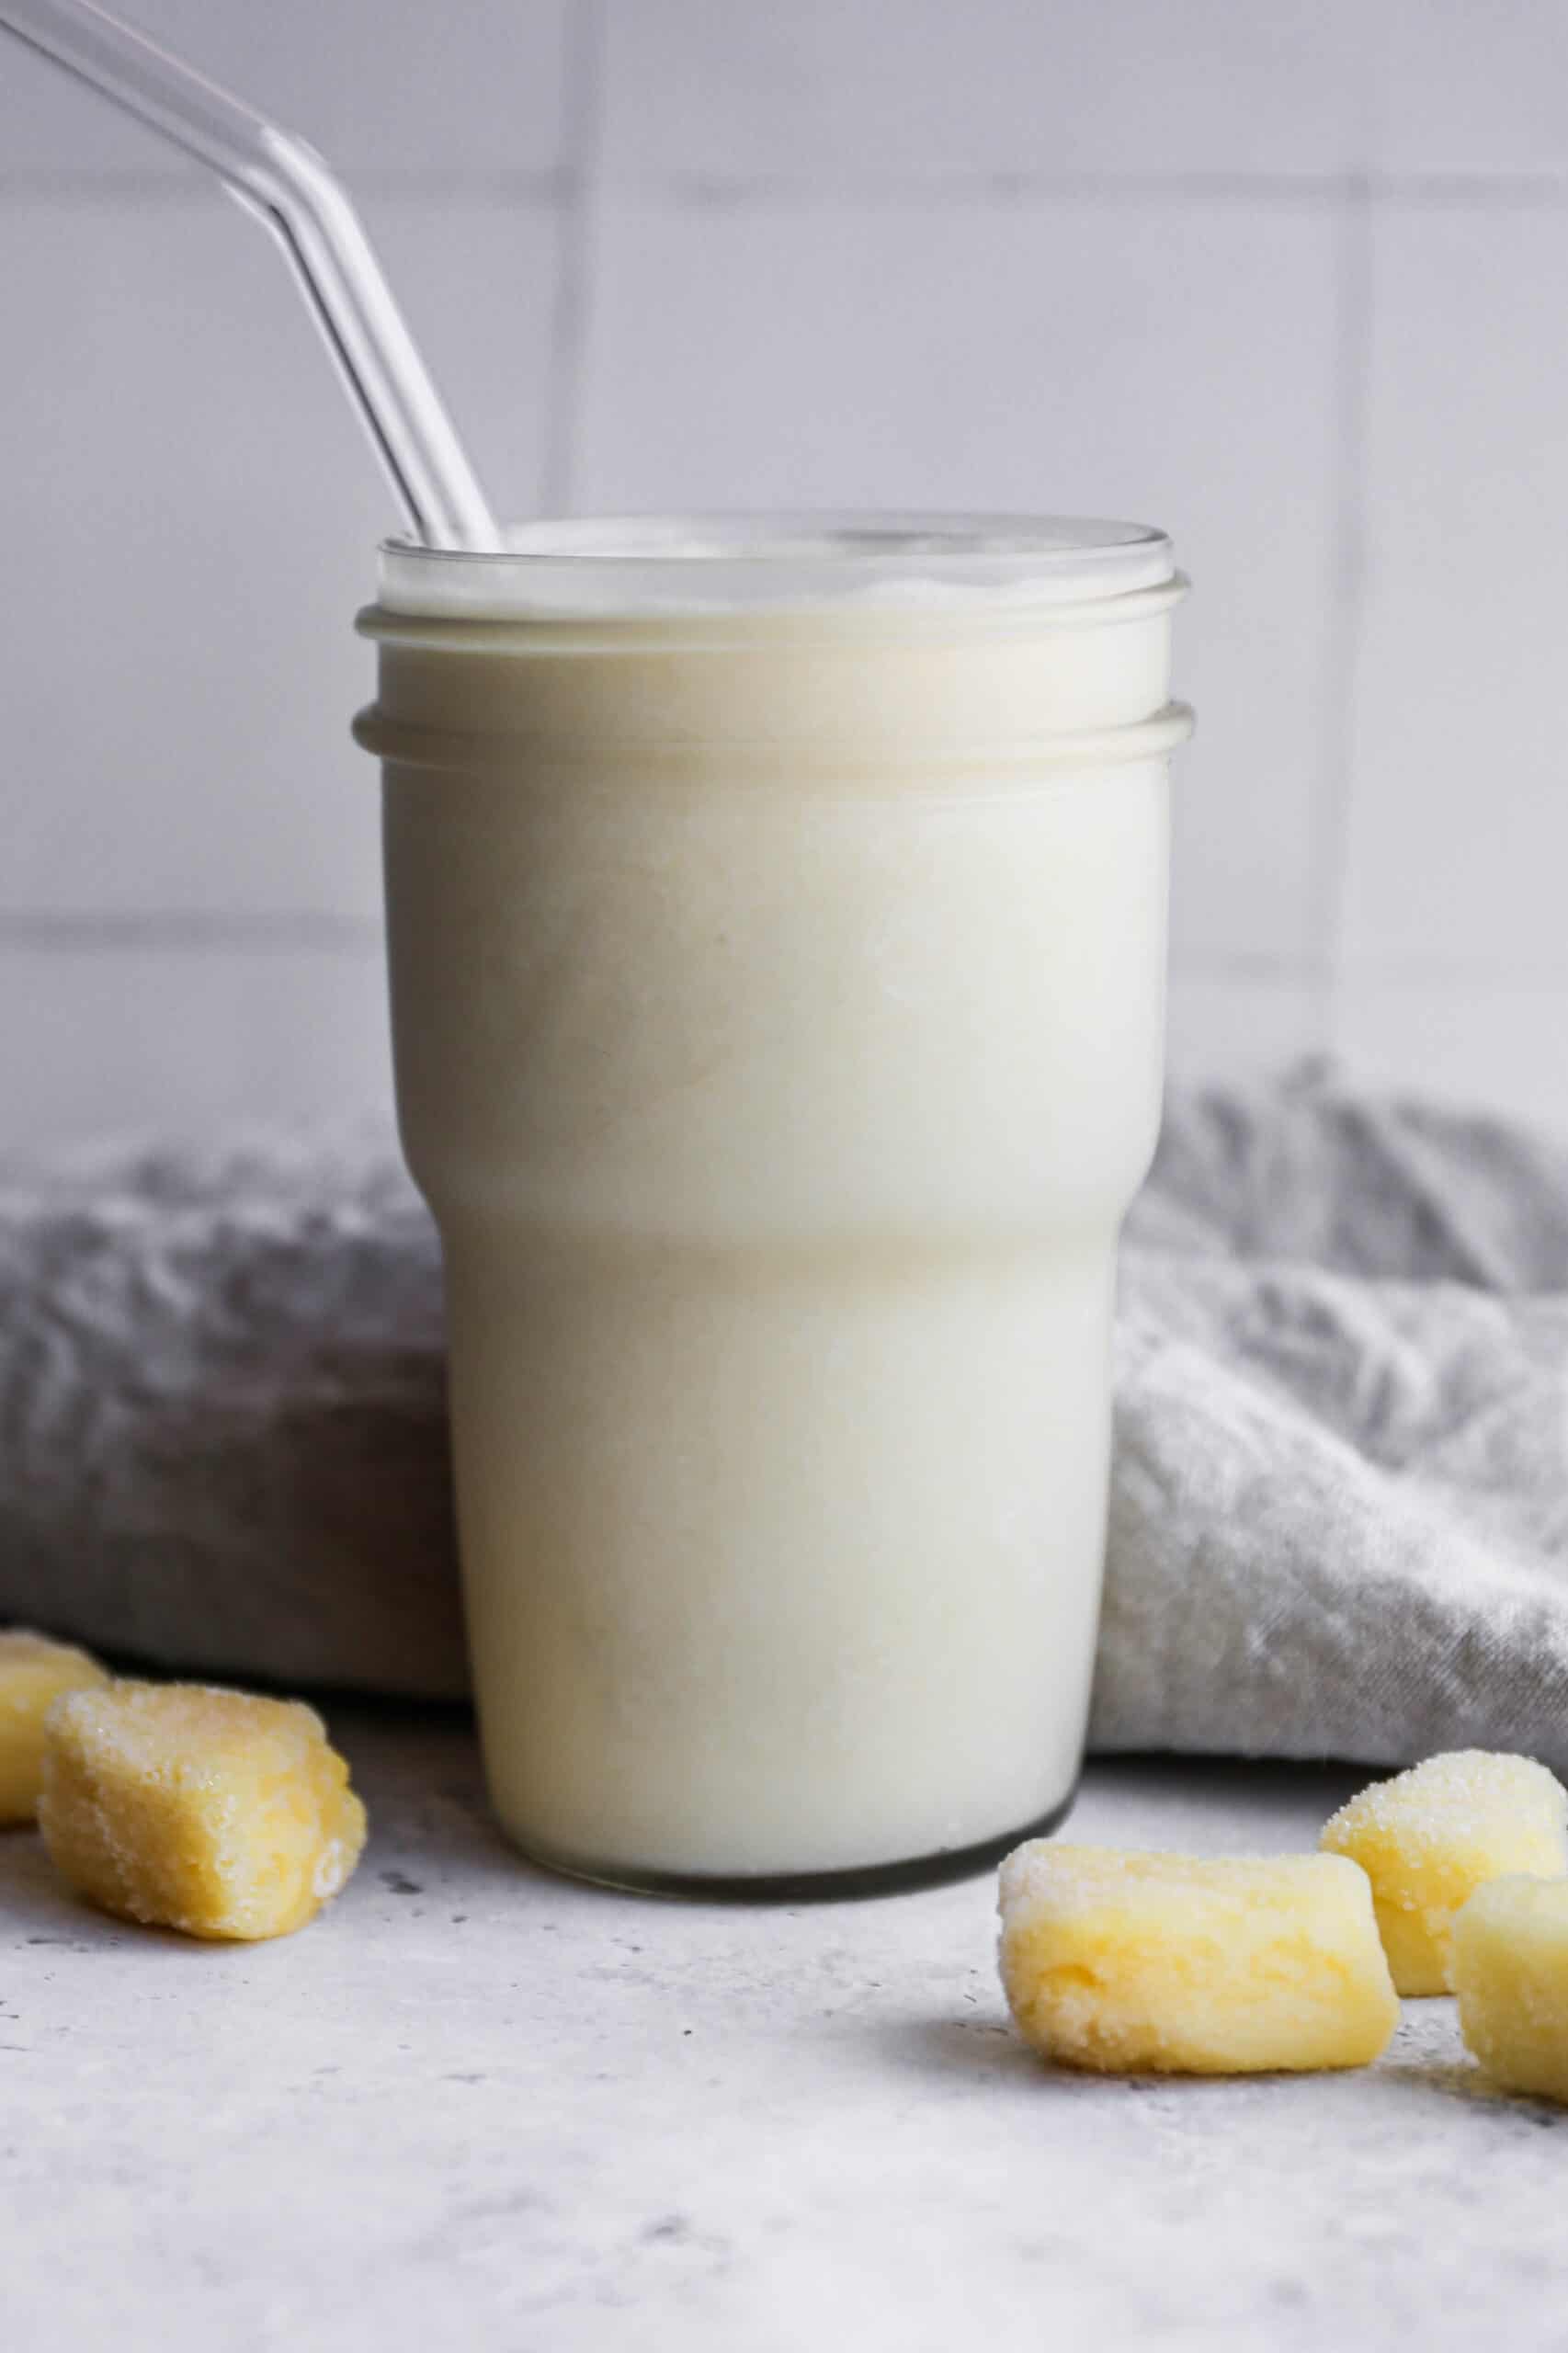
If you are looking for a creamy, tropical drink that tastes like a vacation in a glass, this pina colada mocktail is exactly what you need. Frozen pineapple chunks, rich coconut cream, coconut milk, and pineapple juice blend together in just 5 minutes into the most refreshing and indulgent non alcoholic drink you will ever make.
It has all the classic tropical flavor of a traditional pina colada without any of the alcohol, making it the perfect summer drink for everyone at the table including the kids.
What I love most about this virgin pina colada recipe is how simple it is. There is no cooking, no syrup to make, and no complicated steps.
Everything goes straight into the blender and you are done in minutes. It is dairy free, naturally gluten free, and made with simple ingredients you can keep stocked in your pantry and freezer all summer long.
Whether you are lounging by the pool, hosting a backyard gathering, or just want something cold and tropical on a warm afternoon, this pina colada mocktail is the summer drink recipe you are going to make on repeat.
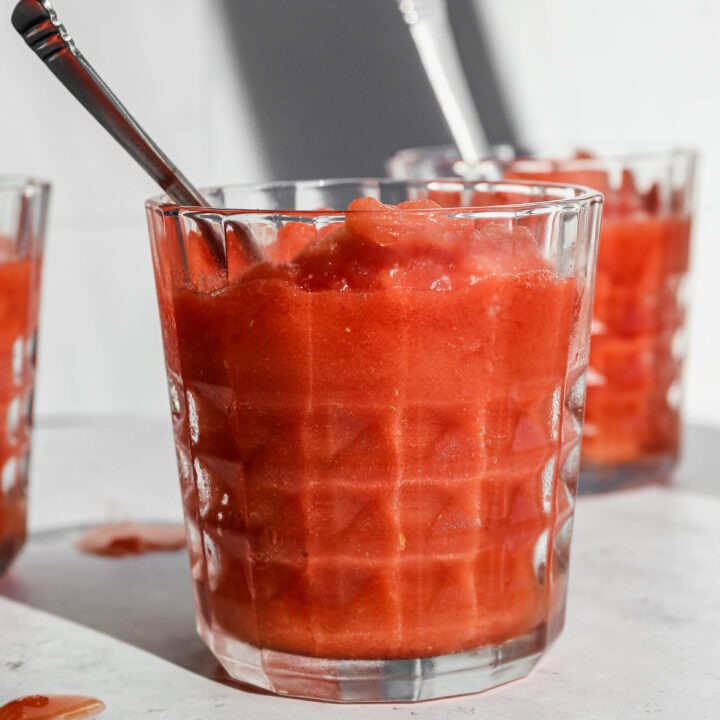
If you are looking for more refreshing mocktail recipes you might also enjoy my Easy Frozen Watermelon Margarita Mocktail, this Strawberry Daiquiri Mocktail or my Classic Margarita Mocktail recipes.
You can find all my drink recipes here: Gluten Free Drink Recipes

Instructions
In a blender add the frozen pineapple chunks, coconut cream, pineapple juice, coconut milk and sea salt. Blend until combined and creamy.
Serve immediately.
Supplies


More Recipes You Might Enjoy


I get a lot of my ingredients from Thrive Market. Thrive Market has been a game changer for me eating gluten free. They have so many options I can't get at my rural grocery stores! Use this link to get 40% off your first order!
Pina Colada Mocktail
- Total Time: 5 minutes
- Yield: 2 serving 1x
- Diet: Gluten Free
Description
This pina colada mocktail is a creamy, tropical non alcoholic drink made with frozen pineapple chunks, rich coconut cream, coconut milk, and pineapple juice that blends together in just 5 minutes. Dairy free, naturally gluten free, and kid friendly, this easy virgin pina colada is the perfect refreshing summer mocktail for pool days, backyard parties, and warm weather entertaining!
Ingredients
- 1 cup Frozen Pineapple Chunks
- ⅓ cup Coconut Cream
- ½ cup Pineapple Juice
- ½ cup Coconut Milk
- ⅛ tsp Sea Salt
Instructions
In a blender add the frozen pineapple chunks, coconut cream, pineapple juice, coconut milk and sea salt. Blend until combined and creamy.
Serve immediately.
Notes
This smoothie doesn't last well in the refrigerator for later. If you want to prepare ahead of time I would put the coconut cream, pineapple juice, coconut milk and salt into a sealed jar in your fridge so you can simply pour that into your blender and add the frozen pineapple chunks.
- Prep Time: 5 minutes
- Cook Time: 0 minutes
- Category: Drinks, Frozen
- Method: Blender
- Cuisine: American
If you make this Pina Colada Mocktail I would love to hear what you think! Leave a star rating and a comment below and let me know how you served it.
Don't forget to save this recipe to your Pinterest boards so you can find it again all summer long!
Storage
Store any leftover pina colada mocktail in a sealed jar or airtight container in the refrigerator for up to 24 hours. Keep in mind that the frozen pineapple will thaw as it sits and the drink will separate and lose some of its creamy texture over time, so this mocktail is always best served fresh right out of the blender.
If you want to get ahead, combine the coconut cream, coconut milk, pineapple juice, and salt in a sealed jar and store it in the refrigerator for up to 3 days. When you are ready to serve, simply pour the mixture into the blender, add the frozen pineapple chunks, and blend until creamy.
Top Tip
It is important to use canned coconut cream for this recipe. The mocktail will not have the same flavor or texture without the coconut cream. Simply open the can and spoon out the coconut cream into a measuring cup, then pour the milk into another measuring cup.
You will have extra coconut cream and milk leftover that's perfect in coffee, to make a smoothie or to simply make another pina colada mocktail.
Didn't find the answer you're looking for?
Ask AI to answer based on this recipe:
Frequently Asked Questions
Coconut cream is what gives this mocktail its rich and creamy texture so I strongly recommend using it for the best results. If you cannot find coconut cream you can use the thick cream that rises to the top of a full fat canned coconut milk instead. Simply refrigerate the can overnight without shaking it, then open it and scoop the thick cream from the top. Do not use light coconut milk as a substitute as the mocktail will be thin and watery rather than rich and creamy.
Frozen pineapple is what gives this mocktail its thick, frosty, and creamy texture so it is strongly recommended. If you only have fresh pineapple on hand you can cut it into chunks and freeze it for at least 4 hours before blending. Fresh pineapple blended without freezing first will give you more of a juice than a creamy frozen mocktail.
This mocktail is best served fresh right out of the blender for the creamiest texture. However you can prep ahead by combining the coconut cream, coconut milk, pineapple juice, and salt in a sealed jar and storing it in the refrigerator for up to 3 days. When you are ready to serve just pour the mixture into the blender, add the frozen pineapple chunks, and blend until creamy.
Absolutely! This recipe scales up easily. Simply multiply the ingredients by however many servings you need and blend in batches. For a party I recommend keeping extra frozen pineapple in the freezer and blending fresh batches as needed so the mocktail stays thick and frosty throughout the event.
Yes! This mocktail is completely non alcoholic and kid friendly making it a perfect drink for the whole family. Kids love the sweet tropical pineapple and coconut flavor and it feels like a really special treat on a hot summer day. It is also dairy free and naturally gluten free so it works for a variety of dietary needs.
There are so many fun ways to customize this pina colada mocktail! Add a handful of frozen mango chunks for a tropical twist, a squeeze of fresh lime juice for a little brightness, or a handful of frozen strawberries for a strawberry pina colada version. You can also blend in a scoop of vanilla protein powder to make it a more filling and satisfying drink.