This healthy recipe for watermelon cucumber and feta salad is a summer favorite! It's a refreshing salad with a zesty dressing that uses feta cheese. I love to make this side dish the day before so it's cold and ready to serve.
One of my favorite parts of summer is fresh watermelon! This recipe combines the watermelon, the delicious cucumbers that are in season and has a zesty dressing that makes it a sweet and savory side dish option.
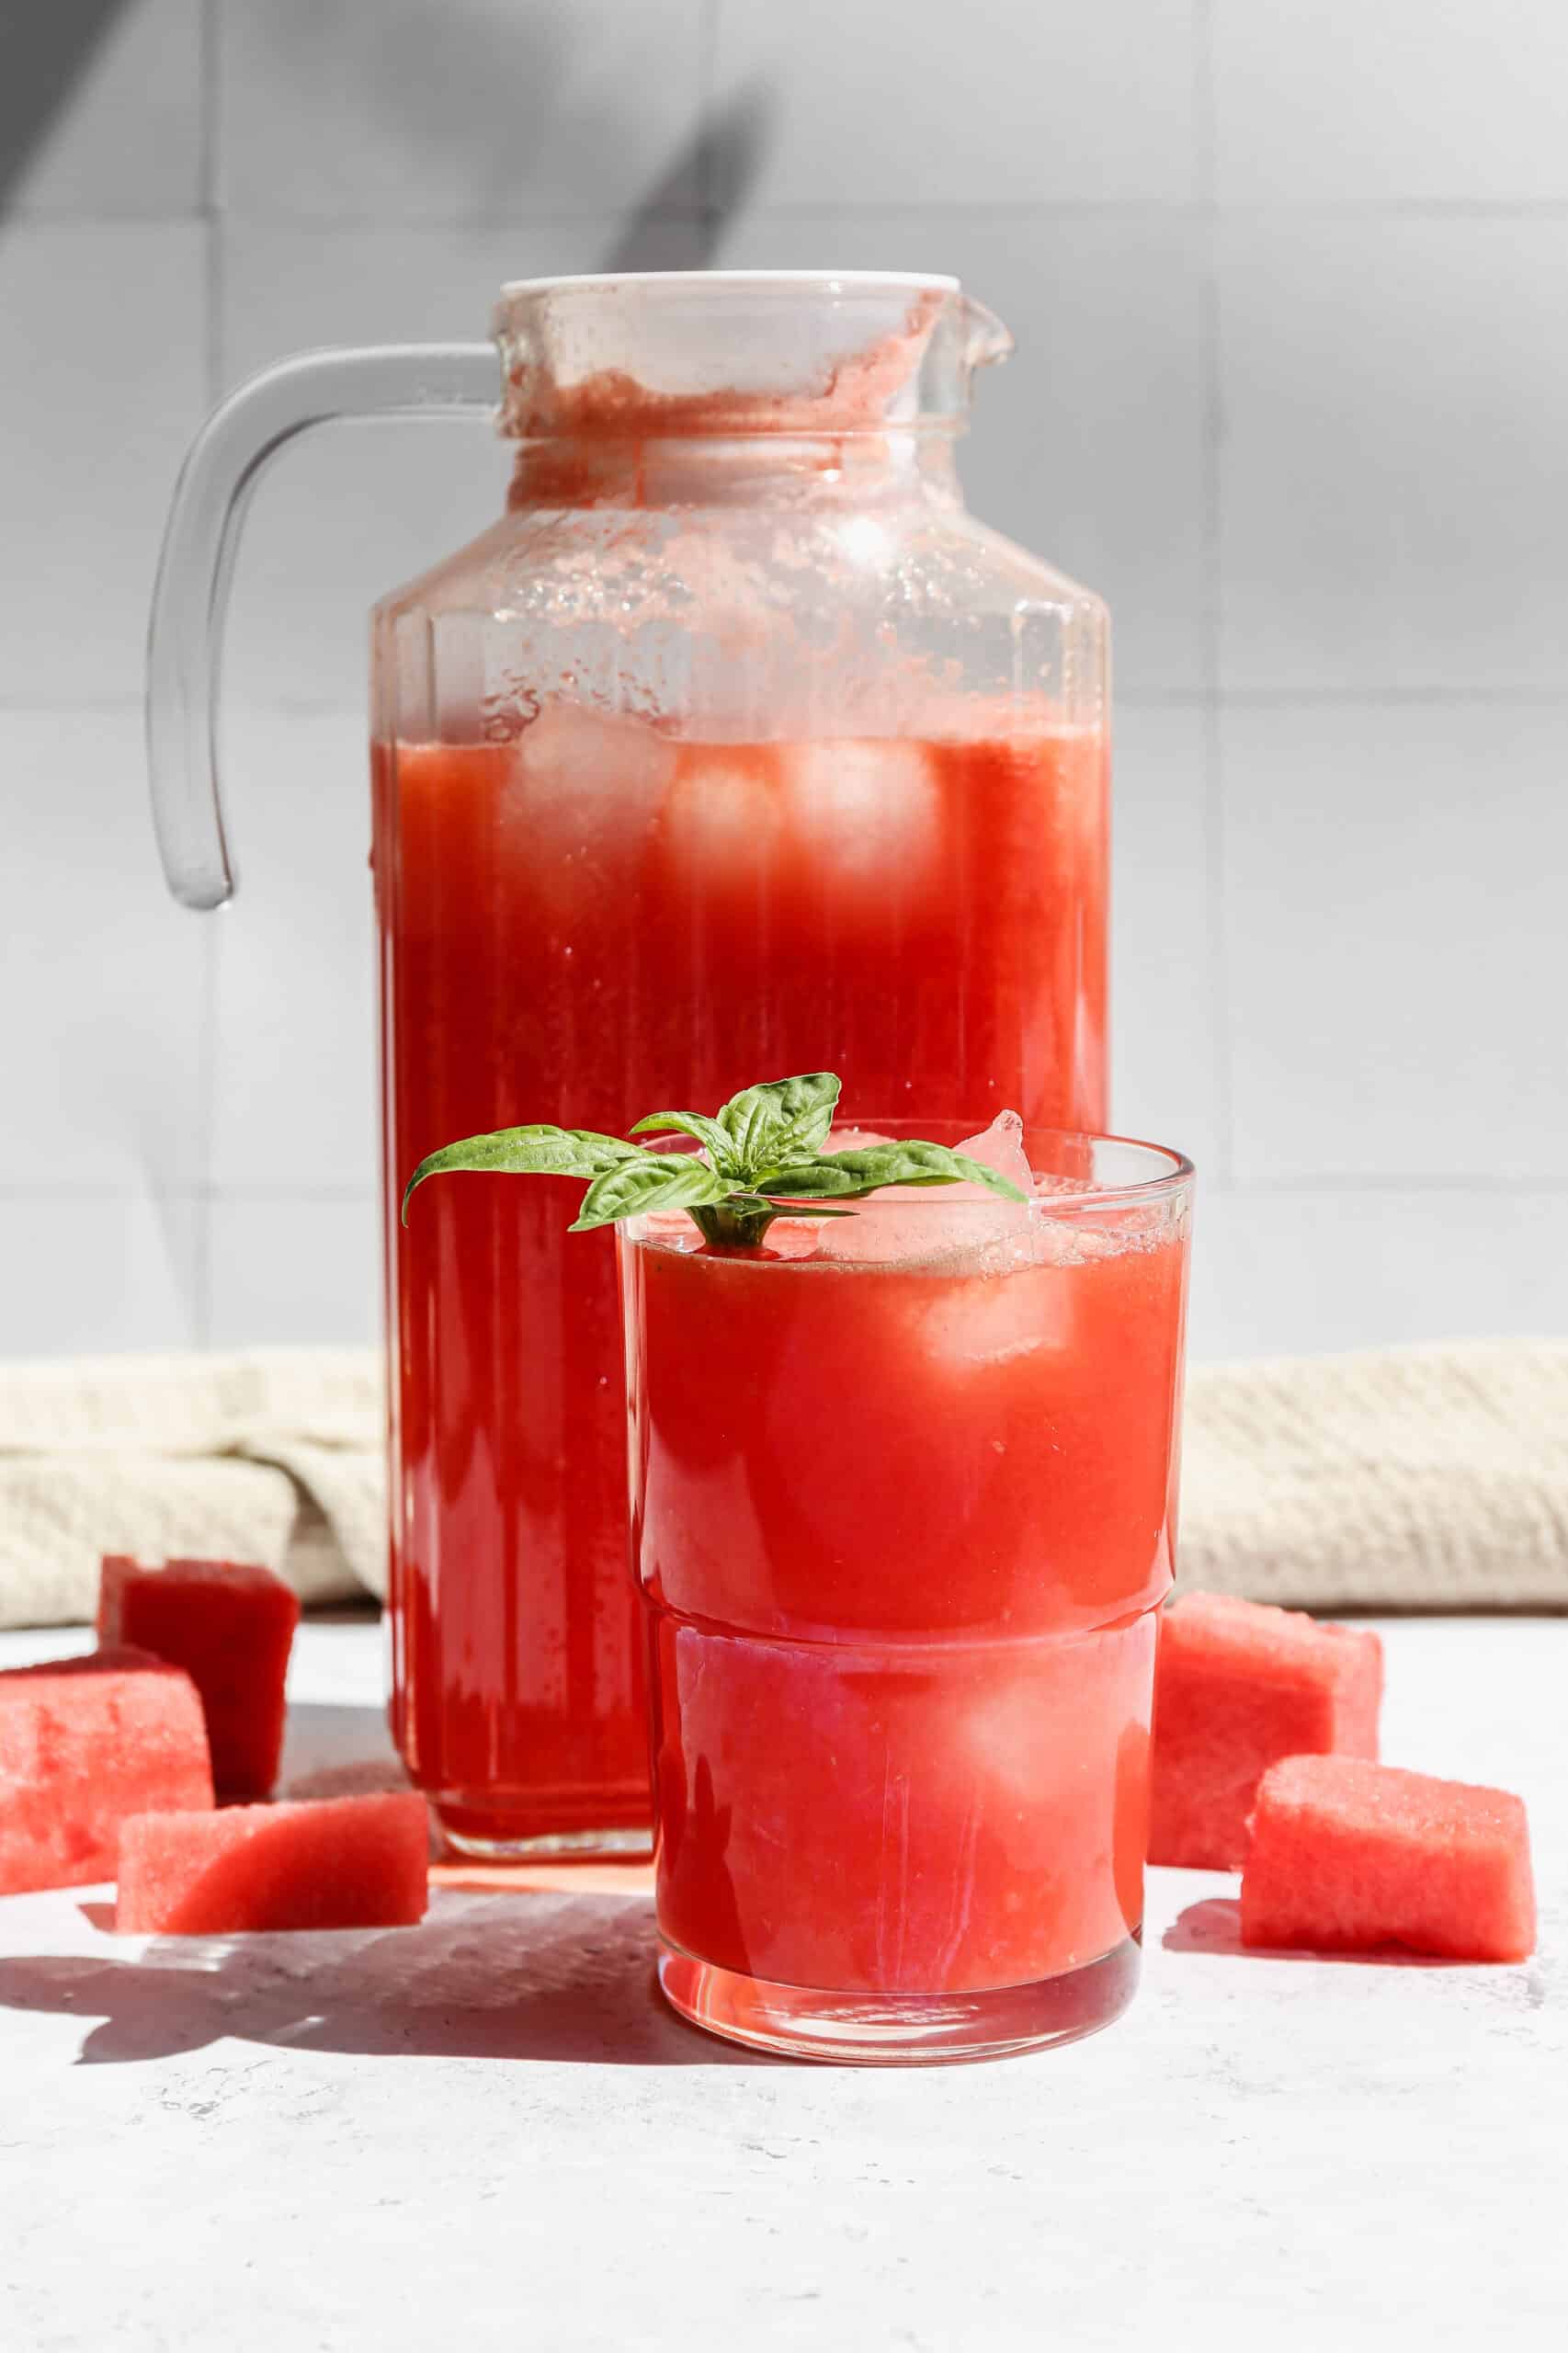
If you are looking for watermelon recipes you might also enjoy my Watermelon Lemonade or this Easy Frozen Watermelon Margarita Mocktail recipes.
[feast_advanced_jump_to]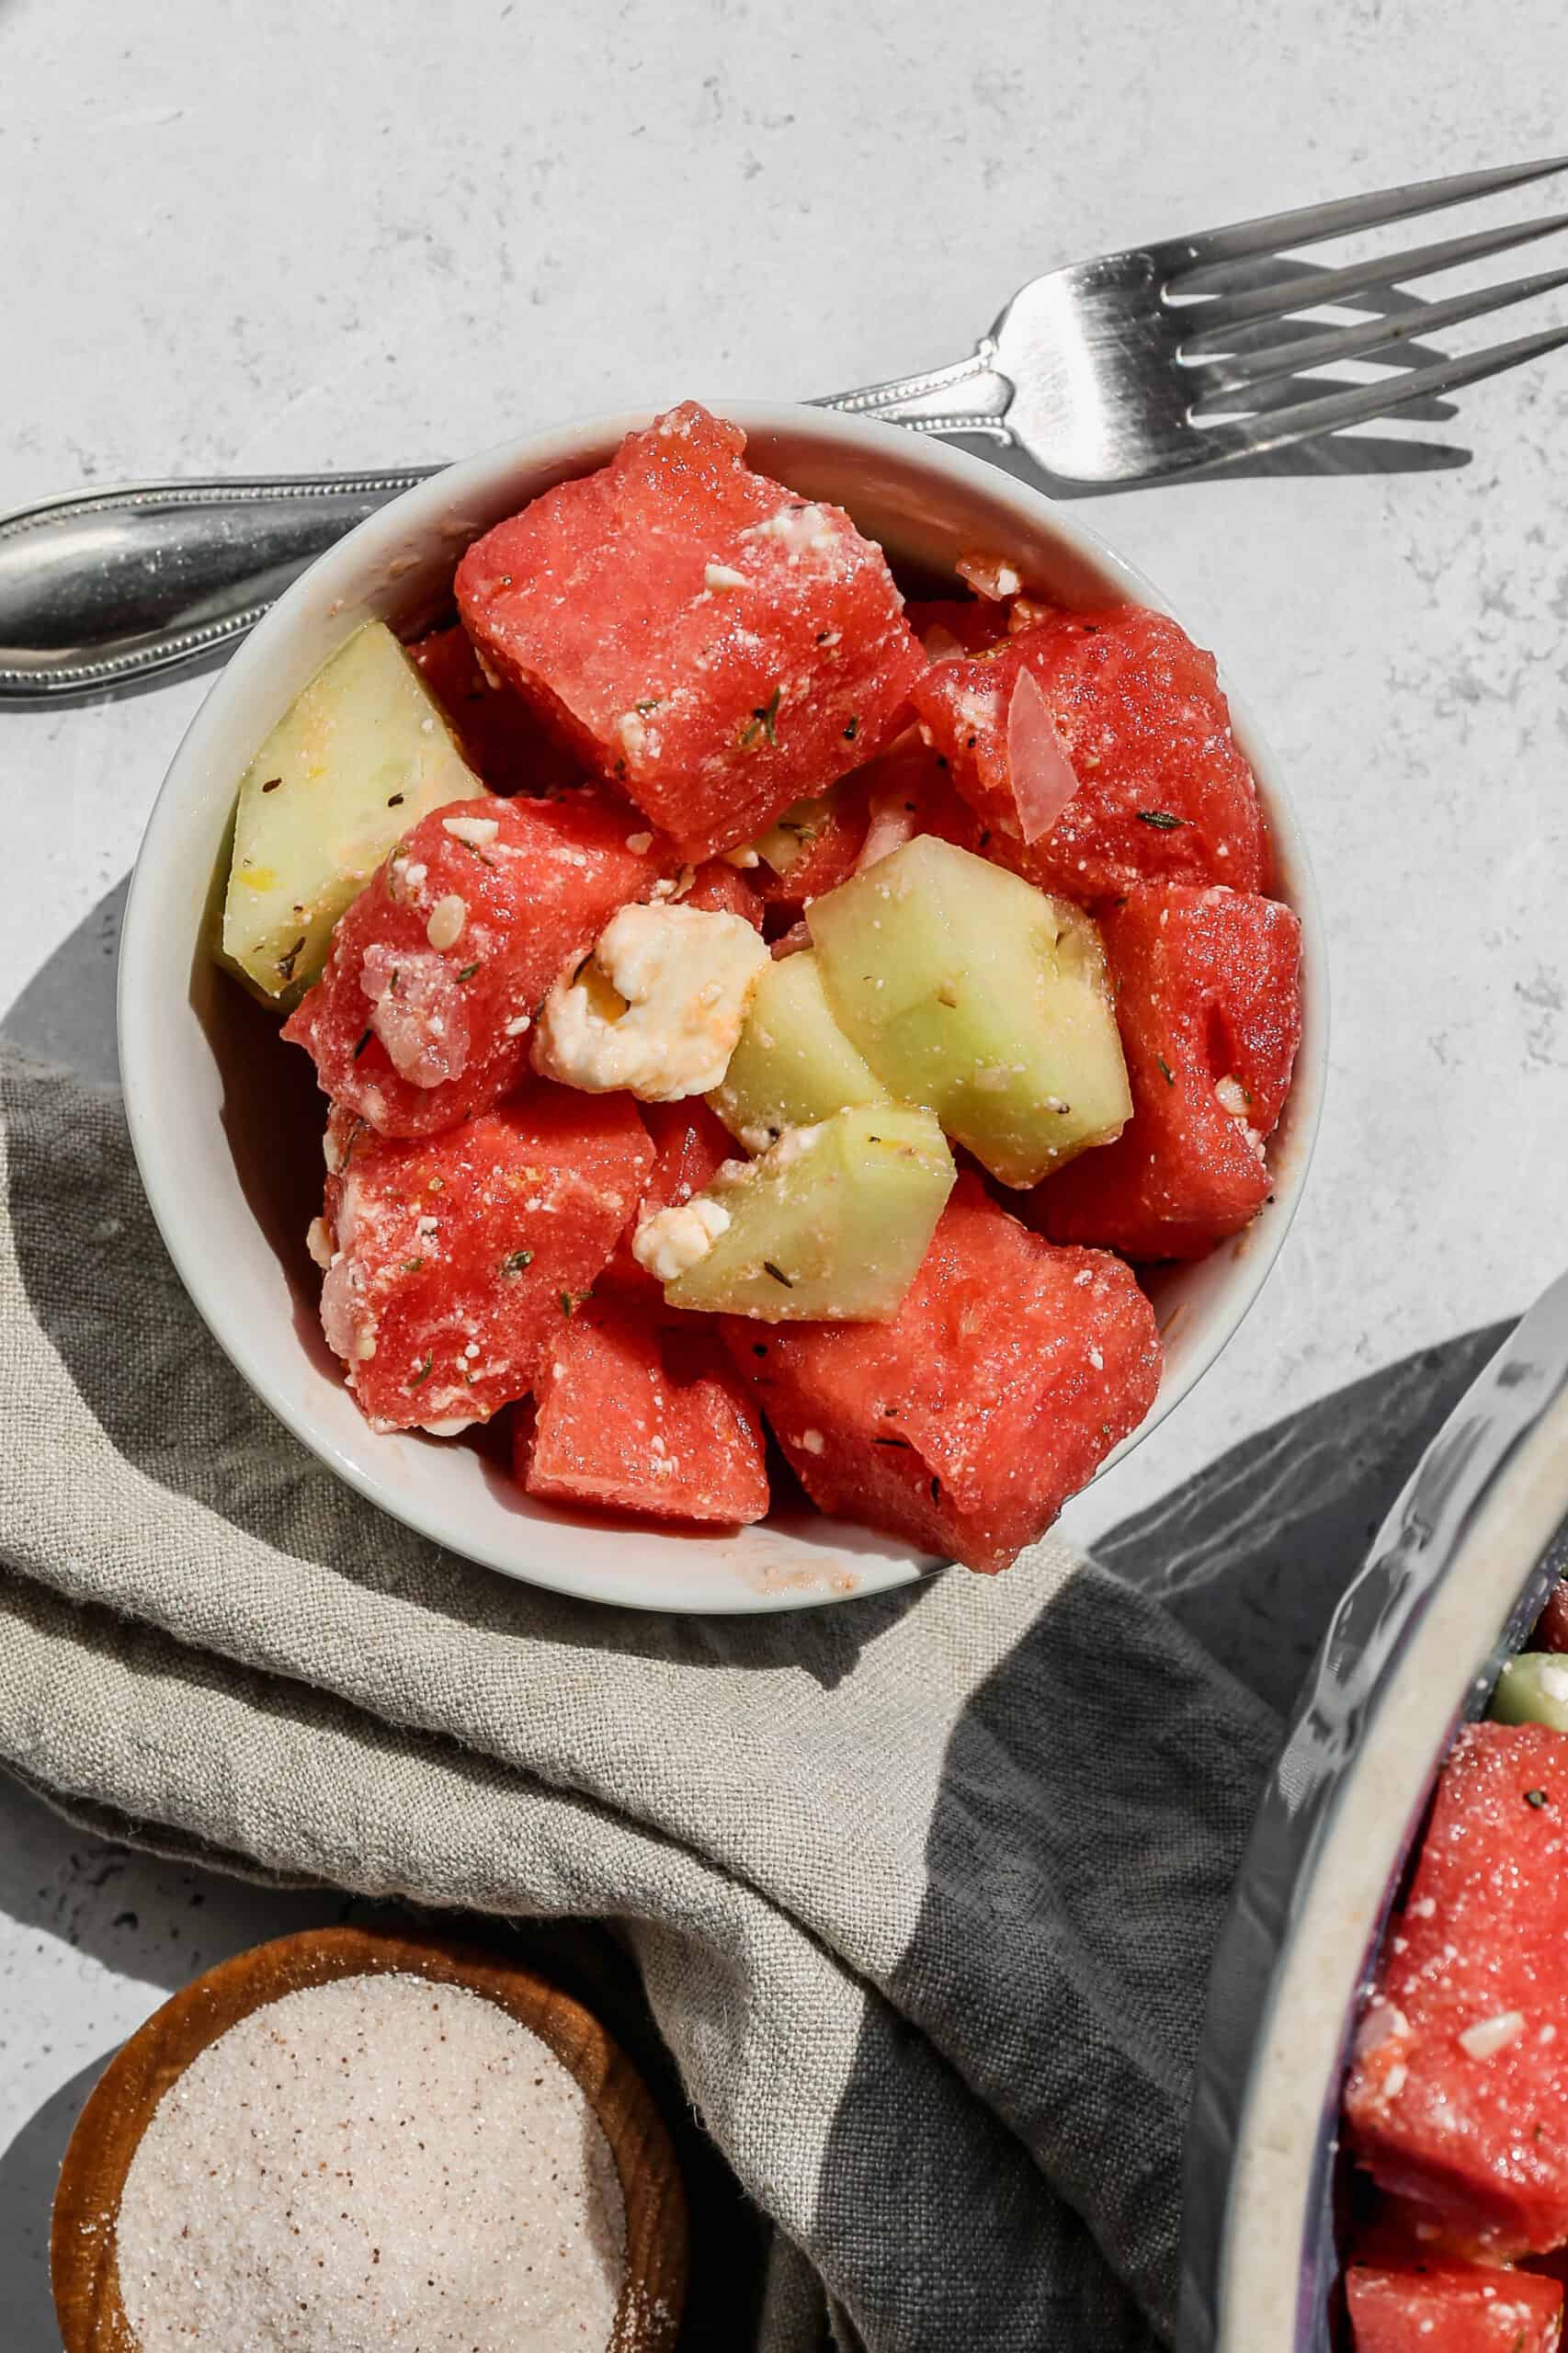
Ingredients
- Seedless Watermelon
- English Cucumbers
- Feta Cheese
- Shallot
- Apple Cider Vinegar
- Lemon Juice
- Lemon Zest
- Olive Oil
- Dried Thyme
- Sea Salt
- Coarse Ground Black Pepper
Instructions
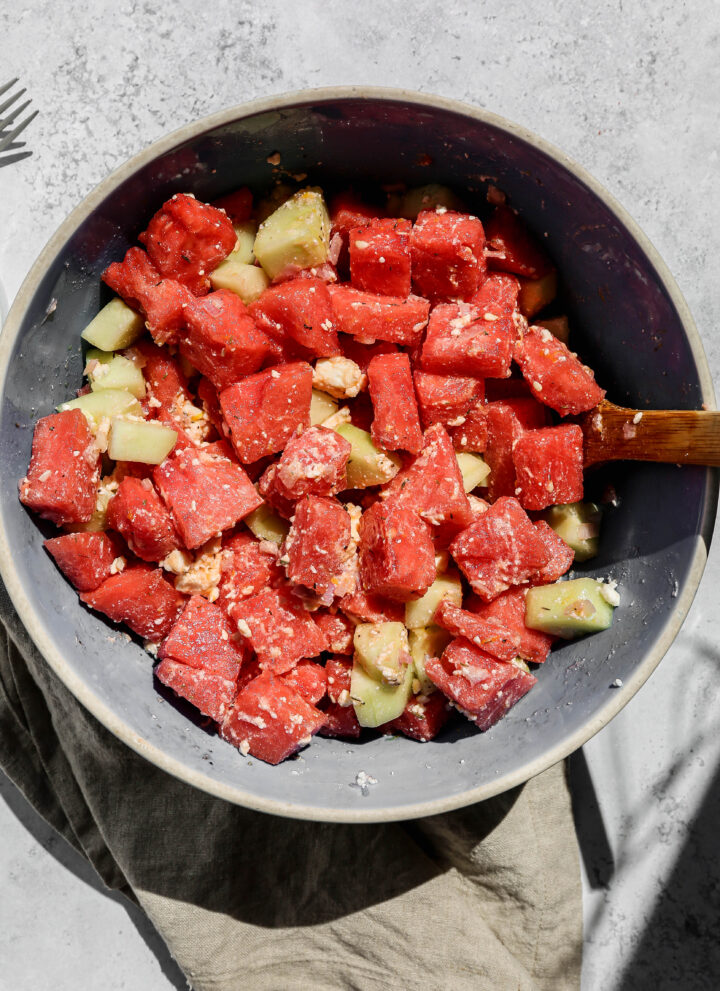
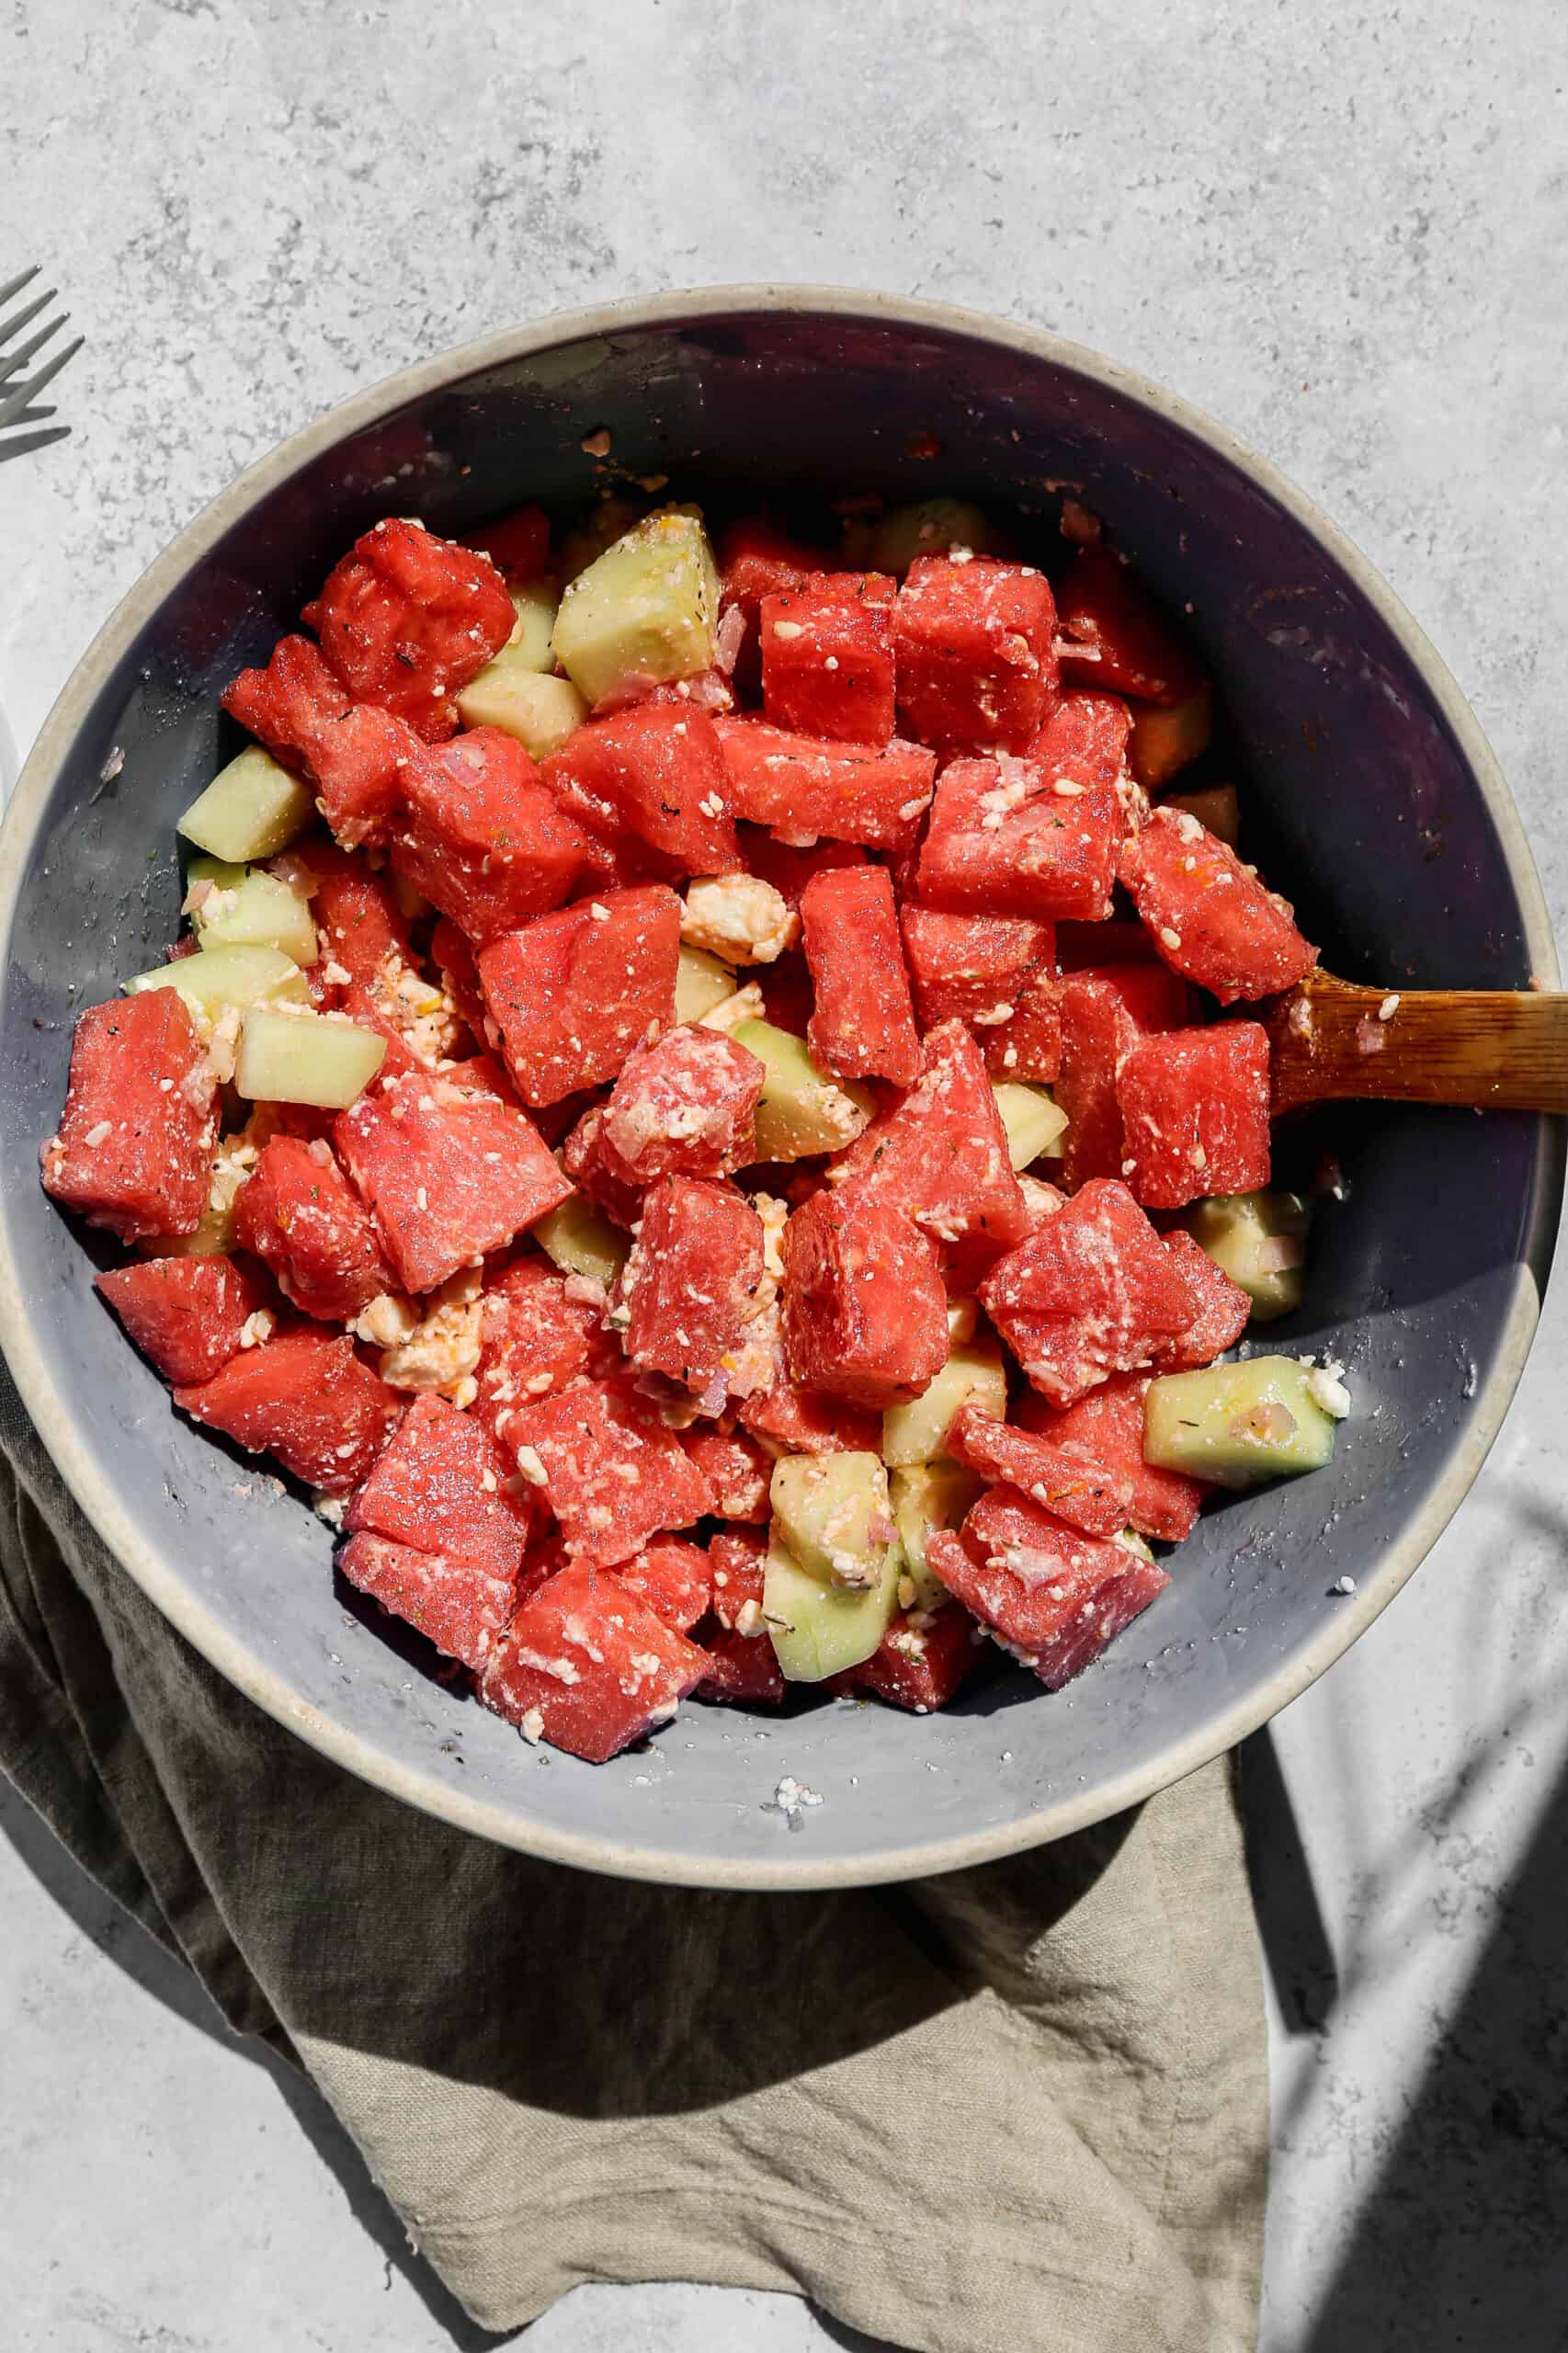
In a large serving bowl combine the cubed watermelon, chopped cucumber, feta cheese and finely diced shallot.
In a small bowl or pint jar add the apple cider vinegar, lemon juice, lemon zest, olive oil, thyme, salt and pepper. Stir to combine.
Pour the dressing over the watermelon mixture. Stir to combine.
Refrigerate for 1 hour and serve cold.
Hint: I like to make this salad the day before so it's really cold and ready to serve with our meal. Store it in an air tight container in the refrigerator overnight or up to 5 days.
Substitutions
- Honey Dew Melon - you can also make this salad with honey dew melon or a mixture with the watermelon
- Lime Juice - you can substitute lime juice for the lemon juice in this recipe
- Lime Zest - you can substitute lime zest for the lemon zest in this recipe
- Avocado Oil - you can replace the olive oil with avocado oil or a mixture of that's what you have
- Queso Fresco Cheese - you can crumble queso fresco into the salad rather than using feta cheese
Variations
- Spicy - add a pinch of cayenne pepper to give this salad a little kick
- Deluxe - add a mixture watermelon, honey dew and golden melon
Supplies

Storage
Store in an air tight container in the refrigerator for up to 5 days.
Top tip
The salad will get more juice from the watermelon and cucumber in the mixture as you store it. Use a slotted spoon to serve rather than pouring the juice out so the salad doesn't lose any flavor.
Watermelon Cucumber and Feta Salad
- Total Time: 15 minutes
- Yield: 8 servings 1x
- Diet: Gluten Free
Description
This healthy recipe for watermelon cucumber and feta salad is a summer favorite! It's a refreshing salad with a zesty dressing that uses feta cheese. I love to make this side dish the day before so it's cold and ready to serve.
Ingredients
1 small Seedless Watermelon, rind removed and cubed (about 6 cups)
2 English Cucumbers, peeled and chopped
2 cups crumbled Feta Cheese
1 small Shallot, finely diced
¼ cup Apple Cider Vinegar
2 tablespoon Lemon Juice
1 tablespoon Lemon Zest
⅓ cup Olive Oil
½ teaspoon Dried Thyme
½ teaspoon Sea Salt
¼ teaspoon Coarse Ground Black Pepper
Instructions
In a large serving bowl combine the cubed watermelon, chopped cucumber, feta cheese and finely diced shallot.
In a small bowl or pint jar add the apple cider vinegar, lemon juice, lemon zest, olive oil, thyme, salt and pepper. Stir to combine.
Pour the dressing over the watermelon mixture. Stir to combine.
Refrigerate for 1 hour and serve cold.
- Prep Time: 15 minutes
- Category: Side Dish, Salads
- Method: Mixing
- Cuisine: Gluten Free
FAQ
This recipe for watermelon cucumber and feta salad is a great side dish with steak, burgers or chicken. It is a really versatile summer side dish!
Store this salad in the refrigerator for up to 5 days.
You want a watermelon that has deep colored stripes and a dull rind. A yellow spot is ideal for getting a sweet flavor to your watermelon. It's best if it has a hollow sound when you knock on the rind with your hand.
No, watermelon are not like cantaloupe that will continue to ripen on your counter. With a watermelon you want to get a sweet and ripe melon at the store. You can not count on it ripen up some at home.