
This a collection of things I'm loving right now. I've included recipes that are perfect for this season and some of my favorite things. Grab a cup of your favorite beverage and scroll through all the stuff I've enjoyed this week.
I'm so ready for warmer days, barbecues and trips to the beach! I'm sharing some of my favorite beach day supplies I've found. I love a cooler bag to pack a quick lunch in and go for a drive with the car windows down. The striped pool float is fun too!
I also shared my top picks for women's summer styles at Walmart. There are some pretty dresses, comfy shorts and some sandals that look lovely. I'm a big Target fan, but I feel like some of Walmart's summer styles are running them so competition.
Beach Day Supplies

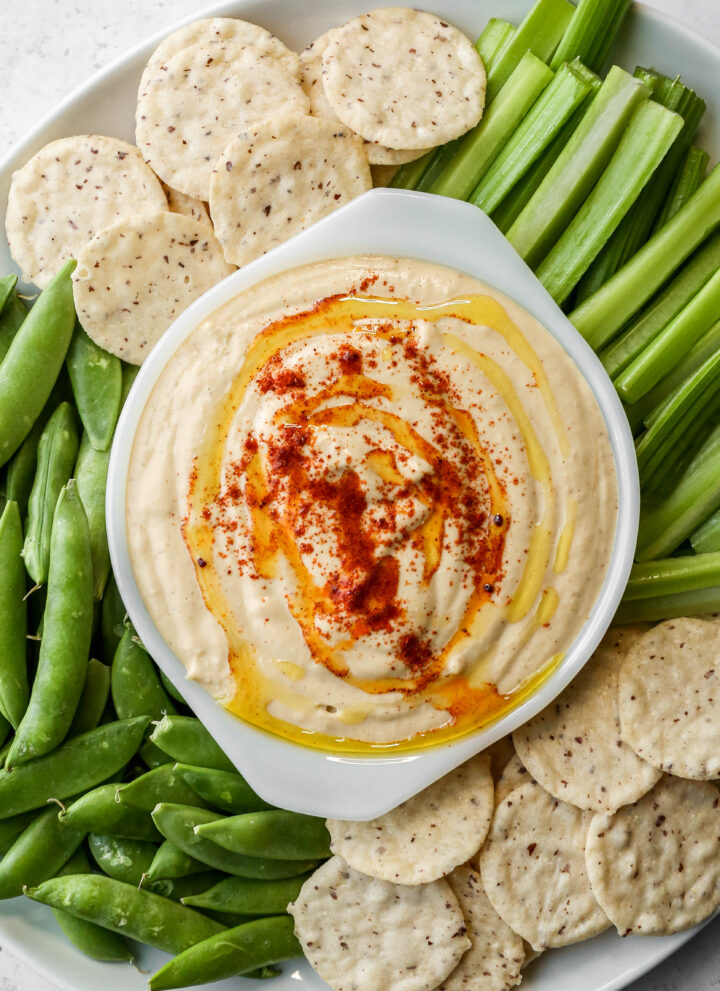
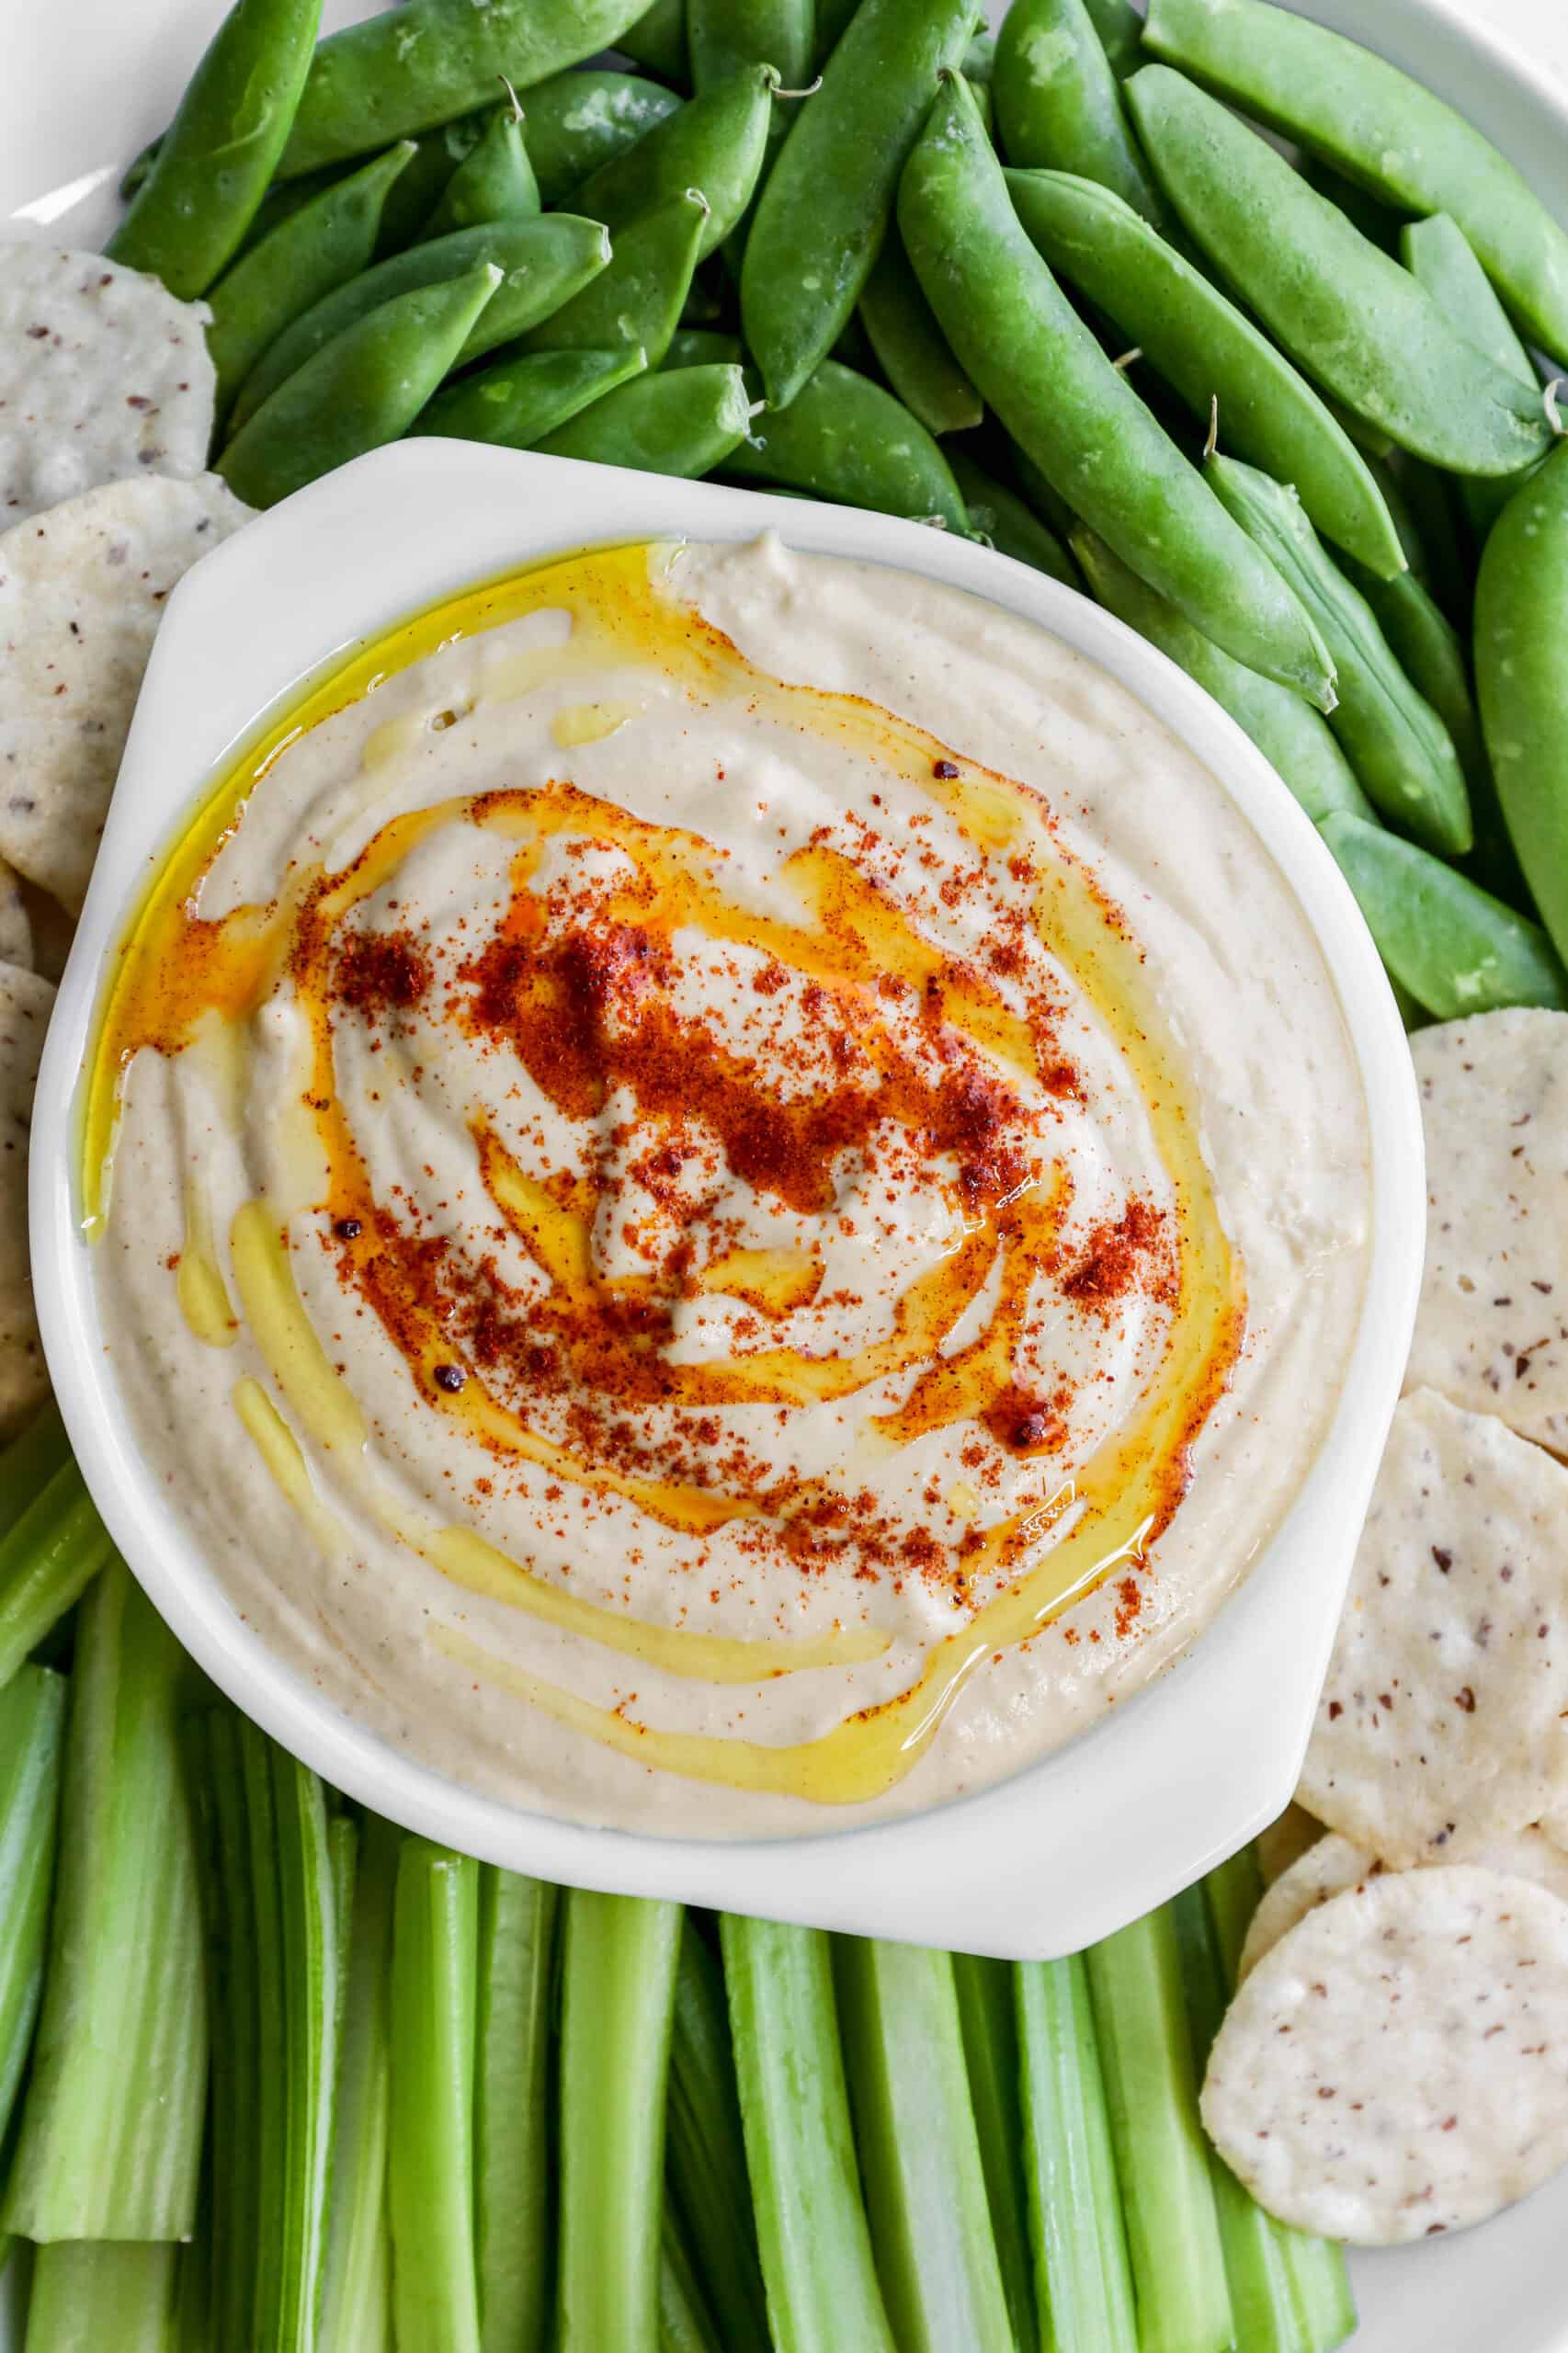
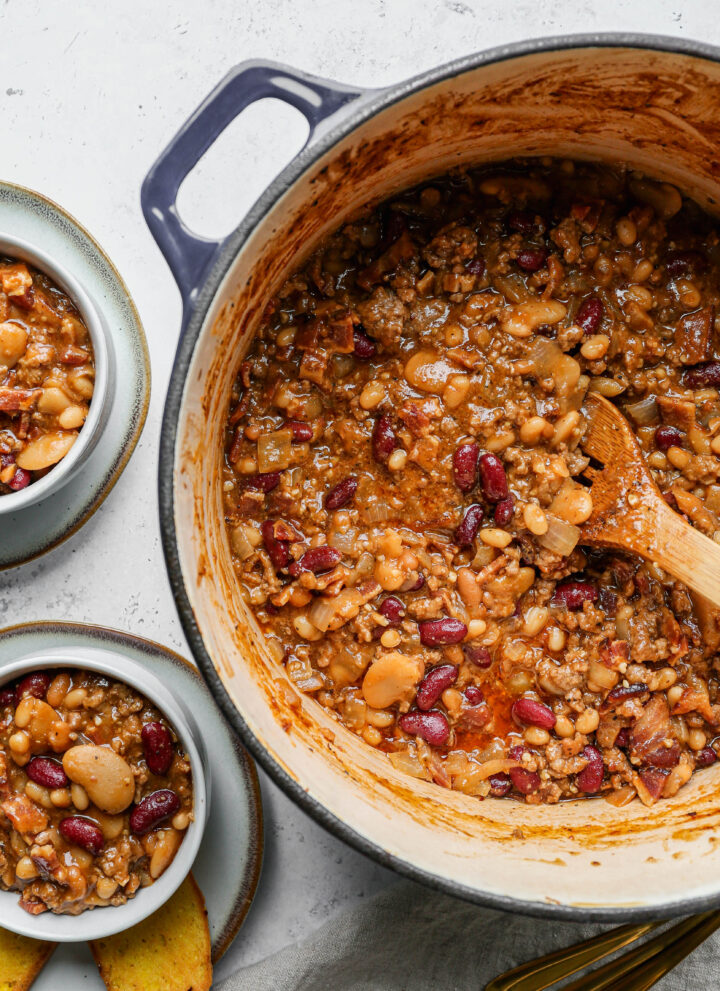
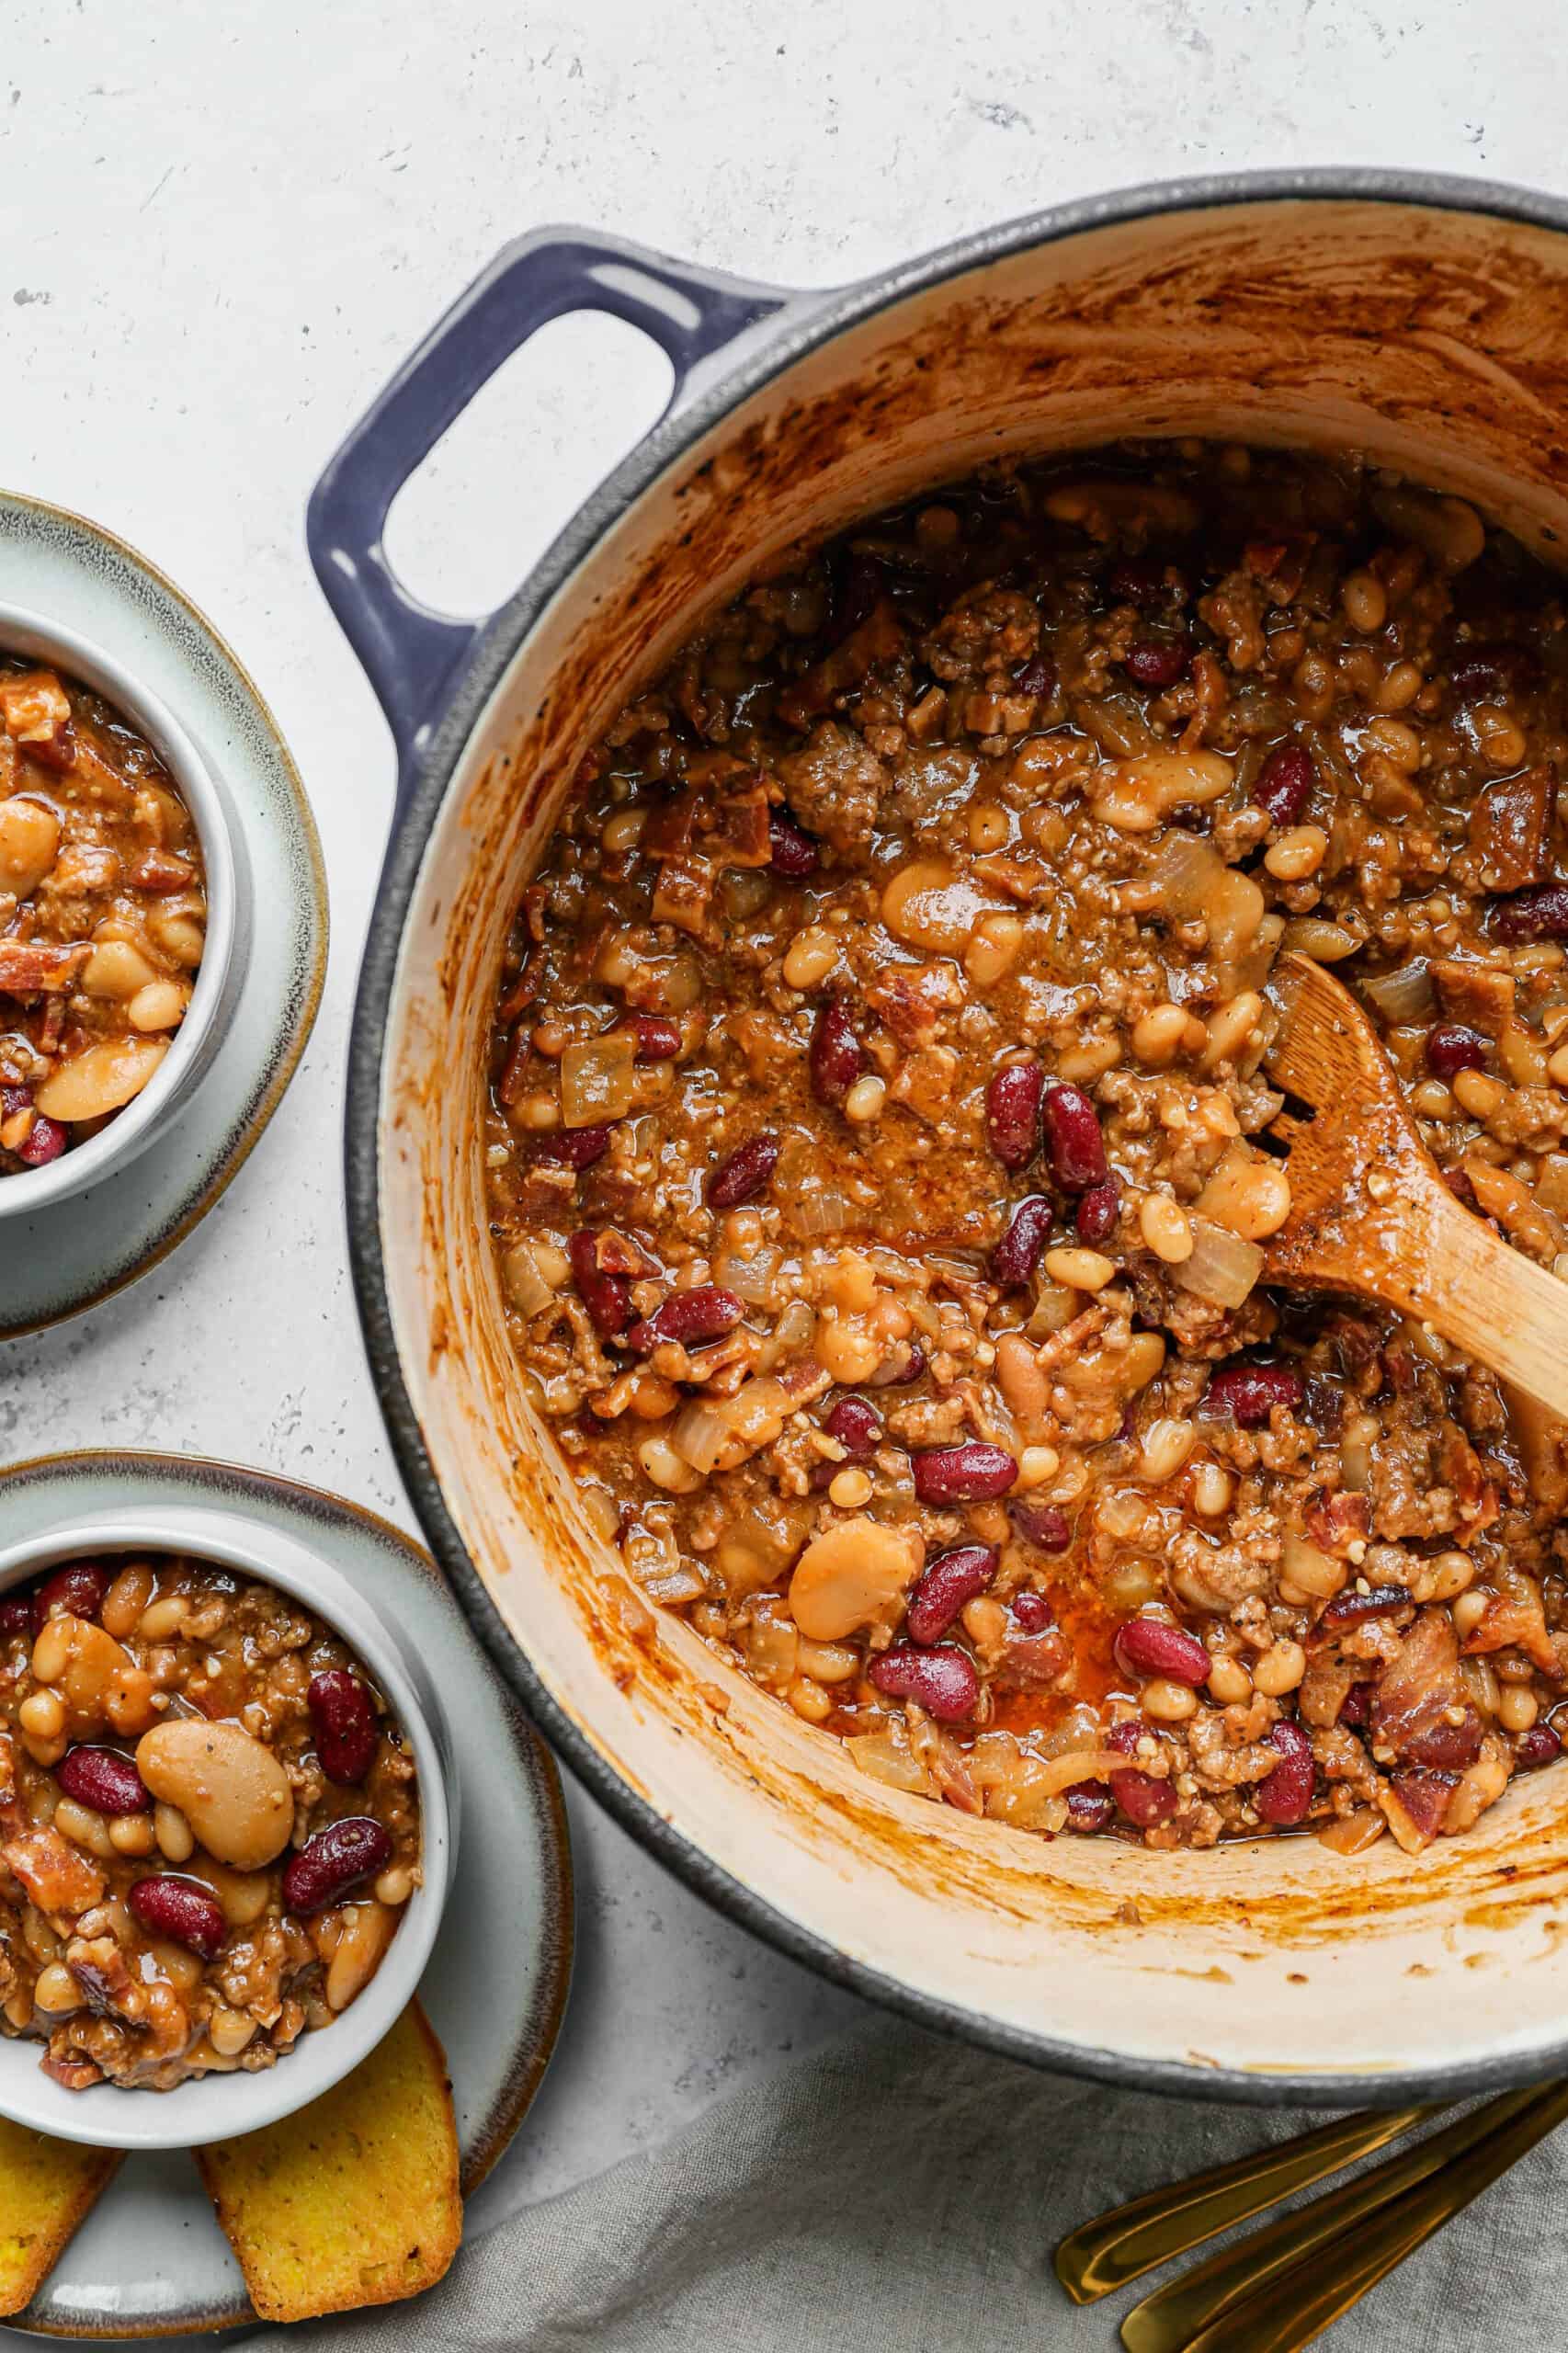
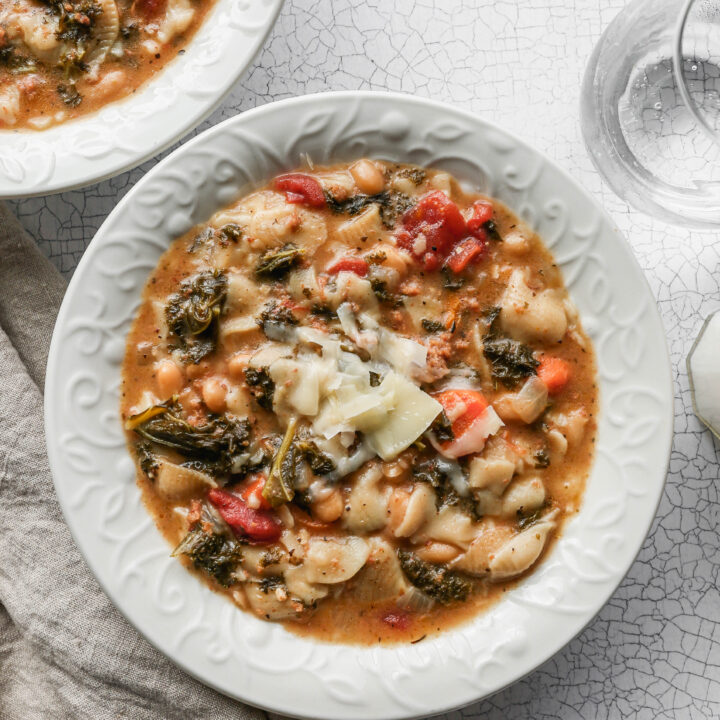
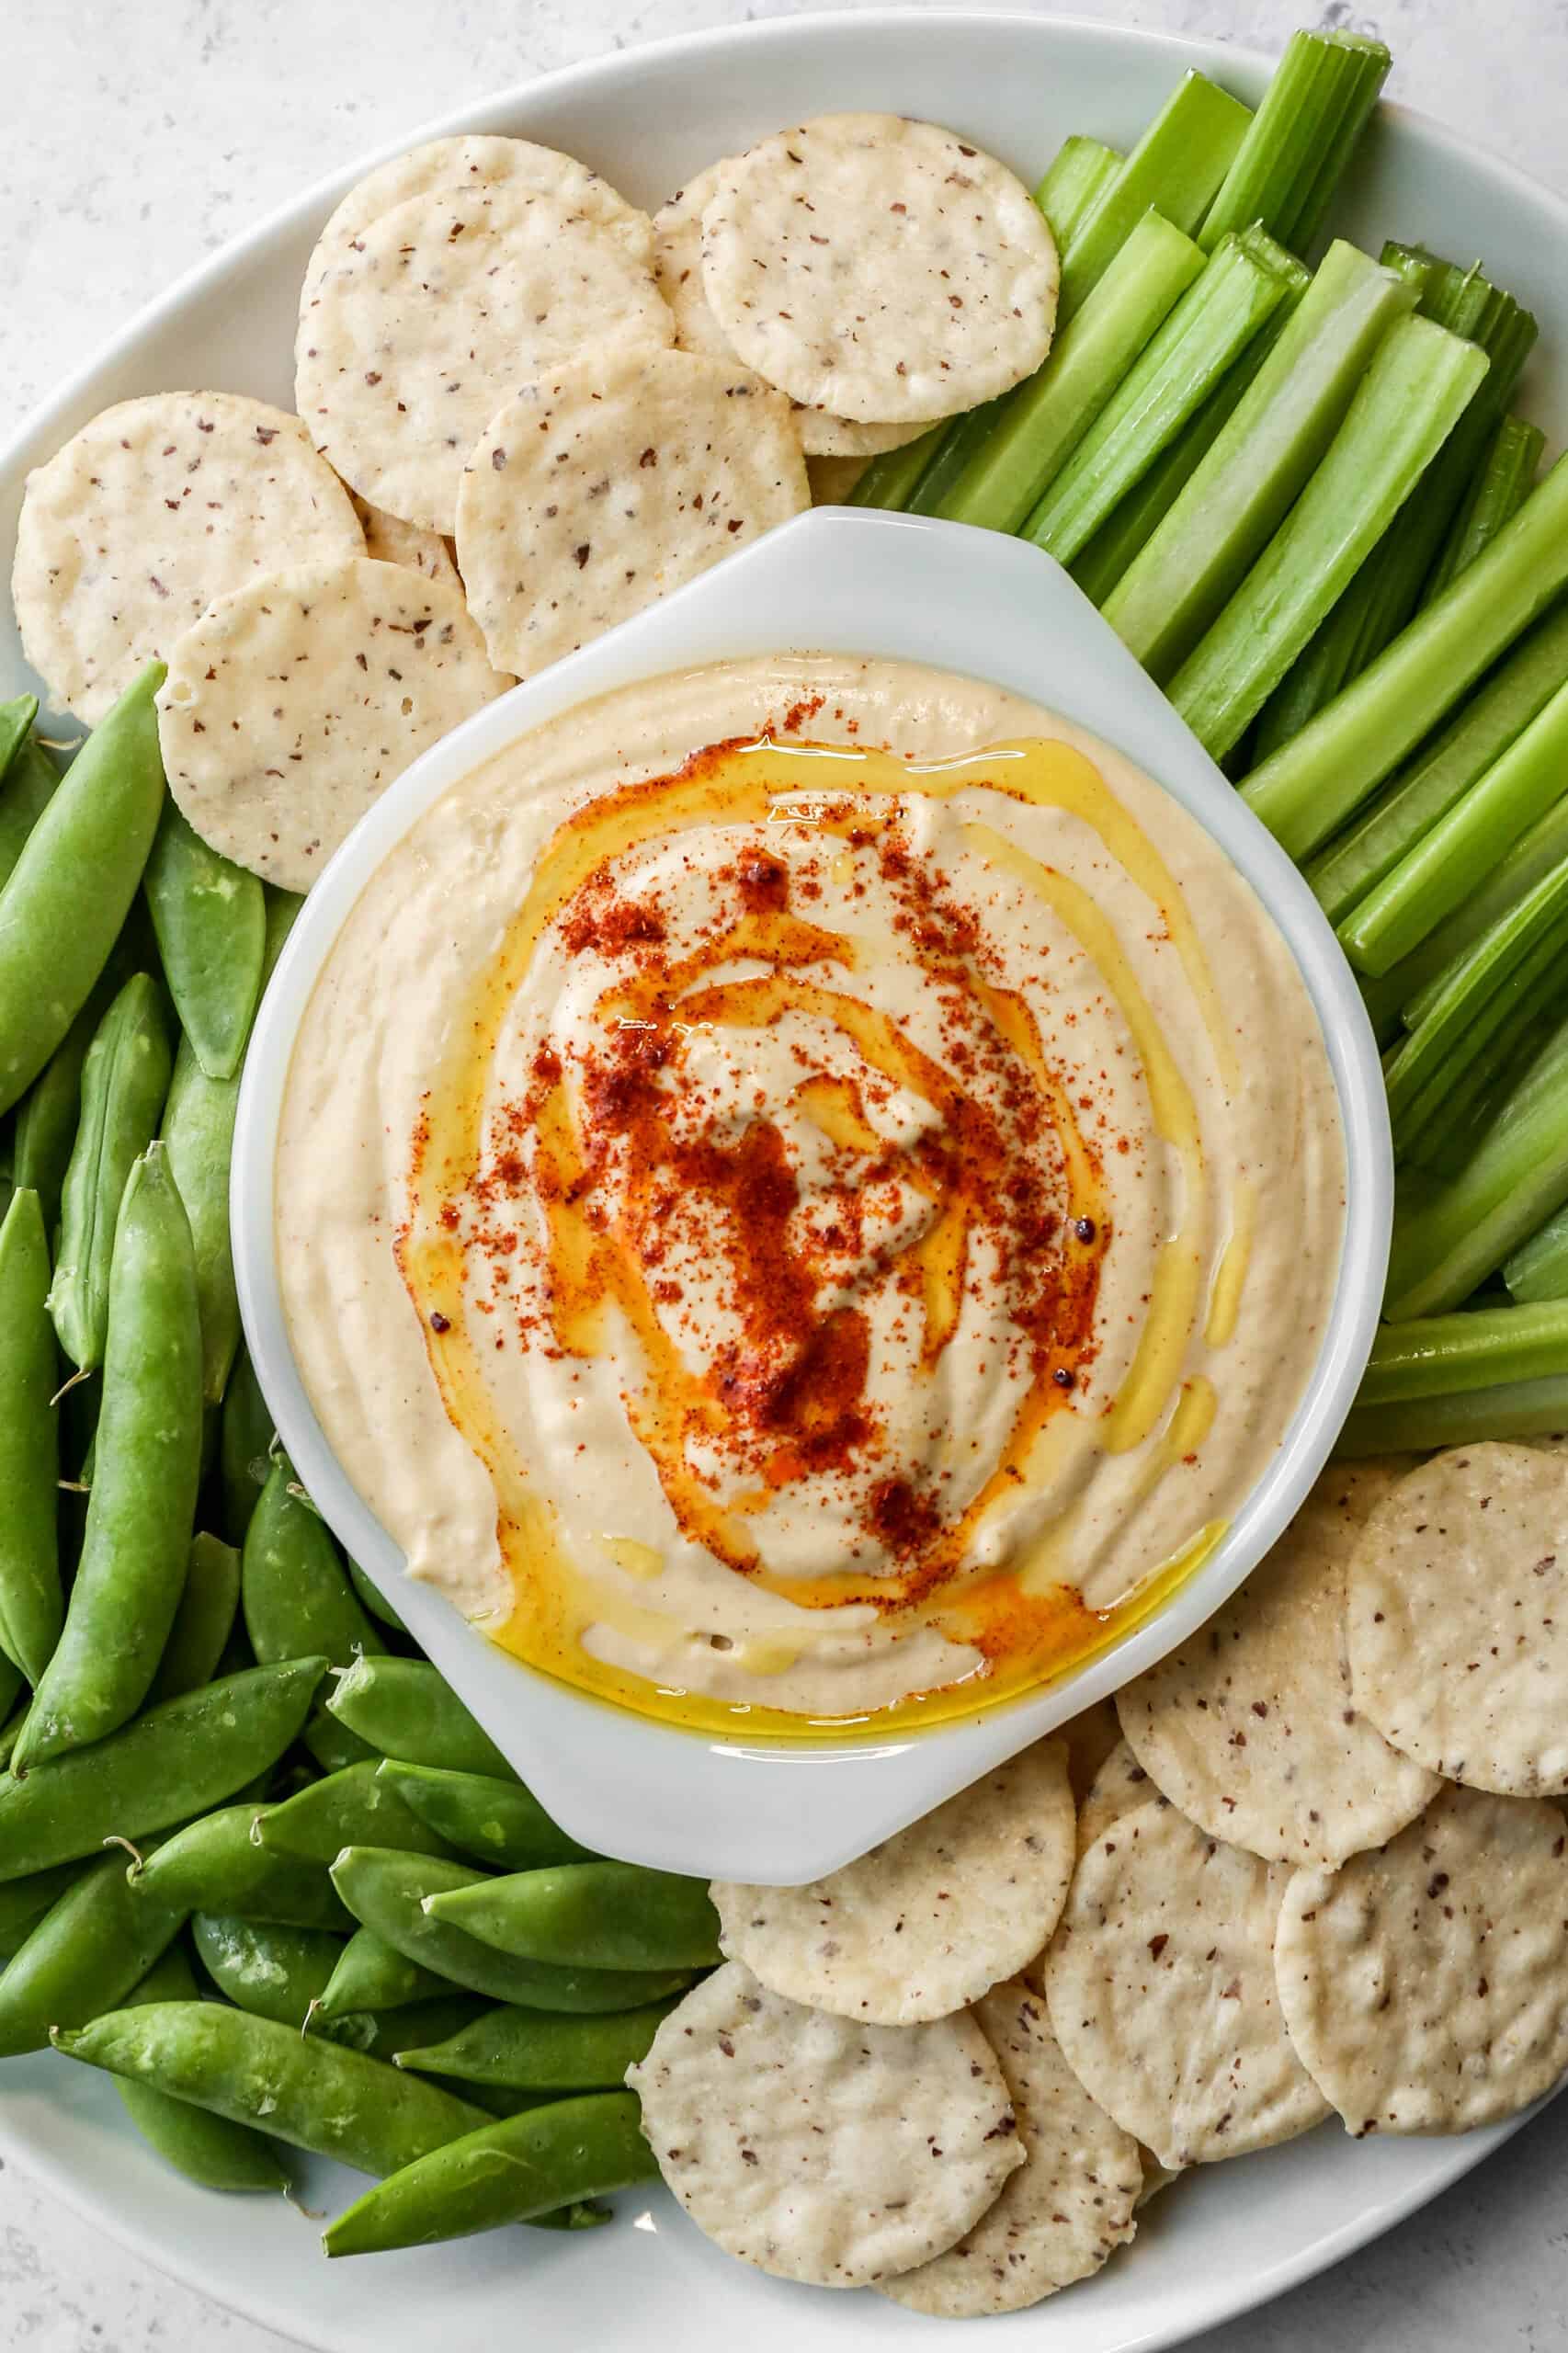
Recipe Ideas For The Week

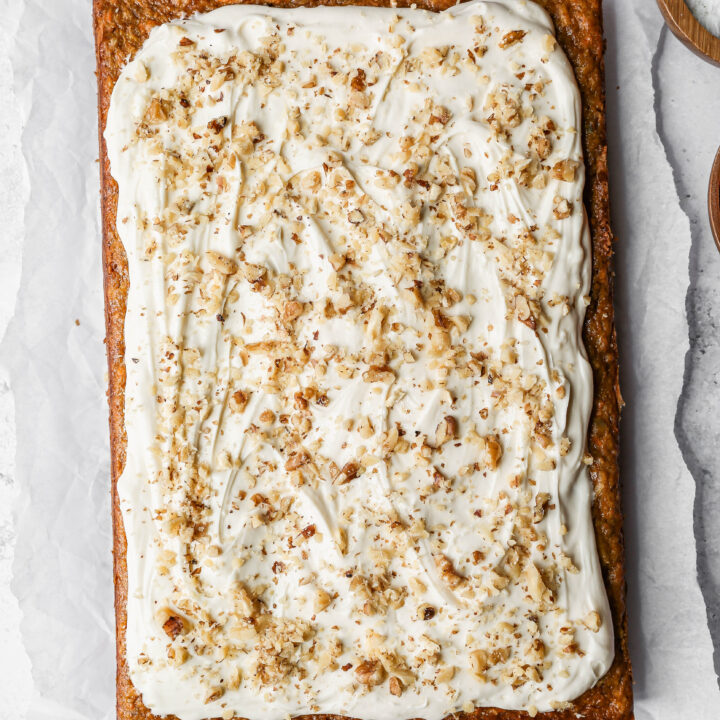
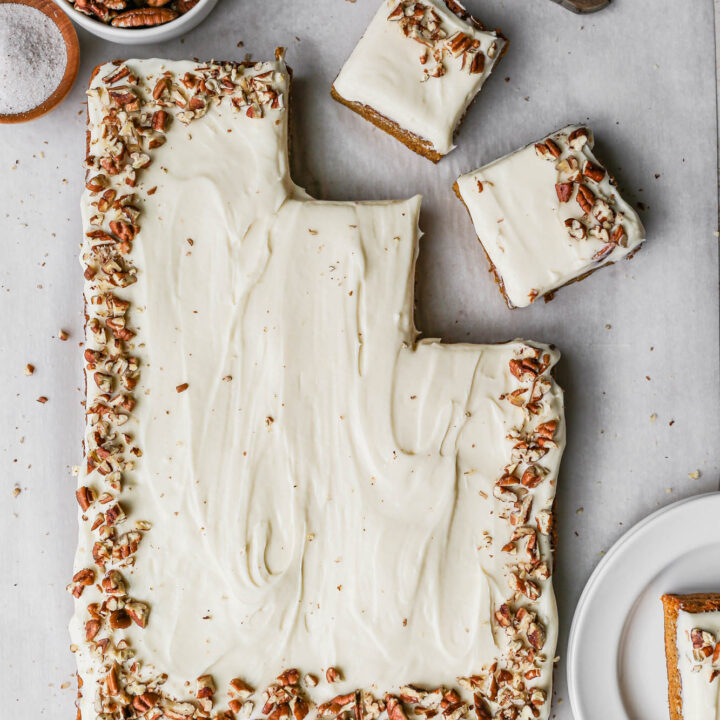
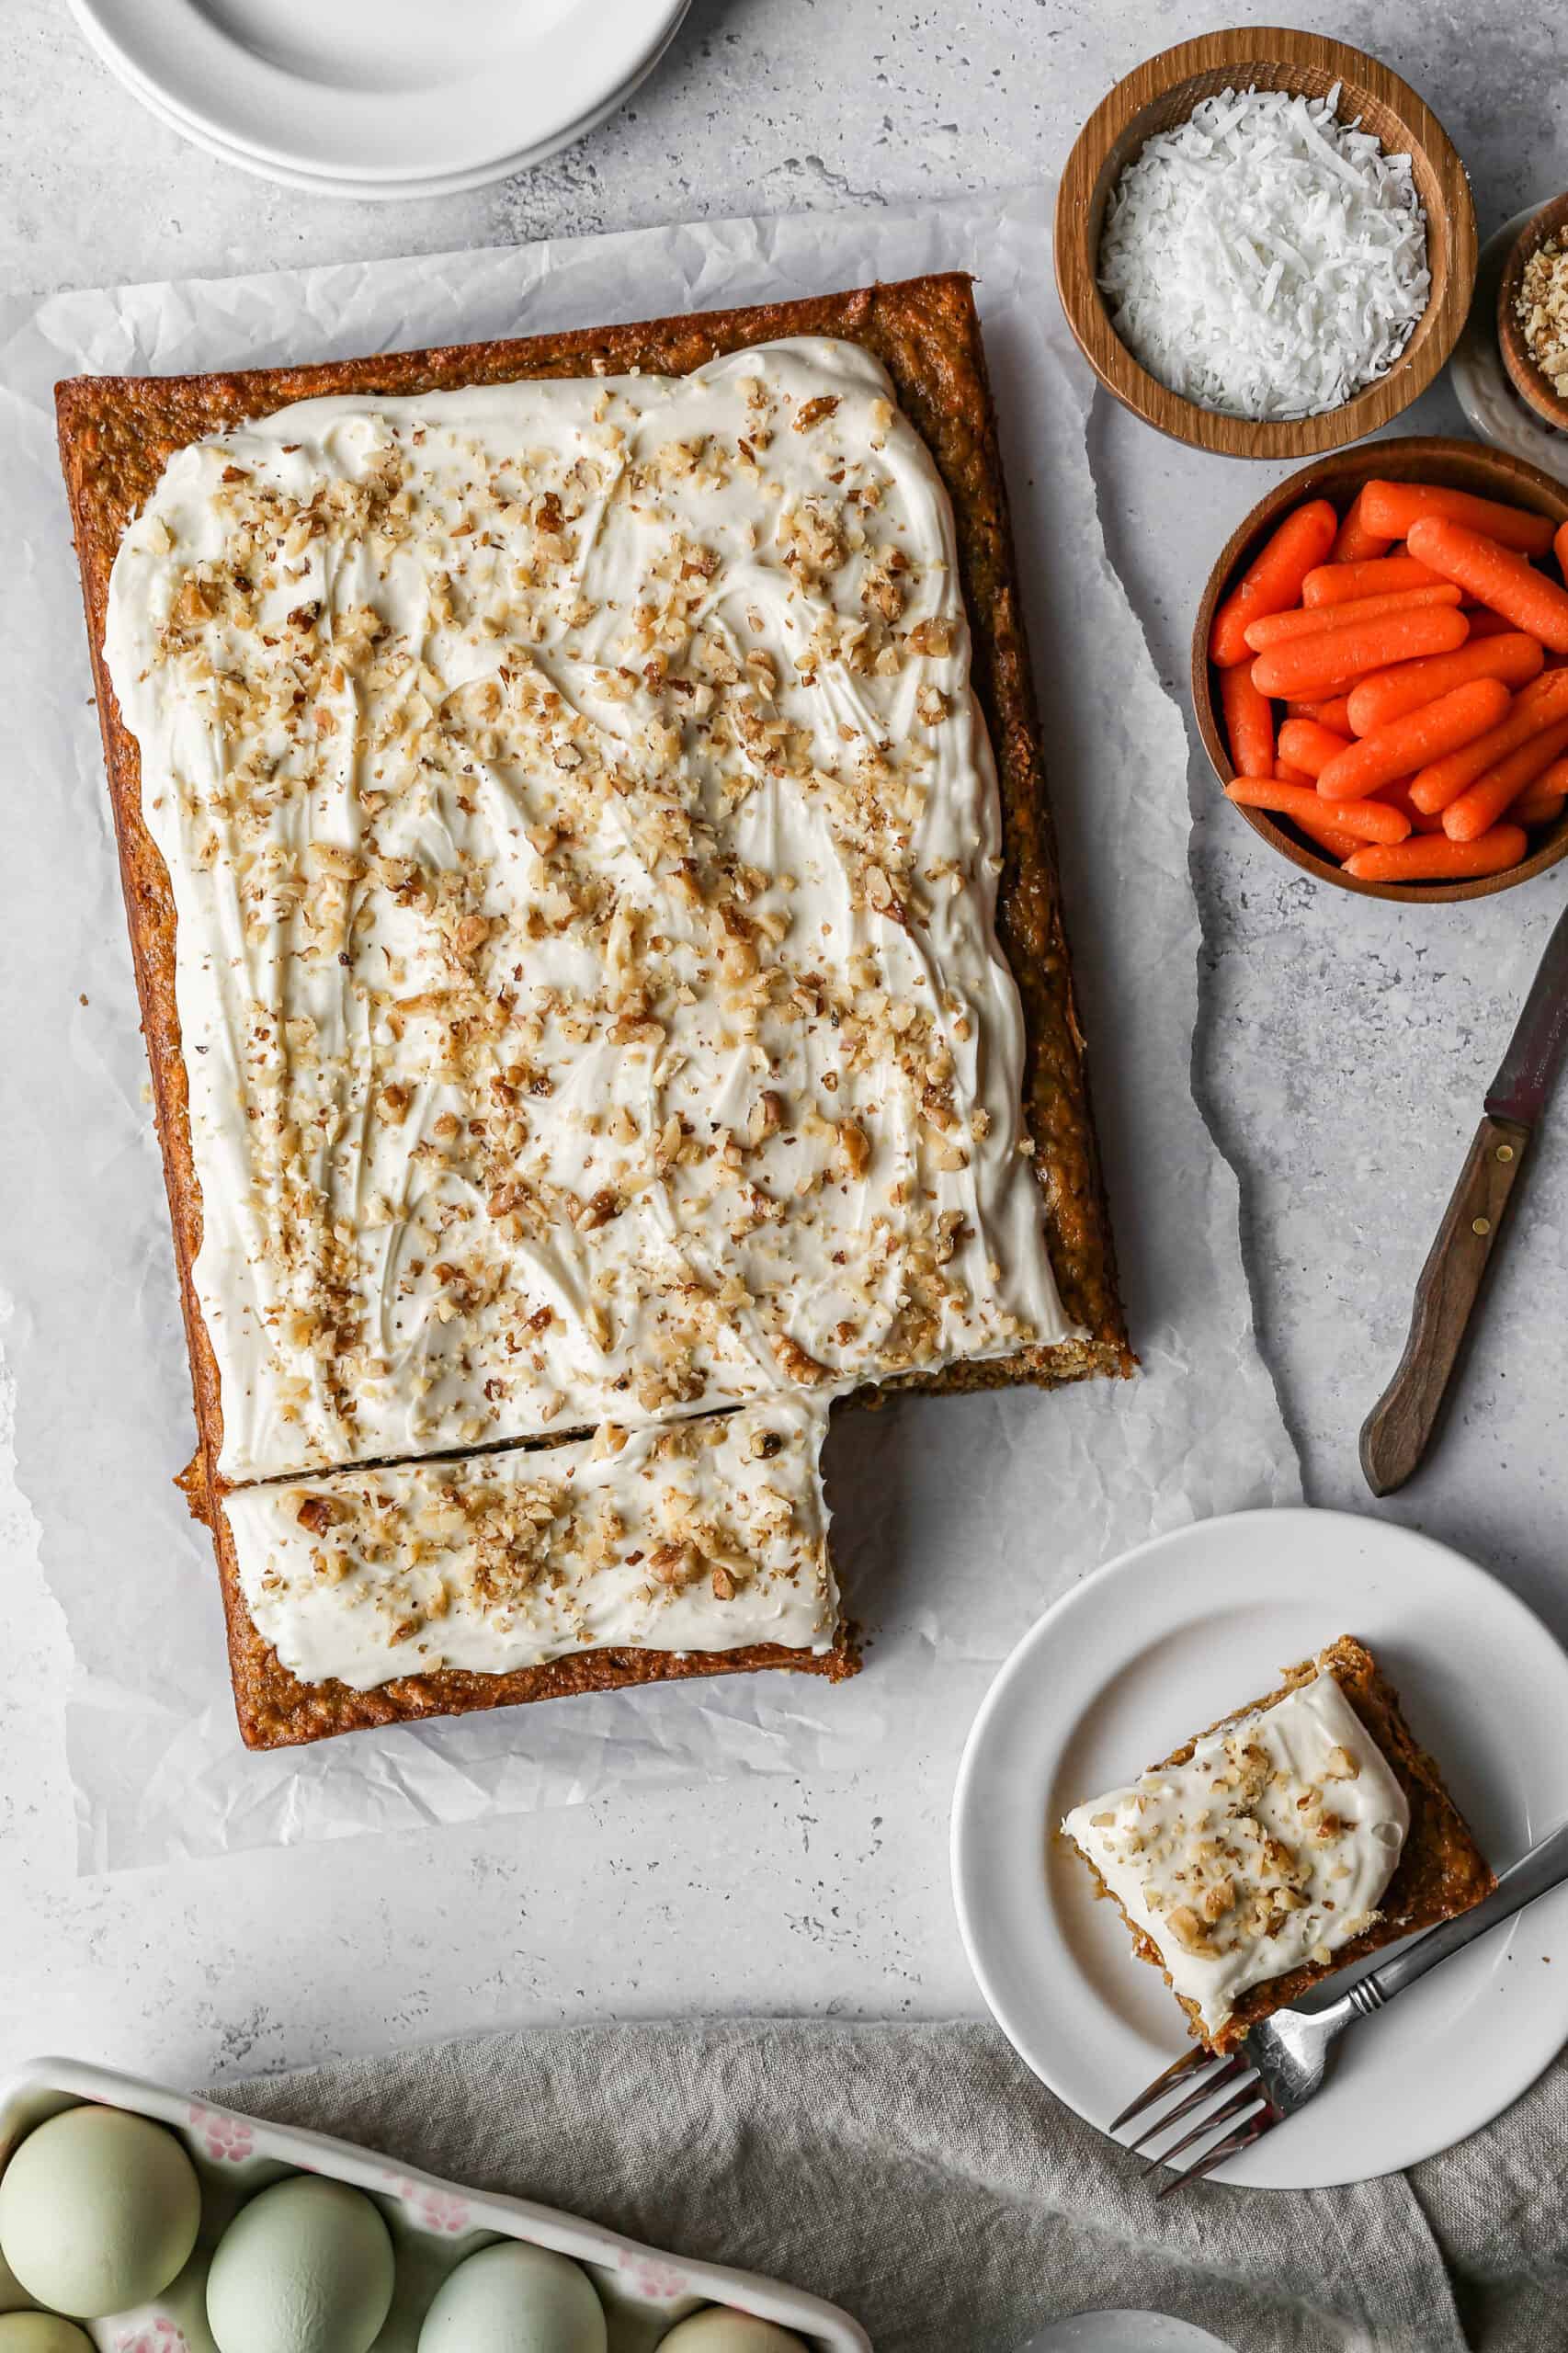
Gluten Free Banana Cake with Chocolate Buttercream Frosting
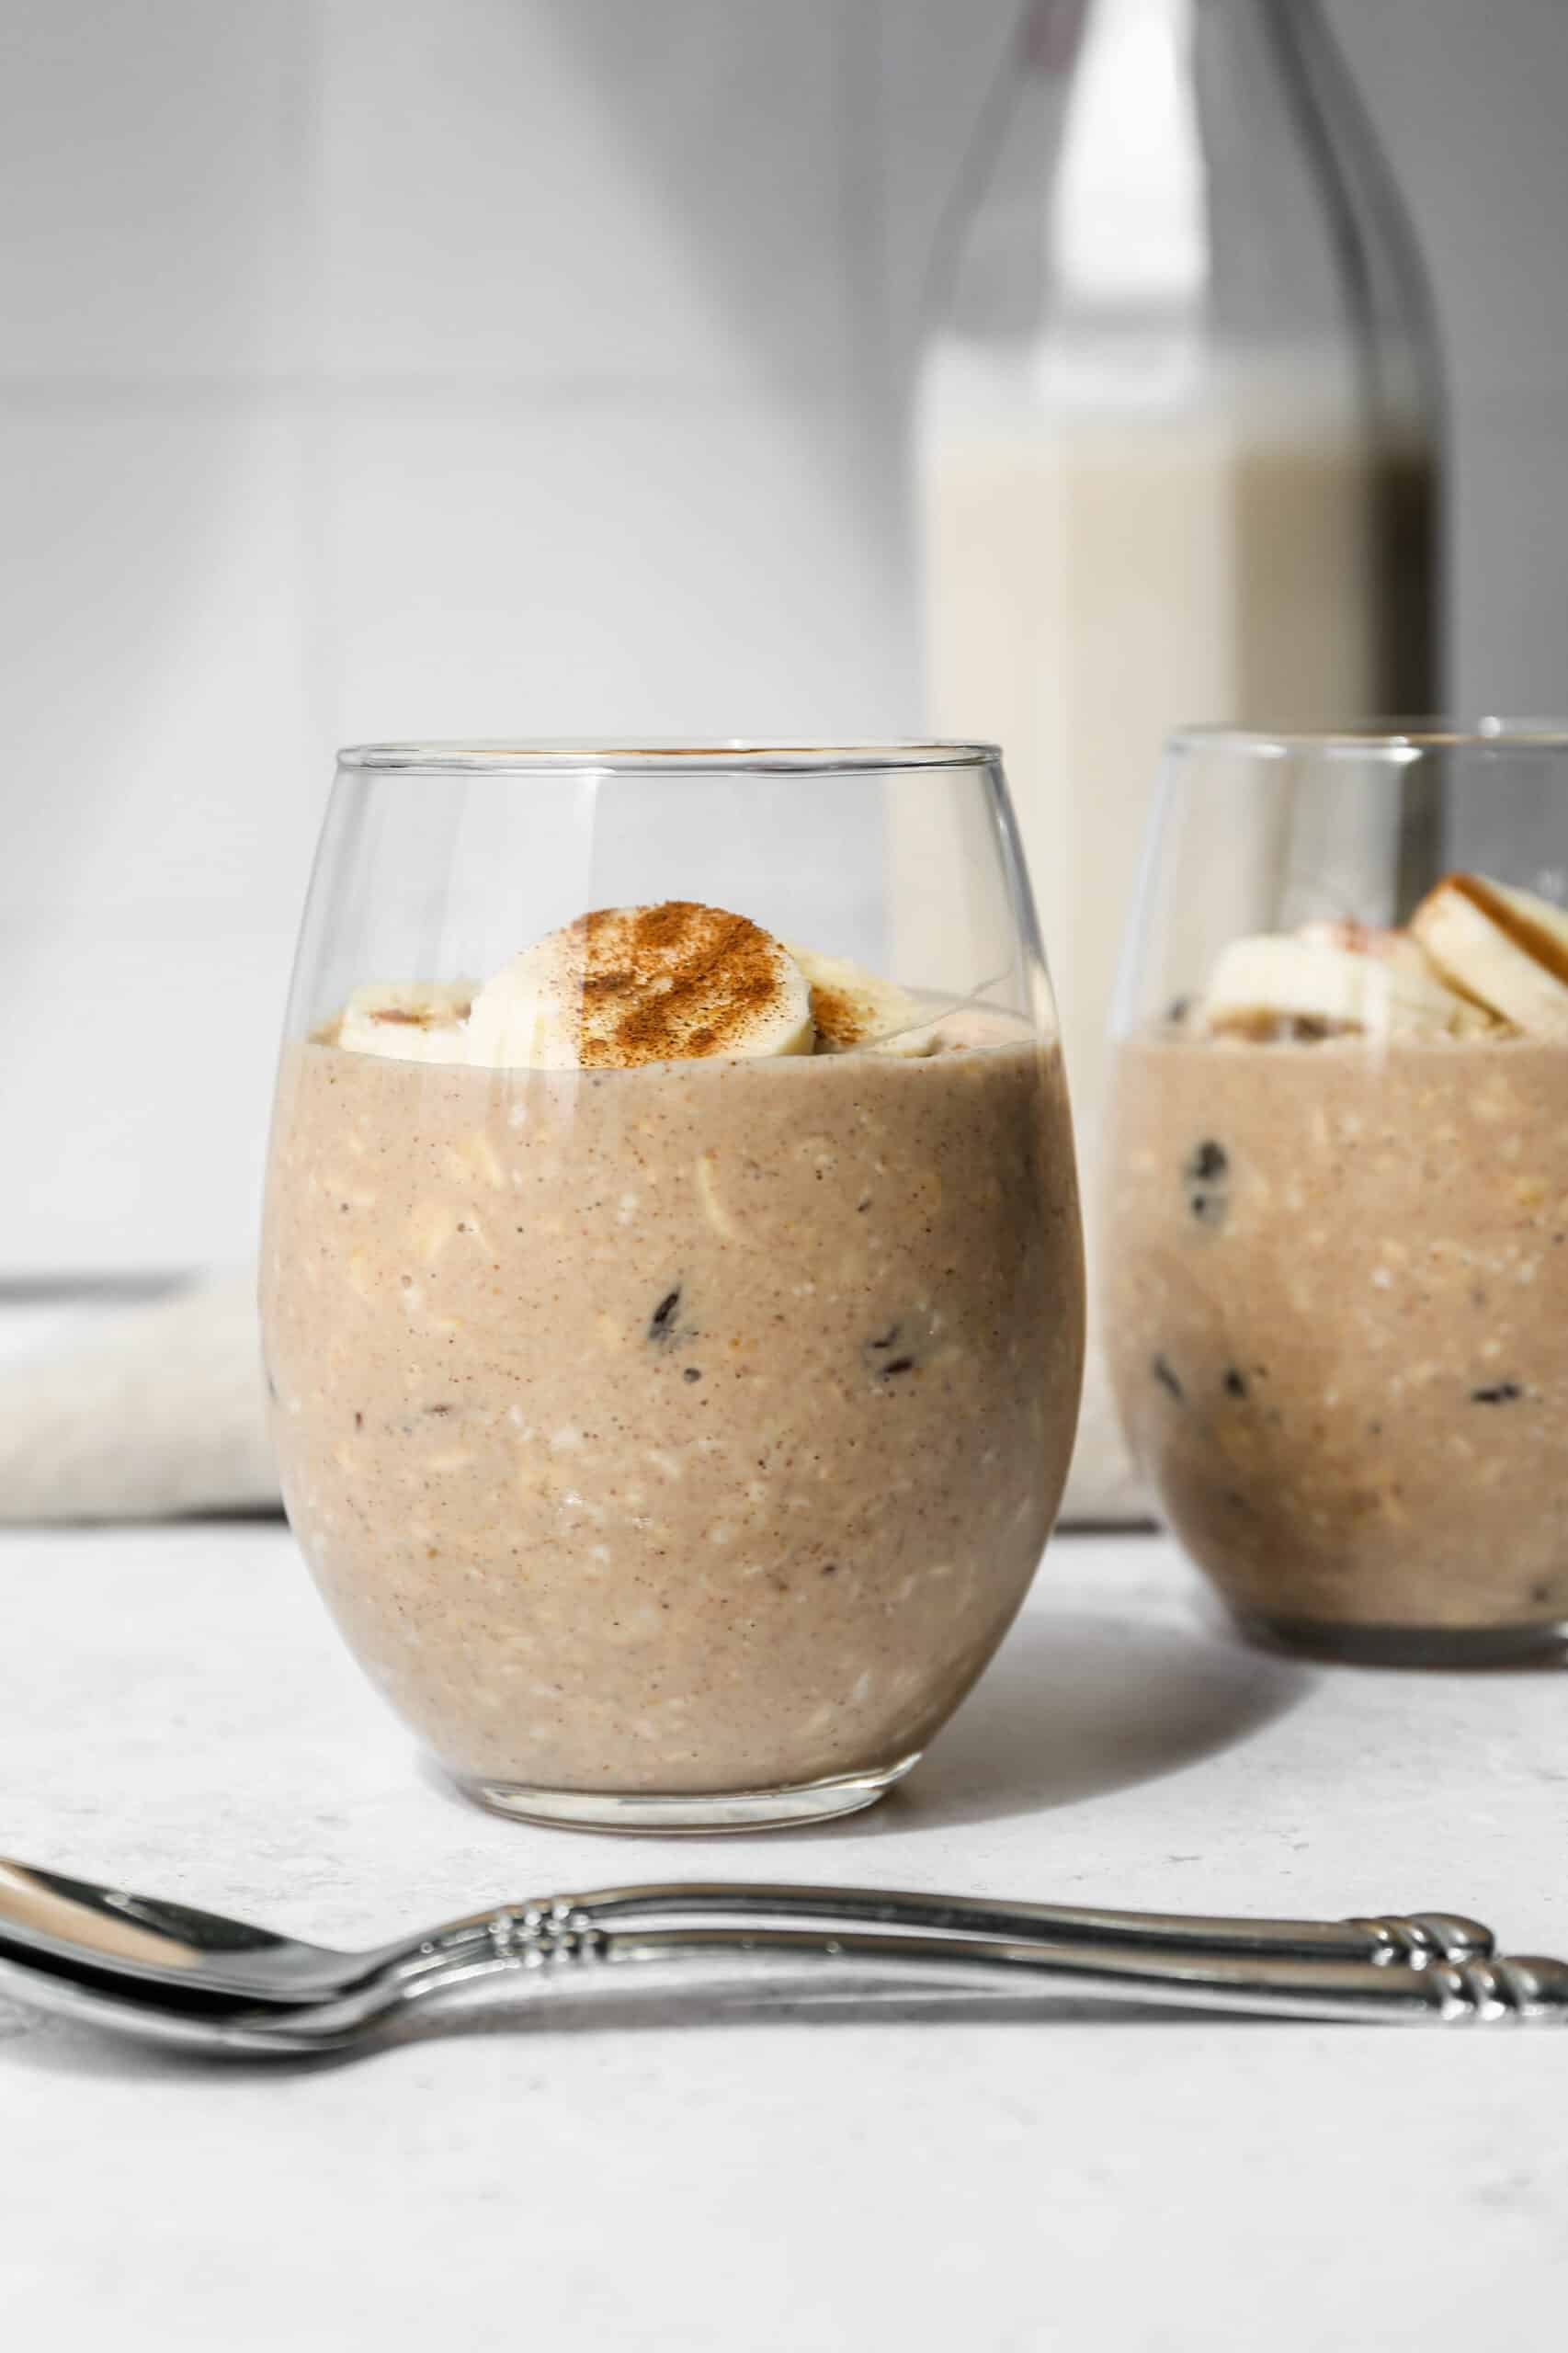
Gluten Free Oatmeal Raisin Overnight Oats
Stuff I Love
What I'm Reading - I'm flying through Adult Assembly Required by Abbi Waxman. It's such a good romantic comedy! It would make an amazing vacation read.
What I'm Watching - Season two of Hacks on HBO just came out. I've only gotten to watch one episode so far and it was just as funny as the first season.
What I'm Loving - I wanted a light for the front of our house without running electrical. I got this Solar Security Light and it's really bright.
What I Want - I need new beach towels this year. This flamingo beach towel, this watermelon beach towel and this pineapple beach towel are so fun!
Women's Warm Weather Styles
My Favorite Finds
I already have a coral and a green pair of these sandals, but I think I need them in pink too!
I love a lightweight pair of canvas sneakers for summer. These tan Mad Love canvas sneakers are $30 and look perfect for the season.
I want to try these new shampoo bars. I would love to cut out the plastic bottles, but I wonder if the shampoo bar will lather up and work well.
These vintage style tumbler glasses are so pretty! With code SUMMER they are just $21 for four.
This Week's Sales
DSW - Up to 60% off sandals
Adidas - 20% off almost everything with code MAY20
Old Navy - 50% off tees, tanks, shorts and swim
Under Armour - Extra 30% off orders $100+ with code MDEXTRA
BaubleBar - 20% off bracelets and custom jewelry with code STACKING20
SOMA - BOGO 50% off sitewide
Sperry - 20% off favorite styles with code TAKE20