Small Farm Big Life

  • Gluten Free Recipe Index
  • Subscribe
  • Resources
menu icon
go to homepage
  • Home
  • Gluten Free Recipe Index
  • Subscribe
  • My Story
  • Resources
  • Free Guides
    • Email
    • Facebook
    • Instagram
    • Pinterest
  • subscribe
    search icon
    Homepage link
    • Home
    • Gluten Free Recipe Index
    • Subscribe
    • My Story
    • Resources
    • Free Guides
    • Email
    • Facebook
    • Instagram
    • Pinterest
  • ×

    Gluten Free Easy Homemade Garlic Hummus

    This recipe for gluten free easy homemade garlic hummus makes the best snack! The recipe uses garbanzo beans (also known as chickpeas), olive oil, tahini and lemon juice. These ingredients give the hummus dip a creamy texture with a delicious flavor. I like to serve my homemade hummus with crackers and fresh veggies.
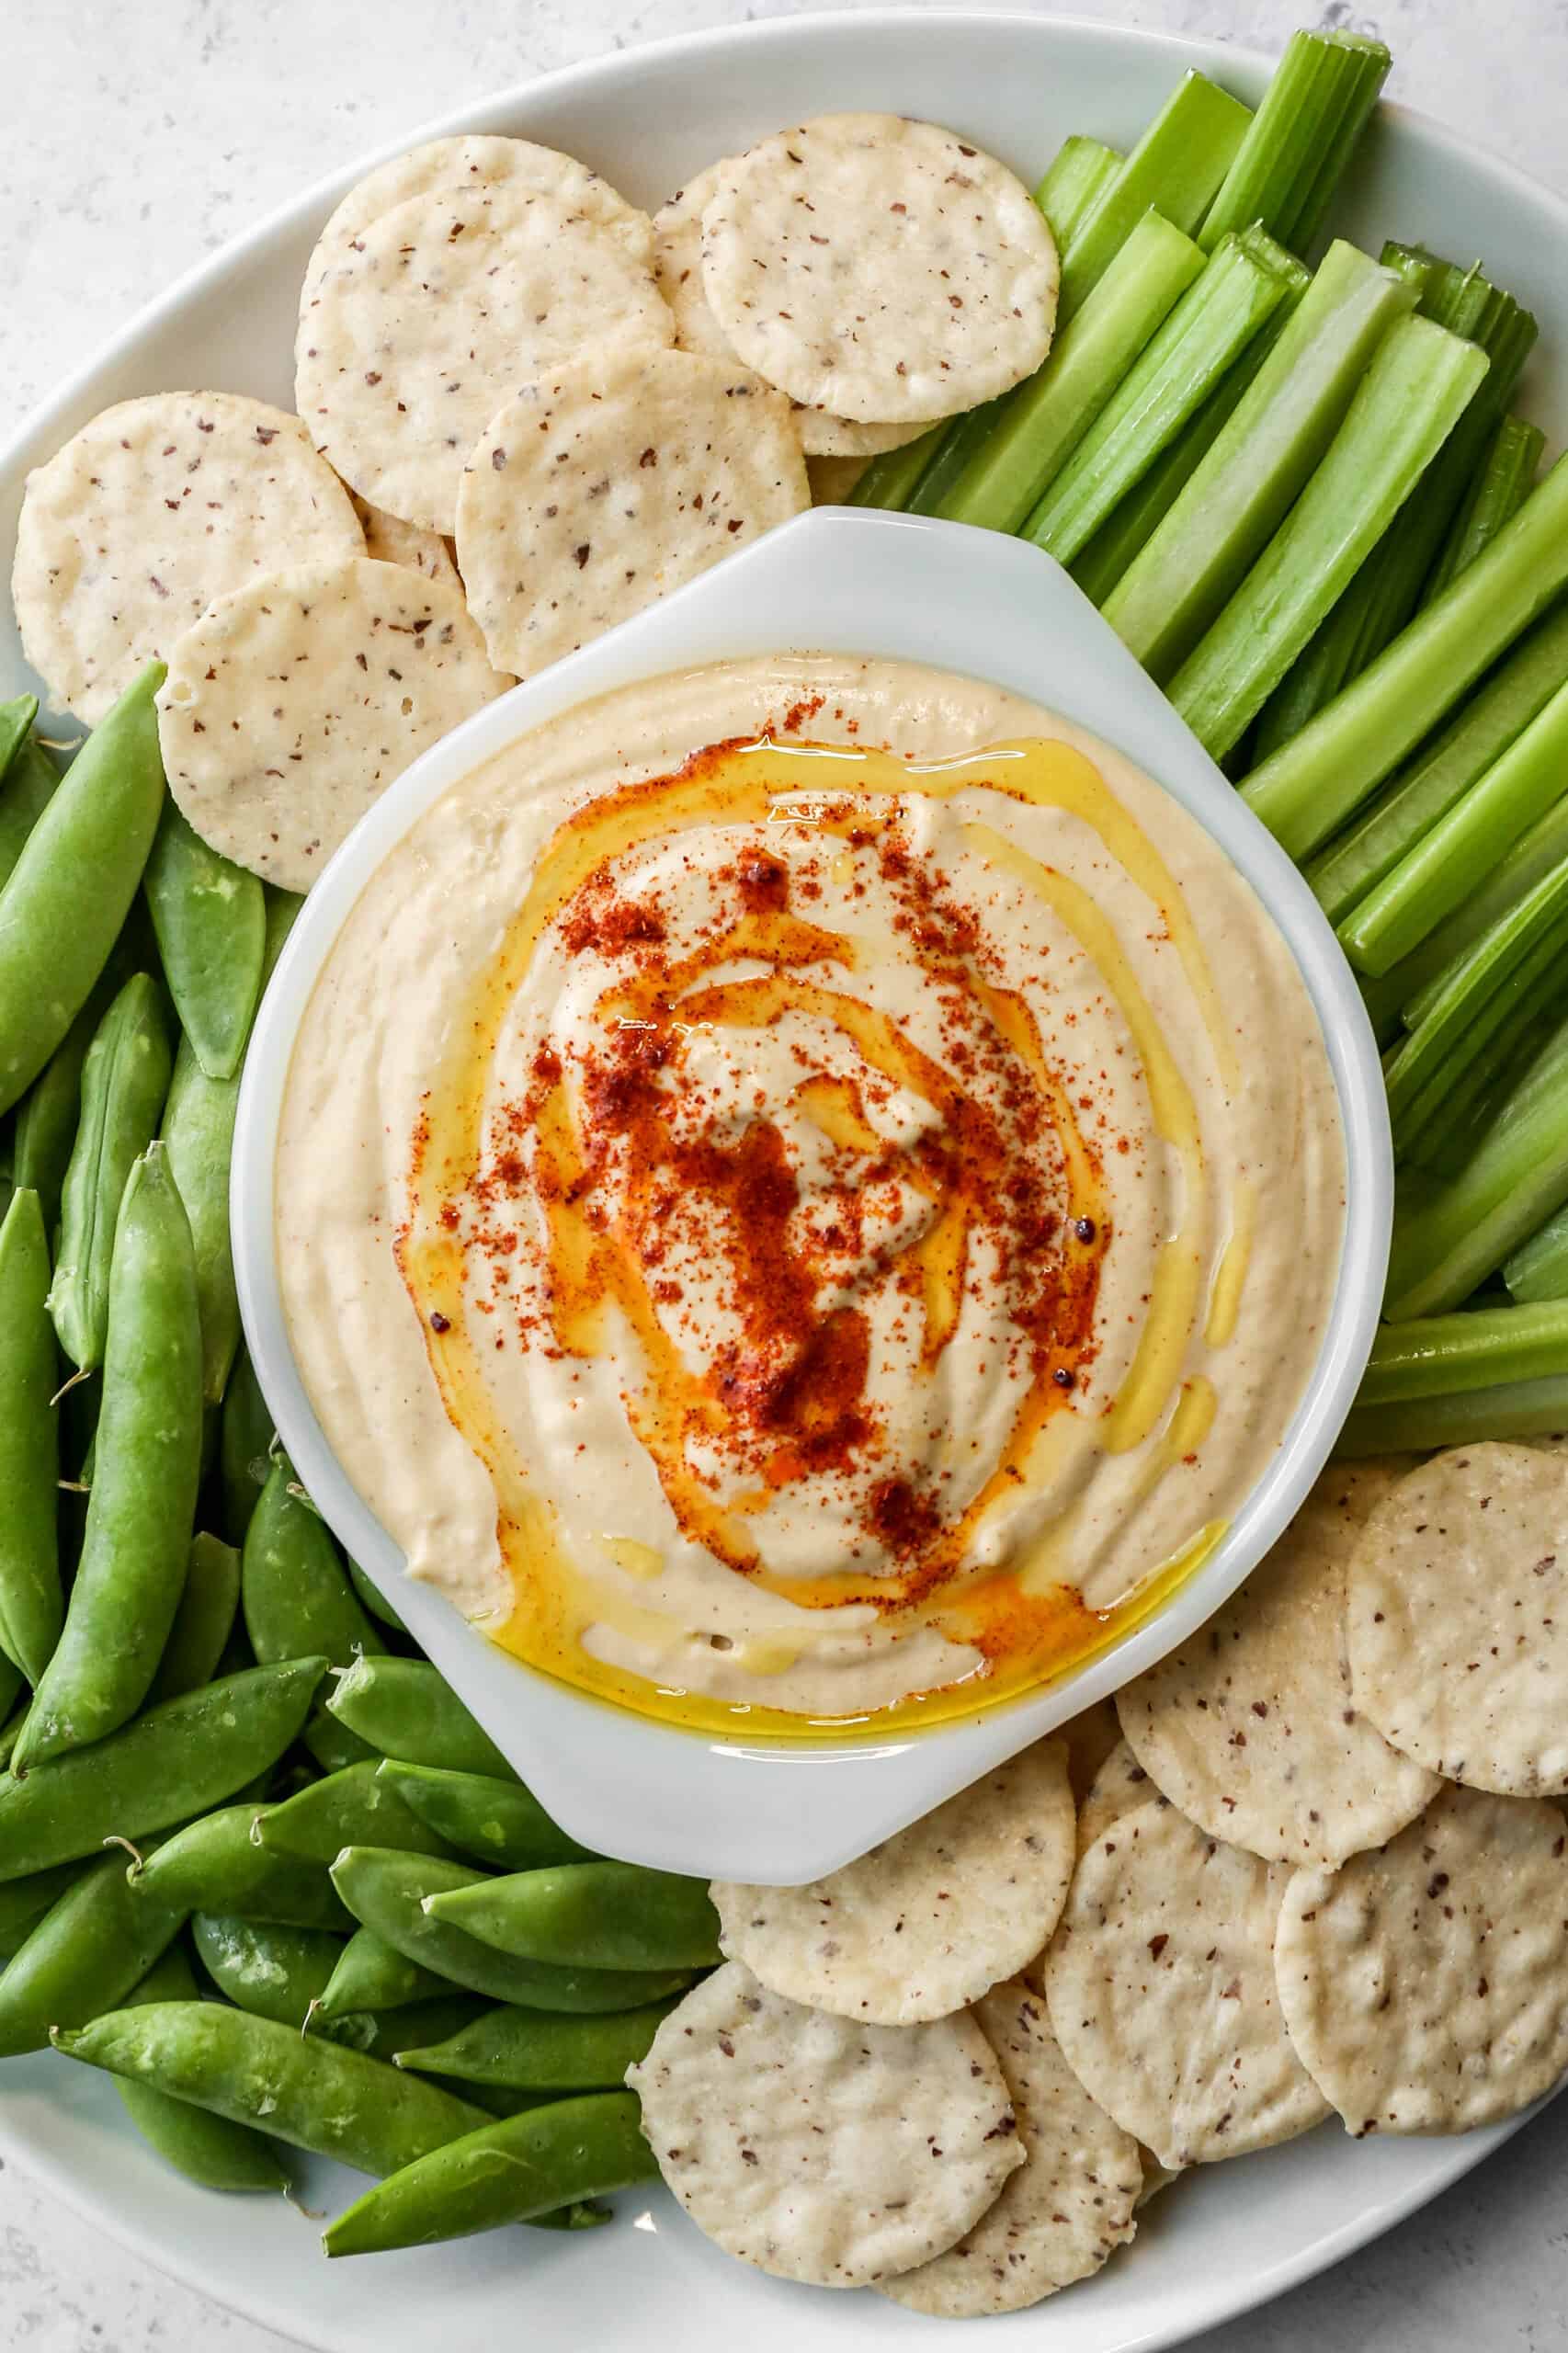
    a small white bowl of gluten free easy homemade garlic hummus surrounded by celery sticks, sugar snap peas and rice crackers.

    Gluten Free Easy Homemade Garlic Hummus is a delicious and healthy dip that brings the classic Mediterranean flavors right to your kitchen. Made with simple ingredients like canned chickpeas (garbanzo beans), garlic, tahini, and a touch of smoked paprika, this creamy hummus recipe is both flavorful and satisfying.

    It's a great option for a gluten free snack, offering a smooth texture that's perfect for dipping veggies, pita, or crackers. This easy homemade hummus is also incredibly versatile, whether you prefer a traditional hummus recipe or a garlic-infused twist.

    The combination of tahini and fresh garlic creates a savory, rich dip that's perfect as a vegan appetizer or a healthy homemade snack.

    You might also enjoy these my Gluten Free Homemade Ranch Dip, my Gluten Free Cheesy Pinto Beans, my Gluten Free Caramelized Onion Dip, or my Creamy Sausage Bean Dip.

    You can find all of my snack recipes here: Gluten Free Snack Recipes
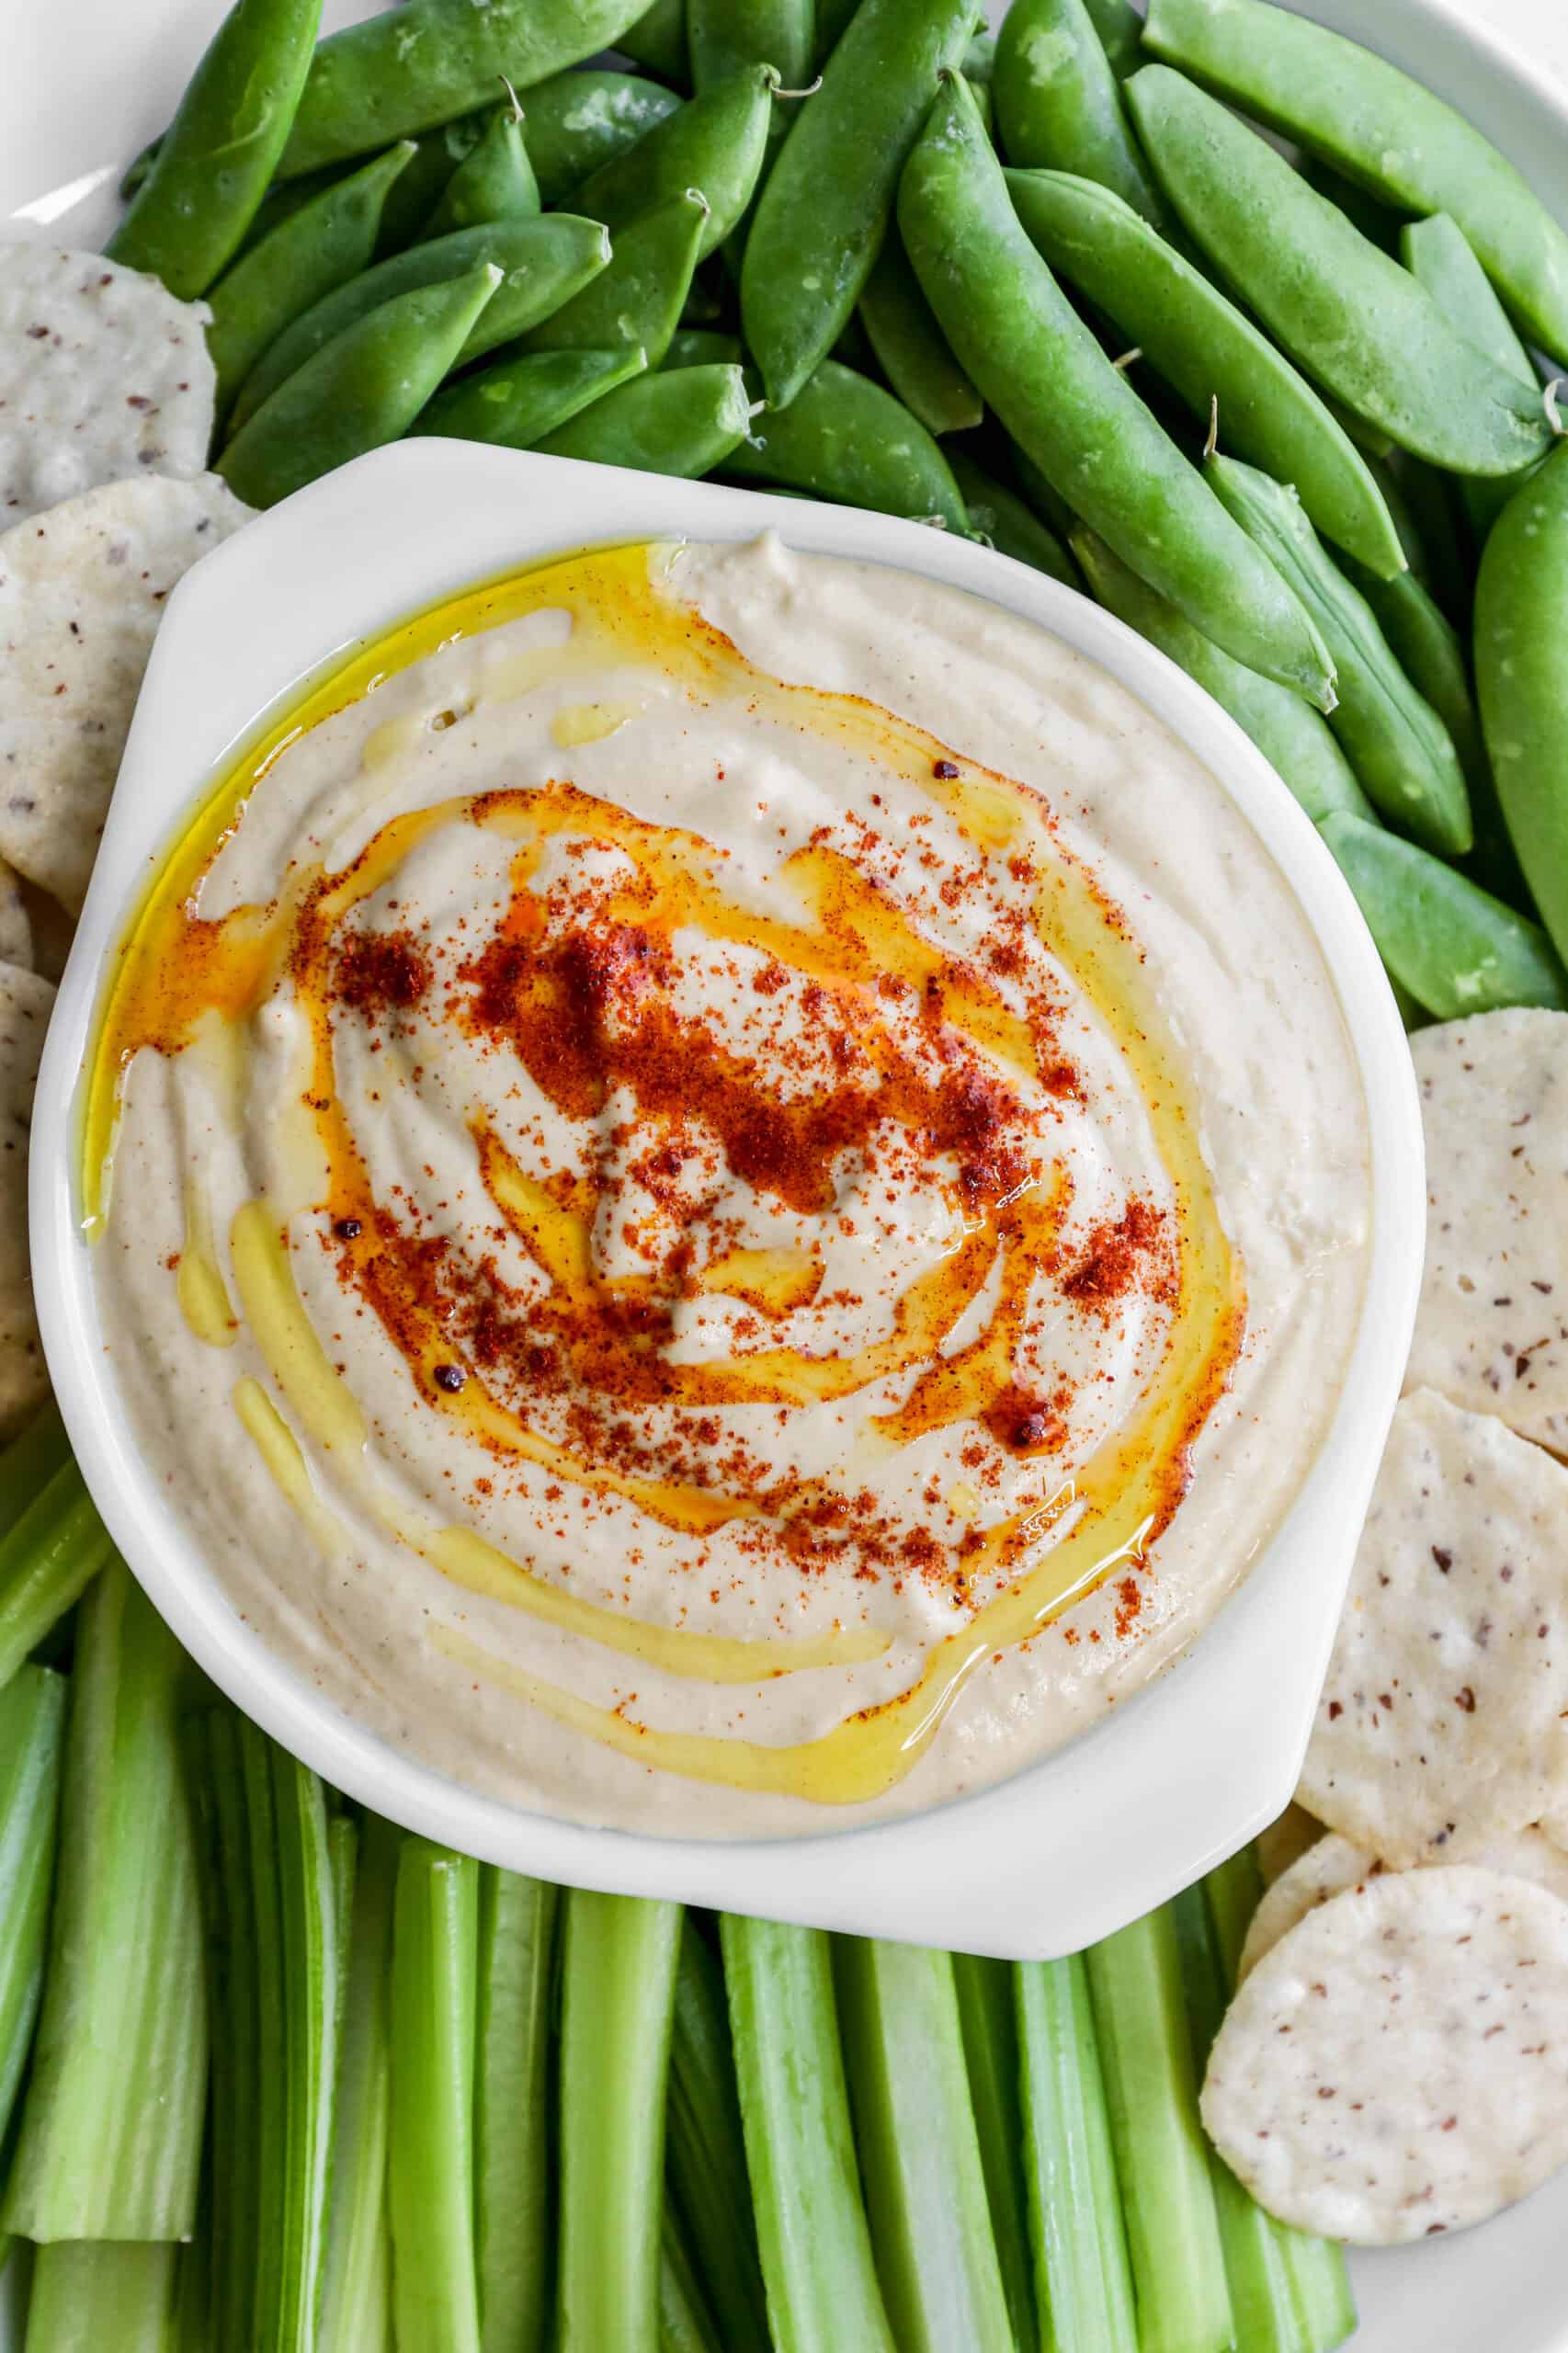
    a white bowl of gluten free easy homemade garlic hummus surrounded by celery sticks, sugar snap peas and rice crackers.
    [feast_advanced_jump_to]

    Ingredients

    • Garbanzo Beans (chickpeas)
    • Baking Soda
    • Tahini
    • Minced Garlic
    • Sea Salt
    • Ground Cumin
    • Smoked Paprika
    • Olive Oil
    • Lemon Juice
    • Cold Water

    Instructions

    Drain and rinse the canned chickpeas.

    In a 2-quart saucepan bring 4 cups of water to a boil. Add the chickpeas and baking soda and boil for 6-8 minutes until soft. If skins are floating strain those off. Drain the chickpeas and pick out any large skins.

    In a food processor or blender add the chickpeas, tahini, garlic, salt, cumin, paprika, olive oil and lemon juice. Blend until smooth stopping to scrape down the sides as needed between blending.

    Add 2 tablespoons of cold water and blend. If the hummus is too thick add another 2 tablespoons of cold water and blend until incorporated.

    Serve topped with a drizzle of olive oil and paprika sprinkled on top.

    Supplies

    Frequently Asked Questions

    Do I need to peel the chickpeas for hummus?

    I've made hummus both ways. I think when I do remove most of the chickpeas peel that the hummus is smoother. I don't think removing the skins changes the flavor at all.

    When I do remove the skins I wait until after I've boiled the chickpeas. Most of the skins will fall off in the water and can be skimmed off the top. After draining the chickpeas I quickly pick out any large skins in the strainer and then move on to make the hummus.

    Is it better to make hummus in a food processor or a blender?

    Both will work, but I prefer using my food processor for making hummus. I think the hummus turns out smoother. I also think making the hummus is quicker in a food processor. But, if all you've got is a blender it will work. You may want to add the cold water sooner if you need more liquid for your blender to work.

    What do you serve hummus with?

    I like to serve hummus with fresh vegetables and with gluten free crackers. My favorite gluten free crackers are: Good Thins Rice Crackers, Nut-Thins Almond Crackers, Simple Mills Almond Flour Crackers and Crunchmaster Multi Grain Crackers.
    More Recipes You Might Enjoy

    • Gluten Free Caramelized Onion Dip
    • Gluten Free Homemade Ranch Dip
    • Gluten Free Cheesy Pinto Beans
    • Creamy Sausage Bean Dip

    I get a lot of my ingredients from Thrive Market. Thrive Market has been a game changer for me eating gluten free. They have so many options I can't get at my rural grocery stores! Use this link to get 40% off your first order!

    Print
    clock clock iconcutlery cutlery iconflag flag iconfolder folder iconinstagram instagram iconpinterest pinterest iconfacebook facebook iconprint print iconsquares squares iconheart heart iconheart solid heart solid icon

    Gluten Free Easy Homemade Garlic Hummus


    5 Stars 4 Stars 3 Stars 2 Stars 1 Star

    No reviews

    • Author: Elaine VanVleck
    • Total Time: 21 minutes
    • Yield: 12 servings 1x
    • Diet: Gluten Free
    Print Recipe
    Pin Recipe

    Description

    This recipe for gluten free easy homemade garlic hummus makes the best snack! The recipe uses garbanzo beans (also known as chickpeas), olive oil, tahini and lemon juice. These ingredients give the hummus dip a creamy texture with a delicious flavor. I like to serve my homemade hummus with crackers and fresh veggies.


    Ingredients

    Units Scale
    • 15.5 ounce can Garbanzo Beans (chickpeas)
    • ½ tsp. Baking Soda
    • ½ cup Tahini
    • 2 Tbsp. Minced Garlic
    • 1 tsp. Sea Salt
    • ½ tsp. Ground Cumin
    • ¼ tsp. Smoked Paprika, plus more for garnish
    • 3 Tbsp. Olive Oil, plus more for garnish
    • 2 Tbsp. Lemon Juice
    • ¼ cup Cold Water

    Instructions

    Drain and rinse the canned chickpeas.

    In a 2-quart saucepan bring 4 cups of water to a boil. Add the chickpeas and baking soda and boil for 6-8 minutes until soft. If skins are floating strain those off. Drain the chickpeas and pick out any large skins.

    In a food processor or blender add the chickpeas, tahini, garlic, salt, cumin, paprika, olive oil and lemon juice. Blend until smooth stopping to scrape down the sides as needed between blending.

    Add 2 tablespoons of cold water and blend. If the hummus is too thick add another 2 tablespoons of cold water and blend until incorporated.

    Serve topped with a drizzle of olive oil and paprika sprinkled on top.

    • Prep Time: 15 minutes
    • Cook Time: 6 minutes
    • Category: Dips, Snacks
    • Method: Blending
    • Cuisine: Gluten Free
    Did you make this recipe?

    Tag @smallfarmbiglife on Instagram and hashtag it #smallfarmbiglife

    Gluten Free Banana Cake

    This easy recipe for gluten free banana cake is super moist! I like this cake best with homemade gluten free chocolate frosting. This cake is simple to make from scratch and includes sour cream to keep it fluffy.

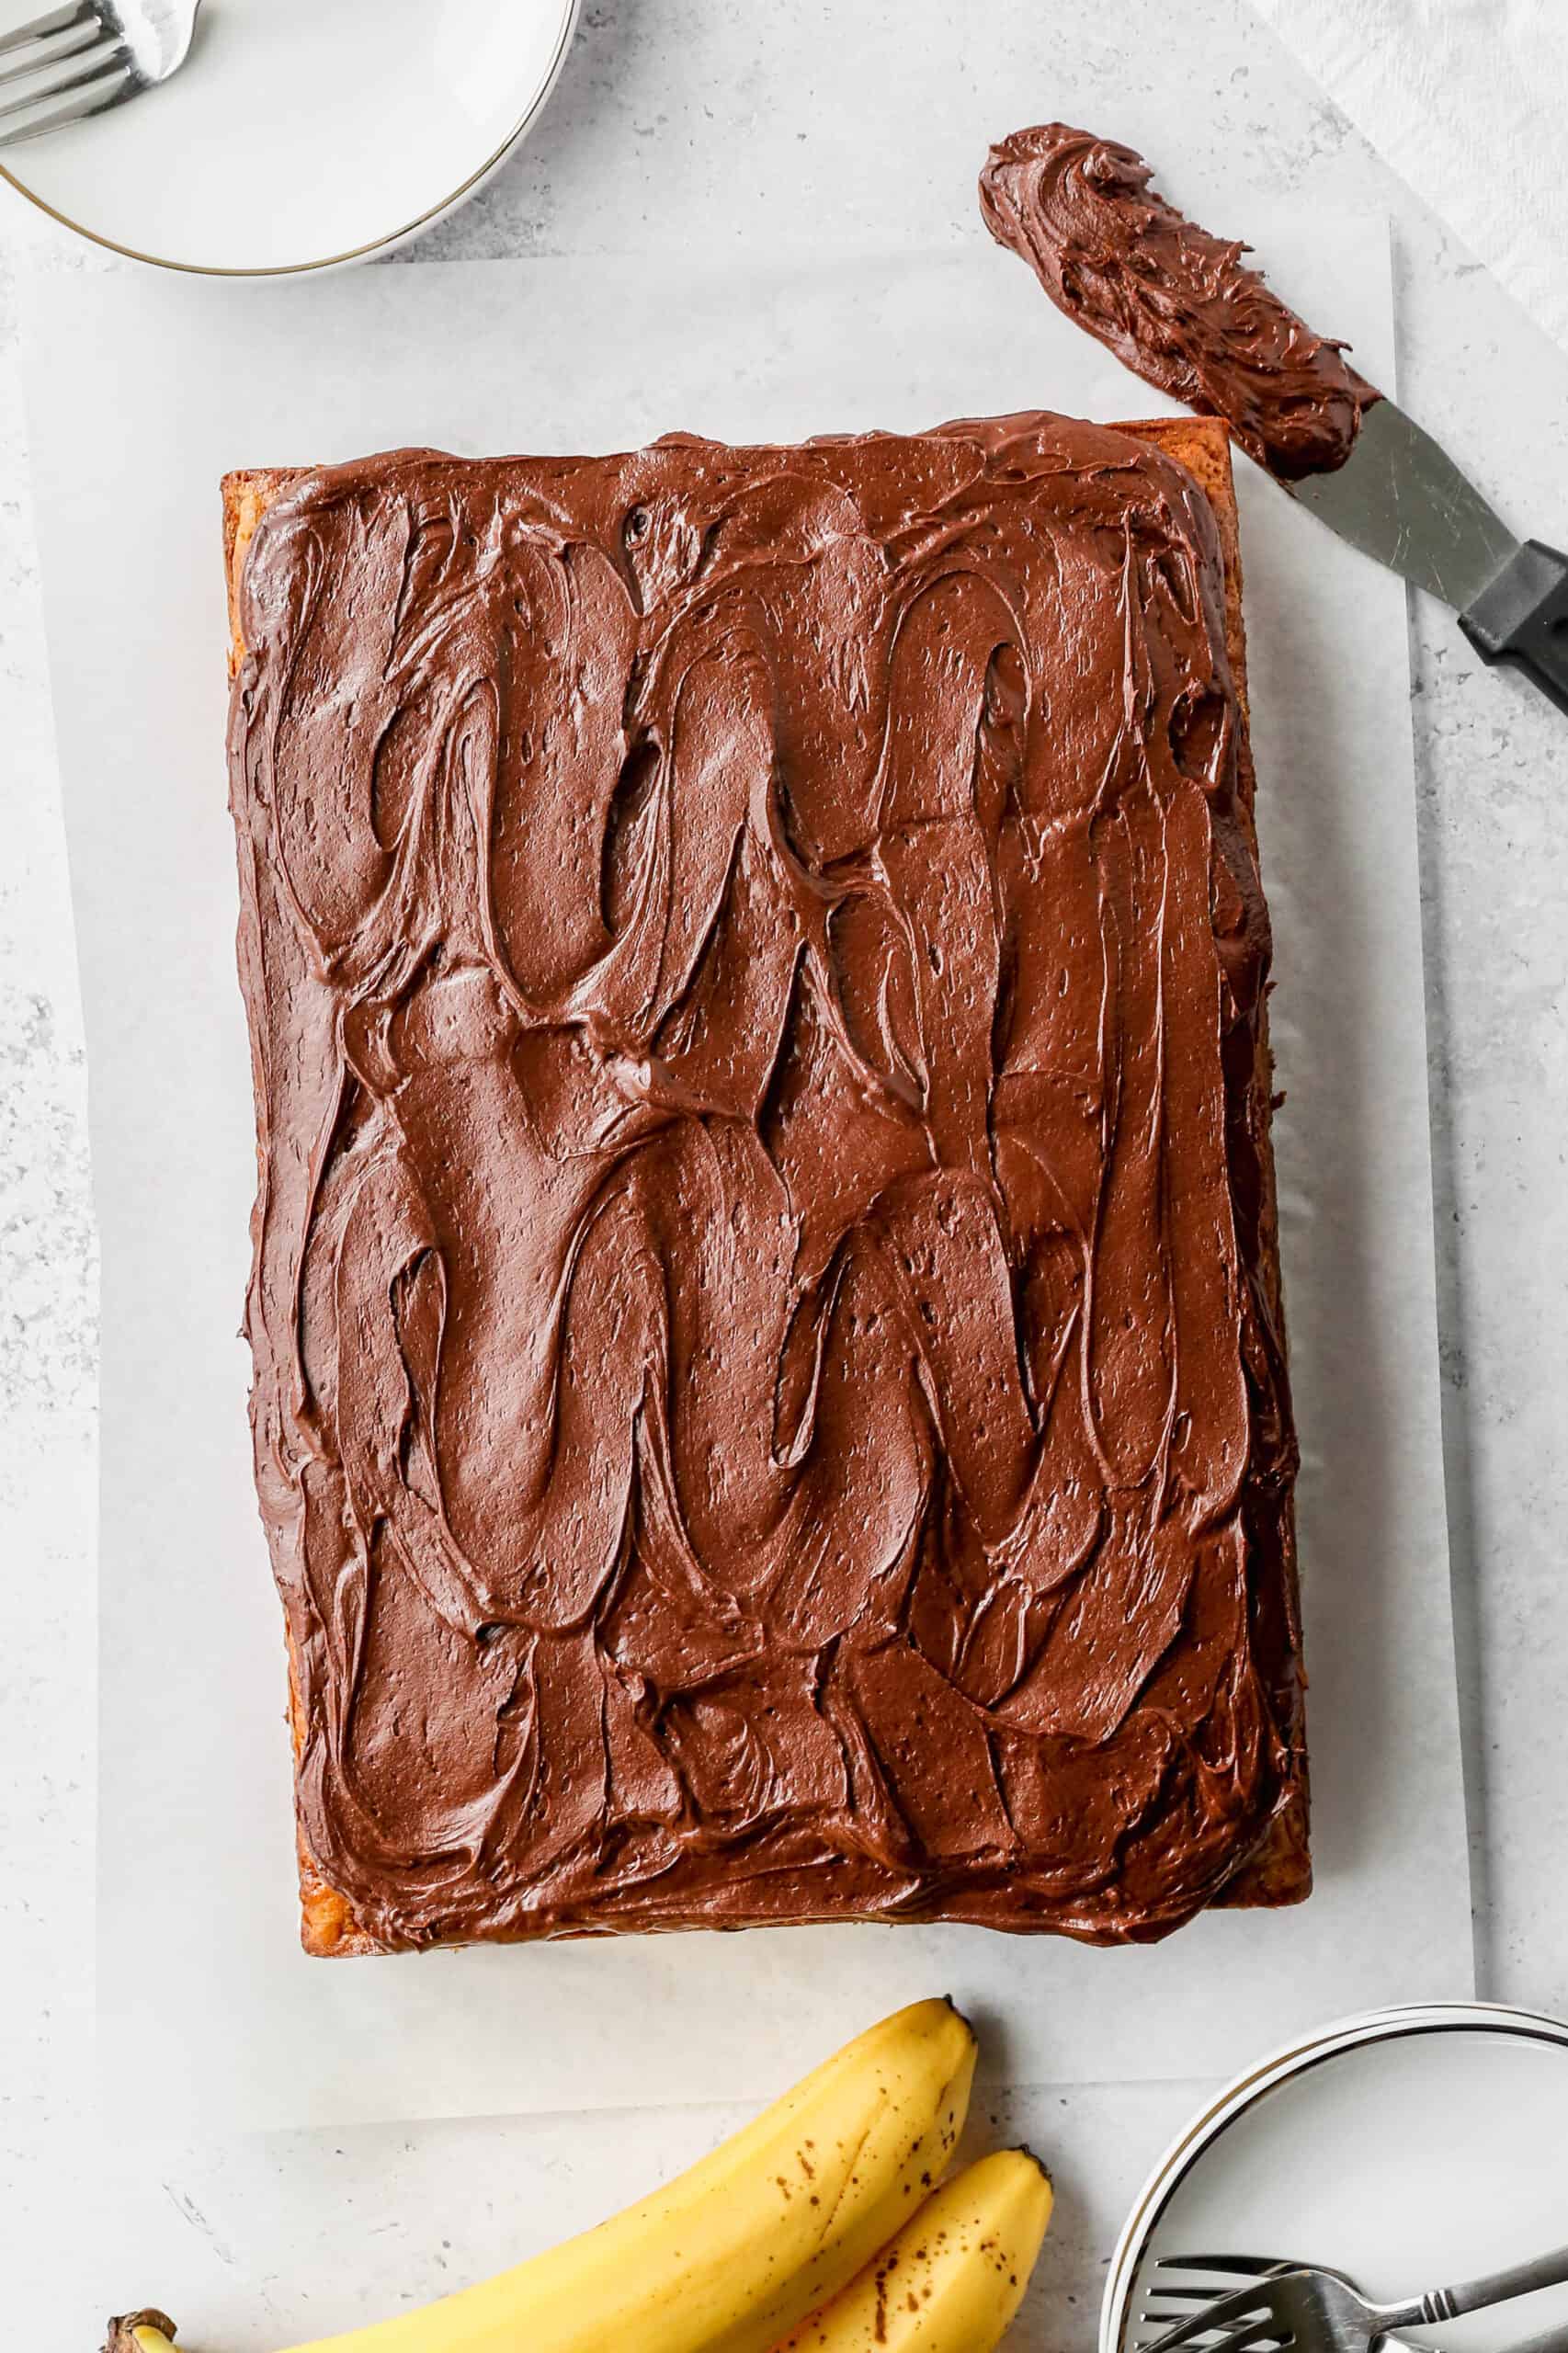
    a gluten free banana cake with chocolate buttercream frosting on a piece of white parchment paper next to two white plates.

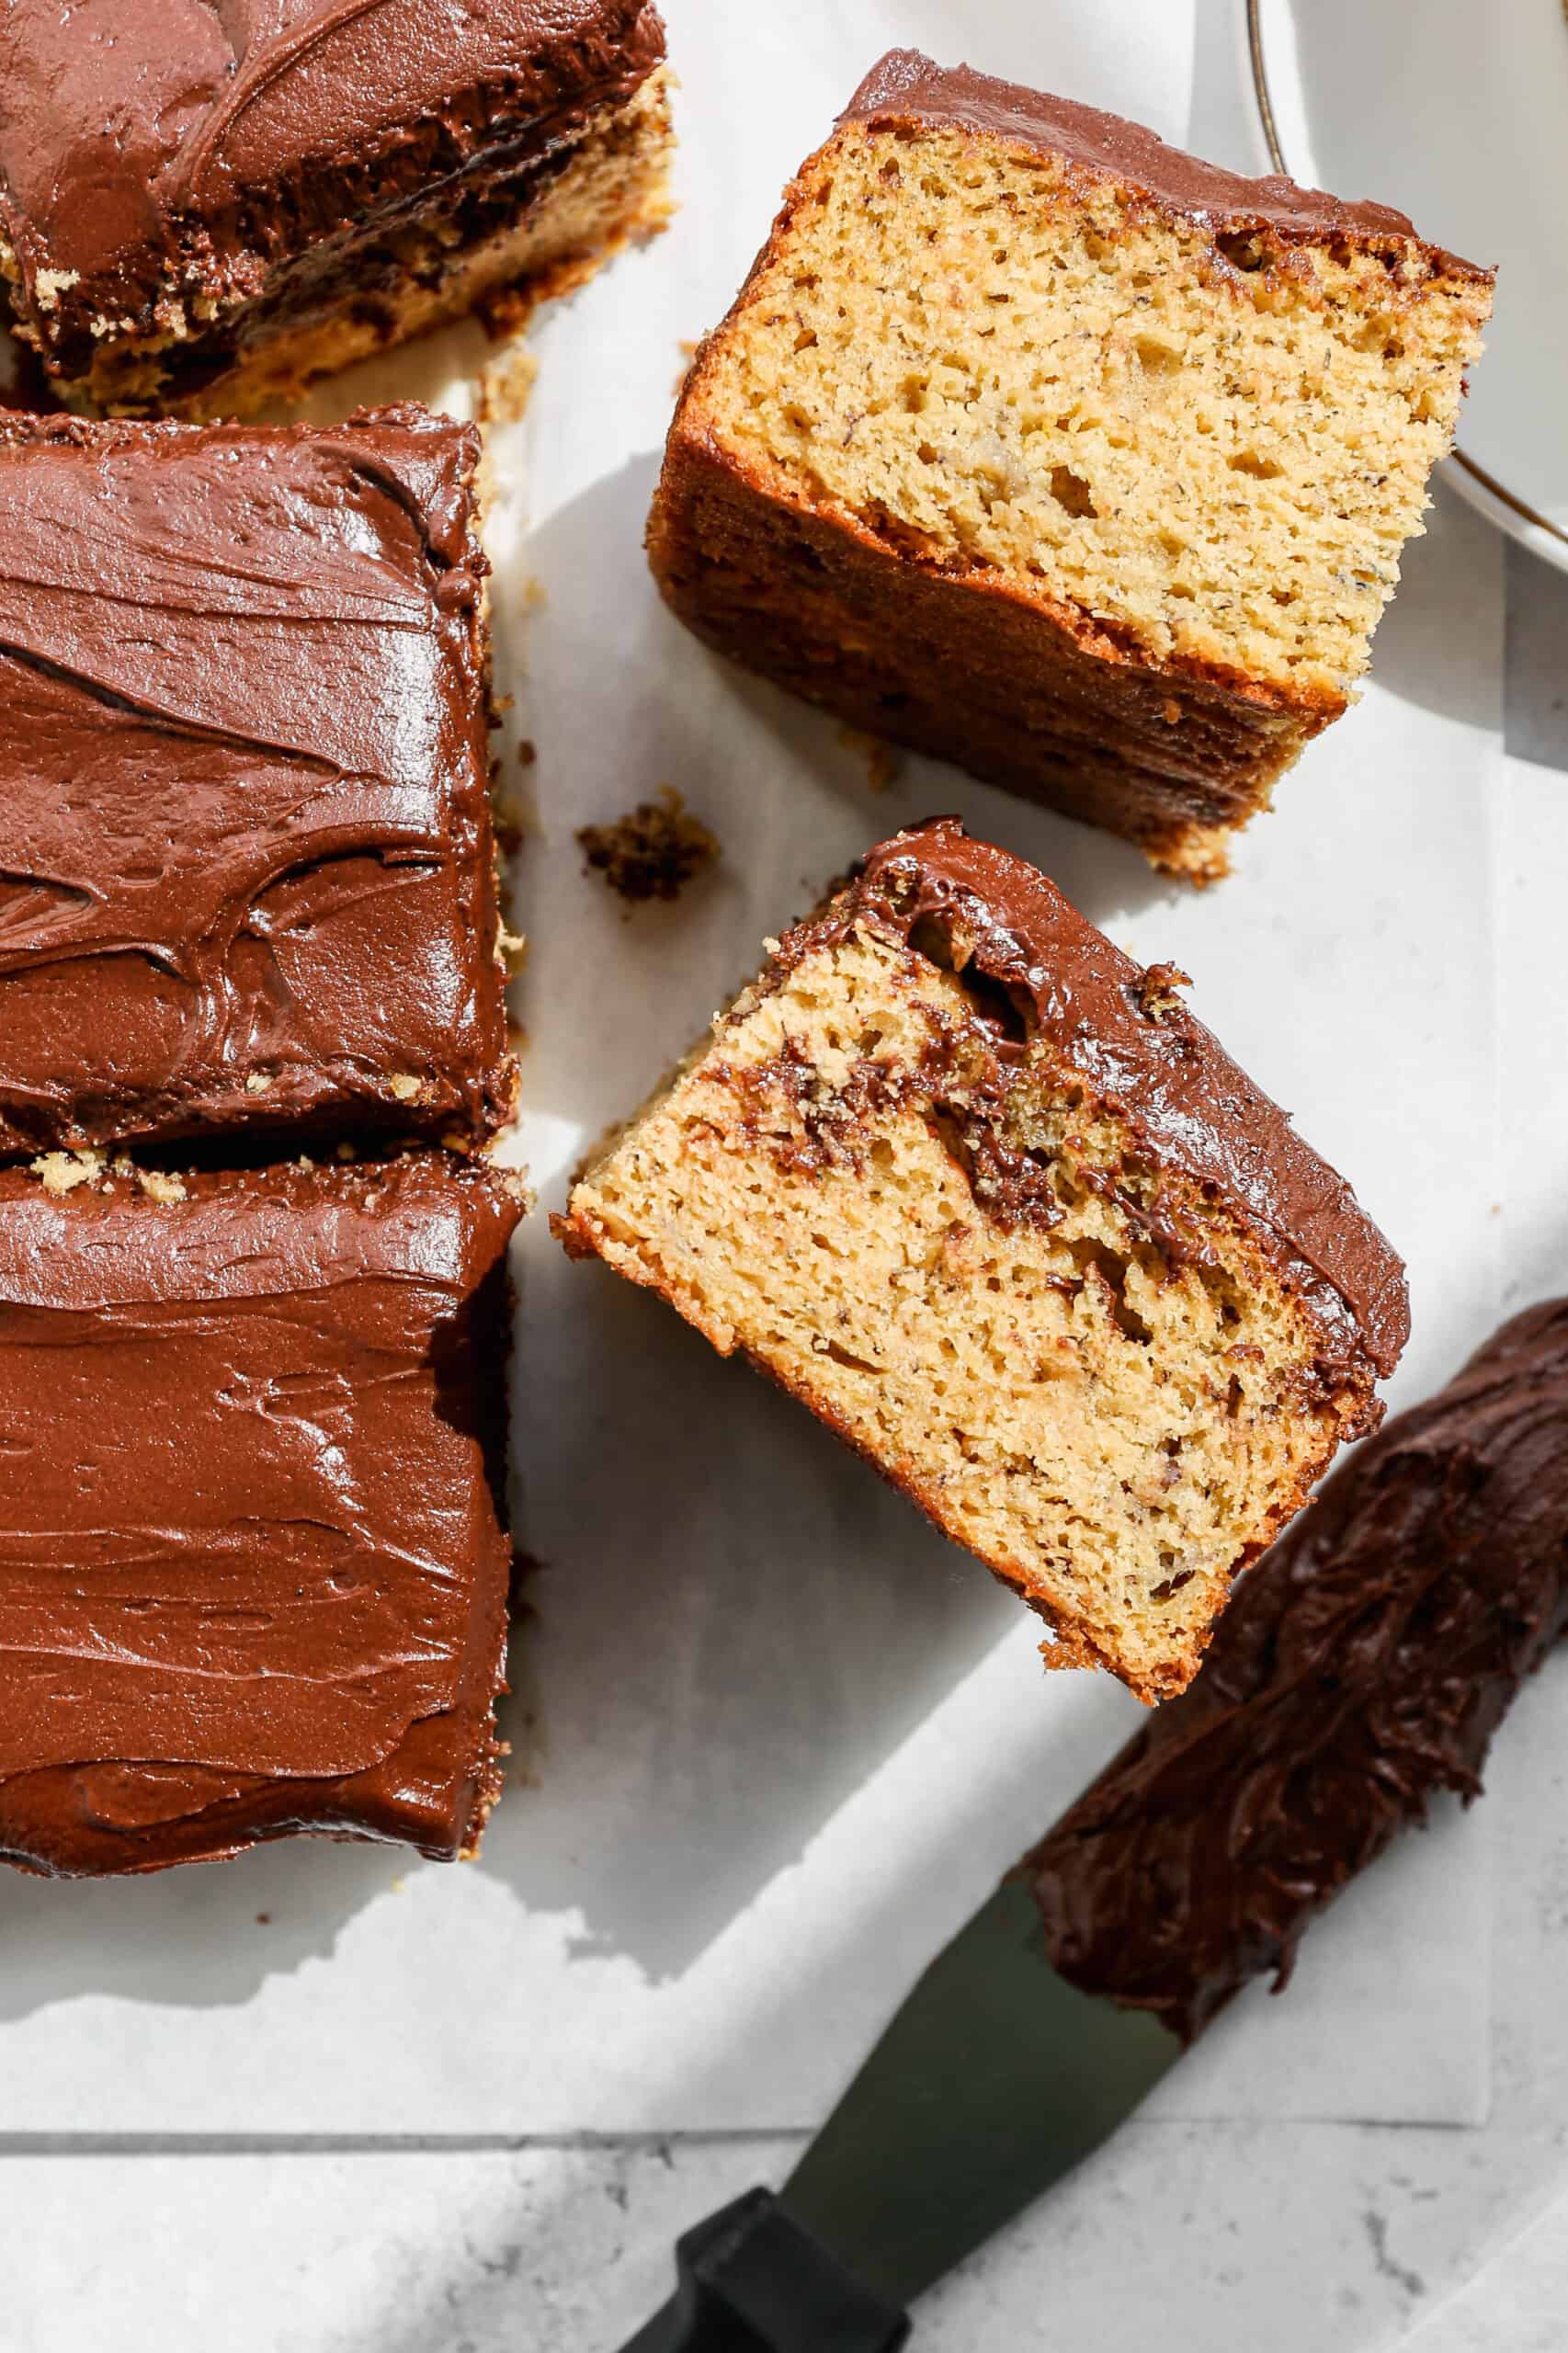
    This Gluten Free Banana Cake is the perfect way to use up ripe or overripe bananas, transforming them into a delicious, moist dessert. With a light, fluffy texture, this gluten-free banana cake recipe is ideal for those looking for a sweet treat that's both easy to make and full of flavor.

    Using real bananas gives the cake a natural sweetness, and the recipe is designed to be simple, making it perfect for both beginners and experienced bakers.

    Topped with a creamy homemade chocolate buttercream frosting, it's a perfect gluten-free dessert that's sure to please everyone.

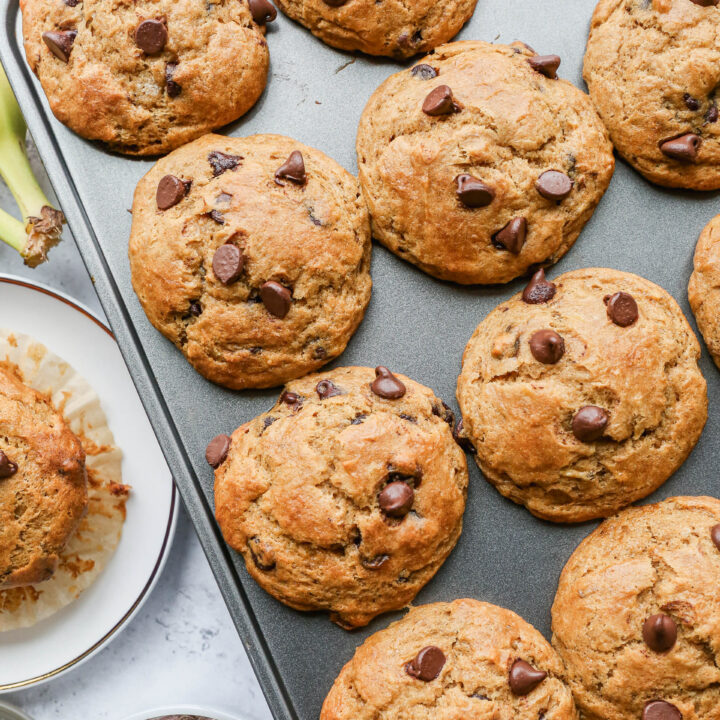
    If you are looking for more banana recipes try my Gluten Free Banana Oat Muffins, my Gluten Free Peanut Butter Banana Muffins, my Gluten Free Chocolate Chip Banana Muffins or my Homemade Strawberry Banana Popsicles.

    You can find all of my gluten free cake recipes here: Gluten Free Cake Recipes

    a gluten free banana cake with chocolate buttercream frosting cut into squares on white parchment paper.
    [feast_advanced_jump_to]

    Ingredients

    • Bananas
    • Gluten Free Flour
    • Xanthan Gum
    • Baking Powder
    • Baking Soda
    • Ground Cinnamon
    • Sea Salt
    • Unsalted Butter
    • Coconut Oil
    • Granulated Sugar
    • Brown Sugar
    • Eggs
    • Vanilla Extract
    • Sour Cream

    Instructions

    Preheat your oven to 350 degrees.

    Grease a 9x13 baking pan with coconut oil or butter. Set aside.

    In the bowl of your stand mixer beat the granulated sugar and room temperature butter until creamed together. This will take 3-4 minutes. 

    Add the mashed bananas, coconut oil, brown sugar, eggs, vanilla and sour cream to this mixture. Mix until blended together.

    Add the flour, xanthum gum, baking powder, baking soda, cinnamon and salt. Blend the batter just until the dry ingredients are mixed with the wet ingredients. Don't over blend! 

    Pour the cake batter into the greased 9x13 baking pan. 

    Bake at 350 degrees for 35-40 minutes. The cake will be browned and firm, but slightly spongy to the touch.

    Let the cake cool for 10-15 minutes. Then place parchment paper on top of a baking sheet and invert the cake onto this. Skip this step if you want to frost the cake as is in the pan. 

    Let the cake cool completely before frosting. I used my Gluten Free Chocolate Buttercream Frosting recipe.

    Supplies

    Frequently Asked Questions

    What is the difference between banana bread and banana cake?

    The texture and sweetness are the two biggest differences between banana bread and banana cake. Banana cake has a fluffier texture while banana bread is denser.

    Banana cake has more sugar in it and has a sweeter taste than banana bread. If you want a similar flavor to this cake using banana bread I would suggest spreading your banana bread with Nutella. It's delicious!

    What do you put on a gluten free banana cake?

    I used my recipe for Gluten Free Chocolate Buttercream Frosting. You could also use this recipe for Cream Cheese Frosting. Either way the cake is going to be fluffy and delicious.

    I also like a little crunch so I add chopped walnuts to the top of the cake. If you can't have nuts you can skip this step, but I really like how it adds to the flavor of the cake.

    What makes a cake light and fluffy?

    The first thing you need to do is whip together your room temperature butter and sugars until they are light and fluffy. This will take 3-4 minutes. This step is key!

    I've also added sour cream to this recipe which I think really helps a cake to be light and fluffy. You could also use plain greek yogurt if you don't have sour cream.

    More Recipes You Might Enjoy

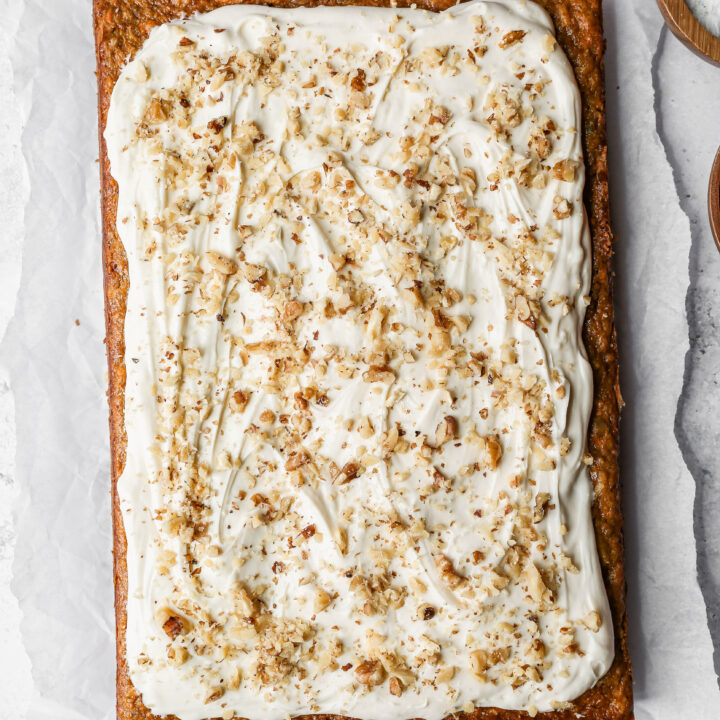
    • Gluten Free Carrot Sheet Cake with Cream Cheese Frosting
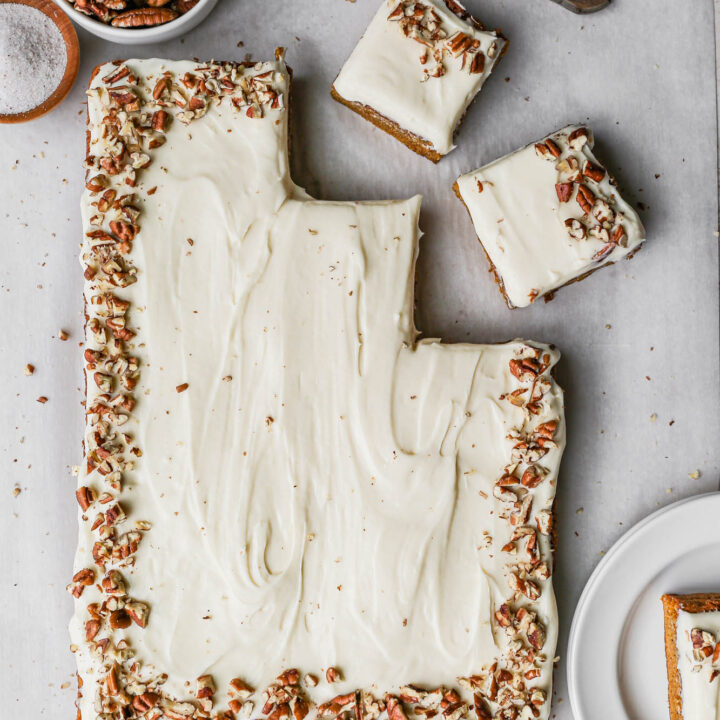
    • Gluten Free Sweet Potato Cake with Cream Cheese Frosting
    • Gluten Free Pumpkin Oatmeal Cake
    • Gluten Free Vanilla Pudding Poke Cake

    I get a lot of my ingredients from Thrive Market. Thrive Market has been a game changer for me eating gluten free. They have so many options I can't get at my rural grocery stores! Use this link to get 40% off your first order!

    Print
    clock clock iconcutlery cutlery iconflag flag iconfolder folder iconinstagram instagram iconpinterest pinterest iconfacebook facebook iconprint print iconsquares squares iconheart heart iconheart solid heart solid icon

    Gluten Free Banana Cake


    5 Stars 4 Stars 3 Stars 2 Stars 1 Star

    No reviews

    • Author: Elaine VanVleck
    • Total Time: 1 hour
    • Yield: 12 servings 1x
    • Diet: Gluten Free
    Print Recipe
    Pin Recipe

    Description

    This easy recipe for gluten free banana cake is super moist! I like this cake best with homemade chocolate frosting. This cake is simple to make from scratch and includes sour cream to keep it fluffy.


    Ingredients

    Scale
    • 3 large Bananas, very ripe and mashed
    • 2 ½ cups Gluten Free Flour
    • 1 tsp. Xanthan Gum
    • 3 tsp. Baking Powder
    • 1 tsp. Baking Soda
    • 1 tsp. Ground Cinnamon
    • ½ tsp. Sea Salt
    • ½ cup Unsalted Butter, at room temperature
    • ¼ cup Coconut Oil, melted
    • 1 cup Granulated Sugar
    • ½ cup Brown Sugar
    • 4 large Eggs
    • 2 tsp. Vanilla Extract
    • 1 cup Sour Cream

    Instructions

    Preheat your oven to 350 degrees.

    Grease a 9x13 baking pan with coconut oil or butter. Set aside.

    In the bowl of your stand mixer beat the granulated sugar and room temperature butter until creamed together. This will take 3-4 minutes. 

    Add the mashed bananas, coconut oil, brown sugar, eggs, vanilla and sour cream to this mixture. Mix until blended together.

    Add the flour, xanthum gum, baking powder, baking soda, cinnamon and salt. Blend the batter just until the dry ingredients are mixed with the wet ingredients. Don't over blend! 

    Pour the cake batter into the greased 9x13 baking pan. 

    Bake at 350 degrees for 35-40 minutes. The cake will be browned and firm, but slightly spongy to the touch.

    Let the cake cool for 10-15 minutes. Then place parchment paper on top of a baking sheet and invert the cake onto this. Skip this step if you want to frost the cake as is in the pan. 

    Let the cake cool completely before frosting. I used my Gluten Free Chocolate Buttercream Frosting recipe.

    • Prep Time: 20 minutes
    • Cook Time: 40 minutes
    • Category: Cake
    • Method: Baking
    • Cuisine: Gluten Free

    Did you make this recipe?

    Tag @smallfarmbiglife on Instagram and hashtag it #smallfarmbiglife

    Top Tip

    I love the mixture of bananas and chocolate, so making a gluten free banana cake with chocolate buttercream frosting was a no brainer. This cake is dense, but moist and fluffy! It's perfect for a snack with coffee or a big glass of milk.

    Gluten Free Cowboy Baked Beans

    These gluten free cowboy baked beans are the kind of recipe that makes everyone at the table go back for seconds. Ground beef, crispy bacon, four types of beans, and a rich smoky BBQ sauce all come together in one dutch oven and bake into the most hearty and satisfying dish you will ever make. The combination of butter beans, navy beans, kidney beans, and pork and beans gives every bite a different texture and the bold sauce made with brown sugar, apple cider vinegar, yellow mustard, and BBQ sauce is sweet, tangy, and absolutely irresistible.

    Ready in just 45 minutes and completely gluten free from start to finish.

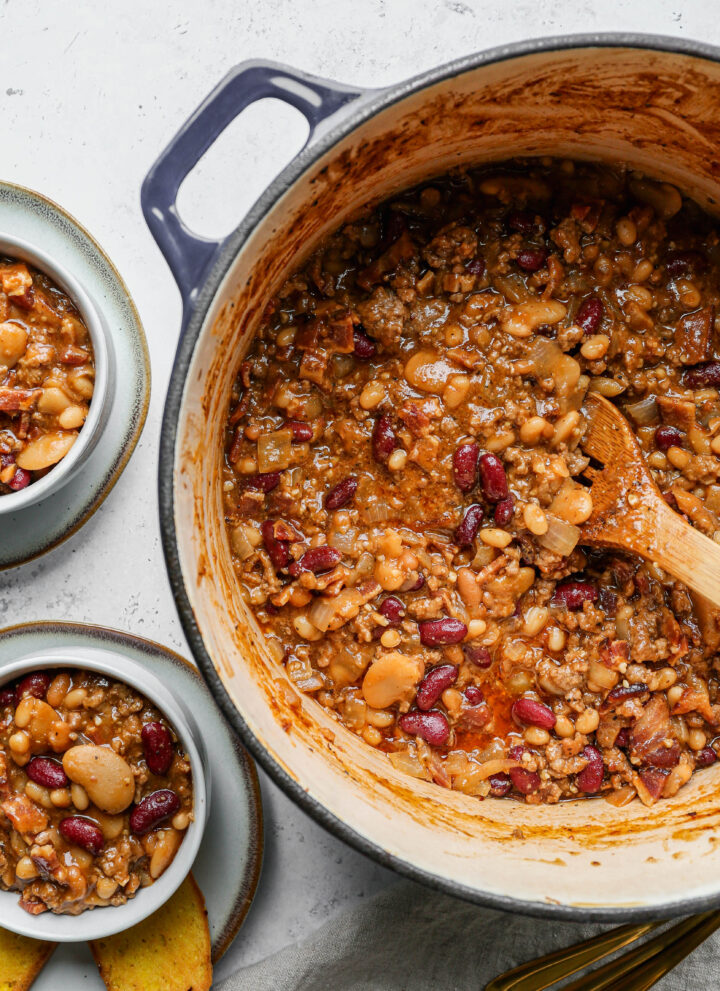
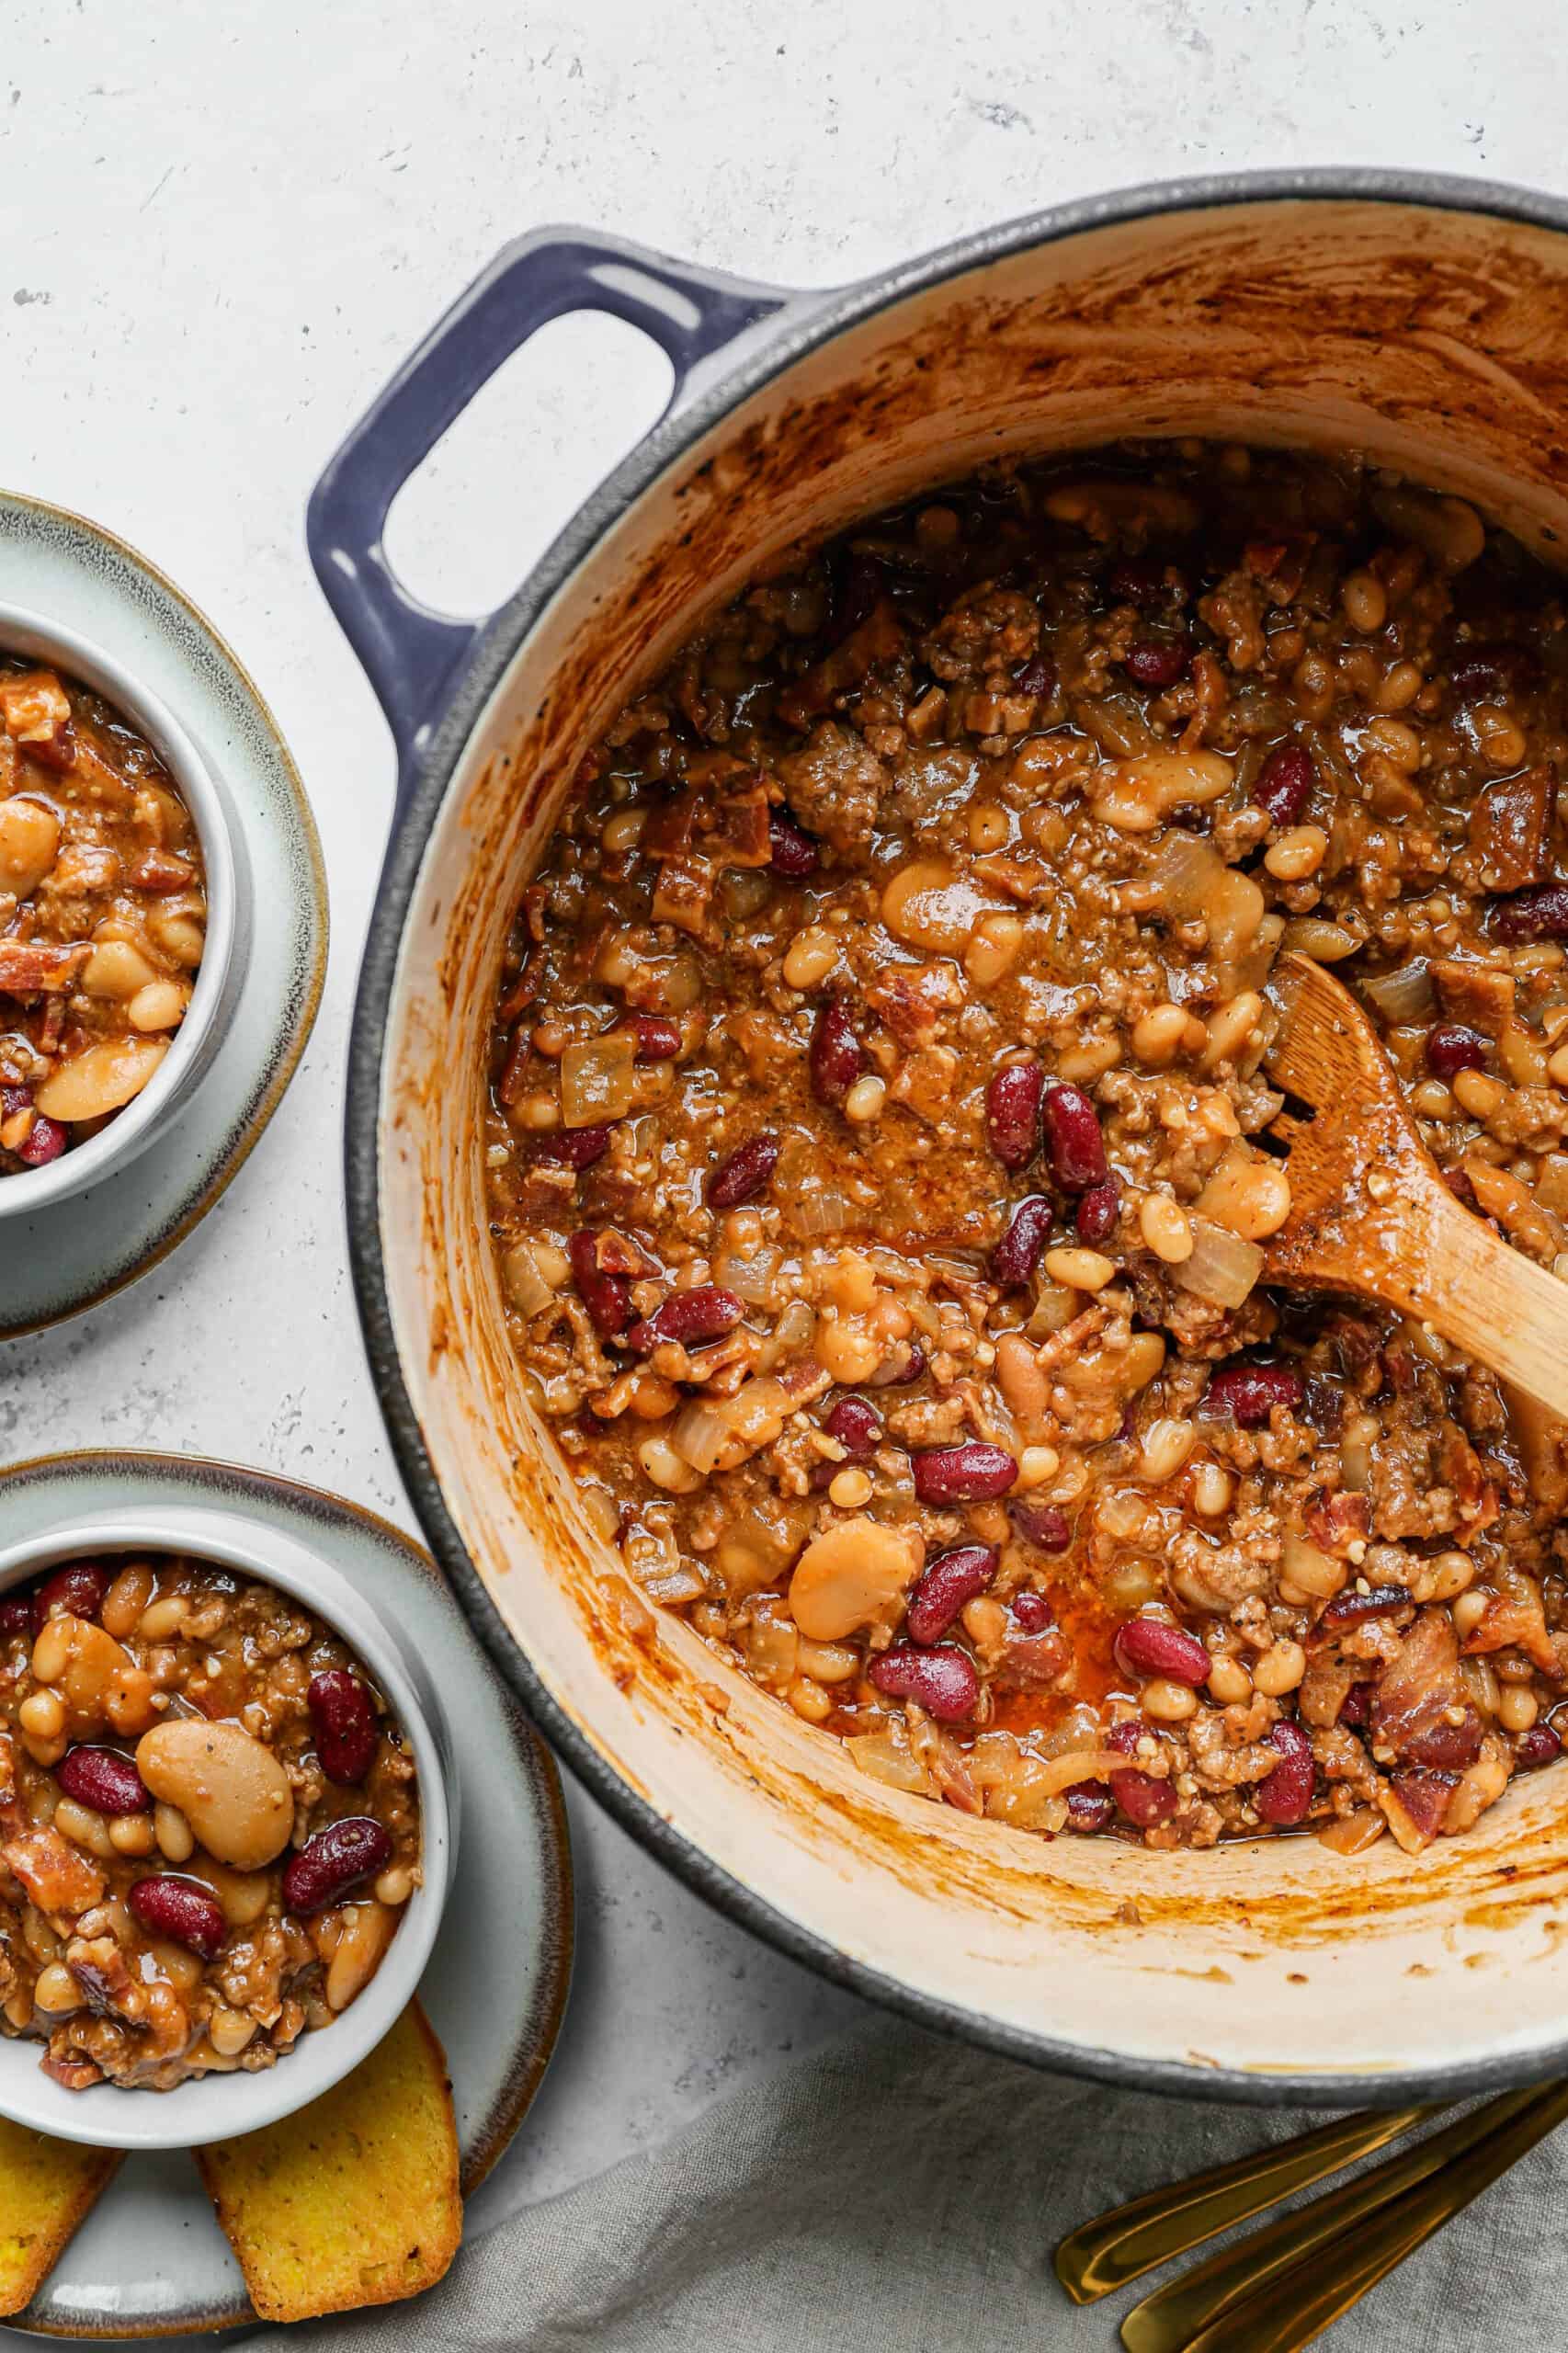
    a dutch oven of gluten free cowboy baked beans next to two white bowls of beans.

    This recipe works beautifully as both a hearty main dish and a crowd pleasing BBQ side dish which makes it one of the most versatile recipes in my summer rotation.

    It is the dish I bring to every summer cookout, Fourth of July gathering, and potluck because it feeds a crowd, travels well, and gets even better the next day reheated.

    If you are looking for a gluten free BBQ recipe that is guaranteed to impress, this is the one. You will make it once and it will become a permanent fixture in your summer recipe lineup.

    If you are looking for more ground beef recipes you might also enjoy my Gluten Free Ground Beef Pasta Casserole, my Easy Ground Beef Nacho Casserole, my Instant Pot Beef and Vegetable Soup, my Gluten Free Creamy Beef and Mushroom Pasta, or my Gluten Free Instant Pot Chili Mac and Cheese.

    You can also find more recipes here: 10 Easy Gluten Free Beef Recipes

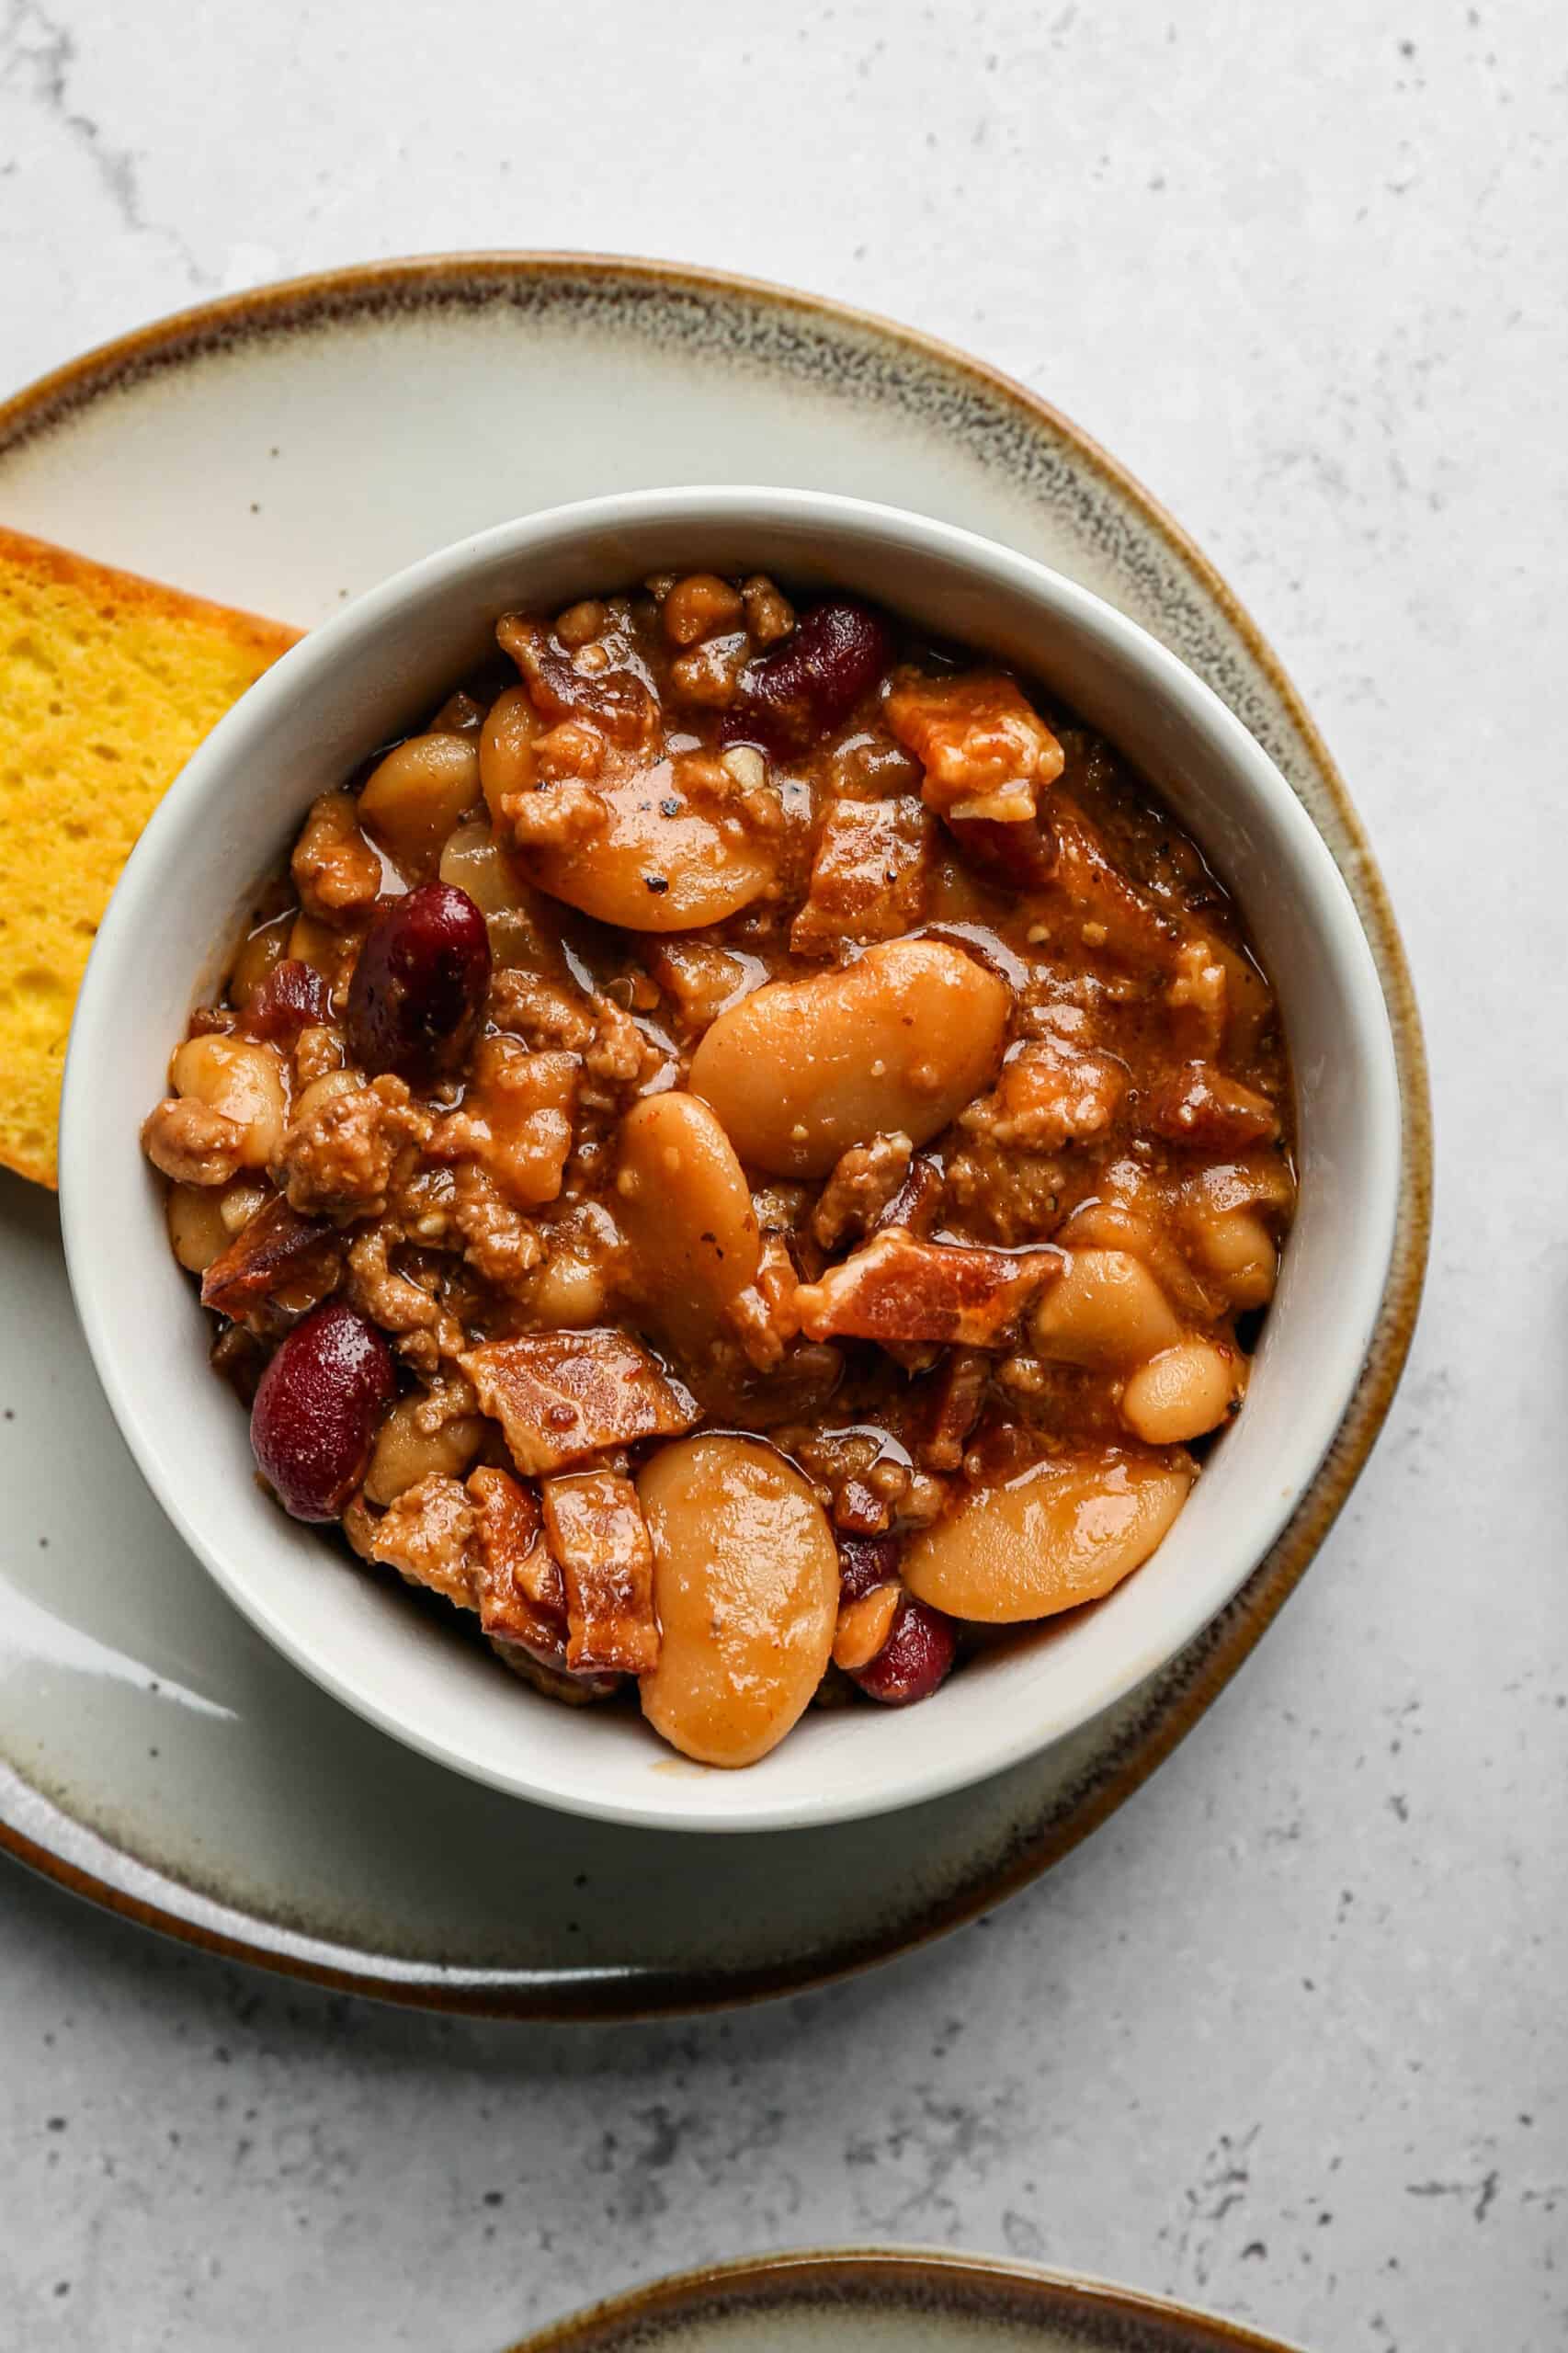
    a white bowl of gluten free cowboy baked beans on a plate with a slice of bread.
    [feast_advanced_jump_to]

    Ingredients

    • Ground Beef
    • Olive Oil
    • Bacon
    • Barbecue Sauce
    • Butter Beans
    • Pork and Beans
    • Navy Beans
    • Kidney Beans
    • Onion
    • Minced Garlic
    • Brown Sugar
    • Apple Cider Vinegar
    • Yellow Mustard
    • Stone Ground Mustard
    • Gluten Free Worcestershire Sauce
    • Sea Salt
    • Coarse Ground Black Pepper

    Instructions

    Preheat your oven to 350 degrees.

    In your dutch oven over medium heat pour the olive oil and cook the ground beef until just a little pink remains. Add the chopped onion and minced garlic and cook 3-4 minutes more until the onion is translucent.

    Add the bacon, barbecue sauce, butter beans, pork and beans, navy beans, kidney beans, brown sugar, apple cider vinegar, yellow mustard, ground mustard, gluten free Worcestershire sauce, salt and pepper to the beef mixture and stir to combine.

    Bake at 350 degrees for 35 minutes.

    Let cool slightly before serving.

    Supplies

    More Recipes You Might Enjoy

    • Gluten Free Cheesy Pinto Beans
    • Gluten Free Instant Pot Italian Style Pasta and Bean Soup
    • Instant Pot Vegetarian Navy Bean Soup
    • 10 Easy Gluten Free Beef Recipes

    I get a lot of my ingredients from Thrive Market. Thrive Market has been a game changer for me eating gluten free. They have so many options I can't get at my rural grocery stores! Use this link to get 40% off your first order!

    Print
    clock clock iconcutlery cutlery iconflag flag iconfolder folder iconinstagram instagram iconpinterest pinterest iconfacebook facebook iconprint print iconsquares squares iconheart heart iconheart solid heart solid icon

    Gluten Free Cowboy Baked Beans


    5 Stars 4 Stars 3 Stars 2 Stars 1 Star

    No reviews

    • Author: Elaine VanVleck
    • Total Time: 45 minutes
    • Yield: 6 servings 1x
    • Diet: Gluten Free
    Print Recipe
    Pin Recipe

    Description

    These easy gluten free cowboy baked beans are the ultimate hearty comfort food made with ground beef, crispy bacon, four types of beans, and a rich smoky BBQ sauce all baked together in one dutch oven in just 45 minutes. A crowd pleasing gluten free recipe that works as a hearty main dish or the best BBQ side dish for summer cookouts, potlucks, Fourth of July, and easy weeknight dinners!


    Ingredients

    Scale
    • 2 Tbsp. Olive Oil
    • 1 pound Ground Beef
    • 1 large Onion, chopped
    • 2 Tbsp. Minced Garlic
    • 1 pound Bacon, cooked and chopped
    • 2 cups Barbecue Sauce
    • 16 ounce can Butter Beans, drained and rinsed
    • 15 ounce can Pork and Beans
    • 15 ounce can Navy Beans, drained and rinsed
    • 15 ounce can Kidney Beans, drained and rinsed
    • ¼ cup Brown Sugar
    • 2 Tbsp. Apple Cider Vinegar
    • 1 Tbsp. Yellow Mustard
    • 1 tsp. Ground Mustard
    • 2 tsp. Gluten Free Worcestershire Sauce
    • 1 ½ tsp Sea Salt
    • 1 tsp. Coarse Ground Black Pepper

    Instructions

    Preheat your oven to 350 degrees.

    In your dutch oven over medium heat pour the olive oil and cook the ground beef until just a little pink remains. Add the chopped onion and minced garlic and cook 3-4 minutes more until the onion is translucent.

    Add the bacon, barbecue sauce, butter beans, pork and beans, navy beans, kidney beans, brown sugar, apple cider vinegar, yellow mustard, ground mustard, gluten free Worcestershire sauce, salt and pepper to the beef mixture and stir to combine.

    Bake at 350 degrees for 35 minutes.

    Let cool slightly before serving.

    Notes

    Be sure to use certified gluten free Worcestershire sauce in this recipe. Standard Worcestershire sauce is not gluten free as it typically contains malt vinegar which is made from barley. Always check the label carefully and look for a product that is specifically labeled certified gluten free. Lea and Perrins is one of the most widely available brands and their Worcestershire sauce is considered gluten free in the United States, but always verify the label on the bottle you purchase to be sure.

    • Prep Time: 10 minutes
    • Cook Time: 35 minutes
    • Category: Main Dish, Beans
    • Method: Baking
    • Cuisine: American

    Did you make this recipe?

    Tag @smallfarmbiglife on Instagram and hashtag it #smallfarmbiglife

    If you make these Gluten Free Cowboy Baked Beans I would love to hear what you think! Leave a star rating and a comment below and let me know what occasion you served them for.

    Don't forget to save this recipe to your Pinterest boards so you can find it again all summer long!

    Storage

    Store leftover gluten free cowboy baked beans in a sealed airtight container in the refrigerator for up to 3 to 5 days. These beans reheat beautifully and the flavor gets even better the next day as the sauce continues to develop overnight. Reheat on the stovetop over medium low heat stirring occasionally until warmed through, or microwave individual portions in a covered bowl. These cowboy baked beans also freeze well. Store in a freezer safe container for up to 3 months and thaw overnight in the refrigerator before reheating.

    Top Tip

    Do not drain the pork and beans before adding them to the dutch oven. The liquid in the can is part of what creates the rich and saucy base for these cowboy baked beans. All of the other canned beans should be drained and rinsed as the recipe calls for, but keeping the pork and beans liquid in the pot adds flavor and helps the sauce come together beautifully during baking. If you drain all four cans of beans the finished dish will be too thick and dry rather than saucy and rich.

    Didn't find the answer you're looking for?

    Ask AI to answer based on this recipe:

    ChatGPT
    Google AI
    Perplexity
    Grok
    Claude

    Frequently Asked Questions

    What are cowboy baked beans?

    Cowboy baked beans are a hearty and flavor packed version of classic baked beans that are loaded with meat, typically ground beef and bacon, along with multiple types of beans and a rich smoky BBQ sauce. Unlike traditional baked beans which are usually served as a simple side dish, cowboy beans are substantial enough to serve as a complete main course. The combination of sweet, smoky, and tangy flavors from the BBQ sauce, brown sugar, apple cider vinegar, and mustard is what makes them so irresistible.

    Can I make these cowboy baked beans ahead of time?

    Absolutely and I actually recommend it! These beans taste even better the next day after the flavors have had more time to develop and meld together overnight in the refrigerator. You can assemble the entire dish and bake it a day ahead, then reheat it covered in a 350 degree oven for about 20 minutes before serving. They are also a great make ahead option for summer cookouts and potlucks since they travel well and reheat beautifully.

    Can I make these cowboy baked beans in a slow cooker?

    Yes! To make these in a slow cooker, brown the ground beef and cook the onion and garlic on the stovetop first, then transfer everything to your slow cooker and add all of the remaining ingredients. Cook on low for 6 to 8 hours or on high for 3 to 4 hours. The slow cooker version is a great option for summer entertaining because it keeps the beans warm throughout the party without heating up your kitchen.

    What kind of BBQ sauce should I use for this recipe?

    Any BBQ sauce you enjoy works well in this recipe. Just make sure to check the label and use a certified gluten free BBQ sauce as many store bought versions contain gluten. A smoky or hickory flavored BBQ sauce gives the beans the most classic cowboy flavor but a sweet BBQ sauce works beautifully too. If you prefer a spicier version look for a chipotle or spicy BBQ sauce for an extra kick.

    Can I make this recipe without ground beef?

    Yes! If you want to make a meatless version you can omit the ground beef entirely and the beans will still be hearty and delicious thanks to the bacon and the four types of beans. You can also substitute ground turkey or ground chicken for the beef if you prefer a lighter option. The cooking time and method remain the same regardless of which protein you choose.

    Can I use different types of beans in this recipe?

    Absolutely. The four bean combination of butter beans, navy beans, kidney beans, and pork and beans is what gives these cowboy beans their hearty texture and variety but you can easily swap in whatever canned beans you have on hand. Great northern beans, black beans, or cannellini beans all work well as substitutes. Just remember to drain and rinse all of the canned beans except for the pork and beans, which should go in with their liquid for the best sauce consistency.

    Gluten Free Walking Taco Casserole

    This quick recipe for gluten free walking taco casserole is made with ground beef, cheddar cheese and cream cheese. This is the best one pot Mexican casserole and is perfect for dinner. It is similar to a taco pie or taco bake and is topped with gluten free tortilla chips.

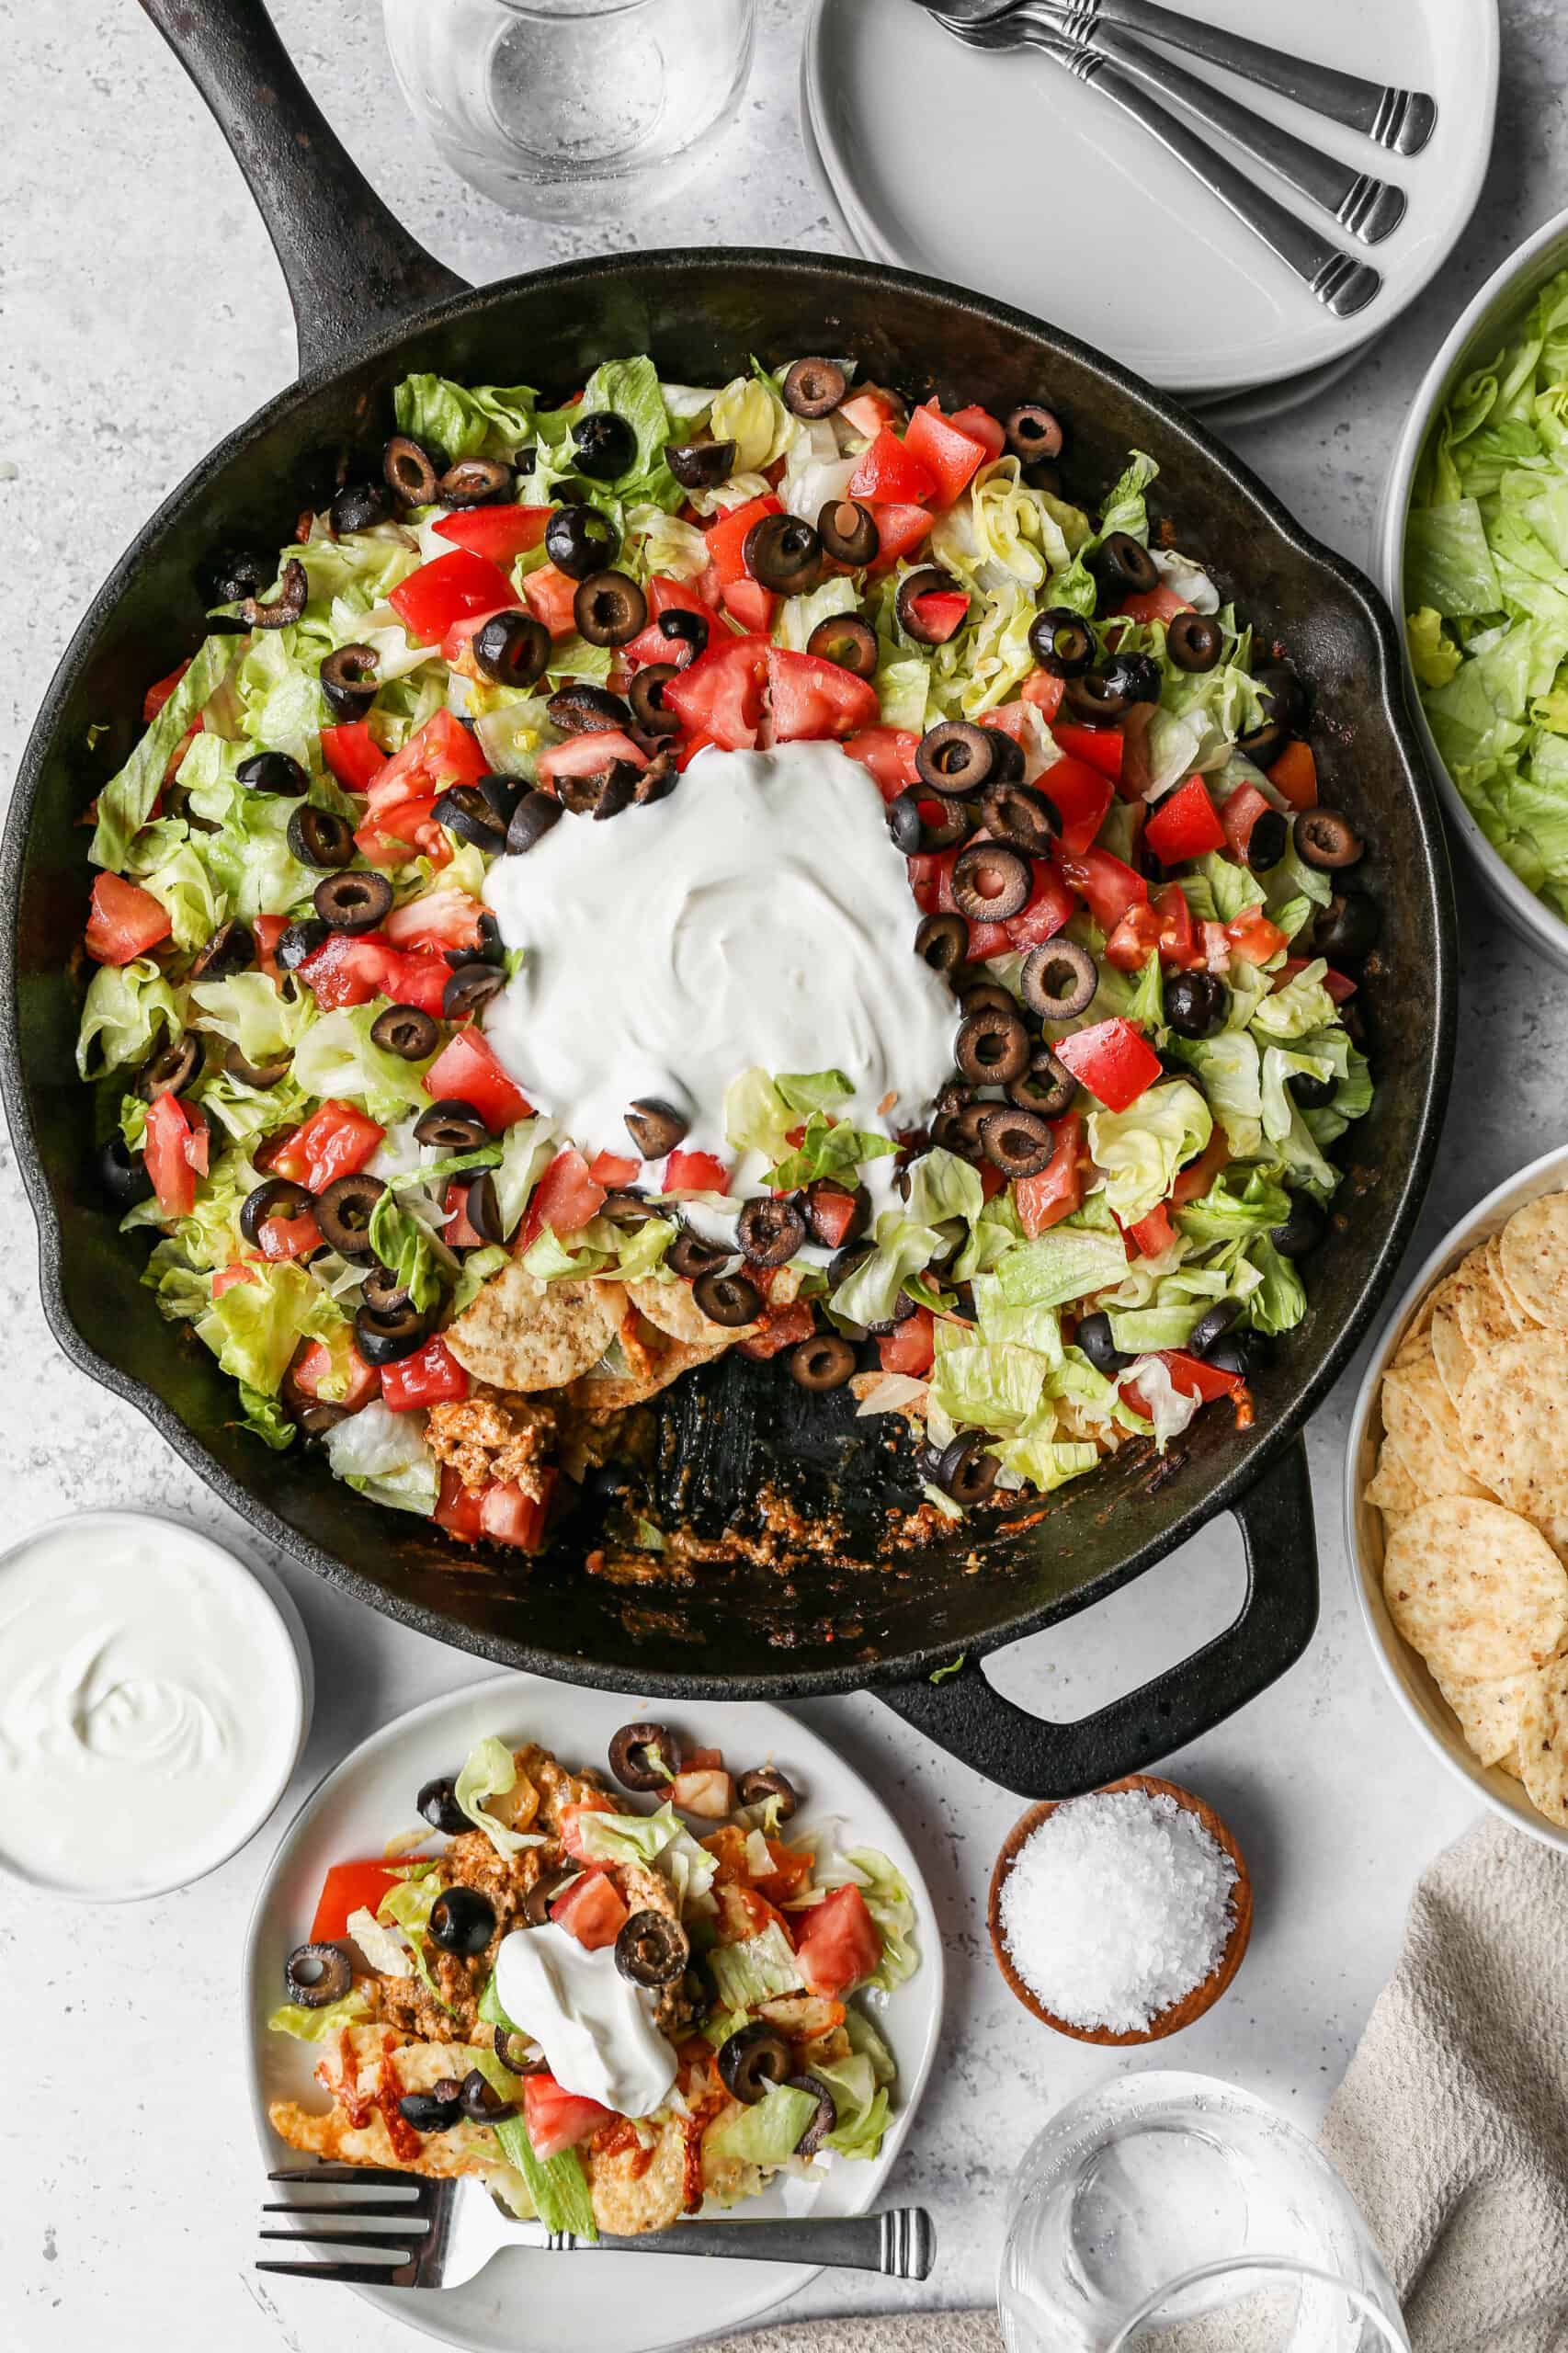
    a black cast iron skillet of gluten free walking taco casserole with a big dollop of sour cream on top.

    Gluten Free Walking Taco Casserole is a delicious and easy to make casserole that combines all the flavors of a classic taco dinner in a comforting, one pan dish.

    Featuring ground beef, a blend of savory taco seasonings, and gluten free tortilla chips, this casserole offers a satisfying twist on a taco salad.

    Topped with melted cheese, sour cream, and your favorite taco toppings, this dish can be customized with vegetables like bell peppers, onions, and tomatoes for added flavor and nutrition. Perfect for a busy weeknight or a family gathering, it's a quick and simple meal that everyone will enjoy.

    If you are looking for more Mexican inspired recipes try my Healthy Mexican Street Corn Salad, my Easy Ground Beef Nacho Casserole, my Gluten Free Taco Casserole or my Instant Pot Beef and Bean Burrito Casserole.

    You can find all of my meal recipes here: Gluten Free Meals Recipes

    a white plate of gluten free walking taco casserole next to a small white bowl of sour cream.
    [feast_advanced_jump_to]

    Ingredients

    • Ground Beef
    • Yellow Onion
    • Cream Cheese
    • Heavy Cream
    • Chili Powder
    • Garlic Powder
    • Ground Coriander
    • Ground Cumin
    • Smoked Paprika
    • Sea Salt
    • Coarse Ground Black Pepper
    • Cheddar Cheese
    • Gluten Free Tortilla Chips
    • Black Olives
    • Tomatoes
    • Lettuce
    • Sour Cream

    Instructions

    Preheat your oven to 350 degrees.

    In a cast iron skillet or oven safe frying pan cook the ground beef until just a little pink remains. Add the chopped onions and cook until the onions are translucent, about 3-4 minutes.

    Add the cream cheese, whipping cream, chili powder, garlic powder, coriander, cumin, paprika, salt and pepper. Stir to combine and cook until the cream cheese is melted and everything is combined.

    Stir in ½ cup shredded cheddar cheese.

    Add the tortilla chips on top the beef mixture in an even layer. Top them with the rest of the shredded cheddar cheese.

    Bake at 350 degrees for 20 minutes.

    Top with black olives, diced tomatoes, shredded lettuce and/or  sour cream.

    Supplies

    More Recipes You Might Enjoy

    • Gluten Free Taco Casserole
    • Gluten Free Tater Tot Taco Bowls
    • Gluten Free Taco Pasta Bake
    • Healthy Mexican Street Corn Salad

    I get a lot of my ingredients from Thrive Market. Thrive Market has been a game changer for me eating gluten free. They have so many options I can't get at my rural grocery stores! Use this link to get 40% off your first order!

    Print
    clock clock iconcutlery cutlery iconflag flag iconfolder folder iconinstagram instagram iconpinterest pinterest iconfacebook facebook iconprint print iconsquares squares iconheart heart iconheart solid heart solid icon

    Gluten Free Walking Taco Casserole


    5 Stars 4 Stars 3 Stars 2 Stars 1 Star

    No reviews

    • Author: Elaine VanVleck
    • Total Time: 30 minutes
    • Yield: 6 servings 1x
    • Diet: Gluten Free
    Print Recipe
    Pin Recipe

    Description

    This quick recipe for gluten free walking taco casserole is made with ground beef, cheddar cheese and cream cheese. This is the best one pot Mexican casserole and is perfect for dinner. It is similar to a taco pie or taco bake and is topped with gluten free tortilla chips.


    Ingredients

    Scale
    • 1 pound Ground Beef
    • 1 medium Yellow Onion, chopped
    • 8 ounces Cream Cheese
    • ¼ cup Heavy Whipping Cream
    • 1 Tbsp. Chili Powder
    • 2 tsp. Garlic Powder
    • 2 tsp. Ground Coriander
    • 1 tsp. Ground Cumin
    • 1 tsp. Smoked Paprika
    • ½ tsp. Sea Salt
    • ½ tsp. Coarse Ground Black Pepper
    • 1 cup Cheddar Cheese, shredded
    • 2 cups Gluten Free Tortilla Chips
      Black Olives
      Tomatoes
      Lettuce
      Sour Cream

    Instructions

    Preheat your oven to 350 degrees.

    In a cast iron skillet or oven safe frying pan cook the ground beef until just a little pink remains. Add the chopped onions and cook until the onions are translucent, about 3-4 minutes.

    Add the cream cheese, whipping cream, chili powder, garlic powder, coriander, cumin, paprika, salt and pepper. Stir to combine and cook until the cream cheese is melted and everything is combined.

    Stir in ½ cup shredded cheddar cheese.

    Add the tortilla chips on top the beef mixture in an even layer. Top them with the rest of the shredded cheddar cheese.

    Bake at 350 degrees for 20 minutes.

    Top with black olives, diced tomatoes, shredded lettuce and/or  sour cream.

    • Prep Time: 10 minutes
    • Cook Time: 20 minutes
    • Category: Dinner
    • Method: Cast Iron Skillet
    • Cuisine: Gluten Free

    Did you make this recipe?

    Tag @smallfarmbiglife on Instagram and hashtag it #smallfarmbiglife

    Frequently Asked Questions

    What is a walking taco made of?

    A traditional walking taco is made in the bag of chips. Most use a single serving size bag of Doritos or Frito chips. This casserole uses the same concept of being an easy one dish meal, but is made in a skillet or baking dish rather than in the chip bag.

    I topped this walking taco casserole with gluten free tortilla chips, lettuce, tomatoes, olives and extra cheddar cheese. You could substitute a different type of gluten free chip and also add avocado on top too.

    How long do I bake this gluten free taco casserole?

    This gluten free taco casserole bakes at 350 degrees for 20 minutes. You precook the ground beef and onions. You are baking the walking taco casserole just to melt the cheese.

    Gluten Free Banana Oat Muffins

    These healthy and easy to make gluten free banana oat muffins contain oatmeal and are perfect for breakfast. This baking recipe is made with almond flour and is dairy free. These moist muffins taste just like banana bread!

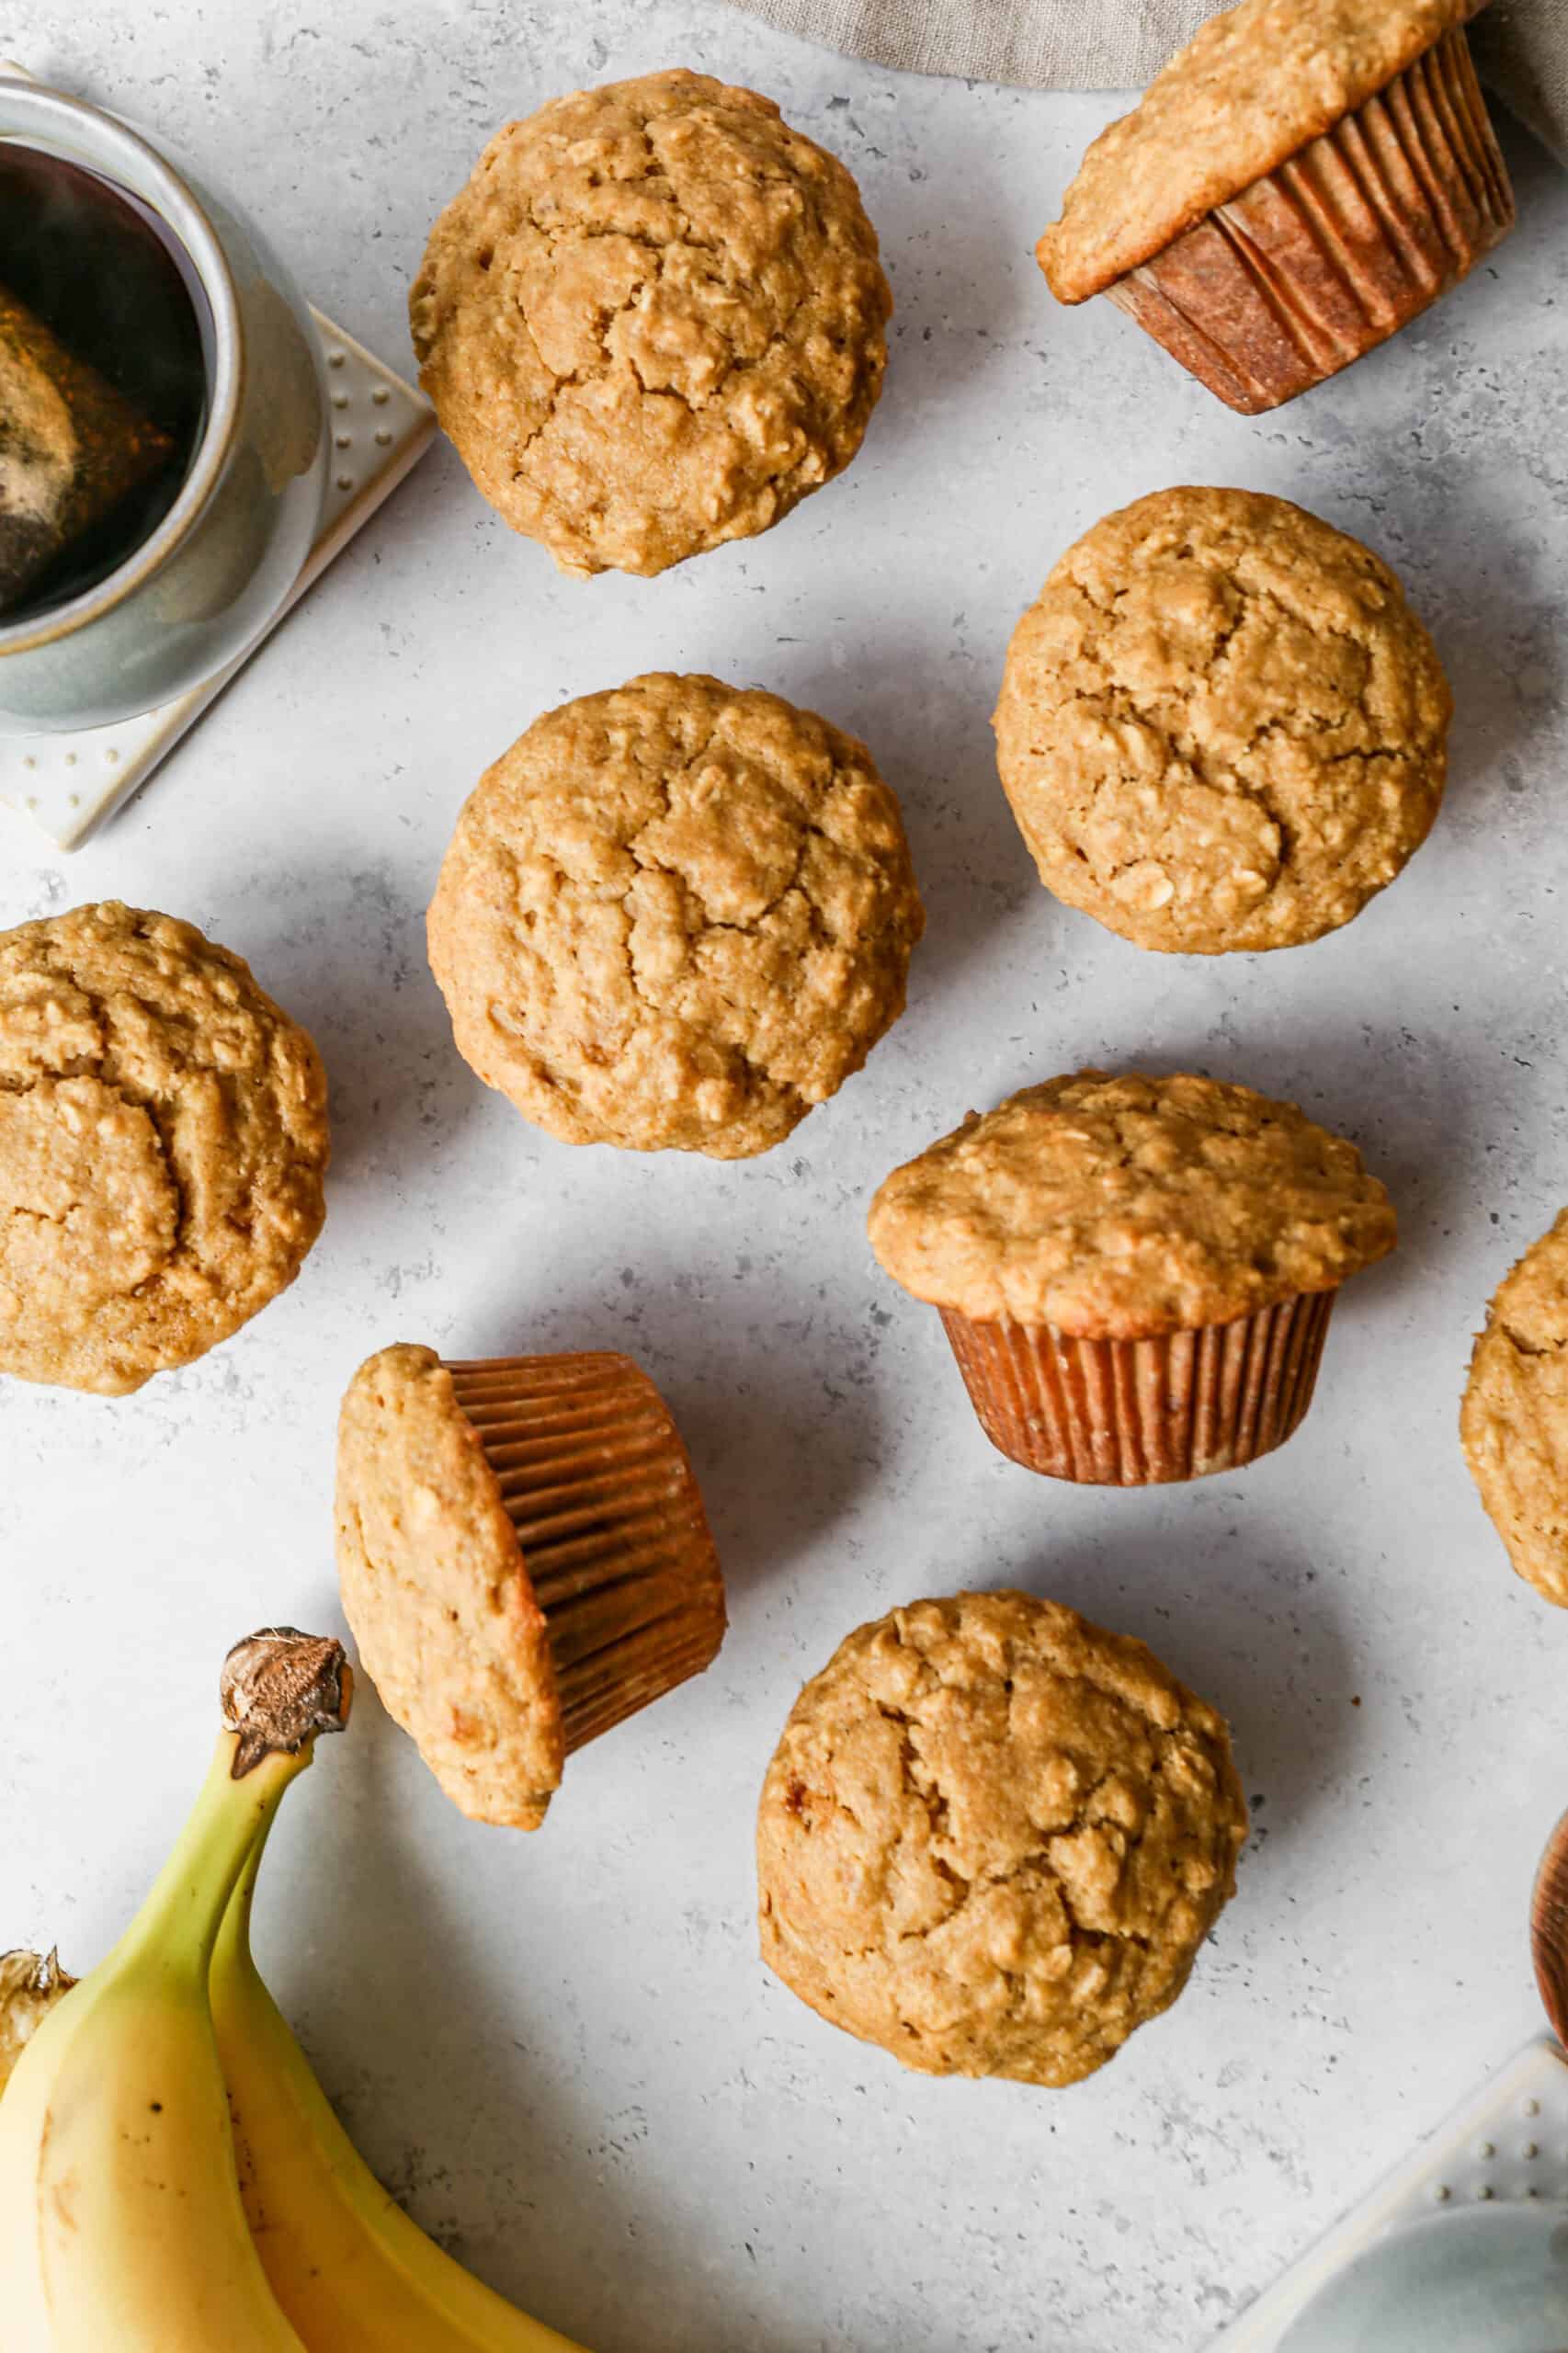
    gluten free banana oat muffins next to two mugs of tea and a bunch of bananas.

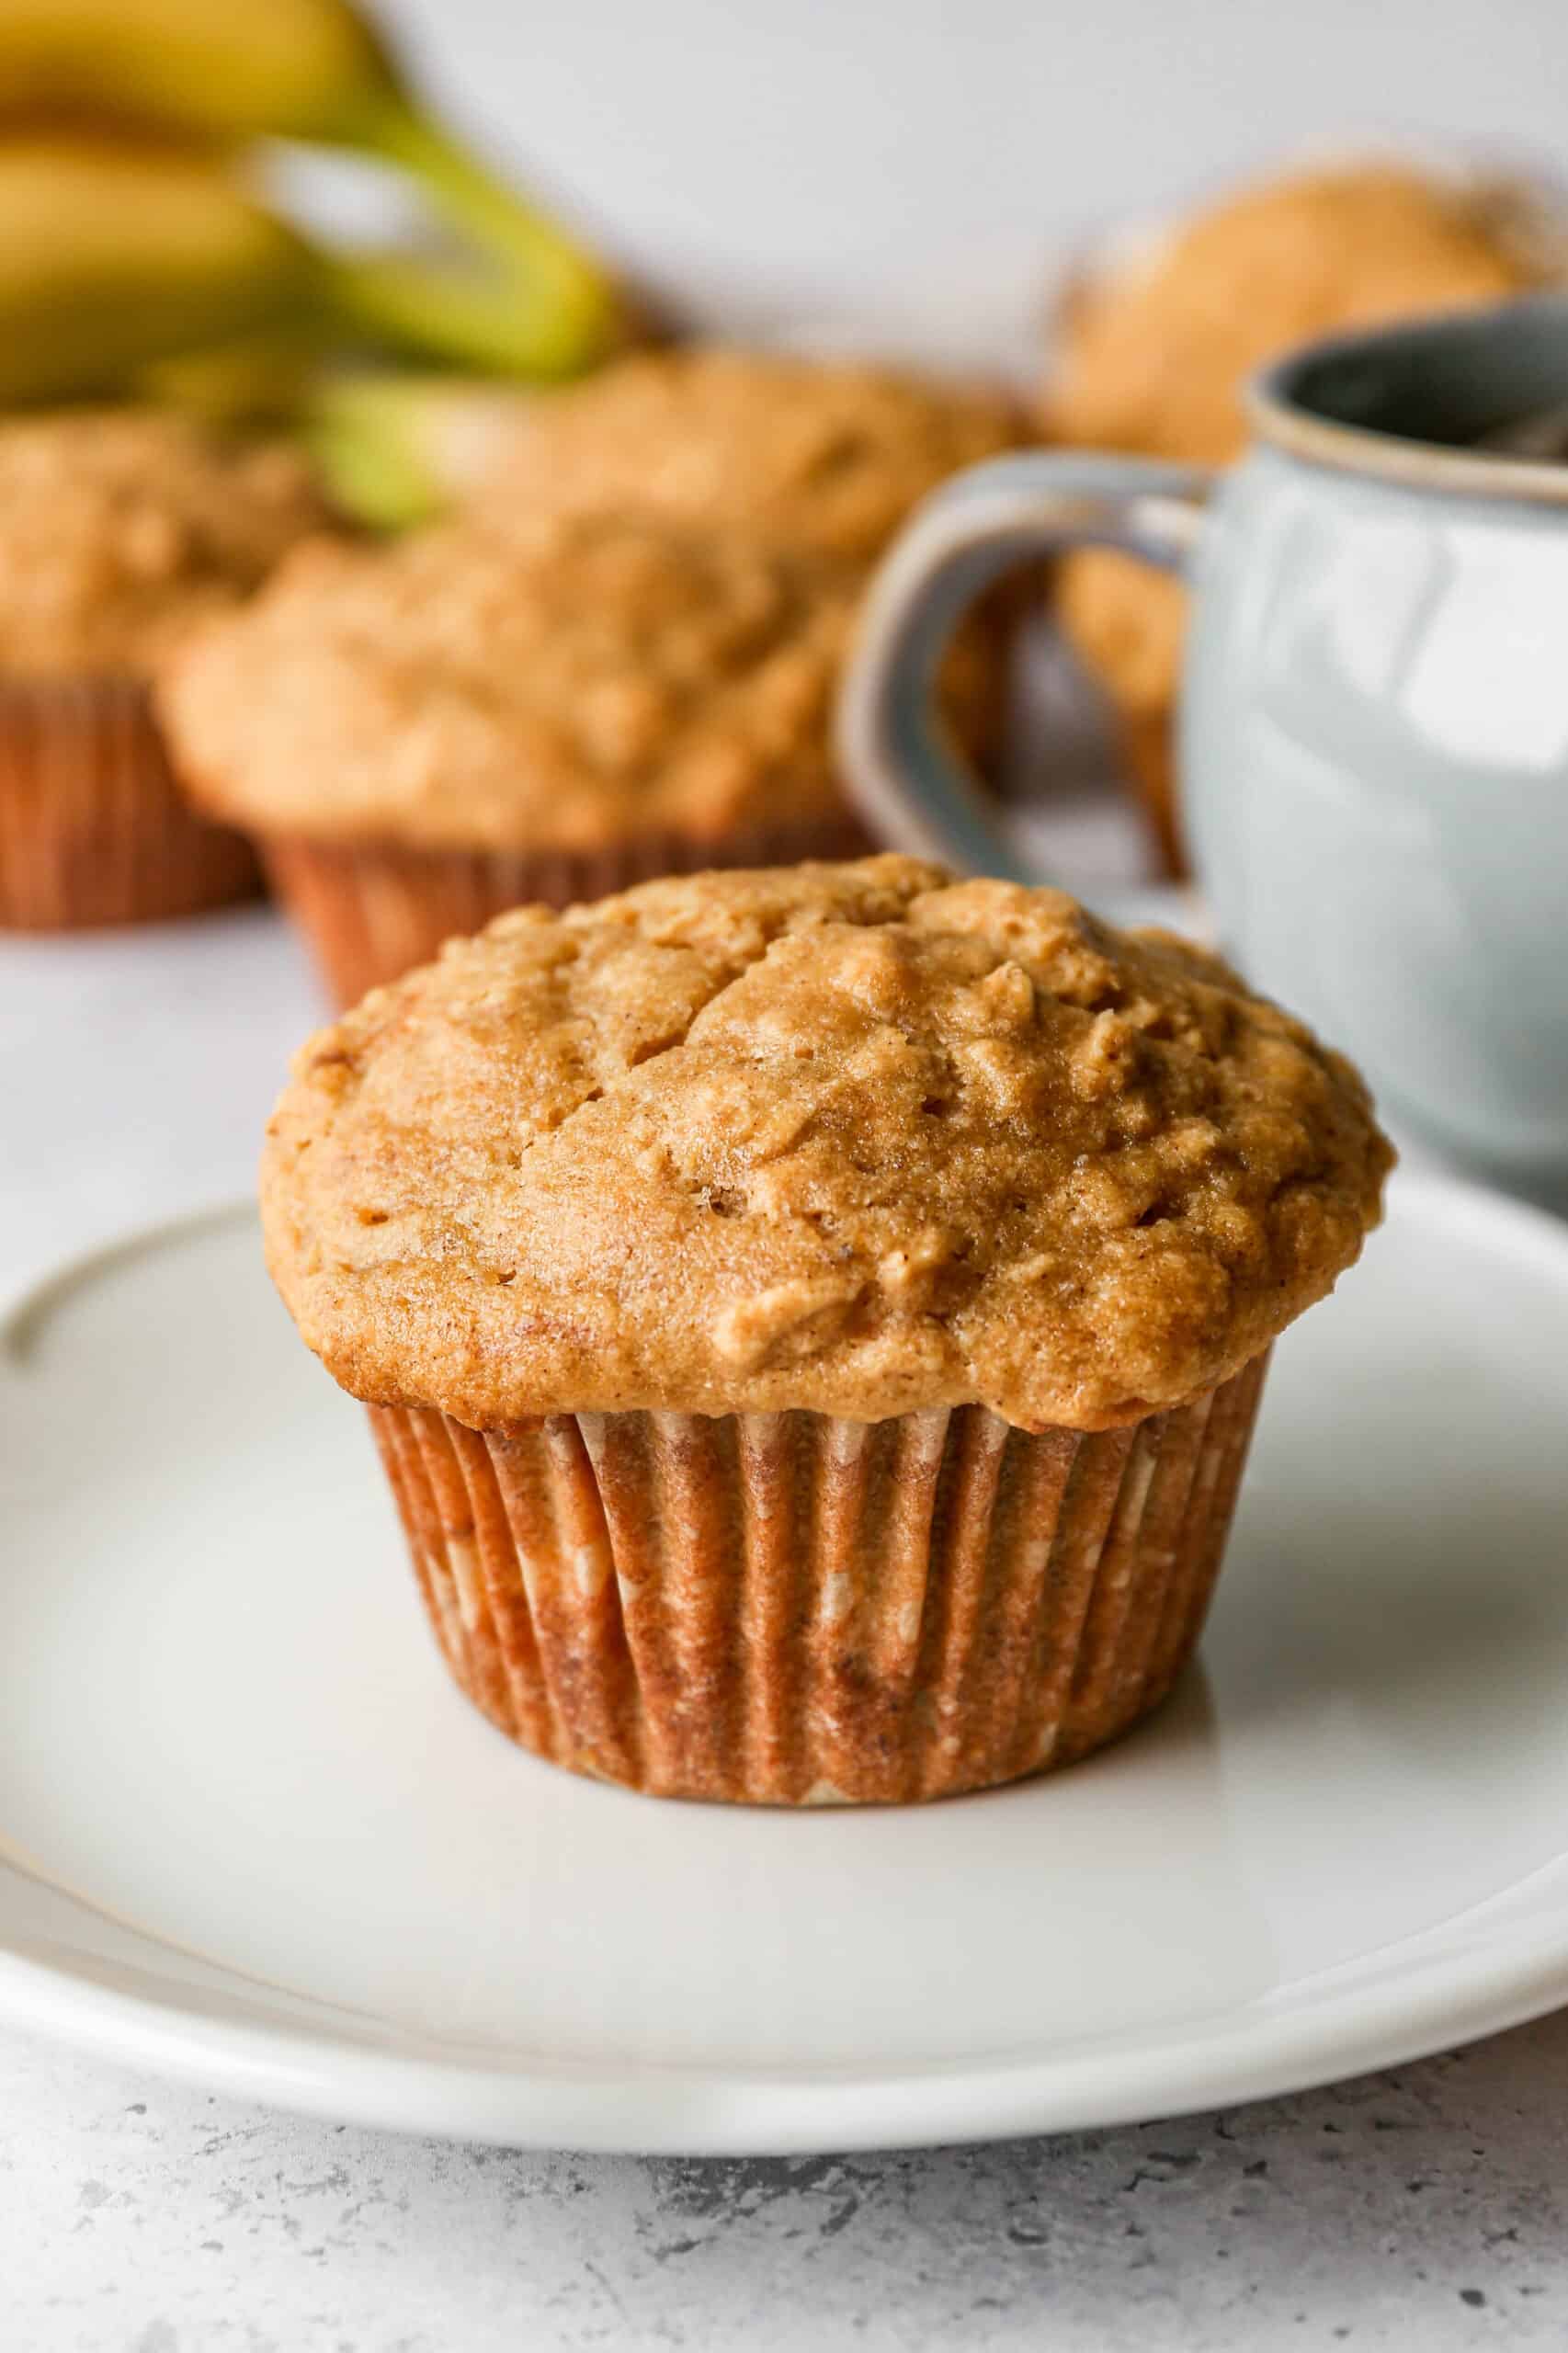
    These gluten free Banana Oat Muffins are the perfect blend of healthy and flavorful, making them an ideal addition to your gluten free breakfast or snack rotation.

    Packed with wholesome oats, ripe bananas, and a hint of almond flour, these muffins are naturally sweet, moist, and incredibly fluffy.

    The gluten free muffin recipe is easy to follow and yields soft, delicious muffins that are both kid friendly and a great way to use up overripe bananas.

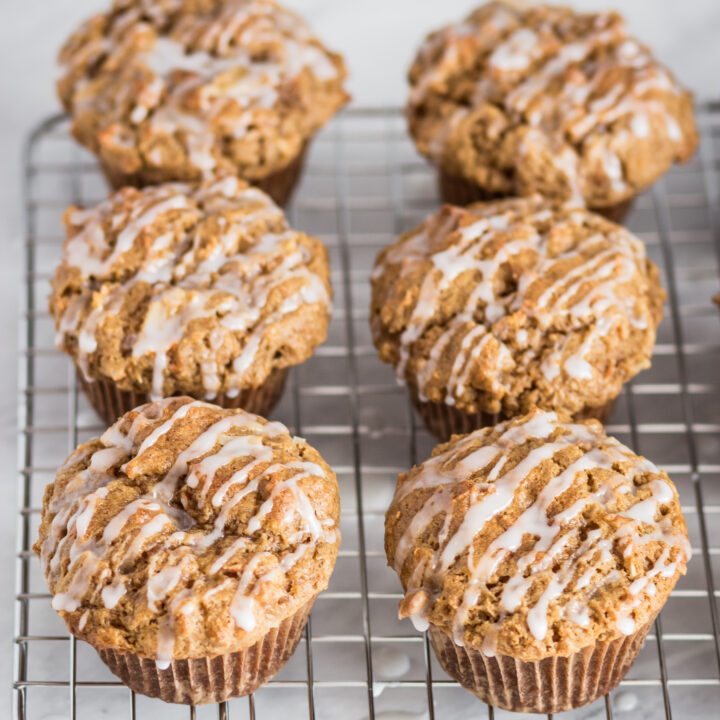
    If you are looking for more muffins options you might also enjoy my Gluten Free Blueberry Oat Muffins, my Gluten Free Peanut Butter Banana Muffins, my Gluten Free Chocolate Chip Banana Muffins, or my Gluten Free Cranberry Orange Muffins.

    You can find all my breakfast recipes here: Gluten Free Breakfast Recipes
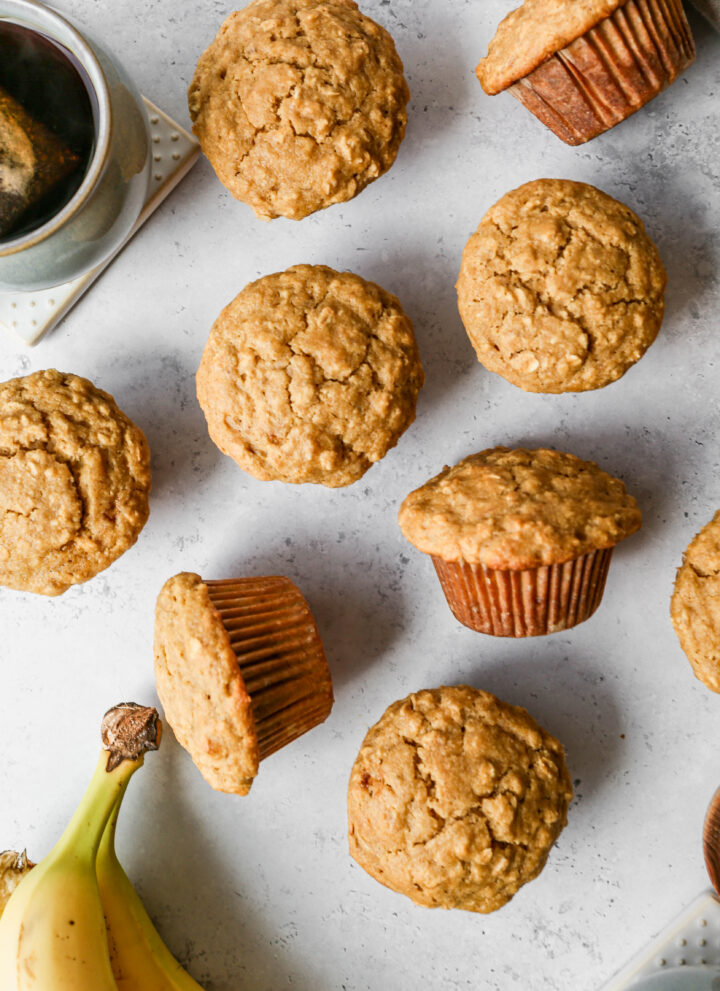
    a gluten free banana oat muffin on a white plate next to a mug of tea.
    [feast_advanced_jump_to]

    Why You'll Love This Recipe

    • Made with almond flour and oats for a hearty, filling muffin
    • Completely dairy free
    • Naturally sweetened with banana and a touch of honey
    • Great for using up overripe bananas

    Ingredient Notes

    • The combination of almond flour and gluten free flour gives these muffins a moist, tender crumb, while the oats add heartiness and texture.
    • Coconut oil and almond milk keep this recipe dairy free, if you don't need it dairy free, the Notes section already mentions you can swap in butter for the coconut oil.

    Ways to Customize This Recipe

    Add a handful of chocolate chips or chopped walnuts to the batter for a fun twist. Blueberries also work well folded in gently at the end.

    Storage and Freezing

    These gluten free banana muffins are best stored in an air tight container. You can leave them on your counter for up to 3 days and then it's best to move them to the refrigerator to keep them fresh.

    These muffins also freeze really well. I like to freeze them in individual bags so I have something quick to put in lunches or to take out for breakfast or a snack.

    Top Tip

    These gluten free banana oat muffins are easy to mix together and really rise into a dense, delicious muffin. With the combination of almond flour and oats they are hardy and keep me satisfied long after breakfast.

    Frequently Asked Questions

    Can I use gluten free flour instead of almond flour?

    Yes. Swap the almond flour for about 2 ½ cups of gluten free flour. The muffins will rise a bit more since almond flour is heavier, so you may want to divide the batter into 15 to 16 muffins instead of 12.

    Can I use oat flour instead of a gluten free flour blend?

    Using only oat flour in place of a mixed gluten free flour blend will make the muffins denser and change the texture, they won't be quite as light and fluffy. If you'd like to experiment, try mixing oat flour with your usual gluten free flour blend rather than replacing it entirely.

    Didn't find the answer you're looking for?

    Ask AI to answer based on this recipe:

    ChatGPT
    Google AI
    Perplexity
    Grok
    Claude

    Banana Oat Muffins Supplies

    More Recipes You Might Enjoy

    • Gluten Free Blueberry Oat Muffins
    • Gluten Free Chocolate Chip Banana Muffins
    • Gluten Free Blackberry Oat Muffins
    • Gluten Free Apple Carrot Muffins

    I get a lot of my ingredients from Thrive Market. Thrive Market has been a game changer for me eating gluten free. They have so many options I can't get at my rural grocery stores! Use this link to get 40% off your first order!

    Print
    clock clock iconcutlery cutlery iconflag flag iconfolder folder iconinstagram instagram iconpinterest pinterest iconfacebook facebook iconprint print iconsquares squares iconheart heart iconheart solid heart solid icon

    Gluten Free Banana Oat Muffins


    5 Stars 4 Stars 3 Stars 2 Stars 1 Star

    No reviews

    • Author: Elaine VanVleck
    • Total Time: 45 minutes
    • Yield: 12 1x
    • Diet: Gluten Free
    Print Recipe
    Pin Recipe

    Description

    These gluten free banana oat muffins are moist, fluffy, and made with a blend of almond flour, oats, and ripe bananas. They're completely dairy free and taste just like banana bread in muffin form. Perfect for breakfast, snacking, or packing in lunches.


    Ingredients

    Scale
    • 3 medium Bananas, very ripe
    • 1 tsp. Vanilla Extract
    • 2 large Eggs
    • 3 Tbsp. Coconut Oil, melted
    • ¼ cup Granulated Sugar
    • ¼ cup Brown Sugar
    • 2 Tbsp. Honey
    • 3 tsp. Baking Powder
    • 1 tsp. Sea Salt
    • 1 tsp. Ground Cinnamon
    • ¾ cup Almond Milk (or your milk of choice)
    • 1 ¼ cups Almond Flour
    • 1 ¼ cups Gluten Free Flour
    • 1 ¼ cups Gluten Free Rolled Oats

    Instructions

    Preheat oven to 350 degrees. Line a muffin pan with liners and set aside.

    In the bowl of your stand mixer beat bananas, vanilla and eggs together. Add melted coconut oil, sugars and honey. Beat 1-2 minutes until ingredients are combined.

    In a separate mixing bowl whisk together baking powder, salt, cinnamon, almond flour, gluten free flour and oats. Add almond milk to batter and then add this dry mixture to batter 1 cup at a time mixing until the dry mixture is just blended in. Mix until ingredients are just blended together. Do not over mix or the dough gets tough and doesn't rise as well.

    Place batter into a lined 12 muffin pan. The batter will fill all the way to the top of your liners.

    Bake at 350 degrees for 30-35 minutes. 

    Let cool and then store in the refrigerator in an air tight container for up to five days.

    If you made this recipe please leave a star rating and comment below. It helps other readers find this recipe and means so much to me.

    Notes

    I use almond milk, but you can use whatever milk you have on hand.

    If you don't mind these not being dairy free you can substitute butter for the coconut oil. 

    • Prep Time: 10 minutes
    • Cook Time: 35 minutes
    • Category: Breakfast
    • Method: Baking
    • Cuisine: American

    Did you make this recipe?

    Tag @smallfarmbiglife on Instagram and hashtag it #smallfarmbiglife

    I'd love to hear how these gluten free banana oat muffins turn out for you! Leave a comment and star rating below, and let me know if you try any of the add ins. Don't forget to pin this recipe so you can make it again whenever you have ripe bananas on hand.

    Banana Oat Muffins Ingredients

    • Bananas
    • Vanilla Extract
    • Eggs
    • Coconut Oil
    • Granulated Sugar
    • Brown Sugar
    • Honey
    • Almond Milk
    • Baking Powder
    • Sea Salt
    • Ground Cinnamon
    • Almond Flour
    • Gluten Free Flour
    • Gluten Free Rolled Oats

    Instructions

    These muffins are so easy to make!

    Preheat your oven to 350 degrees.

    Mix bananas, vanilla and eggs together. Add melted coconut oil, sugars and honey. Mix until blended.

    In a separate bowl mix together baking powder, salt, cinnamon, almond flour, gluten free flour and oats. Add almond milk to batter and then add this dry mixture to batter 1 cup at a time mixing until the dry mixture is just blended in. Mix until ingredients are just blended together. Do not over mix or the dough gets tough and doesn't rise as well.

    Place batter into a 12 muffin pan. The batter will fill all the way to the top of your liners and the tops will rise quite a bit.

    Bake at 350 degrees for 30-35 minutes. 

    Let cool and then store in the refrigerator for up to five days.

    • « Previous Page
    • 1
    • …
    • 46
    • 47
    • 48
    • 49
    • 50
    • …
    • 88
    • Next Page »

    Welcome! I'm Elaine

    I'm so glad you are here! I share easy gluten free recipes from my small farm in Washington.

    Be sure to sign up for my newsletter to stay up to date on all of my new recipes.

    More about me...
    • Instagram
    • Pinterest
    • Facebook
    • Twitter
    • email

    Free gluten free recipe ebook
    My most loved recipes in one download, plus new recipes every Friday.
    Check your inbox! Your ebook is on its way.

    Easy Meals Recipes

    • Gluten Free Instant Pot Chili Mac and Cheese
    • Gluten Free Taco Casserole

    • Gluten Free Cowboy Baked Beans
    • Gluten Free Walking Taco Casserole
    • Gluten Free Creamy Beef and Mushroom Pasta
    • Gluten Free Instant Pot Chicken and Dumplings
    • Instant Pot Mexican Style Beef and Rice
    • Gluten Free Chicken Parmesan Pasta Casserole
    • Gluten Free One Pot Hamburger Helper Copycat
    • Gluten Free Salisbury Steak with Mushroom Gravy
    • Gluten Free Air Fryer Fajitas
    • Gluten Free Sloppy Joe Casserole

    Footer

    back to top

    About

    • Privacy Policy
    • Shop my Amazon Page
    • Follow me on LTK

    Newsletter

    • Sign Up! for emails and updates

    Contact

    • Contact
    • Media Kit
    • About Me

    As an Amazon Associate I earn from qualifying purchases.

    I may get commissions for purchases made through links on this site.

    Copyright © 2026 Brunch Pro on the Brunch Pro Theme