• Skip to primary navigation
  • Skip to main content
  • Skip to primary sidebar
  • Skip to footer
Small Farm Big Life logo
  • Recipe Index
  • Subscribe
  • Resources
  • Home Decor
  • Nav Social Menu

    • Email
    • Facebook
    • Instagram
    • Pinterest
menu icon
go to homepage
subscribe
search icon
Homepage link
  • Home
  • Recipe Index
  • Subscribe
  • My Story
  • Resources
  • Free Guides
  • Home Decor
    • Email
    • Facebook
    • Instagram
    • Pinterest
  • ×

    Air Fryer Grilled Vegetable Orzo Salad

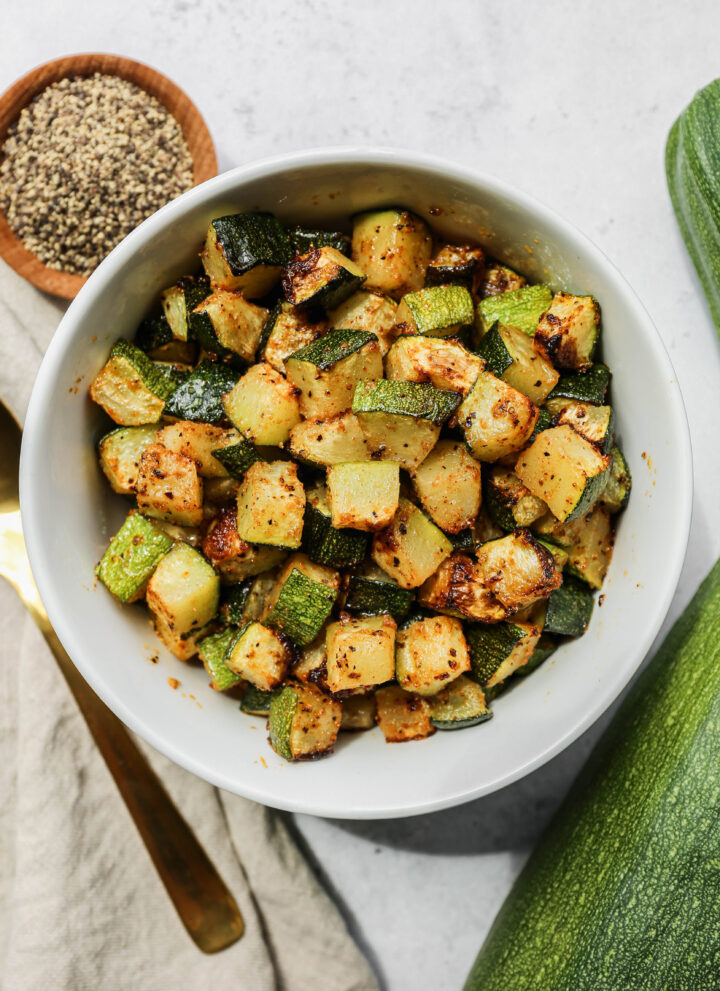
    This easy cold air fryer grilled vegetable orzo salad is the perfect summer side dish! It's a healthy pasta salad loaded with veggies and a simple Italian dressing. I like to make this salad a day ahead to serve at barbecues and with meals.

    a bowl of air fryer grilled vegetable orzo salad next to a bottle of olive oil and a small bowl of coarse sea salt.

    If you are looking for more pasta salads try my Gluten Free Pesto Pasta Salad, my Gluten Free BLT Pasta Salad, my Easy Gluten Free Macaroni Salad or my Gluten Free Green Goddess Pasta Salad.

    You can find all my salad recipes here: Gluten Free Salad Recipes
    a bowl of air fryer grilled vegetable orzo salad next to a bottle of olive oil.
    [feast_advanced_jump_to]

    Ingredients

    • Gluten Free Orzo Pasta
    • Grape Tomatoes
    • Minced Garlic
    • Red Onion
    • Red Bell Pepper
    • Yellow Bell Pepper
    • Zucchini
    • Olive Oil
    • Sea Salt
    • Coarse Ground Black Pepper
    • Dried Basil
    • Italian Seasoning
    • Apple Cider Vinegar

    Instructions

    In a large pot cook the gluten free orzo pasta per the package instructions. Drain and rinse with cold water.

    In a large mixing bowl add the tomatoes, garlic, onion, bell peppers, zucchini, olive oil, salt, pepper, basil and Italian seasoning. Stir to combine.

    Pour the vegetable mixture into the basket of your air fryer and cook at 360 degrees for 5 minutes. Carefully drain the excess liquid from the air fryer basket.

    Pour the cooked orzo, vegetable mixture, apple cider vinegar and olive oil into a serving bowl. Stir to combine.

    Refrigerate for at least one hour before serving.

    Supplies

    Frequently Asked Questions

    How do you make orzo salad?

    For this gluten free grilled vegetable orzo salad I used Jovial Grain Free Cassava Orzo Pasta. I cooked the pasta per the pasta instructions being sure not to overcook it. Then, I cut up the veggies and coated them with the olive oil mixture.

    I places the chopped veggies into my air fryer basket and cooked at 360 degrees for 5 minutes. Next, I combined the veggies, pasta, apple cider vinegar and olive oil in a serving bowl. Refrigerate for at least one hour and serve cold.

    Should orzo be rinsed after cooking?

    Yes, after you have cooked the gluten free orzo per the package instructions be sure to rinse the pasta in cold water. Removing the extra starch will help the pasta not to clump together. If the pasta starts to clump before you get it mixed into the salad rinse it with cold water again and let drain.

    More Recipes You Might Enjoy

    Oven Baked Steak and Potato Kabobs
    Air Fryer Grilled Peaches
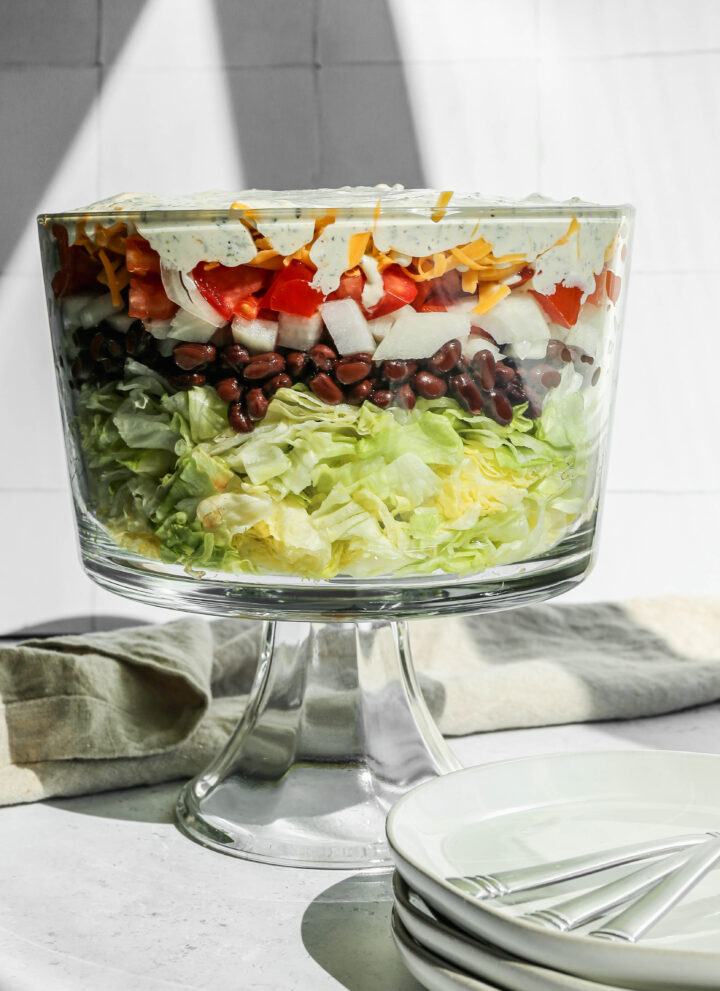
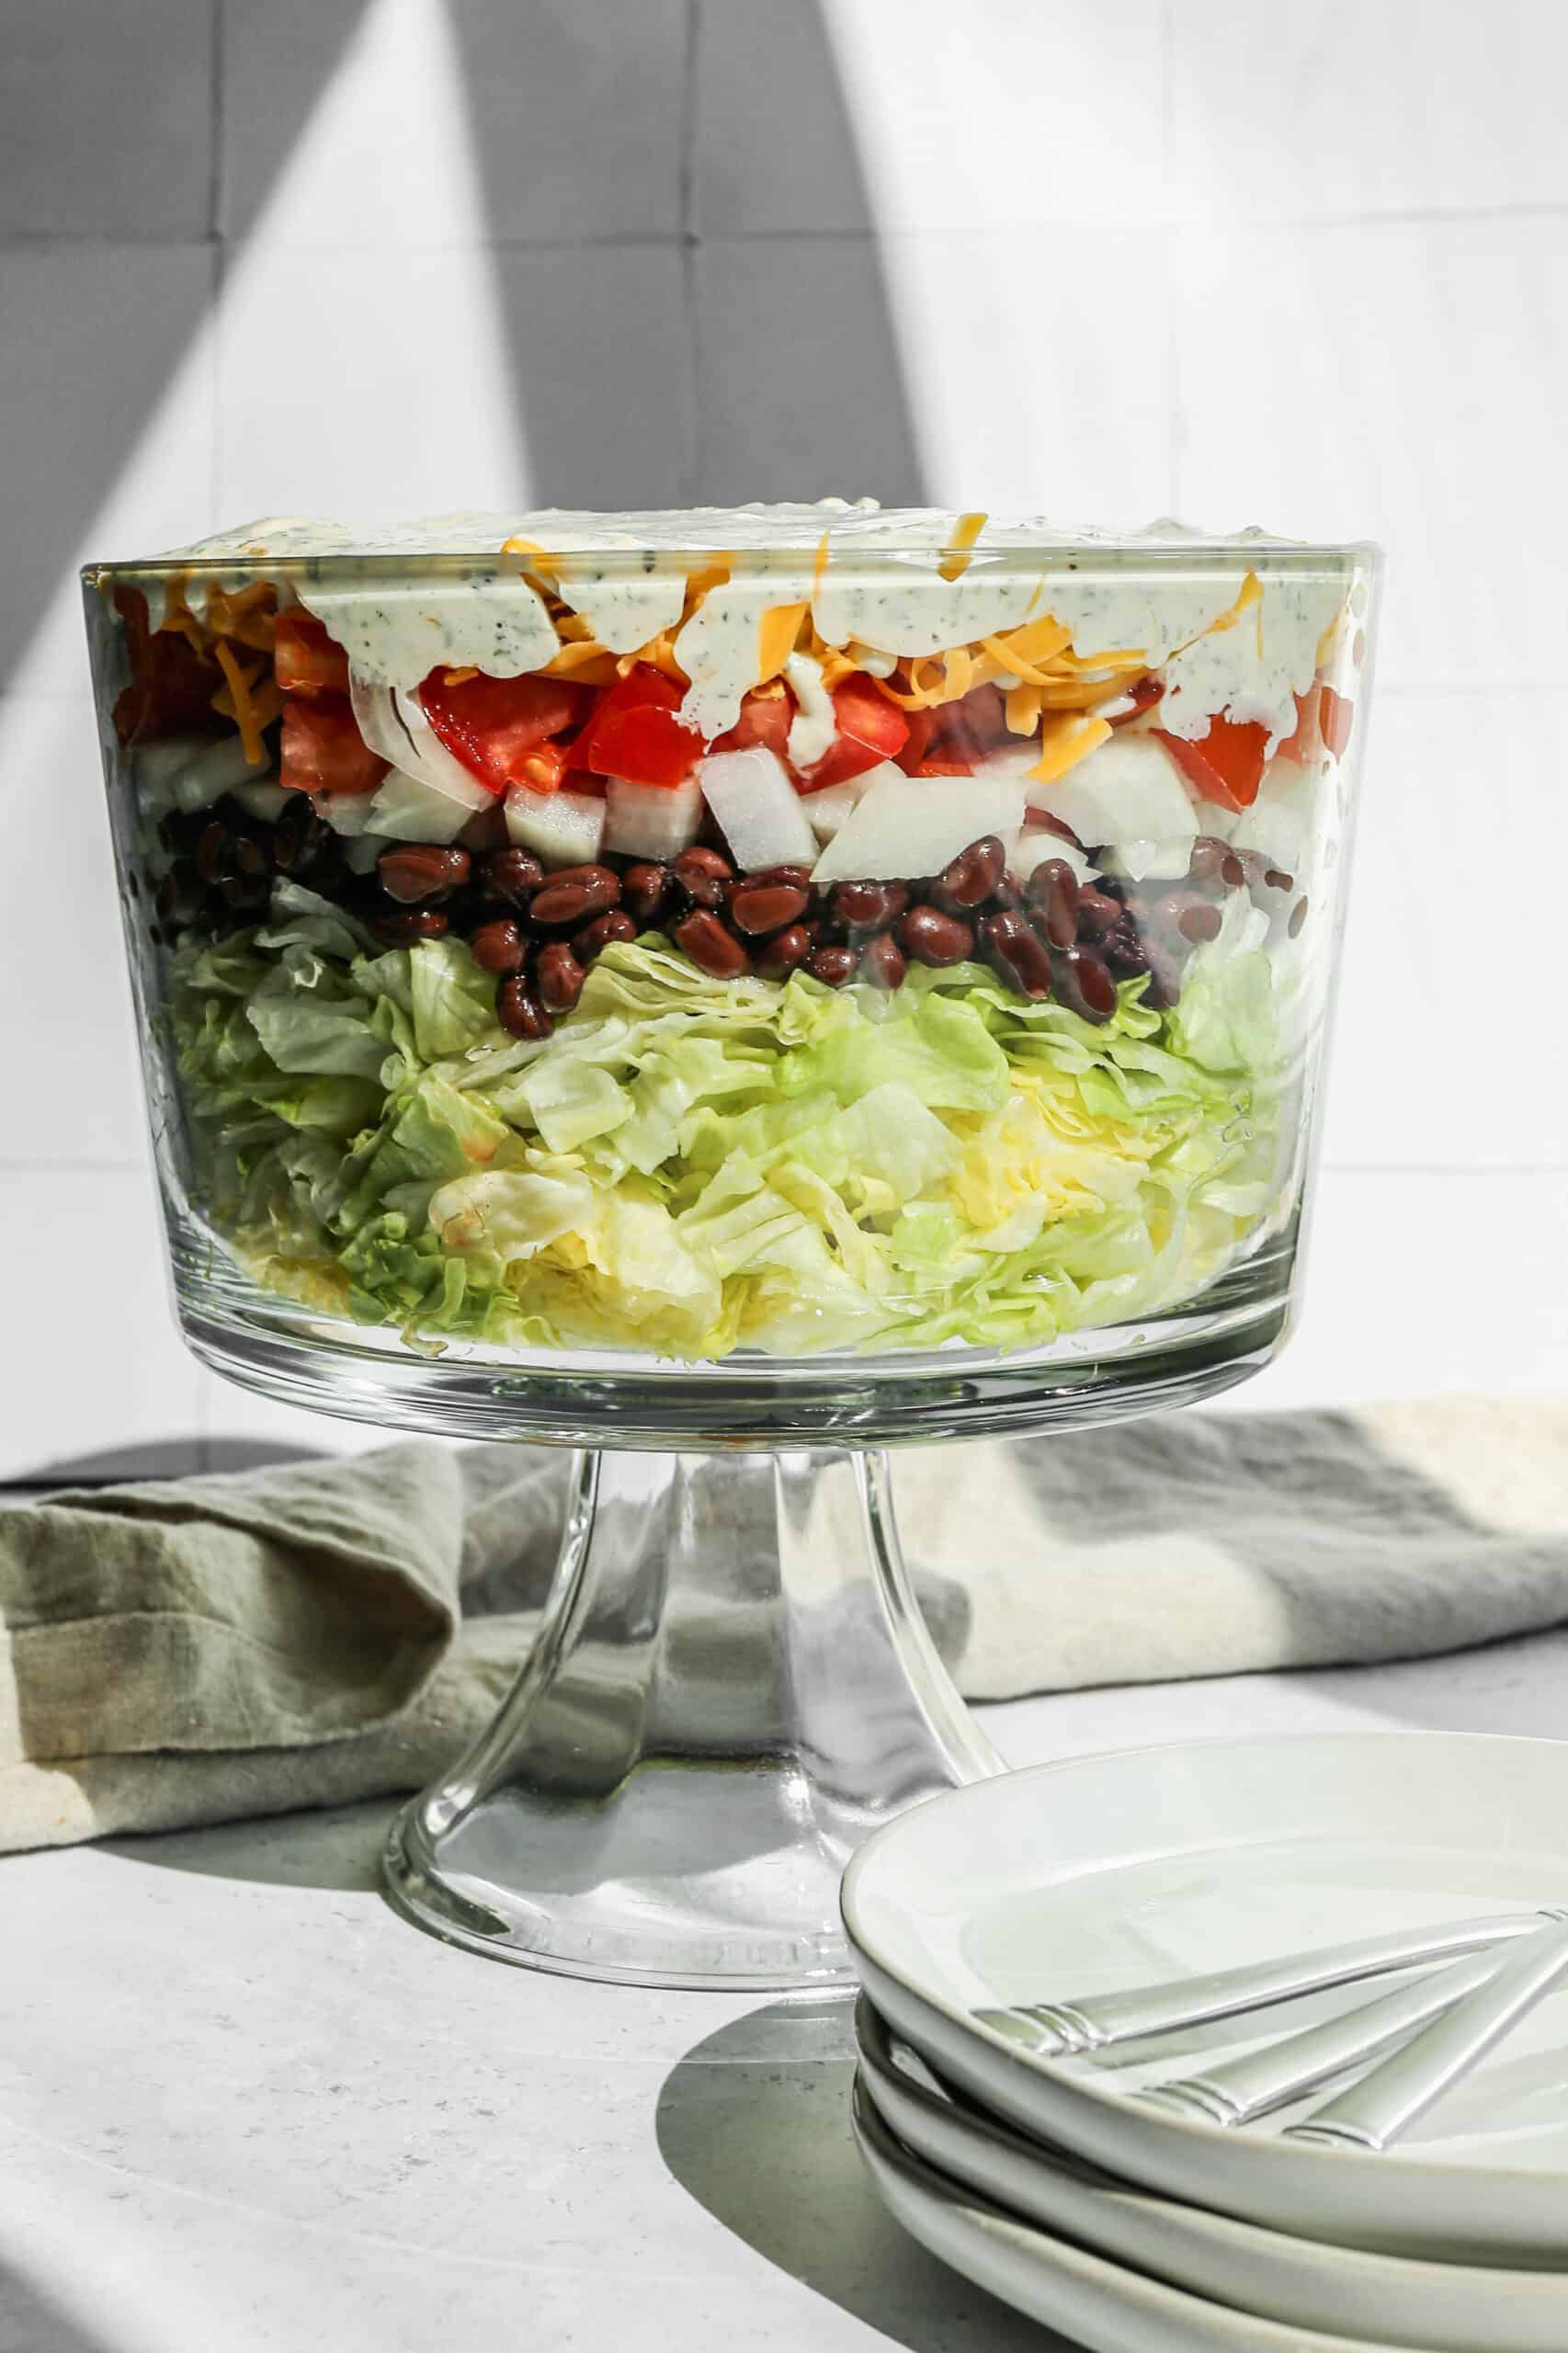
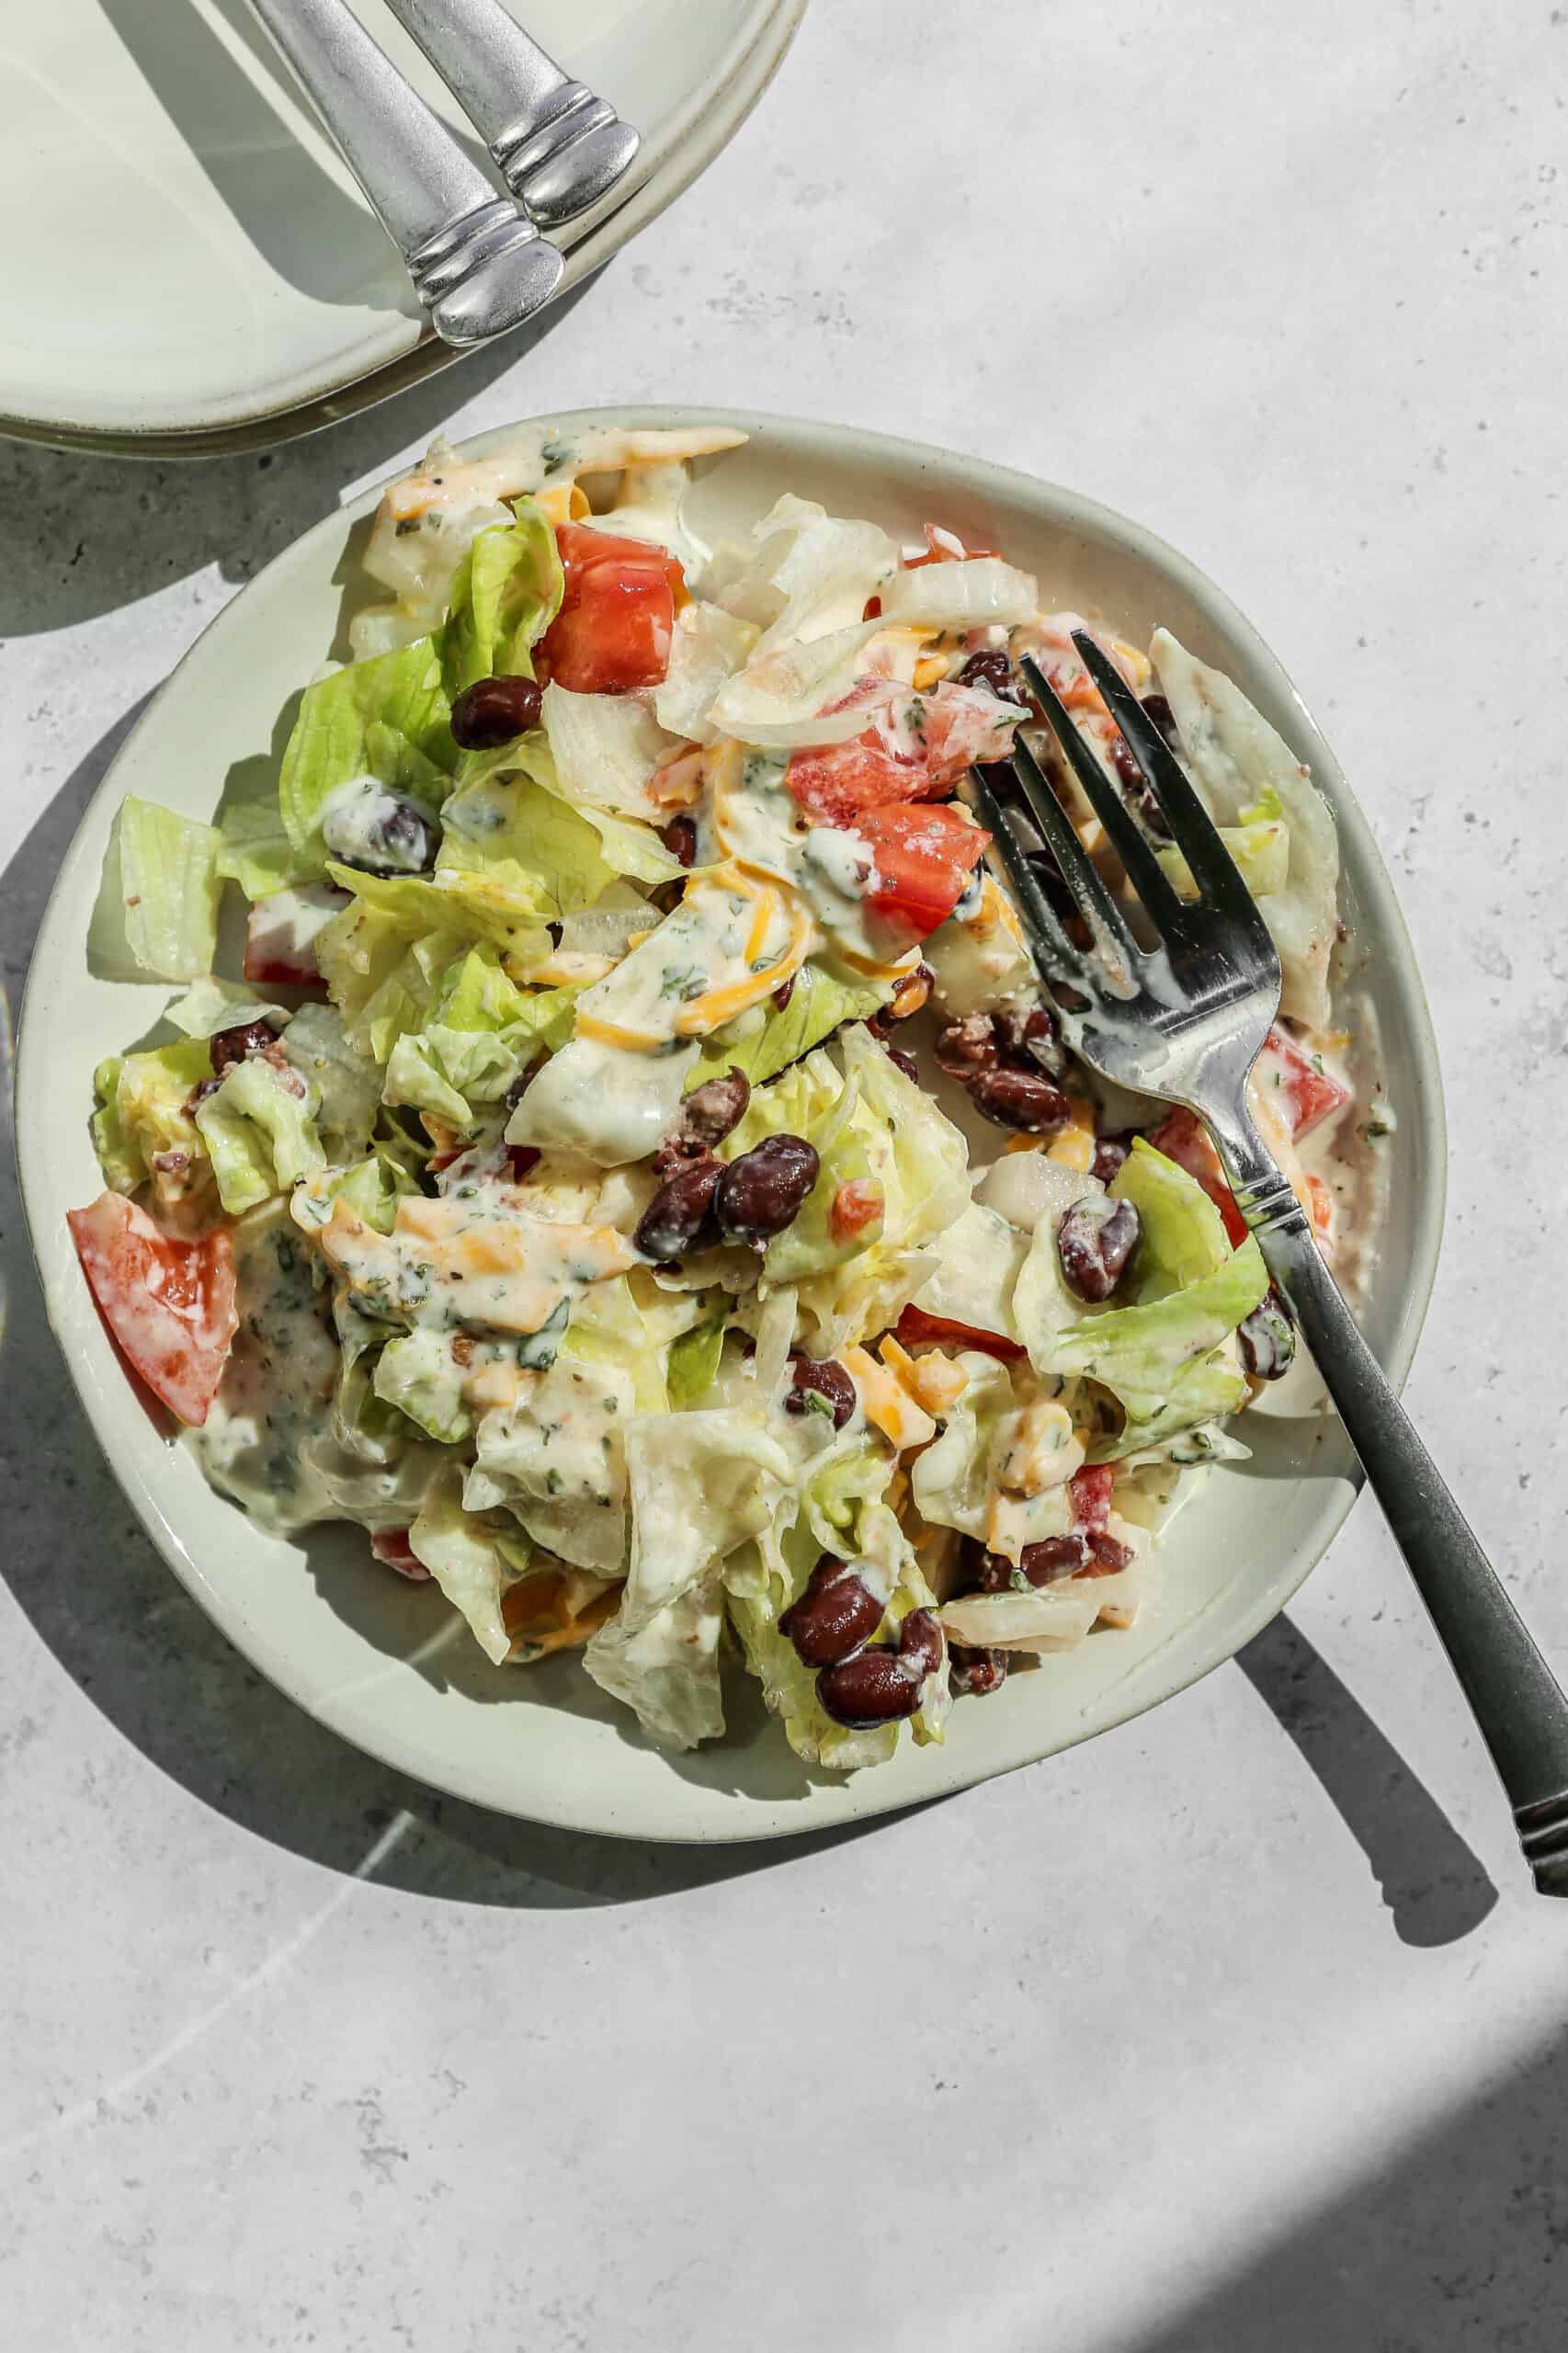
    Seven Layer Salad
    Oven Baked Marinated Steak Kabobs
    Classic Margarita Mocktail

    I get a lot of my ingredients from Thrive Market. Thrive Market has been a game changer for me eating gluten free. They have so many options I can't get at my rural grocery stores! Use this link to get 40% off your first order!

    Print
    clock clock iconcutlery cutlery iconflag flag iconfolder folder iconinstagram instagram iconpinterest pinterest iconfacebook facebook iconprint print iconsquares squares iconheart heart iconheart solid heart solid icon

    Air Fryer Grilled Vegetable Orzo Salad


    5 Stars 4 Stars 3 Stars 2 Stars 1 Star

    No reviews

    • Author: Elaine VanVleck
    • Total Time: 25 minutes
    • Yield: 6 servings 1x
    • Diet: Gluten Free
    Print Recipe
    Pin Recipe

    Description

    This easy cold air fryer grilled vegetable orzo salad is the perfect summer side dish! It's a healthy pasta salad loaded with veggies and a simple Italian dressing. I like to make this salad a day ahead to serve at barbecues and with meals.


    Ingredients

    Scale
    • 8 ounces Jovial Gluten Free Orzo Pasta
    • 10 ounces Grape Tomatoes, cut in half
    • 1 Tbsp Minced Garlic
    • 1 small Red Onion, chopped
    • 1 Red Bell Pepper, seeded and chopped
    • 1 Yellow Bell Pepper, seeded and chopped
    • 2 cups Zucchini, seeded and chopped
    • 1 Tbsp Olive Oil
    • 1 tsp Sea Salt
    • ¼ tsp Coarse Ground Black Pepper
    • 1 tsp Dried Basil
    • 1 tsp Italian Seasoning
    • 1 Tbsp Apple Cider Vinegar
    • 3 Tbsp Olive Oil

    Instructions

    In a large pot cook the gluten free orzo pasta per the package instructions. Drain and rinse with cold water.

    In a large mixing bowl add the tomatoes, garlic, onion, bell peppers, zucchini, olive oil, salt, pepper, basil and Italian seasoning. Stir to combine.

    Pour the vegetable mixture into the basket of your air fryer and cook at 360 degrees for 5 minutes. Carefully drain the excess liquid from the air fryer basket.

    Pour the cooked orzo, vegetable mixture, apple cider vinegar and olive oil into a serving bowl. Stir to combine.

    Refrigerate for at least one hour before serving.

    • Prep Time: 20 minutes
    • Cook Time: 5 minutes
    • Category: Side Dish, Salads
    • Method: Stove Top
    • Cuisine: Gluten Free

    Did you make this recipe?

    Tag @smallfarmbiglife on Instagram and hashtag it #smallfarmbiglife

    Gluten Free Green Goddess Pasta Salad

    This Gluten Free Green Goddess Pasta Salad is one of those recipes that looks impressive but comes together in just 20 minutes and I love making it when asparagus and peas are at their best in spring and early summer. Gluten free pasta is tossed with a simple and creamy green goddess dressing made from pesto and mayonnaise then mixed with sweet peas, tender sauteed asparagus, green onions, and fresh mozzarella pearls for the most beautiful and satisfying cold pasta salad.

    Every bite is creamy, herby, and completely delicious.

    a white bowl of gluten free green goddess pasta salad next to a wooden serving spoon.

    This salad is perfect for summer barbecues, potlucks, and meal prep because it stores in the refrigerator for 3 to 5 days and honestly gets better as it sits. Y

    ou can serve it immediately at room temperature or chill it for an hour first for a cold pasta salad. Either way it is one of the most crowd pleasing gluten free side dishes I make all summer long.

    If you are looking for more summer salad options try my Gluten Free BLT Pasta Salad, my Gluten Free Pesto Pasta Salad, my Easy Gluten Free Bow Tie Pasta Salad, or my Easy Gluten Free Macaroni Salad.

    You can find all of my salad recipes here: Gluten Free Salad Recipes

    a white bowl of gluten free green goddess pasta salad next to a wooden serving spoon.
    [feast_advanced_jump_to]

    Ingredients

    • Jovial Gluten Free Caserecce Pasta
    • Pesto
    • Mayonnaise
    • Frozen Peas
    • Green Onions
    • Asparagus
    • Sea Salt
    • Coarse Ground Black Pepper
    • Mozzarella Cheese Pearls

    Instructions

    In a large pasta pot, cook the pasta per the package instructions. Drain and rinse with cold water.

    While the pasta is cooking fry the asparagus. In a frying pan add a tablespoon of olive oil. Over medium heat cook the chopped asparagus until it's tender.

    In a large serving bowl add the cooked pasta, pesto mayonnaise, cooked peas, green onions, cooked asparagus, salt, pepper and mozzarella cheese pearls. Stir to combine.

    Serve immediately or refrigerate for at least 1 hour to serve cold.

    Store in a sealed container in the refrigerator for 3-5 days.

    Supplies

    More Recipes You Might Enjoy

    • Easy Gluten Free Macaroni Salad
    • Easy Gluten Free Bow Tie Pasta Salad
    • Gluten Free BLT Pasta Salad
    • Gluten Free Pesto Pasta Salad

    I get a lot of my ingredients from Thrive Market. Thrive Market has been a game changer for me eating gluten free. They have so many options I can't get at my rural grocery stores! Use this link to get 40% off your first order!

    Print
    clock clock iconcutlery cutlery iconflag flag iconfolder folder iconinstagram instagram iconpinterest pinterest iconfacebook facebook iconprint print iconsquares squares iconheart heart iconheart solid heart solid icon

    Gluten Free Green Goddess Pasta Salad


    5 Stars 4 Stars 3 Stars 2 Stars 1 Star

    No reviews

    • Author: Elaine VanVleck
    • Total Time: 20 minutes
    • Yield: 6 servings 1x
    • Diet: Gluten Free
    Print Recipe
    Pin Recipe

    Description

    This Gluten Free Green Goddess Pasta Salad is a creamy and flavorful cold pasta salad made with gluten free pasta, pesto, mayonnaise, sweet peas, sauteed asparagus, green onions, and fresh mozzarella pearls that comes together in just 20 minutes. The simple pesto and mayonnaise green goddess dressing is bright, herby, and absolutely delicious and ties every ingredient together beautifully. Naturally gluten free, completely make ahead friendly, and perfect for summer barbecues, potlucks, and easy spring meal prep!


    Ingredients

    Scale
    • 12 ounce box Jovial Gluten Free Caserecce Pasta
    • 6.5 ounce jar Pesto
    • ½ cup Mayonnaise
    • 12 ounce bag Frozen Peas, cooked
    • 5 Green Onions, finely diced
    • 2 cups Asparagus, chopped and cooked
    • ½ tsp. Sea Salt
    • ¼ tsp. Coarse Ground Black Pepper
    • 8 ounce package Mozzarella Cheese Pearls, drained

    Instructions

    In a large pasta pot, cook the pasta per the package instructions. Drain and rinse with cold water.

    While the pasta is cooking fry the asparagus. In a frying pan add a tablespoon of olive oil. Over medium heat cook the chopped asparagus until it's tender.

    In a large serving bowl add the cooked pasta, pesto mayonnaise, cooked peas, green onions, cooked asparagus, salt, pepper and mozzarella cheese pearls. Stir to combine.

    Serve immediately or refrigerate for at least 1 hour to serve cold.

    Store in a sealed container in the refrigerator for 3-5 days.

    • Prep Time: 10 minutes
    • Cook Time: 10 minutes
    • Category: Salads
    • Method: Tossed
    • Cuisine: American

    Did you make this recipe?

    Tag @smallfarmbiglife on Instagram and hashtag it #smallfarmbiglife

    If you made this Gluten Free Green Goddess Pasta Salad I would love to hear what you thought! Please leave a star rating and a comment below. This is one of my favorite easy spring and summer side dish recipes and I hope it becomes one of yours too!

    Storage

    Store this gluten free green goddess pasta salad in a sealed container in the refrigerator for up to 5 days. Because this salad contains mayonnaise do not leave it out at room temperature for more than 2 hours. If the salad thickens in the refrigerator add a small drizzle of olive oil and stir before serving. This salad is not recommended for freezing as the mayonnaise dressing and fresh vegetables do not hold up well to freezing and thawing.

    Top Tip

    Make this pasta salad the night before you plan to serve it for the best flavor. The pesto and mayonnaise dressing soaks into the pasta overnight and the flavors deepen and meld together beautifully. If the salad looks a little thick after sitting in the refrigerator just add a small drizzle of olive oil and stir to loosen it back up before serving.

    Frequently Asked Questions

    What is green goddess dressing made of?

    This dressing combines pesto, mayonnaise, salt and pepper for a super simple green goddess dressing recipe. To make this salad really quick I like to purchase the pesto, but you could also use my Gluten Free Homemade Walnut Pesto in this recipe.

    How long does gluten free pasta salad last in the fridge?

    You can keep your gluten free green goddess pasta salad in a sealed container in the fridge for 3-5 days. Since there is mayonnaise in this salad you will want to make sure it isn't left out and gets refrigerated after serving.

    Can I make this green goddess pasta salad ahead of time?

    Yes and I actually recommend it! This cold pasta salad gets even more flavorful as it sits in the refrigerator because the pesto and mayonnaise dressing soaks into the pasta and the flavors deepen overnight. Make it the night before you plan to serve it for the best possible result. Give it a good stir before serving and add a small drizzle of olive oil if it has thickened up.

    Can I add protein to this green goddess pasta salad?

    Absolutely! Grilled chicken, rotisserie chicken, or shrimp are all delicious additions that make this pasta salad a complete meal. Simply add your cooked protein of choice when you combine the other ingredients and toss with the dressing. Mozzarella already adds some protein but adding chicken makes this a hearty and satisfying main dish.

    What gluten free pasta works best in this recipe?

    I use Jovial Gluten Free Caserecce Pasta in this recipe because the shape holds up beautifully in cold pasta salads without getting mushy and has a great texture that is very close to traditional pasta. Make sure you rinse the pasta in cold water after cooking and drain it well before adding the other ingredients to stop the cooking process and prevent clumping.

    Easy Gluten Free Bow Tie Pasta Salad

    This easy gluten free bow tie pasta salad recipe is the perfect summer side dish! It's a simple cold salad with feta cheese and the best homemade dressing. This healthy salad is loaded with veggies and brown rice pasta.

    a white bowl of easy gluten free bow tie pasta salad next to small bowls of salt and pepper.

    This Easy Gluten Free Bow Tie Pasta Salad is the perfect dish for warm weather gatherings. It offers a refreshing and healthy option that's both satisfying and simple to prepare.

    Served cold, it makes an ideal summer salad for lunches, picnics, potlucks, and cookouts. The dish is vibrant with tomatoes and cucumbers.

    It is completely meat free, making it great for those seeking a lighter fare. It's especially convenient for anyone looking for a quick, gluten free lunch or an easy pasta side dish to bring to a party.

    If you are looking fore more pasta salads you might like my Gluten Free Pesto Pasta Salad, my Gluten Free BLT Pasta Salad, my Easy Gluten Free Macaroni Salad or my Gluten Free Green Goddess Pasta Salad.

    You can find all of my salad recipes here: Gluten Free Salad Recipes

    a small white bowl of easy gluten free bow tie pasta salad next to a bigger bowl of salad.
    [feast_advanced_jump_to]

    Ingredients

    • Jovial Gluten Free Farfalle
    • Lemon Juice
    • Olive Oil
    • Stone Ground Mustard
    • Minced Garlic
    • Sea Salt
    • Coarse Ground Black Pepper
    • Cucumber
    • Cherry Tomatoes
    • Sliced Black Olives
    • Red Onion
    • Feta Cheese

    Instructions

    Cook the pasta per the boxes instructions. Drain and rinse with cold water.

    While the pasta is cooking make the dressing in a jar or small bowl. Whisk together the lemon juice, olive oil, mustard, garlic, salt and pepper. Set aside.

    In a large serving bowl pour the cooked pasta, cucumber, tomatoes, olives, onion and feta cheese. Pour the dressing over the salad and stir to coat.

    Refrigerate for at least 2 hours before serving.

    Store in a sealed container in the refrigerator for up to 5 days.

    Supplies

    Frequently Asked Questions

    Does bow tie pasta have gluten?

    If you buy regular wheat pasta it will contain gluten. For this recipe I used Jovial Gluten Free Farfalle (farfalle is also known as bow tie pasta). Their gluten free pasta is made from brown rice and is certified to be gluten free.

    Is farfalle the same as bow tie pasta?

    Yes. In Italian farfalle means butterflies. We tend to call farfalle pasta bow tie pasta in the United States because of its shape.

    More Recipes You Might Enjoy

    • Gluten Free Creamy Beef and Mushroom Pasta
    • Gluten Free Instant Pot Italian Style Pasta and Bean Soup
    • Gluten Free Chicken Parmesan Pasta Casserole
    • Gluten Free One Pot Hamburger Helper Copycat

    I get a lot of my ingredients from Thrive Market. Thrive Market has been a game changer for me eating gluten free. They have so many options I can't get at my rural grocery stores! Use this link to get 40% off your first order!

    Print
    clock clock iconcutlery cutlery iconflag flag iconfolder folder iconinstagram instagram iconpinterest pinterest iconfacebook facebook iconprint print iconsquares squares iconheart heart iconheart solid heart solid icon

    Easy Gluten Free Bow Tie Pasta Salad


    5 Stars 4 Stars 3 Stars 2 Stars 1 Star

    No reviews

    • Author: Elaine VanVleck
    • Total Time: 20 minutes
    • Yield: 6 servings 1x
    • Diet: Gluten Free
    Print Recipe
    Pin Recipe

    Description

    This easy gluten free bow tie pasta salad recipe is the perfect summer side dish! It's a simple cold salad with feta cheese and the best homemade dressing. This healthy salad is loaded with veggies and brown rice pasta.


    Ingredients

    Scale
    • 12 ounce box Jovial Gluten Free Farfalle
    • ¼ cup Lemon Juice
    • ¼ cup Olive Oil
    • 1 Tbsp. Stone Ground Mustard
    • 1 Tbsp. Minced Garlic
    • ½ tsp. Sea Salt
    • ½ tsp. Coarse Ground Black Pepper
    • 1 cup Cucumber, peeled, seeded and chopped
    • 1 pint Grape Tomatoes, halved
    • 2.25 ounce can Sliced Black Olives, drained
    • 1 small Red Onion, finely diced
    • 1 cup Crumbled Feta Cheese

    Instructions

    Cook the pasta per the boxes instructions. Drain and rinse with cold water.

    While the pasta is cooking make the dressing in a jar or small bowl. Whisk together the lemon juice, olive oil, mustard, garlic, salt and pepper. Set aside.

    In a large serving bowl pour the cooked pasta, cucumber, tomatoes, olives, onion and feta cheese. Pour the dressing over the salad and stir to coat.

    Refrigerate for at least 2 hours before serving.

    Store in a sealed container in the refrigerator for up to 5 days.

    Notes

    If your pasta soaks up the dressing you can add 1-2 tablespoons olive oil and stir to coat the pasta.

    • Prep Time: 10 minutes
    • Cook Time: 10 minutes
    • Category: Salad
    • Method: Tossed
    • Cuisine: Gluten Free

    Did you make this recipe?

    Tag @smallfarmbiglife on Instagram and hashtag it #smallfarmbiglife

    Top Tip

    I like to make the salad the day before so it's very cold and ready to serve. If you find your salad is a bit dry and has soaked up the dressing you can add more olive oil and stir it into the salad.

    Gluten Free Cheesy Pinto Beans

    This easy recipe for gluten free cheesy pinto beans is delicious as a dip with tortilla chips or in your bean burritos. This bean dip recipe is baked with cheese on top and served hot. It is a Mexican style bean dish full of flavor and spices.

    a white bowl of gluten free cheesy pinto beans surrounded by round tortilla chips.

    I like to serve this dish hot right of the oven, but bean dip recipe is also delicious cold out the refrigerator the next day too. If the dip is a bit too thick the next day you can add 1 tablespoon olive oil and reheat to make the dish creamy again.

    If you are looking for more party snack recipes you might like my Creamy Sausage Bean Dip, my Easy Ground Beef Nacho Casserole, my Gluten Free Easy Homemade Garlic Hummus, or my Air Fryer Spicy Roasted Peanuts.

    a white bowl of gluten free cheesy pinto beans surrounded by round tortilla chips with me holding a chip with dip on it.
    [feast_advanced_jump_to]

    Ingredients

    • Canned Pinto Beans
    • Chicken Stock
    • Olive Oil
    • Yellow Onion
    • Minced Garlic
    • Smoked Paprika
    • Chili Powder
    • Ground Cumin
    • Sea Salt
    • Cheddar Cheese
    • Monterrey Jack Cheese
    • Tortilla Chips

    Instructions

    Preheat your oven to 400 degrees.

    In a food processor or blender puree 1 can of pinto beans (drained and rinsed) with the chicken stock. Set aside.

    In a skillet over medium heat add the olive oil and cook the onions and minced garlic until the onions are translucent, about 3-4 minutes. Add the spices and cook 1-2 minutes more.

    Add the can of pinto beans, the bean puree, ½ cup cheddar cheese and ½ cup monterrey jack cheese to the onion mixture and stir to combine.

    Pour into a 2 quart or 8x8 glass baking dish. Top with remaining cheese.

    Bake at 400 degrees for 10 minutes. The beans will be bubbling around the edges when they are done.

    Supplies

    Frequently Asked Questions

    What can I add to beans for flavor?

    My favorite options to add flavor are onions, minced garlic and of course spices. For this recipe I combined smoked paprika, chili powder, cumin and salt to give these beans lots of flavor. You can use regular ground paprika, but smoked has a lot more flavor in my opinion.

    What tastes good with pinto bean dip?

    I love to serve these gluten free cheesy pinto beans with tortilla chips as a snack. They are perfect on a gluten free tortilla shell to make a bean burrito or with meat and veggie. I also enjoy this recipe as a side dish with rice and barbecued meat.

    Can I keep these cheesy pinto beans warm in a crockpot for a party?

    Yes, with a little planning this works well for gatherings! Bake the beans per the recipe instructions first, then transfer them to your crockpot and set it to warm. I would not leave them on warm for more than 2 hours as they can dry out. If they start to thicken up too much you can stir in a small splash of chicken stock to bring the creamy texture back.

    More Recipes You Might Enjoy

    • Gluten Free Caramelized Onion Dip
    • Gluten Free Homemade Ranch Dip
    • Creamy Sausage Bean Dip
    • Gluten Free Burger Sauce

    I get a lot of my ingredients from Thrive Market. Thrive Market has been a game changer for me eating gluten free. They have so many options I can't get at my rural grocery stores! Use this link to get 40% off your first order!

    Print
    clock clock iconcutlery cutlery iconflag flag iconfolder folder iconinstagram instagram iconpinterest pinterest iconfacebook facebook iconprint print iconsquares squares iconheart heart iconheart solid heart solid icon

    Gluten Free Cheesy Pinto Beans


    5 Stars 4 Stars 3 Stars 2 Stars 1 Star

    5 from 3 reviews

    • Author: Elaine VanVleck
    • Total Time: 20 minutes
    • Yield: 2 cups 1x
    • Diet: Gluten Free
    Print Recipe
    Pin Recipe

    Description

    These gluten free cheesy pinto beans are a warm, creamy, and incredibly flavorful dip or side dish that comes together in just 20 minutes. Pinto beans are blended with chicken stock, seasoned with smoked paprika, chili powder, and cumin, then baked with a generous layer of cheddar and Monterey Jack cheese until perfectly golden and bubbling. Serve hot with gluten free tortilla chips as a party dip, spoon into burritos for an easy weeknight dinner, or enjoy as a hearty Mexican inspired side dish!


    Ingredients

    Scale
    • 2 - 15 ounce cans Pinto Beans, drained and rinsed
    • ½ cup Chicken Stock
    • 2 Tbsp. Olive Oil
    • 1 small Yellow Onion, finely chopped
    • 1 Tbsp. Minced Garlic
    • 1 tsp. Smoked Paprika
    • 1 tsp. Chili Powder
    • 1 tsp. Ground Cumin
    • 1 tsp. Sea Salt
    • 1 cup Cheddar Cheese, shredded
    • 1 cup Monterrey Jack Cheese, shredded
    • Gluten Free Tortilla Chips, for servings

    Instructions

    Preheat your oven to 400 degrees.

    In a food processor or blender puree 1 can of pinto beans (drained and rinsed) with the chicken stock. Set aside.

    In a skillet over medium heat add the olive oil and cook the onions and minced garlic until the onions are translucent, about 3-4 minutes. Add the spices and cook 1-2 minutes more.

    Add the can of pinto beans, the bean puree, ½ cup cheddar cheese and ½ cup monterrey jack cheese to the onion mixture and stir to combine.

    Pour into a 2 quart or 8x8 glass baking dish. Top with remaining cheese.

    Bake at 400 degrees for 10 minutes. The beans will be bubbling around the edges when they are done.

    • Prep Time: 10 minutes
    • Cook Time: 10 minutes
    • Category: Dips, Side Dishes
    • Method: Baking
    • Cuisine: American

    Did you make this recipe?

    Tag @smallfarmbiglife on Instagram and hashtag it #smallfarmbiglife

    Top Tip

    For the creamiest texture make sure you blend one full can of pinto beans with the chicken stock until completely smooth before adding it to the skillet. This creates a silky base that holds everything together and gives the finished dish that rich, creamy consistency. The second can of whole beans adds great texture so do not skip that step either!

    Storage

    Store leftover cheesy pinto beans in an airtight container in the refrigerator for up to 4 days. When you are ready to reheat them the beans may have thickened up in the fridge, so stir in a small splash of chicken stock or olive oil before warming to bring the creamy texture back. Reheat on the stovetop over low heat stirring occasionally, or microwave in 30 second intervals stirring between each until heated through.


    This Gluten Free Cheesy Pinto Beans recipe is a warm, creamy side dish or snack that transforms basic ingredients into something irresistible.

    Whether you serve it as a quick cheesy pinto bean dip or with tacos, it's rich, melty, and packed with flavor. It's perfect as a cozy side or appetizer that's ready in minutes.

    If you made these gluten free cheesy pinto beans I would love to hear what you thought! Please leave a star rating and a comment below.

    Crispy Garlic and Rosemary Smashed Potatoes

    These Crispy Garlic and Rosemary Smashed Potatoes are a simple yet irresistible way to turn everyday potatoes into a standout side dish. Baked in the oven until golden and crisp, this smashed potatoes recipe delivers the perfect balance of crunchy edges and tender centers, infused with classic garlic rosemary flavor.

    They're easy to make and feel elevated enough for special meals while still fitting into a busy weeknight routine.

    a silver baking sheet of crispy garlic and rosemary smashed potatoes next to a bottle of olive oil and small white plates.

    Perfect alongside just about any dinner, these crispy smashed potatoes are a dependable gluten free side everyone loves. The combination of roasted potatoes with fresh rosemary and garlic creates a cozy, comforting potato dish that's both familiar and exciting.

    Whether you're looking for a perfect side dish or a new way to enjoy roasted potatoes, this recipe is one you'll come back to again and again.

    I like to cook the potatoes in my instant pot on manual for 12 minutes. I let the steam release naturally and then let them cool so I can handle them. Then, I place the potatoes on a baking sheet and smash them down with a potato masher.

    If you are looking for more potato dishes you might also like my Oven Baked Steak and Potato Kabobs, my Air Fryer Pesto Baby Potatoes, my Gluten Free Instant Pot Baked Potato Soup or my Gluten Free Sausage, Kale and Potato Skillet.

    a baking sheet of crispy garlic and rosemary smashed potatoes with fresh sprigs of garlic.
    [feast_advanced_jump_to]

    Ingredients

    • Potatoes
    • Unsalted Butter
    • Minced Garlic
    • Dried Rosemary
    • Sea Salt
    • Coarse Ground Black Pepper
    • Olive Oil

    Instructions

    Wash your potatoes in cold water.

    Place the rack in your instant pot, pour 1 cup water into the bottom of the pot and place the potatoes inside. Seal the lid, making sure the steam valve is closed. On the manual setting cook the potatoes for 12 minutes. Let the steam release naturally and then take the lid off the instant pot and let the potatoes cool slightly.

    If you don't have an instant pot boil the potatoes in a large pot on your stove top until they are tender. You can test them with a fork or knife to make sure they are cooked all the way through.

    Preheat your oven to 350 degrees.

    Once your potatoes are cool enough to work with place them on a baking sheet. Using a potato masher or fork smash the potatoes until they are approximately ¼ inch thick. 

    Place small pieces of butter on each potato. This is for flavor and not meant to grease the pan.

    Divide the garlic, rosemary, salt and pepper between all the potatoes.

    Pour the olive oil between the potatoes so they don't stick to the pan.

    Place your baking sheet in your oven at 350 degrees for 40 minutes.

    After 40 minutes change your oven setting to high broil. Watch the potatoes closely as they will get brown and get crispy quickly! Take the potatoes out when they have reached your desired crispiness. I like mine a dark golden brown on top.

    If the potatoes seem a little dry mist or pour a little more olive oil over top of them. 

    I like to serve these smashed potatoes while they are still hot.

    Supplies

    More Recipes You Might Enjoy

    • Oven Baked Steak and Potato Kabobs
    • Air Fryer Pesto Baby Potatoes
    • Gluten Free Instant Pot Baked Potato Soup
    • Sheet Pan Mini Meatloaves and Sweet Potatoes

    I get a lot of my ingredients from Thrive Market. Thrive Market has been a game changer for me eating gluten free. They have so many options I can't get at my rural grocery stores! Use this link to get 40% off your first order!

    Print
    clock clock iconcutlery cutlery iconflag flag iconfolder folder iconinstagram instagram iconpinterest pinterest iconfacebook facebook iconprint print iconsquares squares iconheart heart iconheart solid heart solid icon

    Crispy Garlic and Rosemary Smashed Potatoes


    5 Stars 4 Stars 3 Stars 2 Stars 1 Star

    4 from 1 review

    • Author: Elaine VanVleck
    • Total Time: 1 hour 10 minutes
    • Yield: 10-12 potatoes 1x
    • Diet: Gluten Free
    Print Recipe
    Pin Recipe

    Description

    This recipe for crispy garlic and rosemary smashed potatoes is easy to make with Yukon gold, red or russet potatoes. I like to cook my potatoes in the instant pot and then bake them in the oven until they are crispy. The cooked potatoes are mashed and then roasted.


    Ingredients

    Scale
    • 10-12 Yukon, Red or Russet Potatoes
    • 4 Tbsp. Unsalted Butter
    • 4 Tbsp. Minced Garlic
    • 2 tsp. Dried Rosemary
    • ½ tsp. Sea Salt
    • ½ tsp. Coarse Ground Black Pepper
    • ¼ cup Olive Oil

    Instructions

    Wash your potatoes in cold water.

    Place the rack in your instant pot, pour 1 cup water into the bottom of the pot and place the potatoes inside. Seal the lid, making sure the steam valve is closed. On the manual setting cook the potatoes for 12 minutes. Let the steam release naturally and then take the lid off the instant pot and let the potatoes cool slightly.

    If you don't have an instant pot boil the potatoes in a large pot on your stove top until they are tender. You can test them with a fork or knife to make sure they are cooked all the way through.

    Preheat your oven to 350 degrees.

    Once your potatoes are cool enough to work with place them on a baking sheet. Using a potato masher or fork smash the potatoes until they are approximately ¼ inch thick. 

    Place small pieces of butter on each potato. This is for flavor and not meant to grease the pan.

    Divide the garlic, rosemary, salt and pepper between all the potatoes.

    Pour the olive oil between the potatoes so they don't stick to the pan.

    Place your baking sheet in your oven at 350 degrees for 40 minutes.

    After 40 minutes change your oven setting to high broil. Watch the potatoes closely as they will get brown and get crispy quickly! Take the potatoes out when they have reached your desired crispiness. I like mine a dark golden brown on top.

    If the potatoes seem a little dry mist or pour a little more olive oil over top of them. 

    I like to serve these smashed potatoes while they are still hot.

    • Prep Time: 25 minutes
    • Cook Time: 45 minutes
    • Category: Side Dish
    • Method: Baking
    • Cuisine: Gluten Free

    Did you make this recipe?

    Tag @smallfarmbiglife on Instagram and hashtag it #smallfarmbiglife

    Frequently Asked Questions

    What is the difference between smashed potatoes and mashed potatoes?

    Both smashed potatoes and mashed potatoes are made from cooked potatoes, but how they are prepared is very different. For smashed potatoes you smash them into about a ¼ inch thick patty on a baking sheet. For mashed potatoes you mash them until they are all combined together in a pot.

    The flavor of smashed potatoes is different because they are roasted in the oven after being cooked. I think it gives them a sweeter, richer flavor.

    What should I serve with smashed potatoes?

    I like to serve these smashed potatoes with roast or steaks along with green beans. They are a perfect side dish for dinner or lunch. I'm a fan of having a smashed potato on its own for lunch. They are a great carb to serve with your meat and veggies.

    • « Go to Previous Page
    • Page 1
    • Interim pages omitted …
    • Page 5
    • Page 6
    • Page 7
    • Page 8
    • Page 9
    • Interim pages omitted …
    • Page 15
    • Go to Next Page »

    Primary Sidebar

    Welcome! I'm Elaine

    I'm so glad you are here! I share easy gluten free recipes from my small farm in Washington.

    Be sure to sign up for my newsletter to stay up to date on all of my new recipes.

    More about me...
    • Instagram
    • Pinterest
    • Facebook
    • Twitter
    • Mail

    Load up on new recipes, exclusive goodies, + more!
    Sign up below to stay up-to-date on news, events, and special deals.
    Thank you for subscribing!

    Easy Meals Recipes

    • Gluten Free Instant Pot Chili Mac and Cheese
    • Gluten Free Taco Casserole
    • Gluten Free Cowboy Baked Beans
    • Gluten Free Walking Taco Casserole
    • Gluten Free Creamy Beef and Mushroom Pasta
    • Gluten Free Instant Pot Chicken & Dumplings
    • Instant Pot Mexican Style Beef and Rice
    • Gluten Free Chicken Parmesan Pasta Casserole
    • Gluten Free One Pot Hamburger Helper Copycat
    • Gluten Free Salisbury Steak with Mushroom Gravy
    • Gluten Free Air Fryer Fajitas
    • Gluten Free Sloppy Joe Casserole

    Footer

    Disclaimer:

    “We are a participant in the Amazon Services LLC Associates Program, an affiliate advertising program designed to provide a means for us to earn fees by linking to Amazon.com and affiliated sites.”

    Footer

    back to top

    About

    • Privacy Policy
    • Shop my Amazon Page
    • Follow me on LTK

    Newsletter

    • Sign Up! for emails and updates

    Contact

    • Contact
    • Media Kit
    • About Me

    As an Amazon Associate I earn from qualifying purchases.

    I may get commissions for purchases made through links on this site.

    Copyright © 2026 Brunch Pro on the Brunch Pro Theme