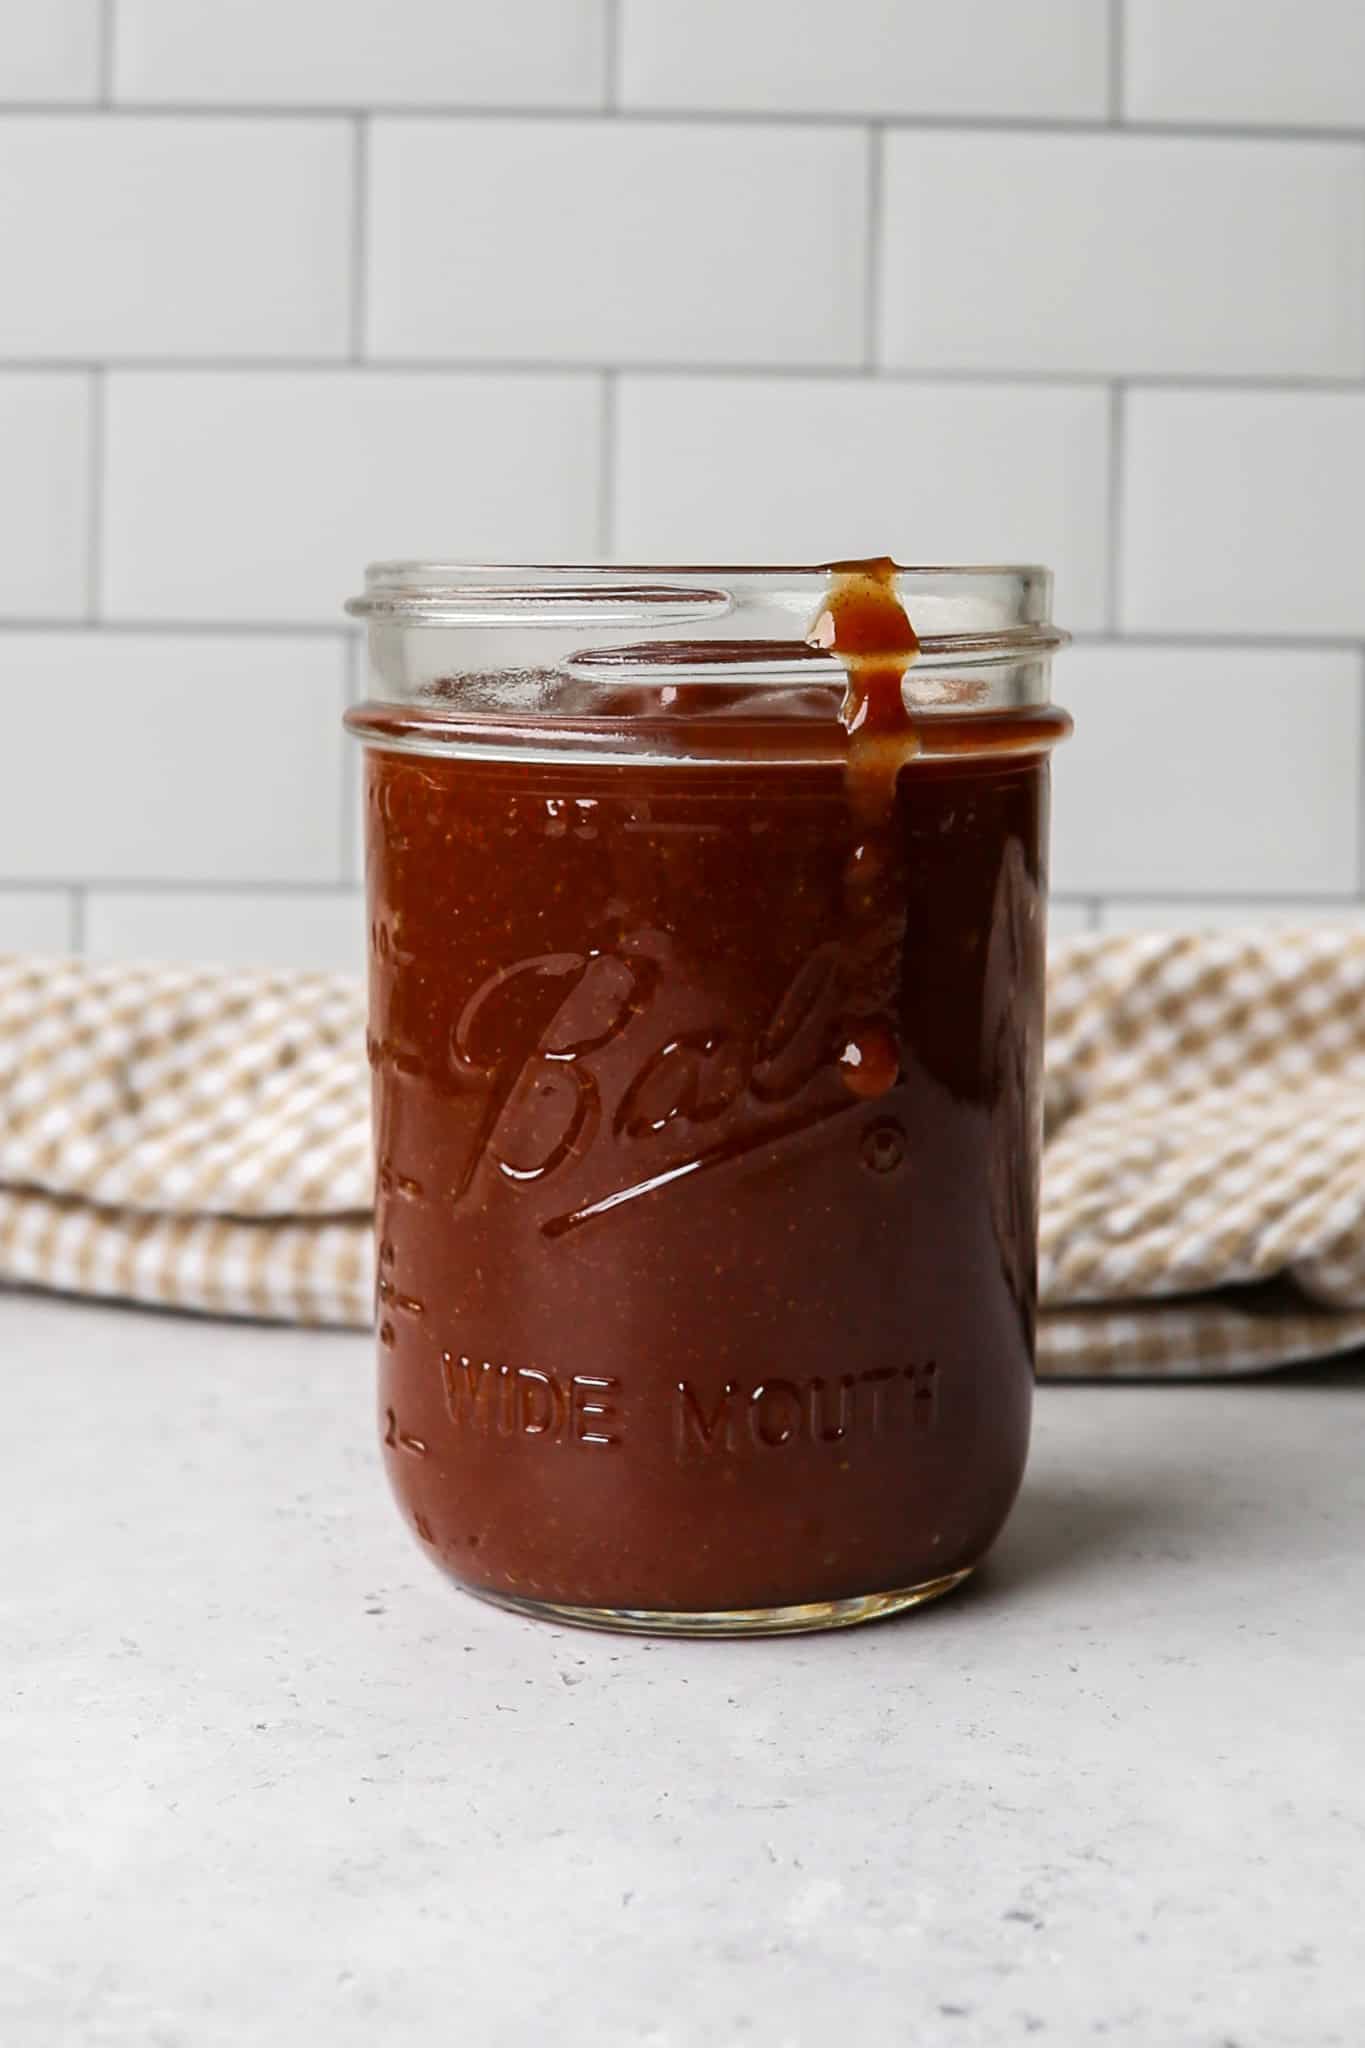
This easy homemade BBQ sauce is the recipe that is going to replace every bottle of store bought sauce in your refrigerator. Made completely from scratch with simple pantry staples and no cooking required, this gluten free BBQ sauce comes together in just 5 minutes and delivers a rich, smoky, tangy, and slightly sweet flavor that you simply cannot get from anything in a bottle. The depth of flavor from the perfectly balanced blend of spices and the touch of apple cider vinegar for brightness makes this the most delicious and versatile homemade BBQ sauce you will ever taste.
The best part is that it is completely gluten free from start to finish and stores in the refrigerator for two to four weeks which means you can always have a jar of the best homemade gluten free BBQ sauce ready to go whenever you need it.
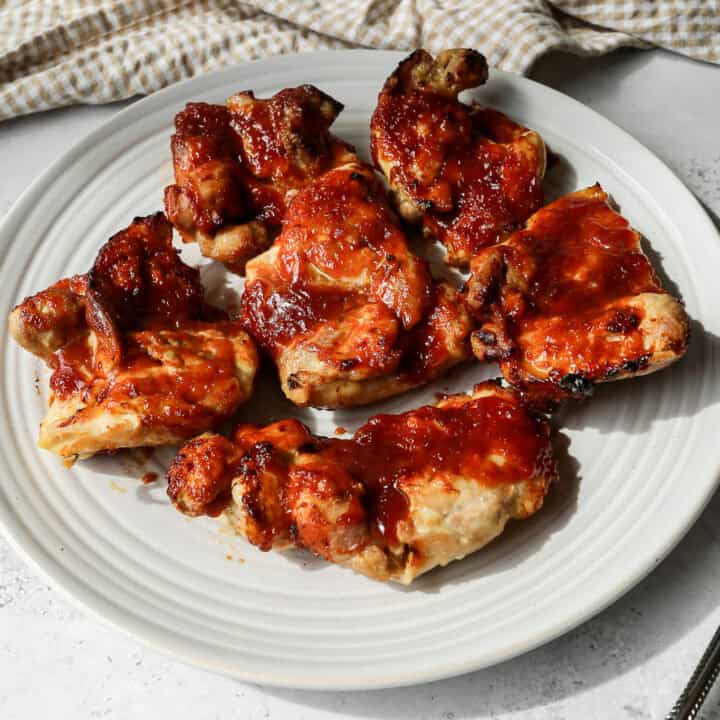
What makes this gluten free BBQ sauce recipe so special is how incredibly versatile it is. Use it as a dipping sauce for gluten free chicken tenders and air fryer chicken, brush it onto grilled chicken, ribs, and pork tenderloin, stir it into pulled pork, or use it as the base for your favorite gluten free BBQ chicken recipe.
This is the same homemade BBQ sauce used in my Gluten Free Air Fryer BBQ Chicken Thighs and my Gluten Free Cowboy Baked Beans and it is the recipe I get asked about more than almost any other on the blog.
Once you make your own homemade BBQ sauce from scratch you will never go back to store bought again.
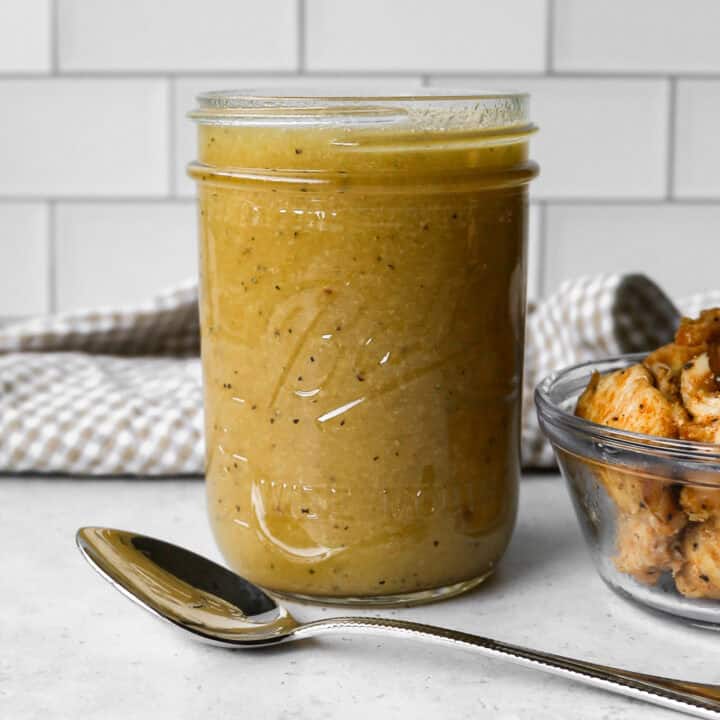
If you are looking for more gluten free sauce recipes try my Sweet and Spicy Sauce, my Gluten Free Burger Sauce, my Gluten Free Homemade Enchilada Sauce or my Gluten Free Homemade Ranch Dip.
Instructions
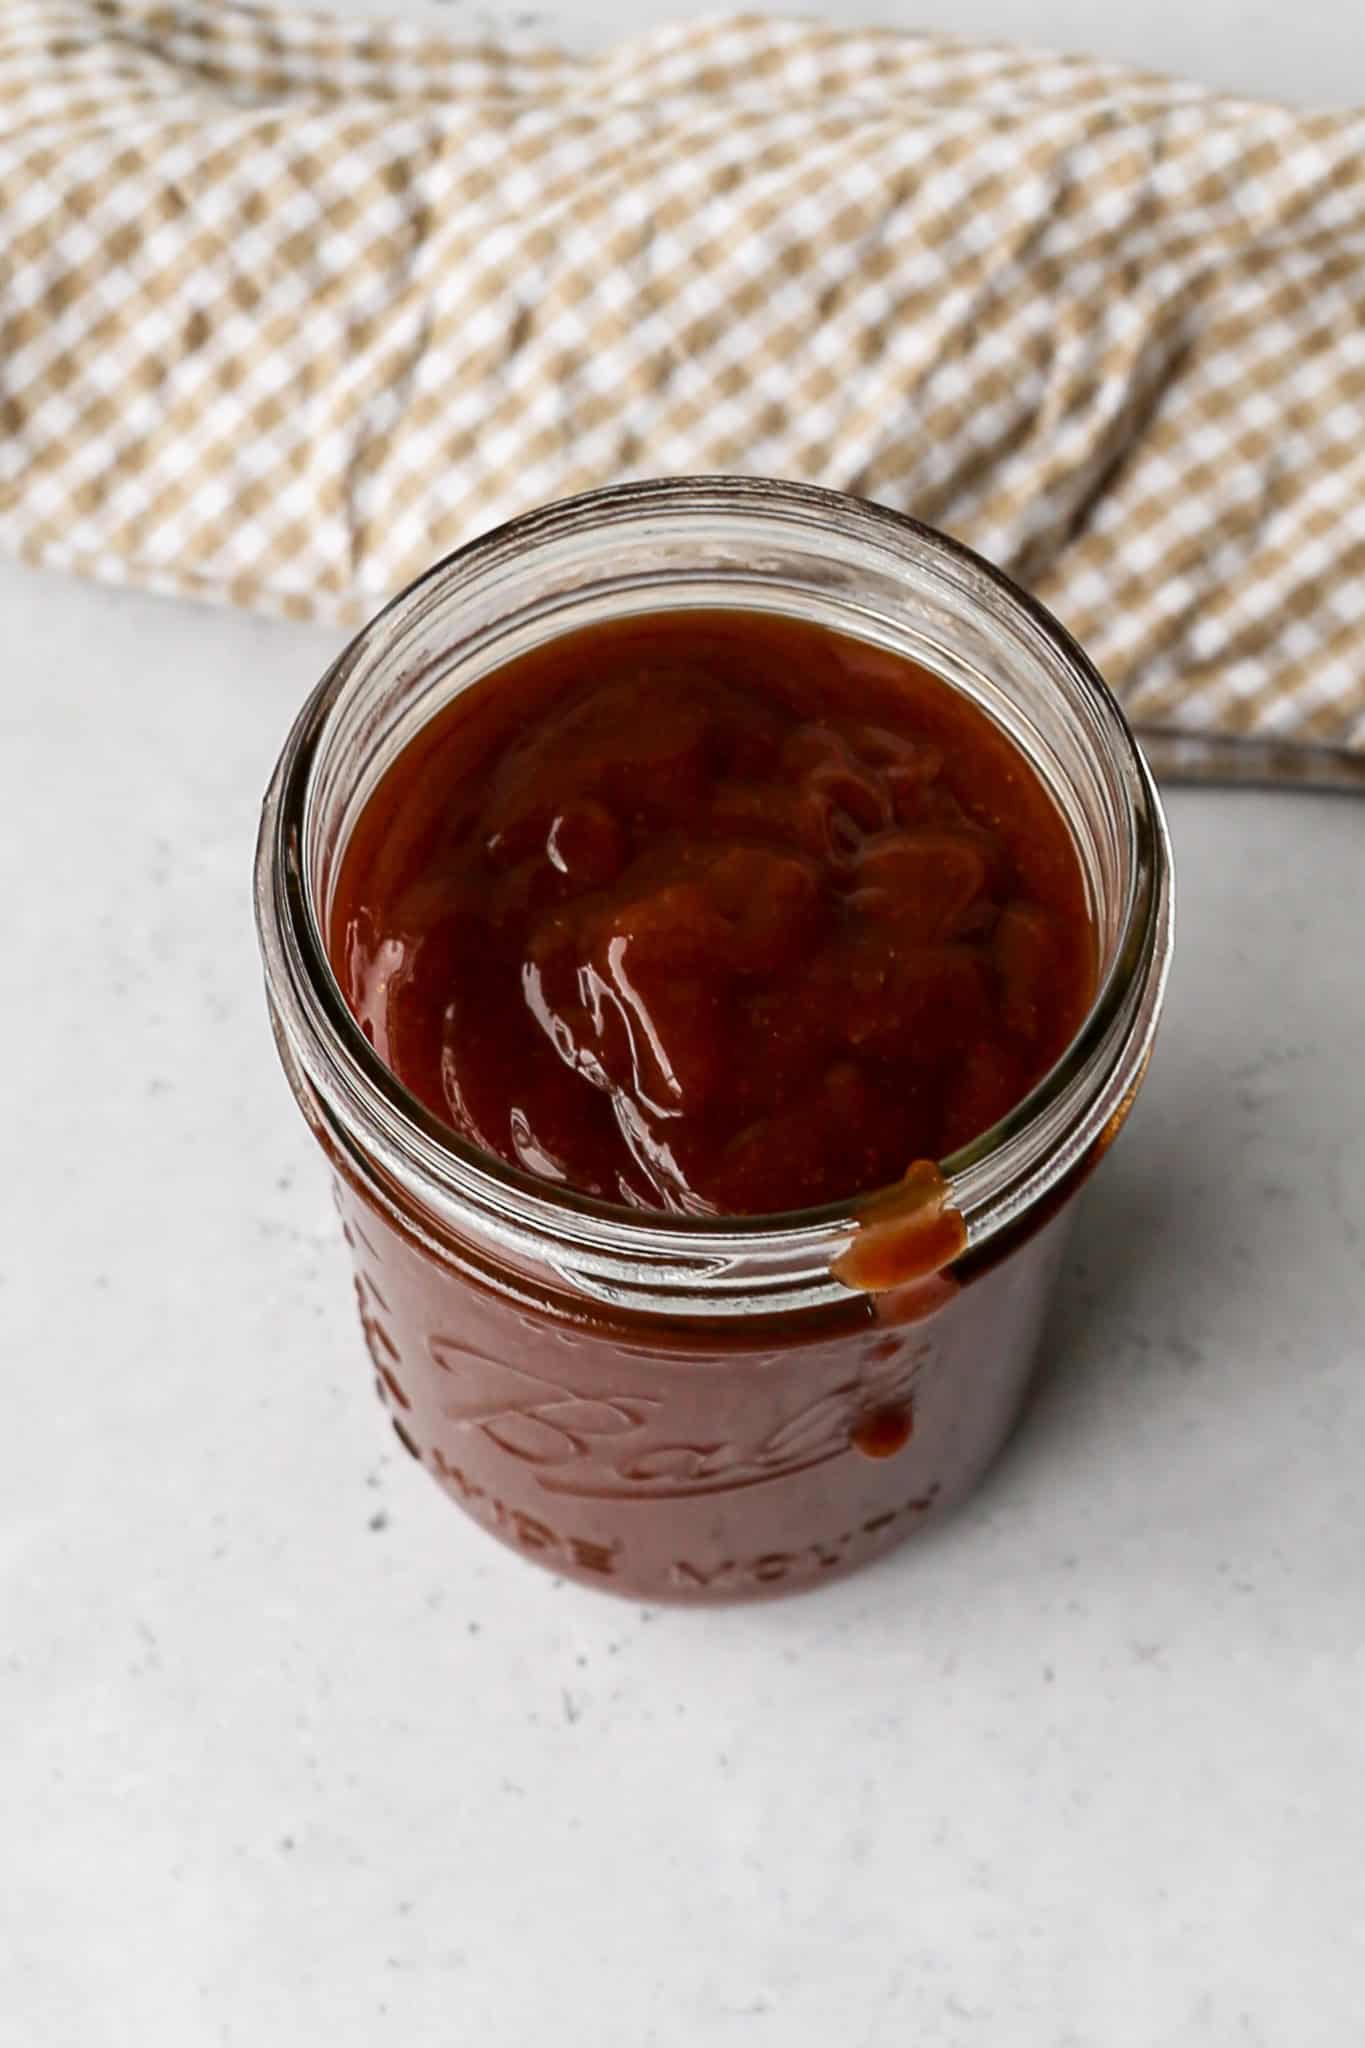
In a mixing bowl whisk together the ketchup, brown sugar, apple cider vinegar, gluten free worcestershire sauce, yellow mustard, salt, onion powder, ground cumin, smoked paprika and garlic powder until combined and smooth.
Pour into a sealed jar or sealed container and store in the refrigerator for 2-4 weeks.
To store the sauce longer, you can freeze it in a freezer safe container.
Supplies


More Recipes You Might Enjoy
I get a lot of my ingredients from Thrive Market. Thrive Market has been a game changer for me eating gluten free. They have so many options I can't get at my rural grocery stores! Use this link to get 40% off your first order!
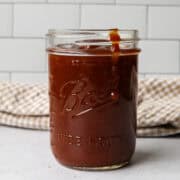
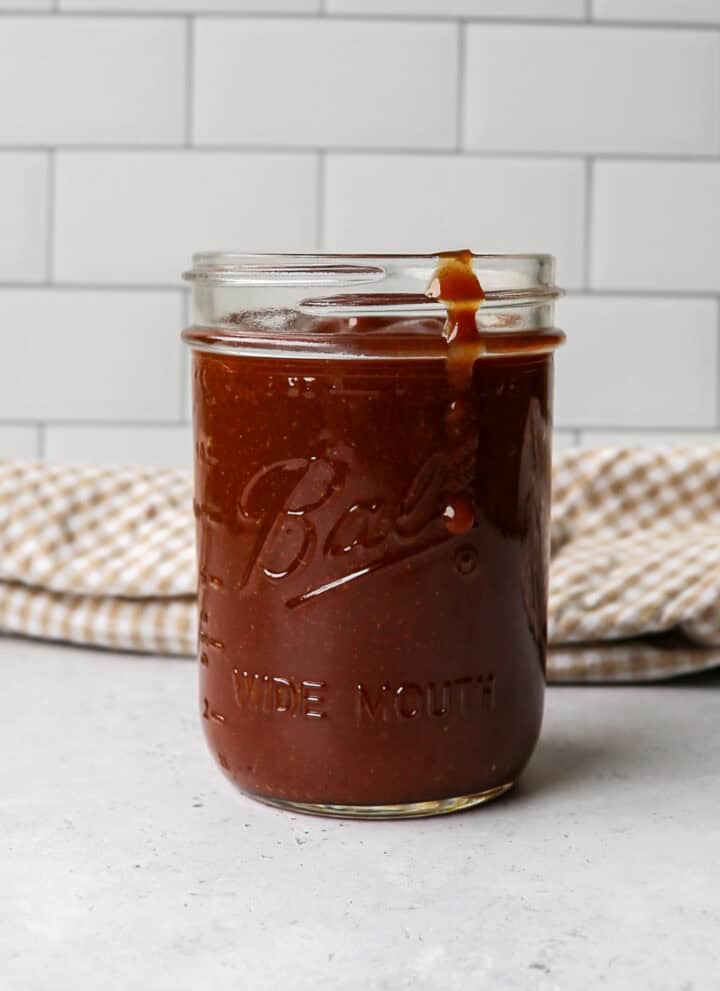
Homemade BBQ Sauce
- Total Time: 10 minutes
- Yield: 12 servings 1x
- Diet: Gluten Free
Description
This easy homemade BBQ sauce is made completely from scratch with simple pantry staples and no cooking required! Rich, smoky, tangy, and slightly sweet, this gluten free BBQ sauce comes together in just 5 minutes and stores in the refrigerator for up to 4 weeks. The perfect easy gluten free condiment for grilled chicken, ribs, pulled pork, dipping, and so much more!
Ingredients
- 1 cup Ketchup
- ½ cup Brown Sugar
- ¼ cup Apple Cider Vinegar
- 2 Tbsp Gluten Free Worcestershire Sauce
- 2 Tbsp Yellow Mustard
- 1 tsp Salt
- 1 tsp Onion Powder
- 1 tsp Ground Cumin
- 1 tsp Smoked Paprika
- 1 tsp Garlic Powder
Instructions
In a mixing bowl whisk together the ketchup, brown sugar, apple cider vinegar, gluten free worcestershire sauce, yellow mustard, salt, onion powder, ground cumin, smoked paprika and garlic powder until combined and smooth.
Pour into a sealed jar or sealed container and store in the refrigerator for 2-4 weeks.
To store the sauce longer, you can freeze it in a freezer safe container.
If you made this recipe please leave a star rating and comment below. It helps other readers find this recipe and means so much to me.
- Prep Time: 10 minutes
- Cook Time: 0 minutes
- Category: Sauces
- Method: Mixing
- Cuisine: American
If you make this Homemade BBQ Sauce I would love to hear what you think! Leave a star rating and a comment below and let me know what you used it on.
Don't forget to save this recipe to your Pinterest boards so you can find it again all grilling season long!
Storage
Store this homemade BBQ sauce in a sealed jar or airtight container in the refrigerator for up to 2 to 4 weeks. A wide mouth mason jar works perfectly for storing and pouring the sauce. Give the jar a good stir or shake before each use as the sauce may separate slightly as it sits.
This BBQ sauce also freezes beautifully for longer storage. Pour the sauce into a freezer safe container or zip lock bag leaving a little room at the top for expansion and freeze for up to 3 months. Thaw overnight in the refrigerator before using.
Because this sauce contains no dairy or eggs it has a much longer shelf life than many other homemade condiments making it a great recipe to make a big batch of and keep on hand all grilling season long.
Top Tip
Make the BBQ sauce at least a few hours before you plan to use it and ideally the night before. The flavors in this sauce meld and deepen significantly as it sits in the refrigerator. A freshly made batch is good but a batch that has been chilling overnight is so much better.
The smoked paprika and cumin bloom beautifully in the sauce as it rests and the apple cider vinegar has time to soften and integrate into the sweetness of the brown sugar and ketchup for a much more balanced and complex flavor.
Give it a good stir before using and taste for seasoning as you may want to adjust the salt or add a tiny splash more apple cider vinegar for brightness depending on your personal preference.
Frequently Asked Questions
Yes! This homemade BBQ sauce is completely gluten free from start to finish. The most important ingredient to watch for is the Worcestershire sauce. Standard Worcestershire sauce is not gluten free because it typically contains malt vinegar which is made from barley. This recipe specifically calls for gluten free Worcestershire sauce so always check the label and look for a product that is specifically labeled certified gluten free. All of the other ingredients in this recipe are naturally gluten free. Making your own BBQ sauce from scratch is actually one of the best ways to ensure your condiments are completely safe and gluten free.
This homemade BBQ sauce keeps in a sealed jar or airtight container in the refrigerator for up to 2 to 4 weeks. Because it contains no dairy or eggs it has a much longer shelf life than many other homemade condiments. For even longer storage you can freeze the sauce in a freezer safe container for up to 3 months. Thaw overnight in the refrigerator before using and give it a good stir before serving.
Absolutely! If you like a spicier BBQ sauce add a pinch of cayenne pepper or a teaspoon of hot sauce to the mixture before whisking everything together. Start with a small amount and taste as you go since it is much easier to add more heat than to take it away. A teaspoon of red pepper flakes also works beautifully and adds a slightly different kind of heat than cayenne. The base recipe is mild and crowd pleasing but is very easy to customize to your preferred heat level.
Yes! This recipe is very easy to customize to suit your personal taste preferences. If you prefer a sweeter BBQ sauce add an extra tablespoon or two of brown sugar. If you prefer a tangier sauce add a splash more apple cider vinegar. For a smokier flavor increase the smoked paprika or add a small amount of liquid smoke. Taste the sauce after whisking everything together and adjust the seasoning to your liking before transferring it to a jar for storage.
This homemade gluten free BBQ sauce is incredibly versatile and works beautifully in so many different recipes. Use it as a dipping sauce for gluten free chicken tenders and air fryer chicken bites, brush it onto grilled chicken, pork tenderloin, and ribs, stir it into pulled pork, use it as the base for gluten free BBQ chicken pizza, or add it to your favorite gluten free casserole recipes. It is the same sauce used in my Gluten Free Air Fryer BBQ Chicken Thighs and my Gluten Free Cowboy Baked Beans and it works beautifully in both.
No! That is one of the things that makes this recipe so quick and easy. Simply whisk all of the ingredients together in a bowl until smooth and combined and transfer to a sealed jar or container. No cooking required. The sauce is ready to use immediately but is even better after chilling in the refrigerator for a few hours or overnight so the flavors have time to meld together beautifully.