• Skip to primary navigation
  • Skip to main content
  • Skip to primary sidebar
  • Skip to footer
Small Farm Big Life logo
  • Recipe Index
  • Subscribe
  • Resources
  • Home Decor
  • Nav Social Menu

    • Email
    • Facebook
    • Instagram
    • Pinterest
menu icon
go to homepage
subscribe
search icon
Homepage link
  • Home
  • Recipe Index
  • Subscribe
  • My Story
  • Resources
  • Free Guides
  • Home Decor
    • Email
    • Facebook
    • Instagram
    • Pinterest
  • ×

    Oven Roasted Parmesan Green Beans

    These Oven Roasted Parmesan Green Beans are the easy vegetable side dish that is going to earn a permanent spot on your weeknight dinner rotation. Fresh green beans are roasted on a baking sheet until perfectly tender with beautifully crispy edges. They are coated with a generous portion of parmesan cheese that creates the most irresistible cheesy, golden crust.

    It is a simple and flavorful way to cook fresh green beans that makes even the pickiest eaters excited about eating their vegetables.

    a silver baking pan of oven roasted parmesan green beans next to a tan and white gingham kitchen towel

    This roasted parmesan green bean recipe comes together with minimal prep, minimal cleanup, and maximum flavor! That makes it the perfect quick side dish for busy nights when you need something delicious on the table fast.

    The high oven heat does all the work, transforming simple fresh green beans into a crispy, cheesy, golden veggie side that pairs beautifully with just about any main dish.

    Once you try this easy green bean recipe you will never want to cook them any other way.

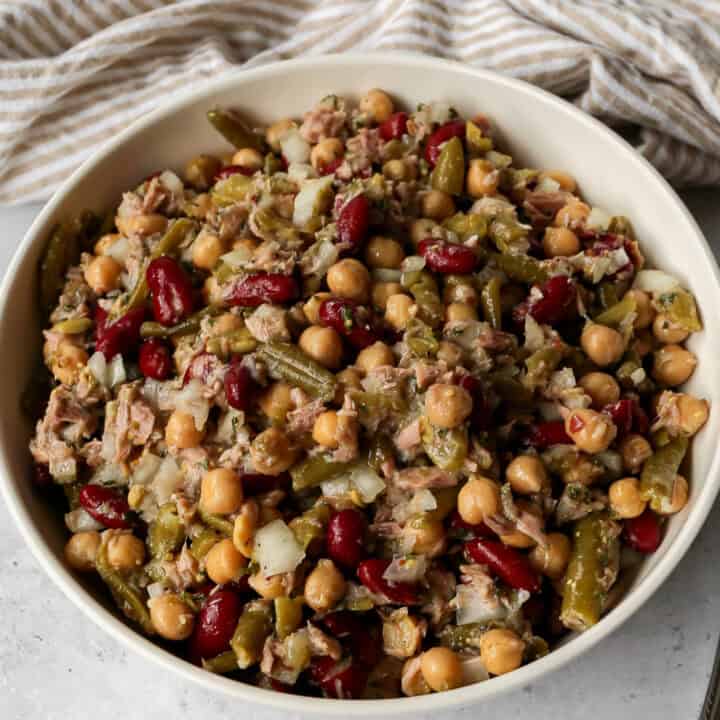
    If you are looking for more bean recipes try my Instant Pot Garlic Ginger Green Beans, my Zesty Three Bean Salad with Tuna, my Black Beans and Corn Salad or my Creamy Sausage Bean Dip.

    You can find all my side dishes here: Gluten Free Side Dishes

    a silver baking pan of oven roasted parmesan green beans next to a tan and white gingham kitchen towel
    [feast_advanced_jump_to]

    Ingredients

    • Fresh Green Beans
    • Olive Oil
    • Parmesan Cheese
    • Onion Powder
    • Garlic Powder
    • Salt
    • Pepper

    Instructions

    Preheat your oven to 425 degrees. Lightly coat a baking sheet with olive oil and set aside.

    In a large mixing bowl add the green beans, olive oil, parmesan cheese, onion powder, garlic powder, salt and pepper. Stir to coat the green beans.

    Pour the green beans in an even layer onto the oiled baking sheet.

    Bake at 425 degrees for 15 minutes. Using a spatula, flip the green beans and then bake them for another 10 minutes. The green beans are done when they are tender when you prick them with a fork.

    Supplies


    More Recipes You Might Enjoy

    • Instant Pot Garlic Ginger Green Beans
    • Zesty Three Bean Salad with Tuna
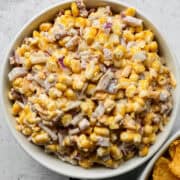
    • Black Beans and Corn Salad
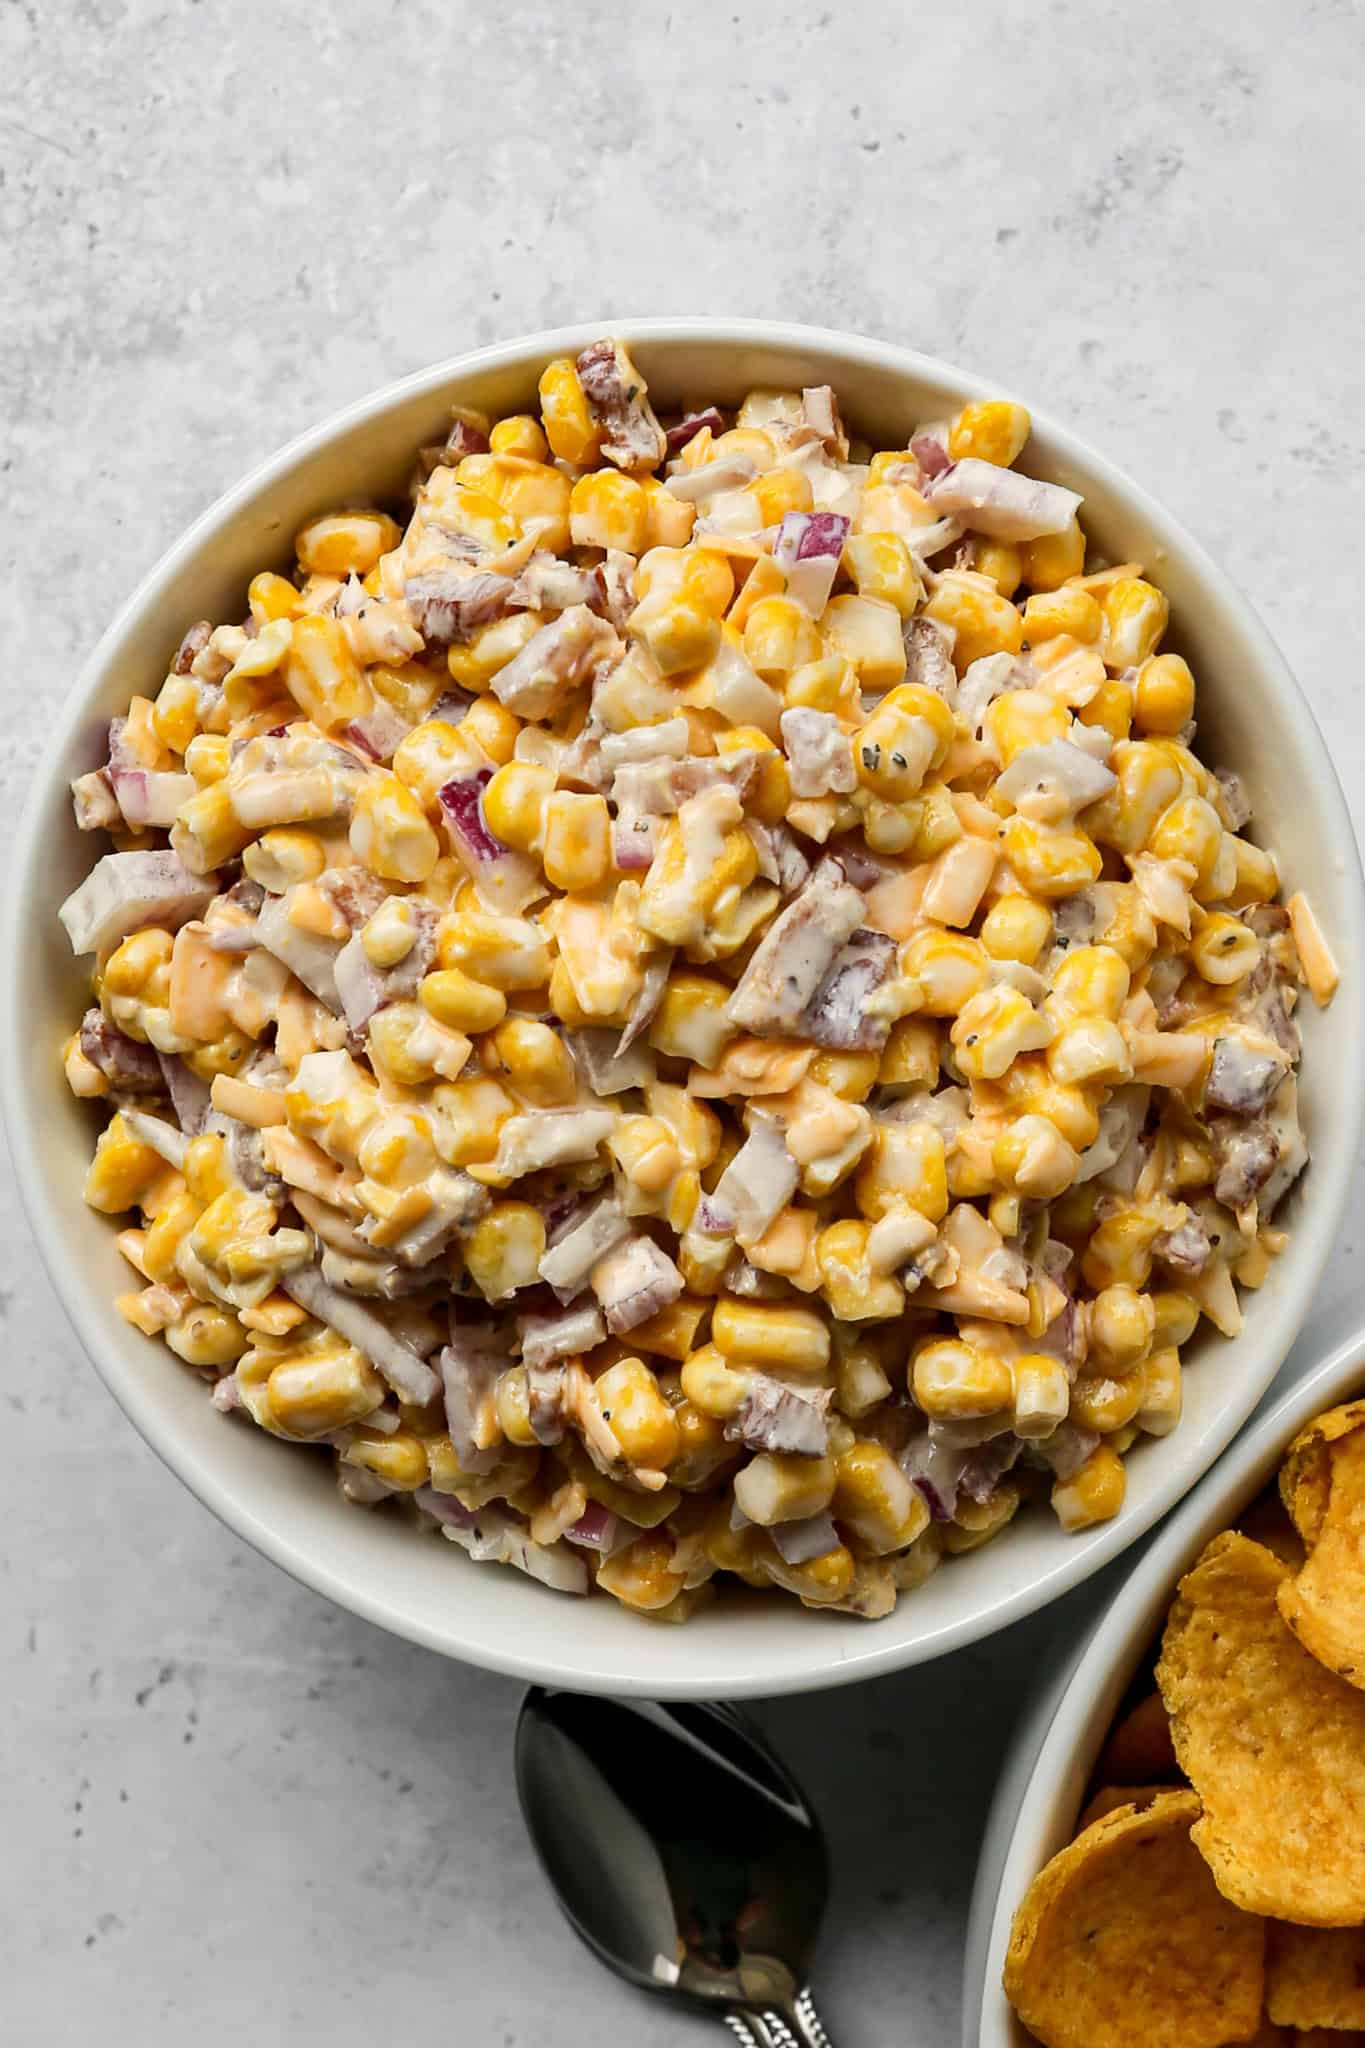
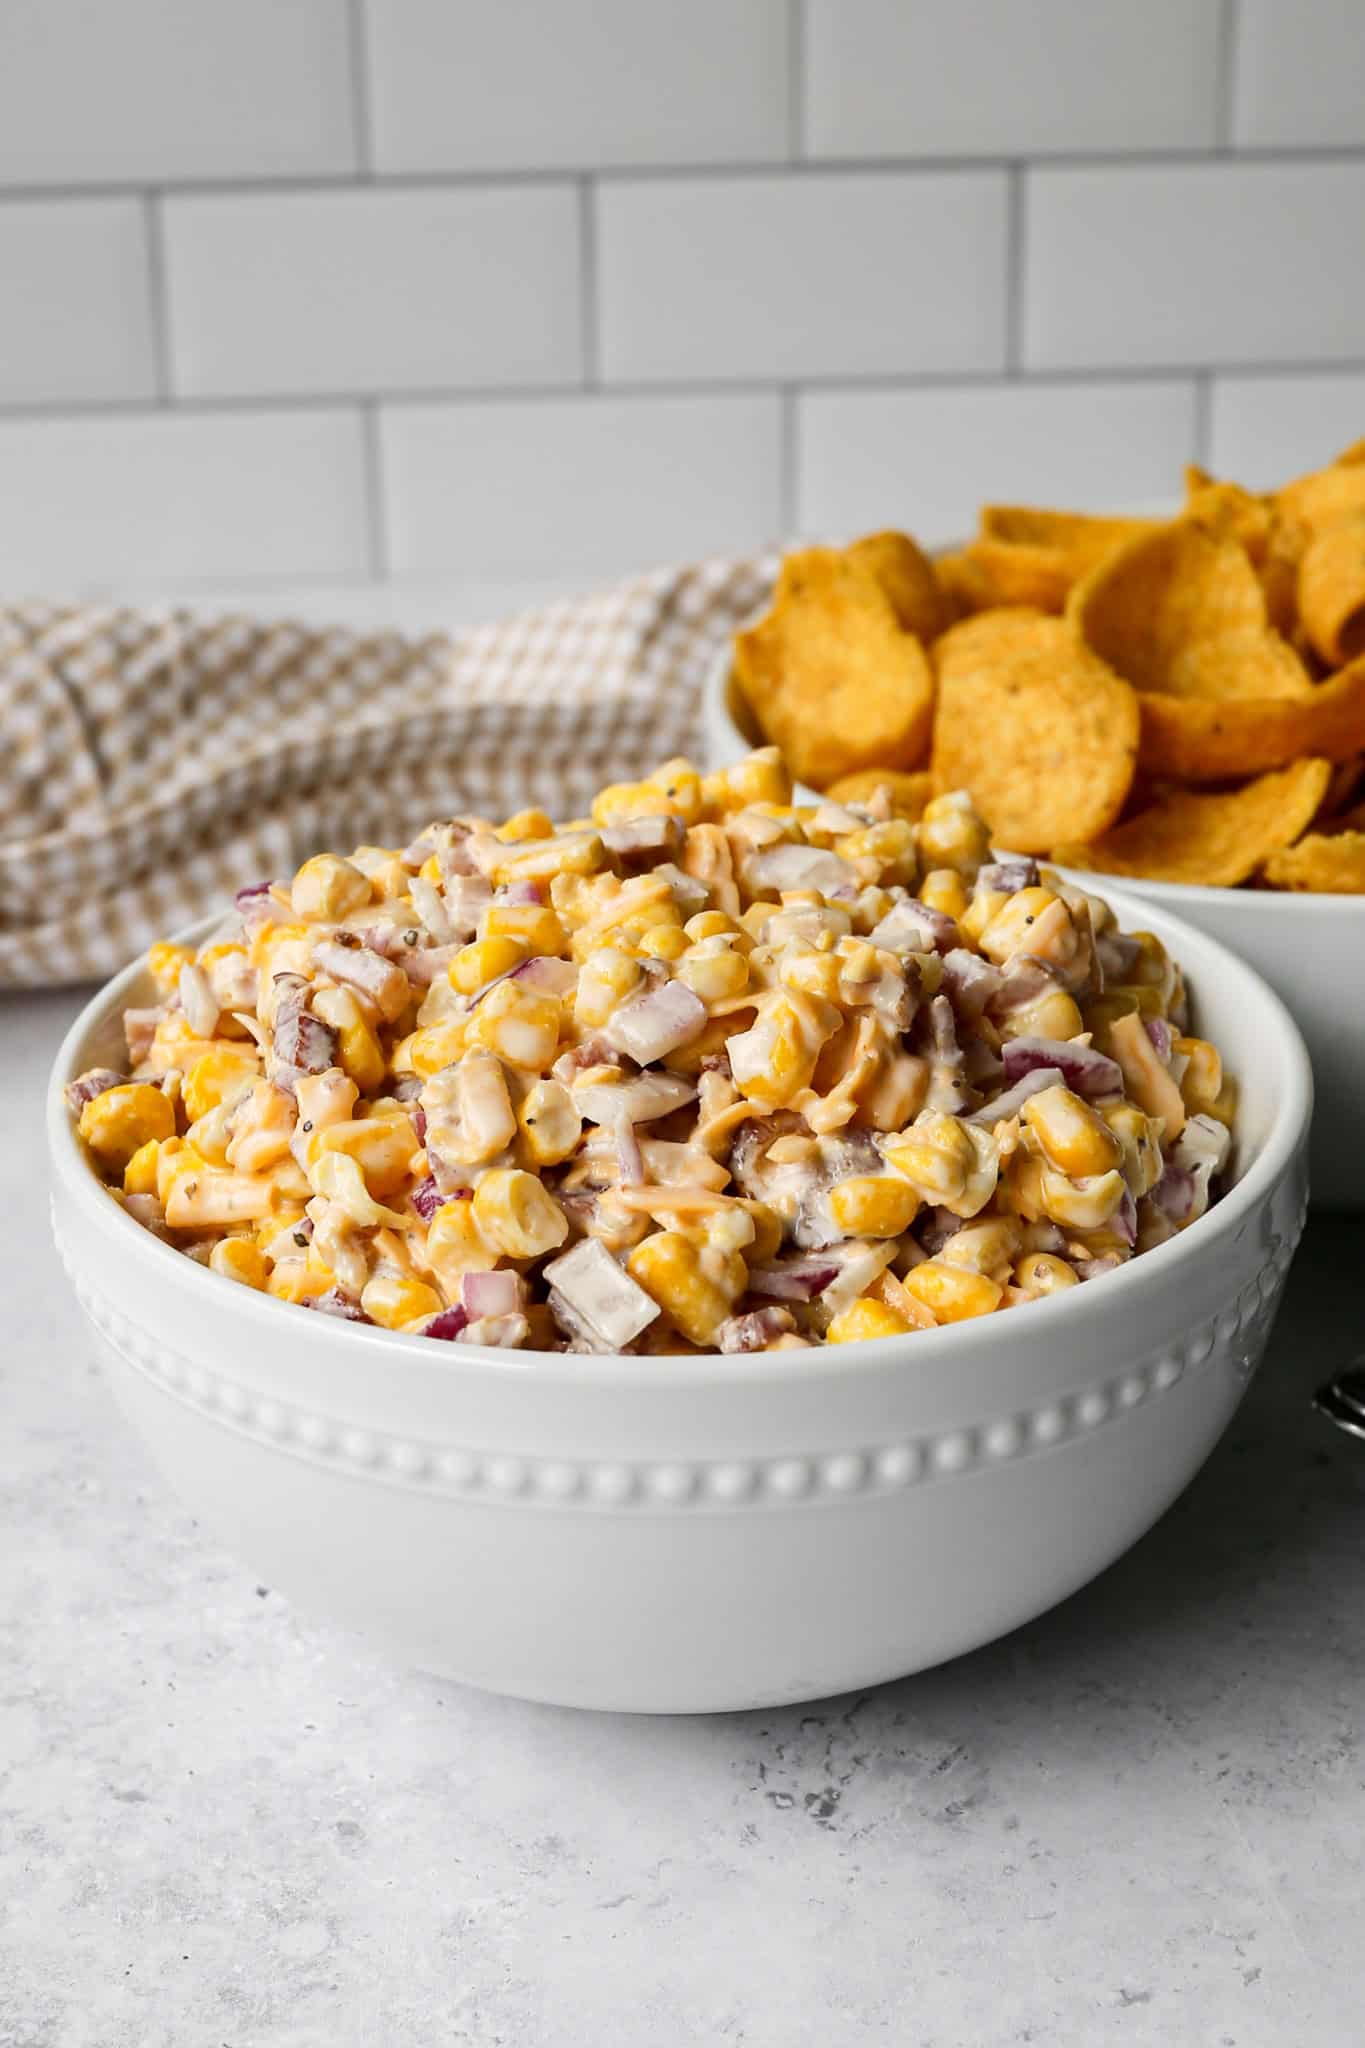
    • Easy Fried Frozen Corn

    I get a lot of my ingredients from Thrive Market. Thrive Market has been a game changer for me eating gluten free. They have so many options I can't get at my rural grocery stores! Use this link to get 40% off your first order!
    Print
    clock clock iconcutlery cutlery iconflag flag iconfolder folder iconinstagram instagram iconpinterest pinterest iconfacebook facebook iconprint print iconsquares squares iconheart heart iconheart solid heart solid icon

    Oven Roasted Parmesan Green Beans


    5 Stars 4 Stars 3 Stars 2 Stars 1 Star

    No reviews

    • Author: Elaine VanVleck
    • Total Time: 30 minutes
    • Yield: 6 servings 1x
    • Diet: Gluten Free
    Print Recipe
    Pin Recipe

    Description

    These Oven Roasted Parmesan Green Beans are the easy vegetable side dish that is going to earn a permanent spot on your weeknight dinner rotation. Fresh green beans are roasted on a baking sheet until perfectly tender with beautifully crispy edges. They are coated with a generous portion of parmesan cheese that creates the most irresistible cheesy, golden crust. 


    Ingredients

    Scale
    • 32 ounces Fresh Green Beans
    • 2 Tbsp Olive Oil
    • ½ cup Parmesan Cheese, finely grated
    • 1 tsp Onion Powder
    • 1 tsp Garlic Powder
    • 1 tsp Salt
    • ½ tsp Coarse Ground Black Pepper

    Instructions

    Preheat your oven to 425 degrees. Lightly coat a baking sheet with olive oil and set aside.

    In a large mixing bowl add the green beans, olive oil, parmesan cheese, onion powder, garlic powder, salt and pepper. Stir to coat the green beans.

    Pour the green beans in an even layer onto the oiled baking sheet.

    Bake at 425 degrees for 15 minutes. Using a spatula, flip the green beans and then bake them for another 10 minutes. The green beans are done when they are tender when you prick them with a fork.

    • Prep Time: 5 minutes
    • Cook Time: 25 minutes
    • Category: Side Dish, Vegetables
    • Method: Baking
    • Cuisine: Gluten Free

    Did you make this recipe?

    Tag @smallfarmbiglife on Instagram and hashtag it #smallfarmbiglife

    Top Tip

    You can also use avocado oil with this recipe if that's what you have. Be sure to finely grate the parmesan cheese so it melts easily on the green beans.

    Frequently Asked Questions

    Can I use frozen green beans instead of fresh for this recipe?

    Fresh green beans are strongly recommended for this recipe as they roast up with the best texture and those beautiful crispy edges that make this dish so good. Frozen green beans tend to release too much moisture in the oven which can make them steam rather than roast, resulting in a softer and less flavorful result. Fresh green beans will give you the best outcome every time.

    How do I keep my roasted green beans from getting soggy?

    The key to perfectly crispy oven roasted green beans is making sure they are completely dry before they go on the baking sheet. Pat them thoroughly with a paper towel after washing.

    Can I make these Parmesan Roasted Green Beans ahead of time?

    These green beans are best enjoyed fresh out of the oven when the parmesan crust is at its crispiest and most delicious. If you do need to make them ahead you can prep and trim the green beans in advance and store them in the refrigerator until you are ready to roast. Leftovers can be stored in an airtight container in the refrigerator for up to three days and reheated in the oven or air fryer to bring back some of that crispiness.

    Sweet and Spicy Sauce

    This Sweet and Spicy Sauce is an easy homemade sauce that delivers the perfect balance of sweet heat with a tangy, spicy kick. Made from scratch, this sweet and spicy sauce recipe comes together quickly and works beautifully as a sauce for chicken, wings, pork, beef, or meatballs.

    If you're looking for a delicious, easy sauce recipe that's bold without being overpowering, this homemade option is a go to for weeknight dinners and entertaining.

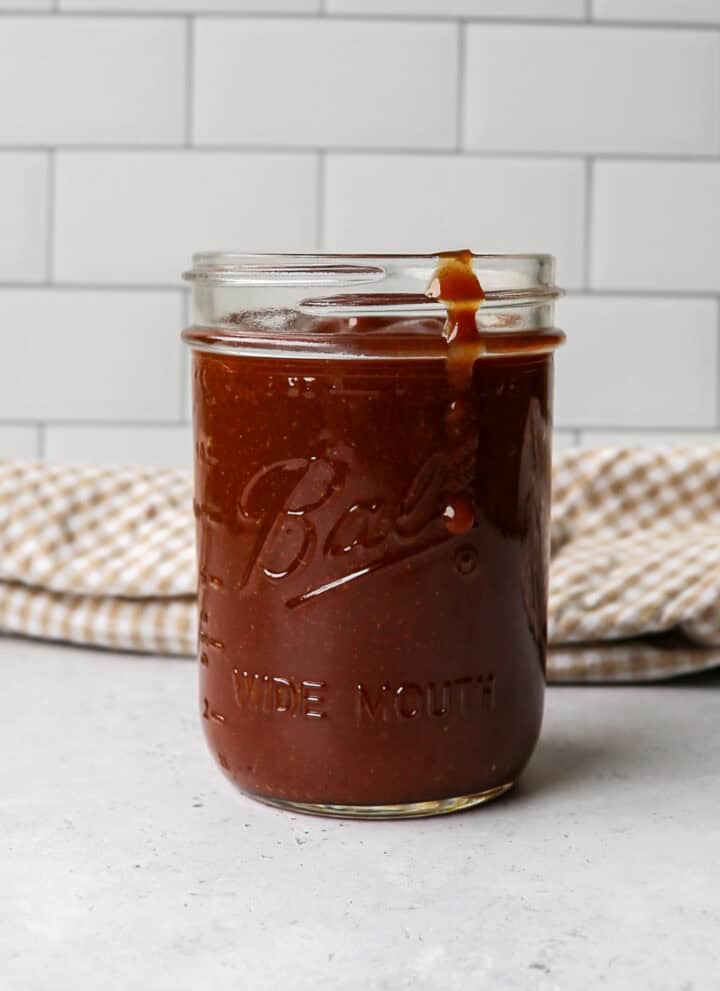
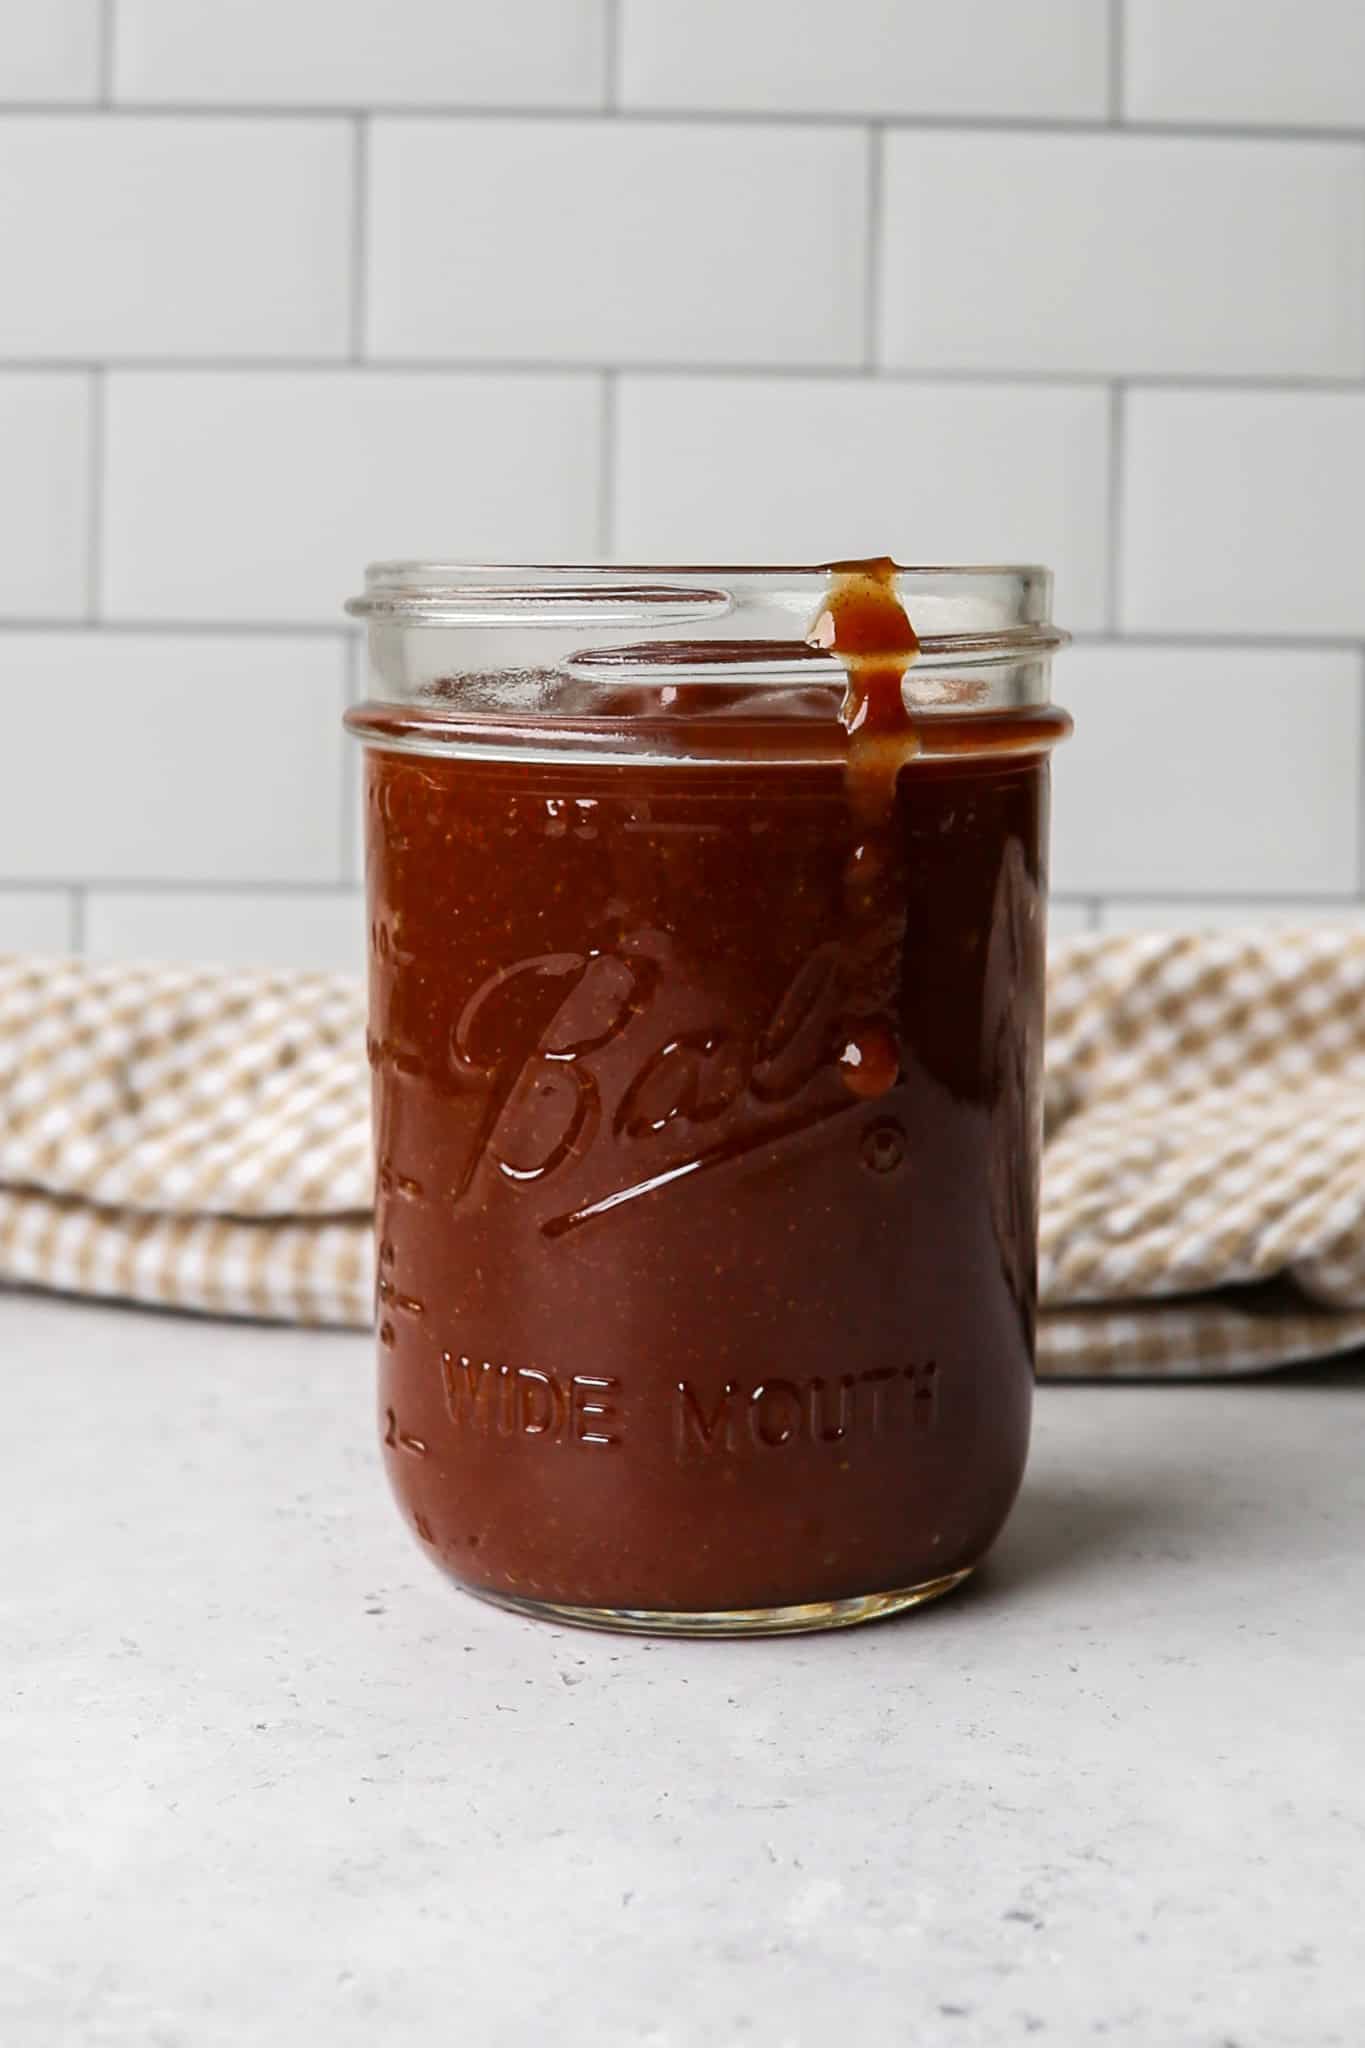
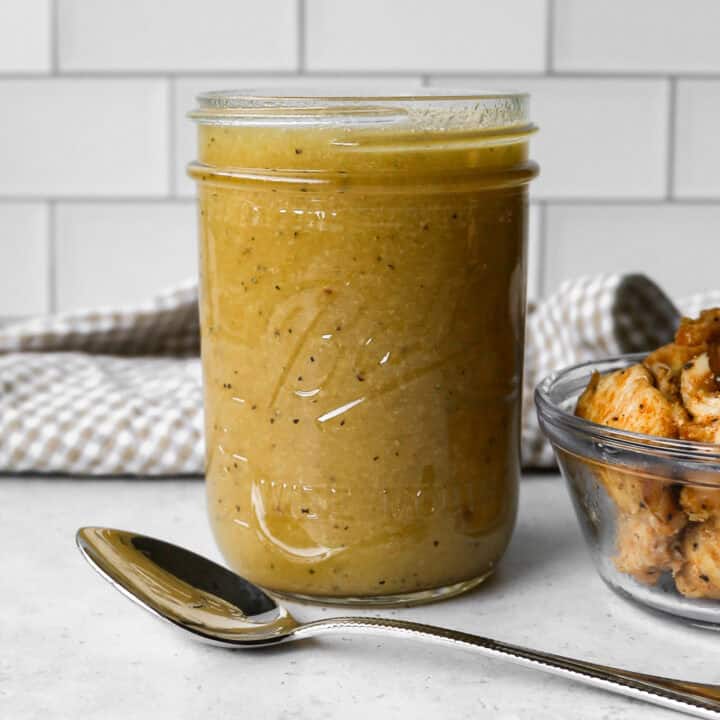
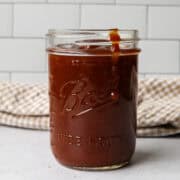
    a wide mouth ball jar of sweet and spicy sauce next to a bowl of chicken bites

    Perfect as a glaze or a dip, this gluten free sauce recipe doubles as a quick homemade dipping sauce for everything from chicken to appetizers. The sweet and savory flavor makes it a simple wing sauce recipe that's both crowd pleasing and versatile.

    Whether you need a yummy sauce for chicken, a sweet heat dip, or an easy sauce to elevate everyday meals, this homemade sweet and spicy sauce fits right in.

    If you are looking for more delicious sauce recipes try my Gluten Free Burger Sauce, my Gluten Free Homemade Enchilada Sauce, my Gluten Free Caramelized Onion Dip or my Gluten Free Homemade Ranch Dip.

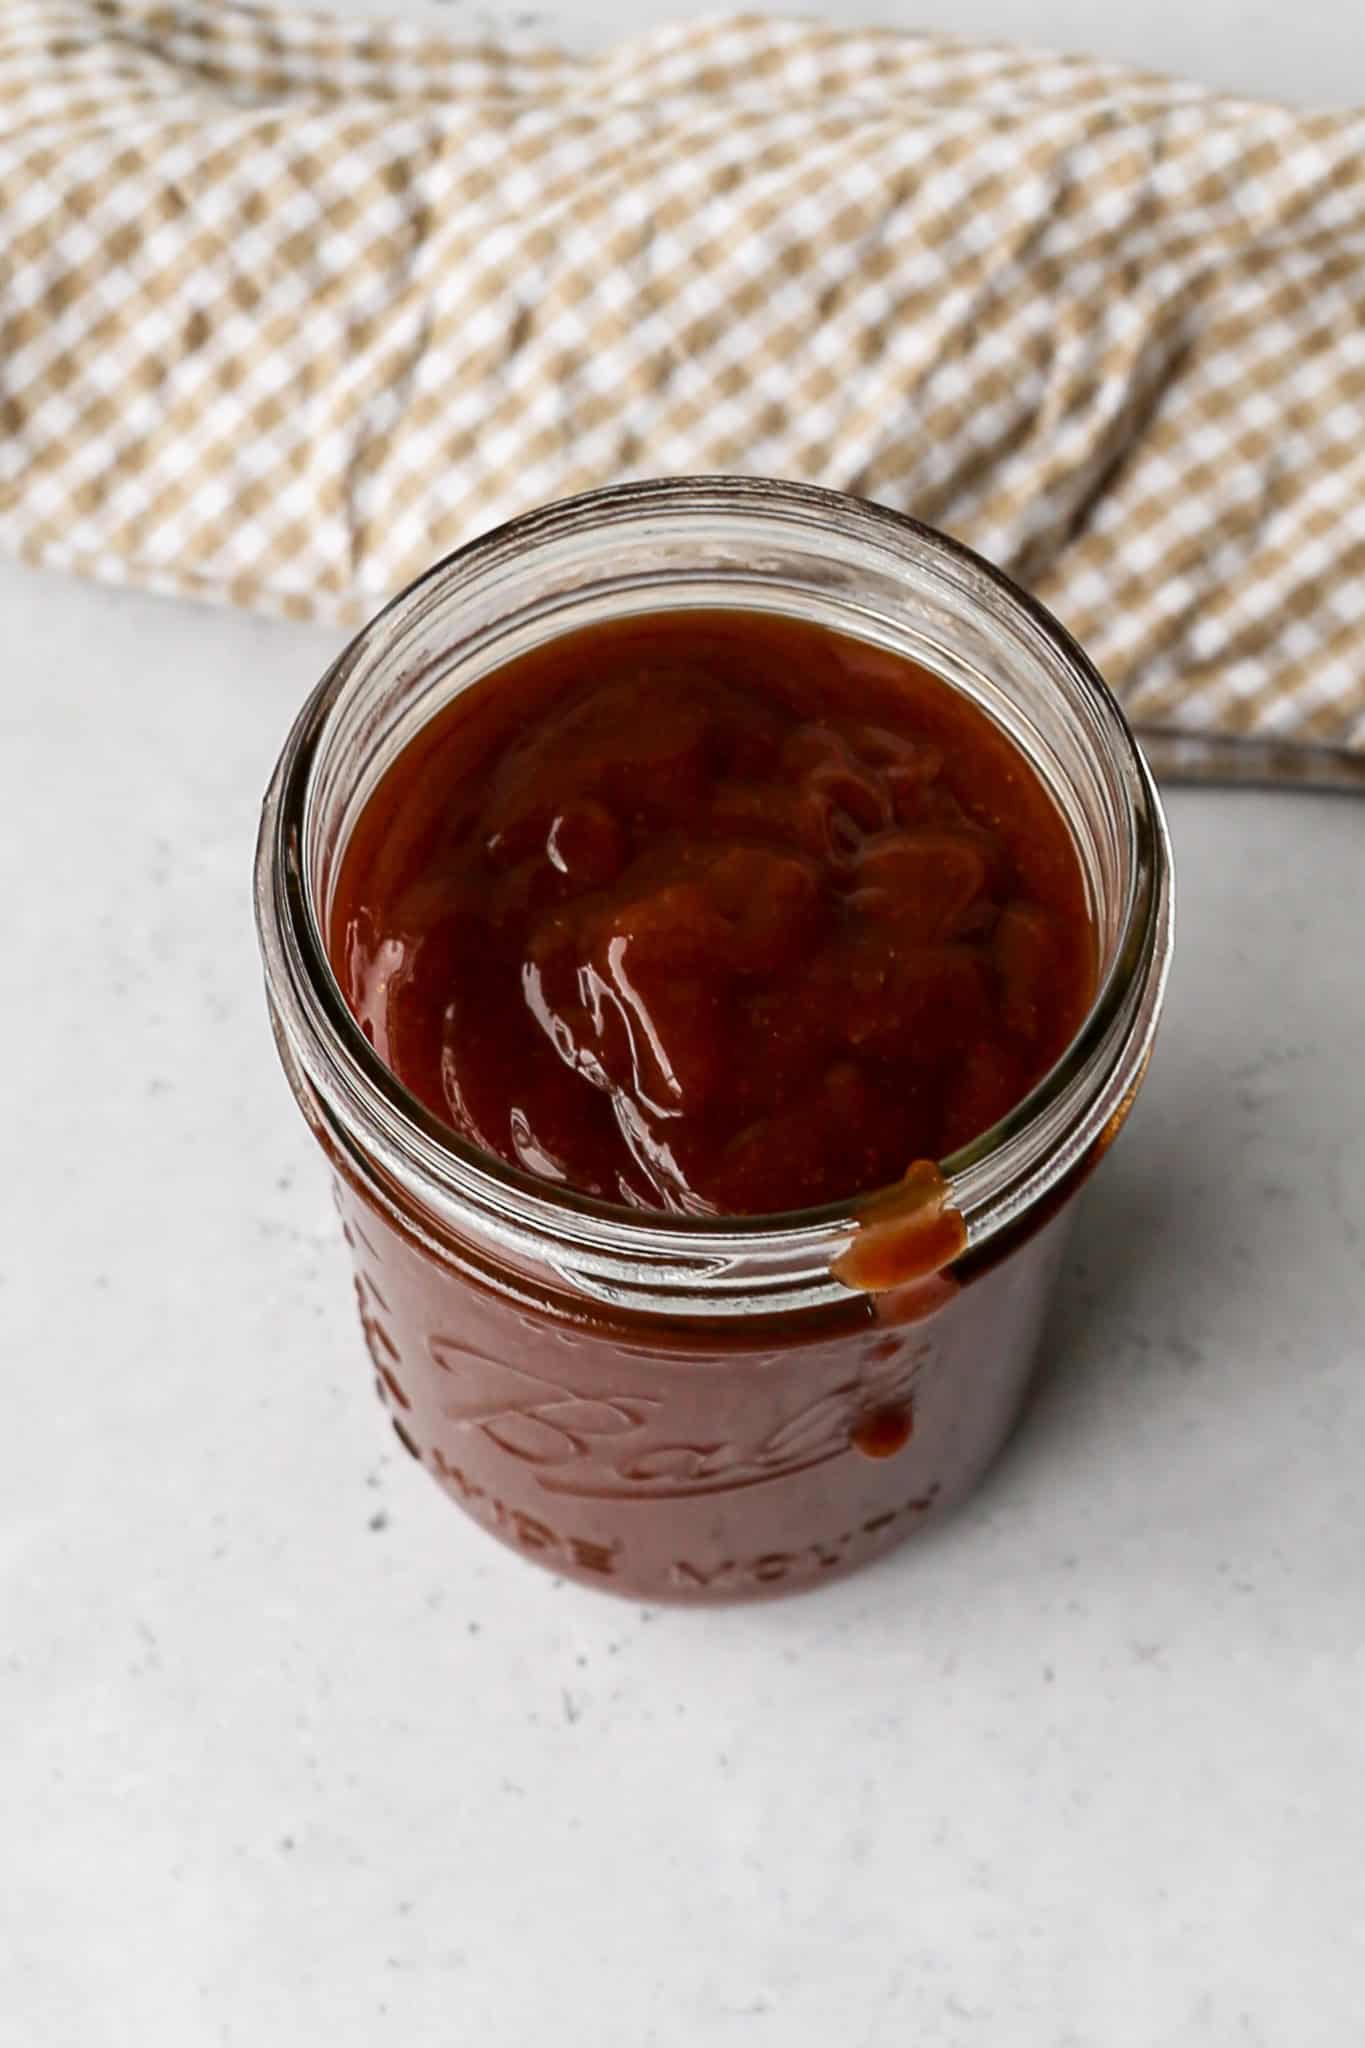
    a wide mouth ball jar of sweet and spicy sauce next to a spoon and a bowl of chicken bites
    [feast_advanced_jump_to]

    Ingredients

    • Apple Jelly
    • Pineapple Jam
    • Prepared Horseradish
    • Ground Dried Mustard
    • Black Pepper
    • Red Pepper Flakes

    Instructions

    In a mixing bowl or wide mouth jar add all the ingredients. Using an immersion blender blend the ingredients until they are somewhat smooth. How long you blend is really your preference. I don't mind a few lumps of pineapple in my sauce.

    If you made this in a mixing bowl pour it into a sealed container. If you made this in a wide mouth jar put a lid on it and then store in the refrigerator overnight. The sauce is best after 8 hours in the fridge.

    You can store this sauce in an air tight container or jar in the refrigerator for up to a month.

    Supplies


    More Recipes You Might Enjoy

    • Gluten Free Burger Sauce
    • Gluten Free Homemade Enchilada Sauce
    • Gluten Free Caramelized Onion Dip
    • Gluten Free Homemade Ranch Dip

    I get a lot of my ingredients from Thrive Market. Thrive Market has been a game changer for me eating gluten free. They have so many options I can't get at my rural grocery stores! Use this link to get 40% off your first order!

    Print
    clock clock iconcutlery cutlery iconflag flag iconfolder folder iconinstagram instagram iconpinterest pinterest iconfacebook facebook iconprint print iconsquares squares iconheart heart iconheart solid heart solid icon

    Sweet and Spicy Sauce


    5 Stars 4 Stars 3 Stars 2 Stars 1 Star

    No reviews

    • Author: Elaine VanVleck
    • Total Time: 10 minutes
    • Yield: 2 ½ cups 1x
    • Diet: Gluten Free
    Print Recipe
    Pin Recipe

    Description

    This Sweet and Spicy Sauce is an easy homemade sauce that delivers the perfect balance of sweet heat with a tangy, spicy kick. Made from scratch, this sweet and spicy sauce recipe comes together quickly and works beautifully as a sauce for chicken, wings, pork, beef, or meatballs. 


    Ingredients

    Scale
    • 1 cup Apple Jelly
    • 1 cup Pineapple Jam
    • ⅓ cup Prepared Horseradish
    • 2 tsp Ground Dried Mustard
    • ½ tsp Coarse Ground Black Pepper
    • ¼ tsp Red Pepper Flakes, less if you don't want it as spicy

    Instructions

    In a mixing bowl or wide mouth jar add all the ingredients. Using an immersion blender blend the ingredients until they are somewhat smooth. How long you blend is really your preference. I don't mind a few lumps of pineapple in my sauce.

    If you made this in a mixing bowl pour it into a sealed container. If you made this in a wide mouth jar put a lid on it and then store in the refrigerator overnight. The sauce is best after 8 hours in the fridge.

    You can store this sauce in an air tight container or jar in the refrigerator for up to a month.

    • Prep Time: 10 minutes
    • Category: Sauce
    • Method: Blending
    • Cuisine: Gluten Free

    Did you make this recipe?

    Tag @smallfarmbiglife on Instagram and hashtag it #smallfarmbiglife

    Top Tip

    This sauce is delicious on chicken, burgers or over cream cheese with crackers.

    Frequently Asked Questions

    What can I use sweet and spicy sauce for?

    This sweet and spicy sauce is incredibly versatile and works as a sauce or dip for chicken, wings, pork, beef, meatballs, and even roasted vegetables. It can be brushed on as a glaze, tossed with wings, or served as a dipping sauce.

    Is this sweet and spicy sauce gluten free?

    Yes, this recipe is written as a gluten free sauce recipe, making it safe for those avoiding gluten. Always double check labels on packaged ingredients to ensure they are certified gluten free.

    How should I store homemade sweet and spicy sauce?

    Store the sauce in an airtight container in the refrigerator for up to one month. It's easy to reheat and works well as a make ahead dipping sauce for quick meals or entertaining.

    Pineapple Jam

    This Pineapple Jam is a quick and easy homemade jam that's perfect if you're looking for a simple pineapple jam recipe without pectin. Made from scratch using canned pineapple, this easy homemade pineapple jam comes together fast with a bright tropical flavor.

    If you've ever wondered how to make pineapple jam, this no pectin method is an approachable way to create a delicious homemade jam without complicated steps.

    a Ball jar of pineapple jam with a spoon in it

    Perfect for toast, biscuits, yogurt, or desserts, this pineapple jam recipe is a versatile addition to your kitchen. The tropical pineapple flavor makes it feel special while still being an easy jam recipe you can make anytime.

    Whether you're new to homemade jams and jellies or looking for a reliable pineapple preserves recipe, this homemade pineapple jam is a great place to start.

    If you are looking for more pineapple recipes try my Pineapple Coleslaw, my Easy Fresh Pineapple Salsa, my Gluten Free Pineapple Bars or my Gluten Free Pineapple Upside Down Cake.

    an overhead view of the pineapple jam in a jar with a spoon scoop of it on top
    [feast_advanced_jump_to]

    Ingredients

    • Canned Crushed Pineapple
    • Granulated Sugar

    Instructions

    In a small saucepan add the crushed pineapple with the juice from the can and the sugar. Stir together.

    Bring this mixture to a boil and simmer for 20-25 minutes until jam is thickened. Stirring occasionally to keep jam from sticking to the bottom of your saucepan. The jam will still be a little bit runny at this point but will thicken more once it cools.

    Pour the jam into a jar and cool completely. Store in a sealed jar in the refrigerator for up to one month.

    Supplies


    More Recipes You Might Enjoy

    • Gluten Free Cranberry Jam
    • Gluten Free Frog Eye Salad
    • Gluten Free Pineapple Upside Down Cake
    • Gluten Free Pineapple Bars

    I get a lot of my ingredients from Thrive Market. Thrive Market has been a game changer for me eating gluten free. They have so many options I can't get at my rural grocery stores! Use this link to get 40% off your first order!

    Print
    clock clock iconcutlery cutlery iconflag flag iconfolder folder iconinstagram instagram iconpinterest pinterest iconfacebook facebook iconprint print iconsquares squares iconheart heart iconheart solid heart solid icon

    Pineapple Jam


    5 Stars 4 Stars 3 Stars 2 Stars 1 Star

    No reviews

    • Author: Elaine VanVleck
    • Total Time: 25 minutes
    • Yield: 2 cups 1x
    • Diet: Gluten Free
    Print Recipe
    Pin Recipe

    Description

    This Pineapple Jam is a quick and easy homemade jam that's perfect if you're looking for a simple pineapple jam recipe without pectin. Made from scratch using canned pineapple, this easy homemade pineapple jam comes together fast with a bright tropical flavor. 


    Ingredients

    Scale
    • 1 - 20 ounce can Crushed Pineapple, with juice from can
    • ¾ cup Granulated Sugar

    Instructions

    In a small saucepan add the crushed pineapple with the juice from the can and the sugar. Stir together.

    Bring this mixture to a boil and simmer for 20-25 minutes until jam is thickened. Stirring occasionally to keep jam from sticking to the bottom of your saucepan. The jam will still be a little bit runny at this point but will thicken more once it cools.

    Pour the jam into a jar and cool completely. Store in a sealed jar in the refrigerator for up to one month.

    • Prep Time: 5 minutes
    • Cook Time: 20 minutes
    • Category: Jam
    • Method: Stove Top
    • Cuisine: Gluten Free

    Did you make this recipe?

    Tag @smallfarmbiglife on Instagram and hashtag it #smallfarmbiglife

    Top Tip

    In a good nonstick saucepan this jam can cook with very little stirring required. I put the jam on the stove and then cleaned my kitchen and did other chores while I wait for it to thicken.

    Frequently Asked Questions

    Can I make pineapple jam without pectin?

    Yes, this pineapple jam recipe is made without pectin, using a simple method that allows the jam to thicken naturally as it cooks. This makes it an easy option for homemade jam, especially if you don't usually keep pectin on hand.

    Can I use canned pineapple to make pineapple jam?

    Absolutely. Using canned pineapple is a convenient way to make homemade pineapple jam quickly and easily. It saves prep time while still giving you a smooth, flavorful jam with a bright pineapple taste.

    How should I store homemade pineapple jam?

    Store homemade pineapple jam in an airtight container in the refrigerator for up to one month. Because this is a no pectin, quick jam recipe, it's best enjoyed fresh and can't be stored long term like shelf stable preserves.

    Gluten Free Cheesy Sourdough Bread

    This Gluten Free Cheesy Sourdough Bread is a savory, bakery style loaf that delivers everything you love about artisan sourdough bread with the rich flavor of melted cheese in every bite. Made as a gluten free sourdough bread recipe, this loaf uses sourdough discard to create a tender crumb, crisp crust, and deep, tangy flavor.

    Whether you think of it as cheddar sourdough bread, a three cheese sourdough bread, or a classic sourdough cheese bread, it's a delicious twist on traditional gluten free bread that feels truly homemade and satisfying.

    two slices of toasted gluten free cheesy sourdough bread on a plate

    Perfect for slicing, toasting, or serving alongside soups and dinners, this gluten free cheese bread is both approachable and impressive.

    Baked in a loaf pan, it's an easy gluten free bread option that works for everyday meals while still feeling special enough for entertaining.

    If you're looking for what to add to sourdough bread to elevate it, this gluten free discard recipe is a must try and might just become your best gluten free sourdough bread recipe yet.

    If you are looking for more sourdough recipes try my Gluten Free Sourdough Sandwich Bread, my Gluten Free Sourdough Croutons, my Gluten Free Sourdough Pizza Crust or my Gluten Free Sourdough Bread.

    You can find all of my bread recipes here: Gluten Free Bread Recipes

    a loaf of gluten free cheesy sourdough bread with a slice cut from it sitting on a platter
    [feast_advanced_jump_to]

    Ingredients

    • Sourdough Starter
    • Butter
    • Honey
    • Milk
    • Gluten Free Flour
    • Potato Starch or Tapioca Flour
    • Baking Powder
    • Salt
    • Parmesan Cheese
    • Gouda Cheese
    • Cheddar Cheese

    Instructions

    Grease your bread pan with coconut oil or butter. Set aside.

    In the microwave or on the stovetop heat your milk just until it's warm to the touch. You don't want it too hot! Also melt the butter on the stovetop or in the microwave.

    In the bowl of your stand mixer add the sourdough starter, melted butter, honey and warm milk. Blend together.

    Add the potato starch or tapioca starch, gluten free flour, baking powder, salt, shredded parmesan cheese, shredded gouda cheese and shredded cheddar cheese. Blend just until ingredients begin to mix together. Remove from the stand mixer and gently fold any ingredients left on the bottom of the bowl into the mixture with a spatula.

    The dough will be very sticky. You don't want to knead or overwork the dough. This sticky texture will let the bread rise nicely.

    Spoon the dough into your greased bread pan. Cover the bread pan with a plate or platter and let it rest in a warm area for 6-8 hours. I like to mix my dough up at night before I go to bed and let it proof overnight and then bake in the morning.

    Preheat your oven to 350 degrees.

    Bake the bread for 1 hour 10 minutes to 1 hour 15 minutes. The top will be very lightly browned and the sides will be a little darker brown. This is a light bread and will not get really brown on top.

    Let the bread stand in the pan for at least 10 minutes to cool before you turn it out onto a plate or platter to finish cooling.

    Once the bread has completely cooled slice it into pieces and store it in a sealed container.

    Depending on how warm your house is it will last on the counter for 3-4 days. If you aren't going to use it in that amount of time place it in the fridge where it should last 5-7 days.

    Supplies


    More Recipes You Might Enjoy

    • Gluten Free Sourdough Sandwich Bread
    • Gluten Free Chocolate Sourdough Bread
    • Gluten Free Cinnamon Raisin Sourdough Bread
    • Gluten Free Sourdough Starter

    I get a lot of my ingredients from Thrive Market. Thrive Market has been a game changer for me eating gluten free. They have so many options I can't get at my rural grocery stores! Use this link to get 40% off your first order!

    Print
    clock clock iconcutlery cutlery iconflag flag iconfolder folder iconinstagram instagram iconpinterest pinterest iconfacebook facebook iconprint print iconsquares squares iconheart heart iconheart solid heart solid icon

    Gluten Free Cheesy Sourdough Bread


    5 Stars 4 Stars 3 Stars 2 Stars 1 Star

    5 from 1 review

    • Author: Elaine VanVleck
    • Total Time: 9 hours 10 minutes
    • Yield: 15 servings 1x
    • Diet: Gluten Free
    Print Recipe
    Pin Recipe

    Description

    This Gluten Free Cheesy Sourdough Bread is a savory, bakery style loaf that delivers everything you love about artisan sourdough bread with the rich flavor of melted cheese in every bite. Made as a gluten free sourdough bread recipe, this loaf uses sourdough discard to create a tender crumb, crisp crust, and deep, tangy flavor. 


    Ingredients

    Scale
    • 1 ½ cups Sourdough Starter
    • 4 Tbsp Butter, melted
    • 2 Tbsp Honey
    • 1 ¾ Milk, warm
    • 2 ½ cups Gluten Free Flour
    • ½ cup Potato Starch or Tapioca Flour
    • 1 Tbsp Baking Powder
    • 2 tsp Salt
    • ½ cup Parmesan Cheese, shredded
    • ½ cup Gouda Cheese, shredded
    • ½ cup Cheddar Cheese, shredded

    Instructions

    Grease your bread pan with coconut oil or butter. Set aside.

    In the microwave or on the stovetop heat your milk just until it's warm to the touch. You don't want it too hot! Also melt the butter on the stovetop or in the microwave.

    In the bowl of your stand mixer add the sourdough starter, melted butter, honey and warm milk. Blend together.

    Add the potato starch or tapioca starch, gluten free flour, baking powder, salt, shredded parmesan cheese, shredded gouda cheese and shredded cheddar cheese. Blend just until ingredients begin to mix together. Remove from the stand mixer and gently fold any ingredients left on the bottom of the bowl into the mixture with a spatula.

    The dough will be very sticky. You don't want to knead or overwork the dough. This sticky texture will let the bread rise nicely.

    Spoon the dough into your greased bread pan. Cover the bread pan with a plate or platter and let it rest in a warm area for 6-8 hours. I like to mix my dough up at night before I go to bed and let it proof overnight and then bake in the morning.

    Preheat your oven to 350 degrees.

    Bake the bread for 1 hour 10 minutes to 1 hour 15 minutes. The top will be very lightly browned and the sides will be a little darker brown. This is a light bread and will not get really brown on top.

    Let the bread stand in the pan for at least 10 minutes to cool before you turn it out onto a plate or platter to finish cooling.

    Once the bread has completely cooled slice it into pieces and store it in a sealed container.

    Depending on how warm your house is it will last on the counter for 3-4 days. If you aren't going to use it in that amount of time place it in the fridge where it should last 5-7 days.

    • Prep Time: 8 hours
    • Cook Time: 1 hour, 10 minutes
    • Category: Breads
    • Method: Baking
    • Cuisine: Gluten Free

    Did you make this recipe?

    Tag @smallfarmbiglife on Instagram and hashtag it #smallfarmbiglife

    Top Tip

    I liked to finely grate the parmesan cheese and then coarsely grate the gouda and cheddar. You could also use cheese that is already shredded. You could also use whatever block cheese you have in your fridge. Just use the same total measurement. For example, if you only have cheddar cheese then use 2 cups of it coarsely grated.

    Frequently Asked Questions

    Can you make cheesy sourdough bread with gluten free sourdough starter?

    Yes, this recipe is made using a gluten free sourdough starter, making it a great option for anyone following a gluten free diet while still enjoying classic sourdough flavor.

    How should gluten free cheesy sourdough bread be stored?

    Store the bread fully cooled in an airtight container at room temperature for short term storage of 3-4 days. You can also slice and freeze it to maintain freshness longer.

    Top 10 Gluten Free Recipes

    These are the top ten gluten free recipes on my website. These popular recipes range from dinners, desserts, snacks, and baking. Some of my oldest and most favorite gluten free recipes made this list!

    These are the recipes that have gotten the most views on my website this year. Almost all of these recipes have been on my website for almost two years and are recipes that I was making long before I had even dreamed of having a website.

    When I first started creating gluten free recipes for myself I would write them down in a notebook to come back to. I had amassed quite a few recipes when I decided to start sharing them. It's not surprising to me that these recipes are loved because they are some of my favorite go-to recipes that I still make really frequently.

    Top 10 Gluten Free Recipes

    Seven Layer Salad

    This classic recipe for seven layer salad has a delicious dressing and is easy to make. This is the best healthy salad with sour cream and mayo in the dressing. This traditional recipe is gluten free and just like the old fashioned seven layer salads I remember growing up.

    Get the Recipe

    Gluten Free Taco Casserole

    This easy recipe for gluten free taco casserole is layered with tortillas and ground beef. After assembling you bake this healthy dinner.

    Get the Recipe

    Refrigerator Bread and Butter Pickles

    This easy recipe for refrigerator bread and butter pickles makes the best crunchy pickle slices. This recipe shows you how to make one small batch by quickly pickling cucumbers. The simple brine has apple cider vinegar, celery seeds and mustard seeds for great flavor.

    Get the Recipe

    Gluten Free Sourdough Sandwich Bread

    This gluten free sourdough sandwich bread is soft, flavorful, and perfect for everyday use, making it one of the best gluten free bread recipes you can bake at home. Using a gluten free sourdough starter, this homemade gluten free sourdough bread recipe creates a loaf that's ideal for sandwiches, toast, or enjoying fresh from the oven.

    Get The Recipe

    Easy Pea Salad

    This recipe for easy pea salad is made with bacon and green peas. This cold and creamy old fashioned salad is perfect for Spring! My classic recipe is made with sour cream and vinegar dressing.

    Get The Recipe

    Easy Ground Beef Nacho Casserole

    This easy ground beef nacho casserole recipe is perfect for weeknight meals. The recipe uses ground beef, tortilla chips and cheese to create a dinner the whole family will love. This nacho bake is ready to serve in under 30 minutes!

    Get The Recipe

    Gluten Free Cheesy Pinto Beans

    This easy recipe for gluten free cheesy pinto beans is delicious as a dip with tortilla chips or in your bean burritos. This bean dip recipe is baked with cheesy on top and served hot. It is a Mexican style bean dish full of flavor and spices.

    Get The Recipe

    Dunkin Copycat Brown Sugar Cream Cold Brew

    This easy recipe for Dunkin copycat brown sugar cream cold brew tells you home to make this delicious drink step by step at home. Using coarse ground coffee you make a cold brew concentrate, then you add the brown sugar cinnamon syrup and the brown sugar cold foam. This recipe makes the best DIY cold brewed coffee!

    Get the Recipe

    Gluten Free Enchilada Skillet

    These easy gluten free skillet enchiladas are made with ground beef and lots of cheese. I prefer to use my cast iron skillet, but any casserole pan will work. This recipe has the best homemade enchilada sauce!

    Get the Recipe

    Gluten Free Cowboy Baked Beans

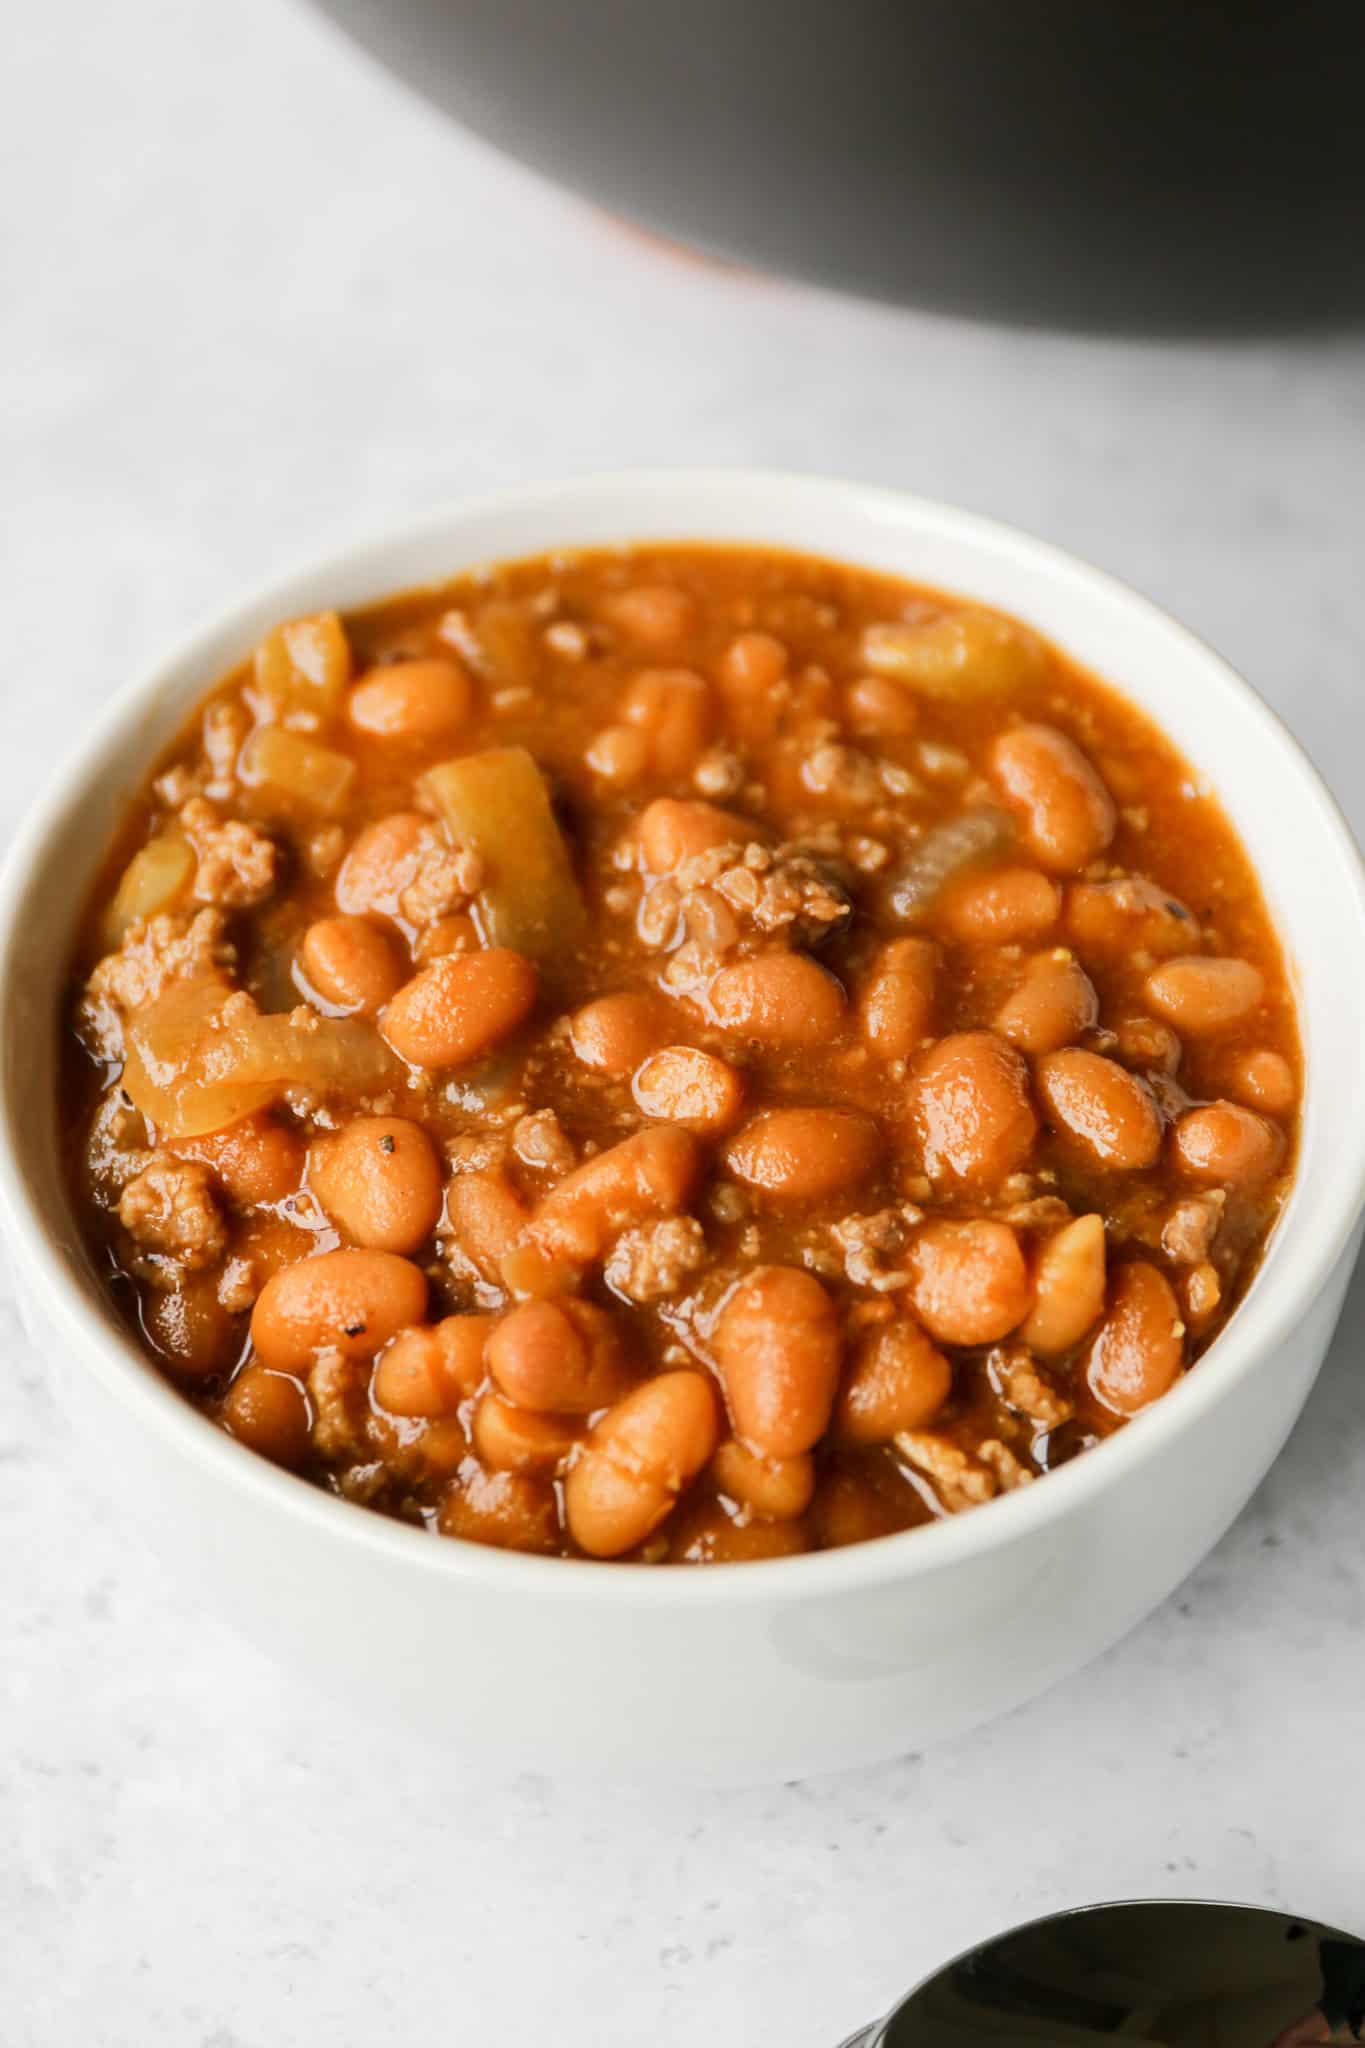
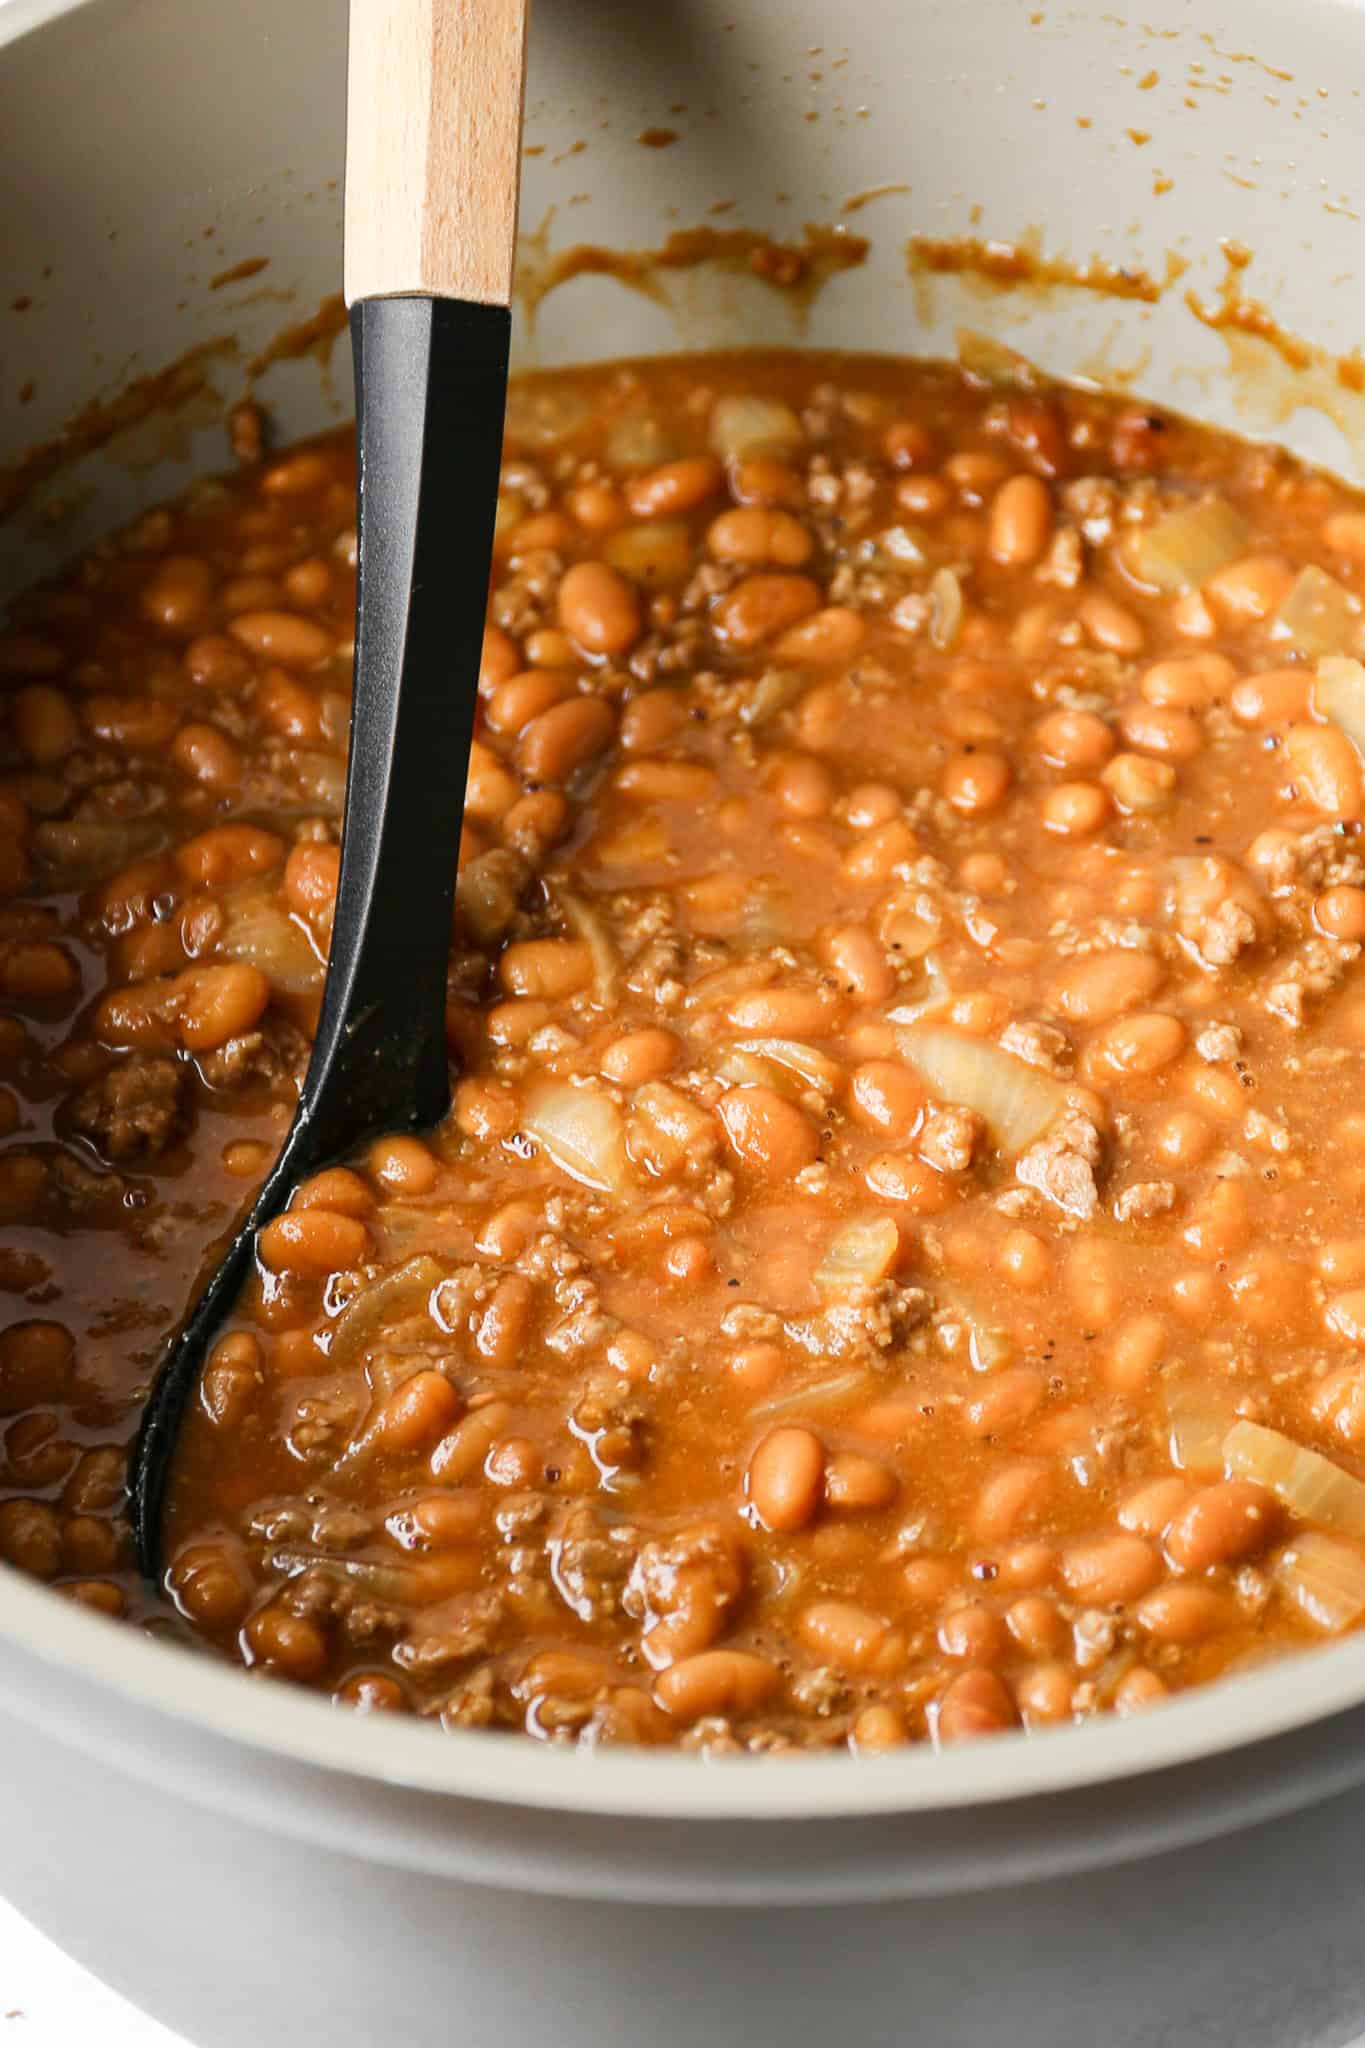
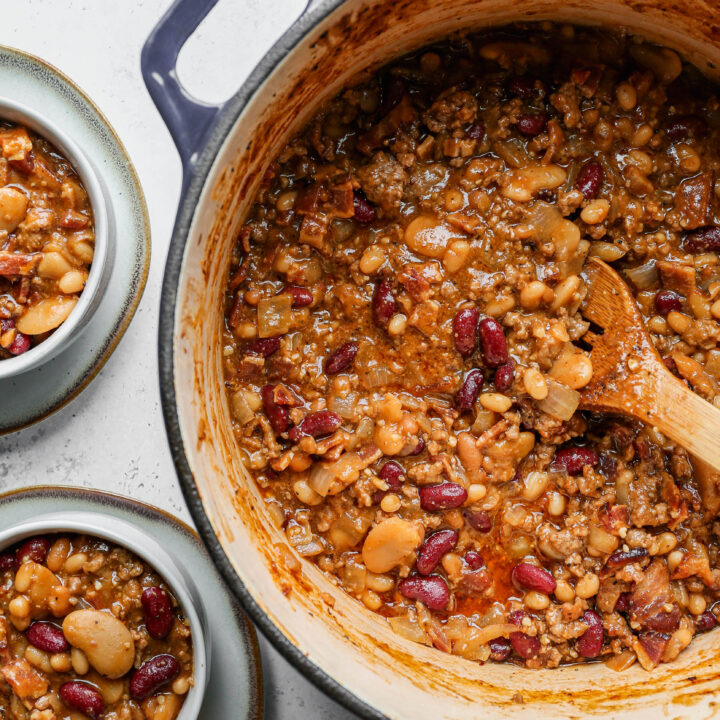
    These easy gluten free cowboy baked beans are made wtih ground beef, bacon and barbecue sauce. This homemade main dish recipe uses four types of beans with hamburger for a hearty meal. This is the best bean casserole for for weeknight meals, gatherings or picnics!

    Get The Recipe

    I get a lot of my ingredients from Thrive Market. Thrive Market has been a game changer for me eating gluten free. They have so many options I can't get at my rural grocery stores! Use this link to get 40% off your first order!

    You May Also Enjoy

    • Gluten Free Taco Pasta Bake
    • 10 Easy Gluten Free Beef Recipes
    • Gluten Free Salisbury Steak with Mushroom Gravy
    • Gluten Free One Pot Hamburger Helper Copycat
    • « Go to Previous Page
    • Page 1
    • Page 2
    • Page 3
    • Page 4
    • Interim pages omitted …
    • Page 15
    • Go to Next Page »

    Primary Sidebar

    Welcome! I'm Elaine

    I'm so glad you are here! I share easy gluten free recipes from my small farm in Washington.

    Be sure to sign up for my newsletter to stay up to date on all of my new recipes.

    More about me...
    • Instagram
    • Pinterest
    • Facebook
    • Twitter
    • Mail

    Load up on new recipes, exclusive goodies, + more!
    Sign up below to stay up-to-date on news, events, and special deals.
    Thank you for subscribing!

    Easy Meals Recipes

    • Gluten Free Instant Pot Chili Mac and Cheese
    • Gluten Free Taco Casserole
    • Gluten Free Cowboy Baked Beans
    • Gluten Free Walking Taco Casserole
    • Gluten Free Creamy Beef and Mushroom Pasta
    • Gluten Free Instant Pot Chicken & Dumplings
    • Instant Pot Mexican Style Beef and Rice
    • Gluten Free Chicken Parmesan Pasta Casserole
    • Gluten Free One Pot Hamburger Helper Copycat
    • Gluten Free Salisbury Steak with Mushroom Gravy
    • Gluten Free Air Fryer Fajitas
    • Gluten Free Sloppy Joe Casserole

    Footer

    Disclaimer:

    “We are a participant in the Amazon Services LLC Associates Program, an affiliate advertising program designed to provide a means for us to earn fees by linking to Amazon.com and affiliated sites.”

    Footer

    back to top

    About

    • Privacy Policy
    • Shop my Amazon Page
    • Follow me on LTK

    Newsletter

    • Sign Up! for emails and updates

    Contact

    • Contact
    • Media Kit
    • About Me

    As an Amazon Associate I earn from qualifying purchases.

    I may get commissions for purchases made through links on this site.

    Copyright © 2026 Brunch Pro on the Brunch Pro Theme