Small Farm Big Life

  • Gluten Free Recipe Index
  • Subscribe
  • Resources
menu icon
go to homepage
  • Home
  • Gluten Free Recipe Index
  • Subscribe
  • My Story
  • Resources
  • Free Guides
    • Email
    • Facebook
    • Instagram
    • Pinterest
  • subscribe
    search icon
    Homepage link
    • Home
    • Gluten Free Recipe Index
    • Subscribe
    • My Story
    • Resources
    • Free Guides
    • Email
    • Facebook
    • Instagram
    • Pinterest
  • ×

    Gluten Free Zucchini Squash and Corn Casserole

    This Gluten Free Zucchini Squash and Corn Casserole is one of my favorite summer side dishes and I love making it when the garden is overflowing with zucchini and yellow squash and I need a recipe that uses a lot of it in the most delicious way possible. Fresh zucchini, yellow squash, sweet onion, garlic, and frozen sweet corn are stirred together with cheddar cheese, sour cream, and mayonnaise and baked under a golden gluten free bread crumb and parmesan topping that gets perfectly crispy in the oven.

    Every bite is creamy, cheesy, and completely satisfying.
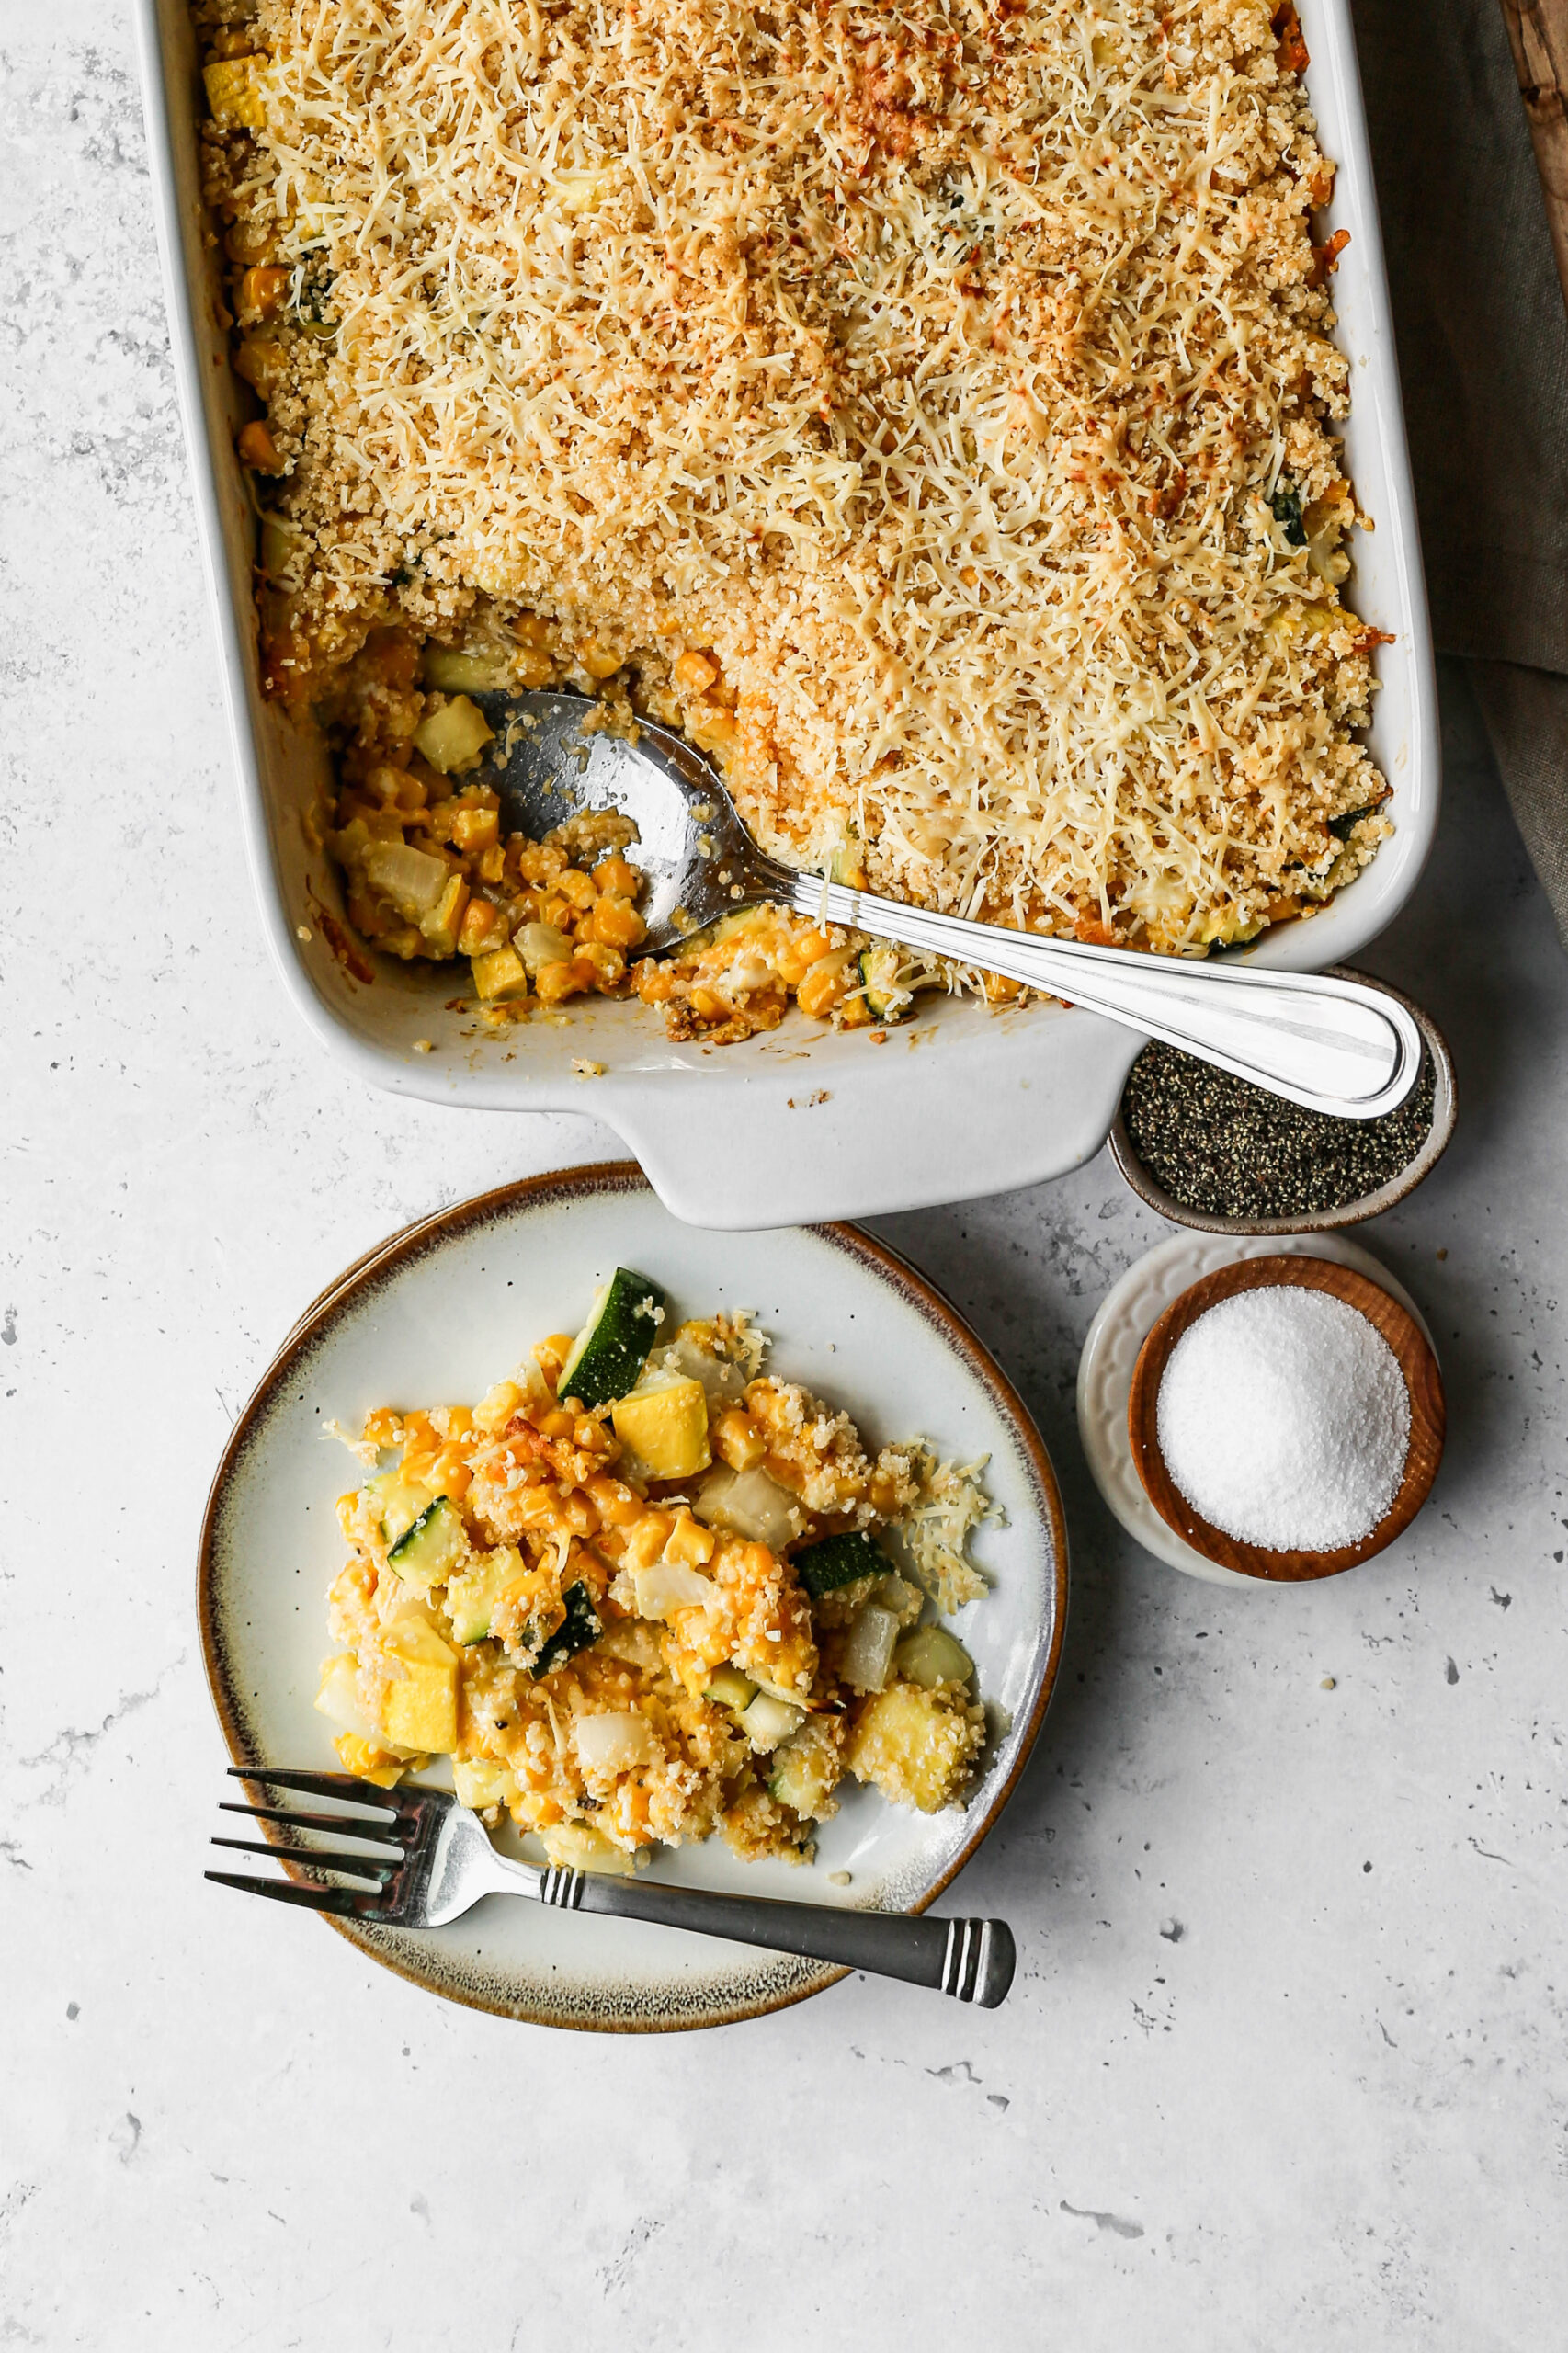
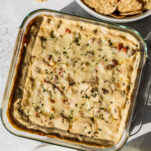
    a white baking dish of gluten free zucchini squash and corn casserole next to a plate of the casserole.

    One of the best things about this casserole is that it is a crowd pleaser for everyone at the table regardless of whether they eat gluten free.

    A reader made this for her gluten eating friends and said it was a big hit and a definite keeper. That kind of feedback is exactly why I love sharing this recipe.

    It works beautifully as a summer potluck dish, a barbecue side, or just a special weeknight vegetable side dish when the garden is at its peak.

    I also have recipes for Baked Kale and Zucchini Pilaf, Gluten Free Summer Squash Casserole and Gluten Free Zucchini Chocolate Chip Cookies that are all great options for your extra zucchini.

    You can find all of my side dish recipes here: Gluten Free Side Dish Recipes
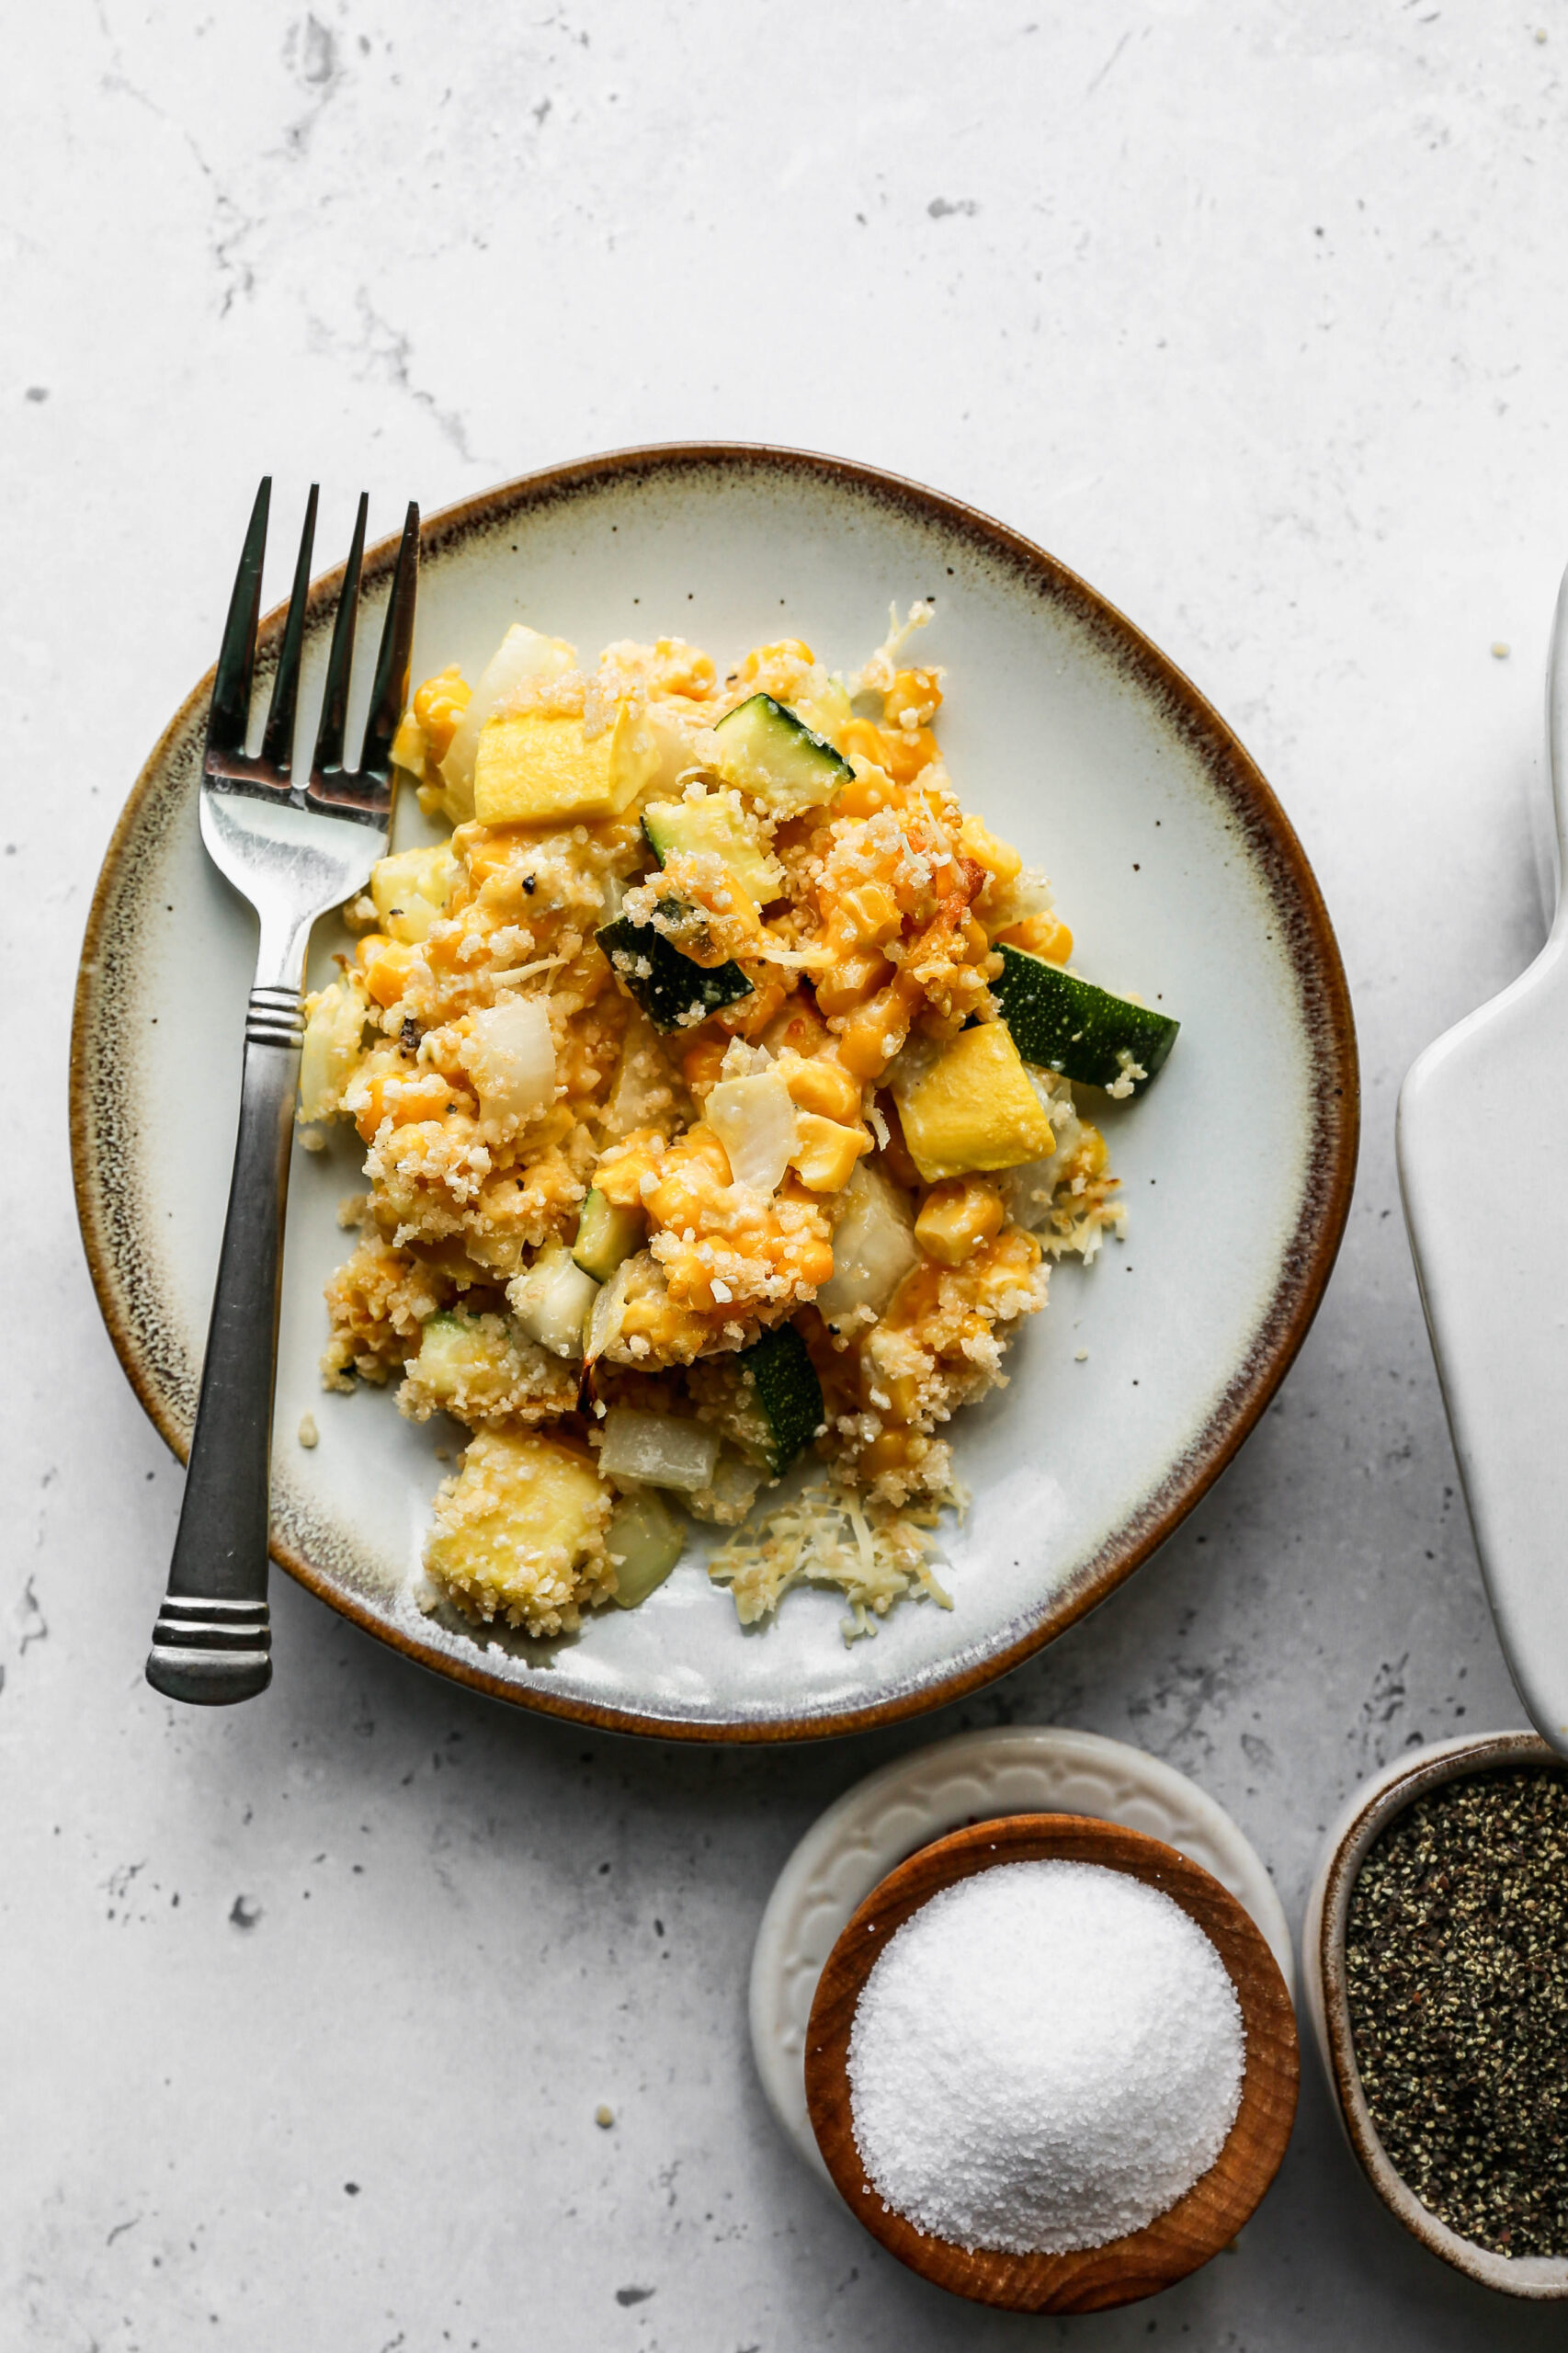
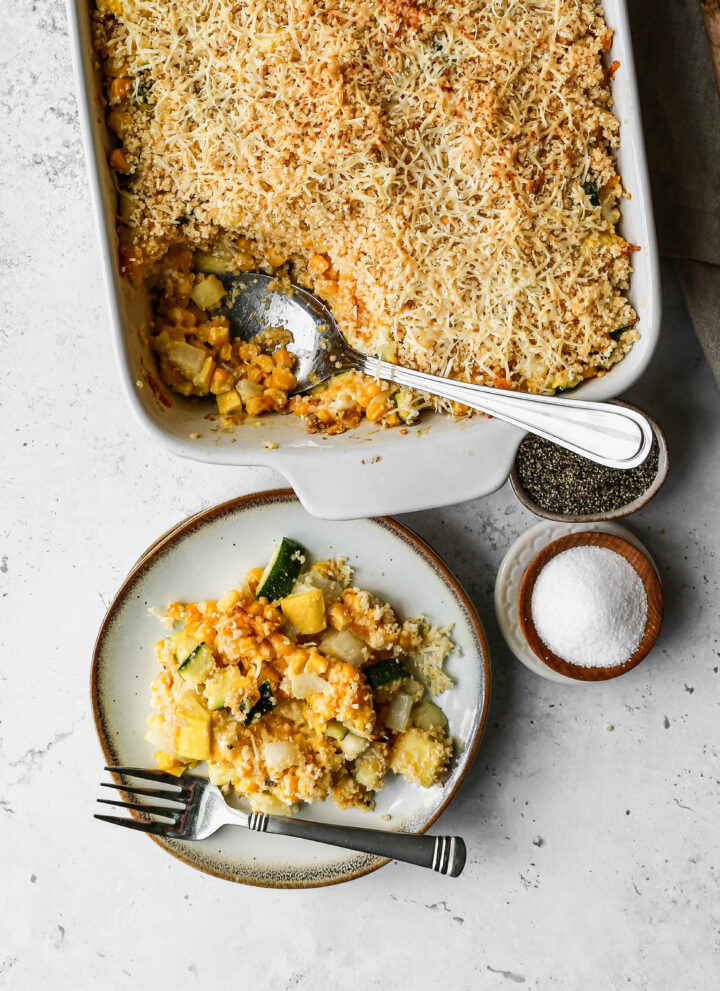
    a plate of gluten free zucchini squash and corn casserole next to a small wooden bowl of salt.
    [feast_advanced_jump_to]

    Ingredients

    • Yellow Squash
    • Zucchini
    • Sweet Onion
    • Minced Garlic
    • Frozen Corn
    • Cheddar Cheese
    • Sour Cream
    • Mayonnaise
    • Eggs
    • Sea Salt
    • Coarse Ground Black Pepper
    • Gluten Free Bread Crumbs
    • Unsalted Butter
    • Parmesan Cheese

    Instructions

    Preheat your oven to 350 degrees.

    In a large bowl stir together the yellow squash, zucchini, onion, garlic, corn, cheddar cheese, sour cream, mayonnaise, eggs, salt, pepper and 1 cup of gluten free bread crumbs.

    Pour the squash mixture into a 9x13 baking dish or 3 quart baking dish.

    Mix together 1 cup gluten free bread crumbs and melted butter. Sprinkle over the squash mixture in the baking dish. Top with finely grated parmesan cheese.

    Bake at 350 degrees for 45 minutes. The topping will be slightly browned when the casserole is done.

    Supplies

    More Recipes You Might Enjoy

    • Easy Gluten Free Zucchini Brownies
    • Air Fryer Roasted Zucchini Squash
    • Baked Kale and Zucchini Pilaf
    • Gluten Free Zucchini Chocolate Chip Cookies

    I get a lot of my ingredients from Thrive Market. Thrive Market has been a game changer for me eating gluten free. They have so many options I can't get at my rural grocery stores! Use this link to get 40% off your first order!

    Print
    clock clock iconcutlery cutlery iconflag flag iconfolder folder iconinstagram instagram iconpinterest pinterest iconfacebook facebook iconprint print iconsquares squares iconheart heart iconheart solid heart solid icon

    Gluten Free Zucchini Squash and Corn Casserole


    5 Stars 4 Stars 3 Stars 2 Stars 1 Star

    5 from 1 review

    • Author: Elaine VanVleck
    • Total Time: 1 hour
    • Yield: 8 servings 1x
    • Diet: Gluten Free
    Print Recipe
    Pin Recipe

    Description

    This Gluten Free Zucchini Squash and Corn Casserole is a rich, creamy, and cheesy baked side dish loaded with fresh yellow squash, zucchini, sweet corn, garlic, and onion baked with cheddar cheese, sour cream, and mayonnaise under the most beautiful golden gluten free bread crumb and parmesan topping. It is hearty enough to steal the show at any summer dinner table and so delicious that even your non gluten free guests will come back for seconds. Naturally gluten free and perfect for summer barbecues, potlucks, and family dinners!


    Ingredients

    Scale
    • 1 ½ pounds Yellow Squash, cut into ½-inch cubes
    • 1 ½ pounds Zucchini, cut into ½-inch cubes
    • 1 large Sweet Onion, chopped
    • 2 Tbsp Minced Garlic
    • 32 ounce bag Frozen Corn
    • 2 cups Cheddar Cheese, shredded
    • ½ cup Sour Cream
    • ½ cup Mayonnaise
    • 2 large Eggs, beaten
    • 1 ½ tsp Sea Salt
    • 1 tsp Coarse Ground Black Pepper
    • 2 cups Gluten Free Bread Crumbs
    • ¼ cup Unsalted Butter, melted
    • ½ cup Parmesan Cheese, finely grated

    Instructions

    Preheat your oven to 350 degrees.

    In a large bowl stir together the yellow squash, zucchini, onion, garlic, corn, cheddar cheese, sour cream, mayonnaise, eggs, salt, pepper and 1 cup of gluten free bread crumbs.

    Pour the squash mixture into a 9x13 baking dish or 3 quart baking dish.

    Mix together 1 cup gluten free bread crumbs and melted butter. Sprinkle over the squash mixture in the baking dish. Top with finely grated parmesan cheese.

    Bake at 350 degrees for 45 minutes. The topping will be slightly browned when the casserole is done.

    Notes

    If you don't have yellow squash you can substitute with zucchini and just use zucchini in this recipe.

    • Prep Time: 15 minutes
    • Cook Time: 45 minutes
    • Category: Side Dish, Vegetables
    • Method: Baking
    • Cuisine: American

    Did you make this recipe?

    Tag @smallfarmbiglife on Instagram and hashtag it #smallfarmbiglife

    If you made this Gluten Free Zucchini Squash and Corn Casserole I would love to hear what you thought! Please leave a star rating and a comment below. This is one of my favorite summer side dish recipes and I hope it becomes a staple in your kitchen too!

    Storage

    Store leftover gluten free zucchini squash and corn casserole covered in the refrigerator for up to 4 days. Reheat individual servings in the microwave covered with a damp paper towel in 30 second intervals until heated through or place the entire dish back in a 350 degree oven covered with foil for about 15 to 20 minutes until warmed through. Remove the foil for the last 5 minutes to crisp up the bread crumb topping. This casserole is not recommended for freezing as the sour cream and mayonnaise based filling does not hold up well to freezing and thawing.

    Top Tip

    This casserole does not require pre cooking the vegetables on the stovetop before baking unlike some squash casseroles. The zucchini and yellow squash release their moisture as they bake directly in the dish. However if your squash pieces are very large or very watery you can salt them lightly and let them sit in a colander for 15 to 20 minutes to draw out some of the excess moisture before mixing everything together.

    This is especially helpful if you are using very large garden zucchini which tends to hold more water than smaller zucchini.

    Didn't find the answer you're looking for?

    Ask AI to answer based on this recipe:

    ChatGPT
    Google AI
    Perplexity
    Grok
    Claude

    Frequently Asked Questions

    Should you peel zucchini?

    Fresh zucchini should have a very soft skin that doesn't need to be peeled. If your zucchini has a hard skin it is likely old or over ripe. If possible, I would choose a different zucchini to cook with and compost the over ripe zucchini with tough skin.

    Most of the nutrition is in the deep green skin of the zucchini squash, which makes it a great reason to leave the peel on.

    Can I make this casserole ahead of time?

    Yes! You can assemble the entire casserole the night before including the bread crumb topping and store it covered in the refrigerator overnight. When you are ready to bake simply take it out of the refrigerator while the oven preheats and then bake as directed adding 5 to 10 extra minutes if the casserole is going in cold. This is a great option for potlucks and holiday dinners when you want to minimize day of cooking.

    Do I need to pre cook the zucchini and squash before baking this casserole?

    No and that is one of the things I love most about this recipe. Unlike my Gluten Free Summer Squash Casserole which requires sauteing the squash first this recipe goes directly into the baking dish without any stovetop cooking. The vegetables release their moisture as they bake and the eggs, sour cream, and mayonnaise help absorb that liquid and create a creamy and set casserole. If your zucchini is very large and watery you can salt the cubes lightly and let them drain in a colander for 15 minutes before mixing everything together.

    Can I use all zucchini instead of a combination of zucchini and yellow squash?

    Absolutely! If you do not have yellow squash or cannot find it just use all zucchini and the recipe works perfectly. The yellow squash adds beautiful color contrast to the casserole but the flavor and texture are nearly identical. You can also use all yellow squash if that is what you have on hand.

    What can I serve with this zucchini squash and corn casserole?

    This casserole pairs beautifully with grilled chicken, BBQ ribs, pulled pork, grilled steak, or any summer main dish you can think of. It is hearty enough to hold its own as a vegetarian main dish as well served alongside a simple green salad. It is the perfect potluck and barbecue side dish because it feeds 8 people beautifully and travels well in the baking dish.

    Easy Fried Frozen Corn

    This Easy Fried Frozen Corn is a quick, comforting side dish that turns everyday frozen corn into something special. Using a simple stovetop method, you'll learn how to cook frozen corn kernels so they're perfectly cooked frozen corn with golden edges and rich flavor.

    Inspired by southern fried corn, this recipe shows how to make fried corn that tastes homemade without any extra fuss.

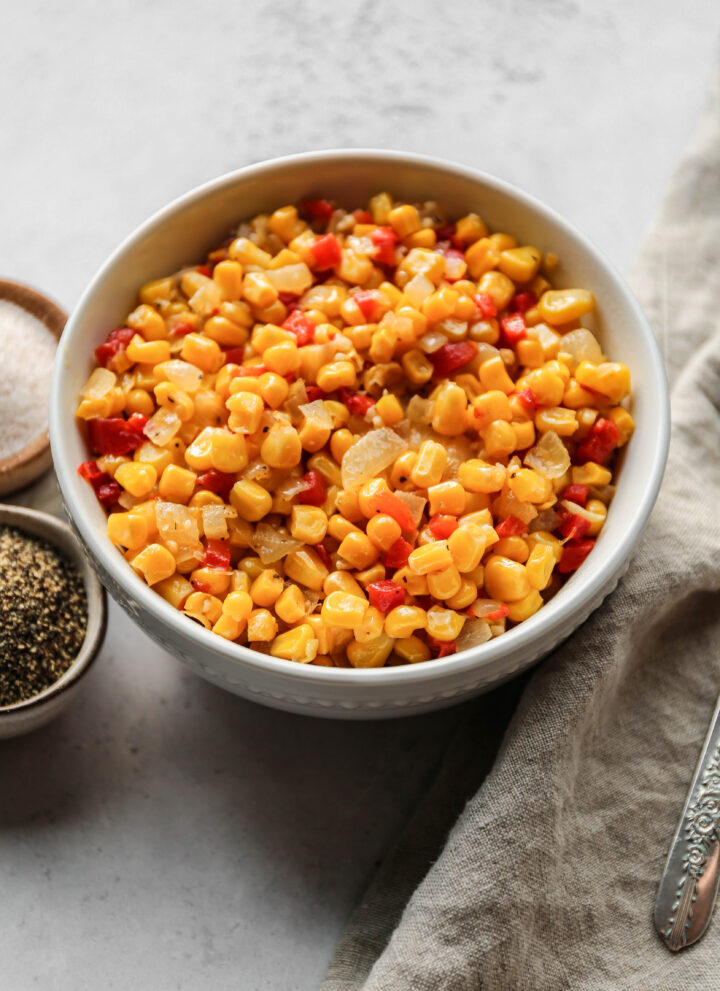
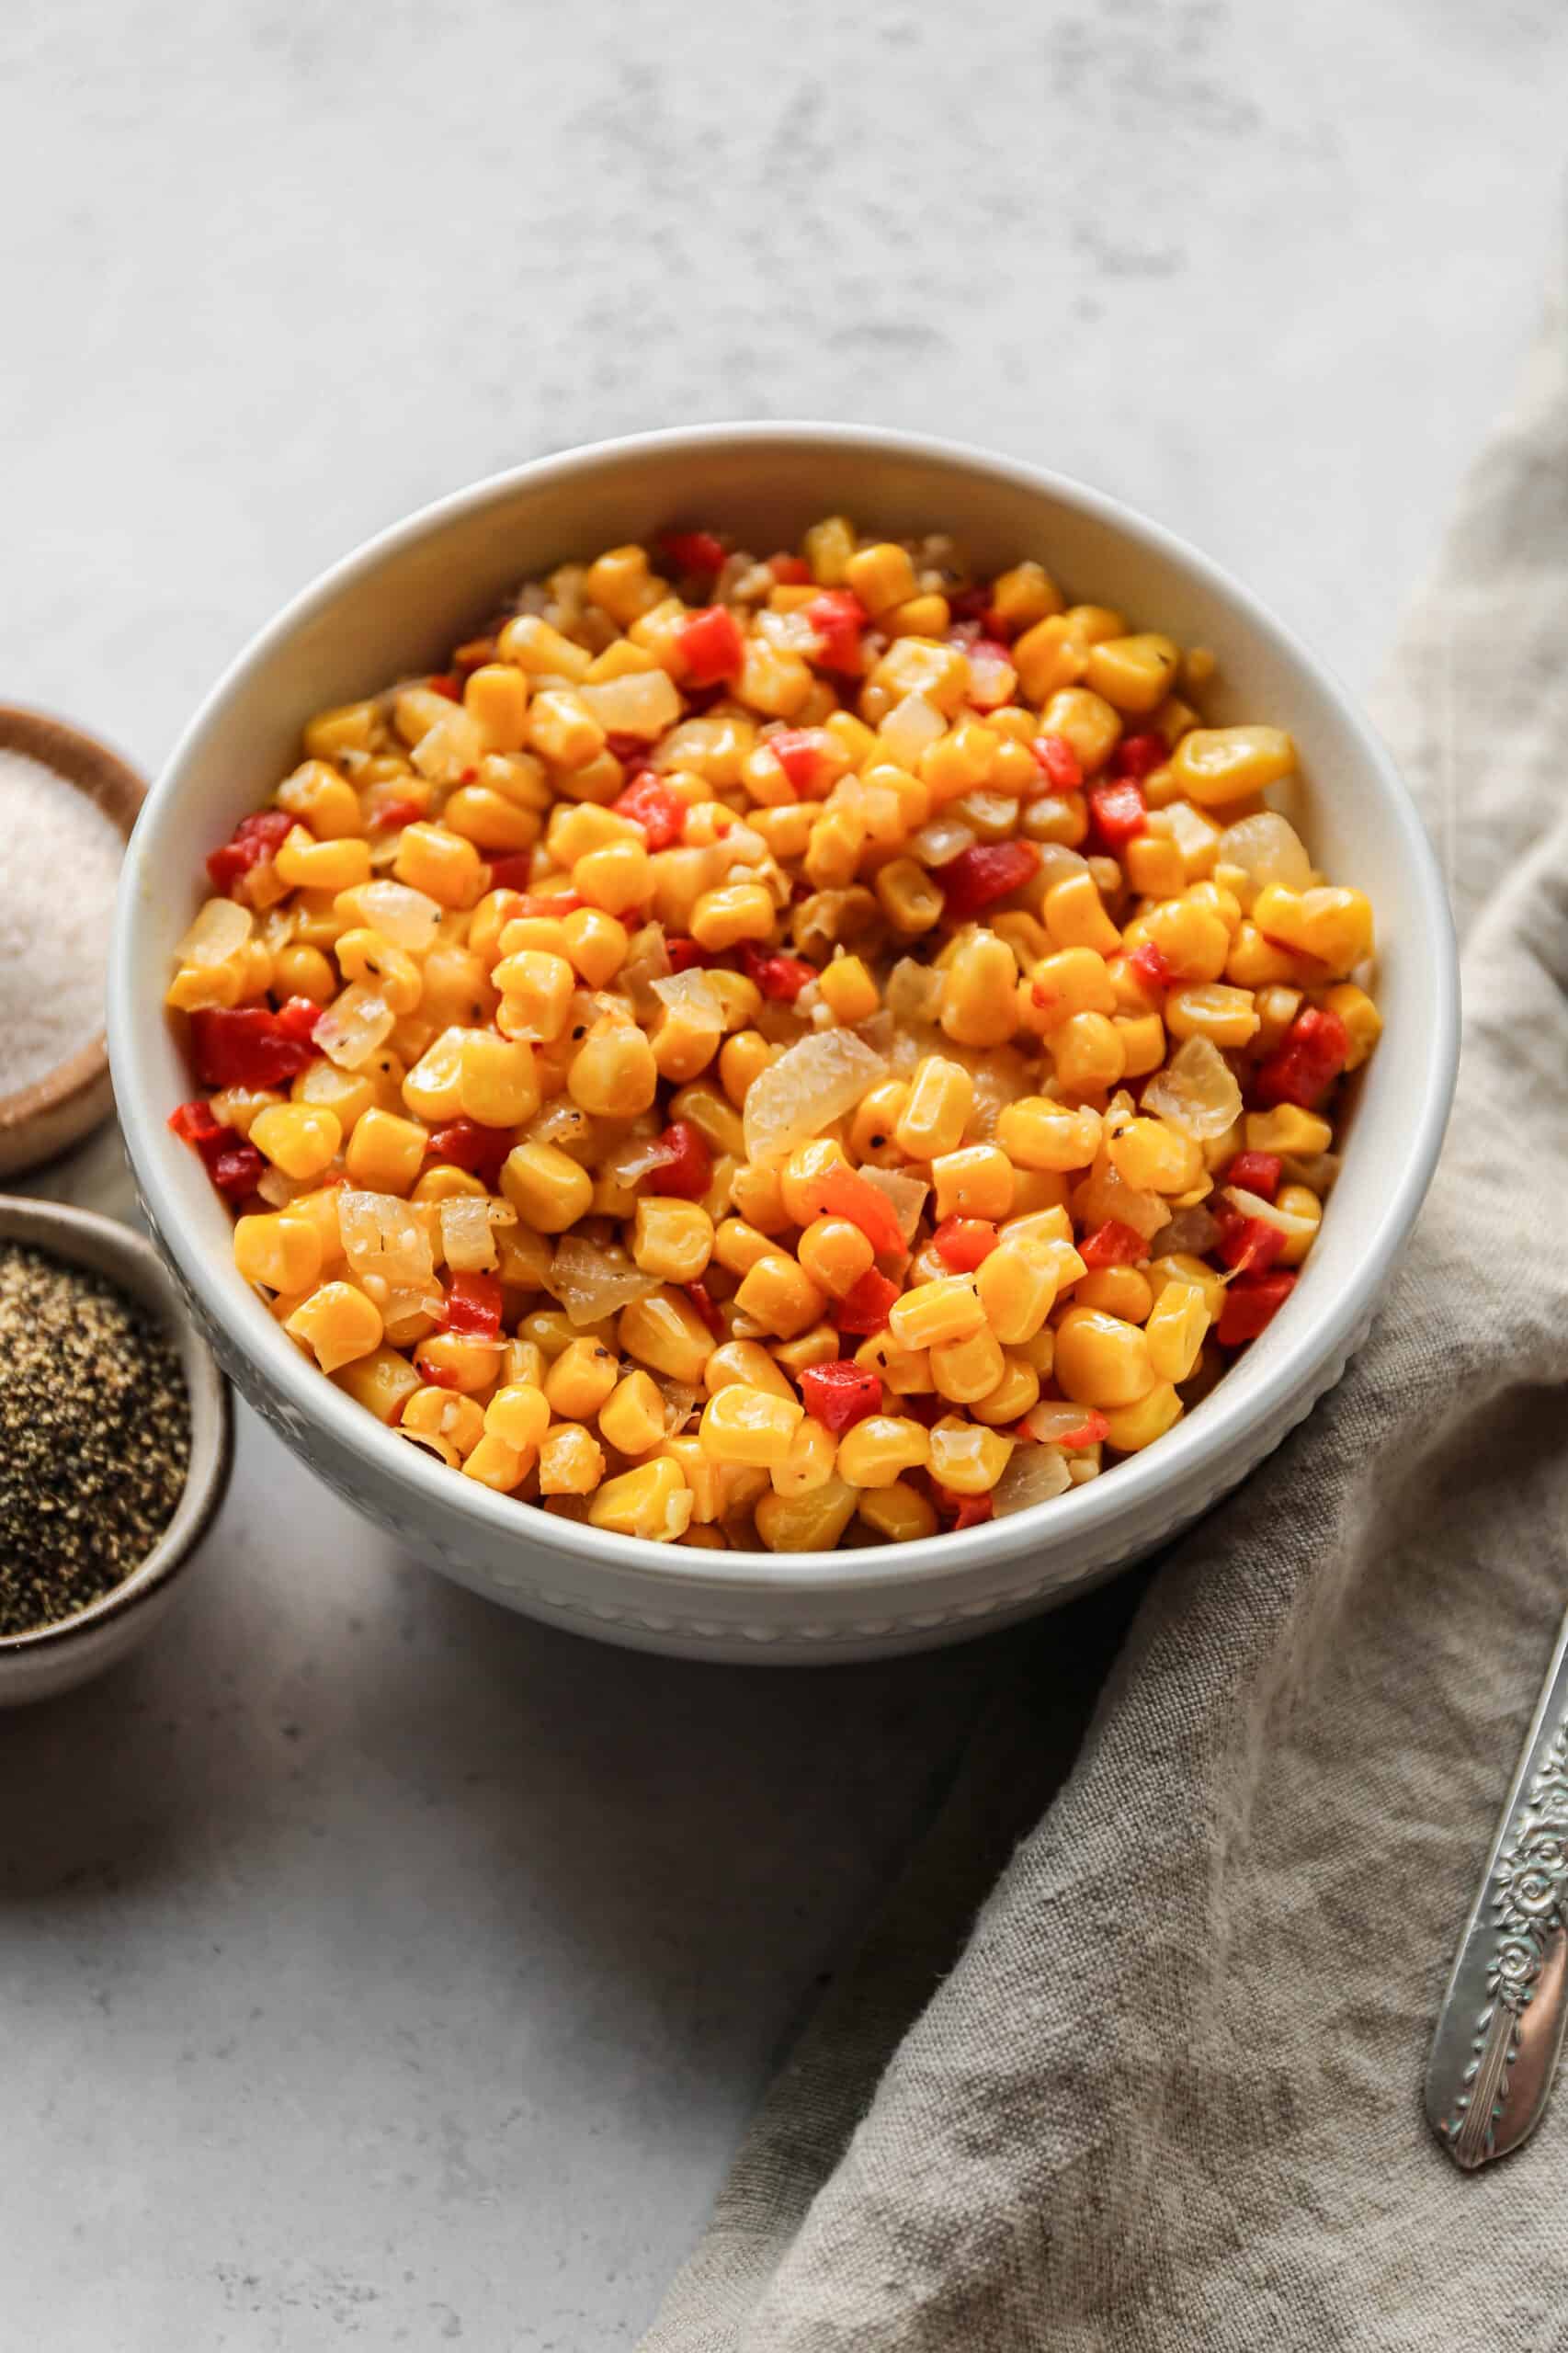
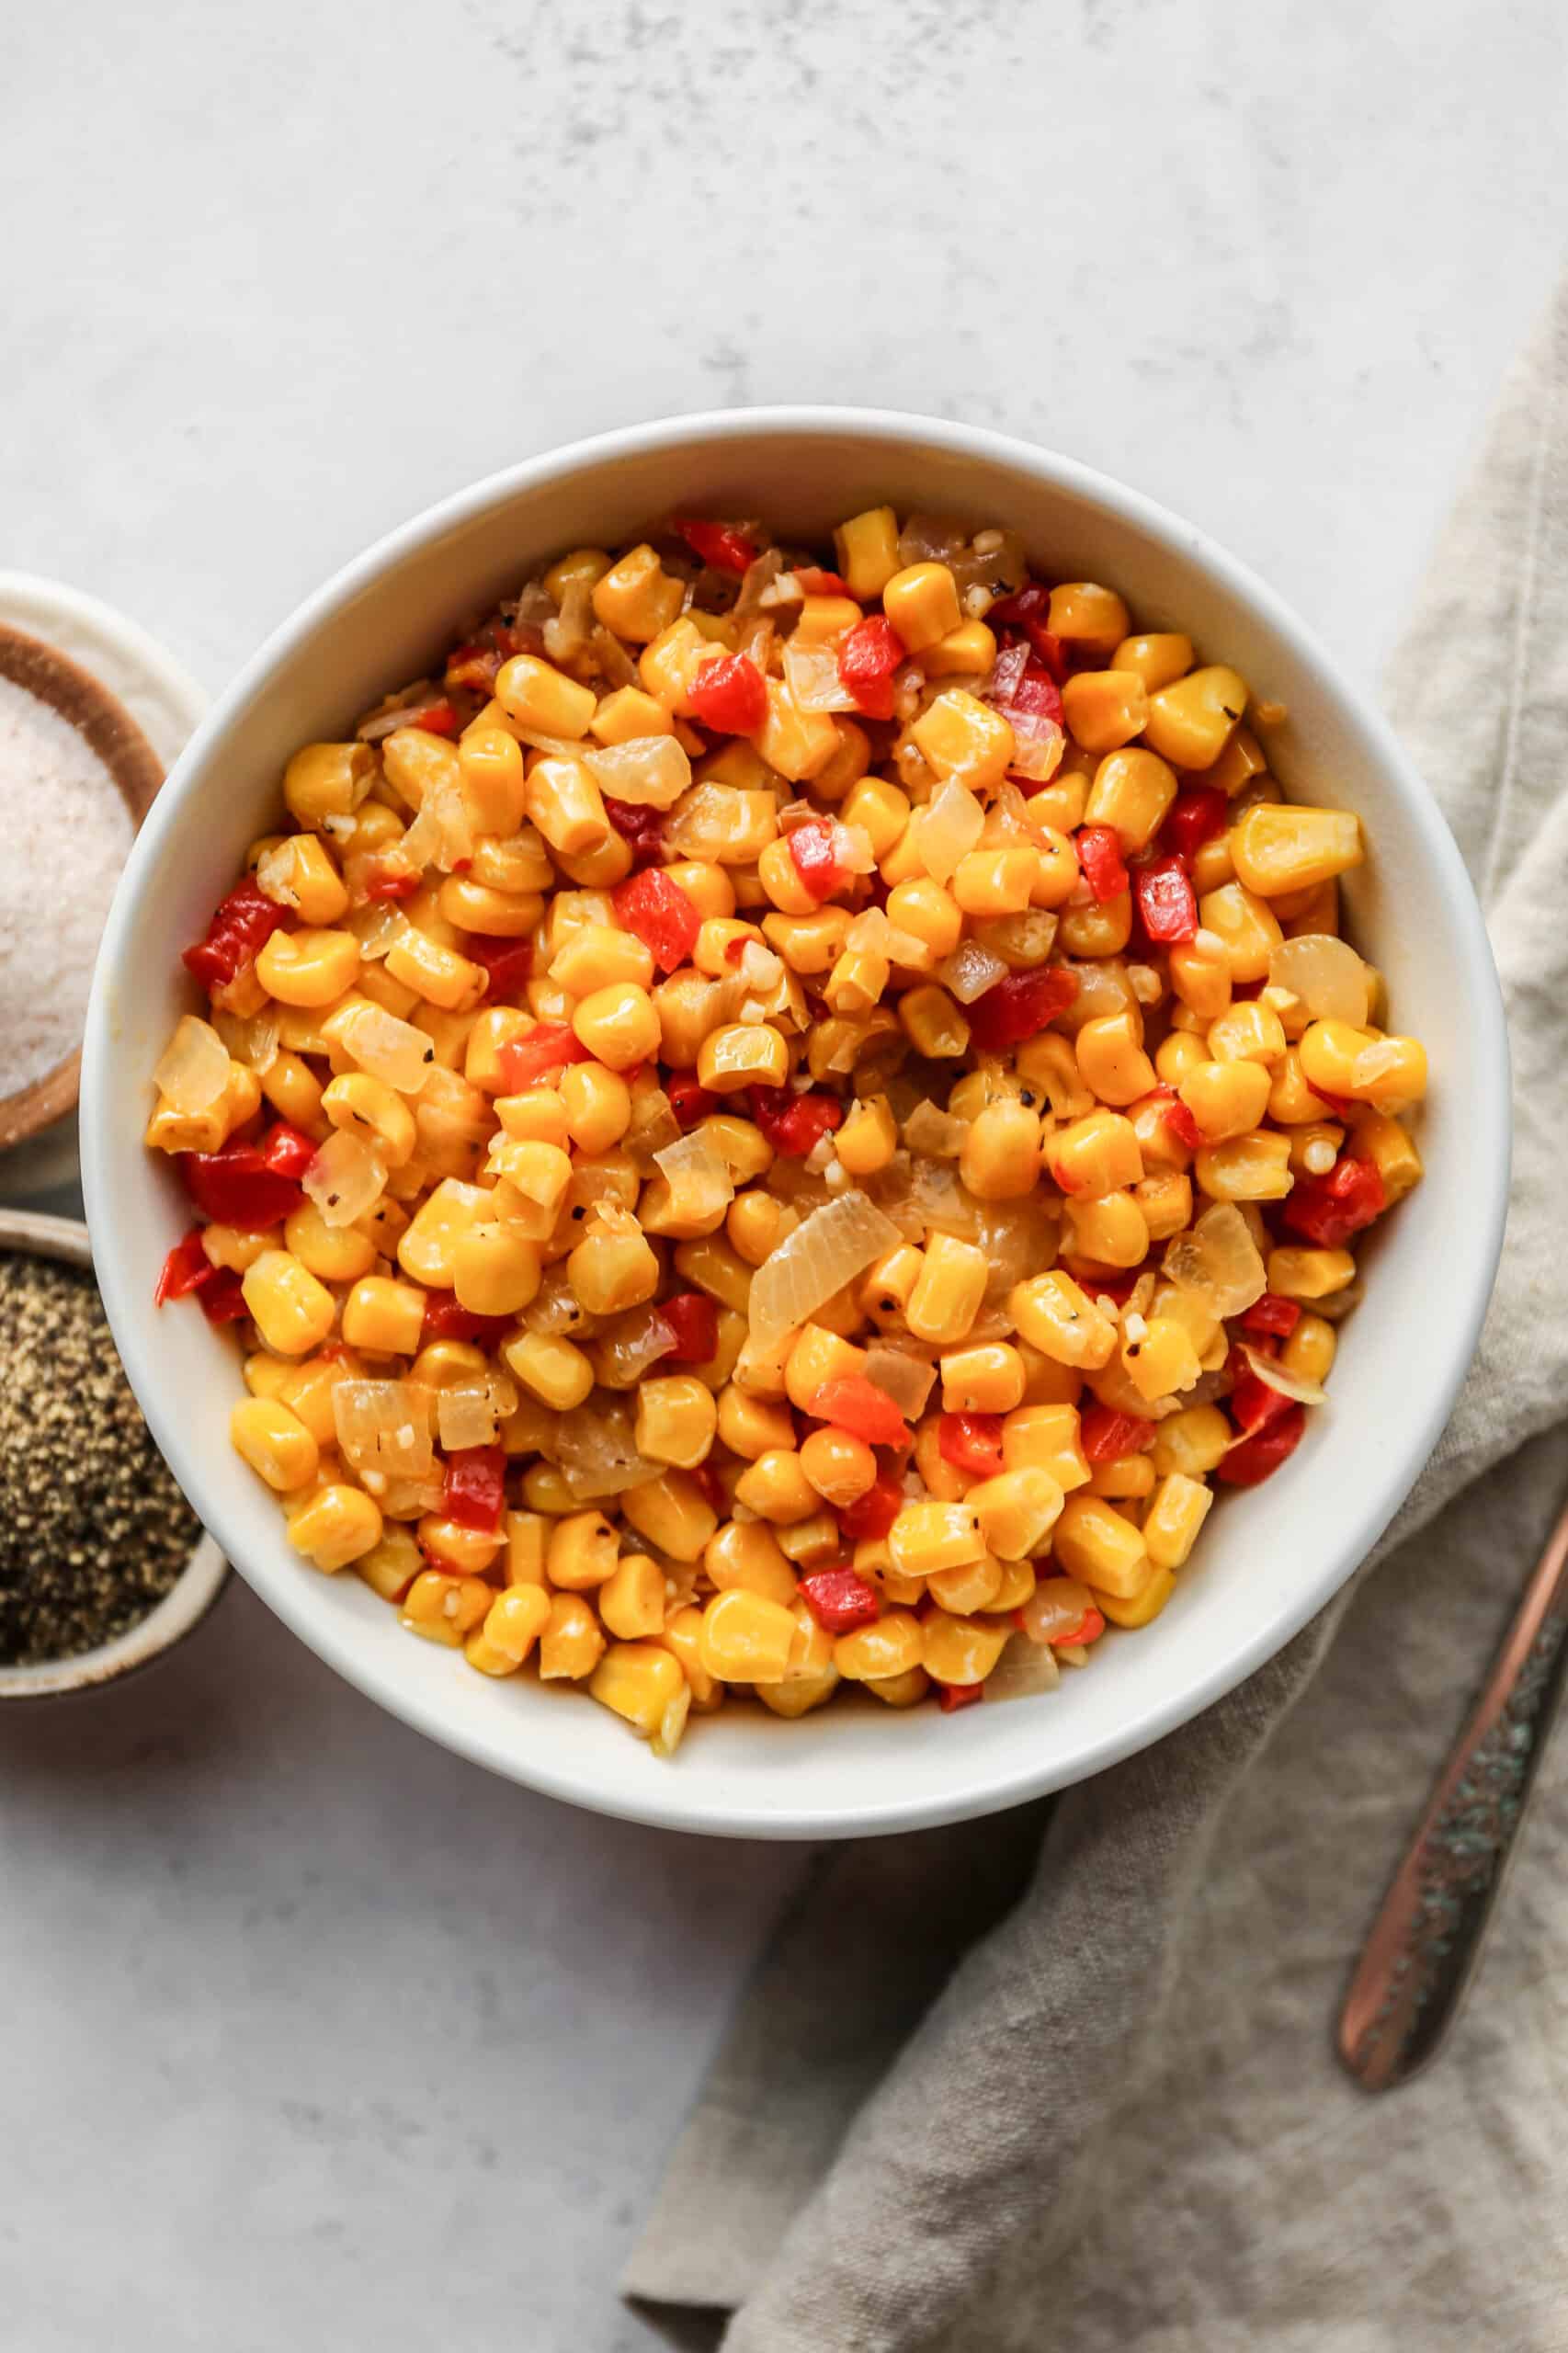
    a white bowl of easy friend frozen corn next to small bowls of salt and pepper.

    Perfect for busy nights, this fried frozen corn pairs beautifully with weeknight dinners, holiday meals, or classic comfort food plates. It's a reliable corn side dish recipe that delivers buttery, pan fried goodness every time and answers exactly how to make frozen corn taste good.

    If you're looking for the best southern fried corn using frozen corn, this easy method is one you'll come back to again and again.

    If you are looking for more easy side dishes you might also enjoy my Cheesy Slow Cooker Creamed Corn, this Black Beans and Corn Salad, my Healthy Mexican Street Corn Salad, this Southwestern Style Coleslaw or my Crispy Garlic and Rosemary Smashed Potatoes recipes.

    You can find my side dishes here: Gluten Free Side Dish Recipes

    a white bowl of easy fried frozen corn next to small bowls of salt and pepper.
    [feast_advanced_jump_to]

    Ingredients

    • Frozen Corn
    • Unsalted Butter
    • Yellow Onion
    • Minced Garlic
    • Pimientos
    • Sea Salt
    • Coarse Ground Black Pepper

    Instructions

    In a frying pan or skillet over medium heat add the butter. Heat the butter until melted and starting to bubble. Add the onions and stir occasionally until the onions are starting to brown.

    Add the garlic and heat for 1 minute.

    Carefully add the frozen corn, pimentos, salt and pepper. Stir to combine.

    Cook over medium heat stirring occasionally until the corn is done, about 5-6 minutes.

    Remove from heat and serve immediately.

    Substitutions

    • Red Bell Pepper - instead of pimentos finely dice a red bell pepper and cook along with the onions
    • White Onion - white onions can replace the yellow onion
    • Frozen Mixed Vegetables - the corn can be replaced with a 12 ounce bag of mixed vegetables

    Supplies

    More Recipes You Might Enjoy

    • Cheesy Slow Cooker Creamed Corn
    • Healthy Mexican Street Corn Salad
    • Gluten Free Zucchini Squash and Corn Casserole
    • Black Beans and Corn Salad

    I get a lot of my ingredients from Thrive Market. Thrive Market has been a game changer for me eating gluten free. They have so many options I can't get at my rural grocery stores! Use this link to get 40% off your first order!

    Print
    clock clock iconcutlery cutlery iconflag flag iconfolder folder iconinstagram instagram iconpinterest pinterest iconfacebook facebook iconprint print iconsquares squares iconheart heart iconheart solid heart solid icon

    Easy Fried Frozen Corn


    5 Stars 4 Stars 3 Stars 2 Stars 1 Star

    No reviews

    • Author: Elaine VanVleck
    • Total Time: 20 minutes
    • Yield: 5 servings 1x
    • Diet: Gluten Free
    Print Recipe
    Pin Recipe

    Description

    This recipe for easy fried frozen corn is a delicious side dish. It's simple to make in a skillet with butter, onions, garlic and frozen corn. This pan roasted corn is perfect for Thanksgiving or weeknight meals.


    Ingredients

    Scale
    • 12 ounce bag Frozen Corn
    • ¼ cup Unsalted Butter
    • 1 small Yellow Onion, finely chopped
    • 1 Tbsp Minced Garlic
    • 4 ounce jar Pimientos, drained
    • ½ tsp Sea Salt
    • ¼ tsp Coarse Ground Black Pepper

    Instructions

    In a frying pan or skillet over medium heat add the butter. Heat the butter until melted and starting to bubble. Add the onions and stir occasionally until the onions are starting to brown.

    Add the garlic and heat for 1 minute.

    Carefully add the frozen corn, pimentos, salt and pepper. Stir to combine.

    Cook over medium heat stirring occasionally until the corn is done, about 5-6 minutes.

    Remove from heat and serve immediately.

    • Prep Time: 5 minutes
    • Cook Time: 15 minutes
    • Category: Side Dish, Vegetables
    • Method: Stove Top
    • Cuisine: Gluten Free

    Did you make this recipe?

    Tag @smallfarmbiglife on Instagram and hashtag it #smallfarmbiglife

    Storage

    Store in an air tight container in the refrigerator for up to 5 days.

    You can also freeze this side dish in a freezer safe container or bag for up to 1 month. To reheat either heat in a frying pan over medium low heat or in the microwave with a damp paper towel over the top for 2-3 minutes.

    Didn't find the answer you're looking for?

    Ask AI to answer based on this recipe:

    ChatGPT
    Google AI
    Perplexity
    Grok
    Claude

    Frequently Asked Questions

    Do you need to thaw corn before cooking?

    No. You can add the frozen corn right of the freezer to this recipe. Just be careful adding the frozen vegetable to hot butter that you don't get splashed with the sizzling.

    Can I use canned corn to make fried skillet corn?

    I would not use canned corn for this recipe. It can get mushy and over cooked easily. It is best to use frozen corn when you're making fried corn.

    Creamy Sausage Bean Dip

    This creamy sausage bean dip is one of my favorite appetizers to bring to parties and game day gatherings. It comes together with just a handful of ingredients you probably already have on hand: sausage, cream cheese, pinto beans, and plenty of cheese. Everything starts on the stovetop.

    The sausage, onion, and bell pepper cook together until the sausage is browned, then the cream cheese melts right into the pan for a rich, creamy base.

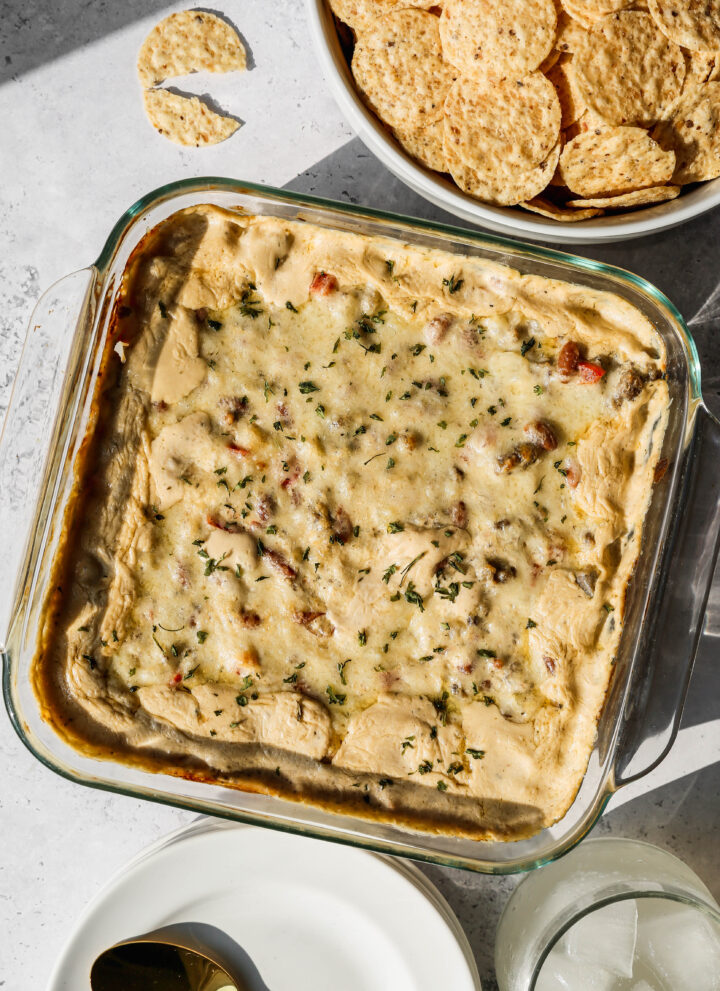
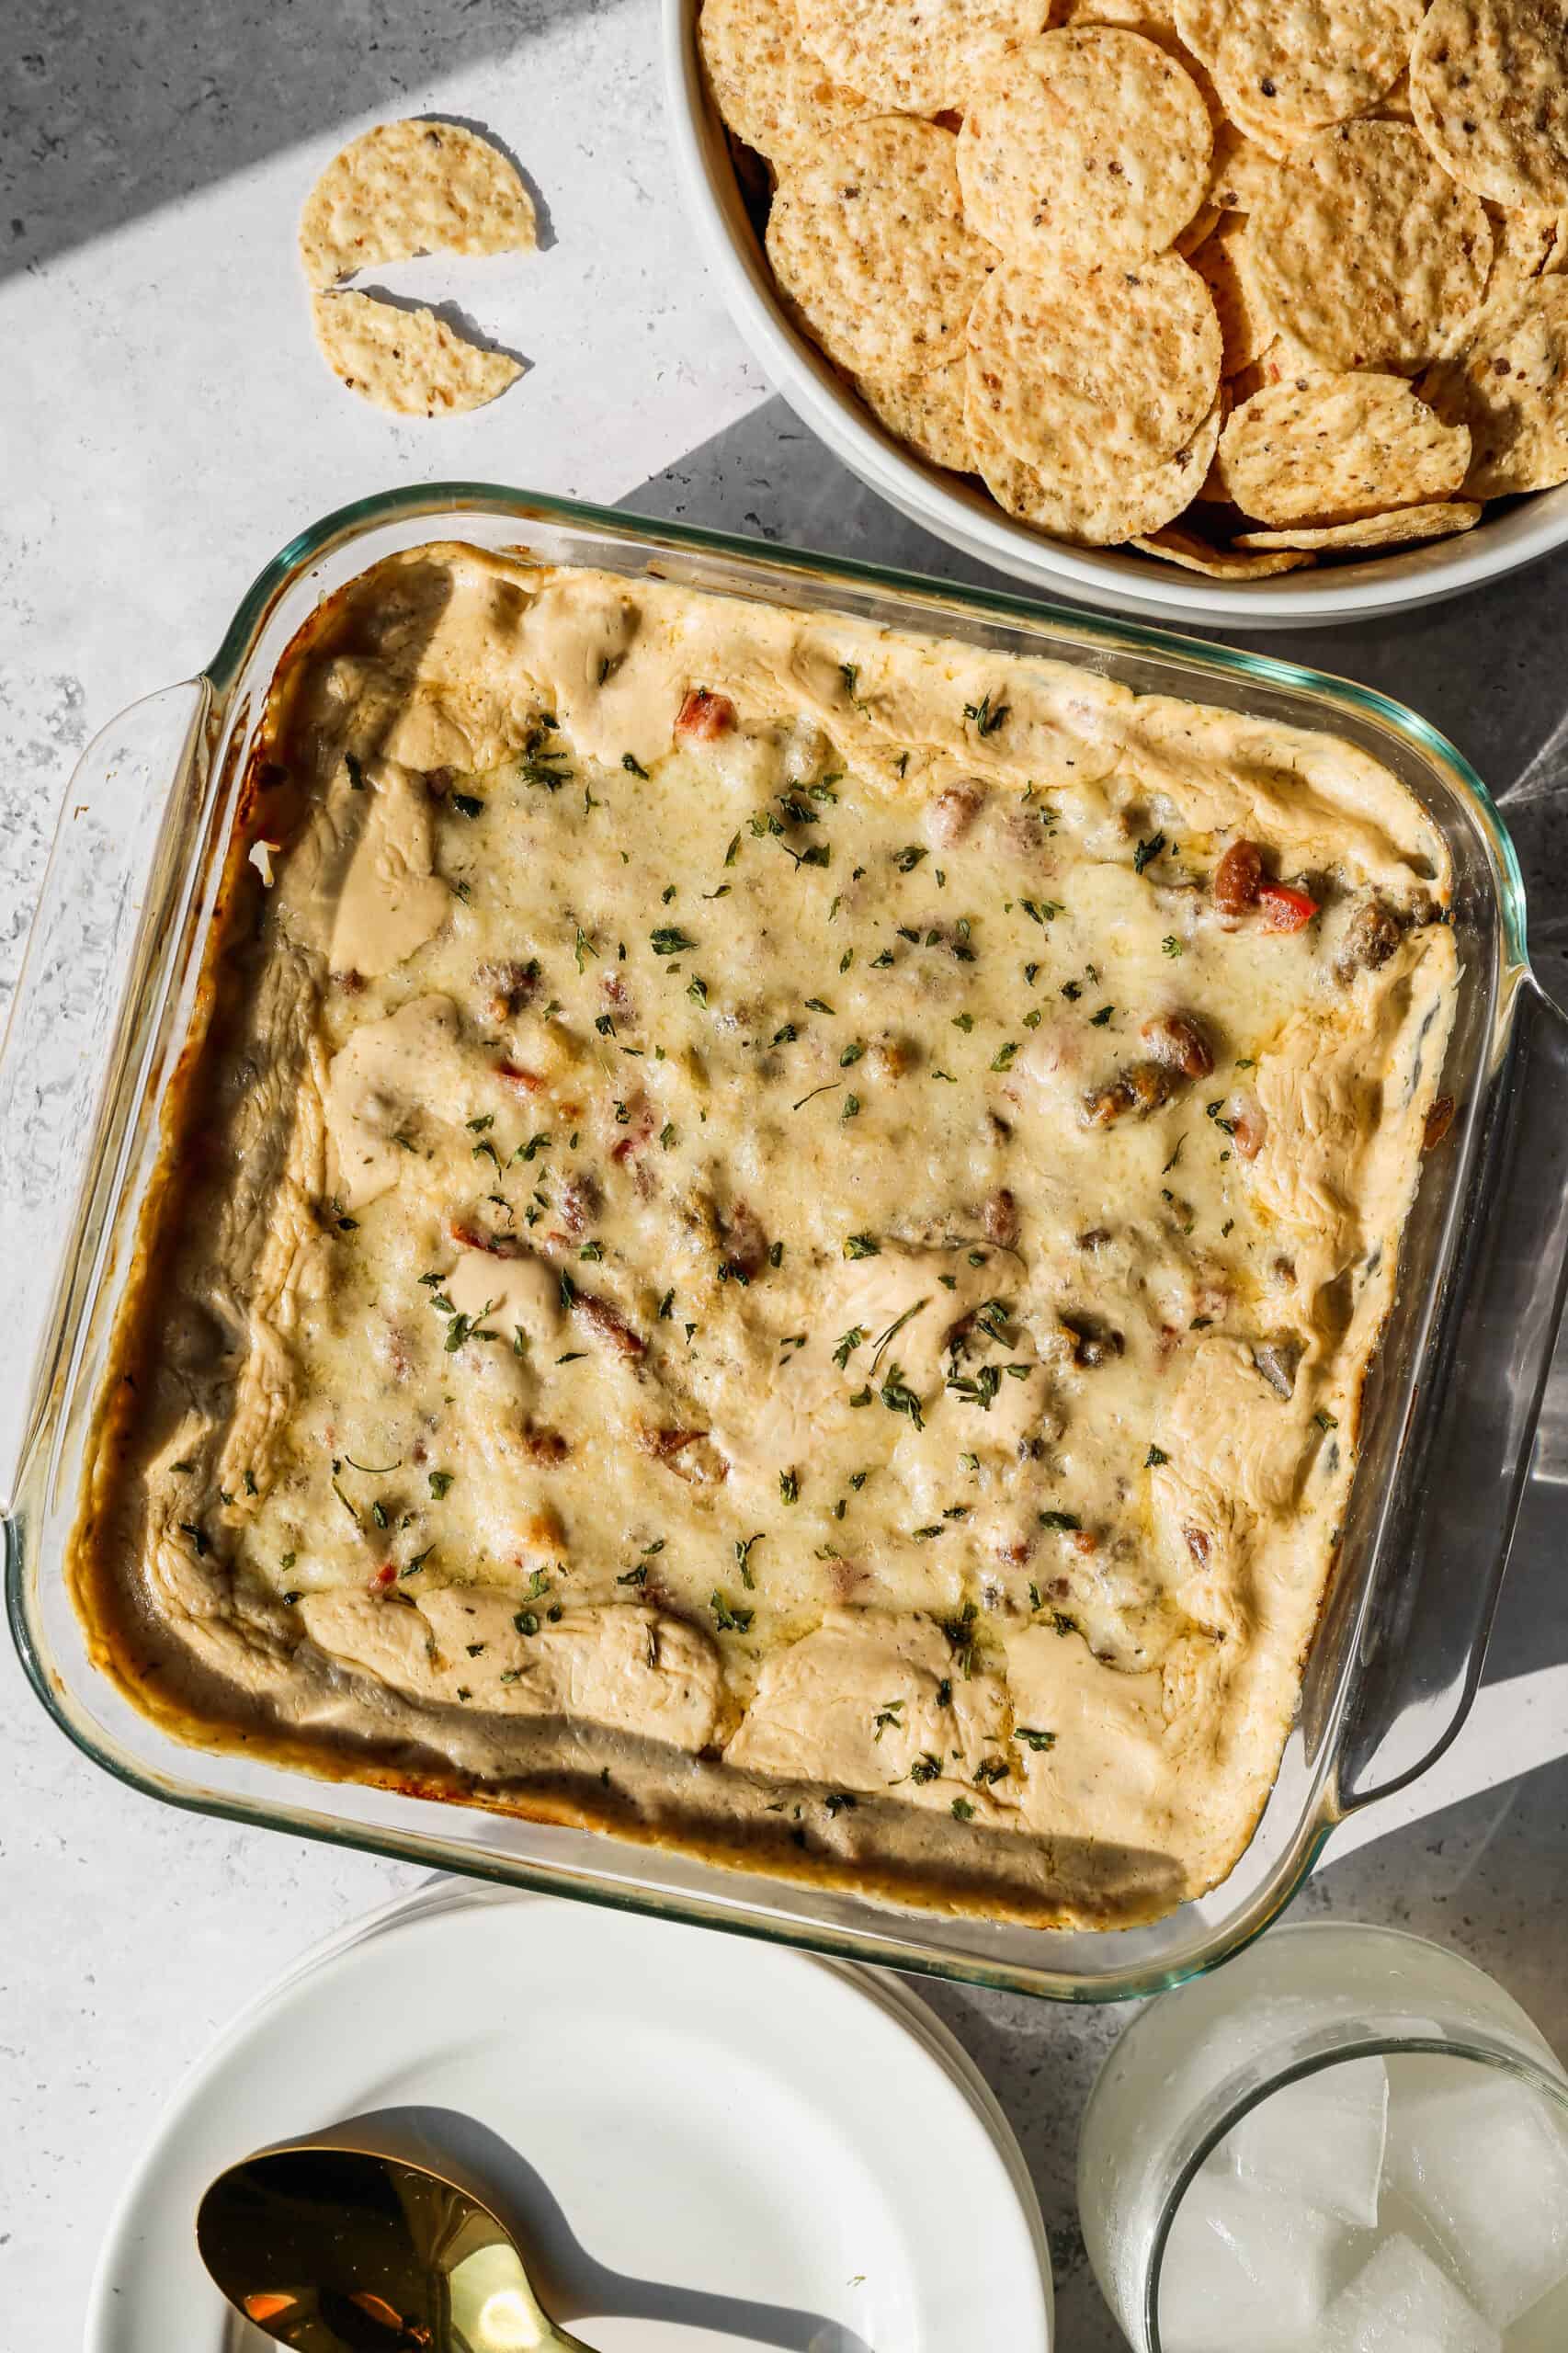
    a 8x8 baking dish of creamy sausage bean dip next to a white bowl of tortilla chips.

    Once the pinto beans and cheddar cheese are stirred in, the whole mixture goes into the oven to bake until it is golden and bubbling around the edges. That last step is what gives this sausage bean dip its warm, scoopable texture.

    I love serving this dip warm with tortilla chips, but it is just as good with toasted gluten free bread or fresh vegetables. It is easy to prep ahead of time too, so you can have it ready to bake the moment guests arrive.

    If you are looking for more bean recipes you might also enjoy my Gluten Free Cowboy Baked Beans, this Black Beans and Corn Salad, my Gluten Free Cheesy Pinto Beans, this Gluten Free Instant Pot Italian Style Pasta and Bean Soup, my Instant Pot Beef and Bean Burrito Casserole or this Instant Pot Vegetarian Navy Bean Soup recipes.

    You can find all of my snack recipes here: Gluten Free Snack Recipes

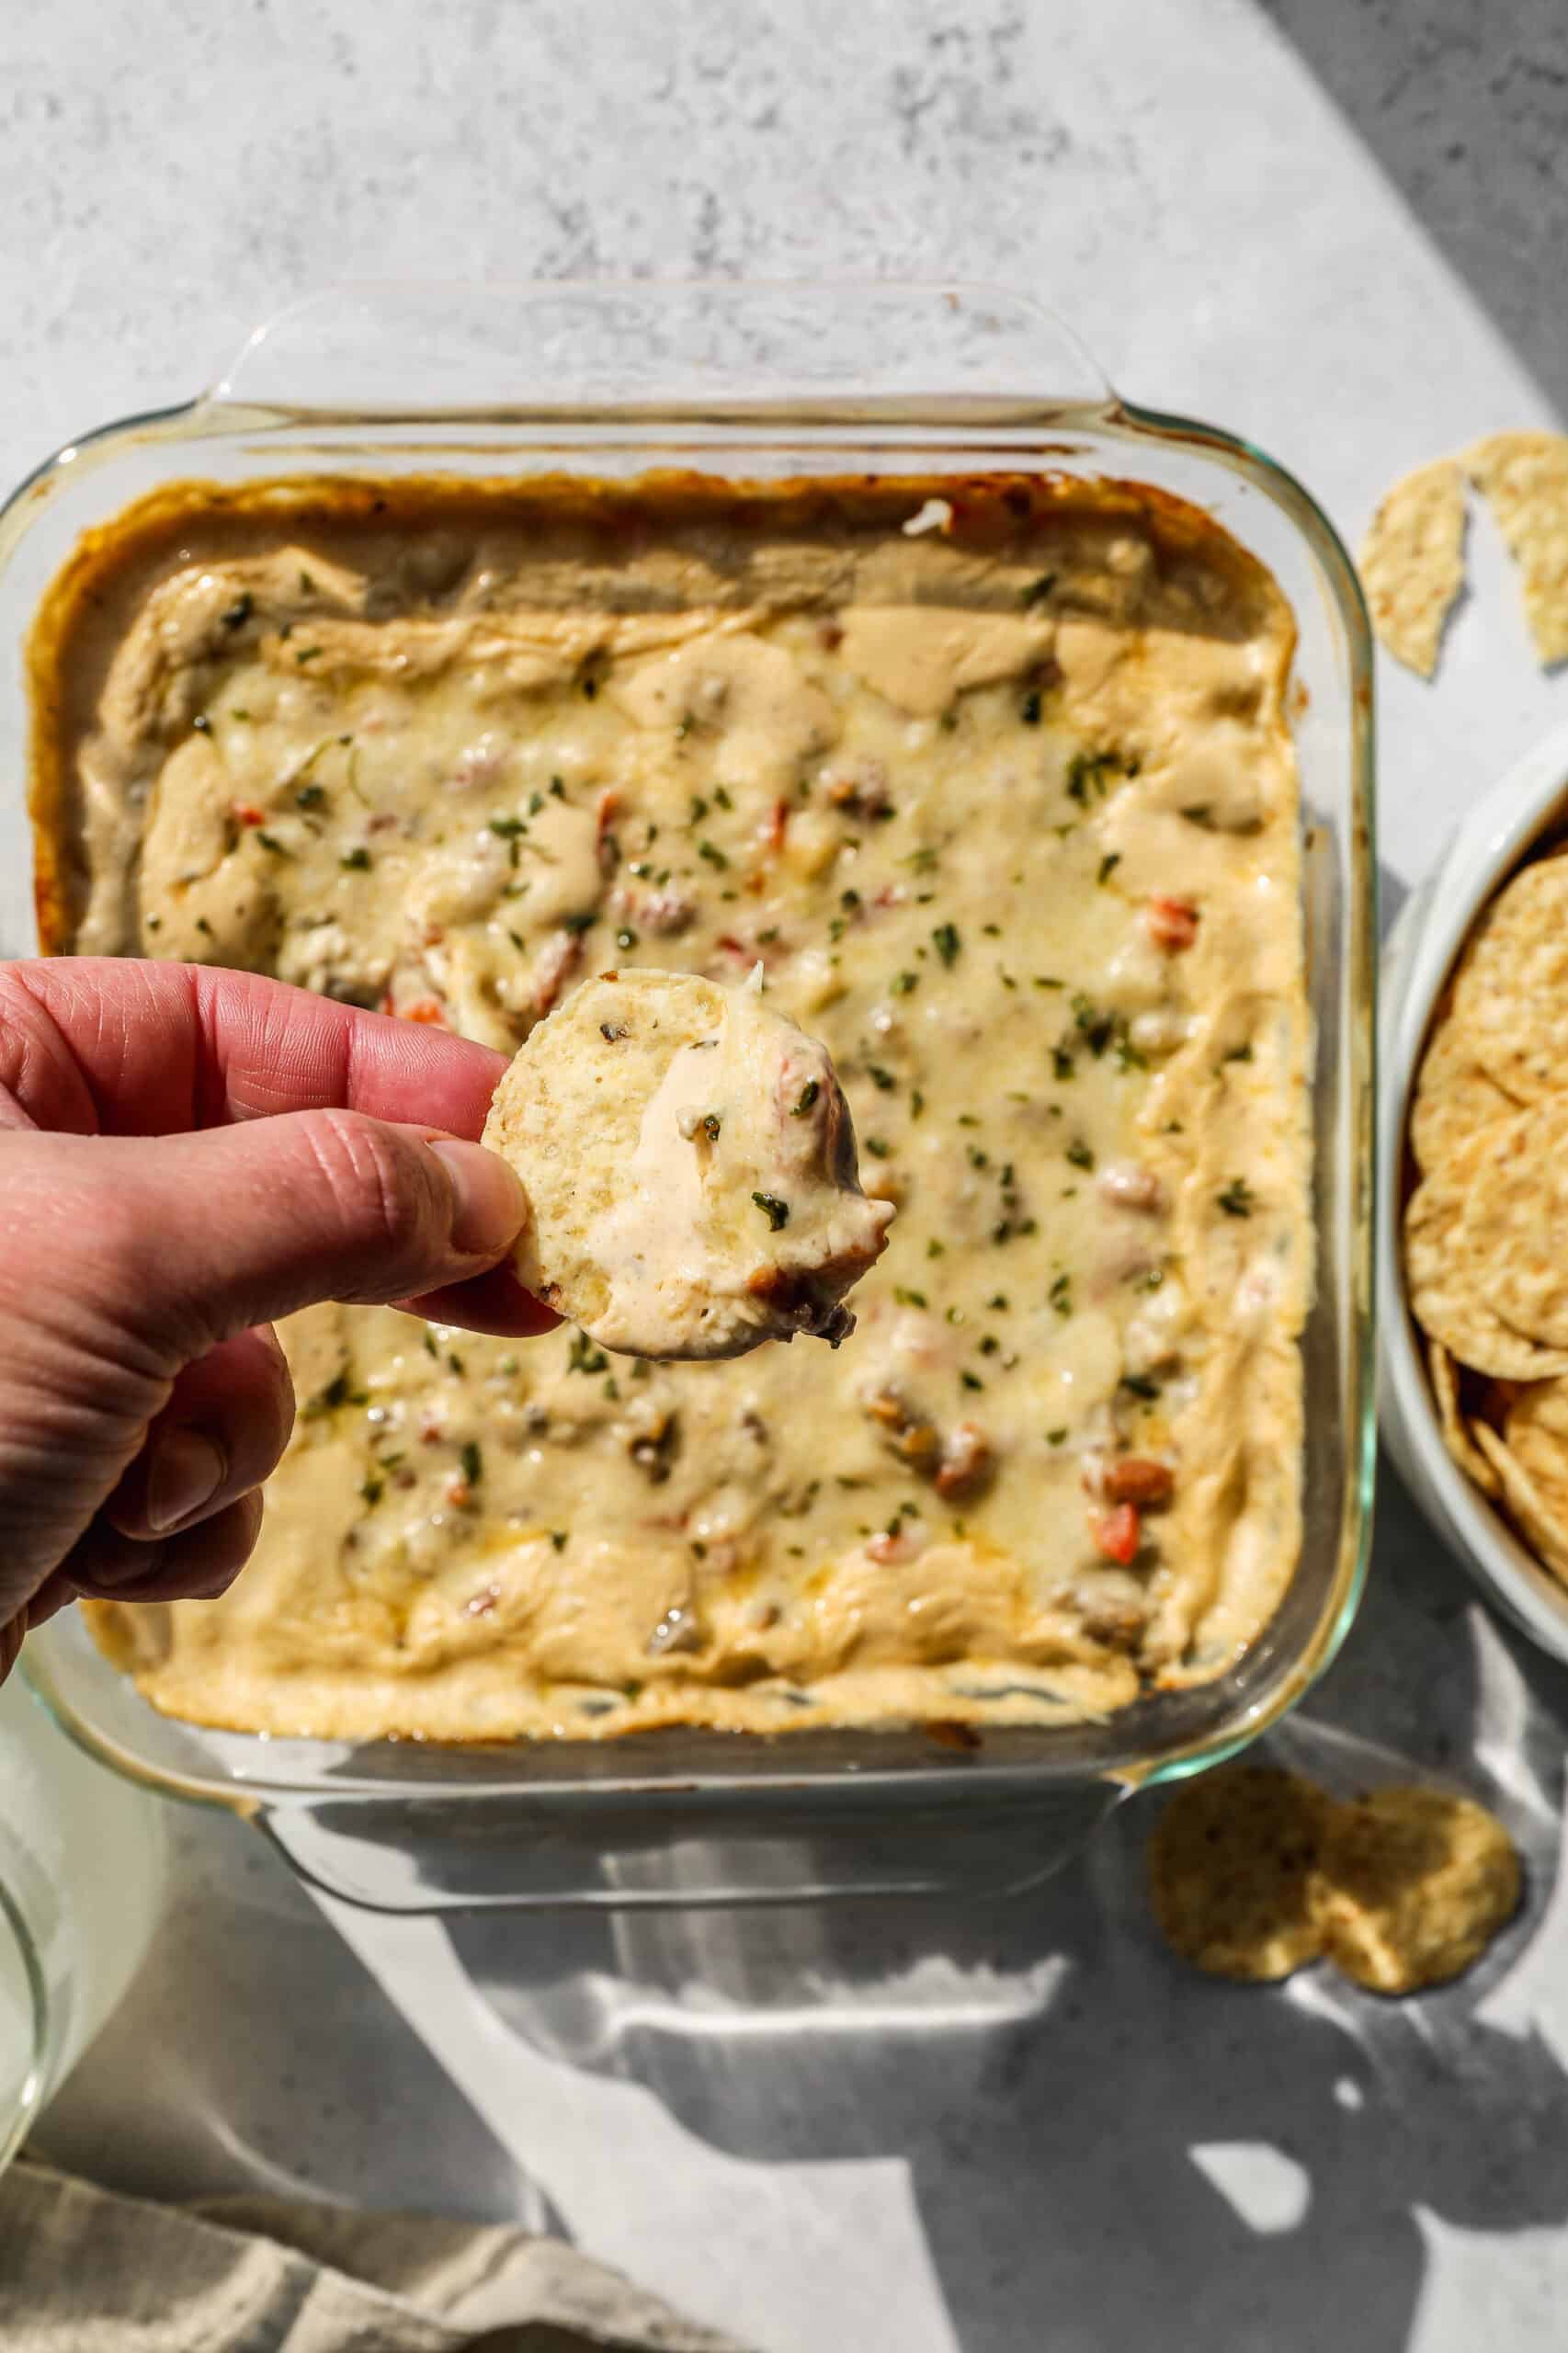
    an 8x8 baking dish of creamy sausage bean dip with me holding a tortilla chip with the dip on top.
    [feast_advanced_jump_to]

    Why You'll Love This Recipe

    • Ready in about 35 minutes, start to finish
    • Made with just a handful of ingredients you probably already have on hand
    • Easy to prep ahead and bake right before guests arrive
    • Freezer friendly, so you can make a batch to have on hand for last minute gatherings
    • Bakes up warm, creamy, and bubbling with melted cheddar and parmesan on top
    • A hearty, filling appetizer that works for game day, potlucks, or any casual get together

    Ingredient Swaps and Substitutions

    This recipe is easy to adjust based on what you have on hand or what your family prefers.

    • Sausage: Italian style turkey sausage keeps this dip a little lighter, but regular pork sausage, chicken sausage, or ground beef will all work in its place.
    • Beans: Pinto beans give this dip its classic flavor, but black beans or great northern beans are good substitutes.
    • Cheese: Cheddar cheese melts beautifully here, but Monterey jack or pepper jack cheese would add a different flavor if you want more heat.
    • Spice: If you like a little heat, stir in a pinch of red pepper flakes or a diced jalapeño with the onion and pepper.

    Can I Make This Ahead or Freeze It?

    Yes, this sausage bean dip is easy to prep ahead of time. Cook the sausage mixture and stir in the beans and cheese as directed, then cover and refrigerate in the baking dish for up to 2 days before baking.

    When you are ready to serve, let the dish sit at room temperature for about 15 minutes, then bake as directed, adding a few extra minutes if it is going into the oven cold.

    To freeze, assemble the dip through the bean and cheese step, then cool completely before covering tightly and freezing for up to 2 months. Thaw overnight in the refrigerator before topping with parmesan and baking.

    What to Serve with Sausage Bean Dip

    • Tortilla chips or corn chips for classic dipping
    • Toasted gluten free bread or crostini
    • Sliced bell peppers, celery, or carrots for a lighter option
    • Alongside other appetizers like Gluten Free Caramelized Onion Dip or Gluten Free Homemade Ranch Dip for a full party spread

    Storage

    Store in a sealed container in the refrigerator for up to 5 days. To reheat add a damp paper towel over the container and microwave in 30 second intervals until the dip is warm and ready to serve.

    Top Tip

    This recipe is perfect for game days, parties or just when you want a warm cozy snack. I love to serve this dip with tortilla chips, but it would also be yummy on toasted bread.

    FAQ

    Do I have to bake sausage bean dip?

    Yes. Even though the sausage, onion and peppers are fully cooked that sausage bean dip won't be as creamy or have as rich of a flavor if it's not baked.

    What is the best way to reheat sausage bean dip?

    Put the creamy sausage bean dip in a microwave safe container. Cover the container with a damp paper towel and heat for 30 second intervals until the bean dip is warm and creamy.

    What should I serve sausage bean dip with?

    I love to serve this creamy sausage bean dip with tortilla chips or small pieces of toasted bread.

    What kind of sausage works best for this dip?

    Italian style turkey sausage keeps this dip a little lighter, but any bulk pork sausage, chicken sausage, or even ground beef will work well too.

    Can I make this in a slow cooker?

    Yes. Cook the sausage, onion, pepper, and garlic in a skillet first, then transfer everything to a slow cooker with the remaining ingredients except the parmesan. Cook on low for 2 to 3 hours, stirring occasionally, until the cheese is fully melted.

    Didn't find the answer you're looking for?

    Ask AI to answer based on this recipe:

    ChatGPT
    Google AI
    Perplexity
    Grok
    Claude

    Sausage Bean Dip Supplies

    More Recipes You Might Enjoy

    • Gluten Free Cheesy Pinto Beans
    • Gluten Free Caramelized Onion Dip
    • Gluten Free Homemade Ranch Dip
    • 10 Gluten Free Game Day Snacks & Sweets

    I get a lot of my ingredients from Thrive Market. Thrive Market has been a game changer for me eating gluten free. They have so many options I can't get at my rural grocery stores! Use this link to get 40% off your first order!

    Print
    clock clock iconcutlery cutlery iconflag flag iconfolder folder iconinstagram instagram iconpinterest pinterest iconfacebook facebook iconprint print iconsquares squares iconheart heart iconheart solid heart solid icon

    Creamy Sausage Bean Dip


    5 Stars 4 Stars 3 Stars 2 Stars 1 Star

    5 from 1 review

    • Author: Elaine VanVleck
    • Total Time: 35 minutes
    • Yield: 8 servings 1x
    • Diet: Gluten Free
    Print Recipe
    Pin Recipe

    Description

    This creamy sausage bean dip combines savory Italian sausage, melted cream cheese, and hearty pinto beans under a bubbling layer of cheddar and parmesan. It bakes up warm and scoopable in about 35 minutes, making it an easy party appetizer you can prep ahead. Serve it with tortilla chips for the perfect game day dip.


    Ingredients

    Scale
    • 16 ounces Italian Style Turkey Sausage
    • 1 small Sweet Onion, diced
    • 1 Red Bell Pepper, diced
    • 1 Tbsp Minced Garlic
    • 1 tsp Sea Salt
    • ½ tsp Dried Thyme
    • 2 Tbsp White Vinegar
    • 8 ounce package Cream Cheese, cut into chunks
    • 15 ounce can Pinto Beans, drained and rinsed
    • ½ cup Cheddar Cheese, shredded
    • ½ cup Parmesan Cheese, finely shredded
      Tortilla Chips for serving

    Instructions

    In a frying pan over medium heat cook the sausage, onion, pepper and garlic about 8-10 minutes or until the meat is no longer pink and the onion is translucent.

    Add the salt, thyme and vinegar. Stir to combine.

    Add the cream cheese in chunks. Cook while stirring until the cream cheese is completely melted and mixed in.

    Add the pinto beans and cheddar cheese. Stir to combine and remove pan from heat.

    Pour the bean mixture into an 8x8 baking dish or 2 quart baking dish. Top with the finely grated parmesan cheese.

    Bake at 375 degrees for 18-20 minutes or until golden brown and bubbling around the edges.

    Serve warm with tortilla chips or toasted gluten free bread.

    If you made this recipe please leave a star rating and comment below. It helps other readers find this recipe and means so much to me.

    • Prep Time: 15 minutes
    • Cook Time: 20 minutes
    • Category: Dips, Snacks
    • Method: Baking
    • Cuisine: American

    Did you make this recipe?

    Tag @smallfarmbiglife on Instagram and hashtag it #smallfarmbiglife

    If you make this creamy sausage bean dip, I would love to hear how it turns out. Leave a star rating and a comment below, and be sure to tag @smallfarmbiglife on Instagram so I can see your dip in action. For more easy appetizers like this one, subscribe to the newsletter so you never miss a new recipe.

    Sausage Bean Dip Ingredients

    • Italian Style Turkey Sausage
    • Sweet Onion
    • Red Bell Pepper
    • Minced Garlic
    • Sea Salt
    • Dried Thyme
    • White Vinegar
    • Cream Cheese
    • Pinto Beans
    • Cheddar Cheese
    • Parmesan Cheese
    • Tortilla Chips

    Instructions

    In a frying pan over medium heat cook the sausage, onion, pepper and garlic about 8-10 minutes or until the meat is no longer pink and the onion is translucent.

    Add the salt, thyme and vinegar. Stir to combine.

    Add the cream cheese in chunks. Cook while stirring until the cream cheese is completely melted and mixed in.

    Add the pinto beans and cheddar cheese. Stir to combine and remove pan from heat.

    Pour the bean mixture into an 8x8 baking dish or 2 quart baking dish. Top with the finely grated parmesan cheese.

    Bake at 375 degrees for 18-20 minutes or until golden brown and bubbling around the edges.

    Serve warm with tortilla chips or toasted gluten free bread.

    Instant Pot Garlic Ginger Green Beans

    This easy recipe for instant pot garlic ginger green beans is a quick side dish. The recipe uses fresh green beans, onions and doesn't use bacon for a vegetarian option. There is no steamer basket required to pressure cook perfectly tender green beans with lots of flavor!

    a white serving bowl of instant pot garlic ginger green beans next to fresh green beans.

    Whether you have an abundance of fresh green beans from your garden, your farmer's market or you're picking them up at the grocery store this is the perfect way to prepare them!

    If you are looking for more vegetable side dishes you might also enjoy my Cheesy Slow Cooker Creamed Corn, this Apple Slaw with Poppyseed Dressing, my Gluten Free Zucchini Squash and Corn Casserole, these Air Fryer Pesto Baby Potatoes or my Crispy Garlic and Rosemary Smashed Potatoes recipes.

    a white serving bowl of instant pot garlic ginger green beans next to fresh green beans.
    [feast_advanced_jump_to]

    Ingredients

    • Fresh Green Beans
    • Yellow Onion
    • Minced Garlic
    • Unsalted Butter
    • White Vinegar
    • Chicken Stock or Vegetable Stock
    • Sea Salt
    • Ground Ginger
    • Coarse Ground Black Pepper

    Instructions

    Add the green beans, onion, garlic, butter, vinegar, stock, salt, ginger and pepper to your instant pot. Stir to combine.

    Put the lid on your instant pot and adjust to sealed.

    Using the manual setting cook for 4 minutes. Let the pressure release naturally for 10 minutes and then manually release the rest of the pressure.

    Carefully remove the lid and dish the green beans out using a slotted spoon. Serve immediately white they are hot.

    Supplies

    Substitutions

    • Fresh Ginger - instead of ground ginger you can use 1 tablespoon fresh ginger paste or finely grated fresh ginger
    • Apple Cider Vinegar - you can use apple cider vinegar instead of white vinegar
    • Vegetarian - for a vegetarian option use vegetable stock and replace the butter with 1 tablespoon of olive oil or avocado oil

    More Recipes You Might Enjoy

    • Gluten Free Zucchini Squash and Corn Casserole
    • Easy Fried Frozen Corn
    • Cucumber Salad with Vinegar Dressing
    • Air Fryer Roasted Zucchini Squash

    I get a lot of my ingredients from Thrive Market. Thrive Market has been a game changer for me eating gluten free. They have so many options I can't get at my rural grocery stores! Use this link to get 25% off your first order!

    Print
    clock clock iconcutlery cutlery iconflag flag iconfolder folder iconinstagram instagram iconpinterest pinterest iconfacebook facebook iconprint print iconsquares squares iconheart heart iconheart solid heart solid icon

    Instant Pot Garlic Ginger Green Beans


    5 Stars 4 Stars 3 Stars 2 Stars 1 Star

    No reviews

    • Author: Elaine VanVleck
    • Total Time: 14 minutes
    • Yield: 8 servings 1x
    • Diet: Gluten Free
    Print Recipe
    Pin Recipe

    Description

    This easy recipe for instant pot garlic ginger green beans is a quick side dish. The recipe uses fresh green beans, onions and doesn't use bacon for a vegetarian option. There is no steamer basket required to pressure cook perfectly tender green beans with lots of flavor!


    Ingredients

    Scale

    2 pounds Fresh Green Beans, ends removed
    1 small Yellow Onion, chopped
    2 tablespoon Minced Garlic
    2 tablespoon Unsalted Butter
    1 tablespoon White Vinegar
    ¾ cup Chicken Stock or Vegetable Stock
    1 teaspoon Sea Salt
    1 teaspoon Ground Ginger
    ½ teaspoon Coarse Ground Black Pepper


    Instructions

    Add the green beans, onion, garlic, butter, vinegar, stock, salt, ginger and pepper to your instant pot. Stir to combine.

    Put the lid on your instant pot and adjust to sealed.

    Using the manual setting cook for 4 minutes. Let the pressure release naturally for 10 minutes and then manually release the rest of the pressure.

    Carefully remove the lid and dish the green beans out using a slotted spoon. Serve immediately white they are hot.

    Notes

    You can cut your green beans into bite size pieces before cooking or leave them whole. It will not affect the cooking time.

    • Prep Time: 10 minutes
    • Cook Time: 4 minutes
    • Category: Side Dish, Vegetables
    • Method: Instant Pot
    • Cuisine: Gluten Free

    Did you make this recipe?

    Tag @smallfarmbiglife on Instagram and hashtag it #smallfarmbiglife

    Storage

    Store the leftovers in a sealed container in the refrigerator for up to 5 days.

    This recipe freezes really well too! To freeze the instant pot garlic ginger green beans use a sealed freezer safer container and freeze for up to one month.

    Didn't find the answer you're looking for?

    Ask AI to answer based on this recipe:

    ChatGPT
    Google AI
    Perplexity
    Grok
    Claude

    Frequently Asked Questions

    How long does it take to cook green beans in the instant pot?

    Two pounds of green beans cook for 4 minutes. Then, let the steam release naturally for 10 minutes before manually releasing the rest of the steam.

    What can I add to green beans for flavor?

    There are lots of options! Some of my favorites are chopped onions, minced garlic, sea salt, black pepper, ground ginger, a pinch of cayenne pepper or bacon. It also gives green beans more flavor to cook them in broth.

    Cheesy Slow Cooker Creamed Corn

    This easy recipe for cheesy slow cooker creamed corn is perfect for a side dish or a meal. Using your crockpot you add frozen corn, bacon, heavy cream and parmesan cheese for a loaded cream corn. You will never want canned cream corn again after making this homemade version!

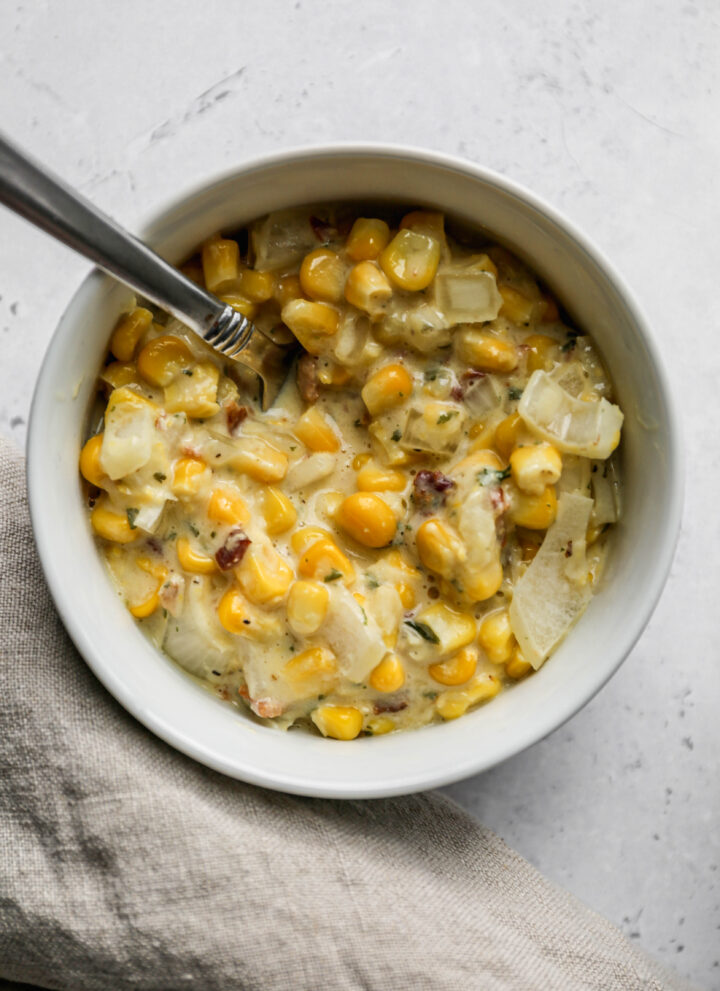
    a small white bowl of cheesy slow cooker creamed corn next to a linen napkin.

    This homemade creamed corn is an easy, fuss free dish that's perfect for busy cooks. The combination of frozen or canned corn, butter, and cheese creates a deliciously rich and satisfying veggie side dish.

    Whether you're preparing for a holiday meal or just need a comforting addition to dinner, this slow cooker cheesy corn casserole is a must try. It's the best corn recipe for a flavorful side, and it can easily be made ahead, leaving you more time to enjoy your meal.

    With its creamy texture and cheesy flavor, this is one corn dish that will never go out of style!

    If you are looking for more slow cooker recipes you might also enjoy my Slow Cooker Hawaiin Meatballs, this Gluten Free Slow Cooker Meatloaf, my Gluten Free Slow Cooker Lasagna Soup, these Slow Cooker Cranberry Meatballs or my Slow Cooker Spaghetti recipes.

    [feast_advanced_jump_to]
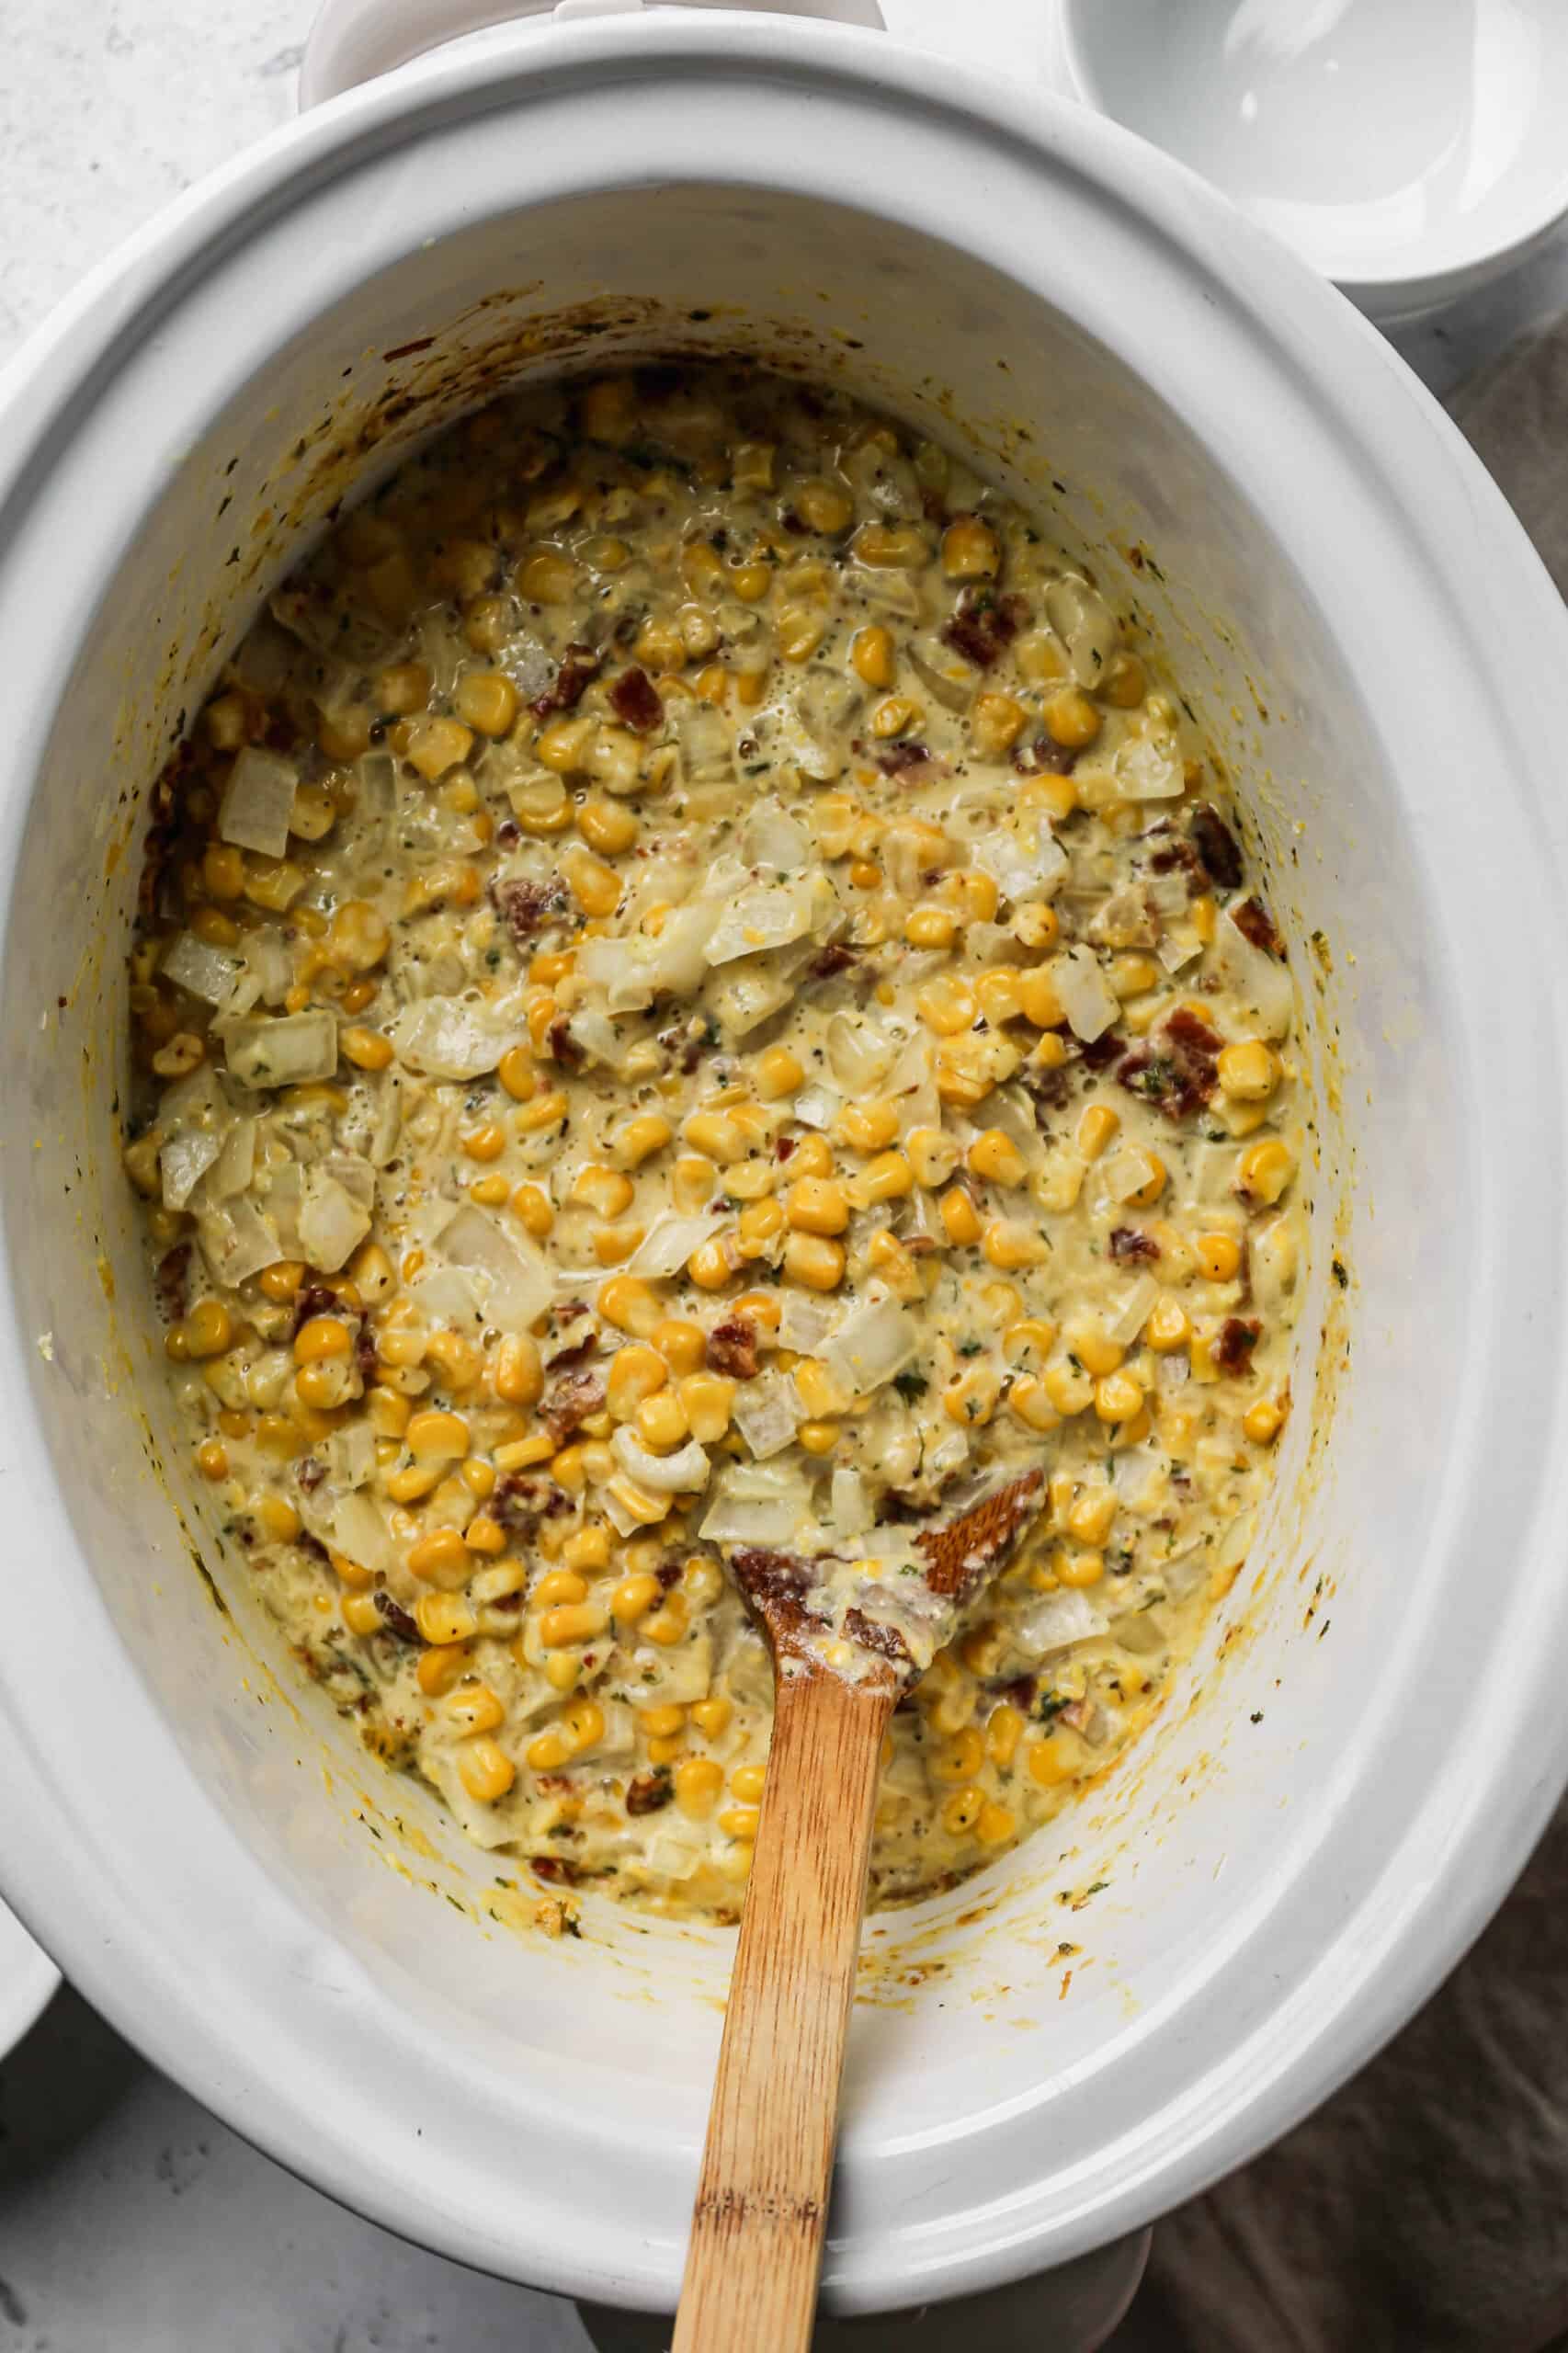
    a white crockpot of cheesy slow cooker creamed corn with a wooden spoon.

    Ingredients

    • Frozen Corn
    • Heavy Whipping Cream
    • Yellow Onion
    • Parmesan Cheese
    • Unsalted Butter
    • Bacon
    • Sea Salt
    • Dried Parsley
    • Coarse Ground Black Pepper
    • Monterey Jack Cheese

    Instructions

    In a blender or food processor add 1 ½ cups frozen corn and the heavy whipping cream. Blend until smooth.

    In the bowl of your crockpot add the rest of the frozen corn, the blended corn mixture, onion, parmesan cheese, butter, bacon, parsley, salt and pepper. Stir to combine.

    Put the lid on your slow cooker and cook on high for about 1 hour. It will be bubbly and starting to brown around the sides when it's done.

    Remove the lid and add the monterey jack cheese. Stir to combine all of the ingredients.

    Serve immediately while hot.

    Variations

    • Spicy - add a 4 ounce can of diced green peppers for a bit of a kick
    • Cheddar Cheese - replace the monterey cheese with cheddar or add a bit of both
    • Meat Free - don't add the bacon (but I highly suggest keeping the bacon)

    Supplies

    More Recipes You Might Enjoy

    • Easy Fried Frozen Corn
    • Gluten Free Zucchini Squash and Corn Casserole
    • Healthy Mexican Street Corn Salad
    • Black Beans and Corn Salad

    I get a lot of my ingredients from Thrive Market. Thrive Market has been a game changer for me eating gluten free. They have so many options I can't get at my rural grocery stores! Use this link to get 40% off your first order!

    Print
    clock clock iconcutlery cutlery iconflag flag iconfolder folder iconinstagram instagram iconpinterest pinterest iconfacebook facebook iconprint print iconsquares squares iconheart heart iconheart solid heart solid icon

    Cheesy Slow Cooker Creamed Corn


    5 Stars 4 Stars 3 Stars 2 Stars 1 Star

    No reviews

    • Author: Elaine VanVleck
    • Total Time: 1 hour 15 minutes
    • Yield: 8 servings 1x
    • Diet: Gluten Free
    Print Recipe
    Pin Recipe

    Description

    This easy recipe for cheesy slow cooker creamed corn is perfect for a side dish or a meal. Using your crockpot you add frozen corn, bacon, heavy cream and parmesan cheese for a loaded cream corn. You will never want canned cream corn again after making this homemade version!


    Ingredients

    Units Scale
    • 32 ounce bag Frozen Corn
    • 1 cup Heavy Whipping Cream
    • 1 large Yellow Onion, chopped
    • ½ cup Parmesan Cheese, finely grated
    • ¼ cup Unsalted Butter, cut into cubes
    • 8 slices Bacon, cooked and chopped
    • 1 tsp Sea Salt
    • 1 Tbsp Dried Parsley
    • ½ tsp. Coarse Ground Black Pepper
    • 1 cup Monterey Jack Cheese, shredded

    Instructions

    In a blender or food processor add 1 ½ cups frozen corn and the heavy whipping cream. Blend until smooth.

    In the bowl of your crockpot add the rest of the frozen corn, the blended corn mixture, onion, parmesan cheese, butter, bacon, parsley, salt and pepper. Stir to combine.

    Put the lid on your slow cooker and cook on high for about 1 hour. It will be bubbly and starting to brown around the sides when it's done.

    Remove the lid and add the monterey jack cheese. Stir to combine all of the ingredients.

    Serve immediately while hot.

    • Prep Time: 15 minutes
    • Cook Time: 1 hour
    • Category: Side Dish, Vegetables
    • Method: Slow Cooker, Crockpot
    • Cuisine: Gluten Free

    Did you make this recipe?

    Tag @smallfarmbiglife on Instagram and hashtag it #smallfarmbiglife

    FAQ

    Is cream style corn the same as creamed corn?

    Yes! Cream style corn and creamed corn (or cream corn) are the same thing. There are some variations in recipes, but ultimately they are all just cream corn.

    Top Tip

    I love homemade creamed corn and thought why not make it loaded creamed corn by adding bacon, parmesan cheese and monterey jack cheese! This amazing side dish is made in your crockpot so it doesn't take up any oven space.

    Storage

    Store the leftovers in a sealed container in the refrigerator for up to 5 days. This recipe freezes well too! Store in a freezer safe container for up to one month.

    Top tip

    This recipe is great for meal prepping! Cook the bacon and let cool. Cut up the bacon, shred the cheese and chop the onion so everything is ready to toss into the crockpot and be ready to serve in an hour.

    • « Previous Page
    • 1
    • …
    • 4
    • 5
    • 6
    • 7
    • 8
    • …
    • 16
    • Next Page »

    Welcome! I'm Elaine

    I'm so glad you are here! I share easy gluten free recipes from my small farm in Washington.

    Be sure to sign up for my newsletter to stay up to date on all of my new recipes.

    More about me...
    • Instagram
    • Pinterest
    • Facebook
    • Twitter
    • email

    Free gluten free recipe ebook
    My most loved recipes in one download, plus new recipes every Friday.
    Check your inbox! Your ebook is on its way.

    Easy Meals Recipes

    • Gluten Free Instant Pot Chili Mac and Cheese
    • Gluten Free Taco Casserole
    • Gluten Free Cowboy Baked Beans
    • Gluten Free Walking Taco Casserole
    • Gluten Free Creamy Beef and Mushroom Pasta
    • Gluten Free Instant Pot Chicken and Dumplings
    • Instant Pot Mexican Style Beef and Rice
    • Gluten Free Chicken Parmesan Pasta Casserole
    • Gluten Free One Pot Hamburger Helper Copycat
    • Gluten Free Salisbury Steak with Mushroom Gravy
    • Gluten Free Air Fryer Fajitas
    • Gluten Free Sloppy Joe Casserole

    Footer

    back to top

    About

    • Privacy Policy
    • Shop my Amazon Page
    • Follow me on LTK

    Newsletter

    • Sign Up! for emails and updates

    Contact

    • Contact
    • Media Kit
    • About Me

    As an Amazon Associate I earn from qualifying purchases.

    I may get commissions for purchases made through links on this site.

    Copyright © 2026 Brunch Pro on the Brunch Pro Theme