• Skip to primary navigation
  • Skip to main content
  • Skip to primary sidebar
  • Skip to footer
Small Farm Big Life logo
  • Recipe Index
  • Subscribe
  • Resources
  • Home Decor
  • Nav Social Menu

    • Email
    • Facebook
    • Instagram
    • Pinterest
menu icon
go to homepage
subscribe
search icon
Homepage link
  • Home
  • Recipe Index
  • Subscribe
  • My Story
  • Resources
  • Free Guides
  • Home Decor
    • Email
    • Facebook
    • Instagram
    • Pinterest
  • ×

    Cheesy Slow Cooker Creamed Corn

    This easy recipe for cheesy slow cooker creamed corn is perfect for a side dish or a meal. Using your crockpot you add frozen corn, bacon, heavy cream and parmesan cheese for a loaded cream corn. You will never want canned cream corn again after making this homemade version!

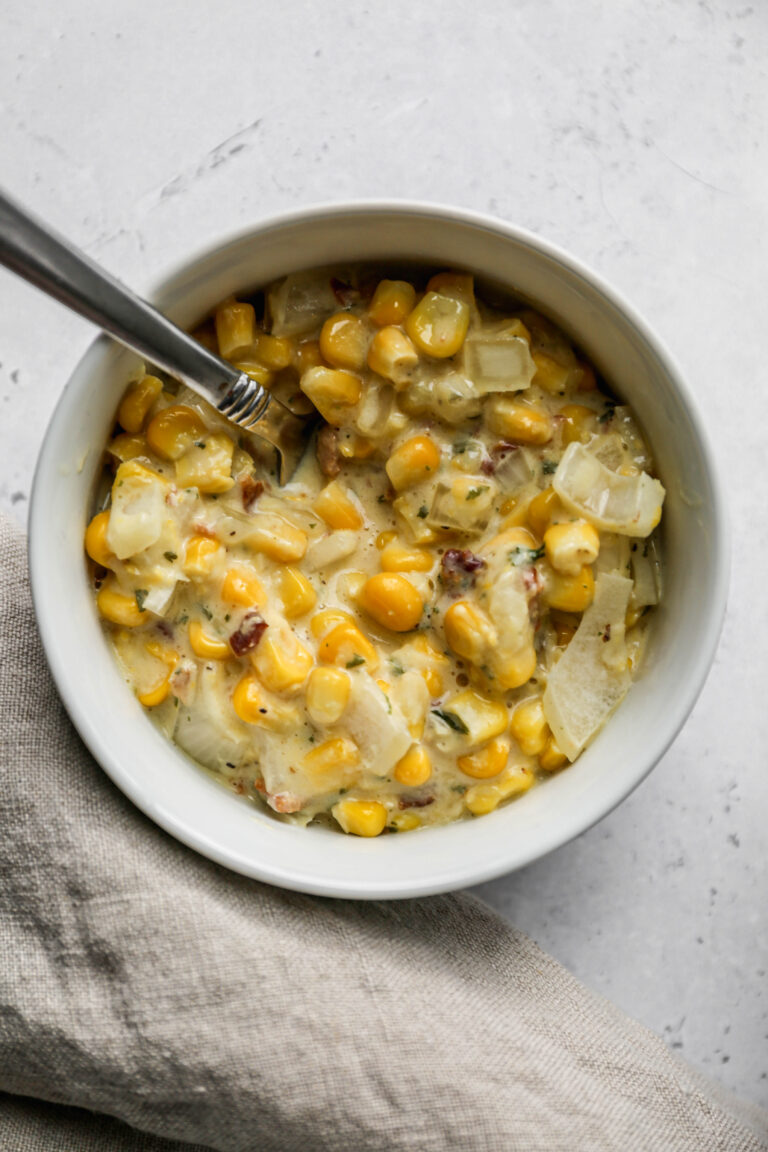
    a small white bowl of cheesy slow cooker creamed corn next to a linen napkin.

    This homemade creamed corn is an easy, fuss free dish that's perfect for busy cooks. The combination of frozen or canned corn, butter, and cheese creates a deliciously rich and satisfying veggie side dish.

    Whether you're preparing for a holiday meal or just need a comforting addition to dinner, this slow cooker cheesy corn casserole is a must try. It's the best corn recipe for a flavorful side, and it can easily be made ahead, leaving you more time to enjoy your meal.

    With its creamy texture and cheesy flavor, this is one corn dish that will never go out of style!

    If you are looking for more slow cooker recipes you might also enjoy my Slow Cooker Hawaiin Meatballs, this Gluten Free Slow Cooker Meatloaf, my Gluten Free Slow Cooker Lasagna Soup, these Slow Cooker Cranberry Meatballs or my Slow Cooker Spaghetti recipes.

    [feast_advanced_jump_to]
    a white crockpot of cheesy slow cooker creamed corn with a wooden spoon.

    Ingredients

    • Frozen Corn
    • Heavy Whipping Cream
    • Yellow Onion
    • Parmesan Cheese
    • Unsalted Butter
    • Bacon
    • Sea Salt
    • Dried Parsley
    • Coarse Ground Black Pepper
    • Monterey Jack Cheese

    Instructions

    In a blender or food processor add 1 ½ cups frozen corn and the heavy whipping cream. Blend until smooth.

    In the bowl of your crockpot add the rest of the frozen corn, the blended corn mixture, onion, parmesan cheese, butter, bacon, parsley, salt and pepper. Stir to combine.

    Put the lid on your slow cooker and cook on high for about 1 hour. It will be bubbly and starting to brown around the sides when it's done.

    Remove the lid and add the monterey jack cheese. Stir to combine all of the ingredients.

    Serve immediately while hot.

    Variations

    • Spicy - add a 4 ounce can of diced green peppers for a bit of a kick
    • Cheddar Cheese - replace the monterey cheese with cheddar or add a bit of both
    • Meat Free - don't add the bacon (but I highly suggest keeping the bacon)

    Supplies

    More Recipes You Might Enjoy

    • Easy Fried Frozen Corn
    • Gluten Free Zucchini Squash and Corn Casserole
    • Healthy Mexican Street Corn Salad
    • Black Beans and Corn Salad

    I get a lot of my ingredients from Thrive Market. Thrive Market has been a game changer for me eating gluten free. They have so many options I can't get at my rural grocery stores! Use this link to get 40% off your first order!

    Print
    clock clock iconcutlery cutlery iconflag flag iconfolder folder iconinstagram instagram iconpinterest pinterest iconfacebook facebook iconprint print iconsquares squares iconheart heart iconheart solid heart solid icon

    Cheesy Slow Cooker Creamed Corn


    5 Stars 4 Stars 3 Stars 2 Stars 1 Star

    No reviews

    • Author: Elaine VanVleck
    • Total Time: 1 hour 15 minutes
    • Yield: 8 servings 1x
    • Diet: Gluten Free
    Print Recipe
    Pin Recipe

    Description

    This easy recipe for cheesy slow cooker creamed corn is perfect for a side dish or a meal. Using your crockpot you add frozen corn, bacon, heavy cream and parmesan cheese for a loaded cream corn. You will never want canned cream corn again after making this homemade version!


    Ingredients

    Units Scale
    • 32 ounce bag Frozen Corn
    • 1 cup Heavy Whipping Cream
    • 1 large Yellow Onion, chopped
    • ½ cup Parmesan Cheese, finely grated
    • ¼ cup Unsalted Butter, cut into cubes
    • 8 slices Bacon, cooked and chopped
    • 1 tsp Sea Salt
    • 1 Tbsp Dried Parsley
    • ½ tsp. Coarse Ground Black Pepper
    • 1 cup Monterey Jack Cheese, shredded

    Instructions

    In a blender or food processor add 1 ½ cups frozen corn and the heavy whipping cream. Blend until smooth.

    In the bowl of your crockpot add the rest of the frozen corn, the blended corn mixture, onion, parmesan cheese, butter, bacon, parsley, salt and pepper. Stir to combine.

    Put the lid on your slow cooker and cook on high for about 1 hour. It will be bubbly and starting to brown around the sides when it's done.

    Remove the lid and add the monterey jack cheese. Stir to combine all of the ingredients.

    Serve immediately while hot.

    • Prep Time: 15 minutes
    • Cook Time: 1 hour
    • Category: Side Dish, Vegetables
    • Method: Slow Cooker, Crockpot
    • Cuisine: Gluten Free

    Did you make this recipe?

    Tag @smallfarmbiglife on Instagram and hashtag it #smallfarmbiglife

    FAQ

    Is cream style corn the same as creamed corn?

    Yes! Cream style corn and creamed corn (or cream corn) are the same thing. There are some variations in recipes, but ultimately they are all just cream corn.

    Top Tip

    I love homemade creamed corn and thought why not make it loaded creamed corn by adding bacon, parmesan cheese and monterey jack cheese! This amazing side dish is made in your crockpot so it doesn't take up any oven space.

    Storage

    Store the leftovers in a sealed container in the refrigerator for up to 5 days. This recipe freezes well too! Store in a freezer safe container for up to one month.

    Top tip

    This recipe is great for meal prepping! Cook the bacon and let cool. Cut up the bacon, shred the cheese and chop the onion so everything is ready to toss into the crockpot and be ready to serve in an hour.

    Easy Apple Slaw with Poppyseed Dressing

    This easy apple slaw with poppyseed dressing is a quick side dish salad recipe! The healthy cabbage coleslaw includes sweet apples and a tangy dressing with apple cider vinegar. This is the best creamy salad to use with pork, tacos or on it's own.

    a small white bowl of easy apple slaw with poppyseed dressing next to a big white bowl of the salad.

    This Easy Apple Slaw with Poppyseed Dressing is a crunchy, sweet-and-tangy twist on classic coleslaw that pairs perfectly with pulled pork or fish tacos.

    The blend of cabbage and apples creates a zesty salad that's refreshing and vibrant, making it an ideal autumn side dish or light lunch.

    Simple to prepare yet full of flavor, this apple cabbage slaw recipe is a healthy and versatile option for weeknight meals or seasonal gatherings.

    If you are looking for more apple recipes you might also enjoy my Gluten Free Air Fryer Apple Fritters, this Gluten Free Apple Cinnamon French Toast Casserole, my Gluten Free Apple Almond Cake, these Gluten Free Apple Spice Cookies or my classic Gluten Free Apple Crisp recipes.

    You can find all of my salad recipes here: Gluten Free Salad Recipes

    a white serving bowl of easy apple slaw with poppyseed dressing next to a red apple.
    [feast_advanced_jump_to]

    Ingredients

    • Mayonnaise
    • Apple Cider Vinegar
    • Poppyseeds
    • Honey
    • Sea Salt
    • Coarse Ground Black Pepper
    • Coleslaw Mix
    • Green Onions
    • Sweet Apples

    Instructions

    In a small bowl add the mayonnaise, apple cider vinegar, poppyseeds, honey, salt and pepper. Stir to combine and set aside.

    In a large serving bowl add the coleslaw mix, thinly sliced green onions and julienned apple. Pour the dressing mixture over top. Stir to coat the salad.

    Refrigerate for at least 30 minutes and serve cold.

    Hint: This creamy coleslaw salad gets better the longer it marinates in the dressing! I like to make this salad the day before and store in an air tight container in the refrigerator.

    Substitutions

    • Cabbage - instead of bags of coleslaw mix you can use finely chopped cabbage
    • Maple Syrup - you can replace the honey with maple syrup or use a mixture of both
    • Shallots - the green onions can be replaced with one finely diced shallot

    Supplies

    More Recipes You Might Enjoy

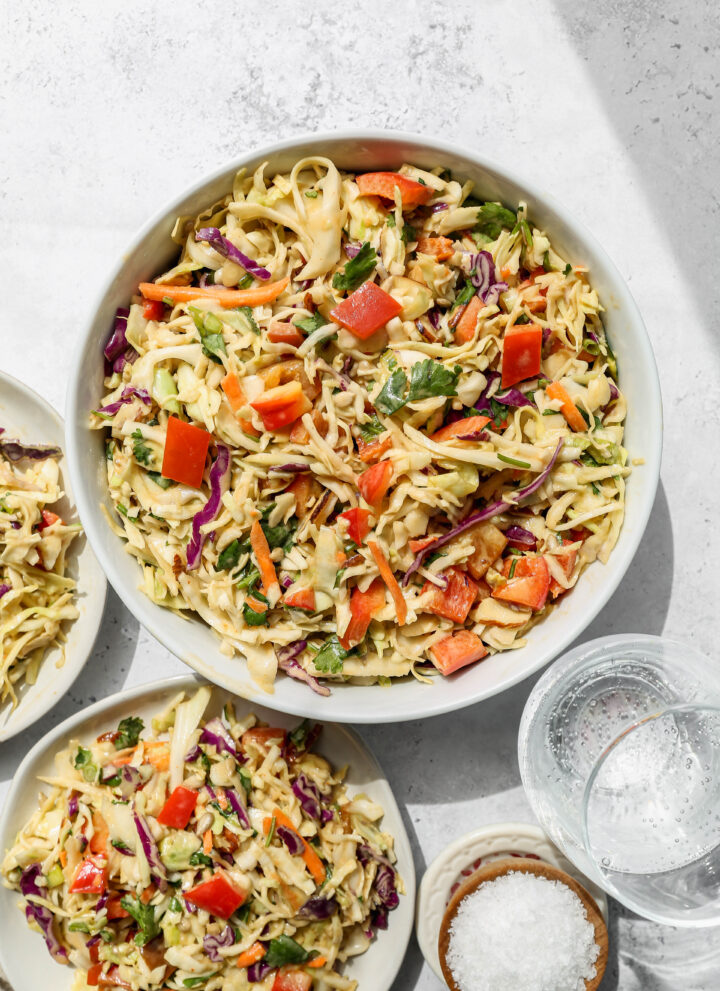
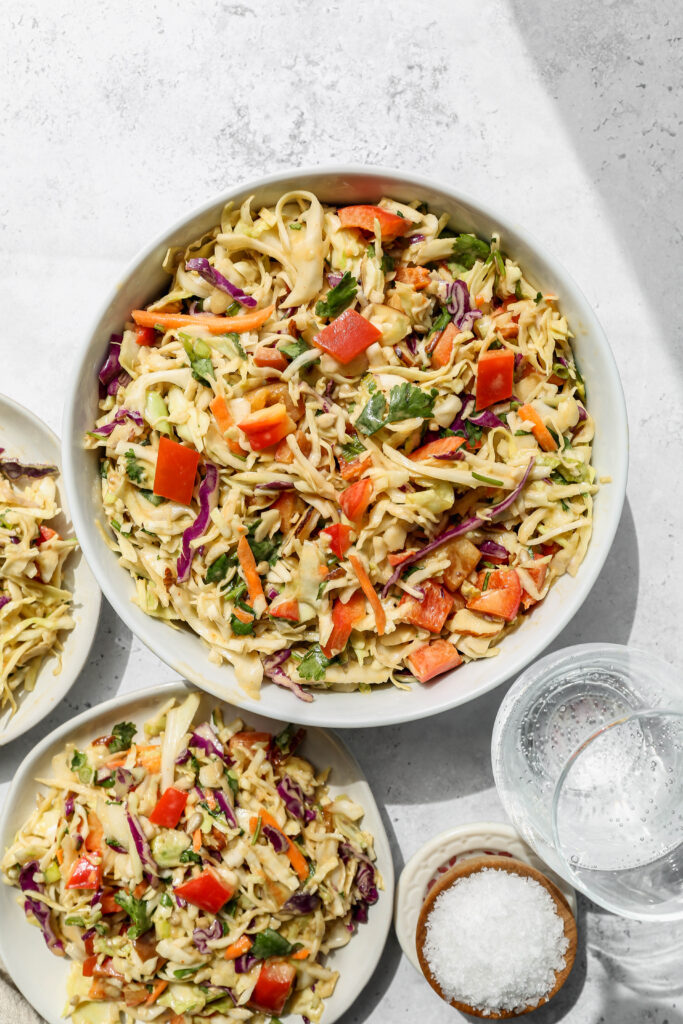
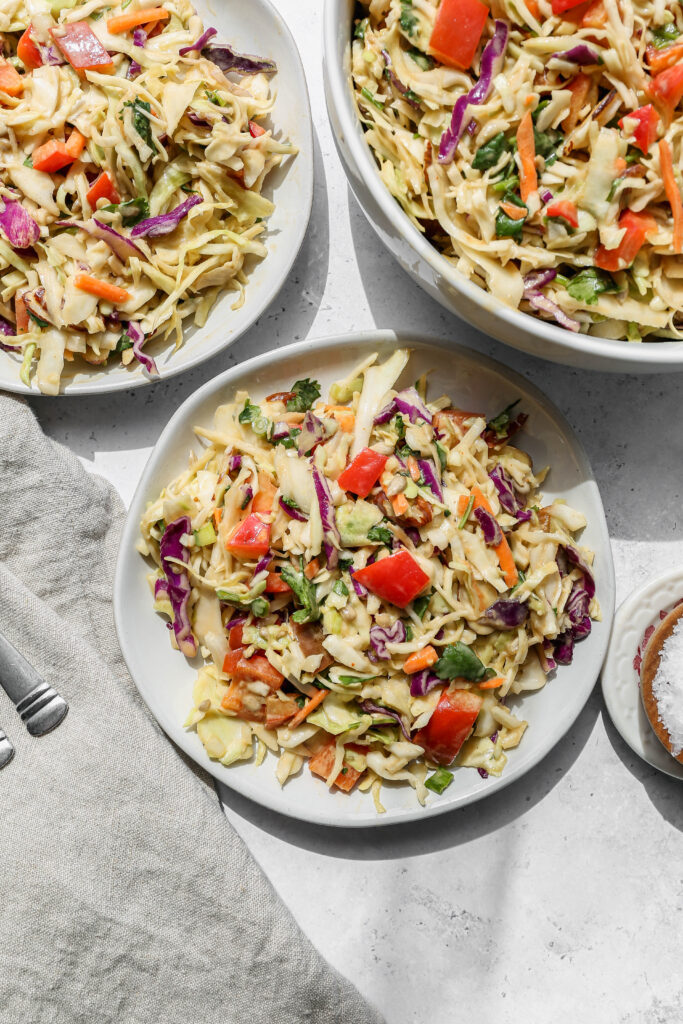
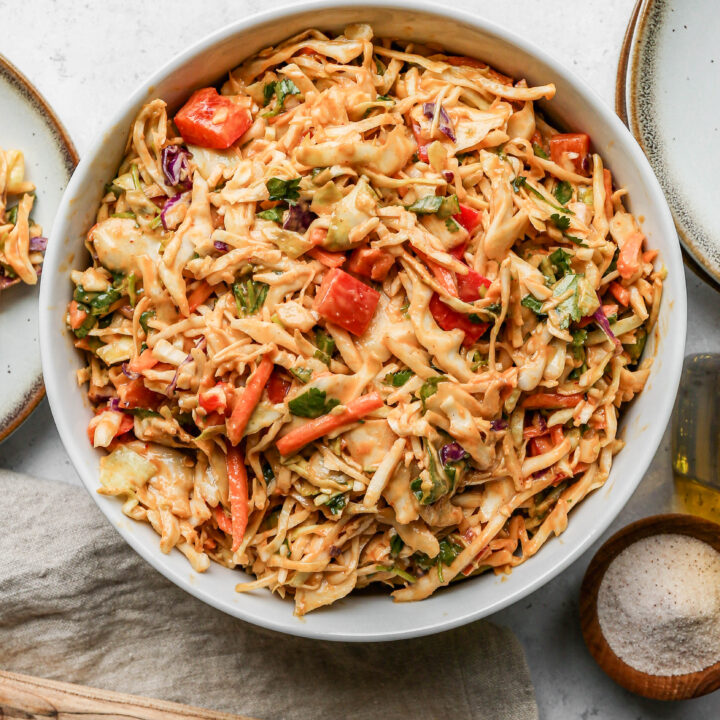
    • Southwestern Style Coleslaw
    • Gluten Free Coleslaw
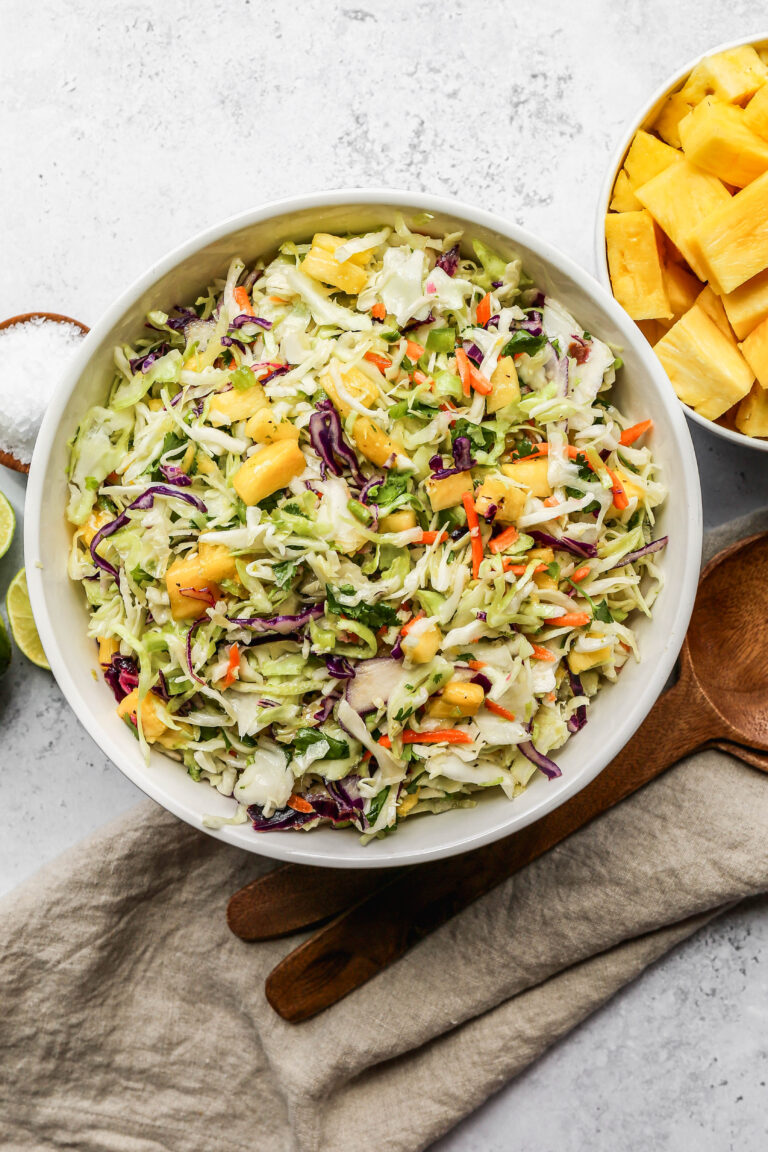
    • Pineapple Coleslaw
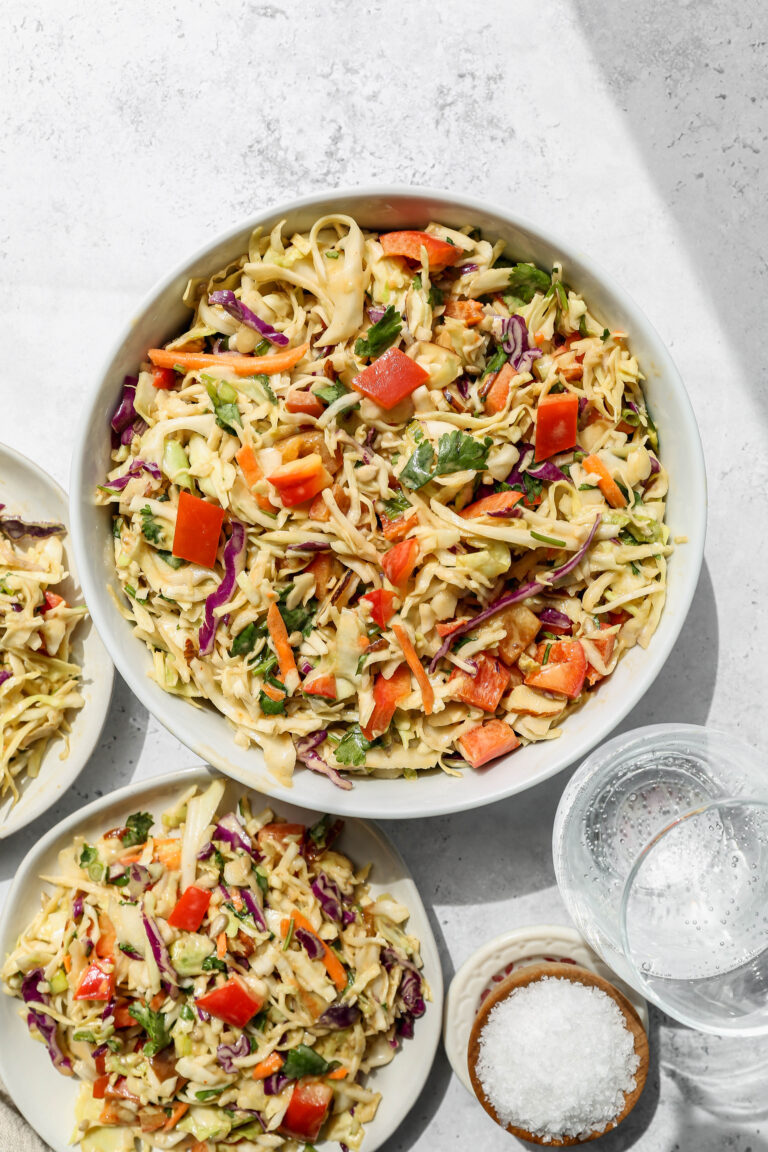
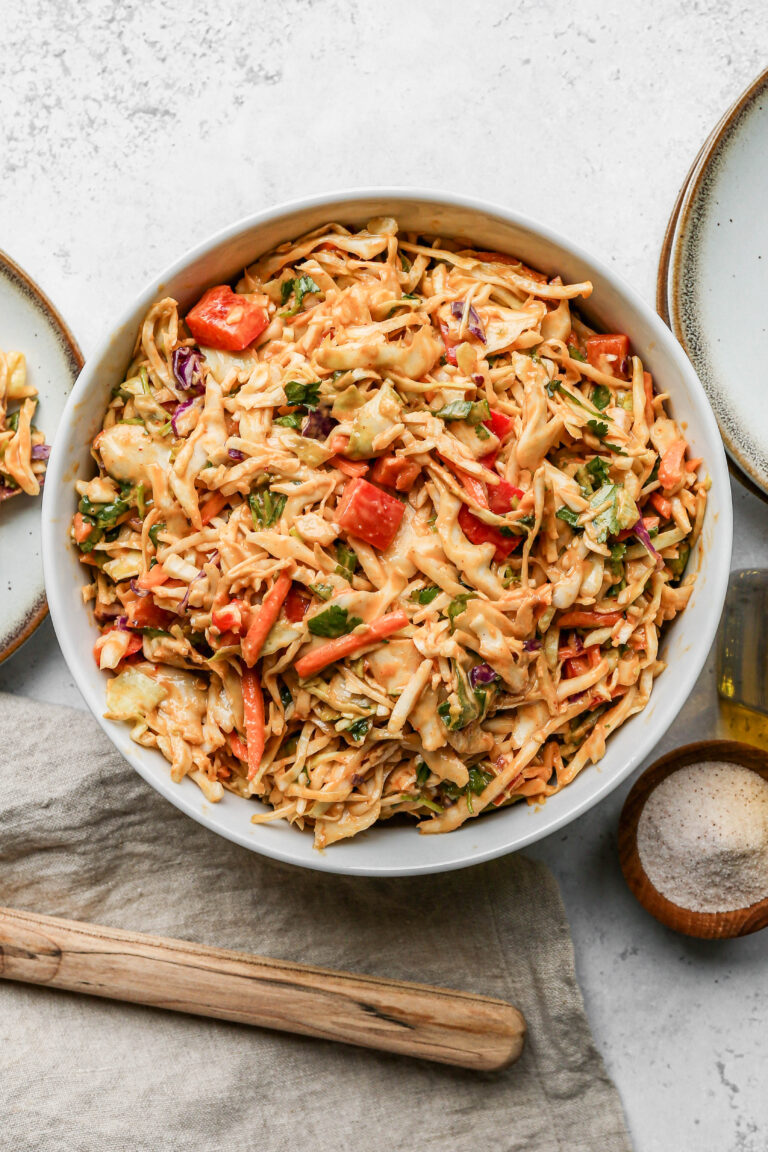
    • Thai Style Cabbage Salad

    I get a lot of my ingredients from Thrive Market. Thrive Market has been a game changer for me eating gluten free. They have so many options I can't get at my rural grocery stores! Use this link to get 40% off your first order!
    Print
    clock clock iconcutlery cutlery iconflag flag iconfolder folder iconinstagram instagram iconpinterest pinterest iconfacebook facebook iconprint print iconsquares squares iconheart heart iconheart solid heart solid icon

    Easy Apple Slaw with Poppyseed Dressing


    5 Stars 4 Stars 3 Stars 2 Stars 1 Star

    No reviews

    • Author: Elaine VanVleck
    • Total Time: 10 minutes
    • Yield: 6 servings 1x
    • Diet: Gluten Free
    Print Recipe
    Pin Recipe

    Description

    This easy apple slaw with poppyseed dressing is a quick side dish salad recipe! The healthy cabbage coleslaw includes sweet apples and a tangy dressing with apple cider vinegar. This is the best creamy salad to use with pork, tacos or on it's own.


    Ingredients

    Scale

    Dressing:

    • 1 cup Mayonnaise
    • ¼ cup Apple Cider Vinegar
    • 3 Tbsp. Poppyseeds
    • ¼ cup Honey
    • 1 tsp Sea Salt
    • ½ tsp Coarse Ground Black Pepper

    Salad:

    • 2 - 16 ounce bags Coleslaw Mix
    • 5 Green Onions, finely chopped
    • 2 cups Sweet Apples, cored, peeled and julienned

    Instructions

    In a small bowl add the mayonnaise, apple cider vinegar, poppyseeds, honey, salt and pepper. Stir to combine and set aside.

    In a large serving bowl add the coleslaw mix, thinly sliced green onions and julienned apple. Pour the dressing mixture over top. Stir to coat the salad.

    Refrigerate for at least 30 minutes and serve cold.

    • Prep Time: 10 minutes
    • Category: Side Dish, Salads
    • Method: Chopped
    • Cuisine: Gluten Free

    Did you make this recipe?

    Tag @smallfarmbiglife on Instagram and hashtag it #smallfarmbiglife

    Storage

    Store this easy apple slaw in an air tight container for up to 5 days in the refrigerator. Be sure to stir before serving to mix the salad and dressing again.

    I think this creamy salad gets better the next day after it has had time to marinate in the poppyseed dressing!

    FAQ

    What should I serve with apple slaw?

    This easy apple slaw with poppyseed dressing is perfect with pulled pork, on tacos or as a side dish at a barbecue. It is a super versatile recipe that is quick to make.

    What is apple slaw made of?

    This apple slaw salad uses bags of coleslaw mix, thinly sliced green onions, julienned sweet apples and a homemade creamy poppyseed dressing. It's a quick and easy side dish for weeknight meals!

    Cucumber Salad with Vinegar Dressing

    This Cucumber Salad with Vinegar Dressing is one of those simple recipes that I make constantly all summer long because it takes just 10 minutes to pull together and goes with absolutely everything. Thinly sliced cucumbers and sweet onion are tossed in a simple homemade dressing made with apple cider vinegar, olive oil, minced garlic, salt, and pepper and then refrigerated for at least an hour to let the flavors develop.

    The result is the most crisp, tangy, and refreshing cold side dish that gets better the longer it sits.

    a white bowl of cucumber salad with vinegar dressing next to fresh cucumbers and a small wooden bowl of coarse ground black pepper.

    I love this salad because it is so endlessly versatile. It pairs beautifully with grilled chicken, pulled pork, burgers, fish tacos, and really any summer main dish you can think of.

    It is naturally gluten free, made with simple pantry ingredients, and stores in the refrigerator for up to 5 days which makes it one of my favorite make ahead side dishes for summer.

    Cucumber salad is having such a huge moment right now and once you try this simple version you will understand why people are obsessed with it.

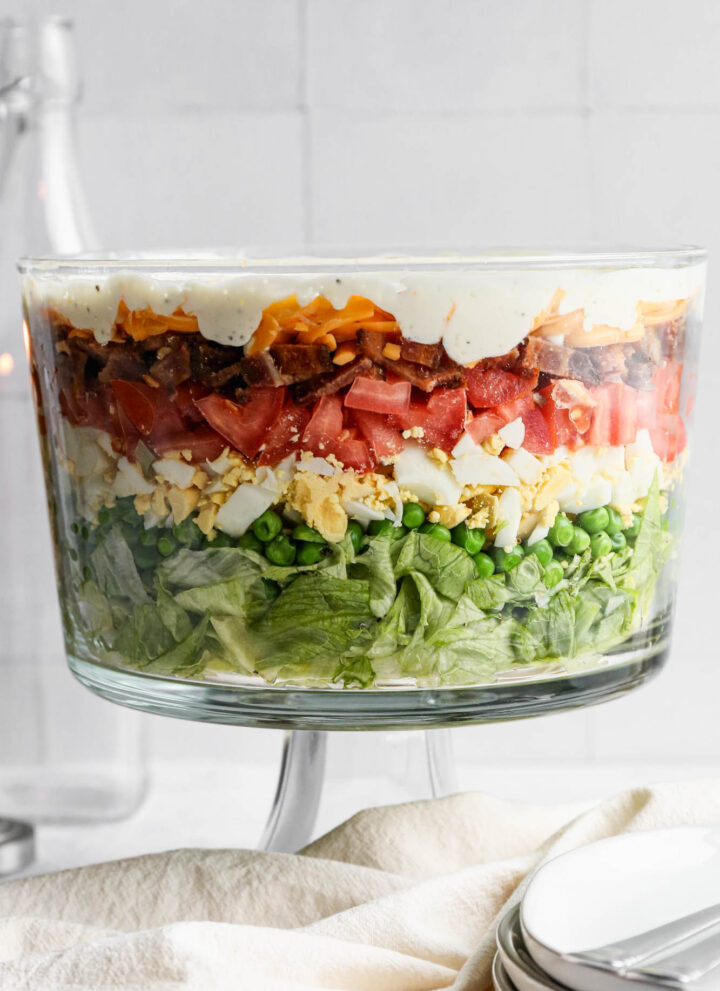
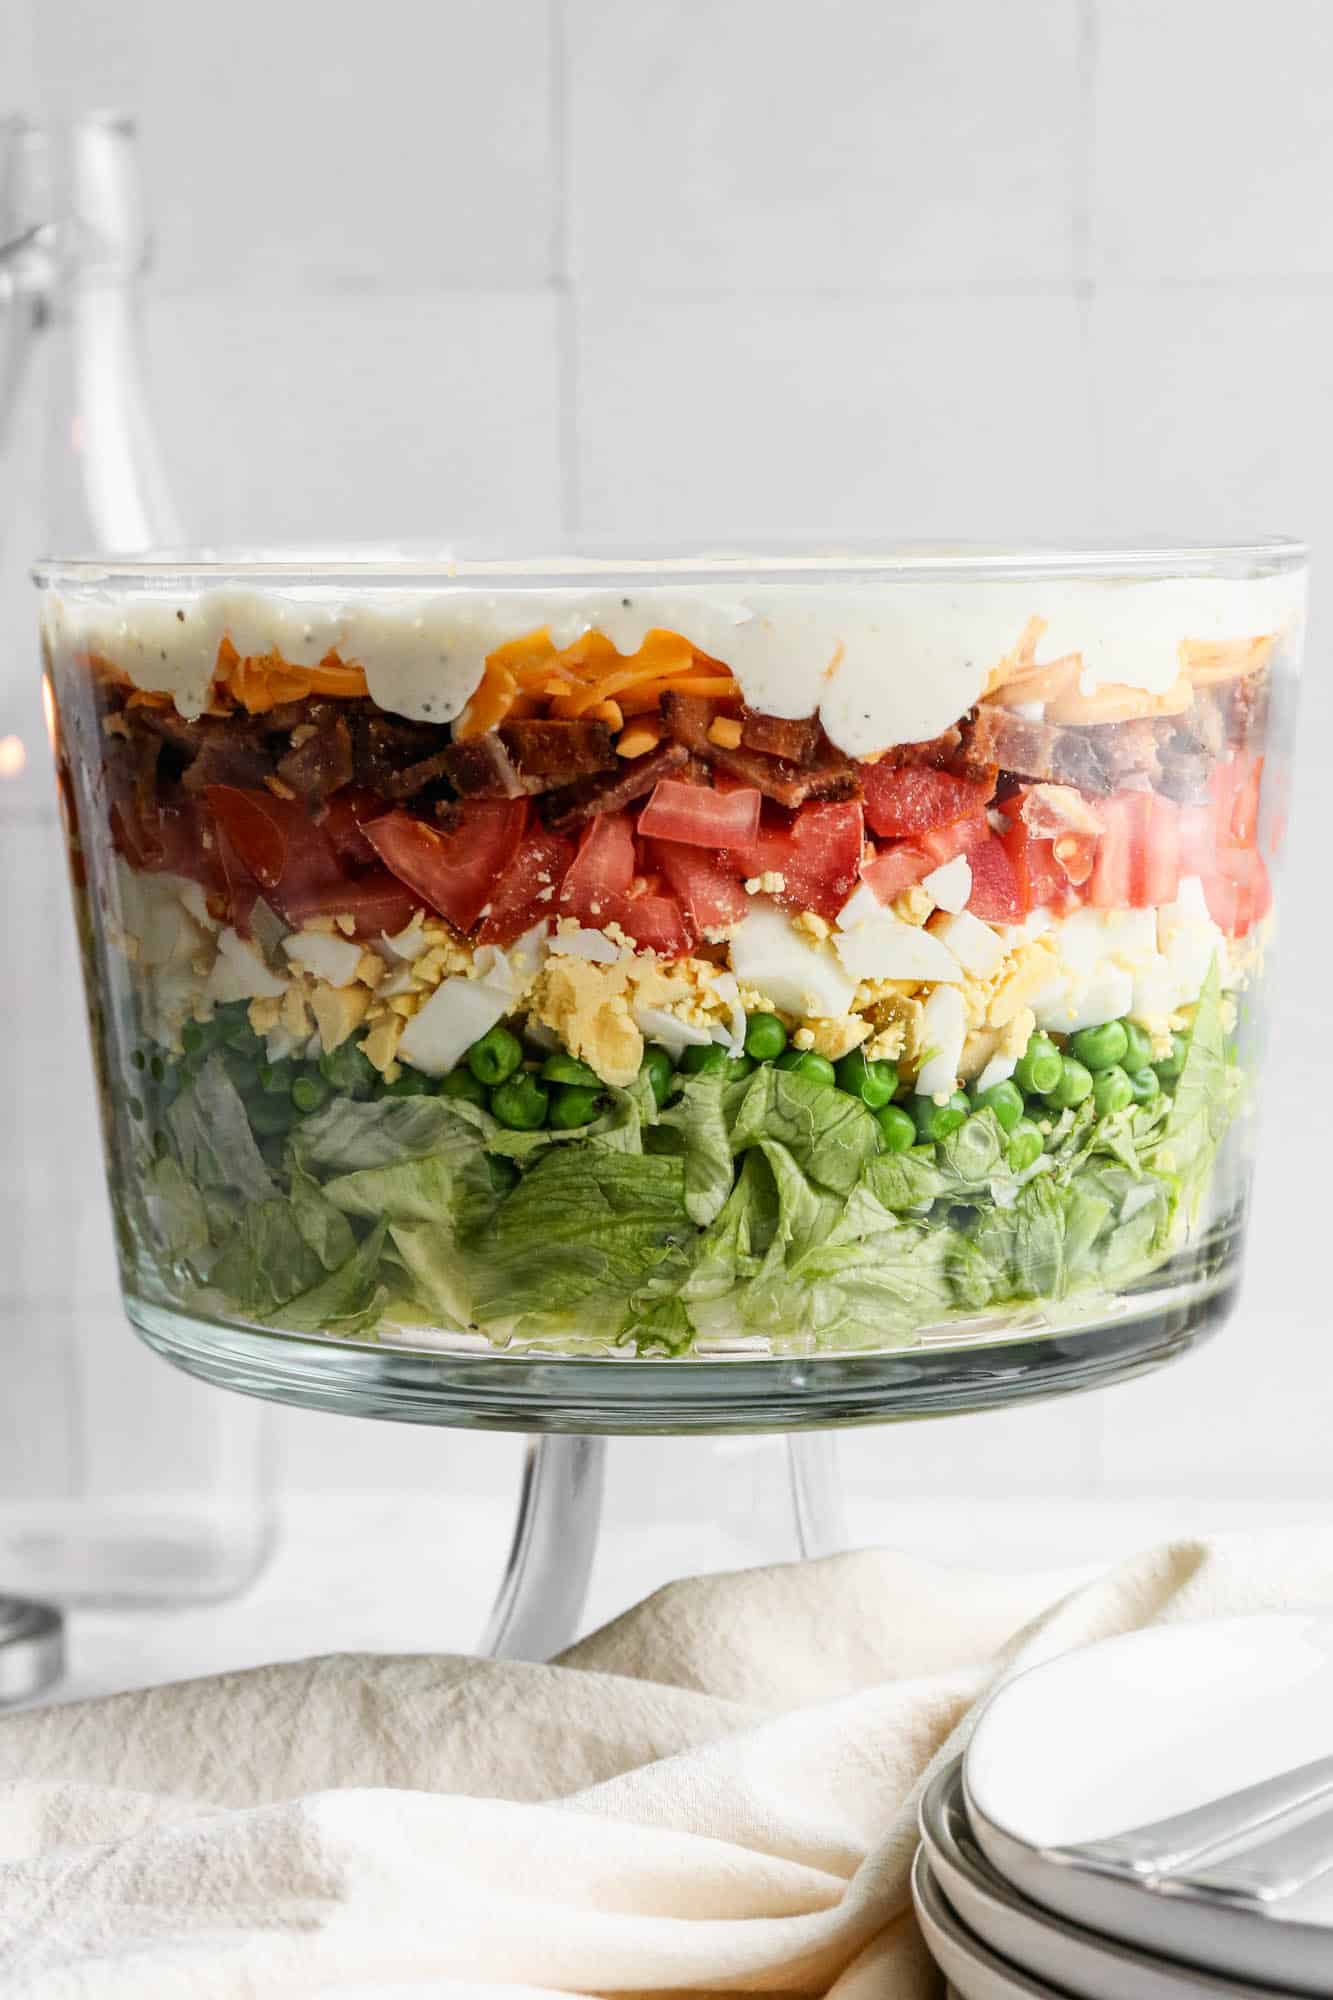
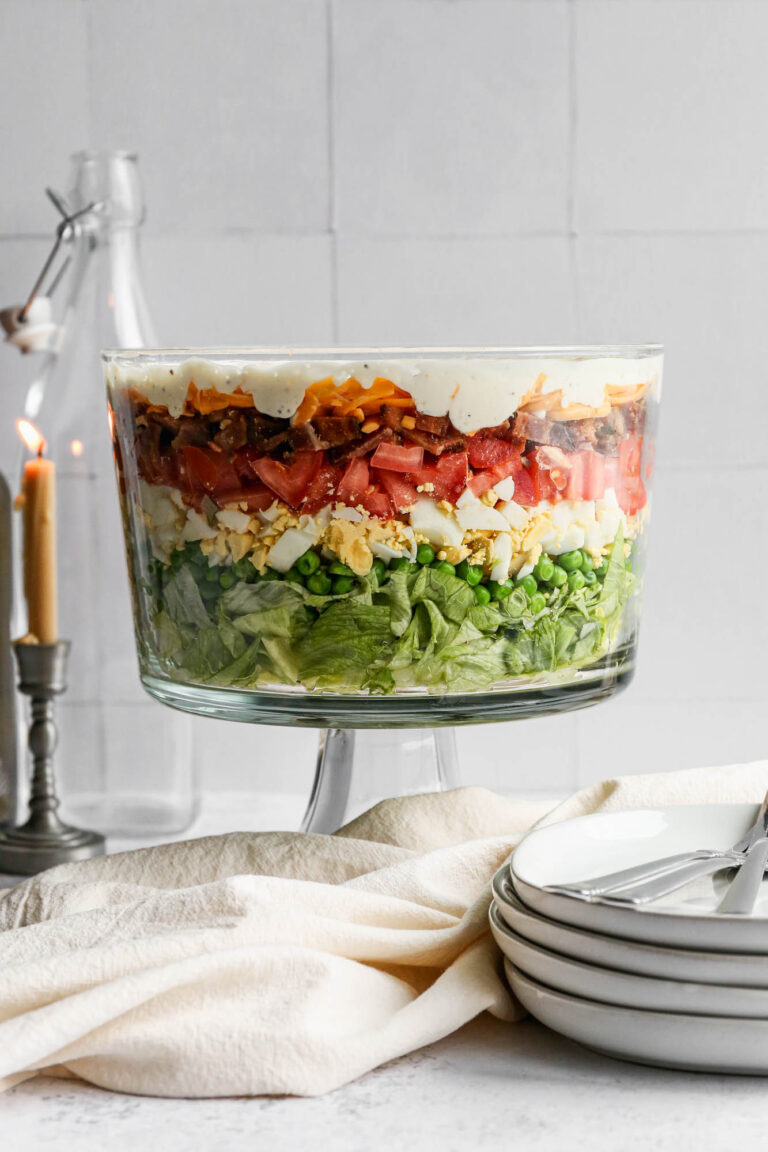
    If you are looking for more cold salads you may also enjoy my Watermelon Cucumber and Feta Salad, this Seven Layer Salad, my Gluten Free BLT Pasta Salad or this Thai Style Cabbage Salad recipes.

    You can find all of my salad recipes here: Gluten Free Salad Recipes

    a white bowl of cucumber salad with vinegar dressing next to fresh cucumbers.
    [feast_advanced_jump_to]

    Ingredients

    • Cucumbers
    • Sweet Onion
    • Olive Oil
    • Apple Cider Vinegar
    • Minced Garlic
    • Sea Salt
    • Coarse Ground Black Pepper

    Instructions

    Thinly slice the cucumbers and sweet onion with a knife or using a mandoline slicer. Place into a serving bowl.

    In a small bowl or jar mix together the olive oil, apple cider vinegar, minced garlic, salt and pepper.

    Pour the dressing over the cucumber and onion. Stir to coat them.

    Place in the refrigerator for at least one hour for the salad to be cold and for the cucumbers to absorb some of the oil and vinegar dressing flavor.

    Substitutions

    • Red Onion - if you can't get a sweet onion this salad is also delicious using red onion
    • Mini Cucumbers - this salad is also delicious using thinly sliced mini cucumbers
    • Avocado Oil - you can substitute avocado oil for the olive oil in this recipe

    Variations

    • Spicy - add a pinch of chili pepper flakes for a bit of spice
    • Creamy - add ½ cup mayonnaise to make a creamy version of this salad
    • Tomato - add cherry tomatoes cut in half for more veggies

    I love all the fresh cucumbers available in the garden, grocery and farmer's market right now! This salad is a great use for fresh cucumbers and sweet onions.

    Supplies

    Storage

    Store in a sealed container in the refrigerator for up to 5 days. Stir the salad before serving to coat with dressing.

    More Recipes You Might Enjoy

    • Watermelon Cucumber and Feta Salad
    • The Best Gluten Free Summer Salads
    • Pineapple Coleslaw
    • Refrigerator Bread and Butter Pickles

    I get a lot of my ingredients from Thrive Market. Thrive Market has been a game changer for me eating gluten free. They have so many options I can't get at my rural grocery stores! Use this link to get 40% off your first order!

    Print
    clock clock iconcutlery cutlery iconflag flag iconfolder folder iconinstagram instagram iconpinterest pinterest iconfacebook facebook iconprint print iconsquares squares iconheart heart iconheart solid heart solid icon

    Cucumber Salad with Vinegar Dressing


    5 Stars 4 Stars 3 Stars 2 Stars 1 Star

    No reviews

    • Author: Elaine VanVleck
    • Total Time: 10 minutes
    • Yield: 5 servings 1x
    • Diet: Gluten Free
    Print Recipe
    Pin Recipe

    Description

    This Cucumber Salad with Vinegar Dressing is a crisp, refreshing, and incredibly flavorful cold side dish made with thinly sliced cucumbers and sweet onion marinated in a simple homemade dressing of apple cider vinegar, olive oil, minced garlic, salt, and pepper. It comes together in just 10 minutes and gets even more flavorful as it sits in the refrigerator making it the perfect make ahead side dish for barbecues, picnics, potlucks, and easy weeknight dinners. Naturally gluten free and one of the most refreshing summer salads you will ever make!


    Ingredients

    Scale
    • 2 medium English Cucumbers, thinly sliced
    • 1 medium Sweet Onion, thinly sliced
    • 2 Tbsp Olive Oil
    • 1 Tbsp Apple Cider Vinegar
    • 1 Tbsp Minced Garlic
    • ½ tsp Sea Salt
    • ¼ tsp Coarse Ground Black Pepper

    Instructions

    Thinly slice the cucumbers and sweet onion with a knife or using a mandoline slicer. Place into a serving bowl.

    In a small bowl or jar mix together the olive oil, apple cider vinegar, minced garlic, salt and pepper.

    Pour the dressing over the cucumber and onion. Stir to coat them.

    Place in the refrigerator for at least one hour for the salad to be cold and for the cucumbers to absorb some of the oil and vinegar dressing flavor.

    • Prep Time: 10 minutes
    • Cook Time: 0 minutes
    • Category: Side Dish, Salads
    • Method: Chopped
    • Cuisine: American

    Did you make this recipe?

    Tag @smallfarmbiglife on Instagram and hashtag it #smallfarmbiglife

    If you made this Cucumber Salad with Vinegar Dressing I would love to hear what you thought! Please leave a star rating and a comment below. This is one of my favorite easy summer side dishes and I hope it becomes a staple in your kitchen too!

    Top tip

    Use a mandoline slicer if you have one to get perfectly thin and even cucumber slices that absorb the vinegar dressing beautifully and create the most consistent texture throughout the salad. If you do not have a mandoline a sharp knife works great too. Just try to slice as thinly and evenly as possible. The thinner the slices the more dressing they will absorb and the more flavorful your salad will be after chilling.

    Frequently Asked Questions

    How much vinegar do you put in a cucumber salad?

    I use a combination of 2 tablespoons oil and 1 tablespoon vinegar then add the seasoning for even more flavor.

    What vinegar goes with cucumbers?

    I love to use apple cider vinegar with cucumbers. It has a more warm, mild flavor than white vinegar. I also really love rice vinegar with cucumbers.

    How long do cucumbers in vinegar last in the refrigerator?

    You can store this cucumber salad with vinegar dressing in an air tight container in the refrigerator for up to 5 days. Be sure to stir the salad before serving.

    Can I make this cucumber salad ahead of time?

    Yes and I actually recommend it! This cucumber salad gets more flavorful the longer it sits in the refrigerator as the cucumbers absorb the tangy apple cider vinegar dressing. Make it at least an hour before serving and ideally a few hours ahead or even the night before for the best flavor. Give it a good stir before serving as the dressing will settle to the bottom as it sits.

    Watermelon Cucumber and Feta Salad

    This healthy recipe for watermelon cucumber and feta salad is a summer favorite! It's a refreshing salad with a zesty dressing that uses feta cheese. I love to make this side dish the day before so it's cold and ready to serve.

    a light blue bowl of watermelon cucumber and feta salad with a wooden serving spoon.

    One of my favorite parts of summer is fresh watermelon! This recipe combines the watermelon, the delicious cucumbers that are in season and has a zesty dressing that makes it a sweet and savory side dish option.

    If you are looking for watermelon recipes you might also enjoy my Watermelon Lemonade or this Easy Frozen Watermelon Margarita Mocktail recipes.

    [feast_advanced_jump_to]
    a small white bowl of watermelon cucumber feta salad next to a small wooden bowl of salt.

    Ingredients

    • Seedless Watermelon
    • English Cucumbers
    • Feta Cheese
    • Shallot
    • Apple Cider Vinegar
    • Lemon Juice
    • Lemon Zest
    • Olive Oil
    • Dried Thyme
    • Sea Salt
    • Coarse Ground Black Pepper

    Instructions

    In a large serving bowl combine the cubed watermelon, chopped cucumber, feta cheese and finely diced shallot.

    In a small bowl or pint jar add the apple cider vinegar, lemon juice, lemon zest, olive oil, thyme, salt and pepper. Stir to combine.

    Pour the dressing over the watermelon mixture. Stir to combine.

    Refrigerate for 1 hour and serve cold.

    Hint: I like to make this salad the day before so it's really cold and ready to serve with our meal. Store it in an air tight container in the refrigerator overnight or up to 5 days.

    Substitutions

    • Honey Dew Melon - you can also make this salad with honey dew melon or a mixture with the watermelon
    • Lime Juice - you can substitute lime juice for the lemon juice in this recipe
    • Lime Zest - you can substitute lime zest for the lemon zest in this recipe
    • Avocado Oil - you can replace the olive oil with avocado oil or a mixture of that's what you have
    • Queso Fresco Cheese - you can crumble queso fresco into the salad rather than using feta cheese

    Variations

    • Spicy - add a pinch of cayenne pepper to give this salad a little kick
    • Deluxe - add a mixture watermelon, honey dew and golden melon

    Supplies

    Storage

    Store in an air tight container in the refrigerator for up to 5 days.

    Top tip

    The salad will get more juice from the watermelon and cucumber in the mixture as you store it. Use a slotted spoon to serve rather than pouring the juice out so the salad doesn't lose any flavor.

    Print
    clock clock iconcutlery cutlery iconflag flag iconfolder folder iconinstagram instagram iconpinterest pinterest iconfacebook facebook iconprint print iconsquares squares iconheart heart iconheart solid heart solid icon

    Watermelon Cucumber and Feta Salad


    5 Stars 4 Stars 3 Stars 2 Stars 1 Star

    No reviews

    • Author: Elaine VanVleck
    • Total Time: 15 minutes
    • Yield: 8 servings 1x
    • Diet: Gluten Free
    Print Recipe
    Pin Recipe

    Description

    This healthy recipe for watermelon cucumber and feta salad is a summer favorite! It's a refreshing salad with a zesty dressing that uses feta cheese. I love to make this side dish the day before so it's cold and ready to serve.


    Ingredients

    Scale

    1 small Seedless Watermelon, rind removed and cubed (about 6 cups)
    2 English Cucumbers, peeled and chopped
    2 cups crumbled Feta Cheese
    1 small Shallot, finely diced
    ¼ cup Apple Cider Vinegar
    2 tablespoon Lemon Juice
    1 tablespoon Lemon Zest
    ⅓ cup Olive Oil
    ½ teaspoon Dried Thyme
    ½ teaspoon Sea Salt
    ¼ teaspoon Coarse Ground Black Pepper


    Instructions

    In a large serving bowl combine the cubed watermelon, chopped cucumber, feta cheese and finely diced shallot.

    In a small bowl or pint jar add the apple cider vinegar, lemon juice, lemon zest, olive oil, thyme, salt and pepper. Stir to combine.

    Pour the dressing over the watermelon mixture. Stir to combine.

    Refrigerate for 1 hour and serve cold.

    • Prep Time: 15 minutes
    • Category: Side Dish, Salads
    • Method: Mixing
    • Cuisine: Gluten Free

    Did you make this recipe?

    Tag @smallfarmbiglife on Instagram and hashtag it #smallfarmbiglife

    FAQ

    What goes with watermelon feta salad?

    This recipe for watermelon cucumber and feta salad is a great side dish with steak, burgers or chicken. It is a really versatile summer side dish!

    How long will watermelon salad last in the fridge?

    Store this salad in the refrigerator for up to 5 days.

    How do I choose a ripe watermelon?

    You want a watermelon that has deep colored stripes and a dull rind. A yellow spot is ideal for getting a sweet flavor to your watermelon. It's best if it has a hollow sound when you knock on the rind with your hand.

    Do watermelon continue to ripen after picked?

    No, watermelon are not like cantaloupe that will continue to ripen on your counter. With a watermelon you want to get a sweet and ripe melon at the store. You can not count on it ripen up some at home.

    Air Fryer Roasted Zucchini Squash

    This Air Fryer Roasted Zucchini Squash is the summer side dish I make on repeat from the moment our garden starts producing and honestly it never gets old. Fresh zucchini chunks seasoned with olive oil, garlic powder, smoked paprika, cumin, and sea salt go into the air fryer at 400 degrees for 12 minutes and what comes out is perfectly golden brown, slightly crispy on the outside, and tender on the inside.

    It is one of those recipes that is so simple and so good that it becomes part of your weekly routine without you even realizing it.

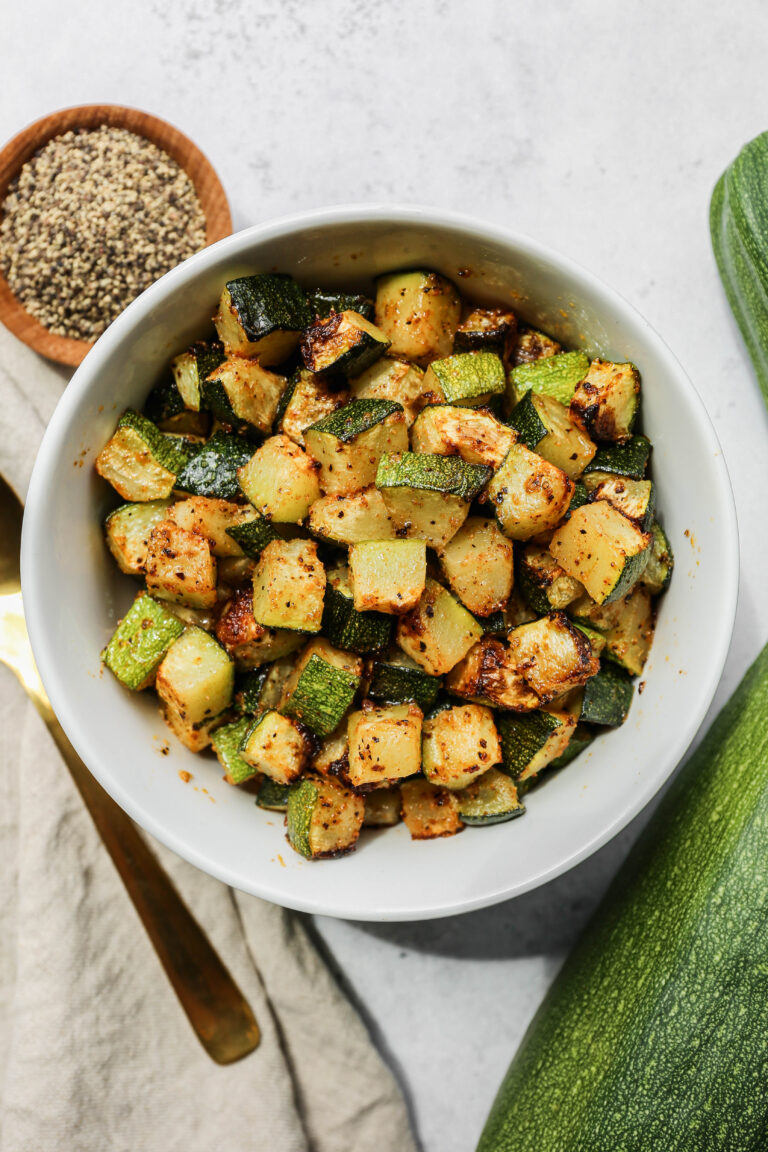
    a white bowl of air fryer roasted zucchini squash next to a fresh zucchini.

    One of my readers told me she makes this for her work lunches every week and her husband started opening her packed lunches and eating the zucchini out of them before she could take them to work.

    I love that so much and honestly it is the best endorsement a recipe can get.

    This recipe is naturally gluten free, completely keto friendly, made without any breading, and ready in just 17 minutes which makes it the perfect quick side dish for any weeknight dinner all summer long.

    If you are looking for more zucchini recipes you might also like my Gluten Free Zucchini Squash and Corn Casserole, this Baked Kale and Zucchini Pilaf or my Gluten Free Summer Squash Casserole recipes.

    a white bowl of air fryer roasted zucchini squash next to a small wooden bowl of pepper.
    [feast_advanced_jump_to]

    Ingredients

    • Fresh Zucchini
    • Olive Oil
    • Garlic Powder
    • Sea Salt
    • Smoked Paprika
    • Coarse Ground Black Pepper
    • Ground Cumin

    Instructions

    Wash the fresh zucchini in water and pat dry. Cut into rounds and then quarter the rounds. Cut off the seeds portion and then cut the piece into even sized chunks.

    Add the chunks of zucchini to a bowl. Add the olive oil, garlic powder, sea salt, smoked paprika, coarse ground pepper and ground cumin. Stir to combine.

    Pour the zucchini mixture evenly in the basket of your air fryer. Air fry at 400 degrees for 12 minutes.

    Variations

    • Yellow Squash - you can replace the zucchini with yellow squash or use a mixture of both
    • Spicy - add a pinch of cayenne pepper to give this dish a bit of a kick
    • Add Onion - add a small chopped sweet or yellow onion

    Equipment

    Storage

    Store the leftovers in an air tight container in the refrigerator for up to five days.

    I love to meal prep two or three batches of this recipe and then reheat it throughout the week for a quick side dish to go with whatever meat I'm preparing.

    More Recipes You Might Enjoy

    • Gluten Free Zucchini Squash and Corn Casserole
    • Easy Gluten Free Zucchini Brownies
    • Gluten Free Zucchini Chocolate Chip Cookies
    • Baked Kale and Zucchini Pilaf

    I get a lot of my ingredients from Thrive Market. Thrive Market has been a game changer for me eating gluten free. They have so many options I can't get at my rural grocery stores! Use this link to get 40% off your first order!

    Print
    clock clock iconcutlery cutlery iconflag flag iconfolder folder iconinstagram instagram iconpinterest pinterest iconfacebook facebook iconprint print iconsquares squares iconheart heart iconheart solid heart solid icon

    Air Fryer Roasted Zucchini Squash


    5 Stars 4 Stars 3 Stars 2 Stars 1 Star

    5 from 2 reviews

    • Author: Elaine VanVleck
    • Total Time: 17 minutes
    • Yield: 4 servings 1x
    • Diet: Gluten Free
    Print Recipe
    Pin Recipe

    Description

    This Air Fryer Roasted Zucchini Squash is the easiest and most flavorful summer side dish you can make in just 17 minutes with no breading required. Fresh zucchini chunks are tossed with olive oil, garlic powder, smoked paprika, cumin, and sea salt and air fried at 400 degrees until perfectly golden brown and roasted with a tender inside and slightly crispy exterior. Naturally gluten free, keto friendly, and perfect for weeknight dinners, summer meal prep, and using up garden zucchini all season long!


    Ingredients

    Scale
    • 4 cups Fresh Zucchini, seeded and cubed
    • 2 Tbsp Olive Oil
    • 1 tsp Garlic Powder
    • 1 tsp Sea Salt
    • ½ tsp Smoked Paprika
    • ½ tsp Coarse Ground Black Pepper
    • ¼ tsp Ground Cumin

    Instructions

    Wash the fresh zucchini in water and pat dry. Cut into rounds and then quarter the rounds. Cut off the seeds portion and then cut the piece into even sized chunks.

    Add the chunks of zucchini to a mixing bowl. Add the olive oil, garlic powder, sea salt, smoked paprika, coarse ground pepper and ground cumin. Stir to combine.

    Pour the zucchini mixture evenly in the basket of your air fryer. Air fry at 400 degrees for 12 minutes.

    • Prep Time: 5 minutes
    • Cook Time: 12 minutes
    • Category: Side Dish, Vegetables
    • Method: Air Fryer
    • Cuisine: American

    Did you make this recipe?

    Tag @smallfarmbiglife on Instagram and hashtag it #smallfarmbiglife

    If you made this Air Fryer Roasted Zucchini Squash I would love to hear what you thought! Please leave a star rating and a comment below. This is one of my favorite easy summer side dishes and I hope it becomes a staple in your kitchen too!

    Top Tip

    Do not overcrowd the air fryer basket when making this recipe. The zucchini needs space around each piece for the hot air to circulate and create that beautiful golden brown roasted exterior. If the basket is too crowded the zucchini will steam instead of roast and you will lose that slightly crispy texture that makes this recipe so good. If you are making a large batch work in two separate batches rather than piling everything in at once.

    Frequently Asked Questions

    Can you air fry zucchini?

    Yes! I think it is the easiest way to roast zucchini. I like to cut mine into evenly sized chunks, but small rounds will also work. Air fry at 400 degrees for 12 minutes. The zucchini will be golden brown and delicious.

    How long do you cook zucchini in the air fryer?

    I cook 4 cups of evenly sized chunks of zucchini squash at 400 degrees for 12 minutes for a nice golden brown roasted veggie.

    What is summer squash?

    Summer squash are grown during the warm summer months. Their skin is tender and does not need to be peeled. The most common summer squash are zucchini, yellow crookneck squash and pattypan. Depending on your region you will start to see summer squash at your farmer's market or local grocery starting in summer months.

    Is zucchini keto?

    Zucchini squash is a great vegetable choice if you are on a low carb or keto diet. One cup of sliced zucchini has about 2.5 grams of net carbs.

    Do I need to peel zucchini squash?

    No! One of the great things about zucchini squash is that the skin is soft and does not need to be peeled. It's an added benefit that the skin is full of vitamin C, other vitamins and minerals and fiber.

    • « Go to Previous Page
    • Page 1
    • Interim pages omitted …
    • Page 3
    • Page 4
    • Page 5
    • Page 6
    • Page 7
    • Interim pages omitted …
    • Page 15
    • Go to Next Page »

    Primary Sidebar

    Welcome! I'm Elaine

    I'm so glad you are here! I share easy gluten free recipes from my small farm in Washington.

    Be sure to sign up for my newsletter to stay up to date on all of my new recipes.

    More about me...
    • Instagram
    • Pinterest
    • Facebook
    • Twitter
    • Mail

    Load up on new recipes, exclusive goodies, + more!
    Sign up below to stay up-to-date on news, events, and special deals.
    Thank you for subscribing!

    Easy Meals Recipes

    • Gluten Free Instant Pot Chili Mac and Cheese
    • Gluten Free Taco Casserole
    • Gluten Free Cowboy Baked Beans
    • Gluten Free Walking Taco Casserole
    • Gluten Free Creamy Beef and Mushroom Pasta
    • Gluten Free Instant Pot Chicken & Dumplings
    • Instant Pot Mexican Style Beef and Rice
    • Gluten Free Chicken Parmesan Pasta Casserole
    • Gluten Free One Pot Hamburger Helper Copycat
    • Gluten Free Salisbury Steak with Mushroom Gravy
    • Gluten Free Air Fryer Fajitas
    • Gluten Free Sloppy Joe Casserole

    Footer

    Disclaimer:

    “We are a participant in the Amazon Services LLC Associates Program, an affiliate advertising program designed to provide a means for us to earn fees by linking to Amazon.com and affiliated sites.”

    Footer

    back to top

    About

    • Privacy Policy
    • Shop my Amazon Page
    • Follow me on LTK

    Newsletter

    • Sign Up! for emails and updates

    Contact

    • Contact
    • Media Kit
    • About Me

    As an Amazon Associate I earn from qualifying purchases.

    I may get commissions for purchases made through links on this site.

    Copyright © 2026 Brunch Pro on the Brunch Pro Theme