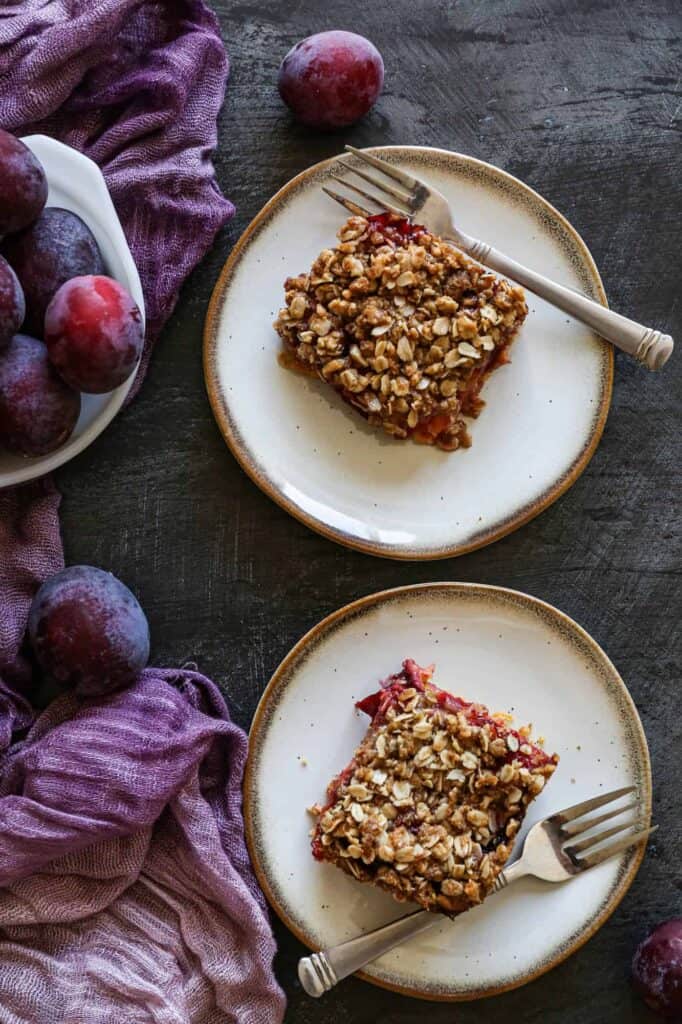
This easy recipe for gluten free plum cake uses fresh plums. In late summer I have a lot of plums on my trees and a fruit dessert is the perfect thing to use them for. This simple dessert is a cross between a cake and a crumble. It's perfect with coffee for brunch or after dinner.
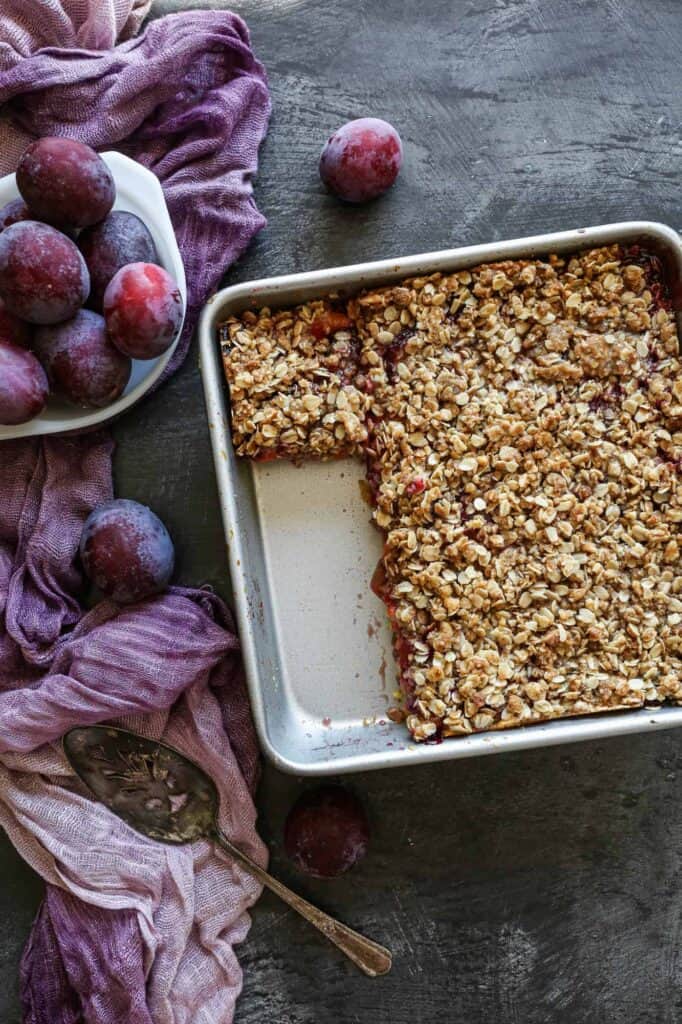
The bottom layer is a moist yellow cake, the middle layer is fresh plums sliced up and layer on and the top is a rolled oat crumble. The combination makes a lovely dessert. This recipe is easily my favorite way to use fresh plums!
I also have a Gluten Free Plum Cornmeal Cake that is delicious with a cup of coffee or tea. I enjoy this cake for breakfast or brunch just as much as a dessert.
You can find all of my cake recipes here: Gluten Free Cake Recipes
Ingredients
Unsalted Butter
Granulated Sugar
Eggs
Vanilla Extract
Gluten Free Flour
Baking Powder
Sea Salt
Plums
Gluten Free Rolled Oats
Brown Sugar
Brown Rice Flour
Walnuts
Instructions
Preheat your oven to 350 degrees. Grease a nine inch baking pan with butter or coconut oil. Set aside.
In the bowl of your stand mixer beat the unsalted butter and sugar until fluffy. Add the eggs and vanilla, beat until mixed in. Add the gluten free flour, baking powder and salt. Mix just until the ingredients are combined to form a cake batter.
Pour the cake batter into the greased nine inch baking dish.
Cover the top of the cake batter with the sliced plums.
In the bowl of your stand mixer combine the rolled oats, brown sugar, brown rice flour, sea salt, melted butter and walnuts. Blend until a crumble forms.
Pour the crumble evenly over the sliced plum layer of the cake.
Bake at 350 degrees for 55 minutes or until the top is golden brown and the plum layer is bubbling.
Once the cake is cool store it in the refrigerator.
Supplies

Frequently Asked Questions
Yes. When I bake with fresh fruit I prefer to refrigerate the dessert after it cools. This will prevent the cake from going bad quickly especially in the summer heat.
To serve the cake I remove it from from the refrigerator, heat it quickly in the oven or microwave and then serve on its own or with vanilla ice cream. This gluten free plum cake is great for a brunch or after dinner dessert.
This is such a simple dessert to make! First you will make the cake portion of the dessert. In the bowl of your mixer beat together the butter, sugar, eggs, vanilla, gluten free flour, baking powder and salt. Pour this batter into your greased nine inch baking dish.
Next, you will slice your plums and lay them over the cake batter. I like a thick layer of plums. This will take about 3 cups of sliced plums.
Finally you will top the plums with the crumble. Combine the rolled oats, brown sugar, brown rice flour, salt, butter and walnuts using your mixer. Pour the crumble onto the plums and bake at 350 degrees for 55 minutes.

More Recipes You Might Enjoy
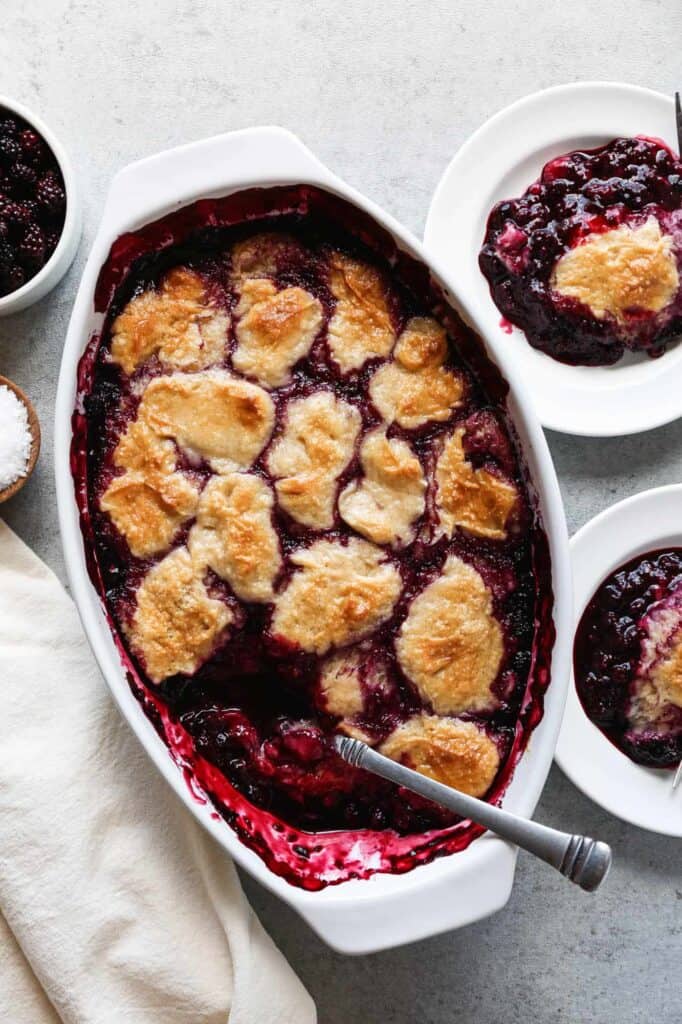
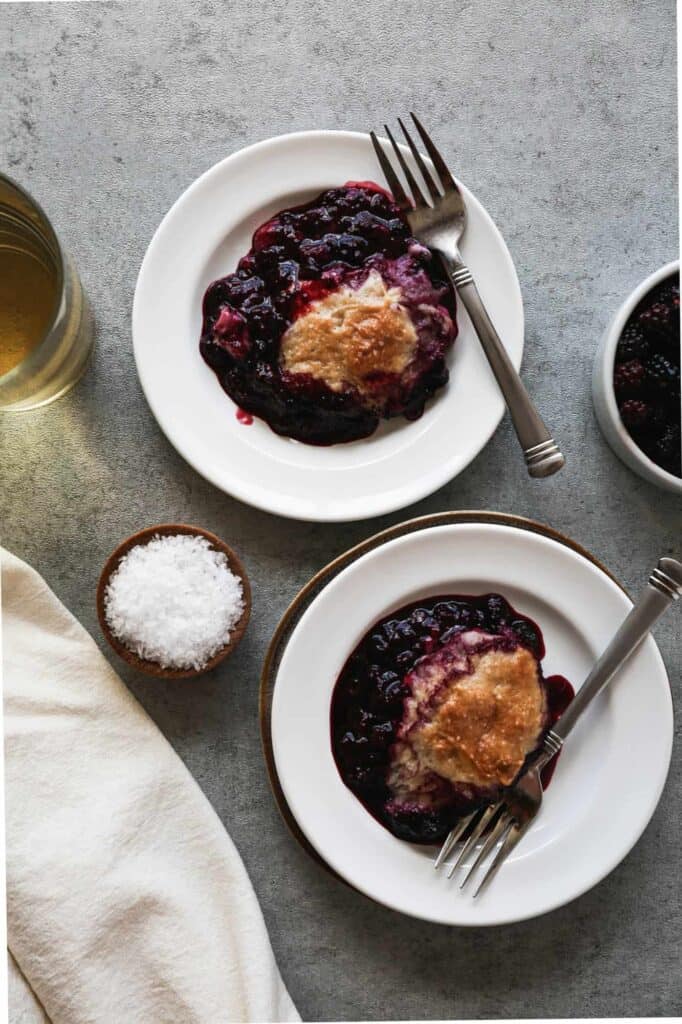
Gluten Free Blackberry Cobbler
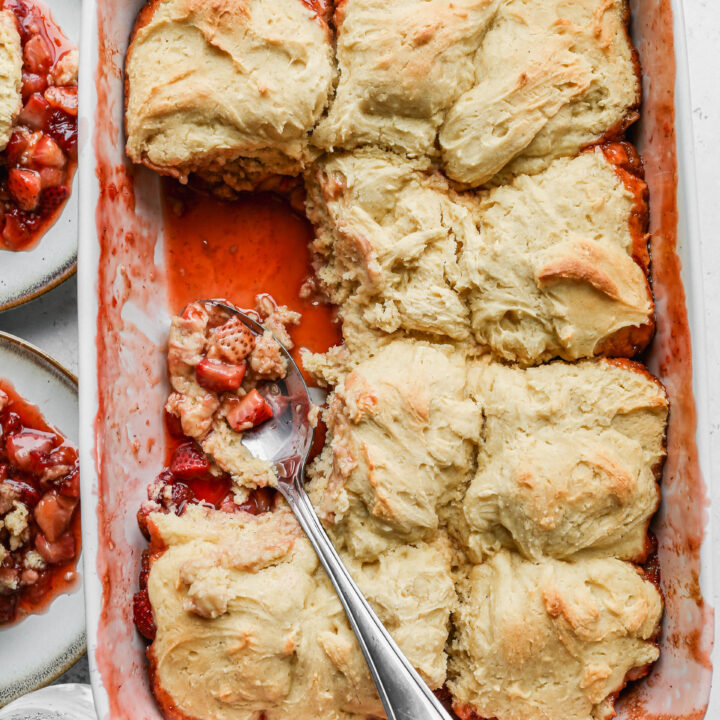
Gluten Free Strawberry Icebox Bars
Easy Gluten Free Zucchini Brownies
Gluten Free Orange Bundt Cake
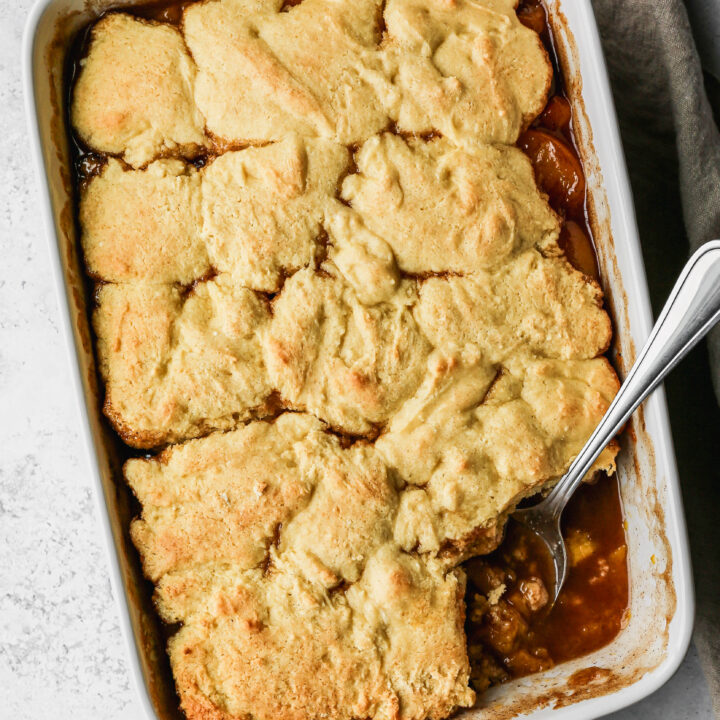
Gluten Free Apple Crisp
I get my ingredients from Thrive Market. Thrive Market has been a game changer for me eating gluten free. They have so many options I can't get at my rural grocery stores! Use this link to get 25% off your first order!
PrintGluten Free Plum Cake
- Total Time: 1 hour 15 minutes
- Yield: 9 servings
- Diet: Gluten Free
Description
This easy recipe for gluten free plum cake uses fresh plums. In late summer I have a lot of plums on my trees and a fruit dessert is the perfect thing to use them for. This simple dessert is a cross between a cake and a crumble. It's perfect with coffee for brunch or after dinner.
Ingredients
Cake:
½ cup Unsalted Butter, softened
½ cup Granulated Sugar
2 large Eggs
1 tsp. Vanilla Extract
1 cup Gluten Free Flour
2 tsp. Baking Powder
½ tsp. Sea Salt
3 cups Fresh Plums, sliced
Crumb Topping:
¾ cup Gluten Free Rolled Oats
½ cup Brown Sugar
¼ cup Brown Rice Flour
½ tsp. Sea Salt
¼ cup Unsalted Butter, melted
¼ cup Walnuts, chopped
Instructions
Preheat your oven to 350 degrees. Grease a nine inch baking pan with butter or coconut oil. Set aside.
In the bowl of your stand mixer beat the unsalted butter and sugar until fluffy. Add the eggs and vanilla, beat until mixed in. Add the gluten free flour, baking powder and salt. Mix just until the ingredients are combined to form a cake batter.
Pour the cake batter into the greased nine inch baking dish.
Cover the top of the cake batter with the sliced plums.
In the bowl of your stand mixer combine the rolled oats, brown sugar, brown rice flour, sea salt, melted butter and walnuts. Blend until a crumble forms.
Pour the crumble evenly over the sliced plum layer of the cake.
Bake at 350 degrees for 55 minutes or until the top is golden brown and the plum layer is bubbling.
Once the cake is cool store it in the refrigerator.
Notes
This cake is delicious on its own or served warm with vanilla ice cream.
- Prep Time: 20 minutes
- Cook Time: 55 minutes
- Category: Dessert
- Method: Baking
- Cuisine: Gluten Free