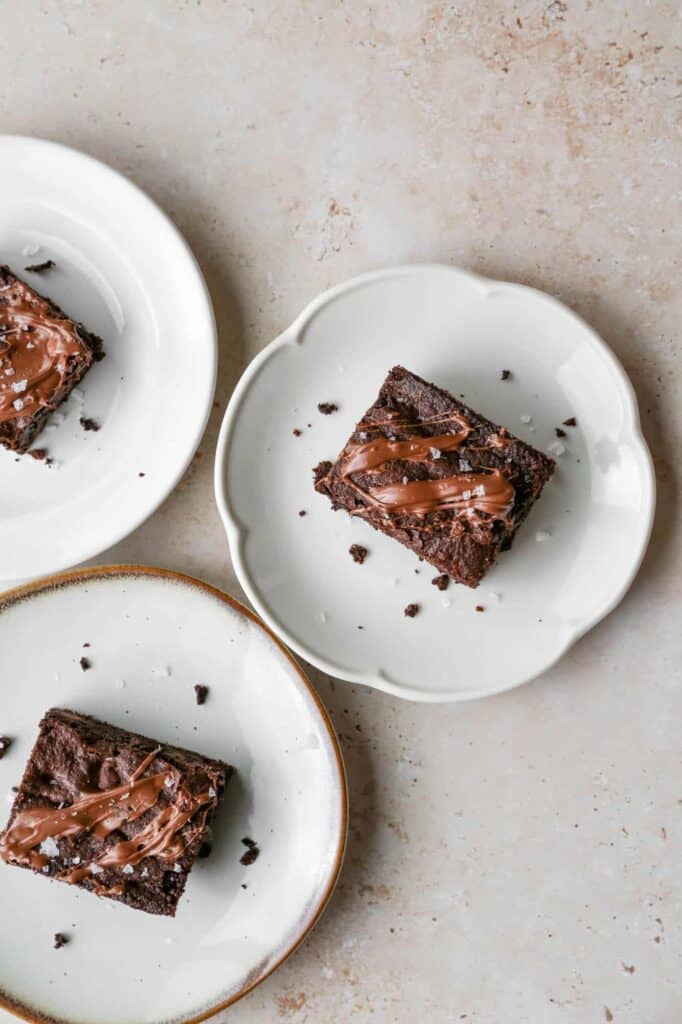
These simple gluten free triple chocolate brownies are made from scratch and make a perfect dessert. These chocolate chip brownies are so easy and moist! I think you will love this homemade recipe. I like them plain or warm topped with vanilla ice cream.
These Gluten Free Triple Chocolate Brownies are a dream for any chocolate lover. Combining cocoa, chocolate chips, and a rich fudgy base, these brownies deliver a deep chocolate flavor with a perfectly chewy texture.
This gluten-free bars recipe is easy to make from scratch and is perfect for those who want a homemade treat that's both simple and indulgent. Whether you're baking for a special occasion or just craving a chocolate fix, these brownies are a must-try.
The recipe is designed to be straightforward, making it a go-to for anyone looking for a delicious gluten-free dessert that's quick to prepare.
If you are looking for more chocolate recipes try my Gluten Free Chocolate Pound Cake, my Gluten Free Double Chocolate Chip Cookies, my Gluten Free Double Chocolate Bundt Cake or my Gluten Free Chocolate Mayonnaise Cake.
You can find all of my dessert recipes here: Gluten Free Dessert Recipes
Instructions
Preheat your oven to 350 degrees.
Grease a 9x13 baking dish with butter or coconut oil. Set aside.
In a saucepan melt the butter, granulated sugar, brown sugar and cocoa powder. Stir constantly until completely melted. Pour into the bowl of your stand mixer and let cool for ten minutes.
While the beater of your mixer is going add one egg at a time. Add vanilla extract and mix in.
Add the gluten free flour and baking powder to the mixer and beat just until blended. Add the white chocolate chips and semi-sweet chocolate chips to the batter and mix in.
Pour the batter into the greased 9x13 baking dish and bake at 350 degrees for 25-30 minutes. The brownies will be pulling slightly from the side of the pan and will bounce back when touched lightly.
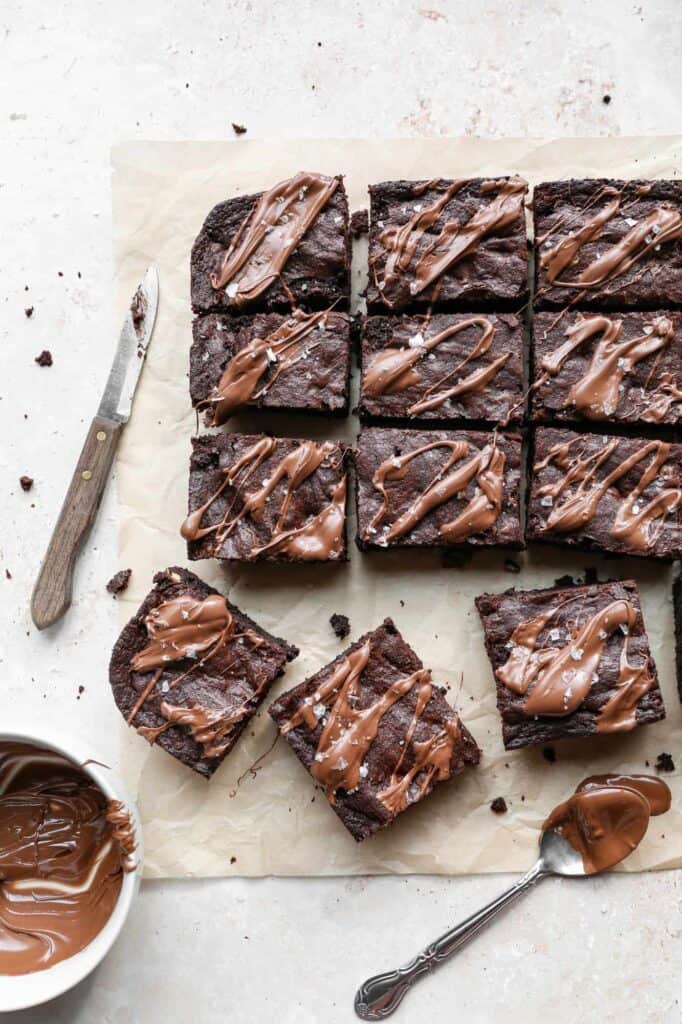
Let the brownies cool completely before drizzling the melted milk chocolate chips over top. Let the milk chocolate cool before cutting the brownies into bars.
Supplies

Frequently Asked Questions
Once your brownies are cool you will want to store them in an air tight container. They will keep for 3-5 days. If they are going to last longer than that I like to freeze part of them for later.
To freeze, place them in a freezer safe container or bag. Freeze in a flat layer so you can get one at a time out if you would like. This makes a quick dessert or treat to have on hand!
Yes! I like to freeze the baked and cooled brownies in a single row in a freezer safe container or freezer safe bag. Then after they are frozen I can get them all out or get one out at a time for a chocolate treat later.
I like to use a good dutch cocoa such as Rodelle Gourmet Baking Cocoa to make this recipe. The higher quality cocoa powder makes all of the difference in getting a rich chocolate flavor.

More Recipes You Might Enjoy


I get a lot of my ingredients from Thrive Market. Thrive Market has been a game changer for me eating gluten free. They have so many options I can't get at my rural grocery stores! Use this link to get 40% off your first order!
Gluten Free Triple Chocolate Brownies
- Total Time: 50 minutes
- Yield: 15 bars 1x
- Diet: Gluten Free
Description
These simple gluten free triple chocolate brownies are made from scratch and make a perfect dessert. These chocolate chip brownies are so easy and moist! I think you will love this homemade recipe.
Ingredients
- 1 cup Unsalted Butter
- 1 cup Granulated Sugar
- 1 cup Brown Sugar
- 1 cup Cocoa Powder
- 4 Large Eggs
- 1 tsp. Vanilla Extract
- 1 cup Gluten Free Flour
- 1 tsp. Baking Powder
- ⅓ cup White Chocolate Chips
- ⅓ cup Semi-Sweet Chocolate Chips
- ¼ cup Milk Chocolate Chips, melted
Instructions
Preheat your oven to 350 degrees.
Grease a 9x13 baking dish with butter or coconut oil. Set aside.
In a saucepan melt the butter, granulated sugar, brown sugar and cocoa powder. Stir constantly until completely melted. Pour into the bowl of your stand mixer and let cool for ten minutes.
While the beater of your mixer is going add one egg at a time. Add vanilla extract and mix in.
Add the gluten free flour and baking powder to the mixer and beat just until blended. Add the white chocolate chips and semi-sweet chocolate chips to the batter and mix in.
Pour the batter into the greased 9x13 baking dish and bake at 350 degrees for 25-30 minutes. The brownies will be pulling slightly from the side of the pan and will bounce back when touched lightly.
Let the brownies cool completely before drizzling the melted milk chocolate chips over top. Let the milk chocolate cool before cutting the brownies into bars.
- Prep Time: 20 minutes
- Cook Time: 30 minutes
- Category: Dessert
- Method: Baking
- Cuisine: Gluten Free