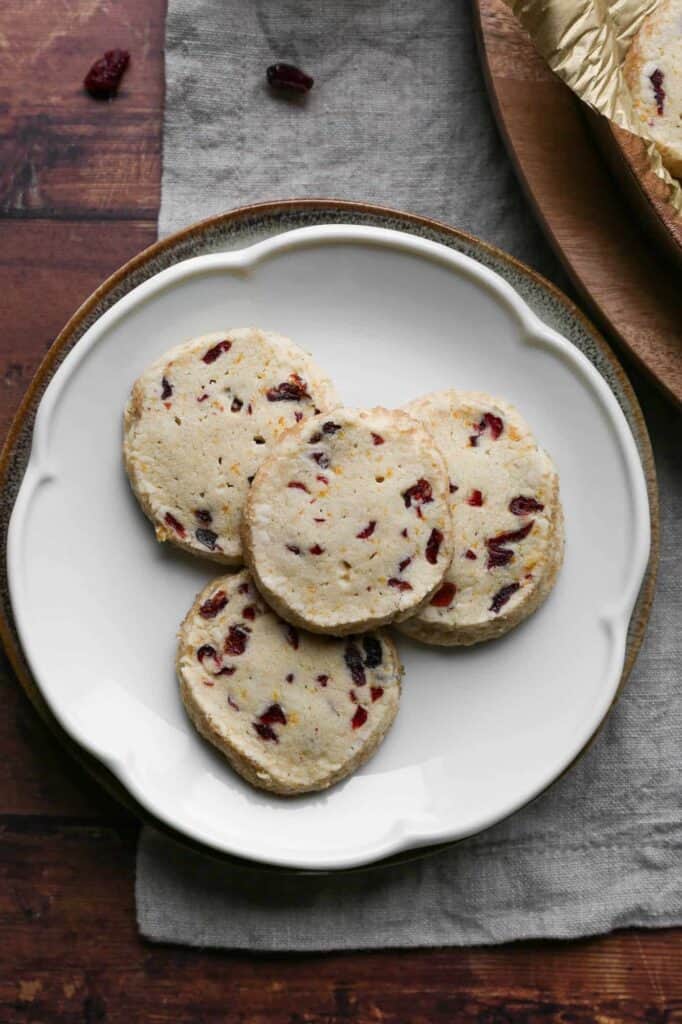
These easy gluten free orange cranberry butter cookies are perfect for the holidays. This Christmas shortbread recipe makes the best treats. These cookies are eggless and include dried cranberries and orange zest for amazing flavor.
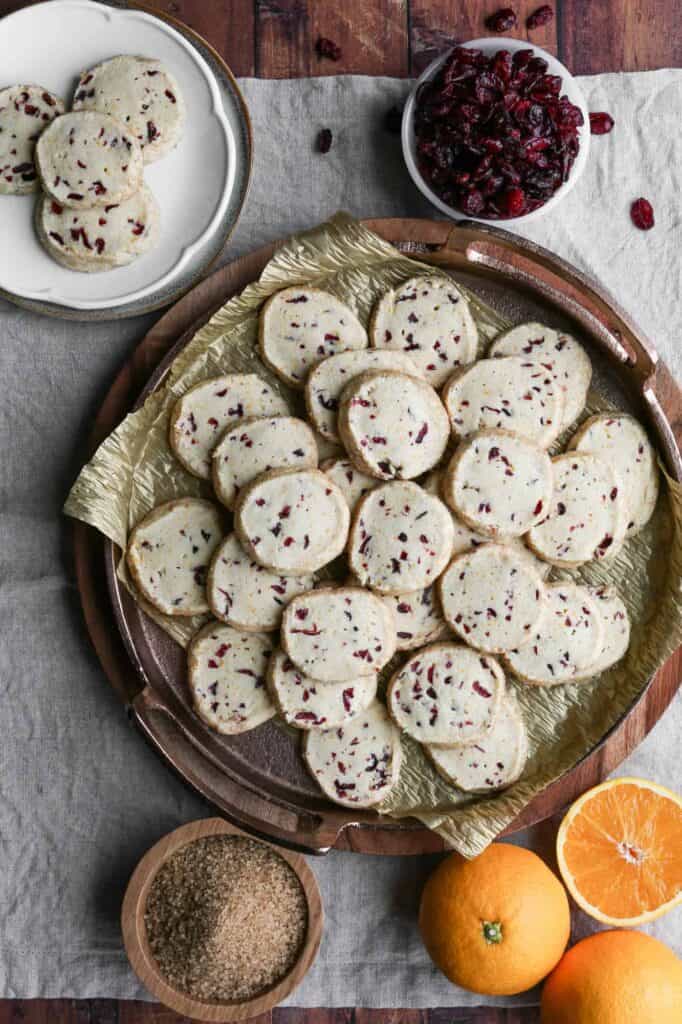
These gluten free orange cranberry butter cookies are a simple yet classic treat perfect for the holiday season. With their rich, buttery shortbread base and bursts of sweet dried cranberries, these cranberry orange shortbread cookies bring festive flavor to every bite.
Whether you call them cranberry orange cookies or shortbread cranberry orange cookies, they're a must have recipe for any cookie tray or holiday cookie exchange.
Butter cookies or shortbread are one of my favorite holiday treats. I love the crisp on the outside, yet soft on the inside texture. These cookies melt in your mouth!
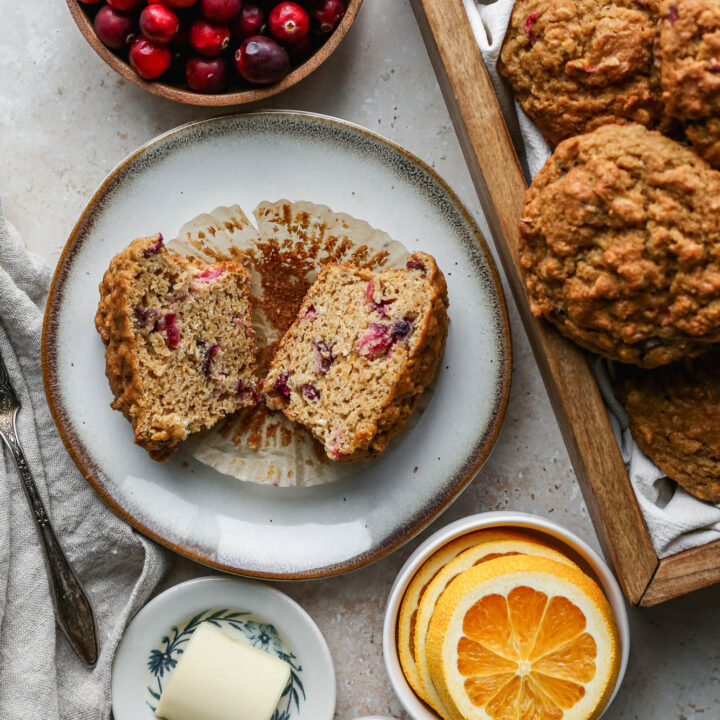
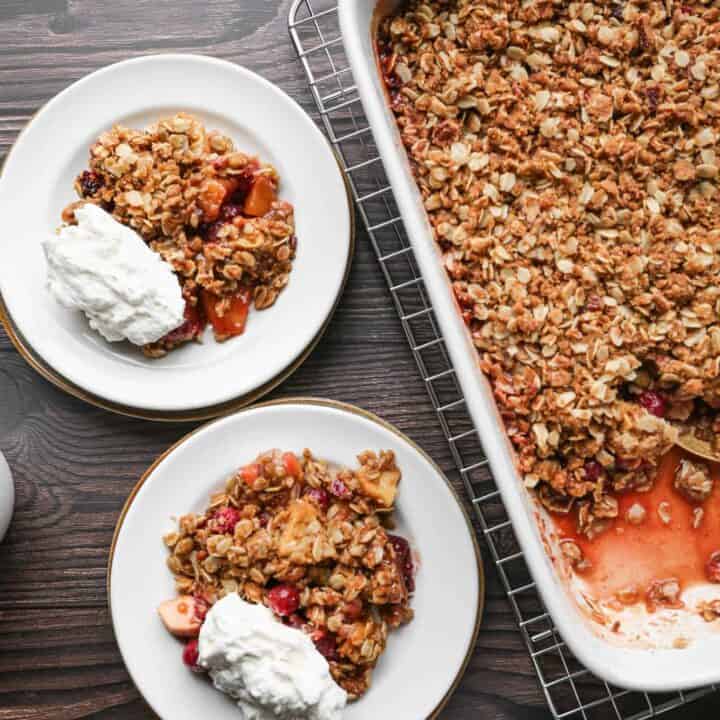
If you're looking for more cranberry recipes try my Gluten Free Cranberry Orange Muffins, my Gluten Free Cranberry Apple Crisp, my Gluten Free Orange Cranberry Biscotti or my Gluten Free White Chocolate Cranberry Cookies.
You can find all my cranberry recipes here: Gluten Free Cranberry Recipes
Instructions
Preheat your oven to 350 degrees. Line three baking sheets with parchment paper. Set aside.
Beat the room temperature butter in the stand mixer for 2-3 minutes until it's creamy. Add the powdered sugar and vanilla. Beat until smooth.
In a bowl whisk together the gluten free flour, baking powder and sea salt. Add this to the butter mixture. Blend together until just combined. Add the dried cranberries and orange zest and mix to combine them into the dough.
Divide the dough into half. Roll each half into a log in parchment paper that's about 2 inches wide by 2 inches tall. Chill for at least 2 hours.
Place the demerara sugar on a plate or shallow dish. Roll each cookie log in the demerara sugar and gently press the sugar into the sides. Cut the log into ¼ inch thick rounds using a very sharp knife.
Place cookie rounds on a lined baking sheet. Bake at 350 degrees for 12-15 minutes. The edges will be slightly browned around the edges when they are done.
Supplies


More Recipes To Enjoy


I get a lot of my ingredients from Thrive Market. Thrive Market has been a game changer for me eating gluten free. They have so many options I can't get at my rural grocery stores! Use this link to get 40% off your first order!
PrintGluten Free Orange Cranberry Butter Cookies
- Total Time: 2 hours 15 minutes
- Yield: 62 cookies 1x
- Diet: Gluten Free
Description
These easy gluten free orange cranberry butter cookies are perfect for the holidays. This Christmas shortbread recipe makes the best treats. These cookies are eggless and include dried cranberries and orange zest for amazing flavor.
Ingredients
- 1 ½ cups Unsalted Butter, at room temperature
- 1 ¼ cups Powdered Sugar
- 2 tsp. Vanilla Extract
- 3 cups Gluten Free Flour
- ½ tsp. Baking Powder
- ½ tsp. Sea Salt
- 1 cup Dried Cranberries, finely chopped
- 2 Tbsp. Orange Zest
- ½ cup Demerara Sugar
Instructions
Preheat your oven to 350 degrees. Line three baking sheets with parchment paper. Set aside.
Beat the room temperature butter in the stand mixer for 2-3 minutes until it's creamy. Add the powdered sugar and vanilla. Beat until smooth.
In a bowl whisk together the gluten free flour, baking powder and sea salt. Add this to the butter mixture. Blend together until just combined. Add the dried cranberries and orange zest and mix to combine them into the dough.
Divide the dough into half. Roll each half into a log in parchment paper that's about 2 inches wide by 2 inches tall. Chill for at least 2 hours.
Place the demerara sugar on a plate or shallow dish. Roll each cookie log in the demerara sugar and gently press the sugar into the sides. Cut the log into ¼ inch thick rounds using a very sharp knife.
Place cookie rounds on a lined baking sheet. Bake at 350 degrees for 12-15 minutes. The edges will be slightly browned around the edges when they are done.
- Prep Time: 120 minutes
- Cook Time: 15 minutes
- Category: Cookies
- Method: Baking
- Cuisine: Gluten Free
Top Tip
The addition of finely chopped dried cranberries and fresh orange peel gives the cookies a great citrus taste! The demerara sugar on the edges give the cookies a bit of crunch. You could skip this step if you don't have sugar crystals, but I highly recommend them.
Didn't find the answer you're looking for?
Ask AI to answer based on this recipe:
Frequently Asked Questions
These gluten free orange cranberry butter cookies are so simple to make! Beat the room temperature butter in the mixer for 2-3 minutes until it's creamy. Add the powdered sugar and vanilla. Beat until smooth.
In a bowl whisk together the gluten free flour, baking powder and sea salt. Add this to the butter mixture. Blend together until just combined. Add the dried cranberries and orange zest and mix to combine them into the dough.
Divide the dough into half. Roll each half into a log in parchment paper that about 2" wide by 2" inches tall. Chill for at least 2 hours.
Place the demerara sugar on a plate or shallow dish. Roll each cookie log in the demerara sugar and gently press the sugar into the sides. Cut the logs into ¼" thick rounds using a very sharp knife.
Place cookies rounds on a lined baking sheet. Bake at 350 degrees for 12-15 minutes. The edges will be slightly browned when they are done.
Yes. These gluten free orange cranberry butter cookies or shortbread cookies will be slightly soft while hot right out of the oven. Let them set for at least 10 minutes before you remove them from the baking sheet.
As the cookies cool they will get a slightly crisp texture on the outside. The inside of the cookie will still be melt in your mouth soft.