If you are eating gluten free you already know that salad dressings are one of the trickiest places gluten hides. So many store bought caesar dressings contain ingredients that are not gluten free, which means making your own from scratch is really the safest and most delicious option. This homemade gluten free caesar dressing comes together in just 10 minutes with simple ingredients you probably already have on hand and it is so much better than anything you can buy at the store.
Rich, creamy, tangy, and packed with bold classic caesar flavor without any raw eggs.
The secret to this dressing is the anchovy fillets. I know that sounds intimidating but they completely blend into the dressing and you would never know they are there. They add a deep savory richness that gives this caesar dressing its signature bold flavor without any fishiness.
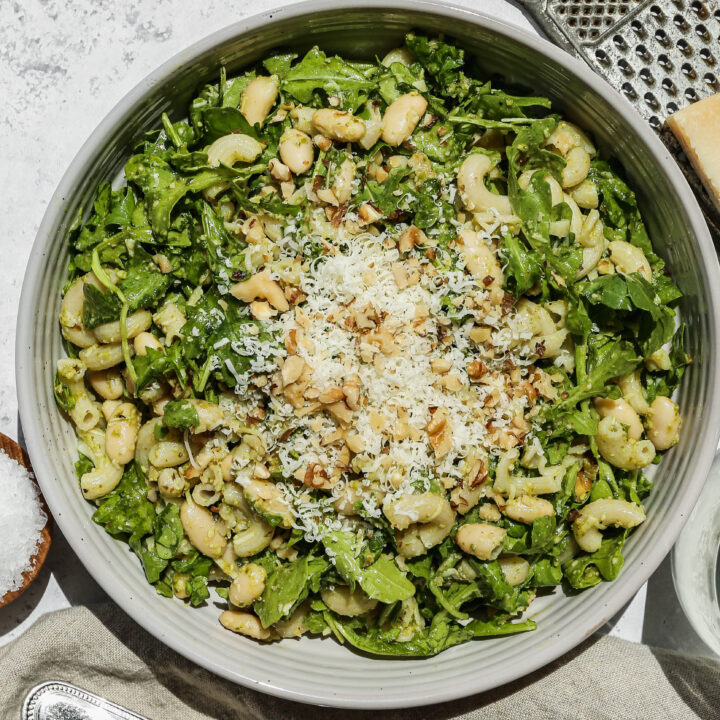
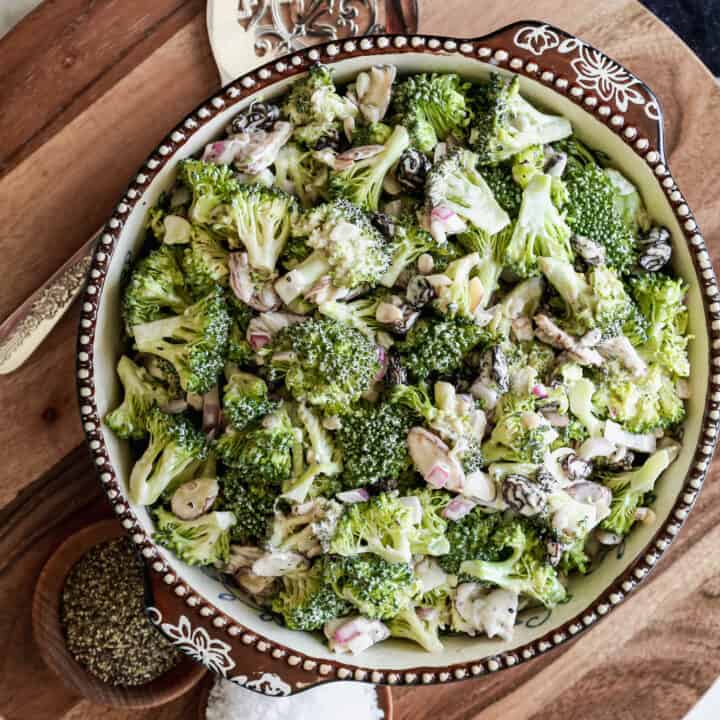
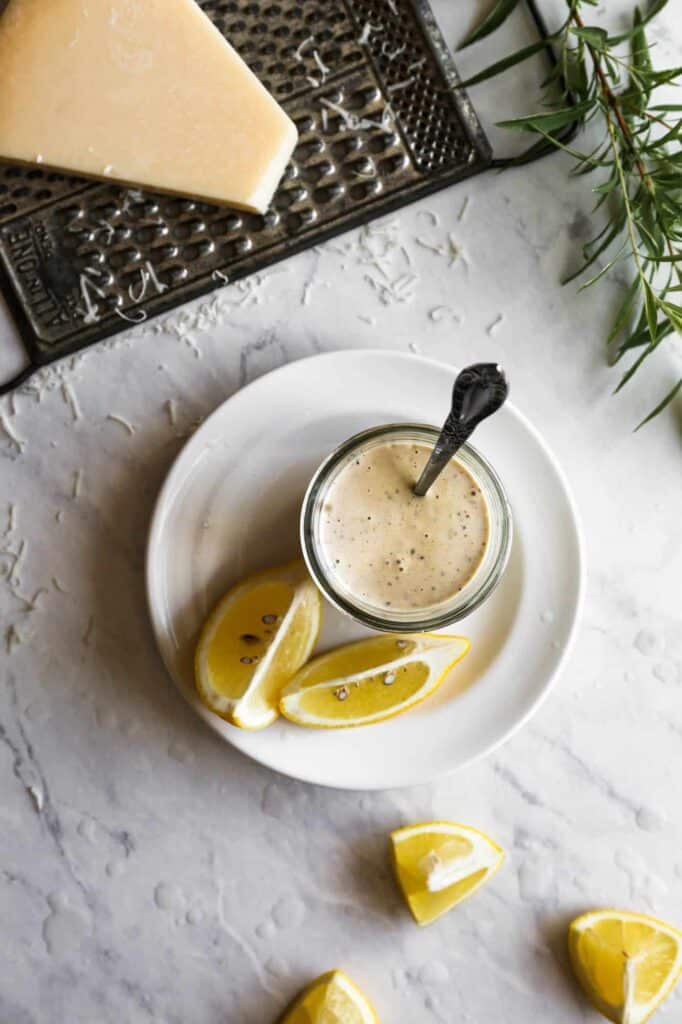
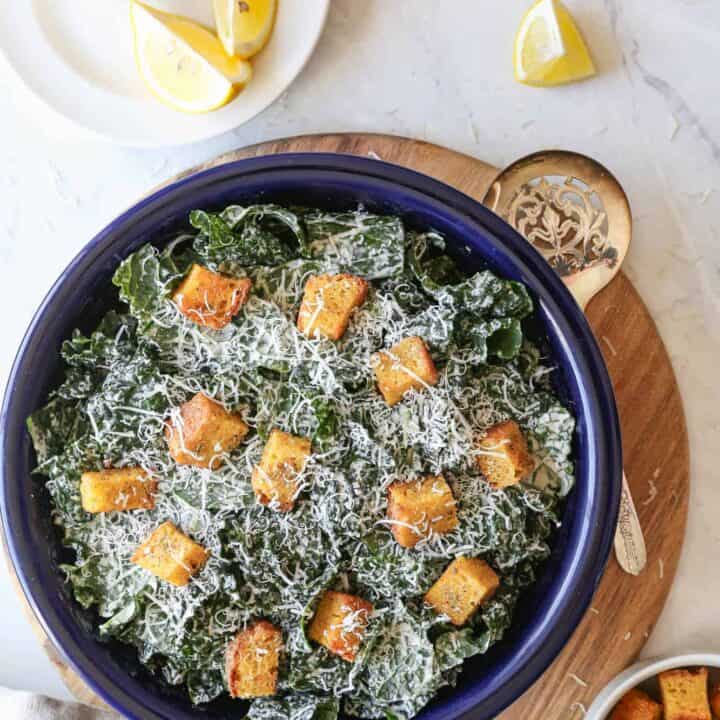
Combined with mayonnaise, minced garlic, fresh lemon juice, Dijon mustard, gluten free Worcestershire sauce, and finely grated Parmigiano-Reggiano this dressing is absolutely incredible on a classic romaine caesar salad, a gluten free kale caesar salad, as a dipping sauce for vegetables, and so much more. Once you make homemade gluten free caesar dressing you will never reach for a bottle again.
You can find all my salad recipes here: Gluten Free Salad Recipes
Instructions
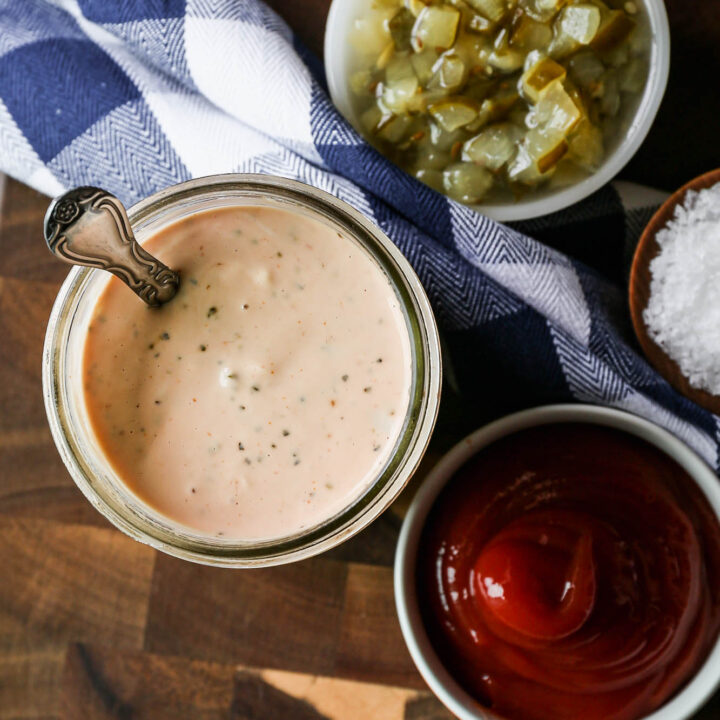
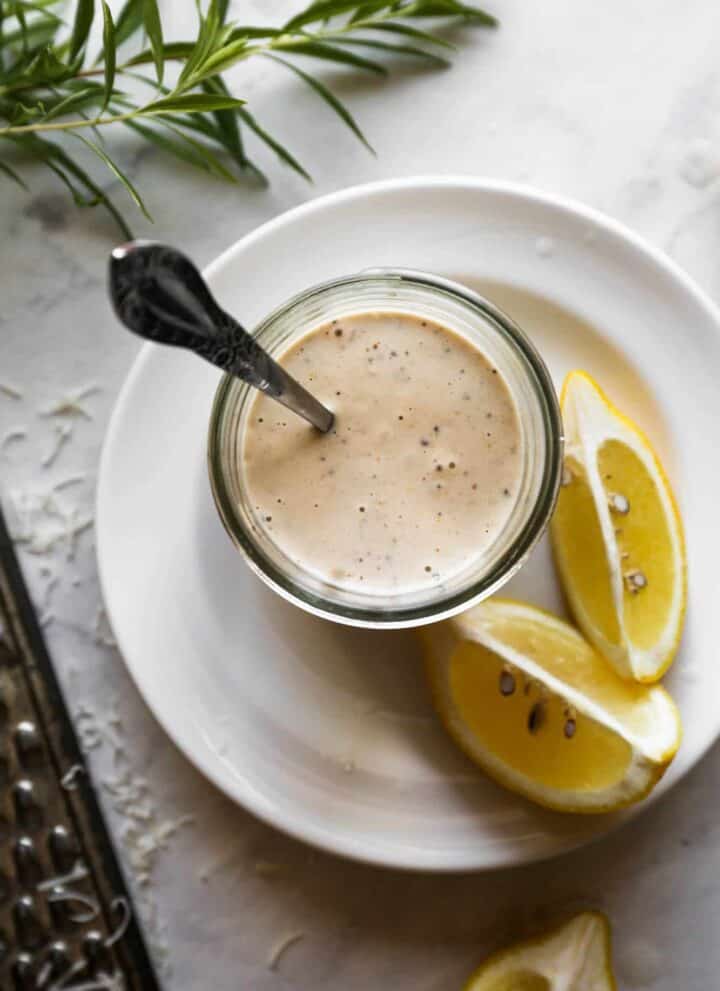
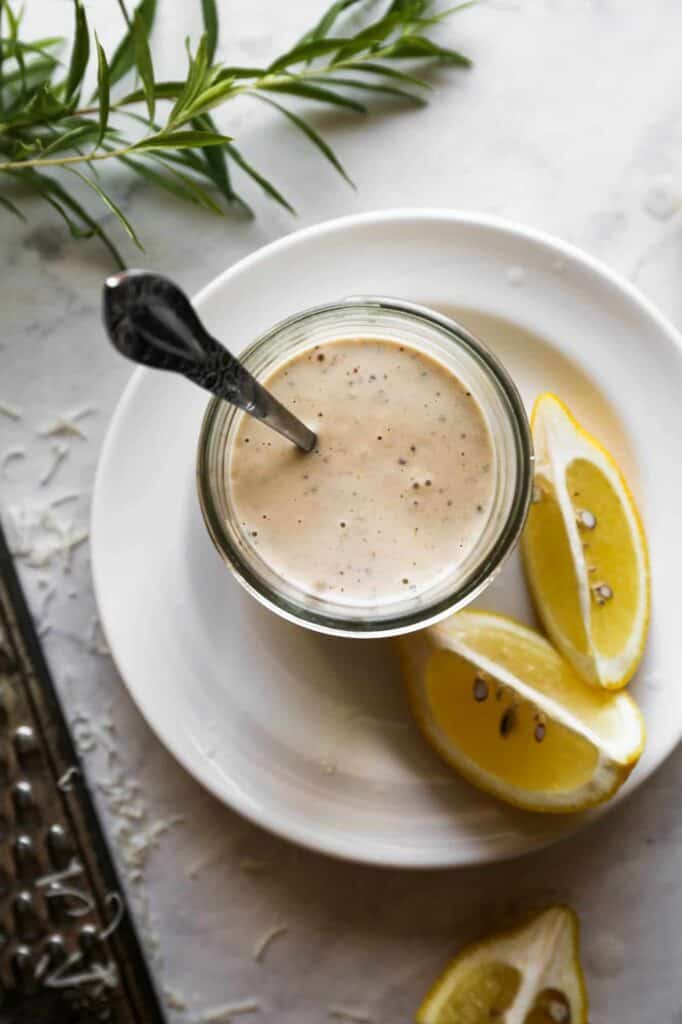
In a glass jar (I like to use leftover mayonnaise jars or wide mouth canning jars) place the mayonnaise, garlic, anchovy fillets, lemon juice, Dijon mustard, gluten free Worcestershire sauce, parmesan cheese, salt and pepper. Using an emersion blender, blend the ingredients until they are smooth and creamy.
If you don't have an emersion blender you can also make this dressing in a food processor.
Store in an air tight container in the refrigerator for up to one week.
Supplies


More Recipes You Might Enjoy


I get a lot of my ingredients from Thrive Market. Thrive Market has been a game changer for me eating gluten free. They have so many options I can't get at my rural grocery stores! Use this link to get 40% off your first order!
PrintGluten Free Caesar Dressing
- Total Time: 10 minutes
- Yield: 1 cup 1x
- Diet: Gluten Free
Description
This homemade gluten free caesar dressing is rich, creamy, and made completely from scratch without raw eggs! Mayonnaise, anchovy fillets, minced garlic, fresh lemon juice, Dijon mustard, gluten free Worcestershire sauce, and Parmigiano-Reggiano blend together in just 10 minutes for the most flavorful gluten free caesar salad dressing. Keto and low carb friendly and so much better than anything from a bottle!
Ingredients
- 1 cup Mayonnaise
- 2 Tbsp. Minced Garlic
- 6 Anchovy Fillets
- 2 Tbsp. Lemon Juice
- 2 tsp. Dijon Mustard
- 1 tsp. Gluten Free Worcestershire Sauce
- ⅓ cup Parmigiano-Reggiano, finely grated
- ½ tsp. Sea Salt
- ½ tsp. Ground Black Pepper
Instructions
In a glass jar (I like to use leftover mayonnaise jars or wide mouth canning jars) place the mayonnaise, garlic, anchovy fillets, lemon juice, Dijon mustard, gluten free Worcestershire sauce, parmesan cheese, salt and pepper. Using an emersion blender, blend the ingredients until they are smooth and creamy.
If you don't have an emersion blender you can also make this dressing in a food processor.
Store in an air tight container in the refrigerator for up to one week.
Notes
Please always read the labels of the ingredients you purchase to be sure they are gluten free. Gluten free Worcestershire sauce is available at my grocery store, but maybe not at yours.
- Prep Time: 10 minutes
- Cook Time: 0 minutes
- Category: Dressing
- Method: Blending
- Cuisine: American
If you make this Gluten Free Caesar Dressing I would love to hear what you think! Leave a star rating and a comment below and let me know what you served it with.
Don't forget to save this recipe to your Pinterest boards so you can find it again every time a caesar salad craving hits!
Storage
Store this gluten free caesar dressing in an airtight jar or container in the refrigerator for up to one week. A wide mouth canning jar or a leftover mayonnaise jar works perfectly for storing and shaking the dressing before use. Give the jar a good shake or stir before each use as the dressing may separate slightly as it sits. Do not freeze this dressing as the mayonnaise base will separate and the texture will not recover once thawed.
Top Tip
Make sure you are using certified gluten free Worcestershire sauce in this recipe. Standard Worcestershire sauce typically contains malt vinegar which is made from barley and is not gluten free. Always check the label carefully and look for a product that is specifically labeled certified gluten free. Lea and Perrins is one of the most widely available brands and their Worcestershire sauce is considered gluten free in the United States, but always verify the label on the bottle you purchase to be sure.
Didn't find the answer you're looking for?
Ask AI to answer based on this recipe:
Frequently Asked Questions
Yes, this caesar dressing is completely gluten free when made with the right ingredients. The most important thing to watch for is the Worcestershire sauce. Standard Worcestershire sauce is not gluten free because it typically contains malt vinegar which is made from barley. Always purchase a certified gluten free Worcestershire sauce and check the label every time since manufacturers can change their formulas. All of the other ingredients in this recipe are naturally gluten free.
No, it does not taste fishy at all. I know anchovies can sound off putting but they completely blend into the dressing and simply add a deep savory richness that gives caesar dressing its signature bold flavor. Without them the dressing would taste flat and missing something. Trust the process on this one because the anchovies are what makes this dressing taste like a real restaurant quality caesar dressing rather than something from a bottle.
You can omit the anchovies but keep in mind that the flavor will be significantly milder and less complex without them. If you are opposed to anchovies or cannot find them, you can substitute a teaspoon of capers or a small amount of miso paste to add a similar depth of savory flavor. The dressing will still be delicious but it will taste noticeably different from a traditional caesar dressing.
No, an immersion blender makes it quick and easy but it is not required. You can also make this dressing in a food processor or a regular blender. If you do not have any of those tools you can finely mince the anchovy fillets and garlic by hand and whisk everything together vigorously in a bowl until smooth and creamy. The texture may be slightly less uniform but the flavor will be just as delicious.
Yes! This gluten free caesar dressing is naturally keto and low carb friendly. The mayonnaise base keeps the fat content high and the carb count very low making it a great option for anyone following a keto or low carb lifestyle. Anchovies are also an excellent source of omega 3 fatty acids and iron which makes this dressing as nutritious as it is delicious.
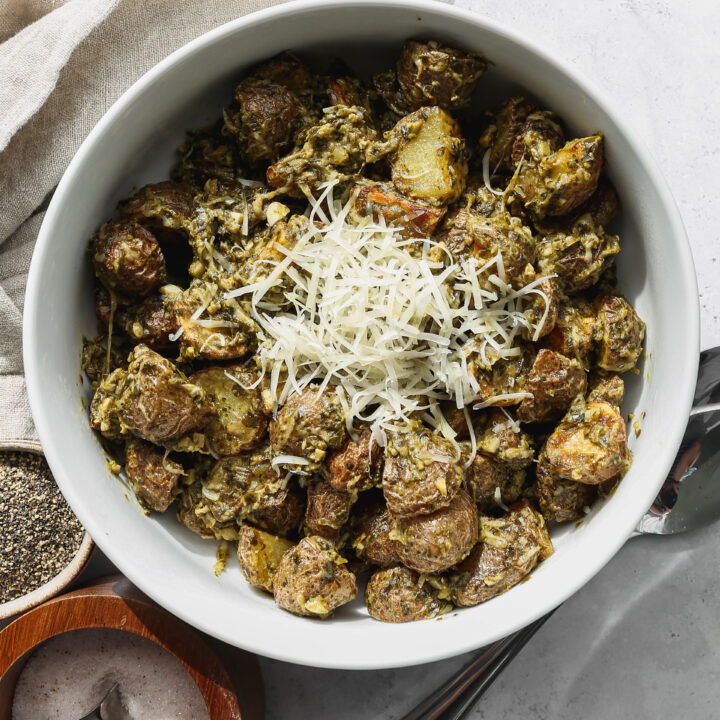
So many things! This dressing is incredible on a classic romaine caesar salad or a gluten free kale caesar salad. It also works beautifully as a dipping sauce for raw vegetables, a spread on gluten free sandwiches and wraps, a topping for grilled chicken, and a dressing for roasted vegetable bowls. It is one of those versatile condiments that you will find yourself reaching for all week long once you have a jar in the fridge.