This easy recipe for homemade strawberry banana popsicles is a creamy frozen treat! I love ice pops as a perfect summer frozen dessert. This healthy recipe has real fruit and is simple to make.
Perfect as a popsicle recipe for kids or a light easy summer dessert, these frozen fruit popsicles are a great alternative to store-bought versions.
With the sweet taste of strawberries and bananas in every bite, they're a go-to healthy strawberry banana popsicle option that fits any warm-weather occasion.
If you're wondering how to make strawberry banana popsicles that are delicious and guilt-free, this easy fruit popsicle recipe is the answer.
My favorite popsicle mold is the Norpro Frozen Ice Pop Maker. I like it's sturdy construction and that I can use wooden popsicle sticks with it. After the popsicles are frozen the lid comes off easily. I dip the mold into hot water and the ice pops come out easily.
You might also like my Gluten Free Strawberry Icebox Bars recipe.
Ingredients
Strawberries
Bananas
Milk
Honey
Heavy Whipping Cream
Granulated Sugar
Instructions
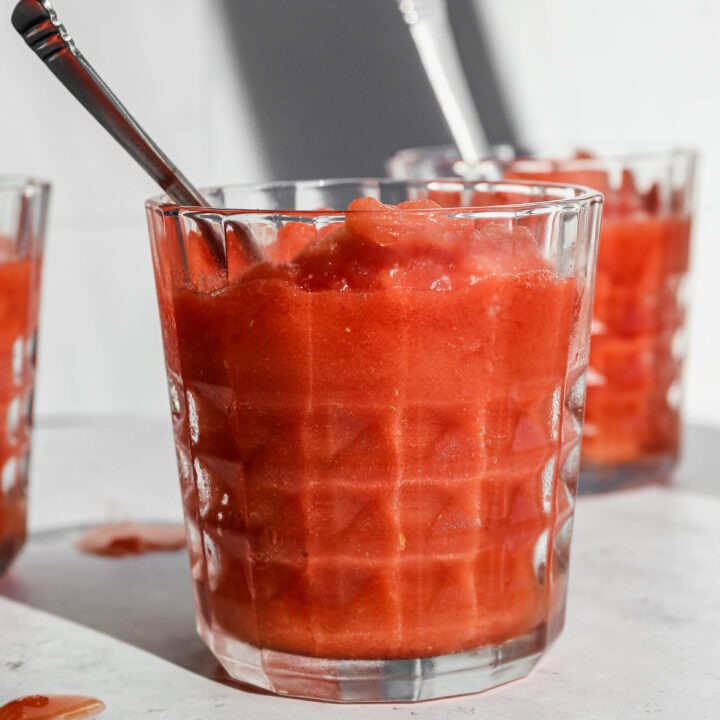
In a saucepan on medium heat cook the strawberries, bananas, milk and honey stirring occasionally until fruit is broken down and the mixture has slightly thickened.
Let the fruit mixture cool.
Using a stand mixer on high speed whisk the heavy whipping cream and sugar until stiff peaks form.
Reserve one cup of the fruit mixture. Pour the rest of the fruit mixture into a blender and puree.
Fold the fruit mixture, fruit puree and whipped cream together.
Pour or scoop the mixture into the popsicle molds. Place the lid on your mold and the popsicle sticks into the lid. If you don't have a lid you can use plastic wrap or tin foil to hold the popsicle sticks in place.
Freeze for at least two hours before serving.
If you can't get the popsicles out of the mold you can submerge the bottom of the mold in hot water for a few seconds. Be careful not to get water into your popsicles.
Supplies

Top Tip
When I say fold I mean to pour the whipped cream on top of the strawberry mixture, then take a spatula and gently pull strawberry mixture over the whipped cream until they mix together. You want to keep the airiness of the whipped cream so you don't just want to stir them together.
Frequently Asked Questions
I don't like to leave my homemade strawberry banana popsicles in the freezer for longer than one week. This prevents them from getting freezer burnt. Honestly, they get consumed so fast they don't normally last the entire week during the summer.
More Recipes You Might Enjoy


I get a lot of my ingredients from Thrive Market. Thrive Market has been a game changer for me eating gluten free. They have so many options I can't get at my rural grocery stores! Use this link to get 40% off your first order!
PrintHomemade Strawberry Banana Popsicles
- Total Time: 30 minutes
- Yield: 10 popsicles 1x
- Diet: Gluten Free
Description
This easy recipe for homemade strawberry banana popsicles is a creamy frozen treat! I love ice pops as a perfect summer frozen dessert. This healthy recipe has real fruit and is simple to make.
Ingredients
- 3 cups Strawberries, hulled and sliced
- 2 medium ripe Bananas, cut into chunks
- 2 Tbsp. Milk
- 2 Tbsp. Honey
- 1 cup Heavy Whipping Cream
- 2 Tbsp. Granulated Sugar
Instructions
In a saucepan on medium heat cook the strawberries, bananas, milk and honey stirring occasionally until fruit is broken down and the mixture has slightly thickened.
Let the fruit mixture cool.
Using a stand mixer on high speed whisk the heavy whipping cream and sugar until stiff peaks form.
Reserve one cup of the fruit mixture. Pour the rest of the fruit mixture into a blender and puree.
Fold the fruit mixture, fruit puree and whipped cream together.
Pour or scoop the mixture into the popsicle molds. Place the lid on your mold and the popsicle sticks into the lid. If you don't have a lid you can use plastic wrap or tin foil to hold the popsicle sticks in place.
Freeze for at least two hours before serving.
If you can't get the popsicles out of the mold you can submerge the bottom of the mold in hot water for a few seconds. Be careful not to get water into your popsicles.
- Prep Time: 20 minutes
- Cook Time: 10 minutes
- Category: Ice Cream
- Method: Frozen
- Cuisine: Gluten Free
Top Tip
This is a great way to use strawberries and ripe bananas. I know when it's hot I don't want to turn my oven on for banana bread, so instead I make these delicious popsicles.