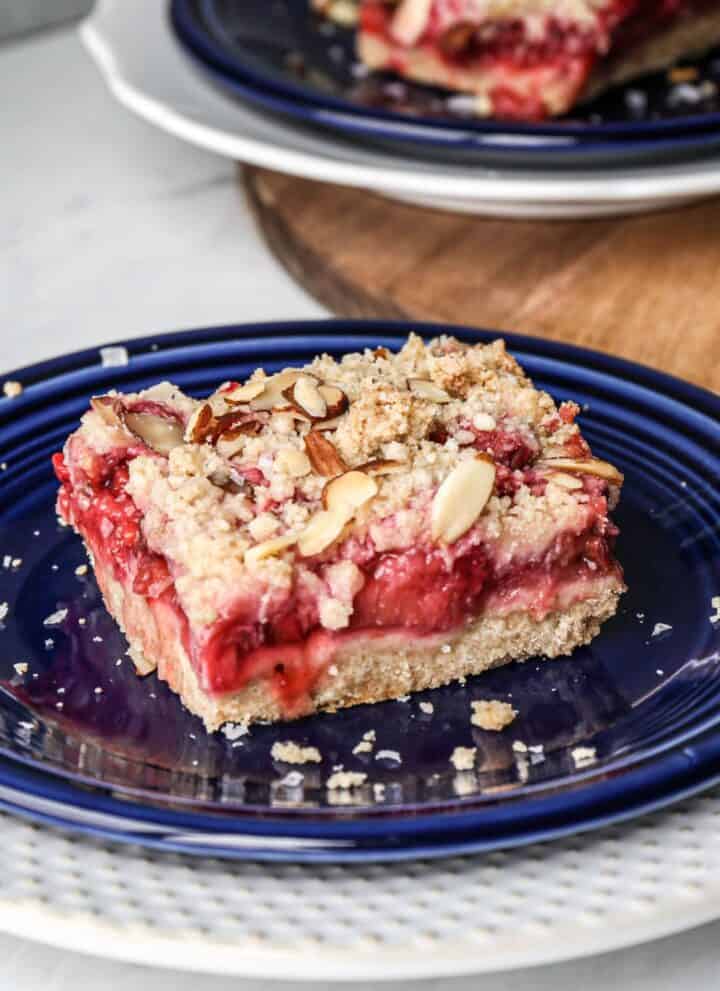
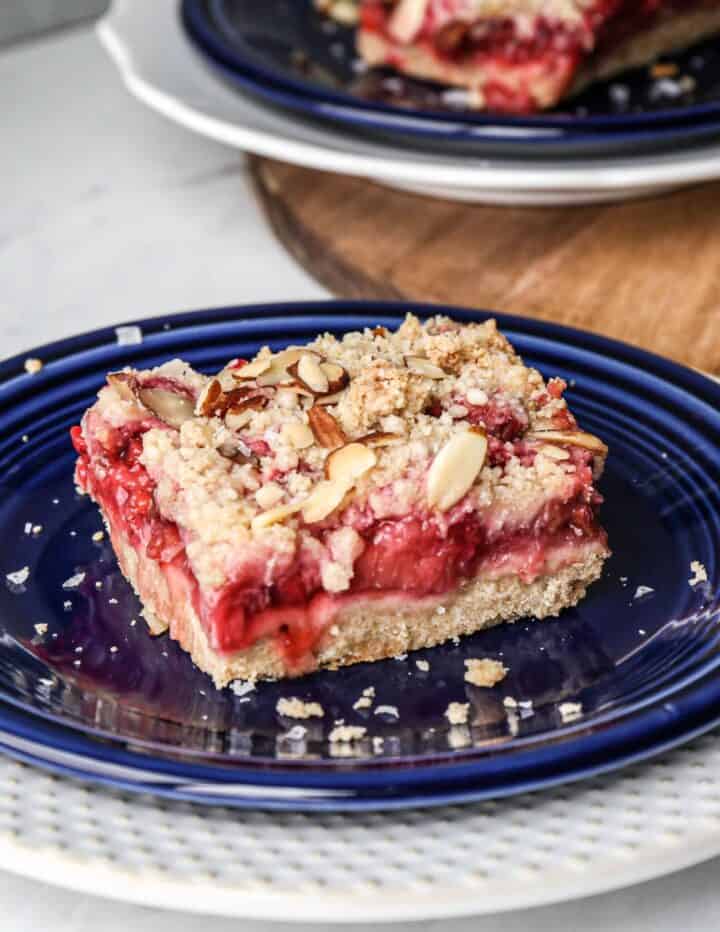
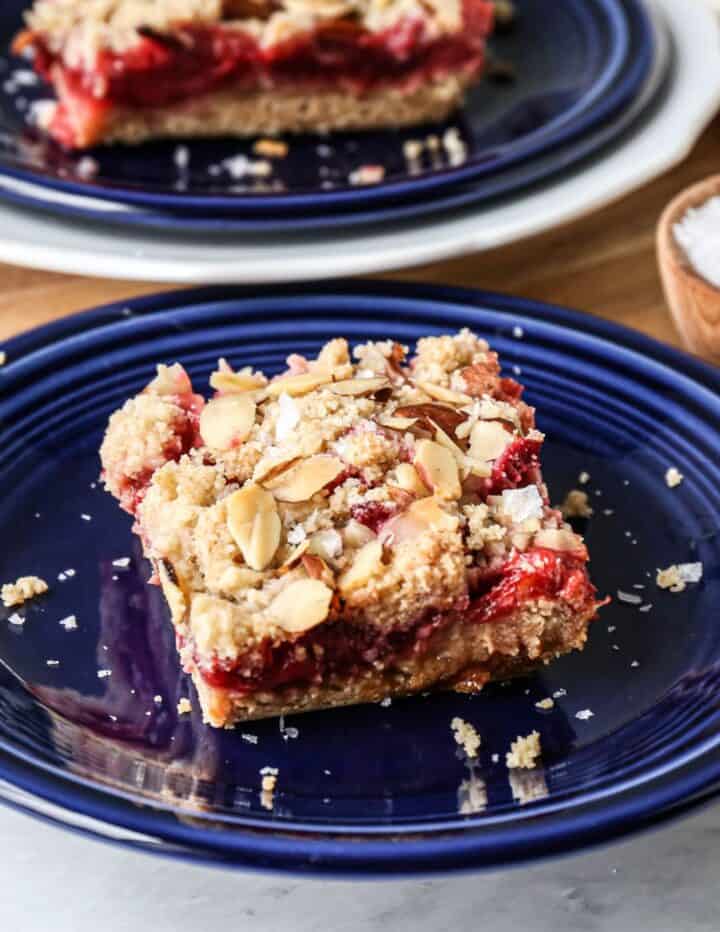
This easy recipe for gluten free pineapple bars is the perfect summer dessert. The gooey pineapple filling makes me dream of Hawaii. These are the best bars for lots of delicious pineapple.
I used canned pineapple in this recipe because it's more readily available to me in my area and because these bars were made during social distancing and fresh pineapples weren't something I could get.
If you want to use fresh pineapple you can easily replace it with the canned pineapple in this recipe. Just dice up the fresh pineapple and add about four cups.
As I mentioned, we were staying home when I made this recipe. For me staying home means I dream of other places. All I could do as I made these bars was thinking about floating in the warm ocean and laying on the beach on Maui.
Ingredients
Gluten Free Flour
Unsalted Butter
Coconut Oil
Vanilla Extract
Granulated Sugar
Brown Sugar
Sea Salt
Canned Pineapple Chunks
Arrowroot Powder
Lemon Juice
Sliced Almonds
Instructions
Preheat your oven to 375 degrees.
Grease a 9x13-inch baking dish with butter or coconut oil. Set aside
In the bowl of your stand mixer beat together the gluten free flour, butter, coconut oil, vanilla, sugar, brown sugar and sea salt until a crumbly mixture forms.
Reserve 1 cup of the crumbly mixture for the topping.
Press the remaining crumbly mixture into the greased 9-inch baking dish. I use my hands or the bottom of a measuring cup to get it pressed down well.
Bake the crust at 375 degrees for 18-20 minutes or until light golden brown.
In a mixing bowl stir together the pineapple, arrowroot powder, lemon juice and sugar.
When the crust is done let it stand for 10-15 minutes to cool.
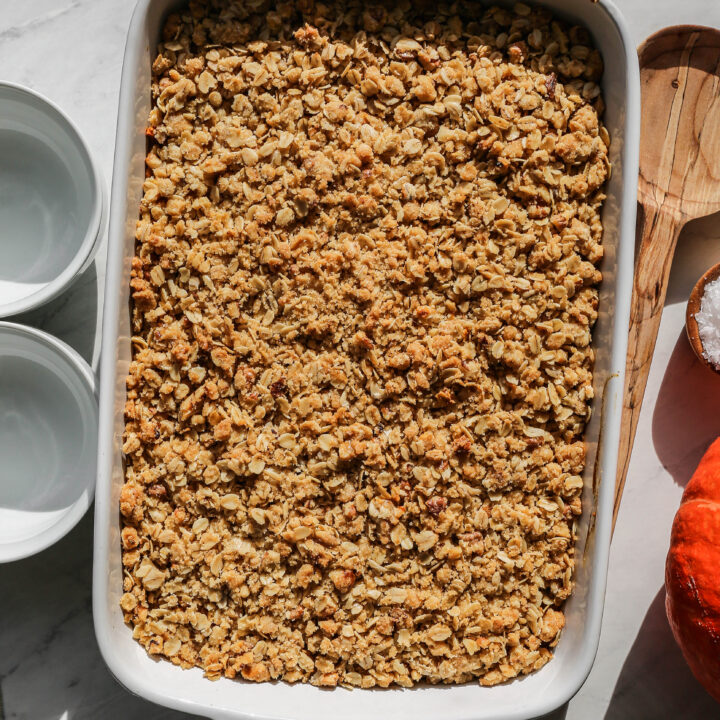
Pour the pineapple mixture over the crust and then top with the withheld 1 cup of crumbly mixture. I then spread ¼ cup of sliced almonds over top for a nice crunch.
Bake at 375 degrees for 30-35 minutes. The topping will be lightly browned and the pineapple mixture will be bubbling around the edges.
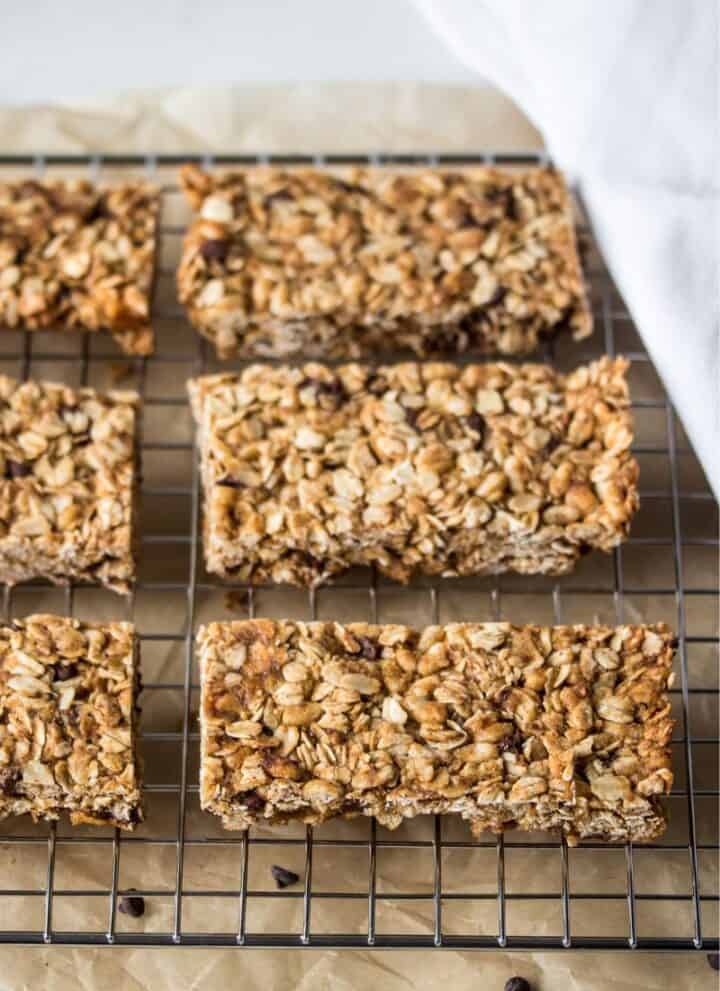
Let the bars cool before you slice them. I enjoy the bars warm or at room temperature.
Supplies

Frequently Asked Questions
These gluten free pineapple bars are so easy! You make the shortbread crust first. You will save one cup of the crust mixture for the topping. Press the shortbread crust into the greased nine inch baking dish and bake it first.
While the crust is baking you can make the filling. I used canned pineapple, but you could easily use fresh pineapple chopped into chunks. Stir the filling mixture in a mixing bowl and let it stand until the crust is done.
Once the crust is done baking and is lightly golden brown let it cool for 10 minutes. Then, pour the pineapple filling over the crust and top with the reserved crust mixture. I also added some sliced almonds to the top for crunch.
Bake the bars at 375 degrees for 30-35 minutes. Let them cool slightly before you cut them into bars. I like them warm as much as I like them at room temperature.
Yes. You can chop up a fresh pineapple for this recipe. You will need about four cups. Chop the fresh pineapple into bite size chunks similar to the size of canned pineapple chunks.

More Recipes You Might Enjoy
Gluten Free Pineapple Upside Down Cake
Gluten Free Mango Pineapple Smoothie
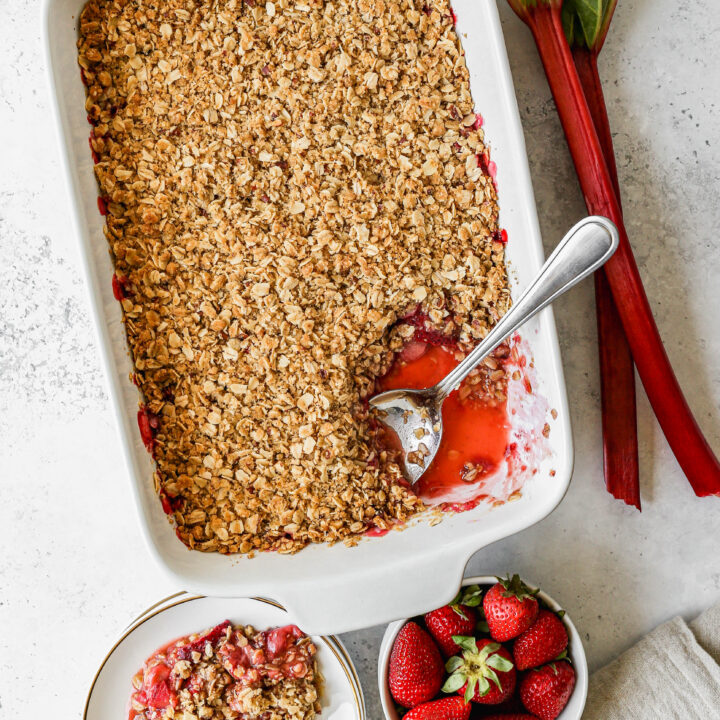
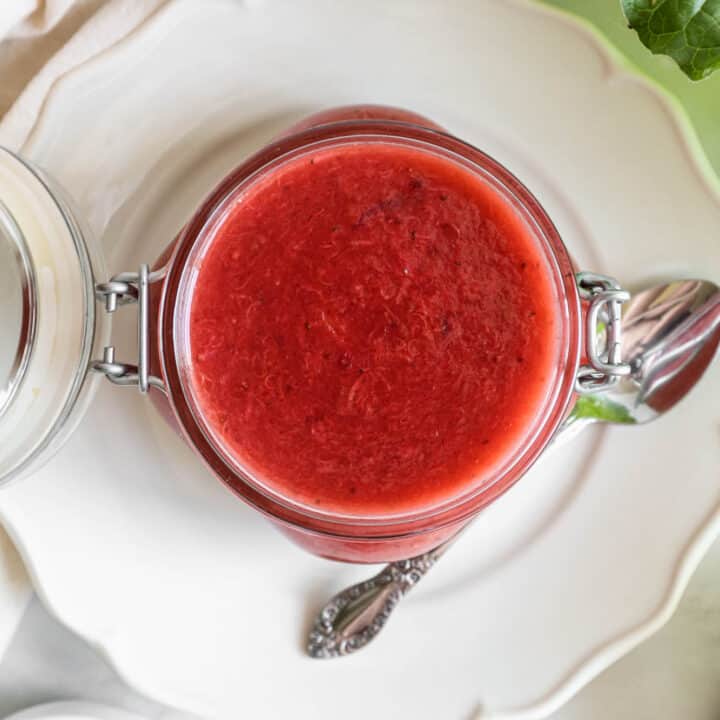
Gluten Free Strawberry Rhubarb Bars
Gluten Free Orange Bundt Cake
Gluten Free Lemon Shortbread Bars
I get my ingredients from Thrive Market. Thrive Market has been a game changer for me eating gluten free. They have so many options I can't get at my rural grocery stores! Use this link to get 25% off your first order!
PrintGluten Free Pineapple Bars
- Total Time: 1 hour 15 minutes
- Yield: 8 bars 1x
- Diet: Gluten Free
Description
This easy recipe for gluten free pineapple bars is the perfect summer dessert. The gooey pineapple filling makes me dream of Hawaii. These are the best bars for lots of delicious pineapple.
Ingredients
2 cups Gluten Free Flour
½ cup Unsalted Butter
¼ cup Coconut Oil, melted
½ tsp. Vanilla Extract
½ cup Granulated Sugar
½ cup Brown Sugar
½ tsp. Sea Salt
2 - 20 ounce cans Pineapple Chunks, drained or 4 cups fresh Pineapple, diced
¼ cup Arrowroot Powder
2 Tbsp. Lemon Juice
¼ cup Granulated Sugar
¼ cup Sliced Almonds
Instructions
Preheat your oven to 375 degrees.
Grease a 9x13-inch baking dish with butter or coconut oil. Set aside
In the bowl of your stand mixer beat together the gluten free flour, butter, coconut oil, vanilla, sugar, brown sugar and sea salt until a crumbly mixture forms.
Reserve 1 cup of the crumbly mixture for the topping.
Press the remaining crumbly mixture into the greased 9-inch baking dish. I use my hands or the bottom of a measuring cup to get it pressed down well.
Bake the crust at 375 degrees for 18-20 minutes or until light golden brown.
In a mixing bowl stir together the pineapple, arrowroot powder, lemon juice and sugar.
When the crust is done let it stand for 10-15 minutes to cool.
Pour the pineapple mixture over the crust and then top with the withheld 1 cup of crumbly mixture. I then spread ¼ cup of sliced almonds over top for a nice crunch.
Bake at 375 degrees for 30-35 minutes. The topping will be lightly browned and the pineapple mixture will be bubbling around the edges.
Let the bars cool before you slice them. I enjoy the bars warm or at room temperature.
Notes
I store the bars in the refrigerator either in the baking dish or in individual containers for easy servings to place in lunches or to have for dessert.
- Prep Time: 20 minutes
- Cook Time: 55 minutes
- Category: Dessert
- Method: Baking
- Cuisine: Gluten Free