Small Farm Big Life

  • Gluten Free Recipe Index
  • Subscribe
  • Resources
menu icon
go to homepage
  • Home
  • Gluten Free Recipe Index
  • Subscribe
  • My Story
  • Resources
  • Free Guides
    • Email
    • Facebook
    • Instagram
    • Pinterest
  • subscribe
    search icon
    Homepage link
    • Home
    • Gluten Free Recipe Index
    • Subscribe
    • My Story
    • Resources
    • Free Guides
    • Email
    • Facebook
    • Instagram
    • Pinterest
  • ×

    Pineapple Coleslaw

    This Pineapple Coleslaw is not your average summer side dish. Sweet fresh pineapple, crisp coleslaw mix, fresh cilantro, and diced jalapeño get tossed in a light and zesty dressing made with lime juice, lime zest, olive oil, and a touch of honey. No mayo anywhere.

    The result is a bright and refreshing slaw with a little heat from the jalapeño that pairs beautifully with everything from fish tacos and pulled pork sandwiches to grilled chicken and summer BBQs.
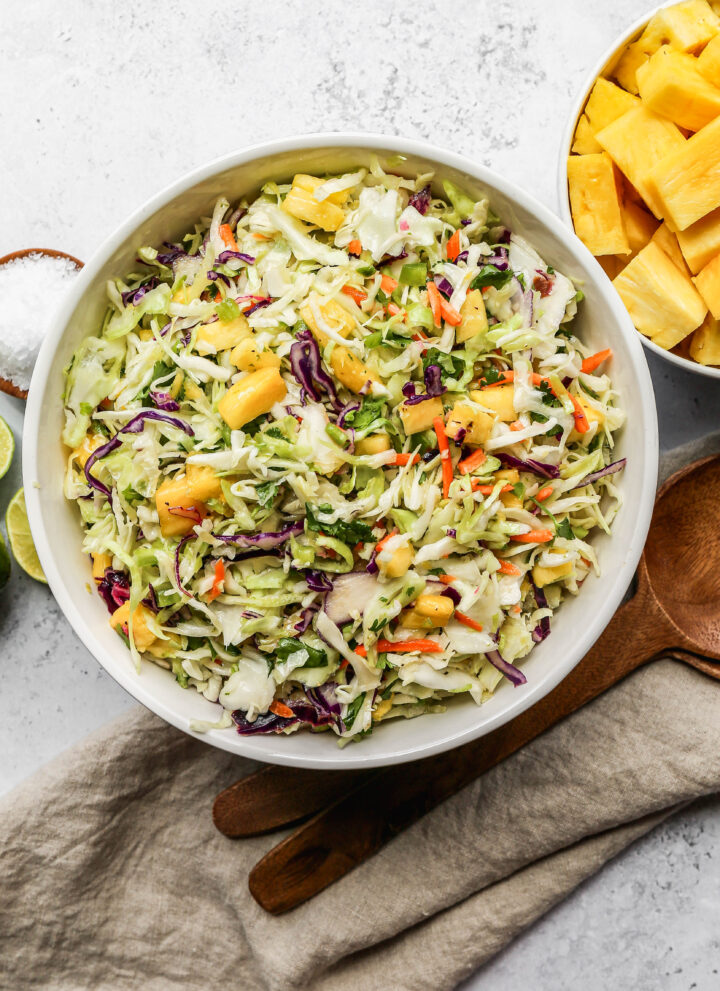
    a white serving bowl of pineapple coleslaw next to a bowl of fresh pineapple chunks.

    What I love most about this recipe is how quickly it comes together. Fifteen minutes of prep and you have a colorful and crowd pleasing side dish that tastes like you spent much more time on it than you actually did.

    The lime and honey dressing is light enough that the fresh pineapple and jalapeño flavors really shine through without anything heavy or creamy getting in the way.

    Make it at least 30 minutes before you plan to serve it so the flavors have time to develop and you will not be disappointed.

    It pairs well with my Slow Cooker Hawaiin Pork Tenderloin, my Air Fryer Pork Tenderloin Bites or my Gluten Free Slow Cooker Hawaiin Meatballs.

    You can find all my salad recipes here: Gluten Free Salad Recipes
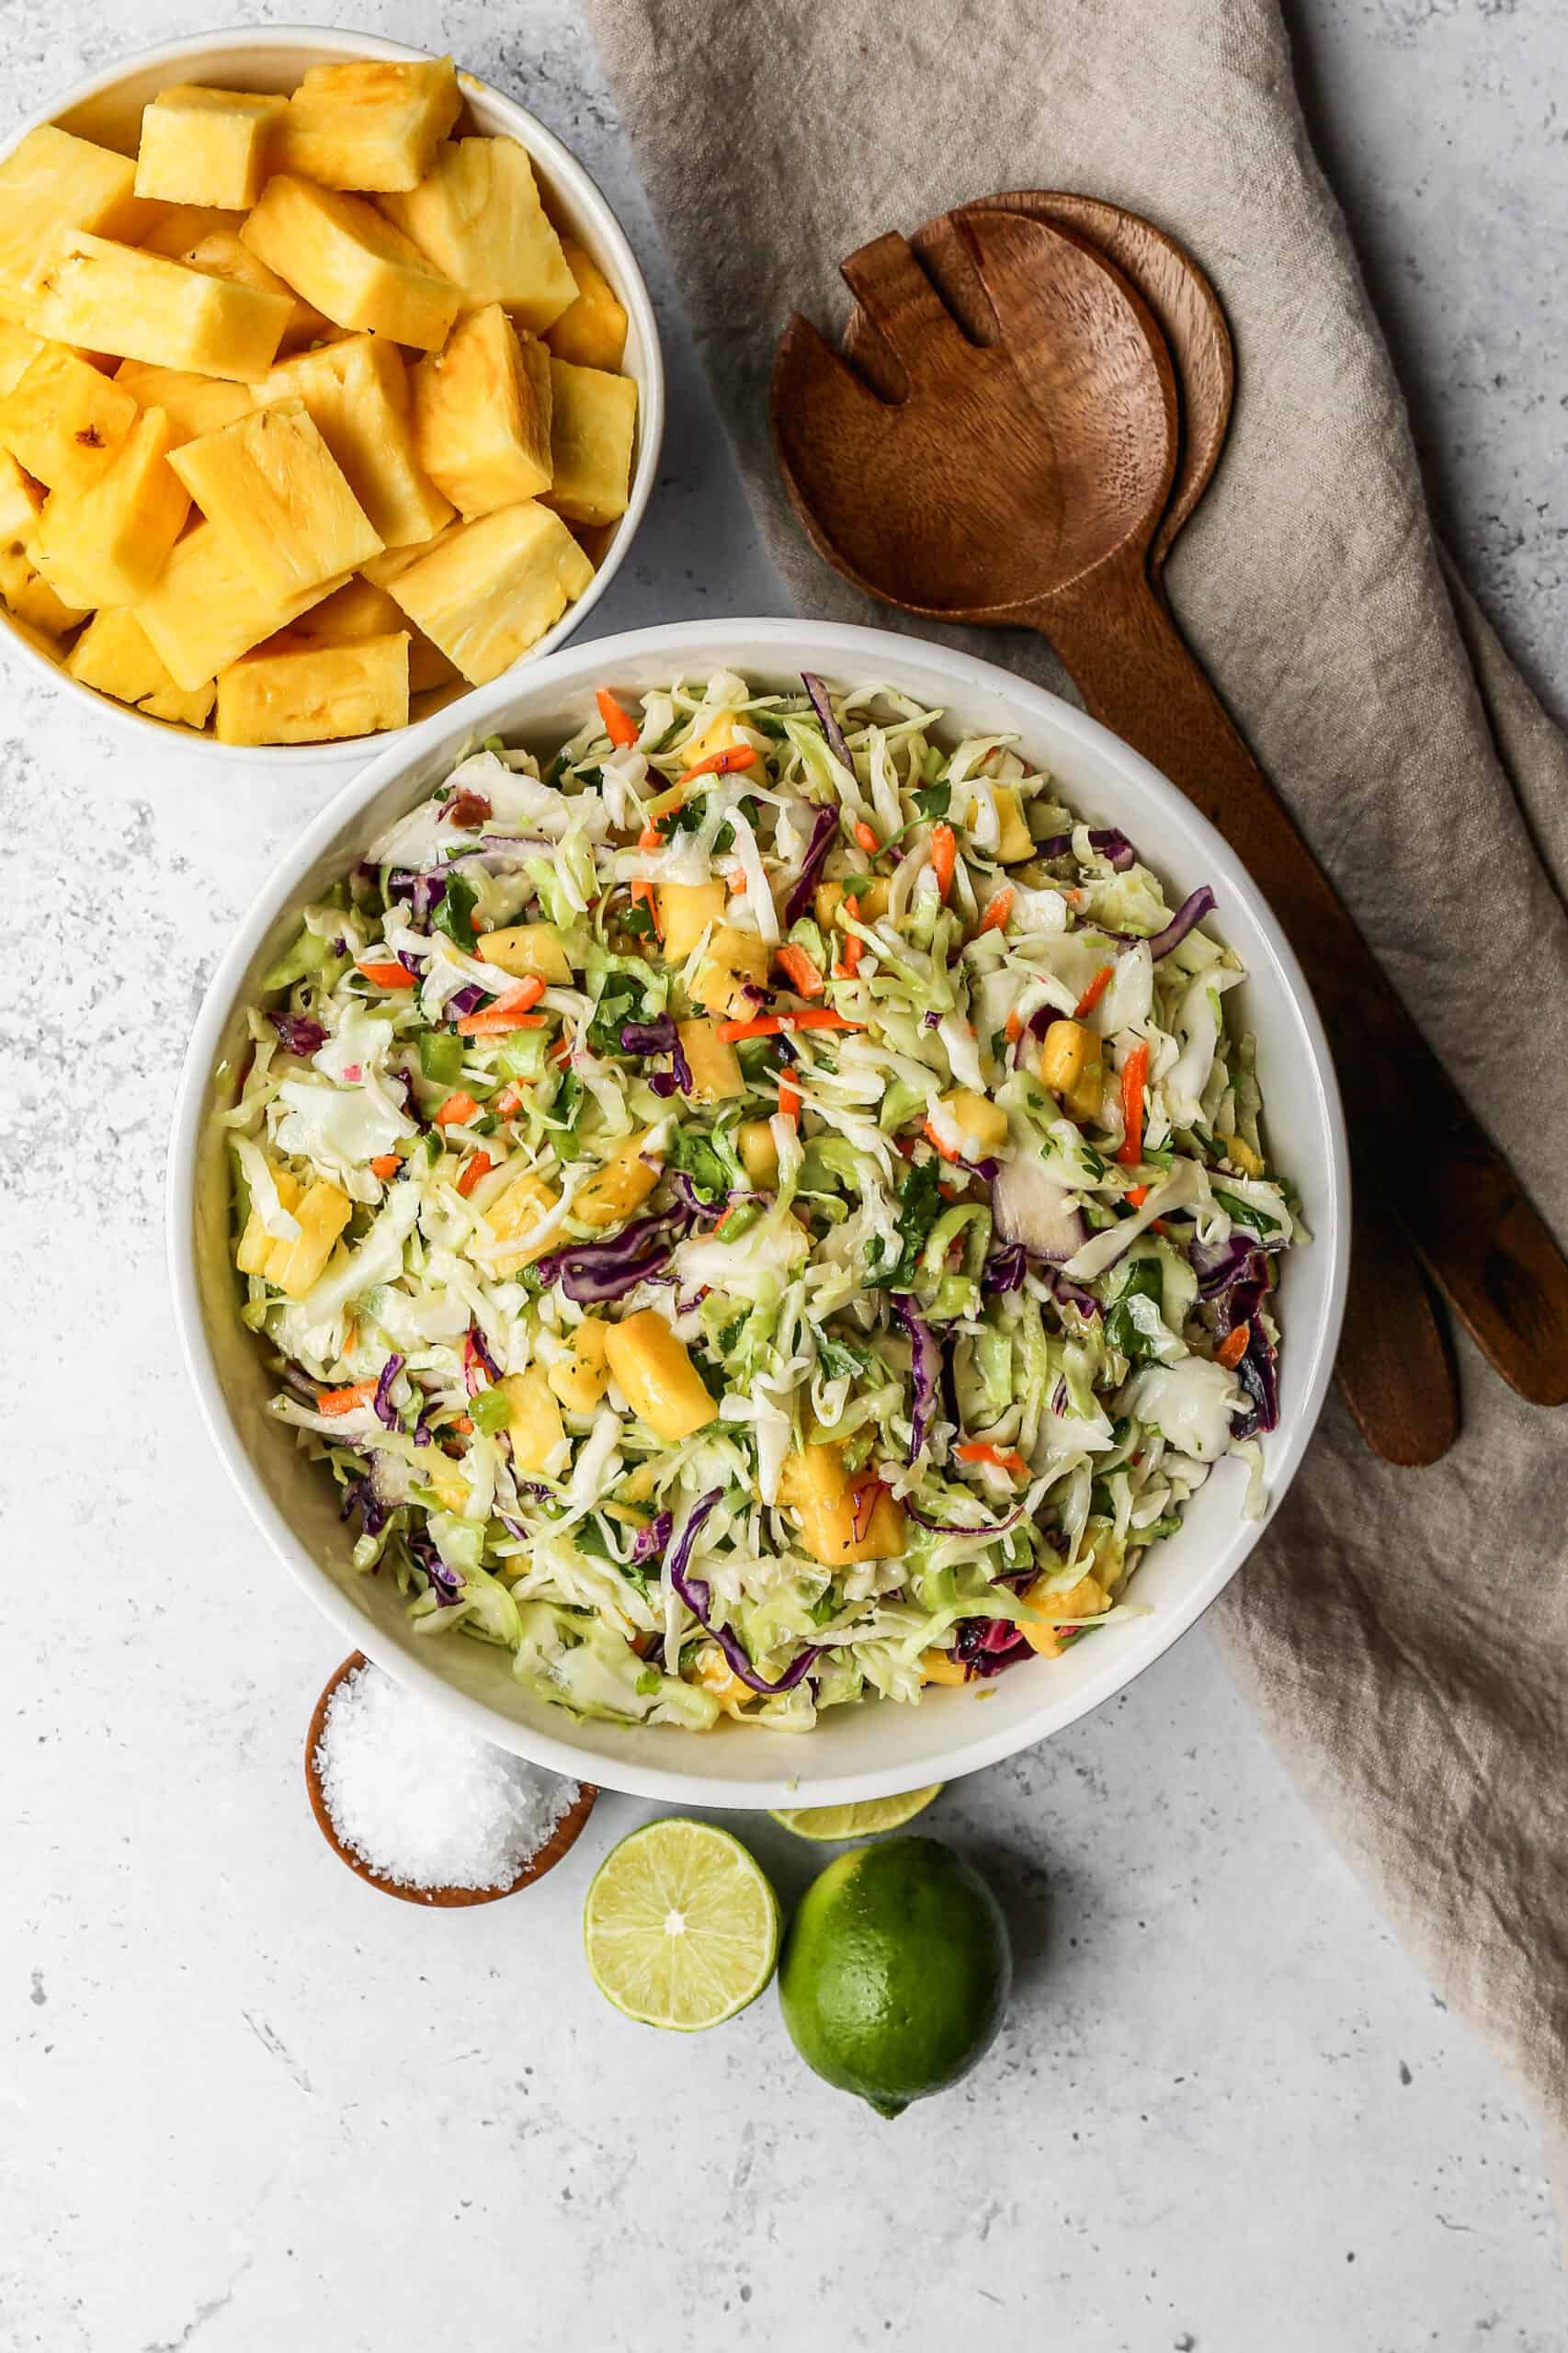
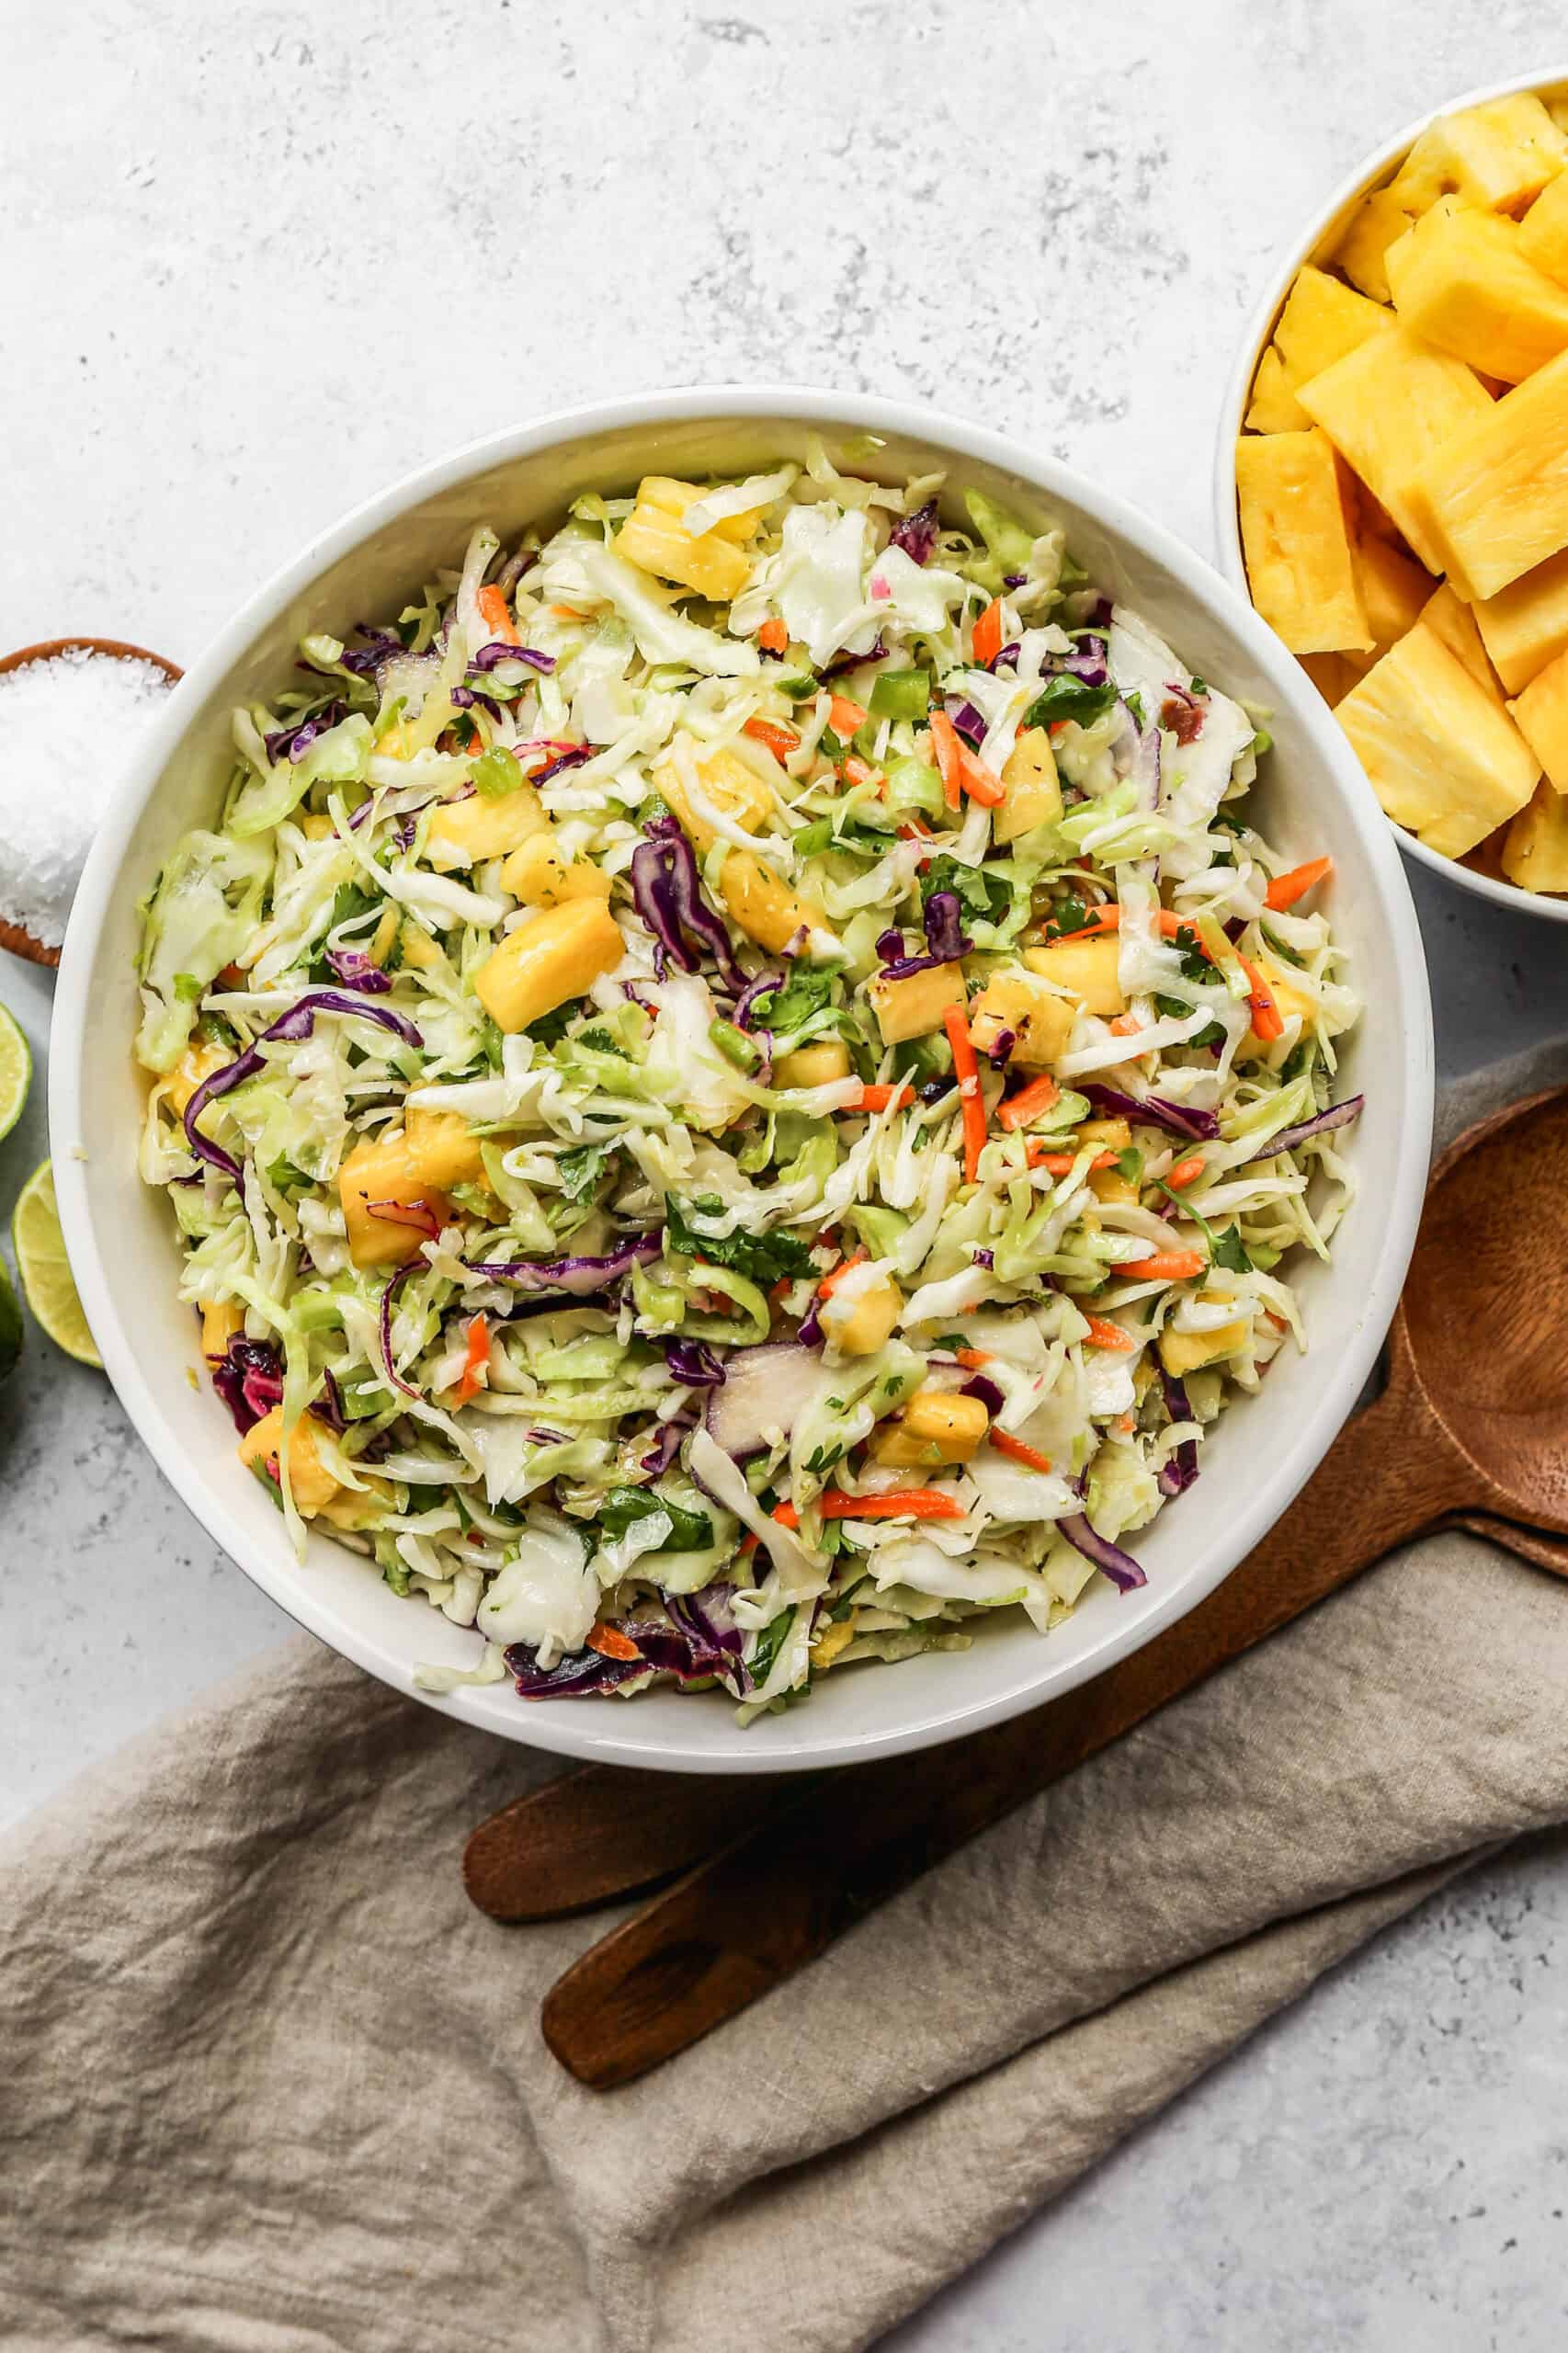
    a white serving bowl of pineapple coleslaw next to a white bowl of fresh pineapple chunks.
    [feast_advanced_jump_to]

    Why This Pineapple Coleslaw Has No Mayo

    Most pineapple coleslaw recipes use a creamy mayo based dressing but this version skips the mayo entirely and uses a light dressing made with olive oil, fresh lime juice, lime zest, and honey instead. Here is why that makes a difference.

    • It is significantly lighter. The olive oil and lime dressing lets the fresh pineapple and jalapeño flavors shine through without anything heavy coating every bite. A mayo dressed coleslaw tastes rich and creamy which is delicious in a classic slaw but can compete with the bright tropical flavors you want in a pineapple version.
    • It holds up better in the heat. Mayo based dressings can separate and become watery when left out in warm weather at a cookout or BBQ. The olive oil and lime dressing stays fresh and stable longer which makes this a safer choice for outdoor summer entertaining.
    • It is dairy free. Since this recipe uses no mayo and no dairy ingredients it is completely dairy free in addition to being gluten free which makes it one of the most universally friendly summer side dishes you can bring to a gathering.

    The Jalapeño Makes This Different

    The jalapeño is the ingredient that sets this pineapple coleslaw apart from every other version you will find. Most pineapple coleslaw recipes are purely sweet and tangy. The jalapeño in this recipe adds a subtle heat that cuts through the sweetness of the pineapple and makes every bite more interesting and complex.

    If you are nervous about the heat level here is what you need to know. The heat in a jalapeño lives in the seeds and the white membrane inside the pepper. Removing both and using only the flesh gives you a very mild heat that most people would describe as a gentle warmth rather than spicy.

    If you want more heat leave a few seeds in. If you want no heat at all substitute a small amount of finely diced green bell pepper for a similar flavor without any spice.

    Make Ahead Instructions

    This coleslaw is a great make ahead dish and actually gets better as it sits. Here is how to time it for the best results.

    • For same day serving make the coleslaw at least 30 minutes before you plan to eat it and refrigerate it covered. The pineapple and lime dressing will have time to soften the coleslaw mix slightly and the flavors will meld together beautifully.
    • For the next day make the full coleslaw and store it covered in the refrigerator. Give it a good stir before serving since the dressing will settle at the bottom. The flavors will be even more developed and the slaw will have a slightly softer texture which many people actually prefer.
    • For meal prep keep the dressing and the slaw mixture separate until ready to serve if you want to preserve maximum crunch. Dress the coleslaw no more than a few hours before serving for the best texture and then refrigerate until ready to eat.

    Variations

    This recipe is easy to customize based on your preference and what you have on hand.

    • Add toasted coconut. A handful of unsweetened toasted coconut flakes adds a tropical crunch and a subtle coconut flavor that pairs beautifully with the pineapple and lime.
    • Use mango instead of pineapple. Fresh mango gives you a similar sweet and tropical flavor with a slightly softer texture. Use the same amount as the pineapple.
    • Add avocado. Diced avocado adds creaminess and richness to the slaw that compensates beautifully for the missing mayo. Add it just before serving since avocado browns quickly.
    • Make it spicier. Use two jalapeños instead of one or leave some of the seeds in for more heat. Serrano peppers are another option if you want significant heat.
    • Add red cabbage. Substitute half the coleslaw mix with shredded red cabbage for a more colorful and visually striking version.

    Substitutions

    • Coleslaw Mix - instead of using a pre-made mix you can cut up a head of cabbage, but be sure to follow the steps above if you make this substitution.
    • Fresh Pineapple - you can use drained pineapple chunks, but the salad won't have as much flavor. I highly recommend using fresh pineapple.
    • Olive Oil - you can substitute avocado oil if that's what you have.

    Storage

    Store leftover pineapple coleslaw in an airtight container in the refrigerator for up to three days. Stir before each serving since the dressing settles at the bottom as it sits. The texture will soften slightly over time as the dressing breaks down the cabbage which is normal and still delicious. Do not freeze this coleslaw since the cabbage and pineapple will become mushy after thawing.

    Top Tip

    Use fresh pineapple rather than canned for the best flavor and texture in this coleslaw. Fresh pineapple is sweeter, less watery, and holds up much better in the dressing without making the slaw soggy. Canned pineapple contains excess liquid that will water down the dressing and make the coleslaw wetter than it should be.

    If fresh pineapple is not available drain canned pineapple chunks very thoroughly and pat them dry with paper towels before adding them to the bowl but fresh pineapple will always give you the best result.

    Frequently Asked Questions

    Can I make this pineapple coleslaw ahead of time?

    Yes and I actually recommend it! This coleslaw gets better the longer it sits in the refrigerator as the flavors develop and the dressing soaks into the cabbage and pineapple. Make it the day before you plan to serve it for the best possible flavor. Store it in an airtight container in the refrigerator and give it a good stir before serving. It keeps well for up to 3 to 5 days.

    Can I use canned pineapple instead of fresh?

    Fresh pineapple is strongly recommended for the best flavor and texture. Fresh pineapple is sweeter, less watery, and holds up much better in the dressing without making the slaw soggy. If you cannot find fresh pineapple you can use canned pineapple chunks but make sure to drain them very thoroughly and pat them dry with paper towels before adding them to the bowl. Too much liquid from canned pineapple will water down the dressing and make the coleslaw wetter than it should be.

    How do you keep coleslaw from getting soggy?

    This recipe uses pre made coleslaw mix which is less likely to release excess water than freshly chopped cabbage. If you prefer to chop your own cabbage, toss it with 2 teaspoons of salt and let it stand for 15 to 20 minutes to draw out the excess moisture. Rinse the salt off thoroughly and spin the cabbage dry in a salad spinner before adding the dressing.

    Can I make this coleslaw without cilantro?

    Yes! If you are not a fan of cilantro or simply do not have it on hand you can leave it out entirely or substitute fresh flat leaf parsley for a similar fresh herb flavor without the distinctive cilantro taste. The coleslaw will still be delicious and flavorful without it thanks to the fresh pineapple, lime dressing, and jalapeno.

    Can I make this coleslaw less spicy?

    Absolutely. The jalapeno adds a mild to medium heat level to this coleslaw depending on how spicy your particular pepper is. If you prefer a milder version simply reduce the amount of jalapeno or leave it out entirely. You can also remove the seeds and white membrane from the jalapeno before dicing it which significantly reduces the heat while keeping a hint of jalapeno flavor in the dressing.

    What do you serve pineapple coleslaw with?

    This pineapple coleslaw is incredibly versatile and pairs beautifully with so many different dishes. It is the perfect topping for pulled pork sandwiches and Hawaiian style dishes like slow cooker Hawaiian pork tenderloin and Hawaiian meatballs. It is also wonderful on fish tacos, shrimp tacos, and grilled chicken. As a standalone side dish it is a refreshing and crowd pleasing option for summer BBQs, cookouts, and potlucks all season long.

    Didn't find the answer you're looking for?

    Ask AI to answer based on this recipe:

    ChatGPT
    Google AI
    Perplexity
    Grok
    Claude

    Supplies

    More Recipes You Might Enjoy

    • Southwestern Style Coleslaw
    • Gluten Free Coleslaw
    • Thai Style Cabbage Salad
    • Easy Apple Slaw with Poppyseed Dressing

    I get a lot of my ingredients from Thrive Market. Thrive Market has been a game changer for me eating gluten free. They have so many options I can't get at my rural grocery stores! Use this link to get 40% off your first order!

    Print
    clock clock iconcutlery cutlery iconflag flag iconfolder folder iconinstagram instagram iconpinterest pinterest iconfacebook facebook iconprint print iconsquares squares iconheart heart iconheart solid heart solid icon

    Pineapple Coleslaw


    5 Stars 4 Stars 3 Stars 2 Stars 1 Star

    No reviews

    • Author: Elaine VanVleck
    • Total Time: 15 minutes
    • Yield: 8 servings 1x
    • Diet: Gluten Free
    Print Recipe
    Pin Recipe

    Description

    Fresh pineapple, coleslaw mix, jalapeño, and cilantro tossed in a light and zesty dressing made with lime juice, lime zest, olive oil, and honey. This gluten free pineapple coleslaw is completely mayo free, ready in 15 minutes, and perfect for tacos, pulled pork, fish sandwiches, and summer BBQs.


    Ingredients

    Scale
    • 2 bags Coleslaw Mix
    • 2 cups Fresh Pineapple, diced
    • ½ cup Cilantro, finely chopped
    • 1 small Jalapeno, finely diced
    • ¼ cup Lime Juice
    • ¼ cup Olive Oil
    • 2 Tbsp Lime Zest
    • 1 tsp Honey
    • ½ tsp Sea Salt
    • ¼ tsp Coarse Ground Black Pepper

    Instructions

    Add the coleslaw mix, pineapple, cilantro and jalapeno to a large serving bowl. 

    In a small bowl whisk together the lime juice, olive oil, lime zest, honey, salt and pepper. 

    Pour the dressing over the coleslaw mixture and stir to combine.

    Store in an air tight container in the refrigerator for at least 1 hour before serving.

    • Prep Time: 15 minutes
    • Category: Side Dish, Salads
    • Method: Chopped
    • Cuisine: American

    Did you make this recipe?

    Tag @smallfarmbiglife on Instagram and hashtag it #smallfarmbiglife

    If you make this Pineapple Coleslaw I would love to hear what you served it with! Leave a star rating and a comment below and let me know how it turned out.

    Don't forget to save this recipe to your Pinterest boards so you can find it again all summer long!

    Ingredients

    • Coleslaw Mix
    • Fresh Pineapple
    • Cilantro
    • Jalapeno
    • Lime Juice
    • Olive Oil
    • Lime Zest
    • Honey
    • Sea Salt
    • Coarse Ground Black Pepper

    Instructions

    Add the coleslaw mix, pineapple, cilantro and jalapeno to a large serving bowl. 

    In a small bowl whisk together the lime juice, olive oil, lime zest, honey, salt and pepper. 

    Pour the dressing over the coleslaw mixture and stir to combine.

    Store in an air tight container in the refrigerator for at least 1 hour before serving.

    Black Beans and Corn Salad

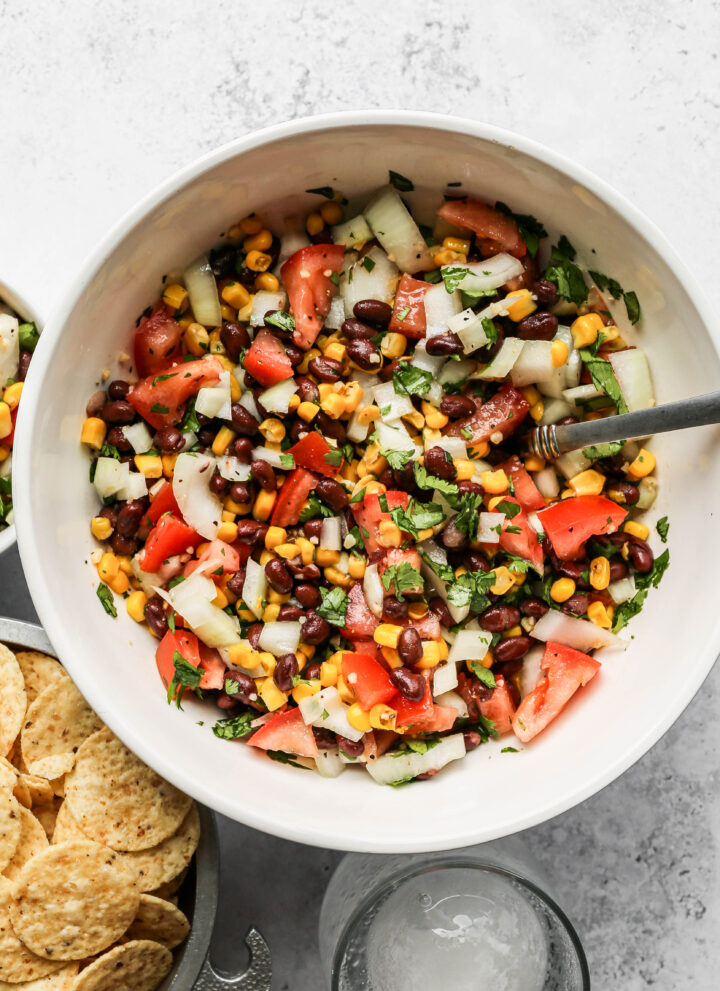
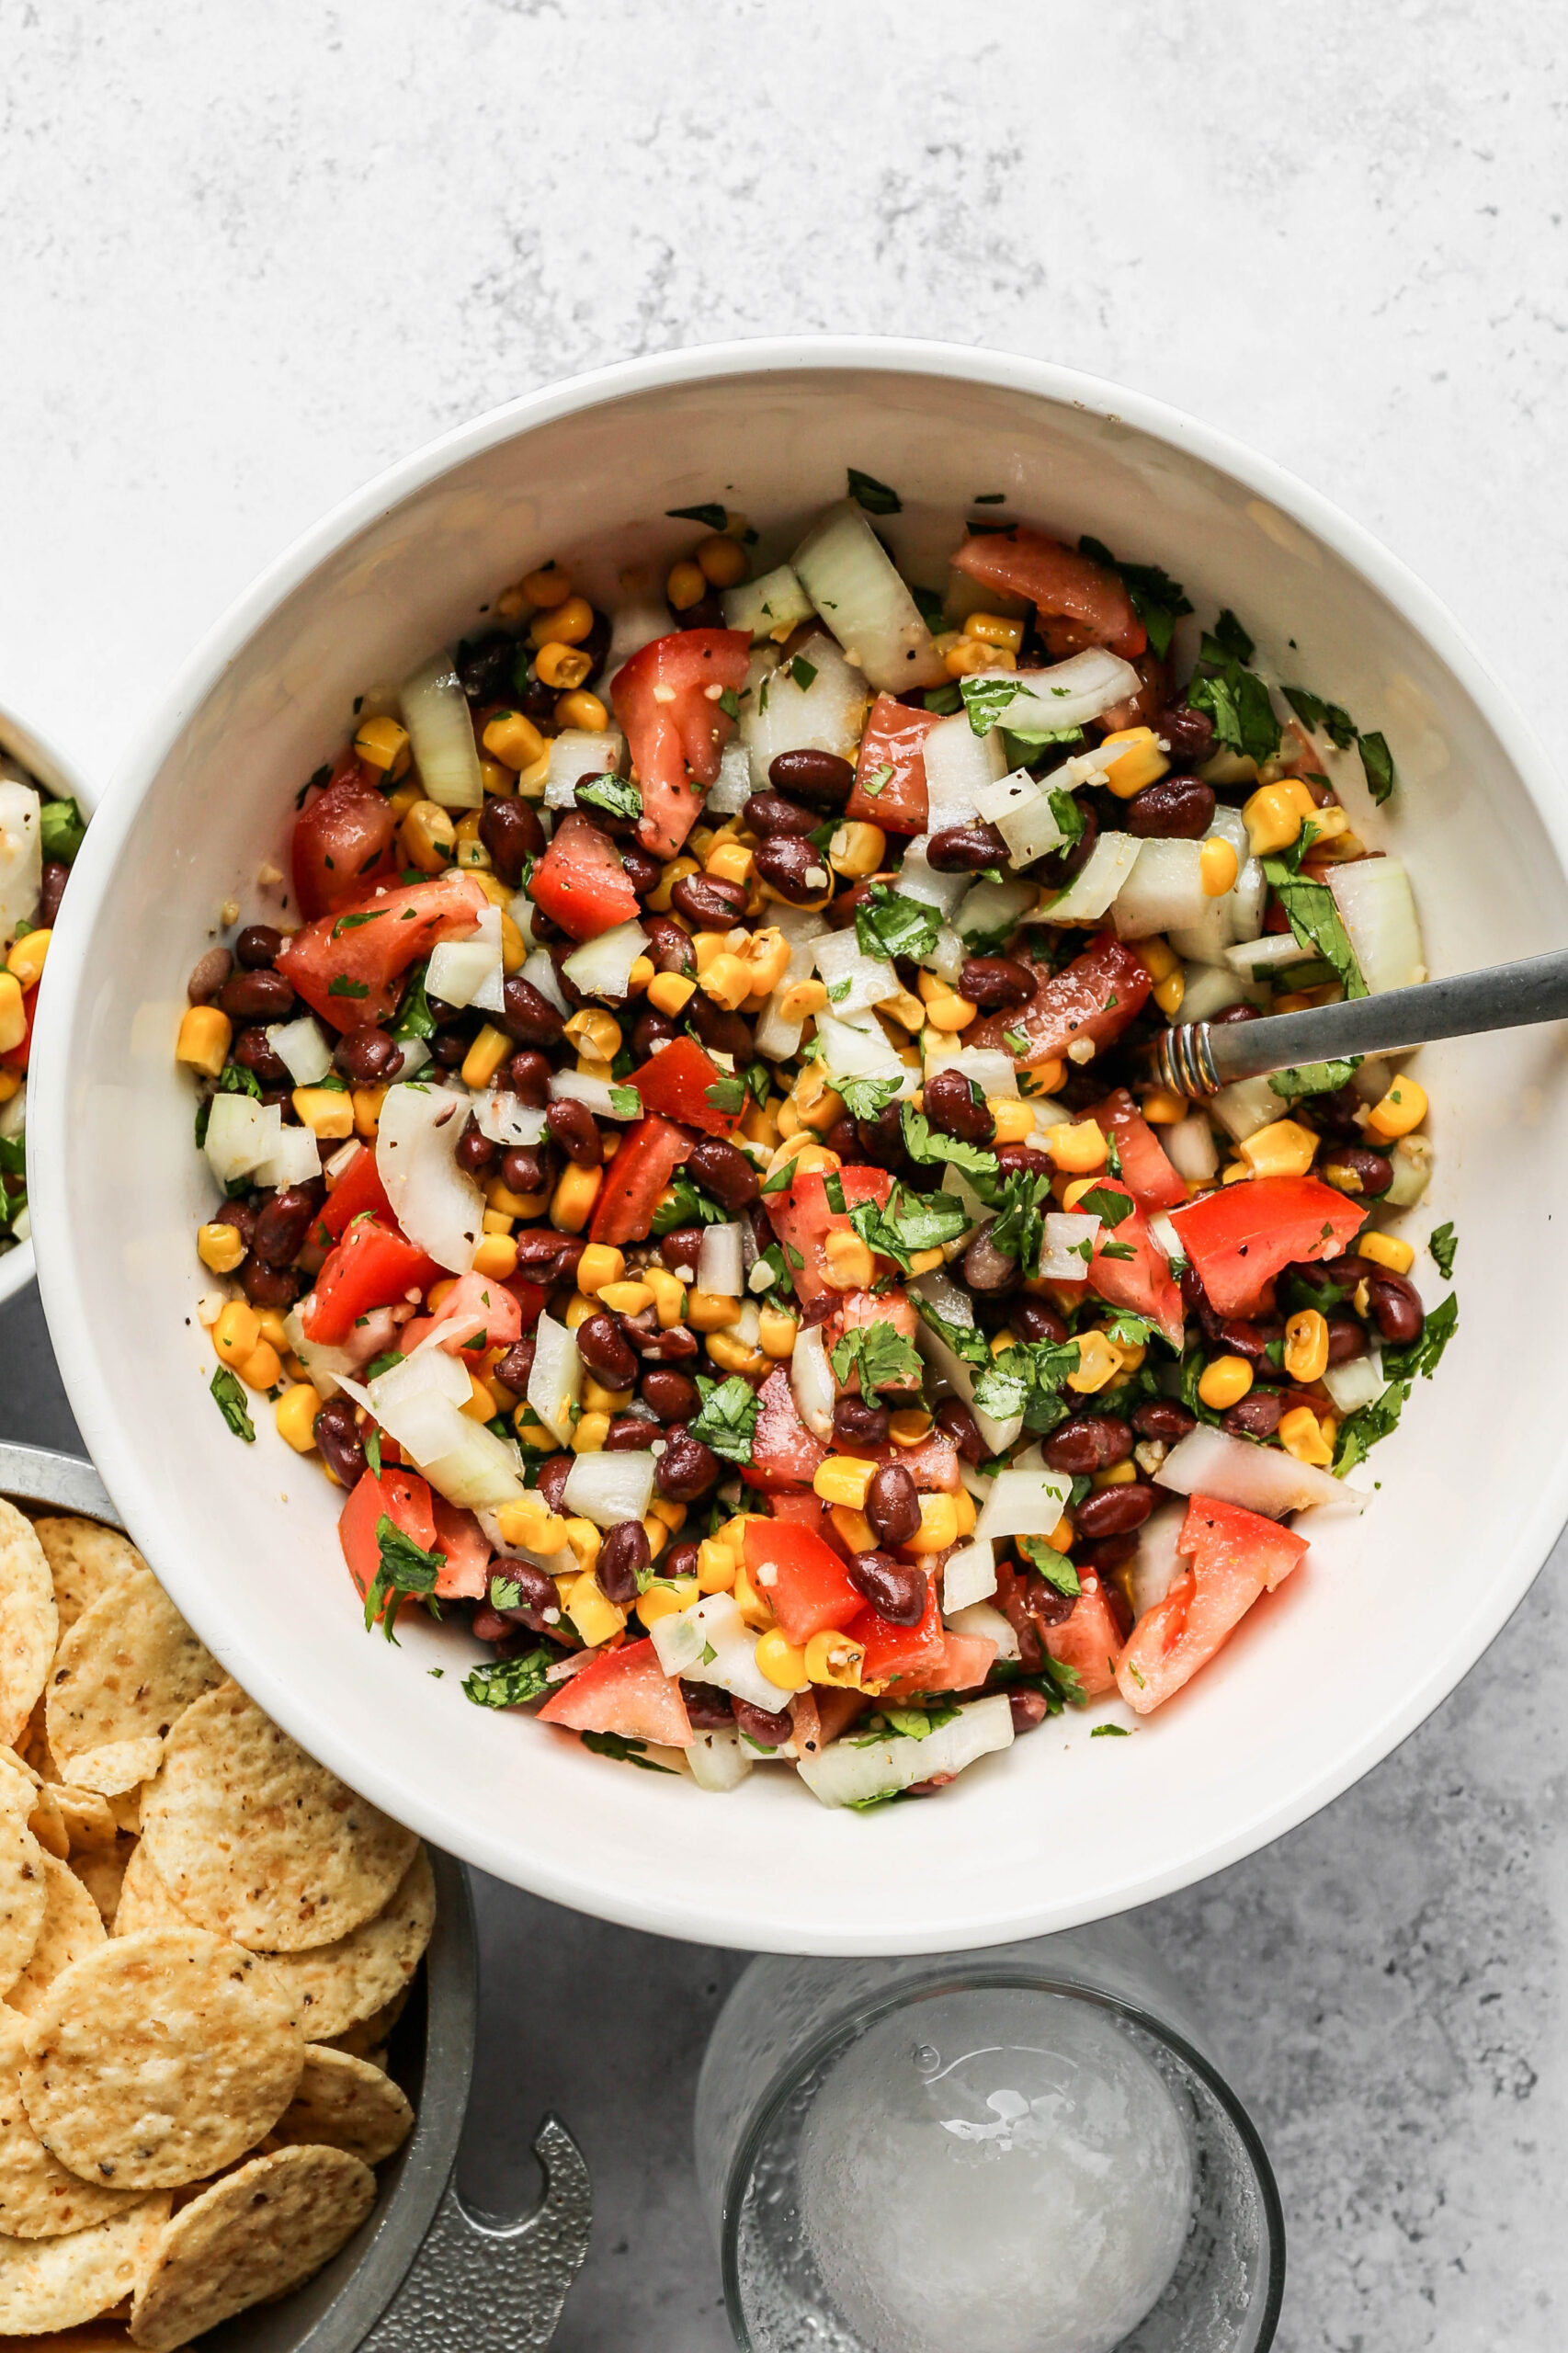
    This easy recipe for black beans and corn salad is the perfect summer side dish! It's a zesty cold salad that you can make ahead. The vegan recipe is full of colorful veggies with a lime dressing.

    This Black Beans and Corn Salad is a vibrant and healthy dish that's perfect for summer gatherings, BBQs, or as a fresh side for tacos.

    It's a refreshing combination of beans and corn salad flavors, offering a boost of plant-based protein in every bite.

    Whether you're looking for a vegetable potluck dish or a healthy lunch side, this colorful salad is easy to make and ideal for warm-weather meals.

    You can find all of my salad recipes here: Gluten Free Salad Recipes

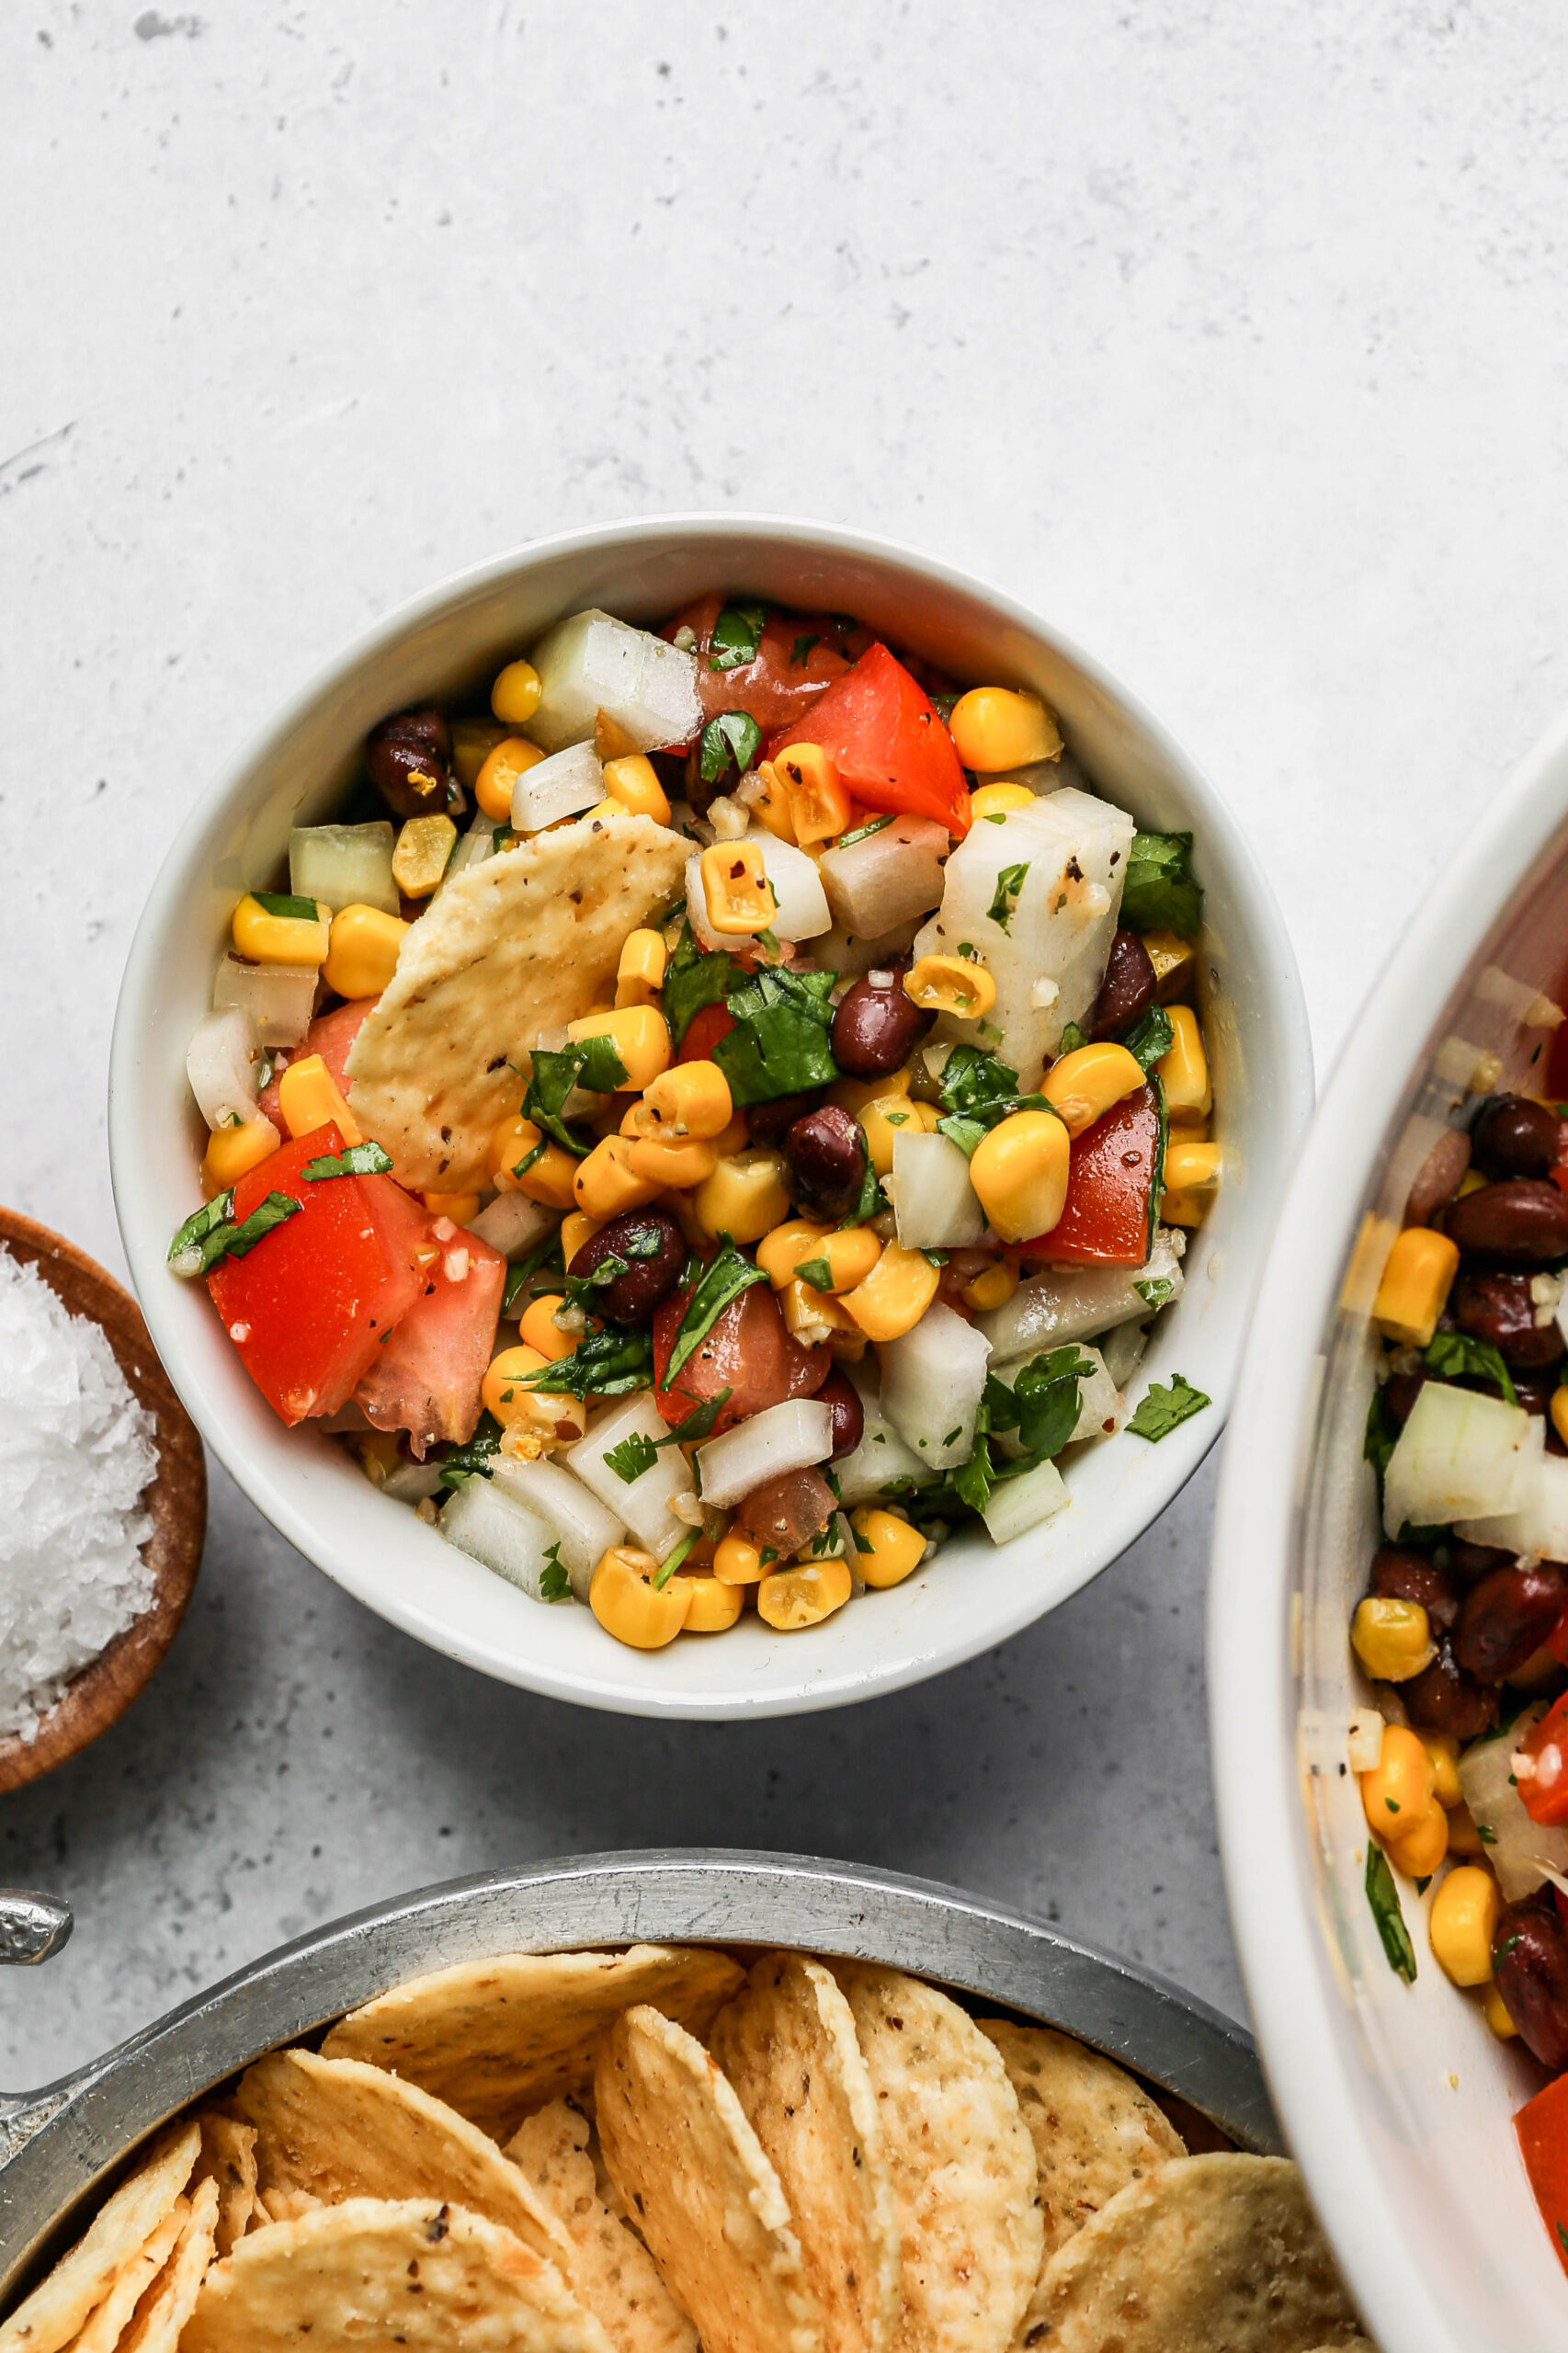
    a small white bowl of black beans and corn salad next to a silver bowl of corn tortilla chips.
    [feast_advanced_jump_to]

    Ingredients

    • Black Beans
    • Whole Kernel Sweet Corn
    • Tomatoes
    • Sweet Onion
    • Cilantro
    • Minced Garlic
    • Olive Oil
    • White Vinegar
    • Lime Juice
    • Granulated Sugar
    • Sea Salt
    • Coarse Ground Black Pepper
    • Ground Cumin

    Instructions

    In a large serving bowl add the beans, corn, tomatoes, onion, cilantro and garlic.

    In a small bowl whisk together the olive oil, white vinegar, lime juice, sugar, salt, pepper and cumin. Pour over the salad veggies and stir to coat.

    Refrigerate in an air tight container for at least 1 hour before serving. I prefer to refrigerate overnight.

    Supplies

    Frequently Asked Questions

    What is the difference between black beans and corn salad and salsa?

    There is very little difference between this black beans and corn salad and a fresh black bean salsa. I love to eat this recipe on it's own as a salad side dish or as a dip with gluten free corn tortilla chips.

    How long does this salad last in the fridge?

    This salad will last in a sealed container in the refrigerator for up to 5 days. I love to make it the day before I want to serve the salad or as a dip with tortilla chips. Making it the day before ensures it's really cold when you serve it and the flavors have time to meld together.

    More Recipes You Might Enjoy

    • Healthy Mexican Street Corn Salad
    • Cheesy Slow Cooker Creamed Corn
    • Easy Fried Frozen Corn
    • Gluten Free Zucchini Squash and Corn Casserole

    I get a lot of my ingredients from Thrive Market. Thrive Market has been a game changer for me eating gluten free. They have so many options I can't get at my rural grocery stores! Use this link to get 40% off your first order!

    Print
    clock clock iconcutlery cutlery iconflag flag iconfolder folder iconinstagram instagram iconpinterest pinterest iconfacebook facebook iconprint print iconsquares squares iconheart heart iconheart solid heart solid icon

    Black Beans and Corn Salad


    5 Stars 4 Stars 3 Stars 2 Stars 1 Star

    No reviews

    • Author: Elaine VanVleck
    • Total Time: 15 minutes
    • Yield: 6 servings 1x
    • Diet: Gluten Free
    Print Recipe
    Pin Recipe

    Description

    This easy recipe for black beans and corn salad is the perfect summer side dish! It's a zesty cold salad that you can make ahead. The vegan recipe is full of colorful veggies with a lime dressing.


    Ingredients

    Scale
    • 15 ounce can Black Beans, drained and rinsed
    • 15.25 ounce can Whole Kernel Sweet Corn, drained
    • 2 Vine Ripe Tomatoes, chopped (about 1 cup)
    • 1 large Sweet Onion, finely chopped
    • ½ cup Cilantro, minced
    • 2 Tbsp Minced Garlic
    • 2 Tbsp Olive Oil
    • 2 Tbsp White Vinegar
    • 1 Tbsp Lime Juice
    • 1 Tbsp Granulated Sugar
    • ½ tsp Sea Salt
    • ½ tsp Coarse Ground Black Pepper
    • ¼ tsp Ground Cumin

    Instructions

    In a large serving bowl add the beans, corn, tomatoes, onion, cilantro and garlic.

    In a small bowl whisk together the olive oil, white vinegar, lime juice, sugar, salt, pepper and cumin. Pour over the salad veggies and stir to coat.

    Refrigerate in an air tight container for at least 1 hour before serving. I prefer to refrigerate overnight.

    • Prep Time: 15 minutes
    • Category: Side Dish, Salads, Dips
    • Method: Mixing
    • Cuisine: Gluten Free

    Did you make this recipe?

    Tag @smallfarmbiglife on Instagram and hashtag it #smallfarmbiglife

    Top Tip

    I love to serve this recipe as a side dish or with chips as a dip. Either way it is a delicious hit at gatherings! When serving it as a dip I like to use round gluten free corn tortilla chips. It is so refreshing on a hot day!

    Gluten Free BLT Pasta Salad

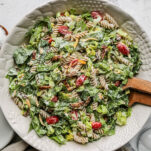
    This gluten free BLT pasta salad is the cold pasta salad recipe you are going to want to make all summer long. It has everything you love about a classic BLT: crispy bacon, fresh romaine lettuce, and juicy cherry tomatoes, all tossed with tender gluten free fusilli pasta and a creamy homemade dressing made with mayo, sour cream, garlic, and a splash of apple cider vinegar.

    Shredded cheddar cheese takes it completely over the top. It is hearty enough to serve as a lunch on its own and easy enough to throw together in about 30 minutes.

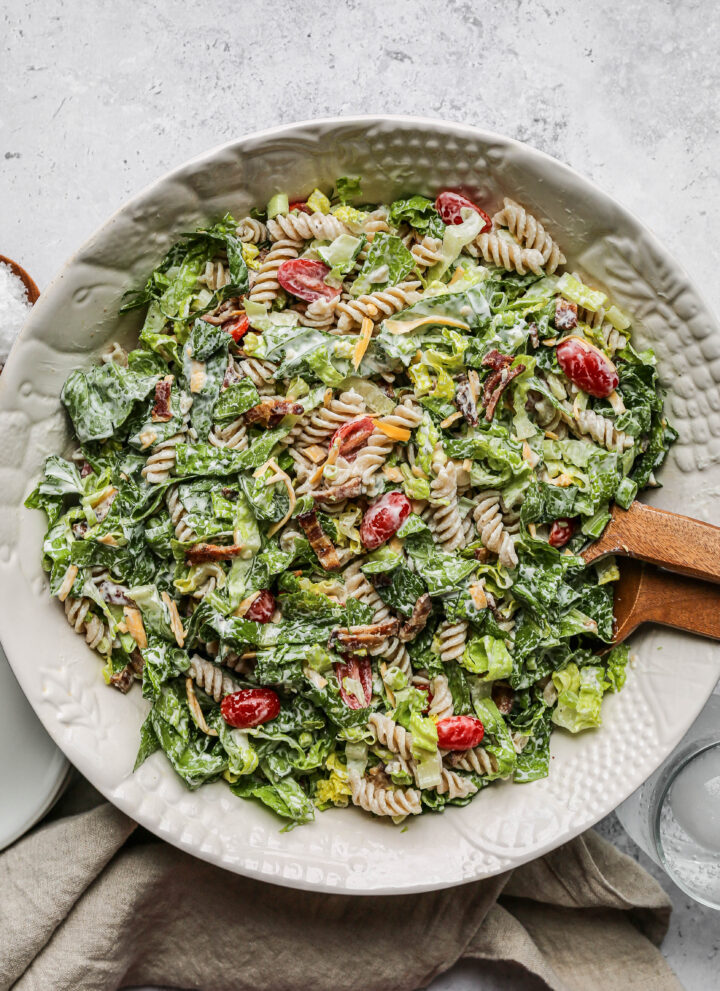
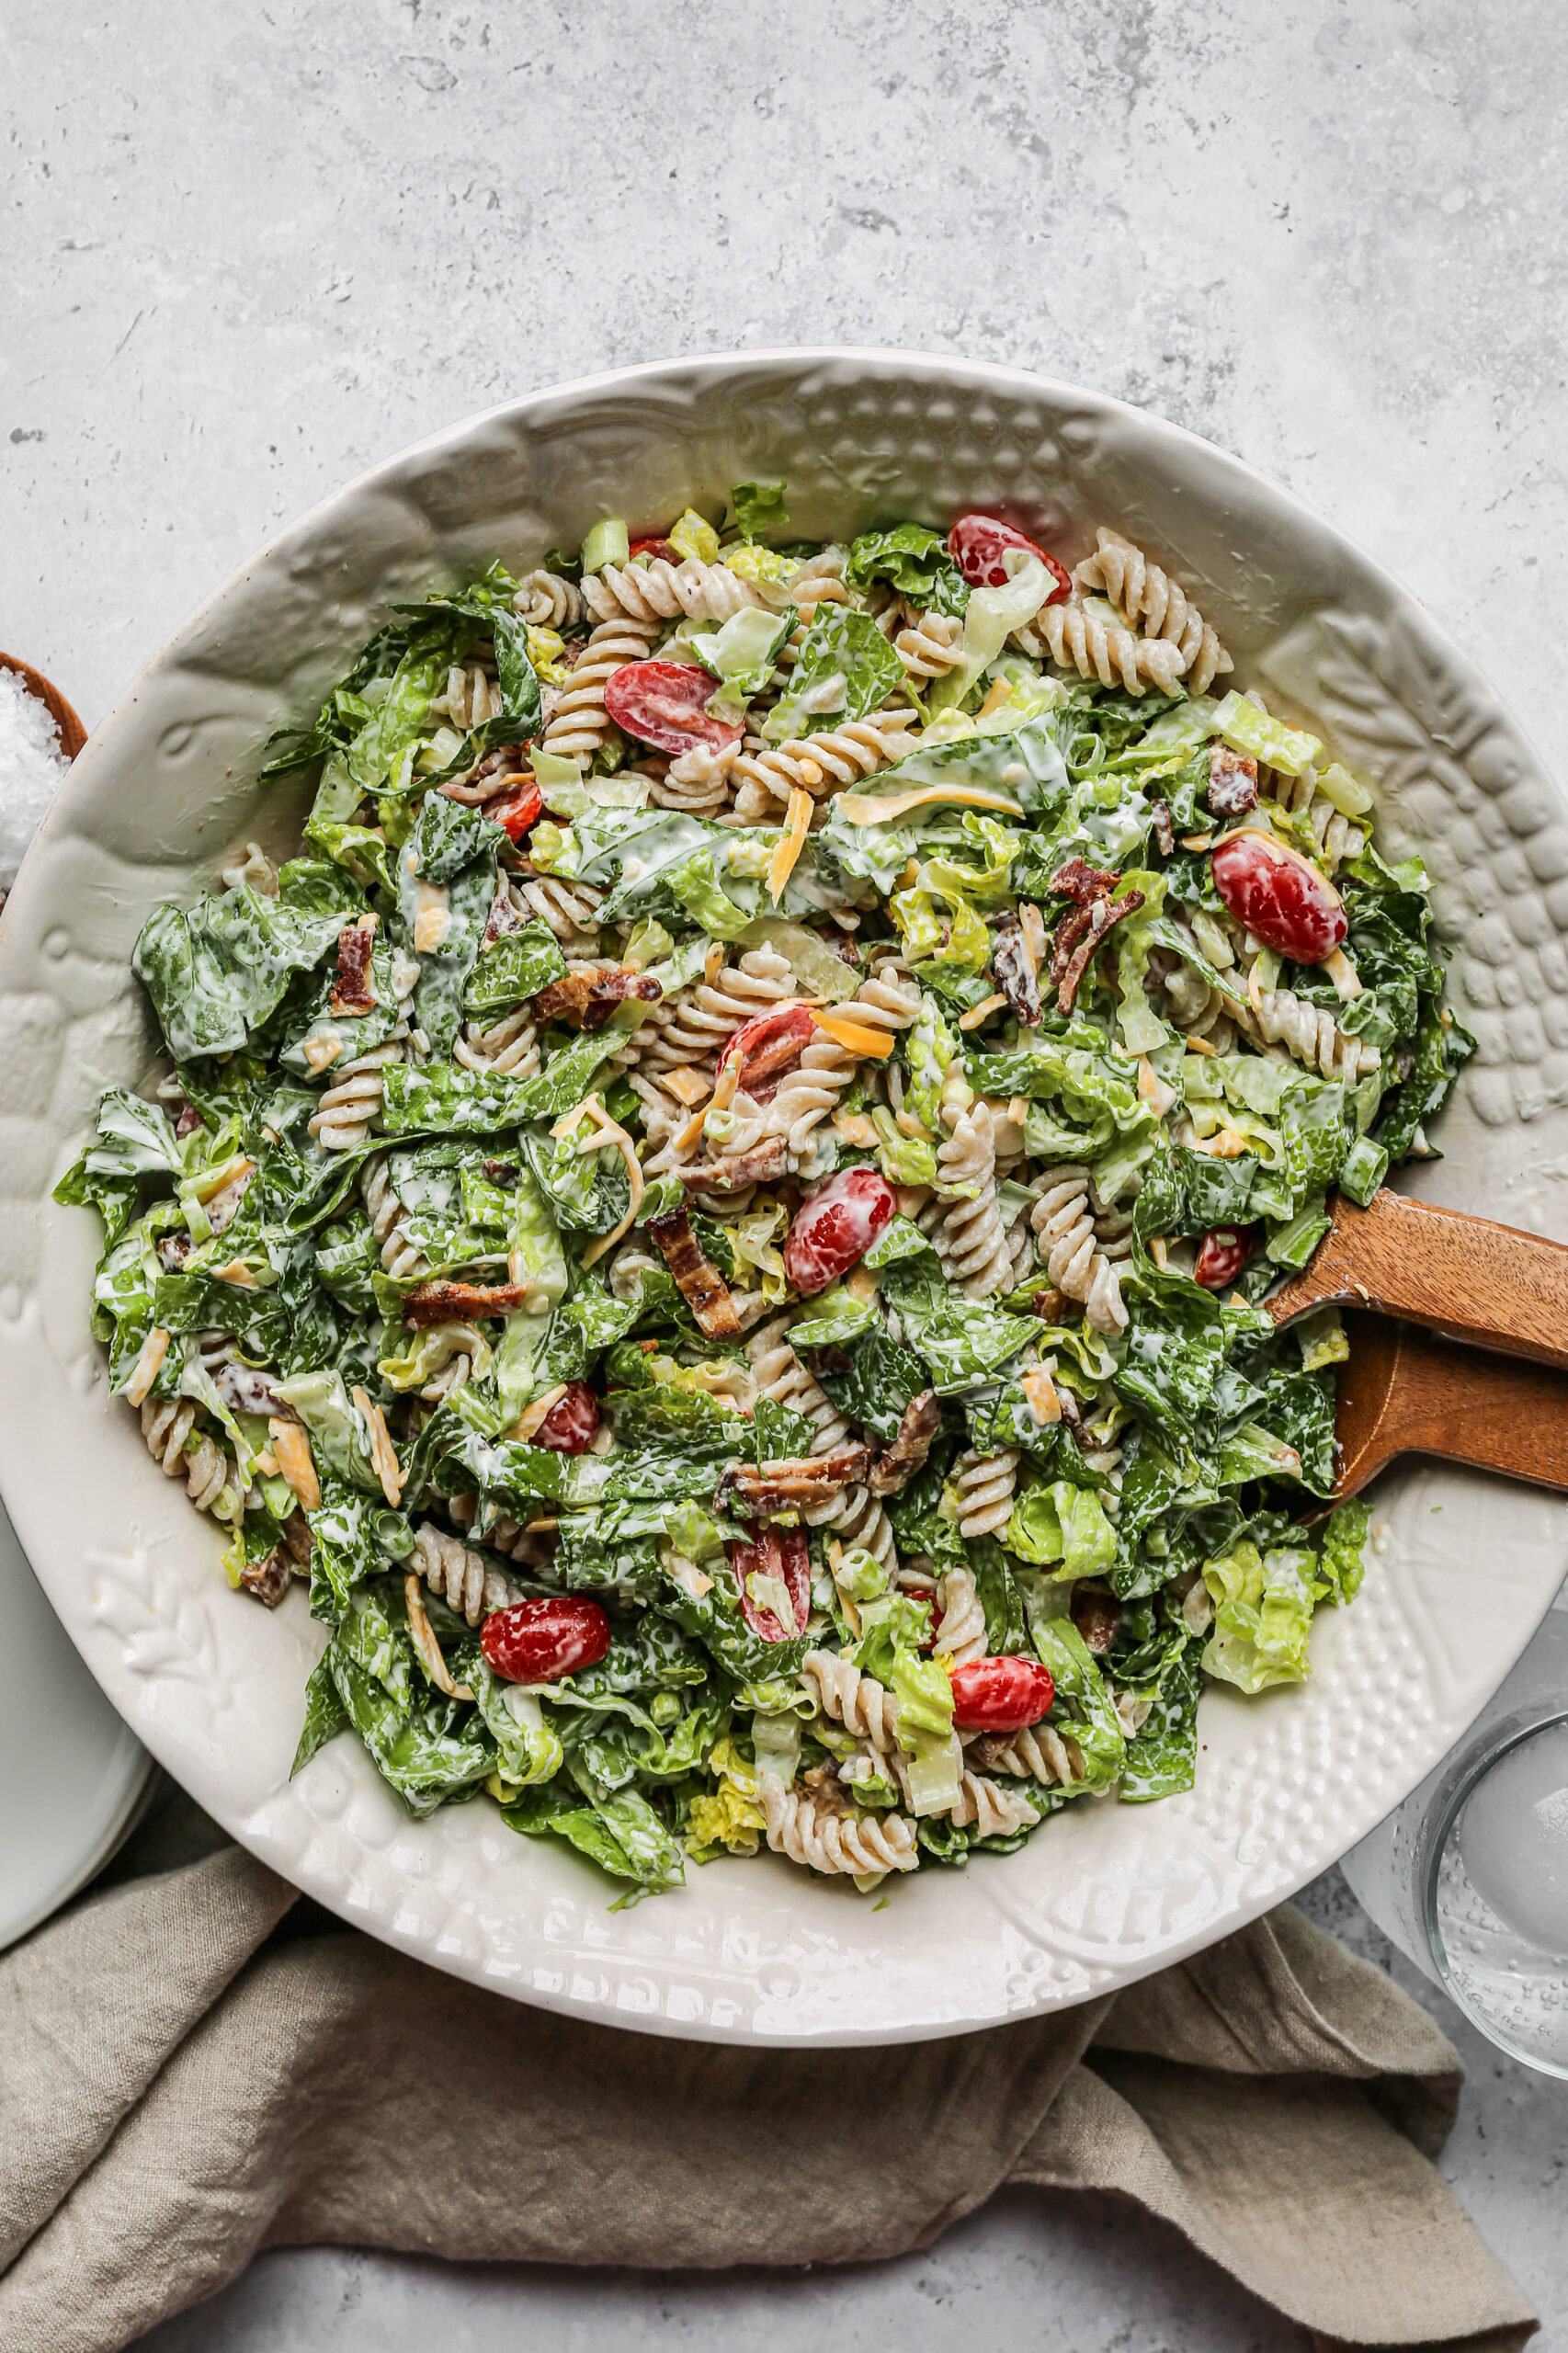
    a large white serving bowl of gluten free BLT pasta salad with wooden serving spoons.

    This is one of those gluten free side dishes that travels well, feeds a crowd, and disappears fast at every BBQ, potluck, and summer gathering I bring it to.

    The homemade dressing is the secret weapon here. It is tangy, creamy, and so much better than anything from a bottle.

    If you are looking for a cold pasta salad with bacon that everyone at the table can enjoy, gluten free or not, this is the recipe to bookmark.

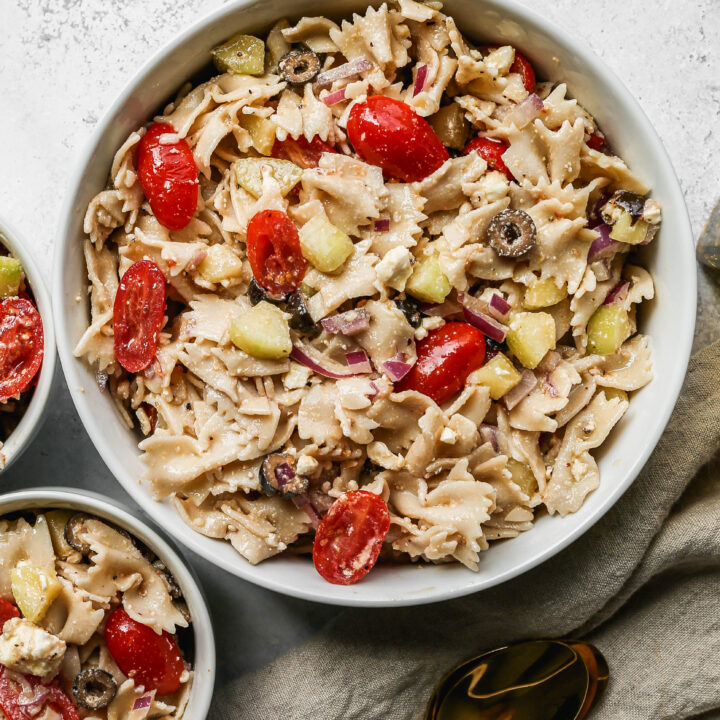
    If you are looking for more pasta salad recipes try my Gluten Free Green Goddess Pasta Salad, my Gluten Free Pesto Pasta Salad, my Easy Gluten Free Bow Tie Pasta Salad, or my Easy Gluten Free Macaroni Salad.

    You can find all of my salad recipes here: Gluten Free Salad Recipes

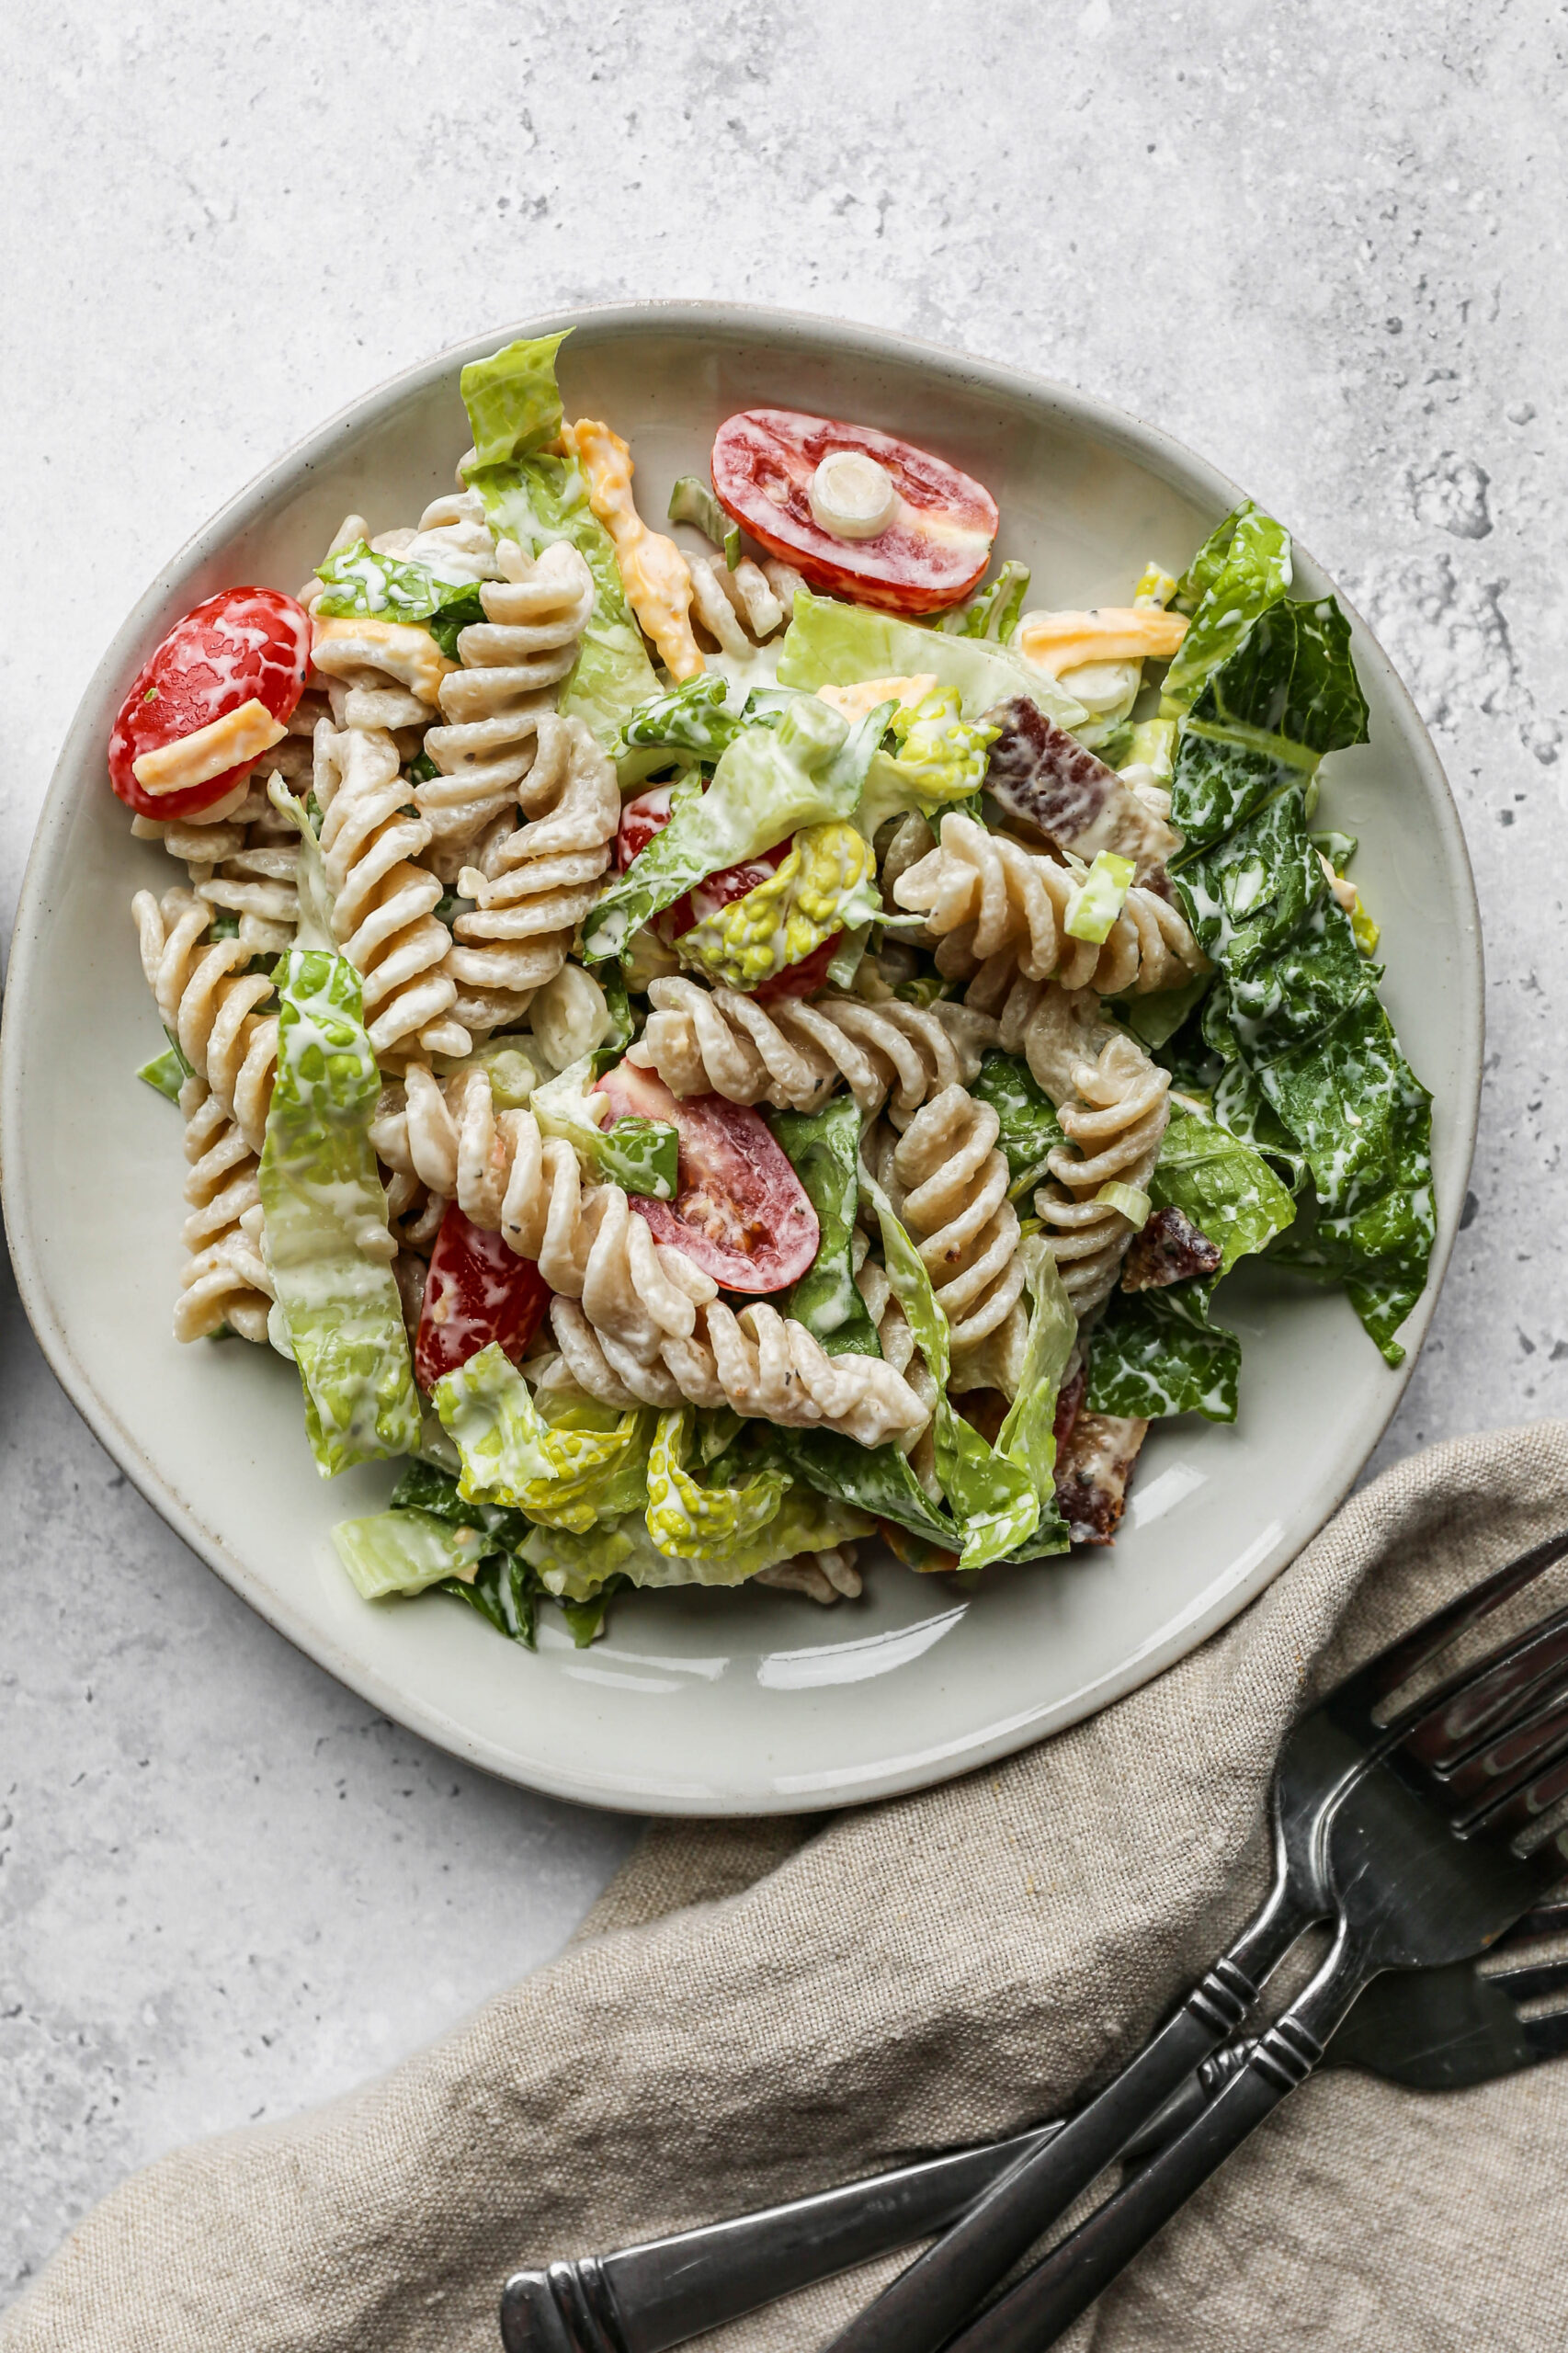
    a white plate of gluten free BLT pasta salad next to a small wooden bowl of salt.
    [feast_advanced_jump_to]

    Ingredients

    • Gluten Free Fusilli Pasta
    • Bacon
    • Minced Garlic
    • Green Onions
    • Romaine Lettuce
    • Cherry Tomatoes
    • Sour Cream
    • Mayonnaise
    • Apple Cider Vinegar
    • Sea Salt
    • Coarse Ground Black Pepper
    • Cheddar Cheese

    Instructions

    Cook the bacon and let it cool. Chop the bacon into small chunks. Set aside.

    Cook the pasta per the instructions on the box. Drain the pasta and rinse in cold water. Add to a large serving bowl.

    In the large serving bowl also add the bacon, onions, lettuce, tomatoes and shredded cheese.

    In a small bowl whisk together the minced garlic, sour cream, mayonnaise, apple cider vinegar, salt and pepper. Pour this mixture over the salad. Stir the salad to coat with the dressing.

    Refrigerate for at least 30 minutes before serving.

    This salad is best served the same day, but will keep for up to 2 days before the lettuce gets too soggy.

    Supplies

    More Recipes You Might Enjoy

    • The Best Old Fashioned Chicken Salad
    • Gluten Free Green Goddess Pasta Salad
    • Sugar Free Broccoli Salad
    • Easy Pea Salad

    I get a lot of my ingredients from Thrive Market. Thrive Market has been a game changer for me eating gluten free. They have so many options I can't get at my rural grocery stores! Use this link to get 40% off your first order!

    Print
    clock clock iconcutlery cutlery iconflag flag iconfolder folder iconinstagram instagram iconpinterest pinterest iconfacebook facebook iconprint print iconsquares squares iconheart heart iconheart solid heart solid icon

    Gluten Free BLT Pasta Salad


    5 Stars 4 Stars 3 Stars 2 Stars 1 Star

    4 from 1 review

    • Author: Elaine VanVleck
    • Total Time: 30 minutes
    • Yield: 6 servings 1x
    • Diet: Gluten Free
    Print Recipe
    Pin Recipe

    Description

    This gluten free BLT pasta salad is a creamy, crowd-pleasing cold pasta salad loaded with crispy bacon, fresh romaine lettuce, juicy cherry tomatoes, shredded cheddar, and tender gluten free fusilli, all tossed in a tangy homemade mayo and sour cream dressing. Ready in 30 minutes and perfect for BBQs, potlucks, and summer gatherings.


    Ingredients

    Scale
    • 12 ounce box Gluten Free Fusilli Pasta, cooked and drained
    • 8 slices Bacon, cooked and chopped
    • 6 Green Onions, chopped
    • 4 cups Romaine Lettuce, chopped (approximately one head of lettuce)
    • 10 ounces Cherry Tomatoes, cut in half
    • 2 Tbsp Minced Garlic
    • ½ cup Sour Cream
    • ½ cup Mayonnaise
    • 2 Tbsp Apple Cider Vinegar
    • ½ tsp Sea Salt
    • ¼ tsp Coarse Ground Black Pepper
    • 1 cup Cheddar Cheese, shredded

    Instructions

    Cook the bacon and let it cool. Chop the bacon into small chunks. Set aside.

    Cook the pasta per the instructions on the box. Drain the pasta and rinse in cold water. Add to a large serving bowl.

    In the large serving bowl also add the bacon, onions, lettuce, tomatoes and shredded cheese.

    In a small bowl whisk together the minced garlic, sour cream, mayonnaise, apple cider vinegar, salt and pepper. Pour this mixture over the salad. Stir the salad to coat with the dressing.

    Refrigerate for at least 30 minutes before serving.

    This salad is best served the same day, but will keep for up to 2 days before the lettuce gets too soggy.

    • Prep Time: 20 minutes
    • Cook Time: 10 minutes
    • Category: Side Dish, Salads
    • Method: Mixing
    • Cuisine: American

    Did you make this recipe?

    Tag @smallfarmbiglife on Instagram and hashtag it #smallfarmbiglife

    If you make this Gluten Free BLT Pasta Salad, I would love to hear what you think! Leave a star rating and a comment below. It helps other readers find this recipe and it means so much to me.

    Storage

    Store leftover BLT pasta salad in an airtight container in the refrigerator for up to 2 days. Keep in mind that the romaine lettuce will begin to wilt after the first day, so this salad is always best eaten the same day it is made. Because the dressing contains mayonnaise, do not leave the salad sitting at room temperature for more than two hours. This salad is not suitable for freezing.

    Top Tip

    Rinse your cooked pasta thoroughly in cold water and let it drain completely before adding it to the bowl. Gluten free pasta soaks up dressing faster than regular pasta, so giving it a good rinse and a few extra minutes to drain means your dressing stays creamy and coats every bite instead of disappearing into the noodles.

    Didn't find the answer you're looking for?

    Ask AI to answer based on this recipe:

    ChatGPT
    Google AI
    Perplexity
    Grok
    Claude

    Frequently Asked Questions

    How long does gluten free pasta salad last in the fridge?

    This salad keeps in a sealed container in the refrigerator for 1 to 2 days. After that the lettuce will begin to wilt and the texture will suffer. Because the dressing contains mayonnaise, be sure to refrigerate the salad promptly after serving and do not leave it sitting out for more than two hours.

    How do you keep gluten free pasta from getting hard in a cold pasta salad?

    Cook your gluten free pasta slightly past al dente. You want it a little softer than you would for a hot pasta dish because it will firm up as it chills. Rinsing it in cold water immediately after draining stops the cooking and prevents clumping. If the pasta absorbs too much dressing as it sits, drizzle a little extra mayo or a splash of apple cider vinegar over the top and toss before serving.

    Can I make this BLT pasta salad ahead of time?

    You can make this salad a few hours ahead, but because it contains romaine lettuce, it is best assembled and served the same day. If you want to get ahead, cook the pasta, bacon, and dressing up to 24 hours in advance and store them separately in the refrigerator. Toss everything together with the lettuce and tomatoes right before serving for the freshest result.

    What gluten free pasta works best for this recipe?

    Gluten free fusilli is ideal because the spiral shape holds onto the creamy dressing really well. You could also use gluten free rotini, penne, or shells. Whatever you choose, stick with a rice based or rice and corn blend pasta for the best texture in a cold salad. Avoid bean based pastas here as they tend to get mushy and fall apart once chilled

    Can I add protein to make this a main dish?

    Absolutely. Grilled or rotisserie chicken is a great addition if you want to turn this into a heartier meal. Diced ham also works beautifully with the BLT flavor profile. Just add your protein when you assemble the salad and toss everything together with the dressing as usual.

    Can I use a different dressing?

    The homemade mayo and sour cream dressing is what makes this salad special, but you can swap in a bottled ranch dressing if you are short on time. Just make sure to check the label to confirm it is certified gluten free. My creamy Caesar dressing would also be delicious here and plays nicely with the romaine and bacon.

    Easy Gluten Free Macaroni Salad

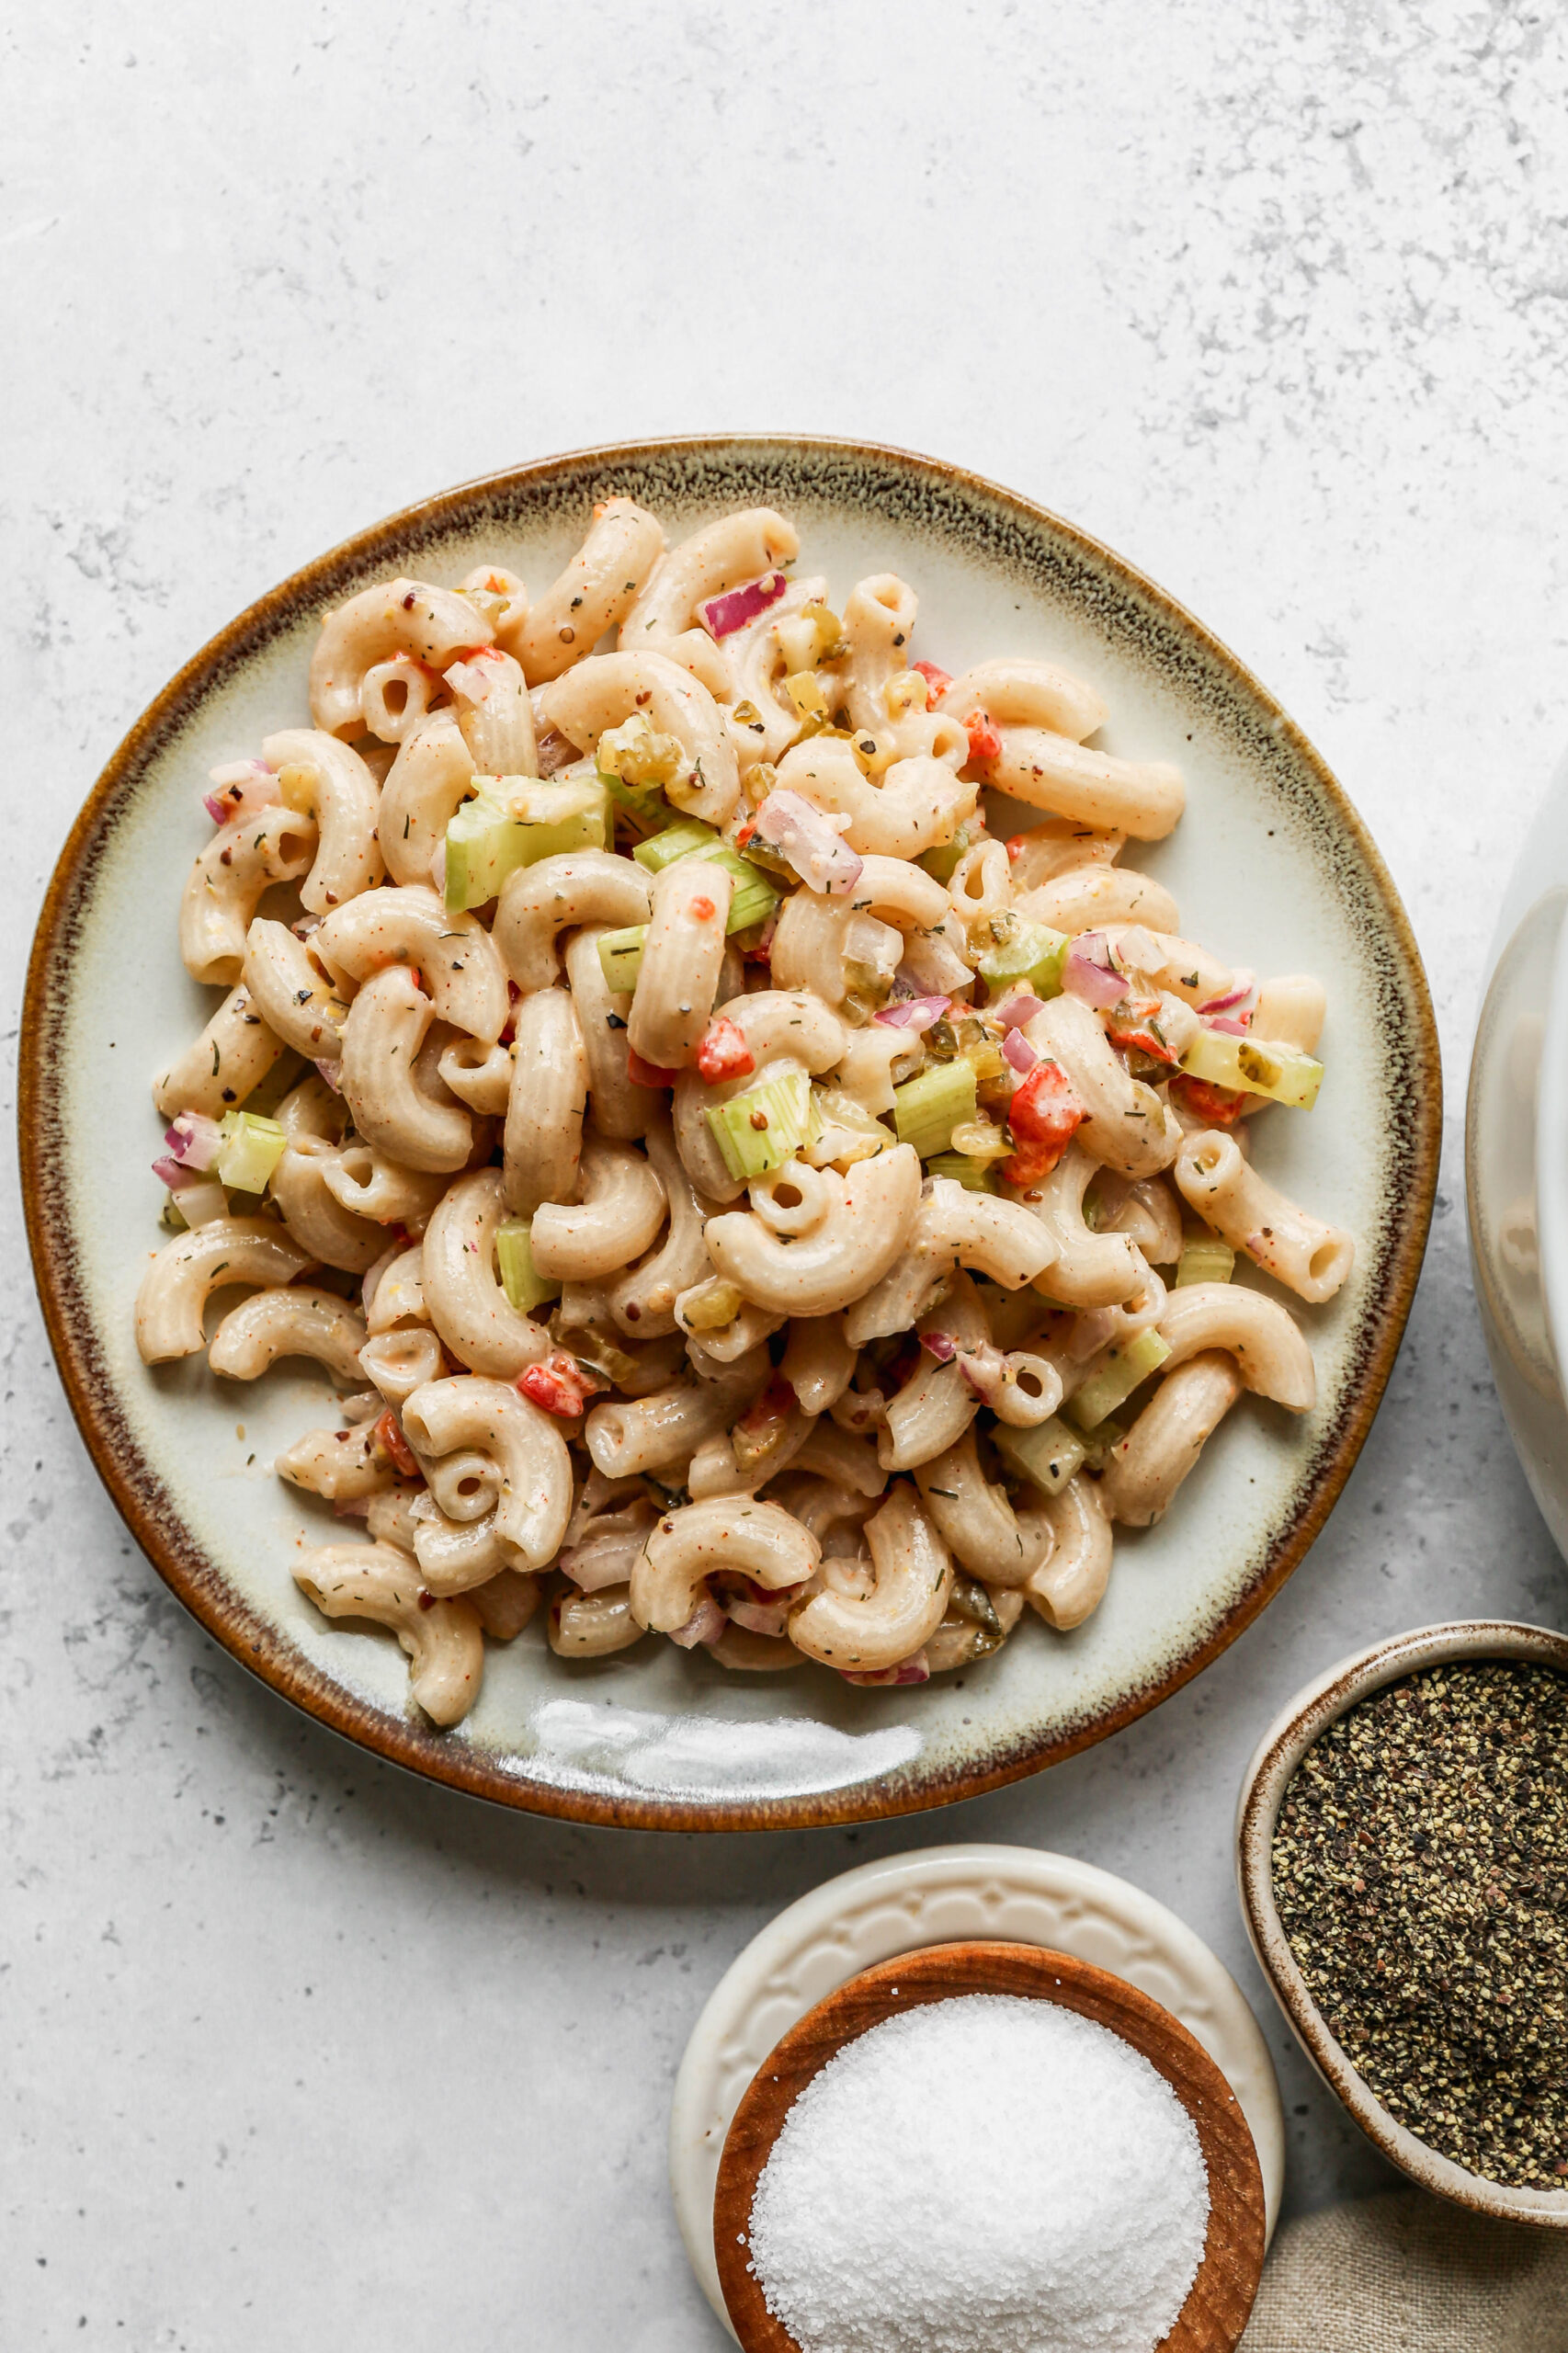
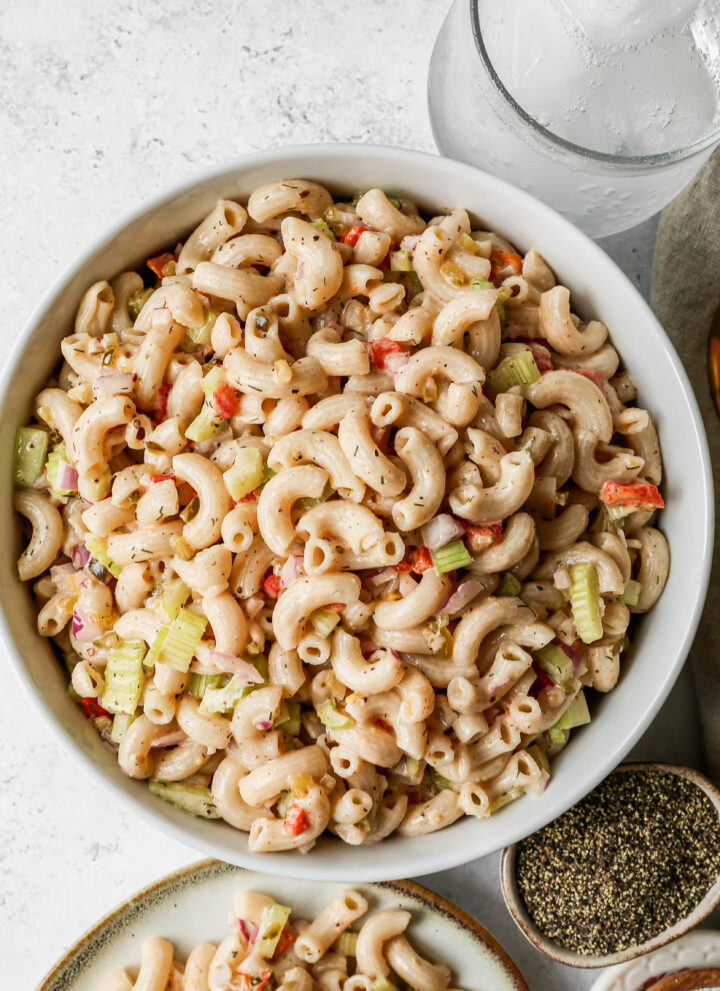
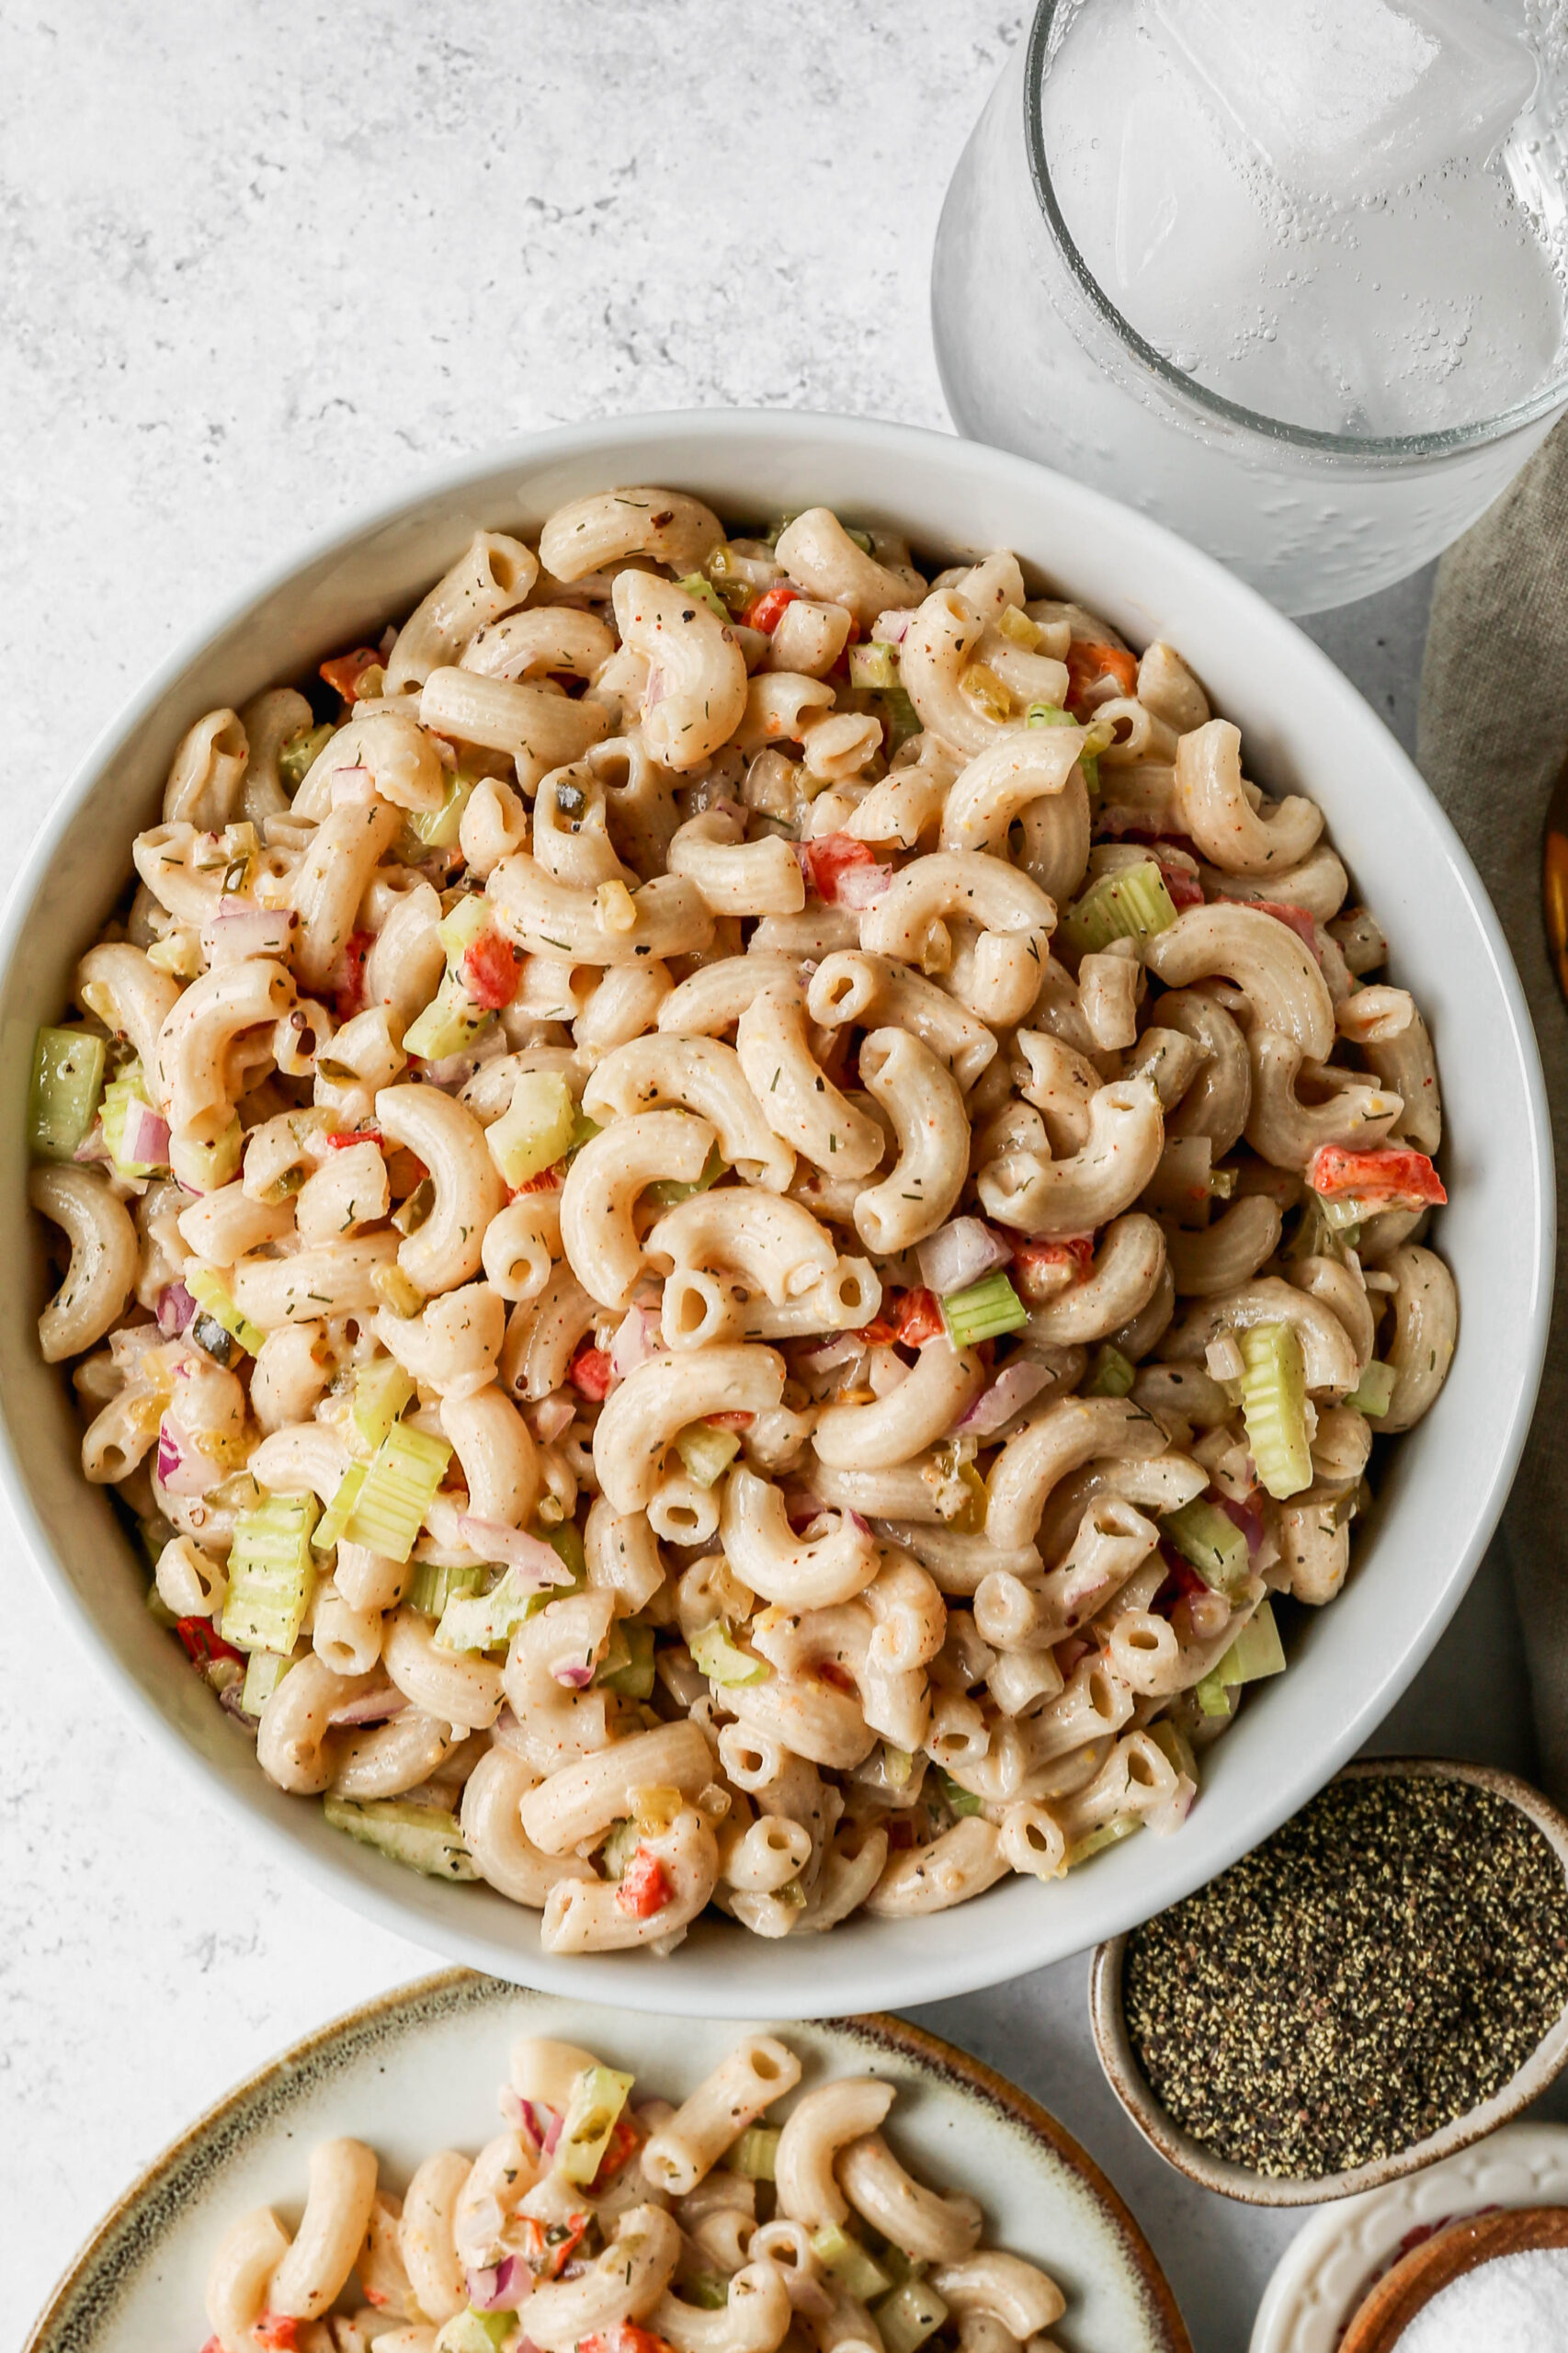
    This easy gluten free macaroni salad is the classic cold pasta salad that belongs at every summer BBQ, potluck, and picnic and now everyone at the table can enjoy it. Gluten free brown rice elbow macaroni gets tossed with crisp celery, red onion, diced pimientos, and sweet pickle relish and then coated in a rich and creamy homemade mayo dressing seasoned with smoked paprika, dried dill, garlic powder, and stone ground mustard.

    It is everything you love about the old fashioned macaroni salad you grew up eating, made completely gluten free and so delicious that nobody will ever know the difference.

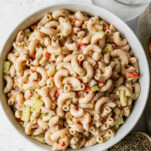
    a large white bowl of easy gluten free macaroni salad next to a plate of cold salad.

    The best part about this gluten free macaroni salad is that it is a true make ahead recipe. You mix everything together, pop it in the refrigerator for at least two hours, and it is ready to go when you need it.

    The flavor gets even better as it chills and the dressing soaks into the pasta, so making it the night before a gathering is always a great idea.

    It keeps in the refrigerator for three to five days which means you can make a big batch on the weekend and enjoy it as a side dish all week long. Simple, crowd pleasing, and completely gluten free from start to finish.

    If you are looking for more salad recipes you might also enjoy my Gluten Free Pesto Pasta Salad, my Black Beans and Corn Salad, my Gluten Free BLT Pasta Salad or my Easy Gluten Free Bow Tie Pasta Salad.

    You can find all of my salad recipes here: Gluten Free Salad Recipes

    a plate of easy gluten free macaroni salad next to a small wooden bowl of salt.
    [feast_advanced_jump_to]

    Ingredients

    • Gluten Free Elbow Pasta
    • Diced Pimientos
    • Celery
    • Red Onion
    • Sweet Pickle Relish
    • Mayonnaise
    • Stone Ground Mustard
    • White Vinegar
    • Sea Salt
    • Dried Dill
    • Smoked Paprika
    • Coarse Ground Black Pepper
    • Garlic Powder

    Instructions

    Cook the pasta per the packages instructions. Rinse the pasta in cold water and then pour into a large serving bowl. Set aside.

    While the pasta is cooking in a jar or small bowl whisk together the mayonnaise, mustard, vinegar, salt, dill, paprika, pepper and garlic powder.

    Add the pimientos, celery, onion and relish to the serving bowl with the cooked pasta. Pour the dressing over top and stir to combine.

    Refrigerate for at least 2 hours before serving.

    Store in a sealed container in the refrigerator for up to 3-5 days.

    Supplies

    More Recipes You Might Enjoy
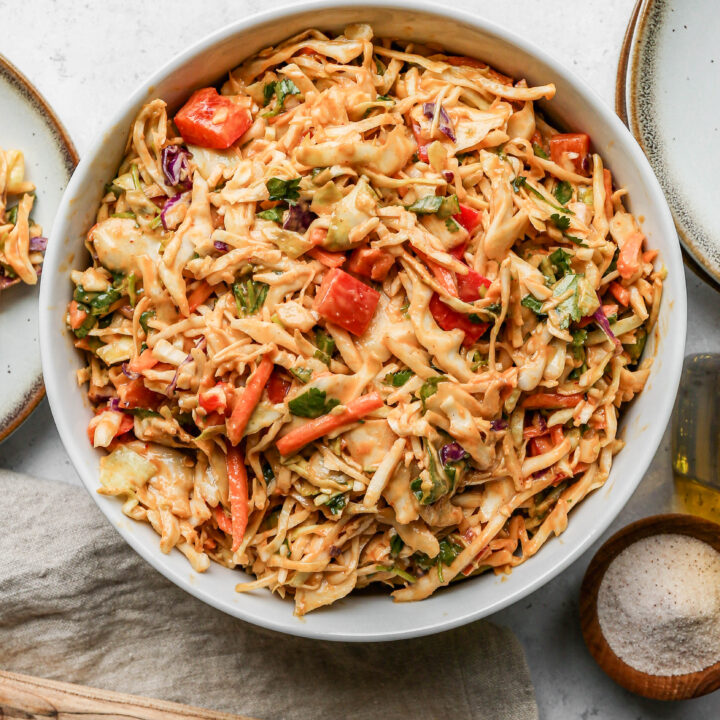
    • Gluten Free BLT Pasta Salad
    • Gluten Free Green Goddess Pasta Salad
    • Easy Gluten Free Bow Tie Pasta Salad
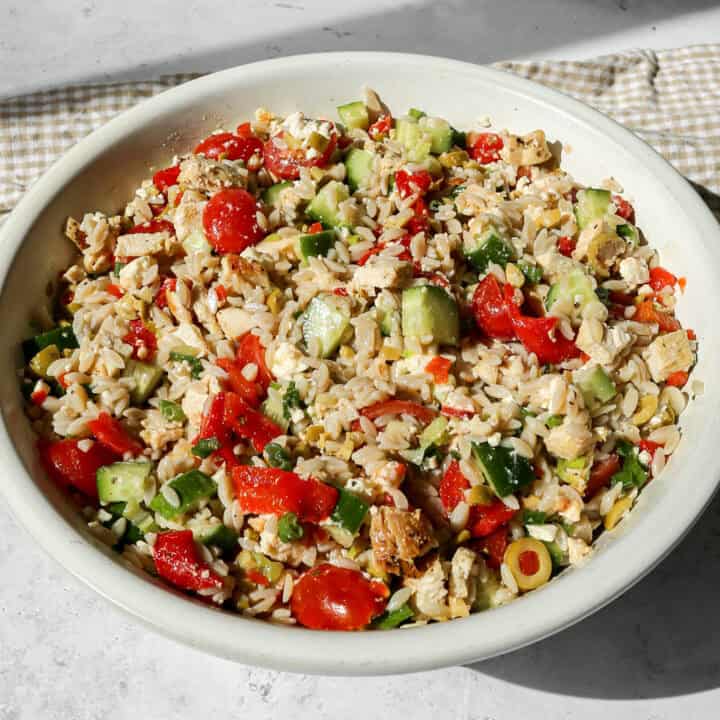
    • Mediterranean Chicken Orzo Salad

    I get a lot of my ingredients from Thrive Market. Thrive Market has been a game changer for me eating gluten free. They have so many options I can't get at my rural grocery stores! Use this link to get 40% off your first order!

    Print
    clock clock iconcutlery cutlery iconflag flag iconfolder folder iconinstagram instagram iconpinterest pinterest iconfacebook facebook iconprint print iconsquares squares iconheart heart iconheart solid heart solid icon

    Easy Gluten Free Macaroni Salad


    5 Stars 4 Stars 3 Stars 2 Stars 1 Star

    No reviews

    • Author: Elaine VanVleck
    • Total Time: 30 minutes
    • Yield: 8 servings 1x
    • Diet: Gluten Free
    Print Recipe
    Pin Recipe

    Description

    This easy gluten free macaroni salad is the classic cold pasta salad BBQ staple made completely gluten free! Gluten free brown rice elbow macaroni gets tossed with celery, red onion, diced pimientos, and sweet pickle relish and coated in a creamy homemade mayo dressing seasoned with smoked paprika, dried dill, and stone ground mustard. Make ahead friendly and perfect for summer BBQs, potlucks, and picnics!


    Ingredients

    Scale
    • 16 ounce bag Gluten Free Elbow Pasta, cooked and drained
    • 4 ounce jar Diced Pimientos, drained
    • 1 cup Celery, chopped
    • 1 small Red Onion, finely diced
    • ¼ cup Sweet Pickle Relish

    Dressing:

    • ⅔ cup Mayonnaise
    • 2 tsp Stone Ground Mustard
    • 2 Tbsp White Vinegar
    • ½ tsp Sea Salt
    • ½ tsp Dried Dill
    • ½ tsp Smoked Paprika
    • ½ tsp Coarse Ground Black Pepper
    • ¼ tsp Garlic Powder

    Instructions

    Cook the pasta per the packages instructions. Rinse the pasta in cold water and then pour into a large serving bowl. Set aside.

    While the pasta is cooking in a jar or small bowl whisk together the mayonnaise, mustard, vinegar, salt, dill, paprika, pepper and garlic powder.

    Add the pimientos, celery, onion and relish to the serving bowl with the cooked pasta. Pour the dressing over top and stir to combine.

    Refrigerate for at least 2 hours before serving.

    Store in a sealed container in the refrigerator for up to 3-5 days.

    • Prep Time: 20 minutes
    • Cook Time: 10 minutes
    • Category: Side Dish, Salads
    • Method: Stove Top
    • Cuisine: American

    Did you make this recipe?

    Tag @smallfarmbiglife on Instagram and hashtag it #smallfarmbiglife

    If you make this Easy Gluten Free Macaroni Salad I would love to hear how it turned out! Leave a star rating and a comment below and let me know what you served it with.

    Don't forget to save this recipe to your Pinterest boards so you can find it again all summer long!

    Storage

    Store this gluten free macaroni salad in a sealed airtight container in the refrigerator for up to 3 to 5 days. Because the dressing contains mayonnaise, do not leave the salad sitting out at room temperature for more than two hours. If the pasta absorbs too much of the dressing as it sits, stir in a tablespoon or two of mayonnaise and a small splash of white vinegar before serving to freshen it up.

    Give the salad a good stir before serving as the dressing can settle to the bottom of the container as it sits. This salad is not suitable for freezing as the mayonnaise dressing will separate and the pasta texture will not hold up once thawed.

    Top Tip

    Cook your gluten free elbow pasta slightly longer than the package directions suggest for al dente. Gluten free pasta firms up significantly as it chills in the refrigerator and pasta that is perfectly al dente when hot will feel hard and chewy once cold. You want it just a little softer than you would normally cook it so that after two hours in the fridge it is perfectly tender and not tough.

    Rinsing the pasta thoroughly in cold water immediately after draining also stops the cooking process and helps prevent the noodles from clumping together as the salad chills.

    Didn't find the answer you're looking for?

    Ask AI to answer based on this recipe:

    ChatGPT
    Google AI
    Perplexity
    Grok
    Claude

    Frequently Asked Questions

    Can I make this gluten free macaroni salad ahead of time?

    Yes and I actually recommend it! This macaroni salad needs at least two hours in the refrigerator before serving to allow the flavors to come together and the dressing to soak into the pasta. Making it the night before a BBQ or potluck gives it even more time to develop flavor and means one less thing to worry about on the day of your gathering. Just give it a good stir before serving and add a splash of mayo if the pasta has absorbed too much of the dressing overnight.


    What gluten free pasta works best for macaroni salad?

    Brown rice elbow macaroni is the best choice for gluten free macaroni salad because it holds its shape well when cold and has a texture that is very close to traditional elbow macaroni. Look for a brand that uses brown rice or a brown rice and corn blend for the best results. Avoid bean based pastas like chickpea or lentil pasta as they tend to get mushy and fall apart once chilled with the dressing.

    How long does gluten free macaroni salad last in the fridge?

    This macaroni salad will keep in a sealed airtight container in the refrigerator for 3 to 5 days. Because the dressing contains mayonnaise, make sure to refrigerate the salad promptly after serving and never leave it sitting out at room temperature for more than two hours. If the dressing gets absorbed into the pasta as it sits, stir in a tablespoon or two of extra mayo and a small splash of white vinegar to refresh it before serving.

    How do you keep gluten free pasta from getting hard in a cold salad?

    The key is to cook your gluten free pasta slightly past al dente. Gluten free pasta firms up significantly as it chills in the refrigerator so pasta that feels perfectly cooked when hot will feel hard and chewy once cold. Cook it just a little softer than you normally would and rinse it thoroughly in cold water immediately after draining to stop the cooking process and to prevent clumping.

    Can I add other vegetables or mix-ins to this macaroni salad?

    Absolutely! This recipe is very easy to customize. Diced bell peppers, frozen thawed peas, sliced black olives, chopped dill pickles, or shredded cheddar cheese are all delicious additions. You can also add diced hard boiled eggs for extra protein and a more classic old fashioned macaroni salad feel. Just add your extra ingredients at the same time as the celery and onion and toss everything together with the dressing as usual.

    Can I use a different dressing for this macaroni salad?

    The homemade mayo dressing is what gives this salad its classic flavor but you can make small adjustments to suit your taste. If you prefer a tangier dressing add a little extra white vinegar. If you like more sweetness add a teaspoon of sugar or a bit more sweet pickle relish. You can also swap the stone ground mustard for yellow mustard for a more traditional old fashioned macaroni salad flavor. Just make sure any mustard you use is certified gluten free.

    Healthy Mexican Street Corn Salad

    This easy recipe for healthy Mexican street corn salad is the perfect summer side dish! The cold salad recipe uses frozen corn and is made without mayonnaise. It's so simple to roast the corn on your stovetop and then put this salad together for picnics and gatherings.

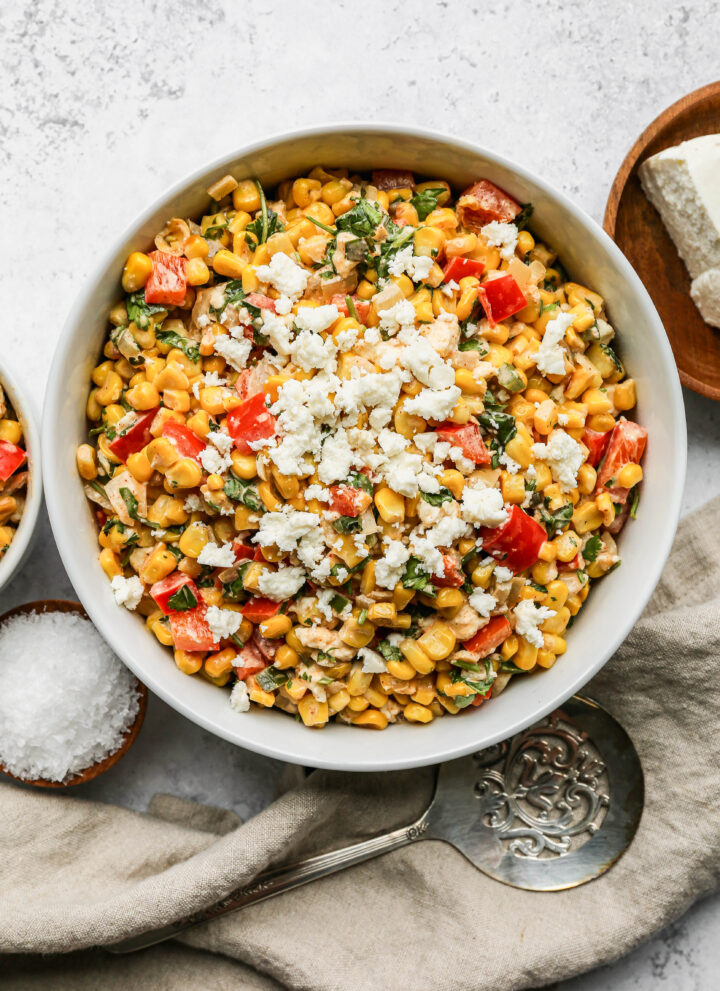
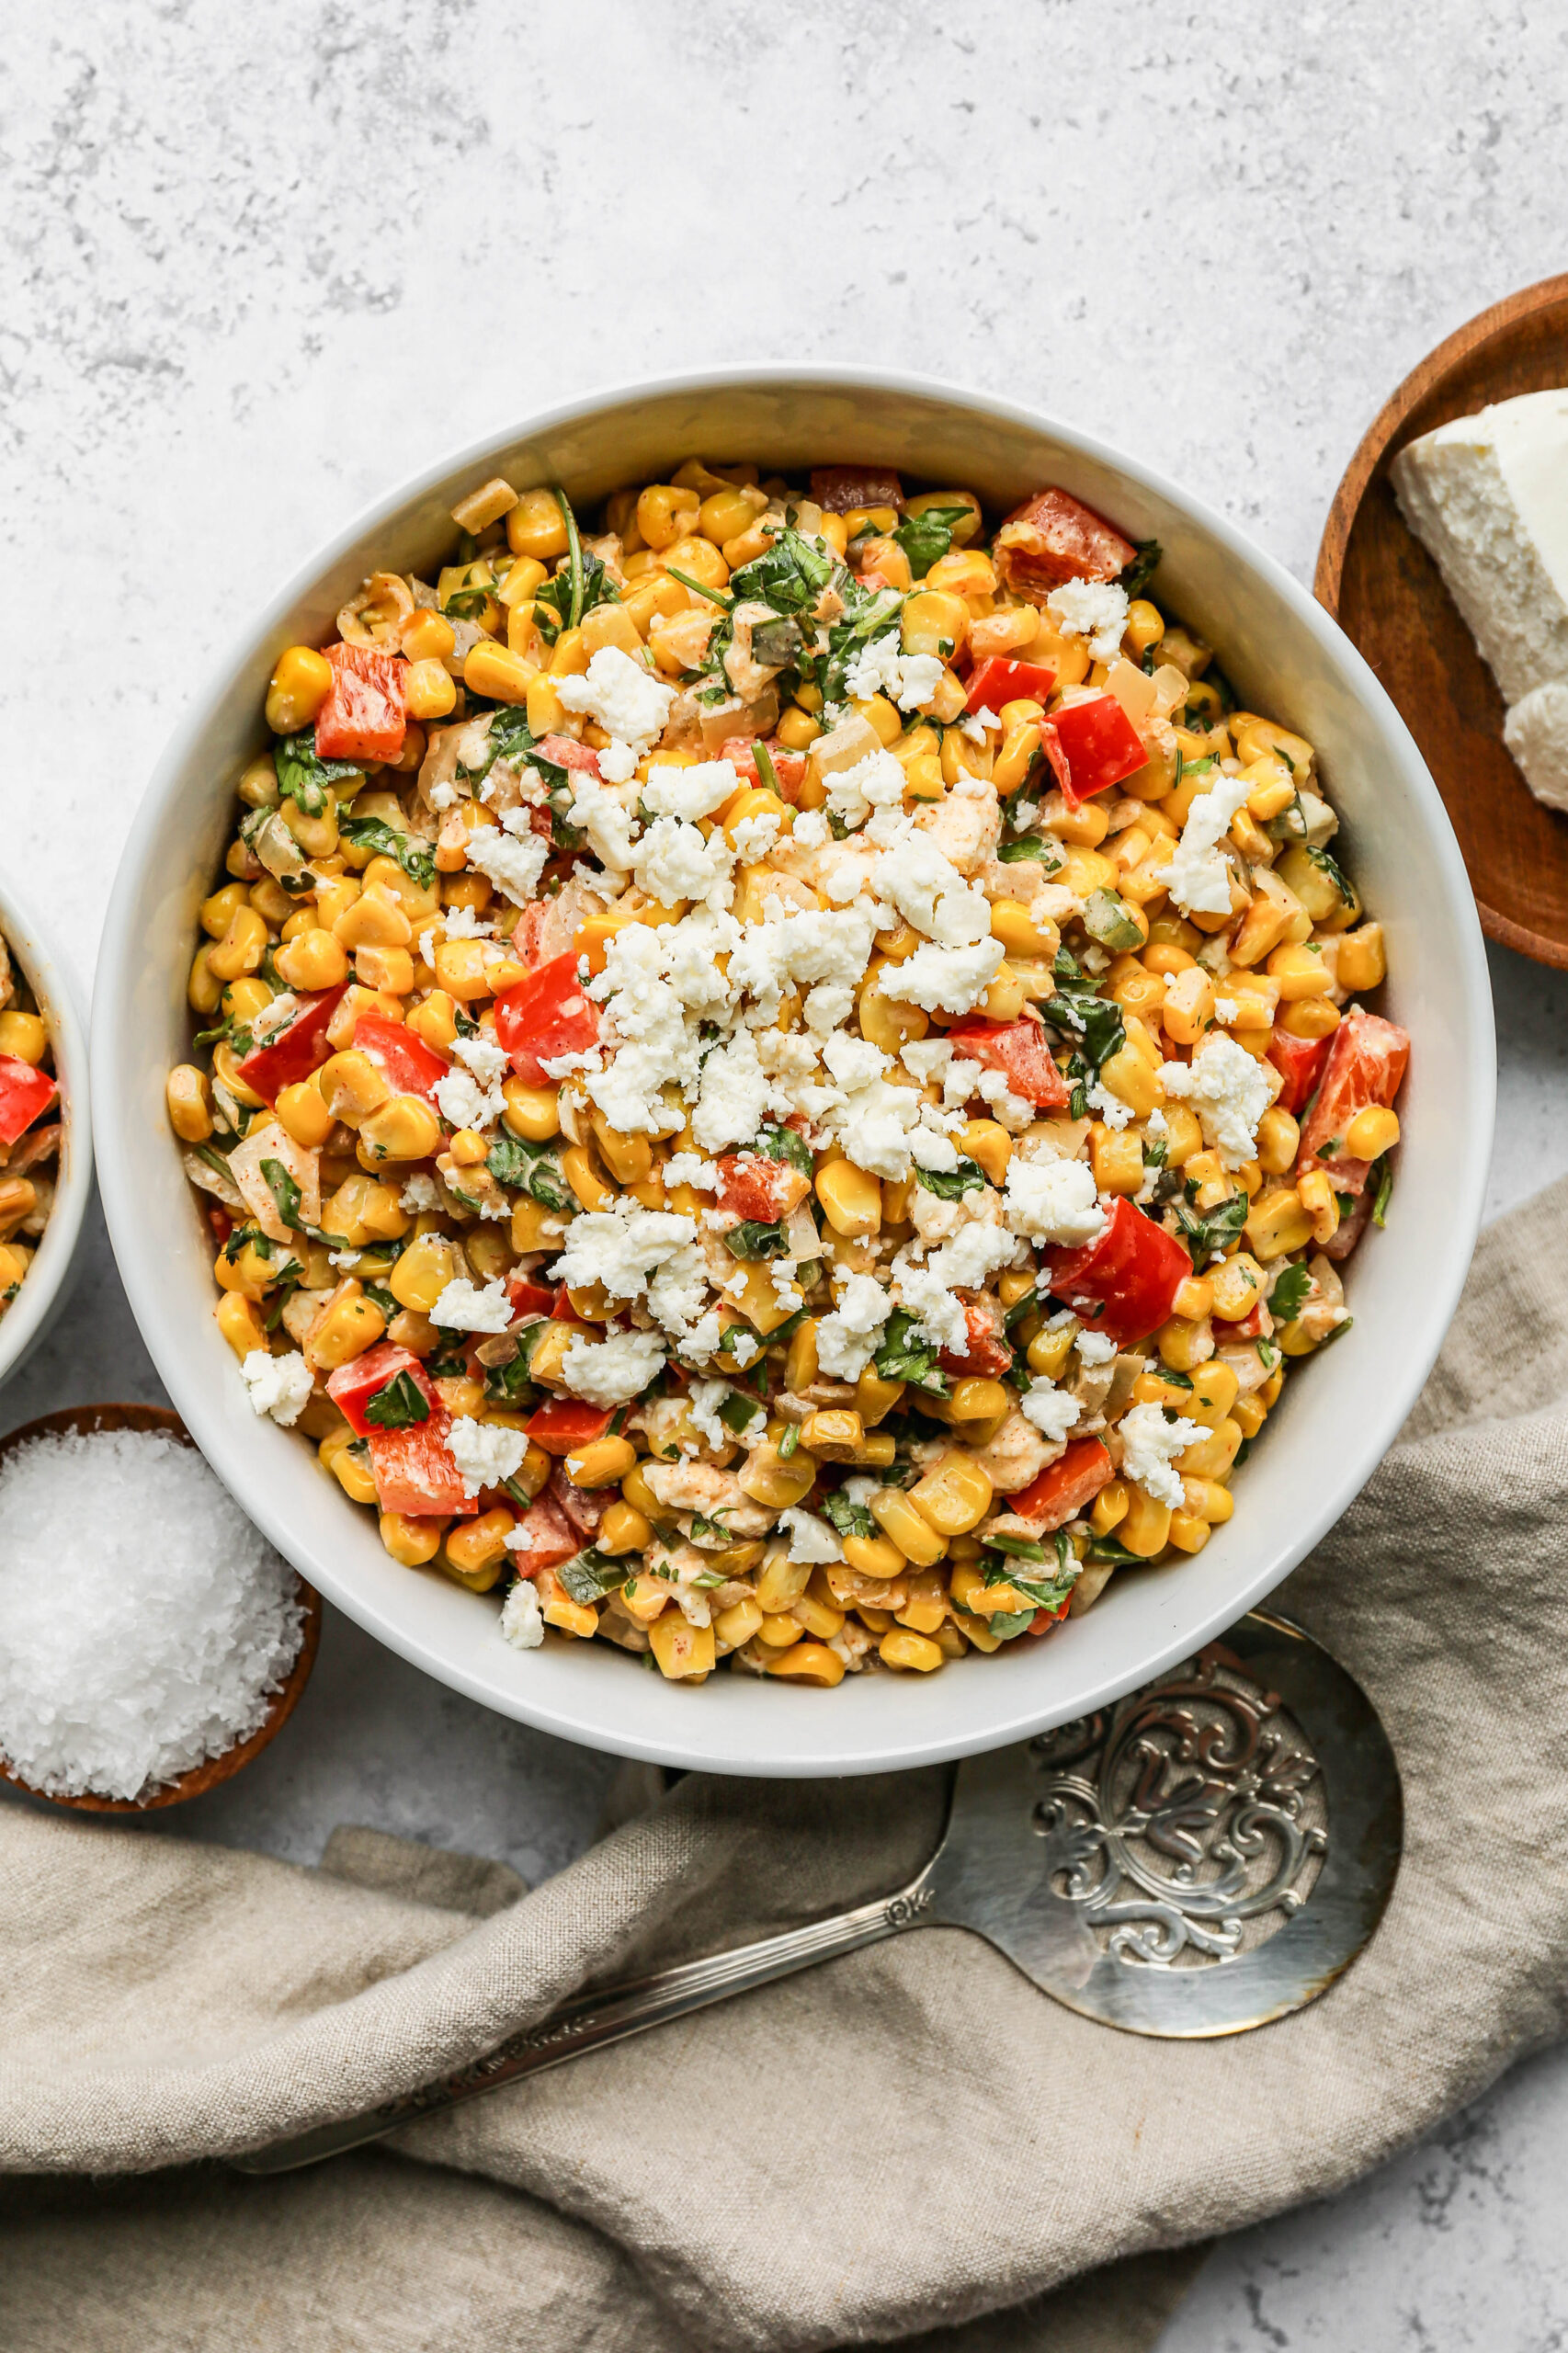
    a white bowl of healthy Mexican street corn salad next to a small wooden bowl of cotija cheese.

    Healthy Mexican Street Corn Salad is a vibrant, flavorful twist on the classic Mexican street food, served as a light and refreshing cold corn salad perfect for warm weather.

    This colorful salad combines the sweet taste of corn with zesty seasonings and a yummy dressing, making it an ideal Mexican corn side dish for summer gatherings, BBQs, or quick weeknight meals.

    With bold, bright flavors and a satisfying crunch, it delivers all the deliciousness of traditional Mexican street corn in a fresh, healthy salad.

    If you are looking for more corn recipes try my Easy Fried Frozen Corn, my Gluten Free Zucchini Squash and Corn Casserole, my Cheesy Slow Cooker Creamed Corn, or my Black Beans and Corn Salad.

    You can find all of my salad recipes here: Gluten Free Salad Recipes

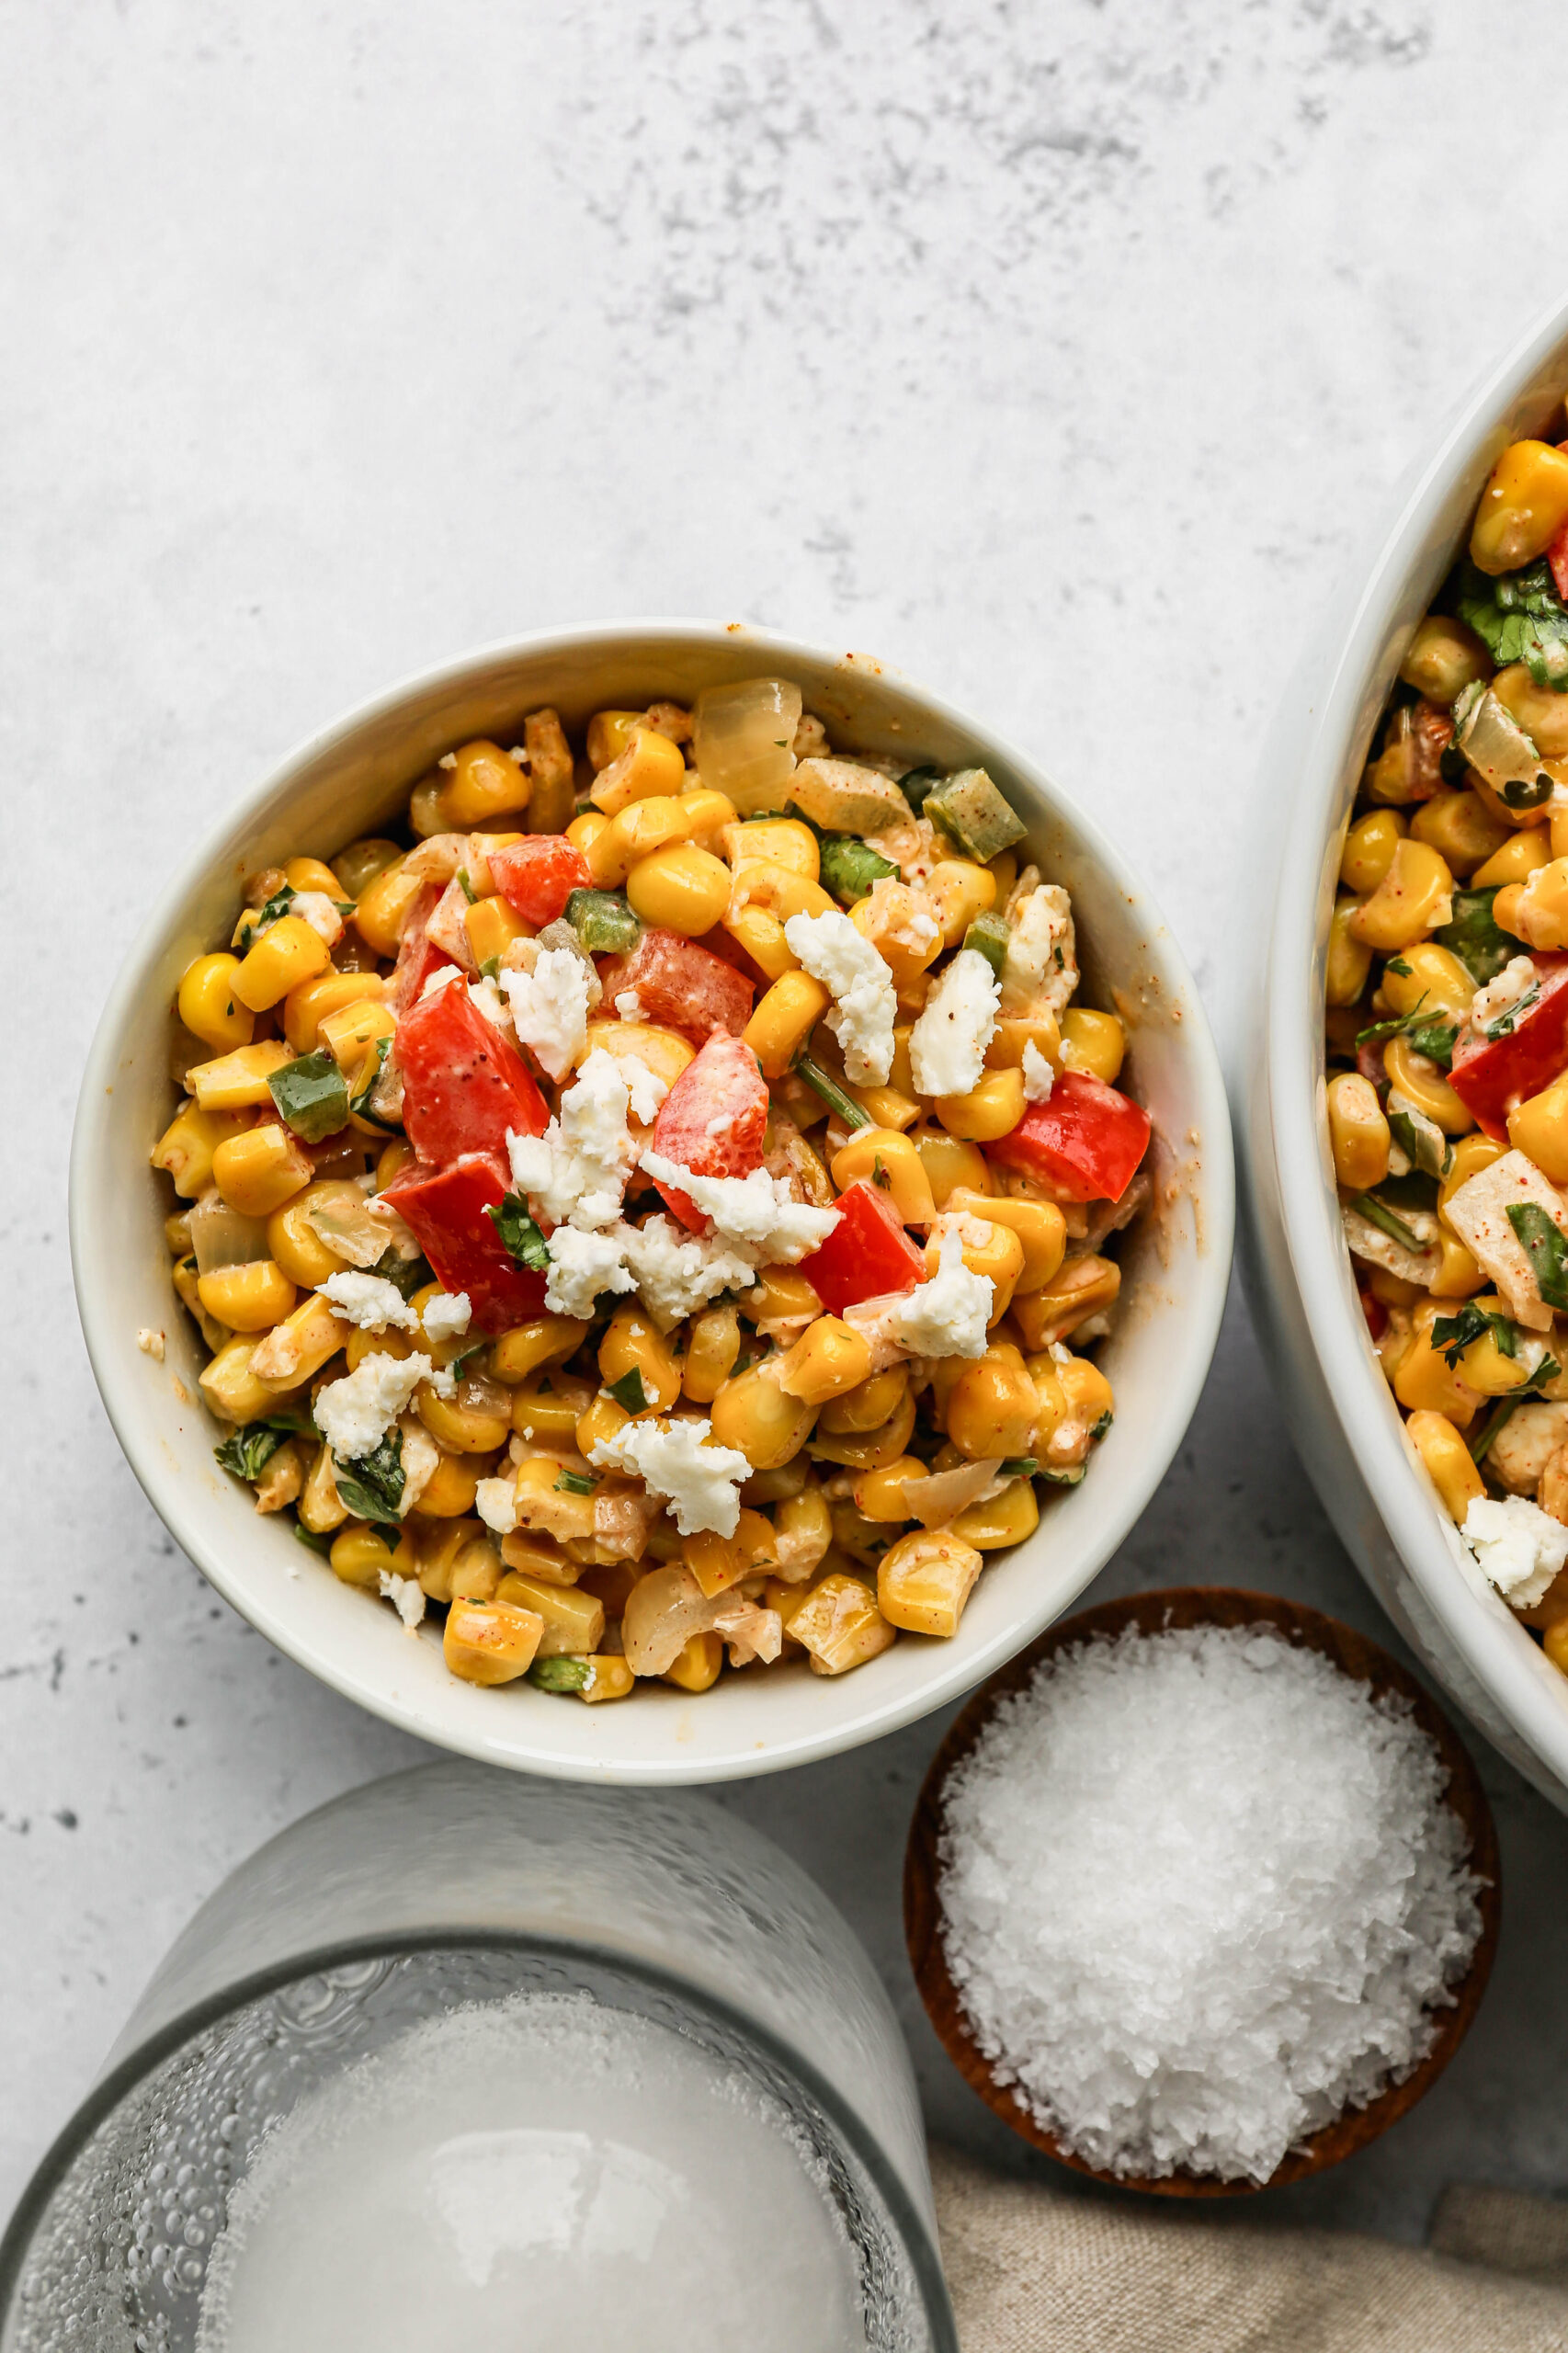
    a white bowl of healthy Mexican street corn salad next to a small wooden bowl of coarse salt.
    [feast_advanced_jump_to]

    Ingredients

    • Frozen Corn
    • Olive Oil
    • Red Bell Pepper
    • Red Onion
    • Jalapeno
    • Cilantro
    • Cotija Cheese or Queso Fresco
    • Greek Yogurt
    • Lime Juice
    • Sea Salt
    • Ground Cumin
    • Chili Powder
    • Smoked Paprika

    Instructions

    In a large frying pan add the olive oil over medium high heat. Saute the corn stirring occasionally until you have some browned and roasted bits.

    Add the bell pepper, onion and jalapeno. Cooking 1-2 minutes until softened.

    Remove the frying pan from heat and let the corn mixture cool.

    In a small bowl or jar whisk together the greek yogurt, lime juice, salt, cumin, chili powder and paprika.

    Pour the corn mixture into a large serving bowl. Pour the dressing over top. Add the cheese and cilantro. Stir to combine.

    Refrigerate for at least one hour before serving.
    Supplies

    Frequently Asked Questions

    Why is it called Mexican street corn?

    Corn on the cob topped with cheese and spices is a popular Mexican street food sold by vendors. This salad is a take on that using frozen corn kernels, cotija cheese and a dressing made with greek yogurt and spices.

    What can I use instead of cotija cheese?

    If cotija cheese isn't available at your local grocery you can can also look for queso fresco. Queso fresco isn't as salty at cotija and has a more mild flavor, but it will still be perfect for this salad.

    If neither of these are available you can use feta or parmesan cheese. It won't be exactly the same at Mexican street corn, but it will still be a delicious side dish.

    More Recipes You Might Enjoy

    • Gluten Free Zucchini Squash and Corn Casserole
    • Easy Fried Frozen Corn
    • Cheesy Slow Cooker Creamed Corn
    • Black Beans and Corn Salad

    I get a lot of my ingredients from Thrive Market. Thrive Market has been a game changer for me eating gluten free. They have so many options I can't get at my rural grocery stores! Use this link to get 40% off your first order!

    Print
    clock clock iconcutlery cutlery iconflag flag iconfolder folder iconinstagram instagram iconpinterest pinterest iconfacebook facebook iconprint print iconsquares squares iconheart heart iconheart solid heart solid icon

    Healthy Mexican Street Corn Salad


    5 Stars 4 Stars 3 Stars 2 Stars 1 Star

    No reviews

    • Author: Elaine VanVleck
    • Total Time: 18 minutes
    • Yield: 8 servings 1x
    • Diet: Gluten Free
    Print Recipe
    Pin Recipe

    Description

    This easy recipe for healthy Mexican street corn salad is the perfect summer side dish! The cold salad recipe uses frozen corn and is made without mayonnaise. It's so simple to roast the corn on your stovetop and then put this salad together for picnics and gatherings.


    Ingredients

    Scale
    • 1 Tbsp Olive Oil
    • 32 ounce bag Frozen Corn
    • 1 Red Bell Pepper, chopped
    • 1 small Red Onion, chopped
    • 1 Jalapeno, deseeded and diced
    • ½ cup Cilantro, chopped
    • 1 cup Cotija Cheese or Queso Fresco, crumbled
    • ½ cup Greek Yogurt
    • ¼ cup Lime Juice
    • 1 tsp Sea Salt
    • ½ tsp Ground Cumin
    • ½ tsp Chili Powder
    • ½ tsp Smoked Paprika

    Instructions

    In a large frying pan add the olive oil over medium high heat. Saute the corn stirring occasionally until you have some browned and roasted bits.

    Add the bell pepper, onion and jalapeno. Cooking 1-2 minutes until softened.

    Remove the frying pan from heat and let the corn mixture cool.

    In a small bowl or jar whisk together the greek yogurt, lime juice, salt, cumin, chili powder and paprika.

    Pour the corn mixture into a large serving bowl. Pour the dressing over top. Add the cheese and cilantro. Stir to combine.

    Refrigerate for at least one hour before serving.
    Notes

    This recipe is perfect to make the day before you want to serve it.

    • Prep Time: 10 minutes
    • Cook Time: 8 minutes
    • Category: Side Dish, Salads
    • Method: Stove Top
    • Cuisine: Gluten Free

    Did you make this recipe?

    Tag @smallfarmbiglife on Instagram and hashtag it #smallfarmbiglife

    • « Previous Page
    • 1
    • …
    • 4
    • 5
    • 6
    • 7
    • 8
    • 9
    • Next Page »

    Welcome! I'm Elaine

    I'm so glad you are here! I share easy gluten free recipes from my small farm in Washington.

    Be sure to sign up for my newsletter to stay up to date on all of my new recipes.

    More about me...
    • Instagram
    • Pinterest
    • Facebook
    • Twitter
    • Mail

    Load up on new recipes, exclusive goodies, + more!
    Sign up below to stay up-to-date on news, events, and special deals.
    Thank you for subscribing!

    Easy Meals Recipes

    • Gluten Free Instant Pot Chili Mac and Cheese
    • Gluten Free Taco Casserole
    • Gluten Free Cowboy Baked Beans
    • Gluten Free Walking Taco Casserole
    • Gluten Free Creamy Beef and Mushroom Pasta
    • Gluten Free Instant Pot Chicken and Dumplings
    • Instant Pot Mexican Style Beef and Rice
    • Gluten Free Chicken Parmesan Pasta Casserole
    • Gluten Free One Pot Hamburger Helper Copycat
    • Gluten Free Salisbury Steak with Mushroom Gravy
    • Gluten Free Air Fryer Fajitas
    • Gluten Free Sloppy Joe Casserole

    Footer

    back to top

    About

    • Privacy Policy
    • Shop my Amazon Page
    • Follow me on LTK

    Newsletter

    • Sign Up! for emails and updates

    Contact

    • Contact
    • Media Kit
    • About Me

    As an Amazon Associate I earn from qualifying purchases.

    I may get commissions for purchases made through links on this site.

    Copyright © 2026 Brunch Pro on the Brunch Pro Theme