Small Farm Big Life

  • Gluten Free Recipe Index
  • Subscribe
  • Resources
menu icon
go to homepage
  • Home
  • Gluten Free Recipe Index
  • Subscribe
  • My Story
  • Resources
  • Free Guides
    • Email
    • Facebook
    • Instagram
    • Pinterest
  • subscribe
    search icon
    Homepage link
    • Home
    • Gluten Free Recipe Index
    • Subscribe
    • My Story
    • Resources
    • Free Guides
    • Email
    • Facebook
    • Instagram
    • Pinterest
  • ×

    Gluten Free Mango Pineapple Smoothie

    This Gluten Free Mango Pineapple Smoothie is my favorite tropical breakfast when I want something quick, refreshing, and genuinely filling. Frozen mango, frozen pineapple, a whole fresh orange, plain Greek yogurt, almond milk, and a drizzle of honey all go into the blender and come out as the most vibrant and creamy tropical smoothie you can make in five minutes. No banana required and no dairy needed.
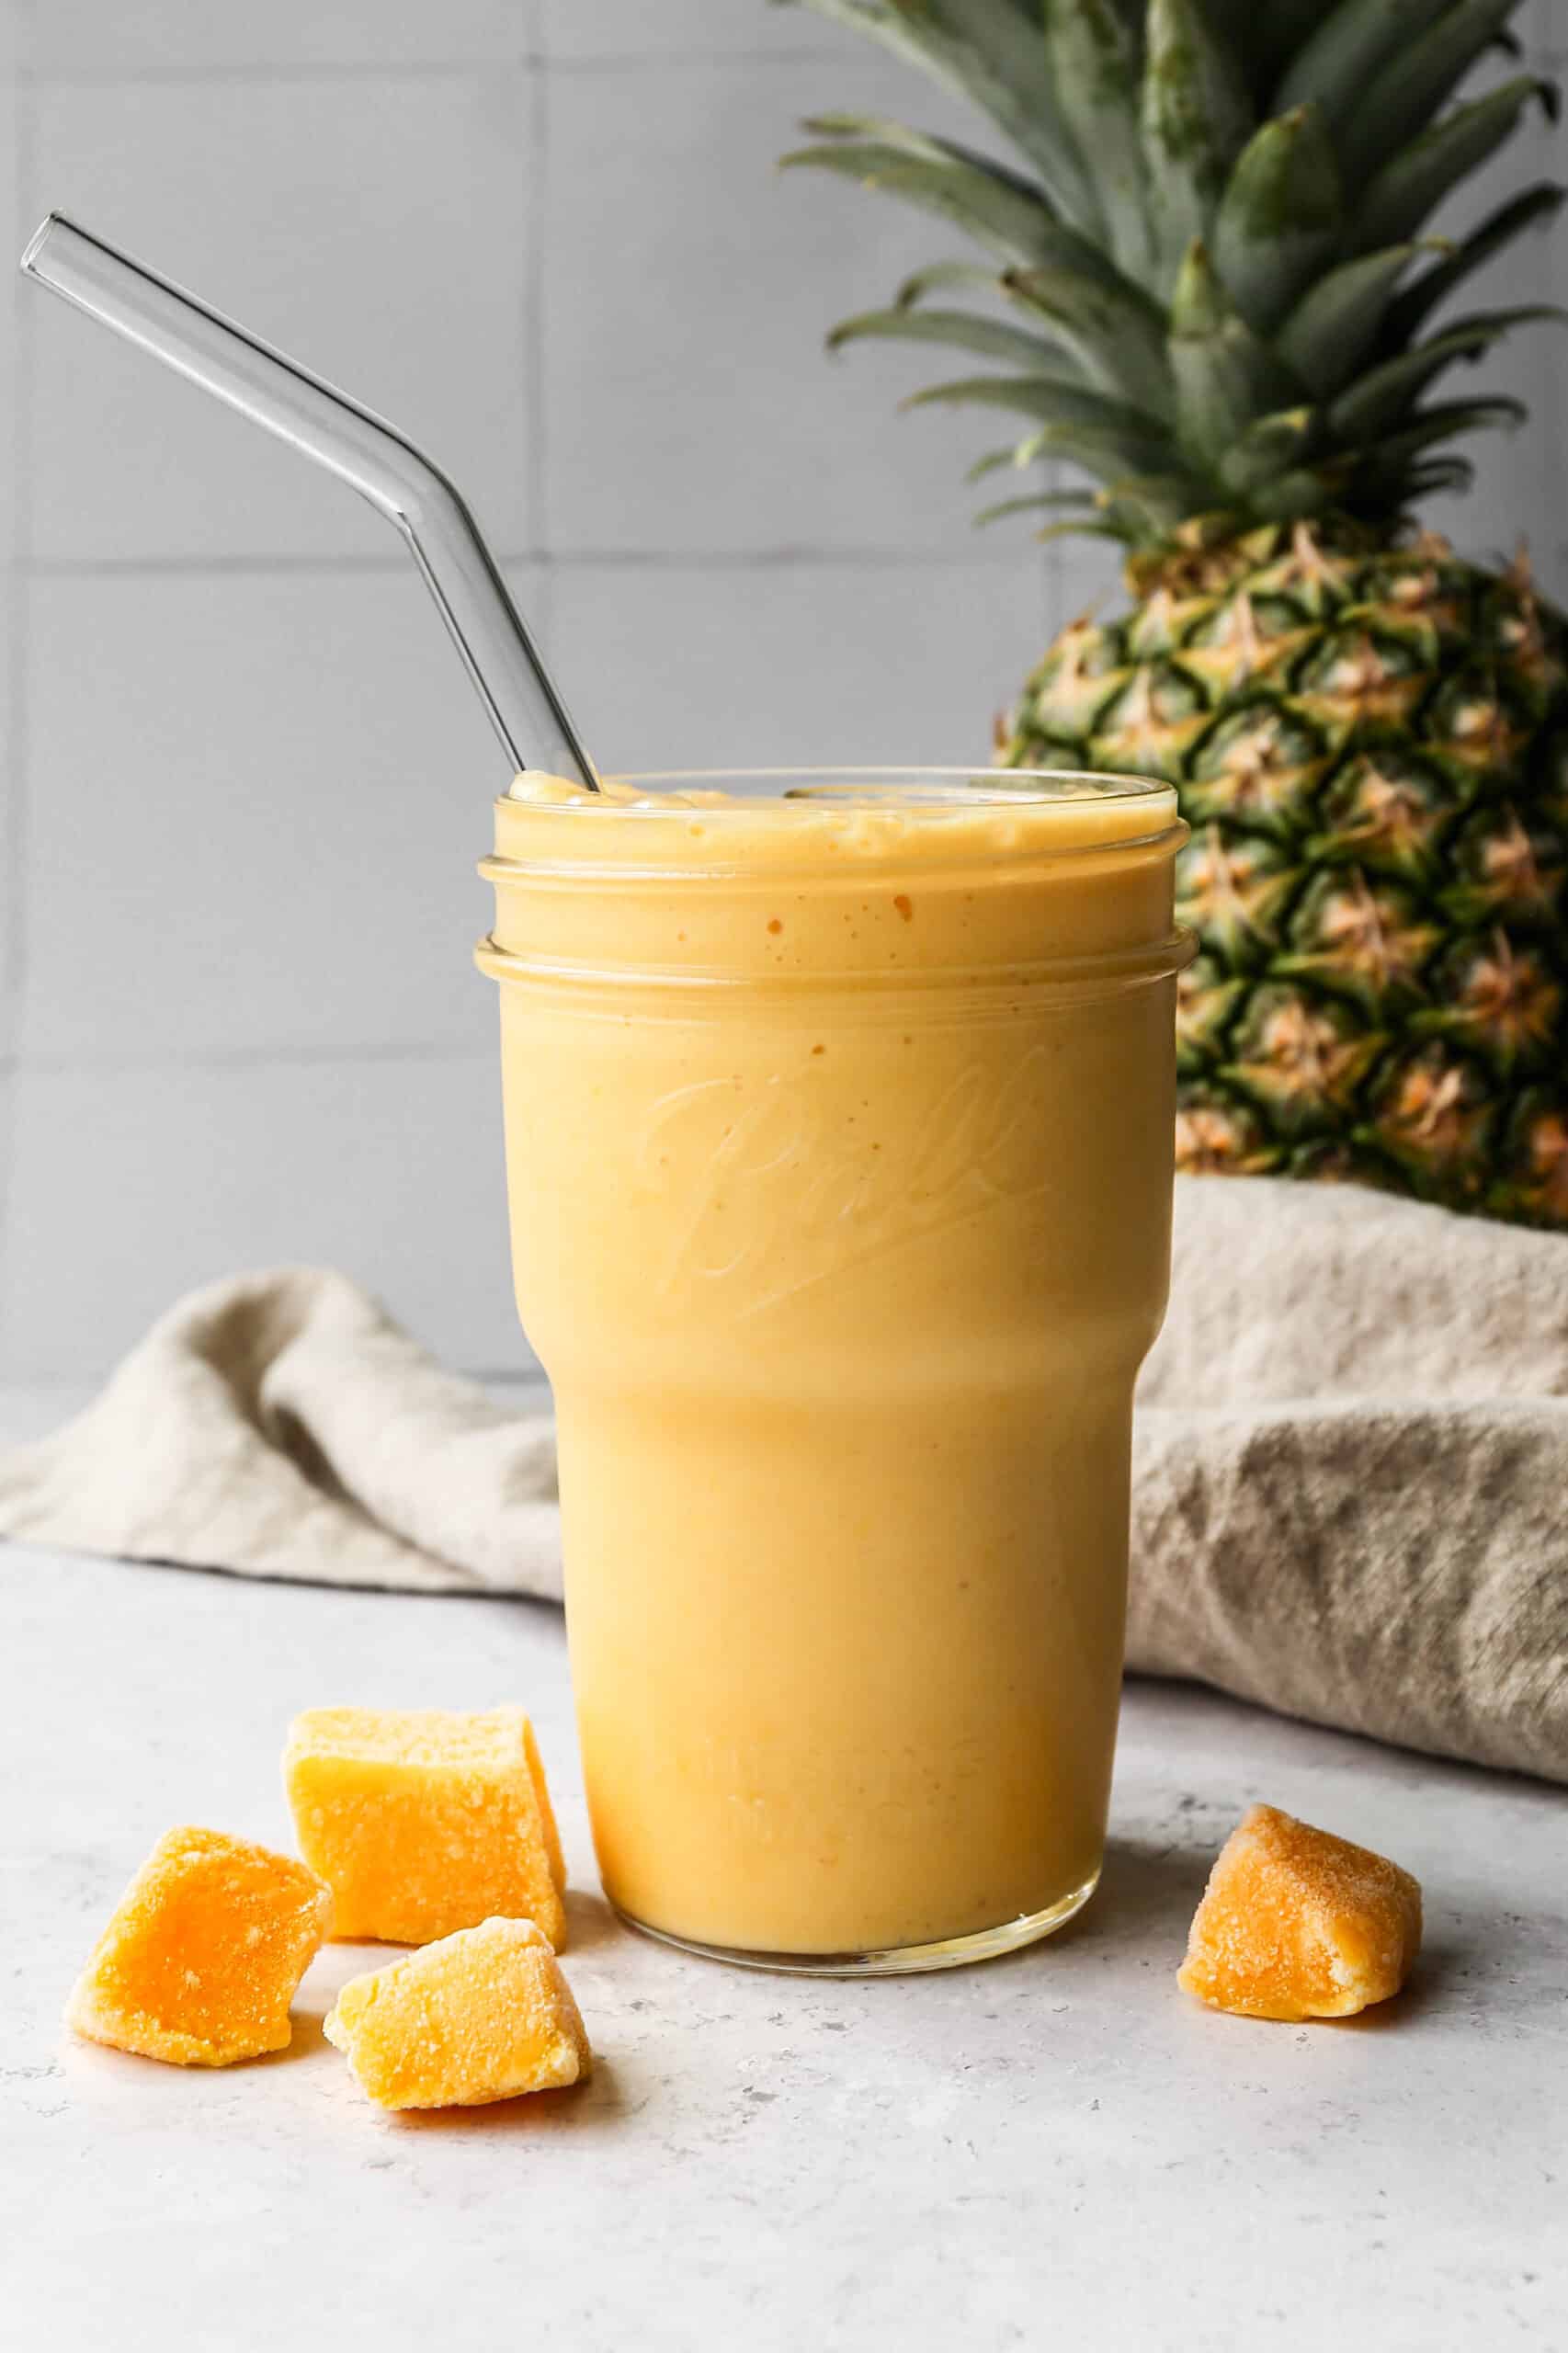
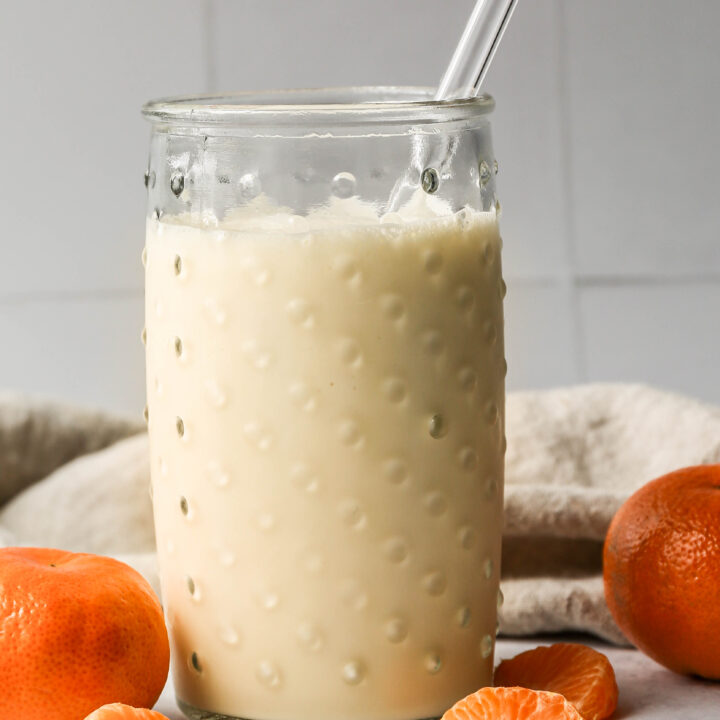
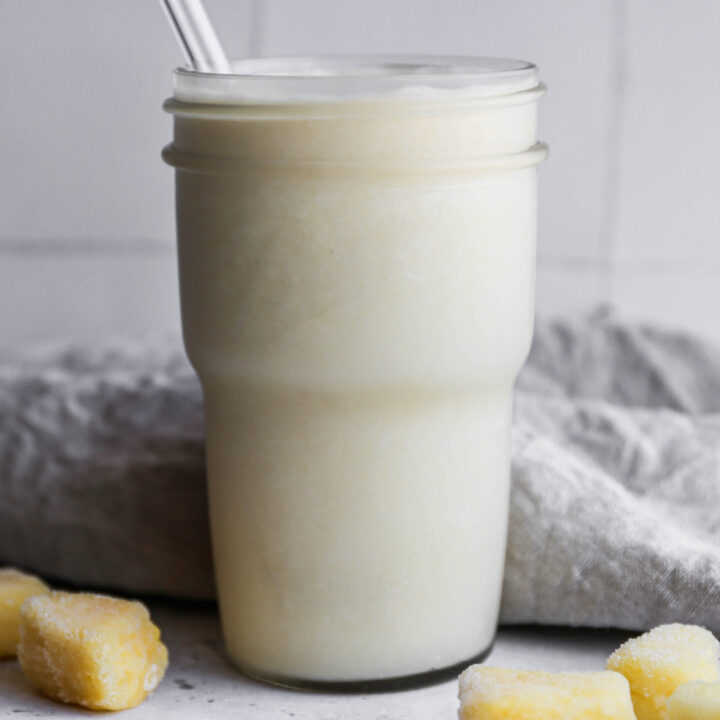
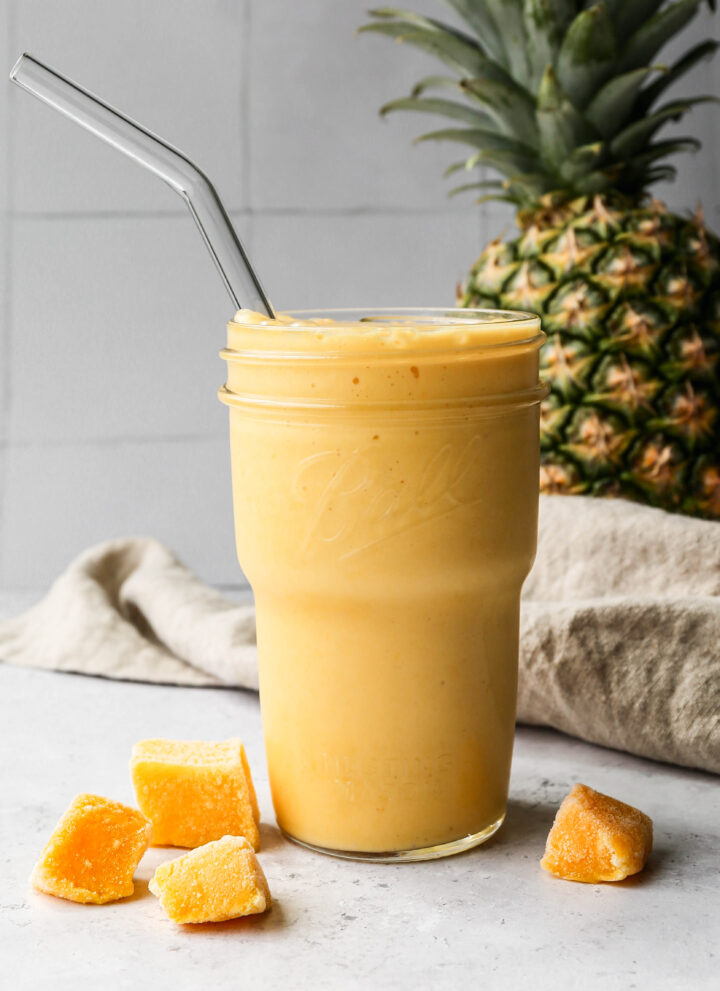
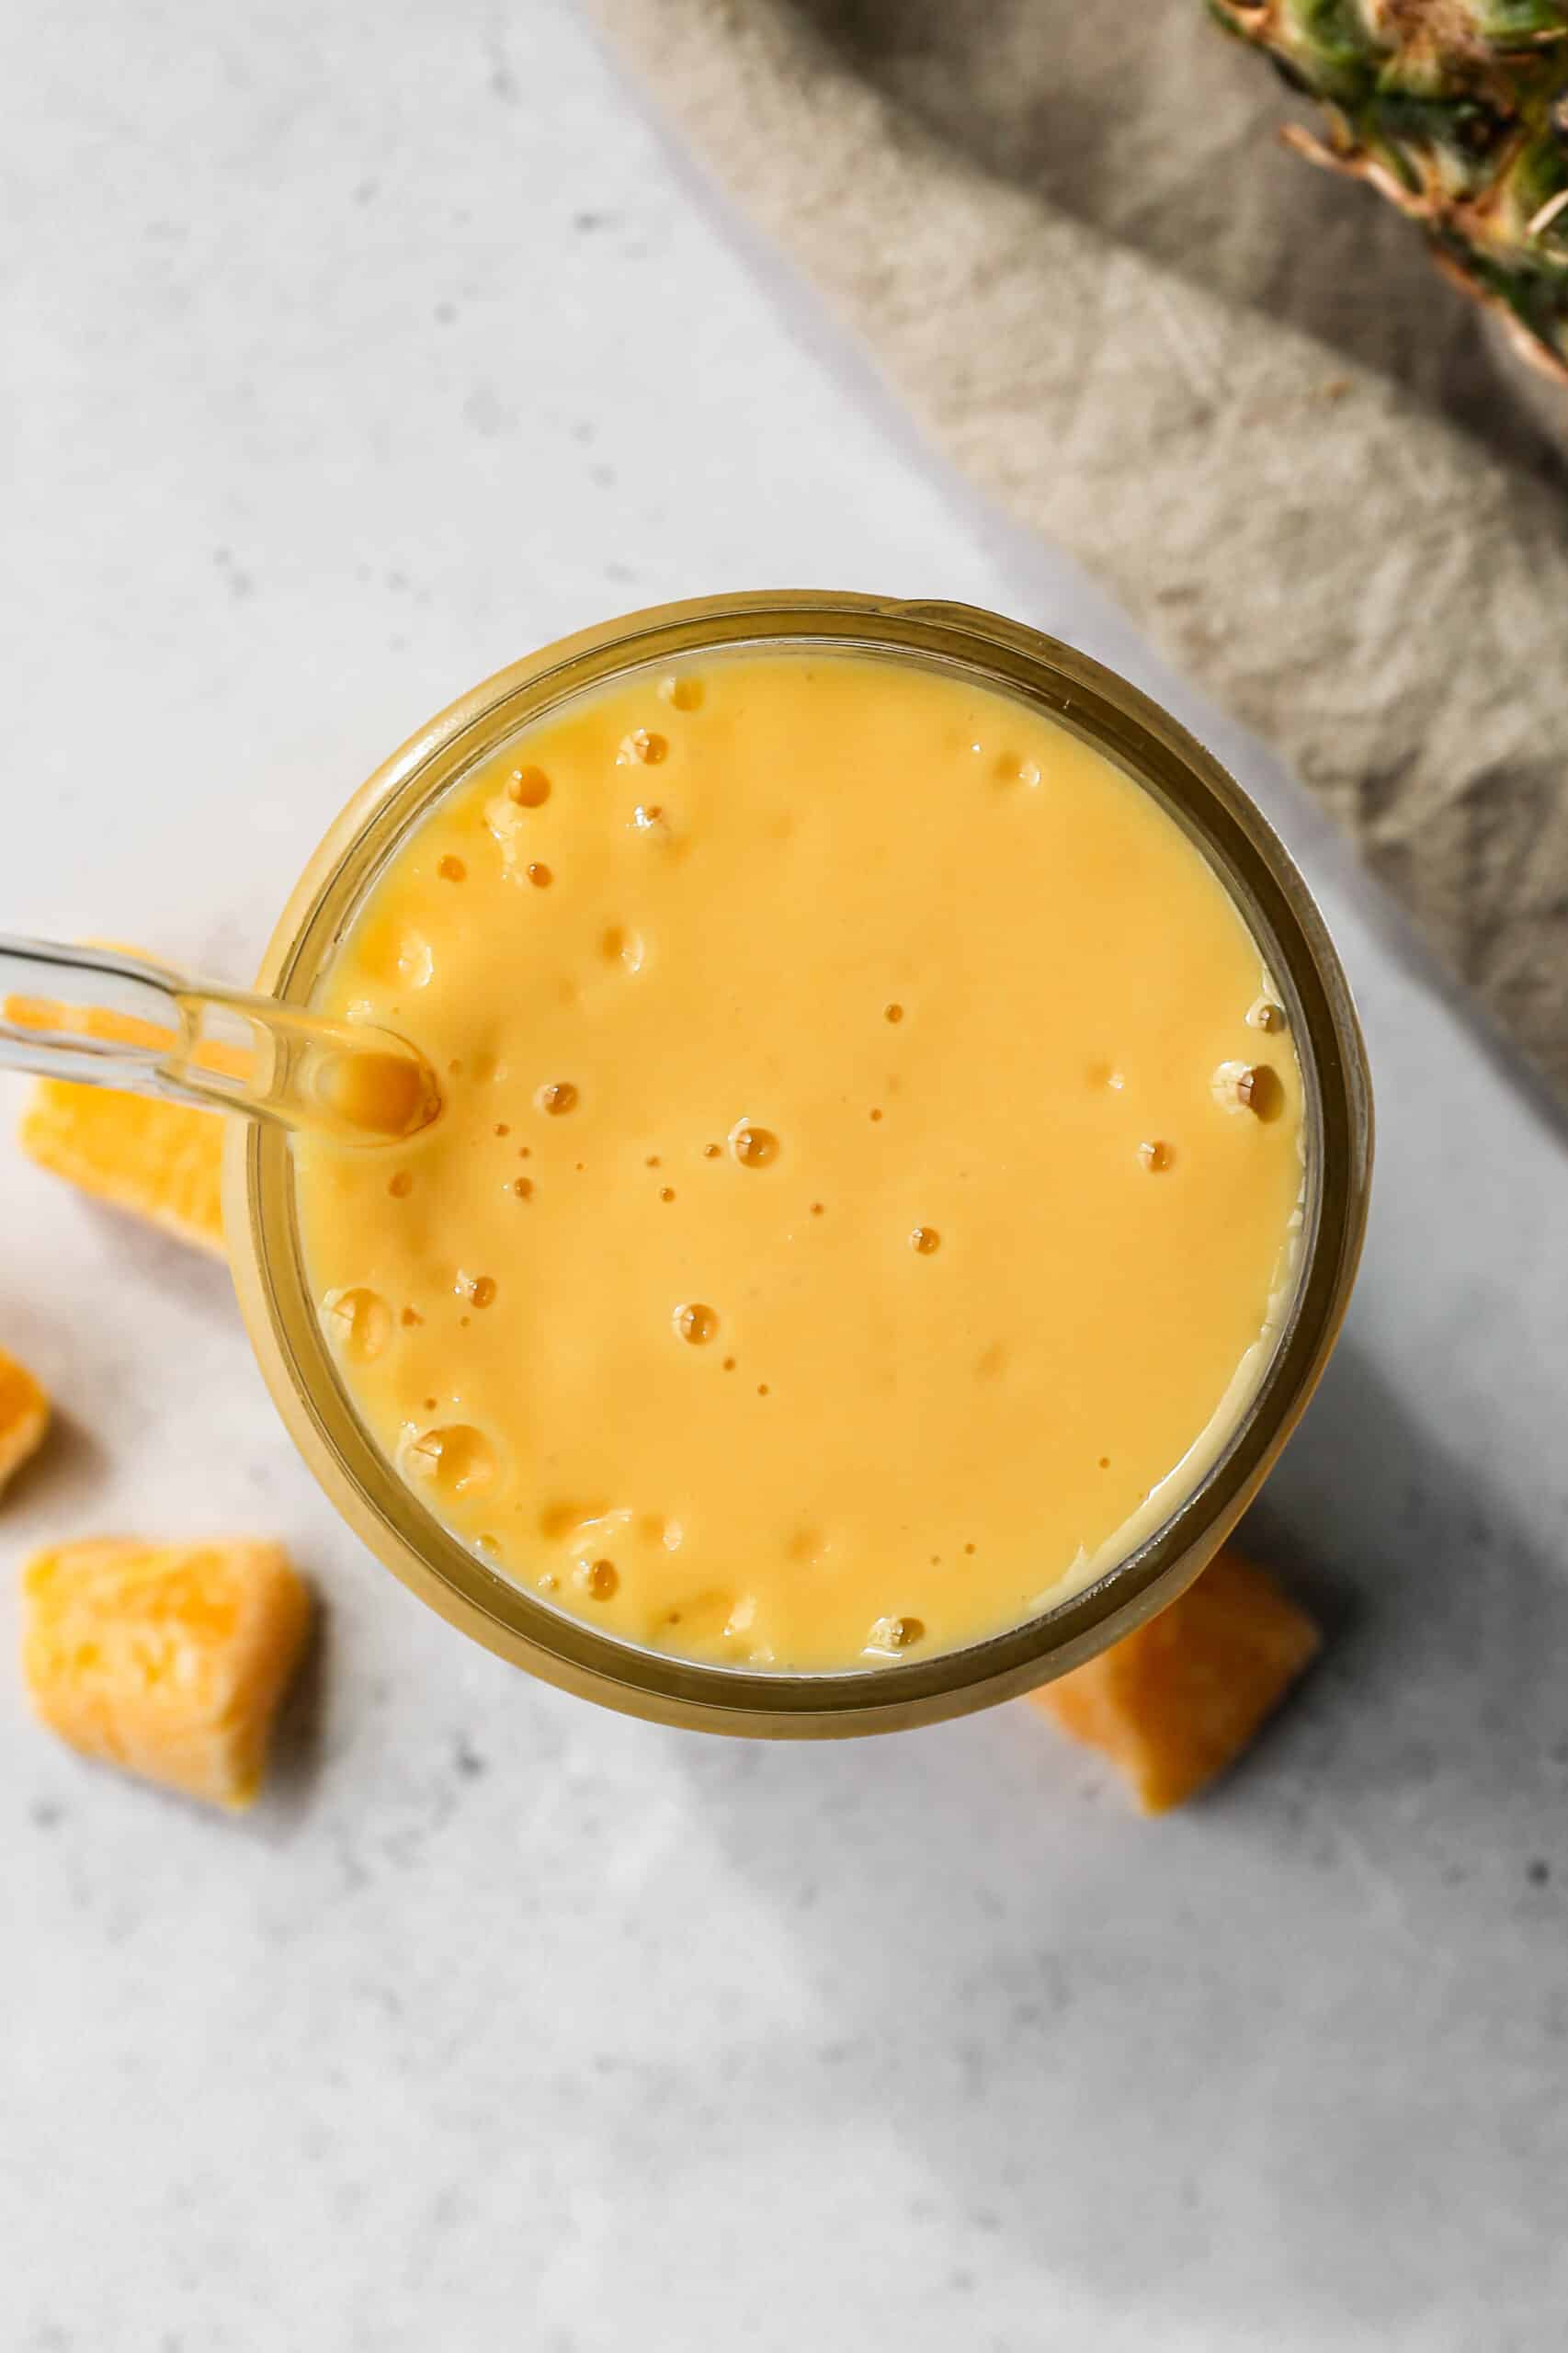
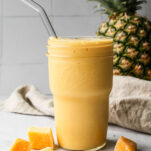
    a ball jar of gluten free mango pineapple smoothie next to a fresh pineapple and frozen mango chunks.

    The fresh orange is what makes this version different from every other mango pineapple smoothie recipe. Adding a whole orange rather than just a splash of juice gives this smoothie more fiber, a brighter citrus flavor, and a serious vitamin C boost that you simply cannot get from frozen fruit alone.

    The Greek yogurt adds protein and thickness so this smoothie is substantial enough to actually keep you full through the morning rather than leaving you hungry an hour later.

    If you have been looking for a healthy tropical smoothie that tastes like a treat but functions like a real breakfast, this is it.

    If you're looking for more smoothie recipes try my Vanilla Chai Protein Smoothie, my Gluten Free Orange Creamsicle Smoothie, or my Dairy Free Pumpkin Pie Smoothie.

    If you are looking for more breakfast ideas try these: Gluten Free Breakfast Recipes
    [feast_advanced_jump_to]

    Why This Smoothie Has No Banana

    Most tropical smoothies use banana as the base ingredient for creaminess and natural sweetness. This recipe skips the banana entirely and achieves the same thick and creamy texture through a different approach.

    The combination of frozen mango, frozen pineapple, and plain Greek yogurt creates a naturally thick and creamy base that does not need a banana to hold it together. The frozen fruit does the thickening work that banana typically handles and the Greek yogurt adds both creaminess and protein without the banana flavor taking over.

    If you love the texture and sweetness of banana in smoothies you can absolutely add half a frozen banana to this recipe. It will make the smoothie even thicker and slightly sweeter. But if you are out of bananas or simply prefer a smoothie where the mango and pineapple are the star flavors rather than banana, this recipe is made for you.

    Why You Should Not Use Dairy Milk in This Smoothie

    Pineapple contains a natural enzyme called bromelain which can cause dairy milk to curdle when the two are combined. This results in an unpleasantly bitter and curdled texture in your smoothie which is why this recipe uses almond milk rather than regular dairy milk.

    You may notice this recipe does use plain Greek yogurt which is a dairy product and wonder why that does not cause the same problem. Greek yogurt is already an acidic and cultured dairy product which makes its proteins significantly more stable and resistant to the bromelain reaction. Your smoothie will not curdle with Greek yogurt even though it would with plain dairy milk. Using frozen pineapple rather than fresh also helps since freezing partially deactivates the bromelain enzyme.

    The takeaway is simple. Skip the dairy milk and use almond milk, coconut milk, oat milk, or coconut water instead. Greek yogurt is perfectly fine and actually recommended for the protein boost and creamy texture it adds.

    Why Fresh Orange Makes This Smoothie Better

    Adding a whole fresh orange to this mango pineapple smoothie is the ingredient decision that makes this version genuinely different from the standard recipe.

    • Most mango pineapple smoothies use orange juice as the liquid base. Using a whole peeled orange instead gives you significantly more fiber since the whole fruit contains the pulp and membrane that juice leaves behind. It also gives you a brighter and more complex citrus flavor that orange juice alone cannot achieve.
    • One medium orange provides about 70 milligrams of vitamin C which combined with the vitamin C in the mango and pineapple makes this one of the most vitamin C rich breakfasts you can make in five minutes. Vitamin C supports immune function, collagen production, and iron absorption which is particularly important for people managing autoimmune conditions like celiac disease and Hashimoto's disease.

    Tips for the Best Mango Pineapple Smoothie

    A few simple tips will help you get a thick creamy smoothie every time.

    • Use frozen fruit. At least one of the fruits should be frozen for the best texture. Using all frozen fruit gives you a thick and almost milkshake like consistency without needing ice. Using fresh fruit produces a thinner and less cold smoothie. If you only have fresh fruit add half a cup of ice to the blender.
    • Blend gradually. Add the liquid and yogurt to the blender first then add the frozen fruit on top. Start on a low speed and gradually increase to high. This prevents the blender from struggling with the frozen chunks and ensures everything blends smoothly and evenly.
    • Stop and check. After the first blend stop the blender and let everything settle for about 30 seconds then blend again. This catches any frozen chunks that got pushed to the sides of the blender and ensures the smoothie is completely smooth before you pour it.
    • Adjust the thickness. If the smoothie is too thick add a small splash more almond milk and blend briefly. If it is too thin add a few more frozen mango chunks and blend again.

    Variations

    This smoothie is easy to customize based on what you have on hand or what nutritional goals you are working toward.

    • Add protein powder. Add one scoop of vanilla protein powder to turn this into a high protein breakfast smoothie. My favorite is Sunwarrior Warrior Blend Vanilla which blends beautifully with tropical fruit and keeps the smoothie dairy free.
    • Make it a smoothie bowl. Use half the amount of almond milk so the smoothie is very thick. Pour into a bowl and top with granola, fresh mango chunks, coconut flakes, and a drizzle of honey for a beautiful and filling tropical smoothie bowl.
    • Add coconut milk. Substitute the almond milk with full fat canned coconut milk for a richer and more indulgent smoothie with a distinct coconut flavor that pairs beautifully with the mango and pineapple.
    • Add spinach or kale. A large handful of baby spinach blends completely into this smoothie without affecting the flavor. It adds iron, folate, and additional vitamins without you being able to taste it at all.
    • Add ginger. A small piece of fresh ginger adds warmth and digestive benefits that pair beautifully with the tropical fruit and complement the natural anti-inflammatory properties of both mango and pineapple.

    The McDonald's Mango Pineapple Smoothie Connection

    You may have seen the McDonald's Mango Pineapple Smoothie which has been a popular menu item for years. The homemade version is significantly better for a few reasons.

    The McDonald's version uses fruit base concentrates, artificial flavors, cellulose powder, and xanthan gum. This homemade version uses real whole frozen fruit, a fresh orange, plain Greek yogurt, and almond milk.

    You know exactly what is in it, it has no artificial ingredients, and it is completely gluten free and safe for celiac disease. It also costs a fraction of the drive through price and takes about the same amount of time to make as sitting in a drive through line.

    Storage Instructions

    This smoothie is best enjoyed immediately after blending. Like most smoothies it will separate as it sits and the texture is best fresh. If you need to make it slightly ahead pour it into a sealed jar and refrigerate for up to two hours. Give it a good shake or stir before drinking. Do not freeze the finished smoothie since the texture changes significantly after thawing.

    Top Tip

    I used canned pineapple and packaged frozen mango chunks. It's easy to have these supplies on hand and not to have to worry about fresh ingredients going bad. Plus where I live it's not always easy to get fresh pineapple or mango.

    Frequently Asked Questions

    Can I make this mango pineapple smoothie with coconut milk?

    Yes and it is a delicious option. Coconut milk gives the smoothie a richer and more tropical flavor that pairs beautifully with the mango and pineapple. Full fat canned coconut milk makes a very thick and indulgent smoothie while light coconut milk or coconut milk from a carton gives you a slightly lighter result. Oat milk and almond milk are also great options. Just avoid regular dairy milk since the bromelain enzyme in pineapple can cause it to curdle.

    Are mango pineapple smoothies healthy?

    Yes! This smoothie is packed with nutrients from the whole fruits, Greek yogurt, and fresh orange. Both mango and pineapple are excellent sources of vitamin C which supports tissue repair, wound healing, and collagen formation. Adding a whole fresh orange boosts the vitamin C content even further. The Greek yogurt adds protein which helps keep you full longer and makes this substantial enough to work as a real breakfast rather than just a snack.

    Can I use fresh mango and pineapple instead of frozen?

    Yes but you will need to add about half a cup of ice to the blender to get the right cold and thick texture. Frozen fruit is what gives this smoothie its thick and creamy consistency without needing ice. If you have fresh ripe mango and pineapple you can cut them into chunks, spread them on a baking sheet, and freeze them overnight before making the smoothie for the best results.

    Can I add protein powder to this smoothie?

    Yes. Add one scoop of vanilla protein powder to turn this into a high protein breakfast smoothie. My favorite is Sunwarrior Warrior Blend Vanilla which blends beautifully with tropical fruit and keeps the smoothie completely dairy free. Adding protein powder makes this smoothie substantial enough to replace a full breakfast and keeps you full and energized through the morning.

    Didn't find the answer you're looking for?

    Ask AI to answer based on this recipe:

    ChatGPT
    Google AI
    Perplexity
    Grok
    Claude

    Supplies

    More Drinks You Might Enjoy
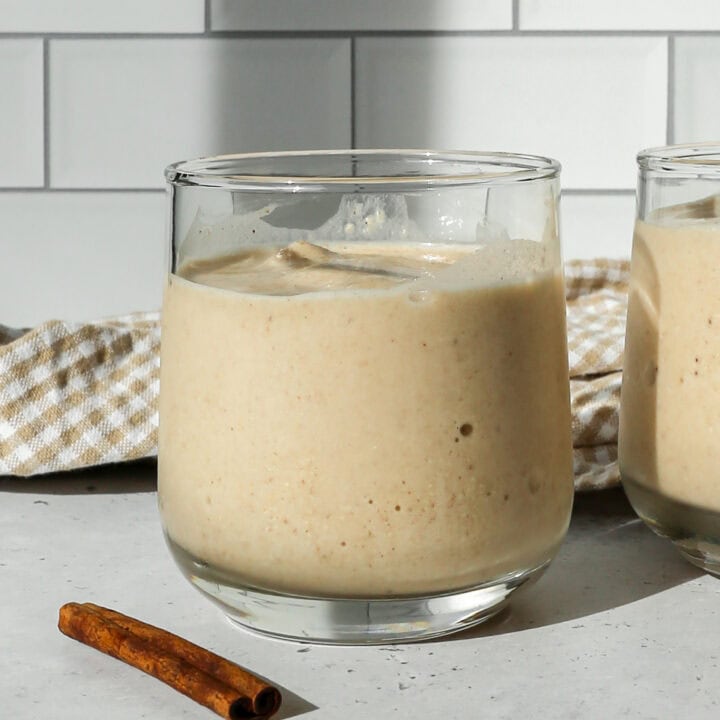
    • Vanilla Chai Protein Smoothie
    • Gluten Free Orange Creamsicle Smoothie
    • Dairy Free Pumpkin Pie Smoothie
    • Pina Colada Mocktail

    I get a lot of my ingredients from Thrive Market. Thrive Market has been a game changer for me eating gluten free. They have so many options I can't get at my rural grocery stores! Use this link to get 40% off your first order!

    Print
    clock clock iconcutlery cutlery iconflag flag iconfolder folder iconinstagram instagram iconpinterest pinterest iconfacebook facebook iconprint print iconsquares squares iconheart heart iconheart solid heart solid icon

    Gluten Free Mango Pineapple Smoothie


    5 Stars 4 Stars 3 Stars 2 Stars 1 Star

    No reviews

    • Author: Elaine VanVleck
    • Total Time: 5 minutes
    • Yield: 1 serving 1x
    • Diet: Gluten Free
    Print Recipe
    Pin Recipe

    Description

    Frozen mango, frozen pineapple, a whole fresh orange, plain Greek yogurt, almond milk, pineapple juice, and a drizzle of honey blended until thick and creamy. This gluten free mango pineapple smoothie is made without banana, dairy free, and packed with vitamin C. Ready in just 5 minutes.


    Ingredients

    Scale
    • 1 cup Frozen Mango Chunks
    • ½ cup Pineapple Chunks
    • ¼ cup Pineapple Juice
    • ¼ cup Plain Greek Yogurt
    • ¼ cup Milk
    • 1 medium Orange, peeled
    • 2 tsp. Honey

    Instructions

    In your blender place the mango, pineapple, pineapple juice, yogurt, milk, orange and honey.

    Blend gradually increasing the speed to get all of the fruit chunks blended.

    Serve immediately.

    If you made this recipe please leave a star rating and comment below. It helps other readers find this recipe and means so much to me.

    Notes

    I use canned pineapple chunks and the juice from the can.

    • Prep Time: 5 minutes
    • Cook Time: 0 minutes
    • Category: Drinks
    • Method: Blended
    • Cuisine: American

    Did you make this recipe?

    Tag @smallfarmbiglife on Instagram and hashtag it #smallfarmbiglife

    If you make this Gluten Free Mango Pineapple Smoothie I would love to hear what you think! Leave a comment below and let me know how it turned out or tag me on Instagram so I can see your glass.

    This is the kind of breakfast that makes Monday mornings feel a little more like a tropical vacation so save it to your favorite Pinterest board so you always have it ready when you need a quick and delicious gluten free breakfast!

    Ingredients

    • Frozen Mango Chunks
    • Pineapple Chunks
    • Pineapple Juice
    • Plain Greek Yogurt
    • Milk
    • Orange
    • Honey

    Instructions

    In your blender place the mango, pineapple, pineapple juice, yogurt, milk, orange and honey.

    Blend gradually increasing the speed to get all of the fruit chunks blended.

    Serve immediately.
    Easy Fresh Pineapple Salsa

    This recipe for easy fresh pineapple salsa is perfect with fish, chicken, tacos or as an appetizer. This homemade salsa is made with fresh pineapple, tomatoes, cilantro and jalapeno peppers. It has a mild flavor that is perfect for summer barbecues.

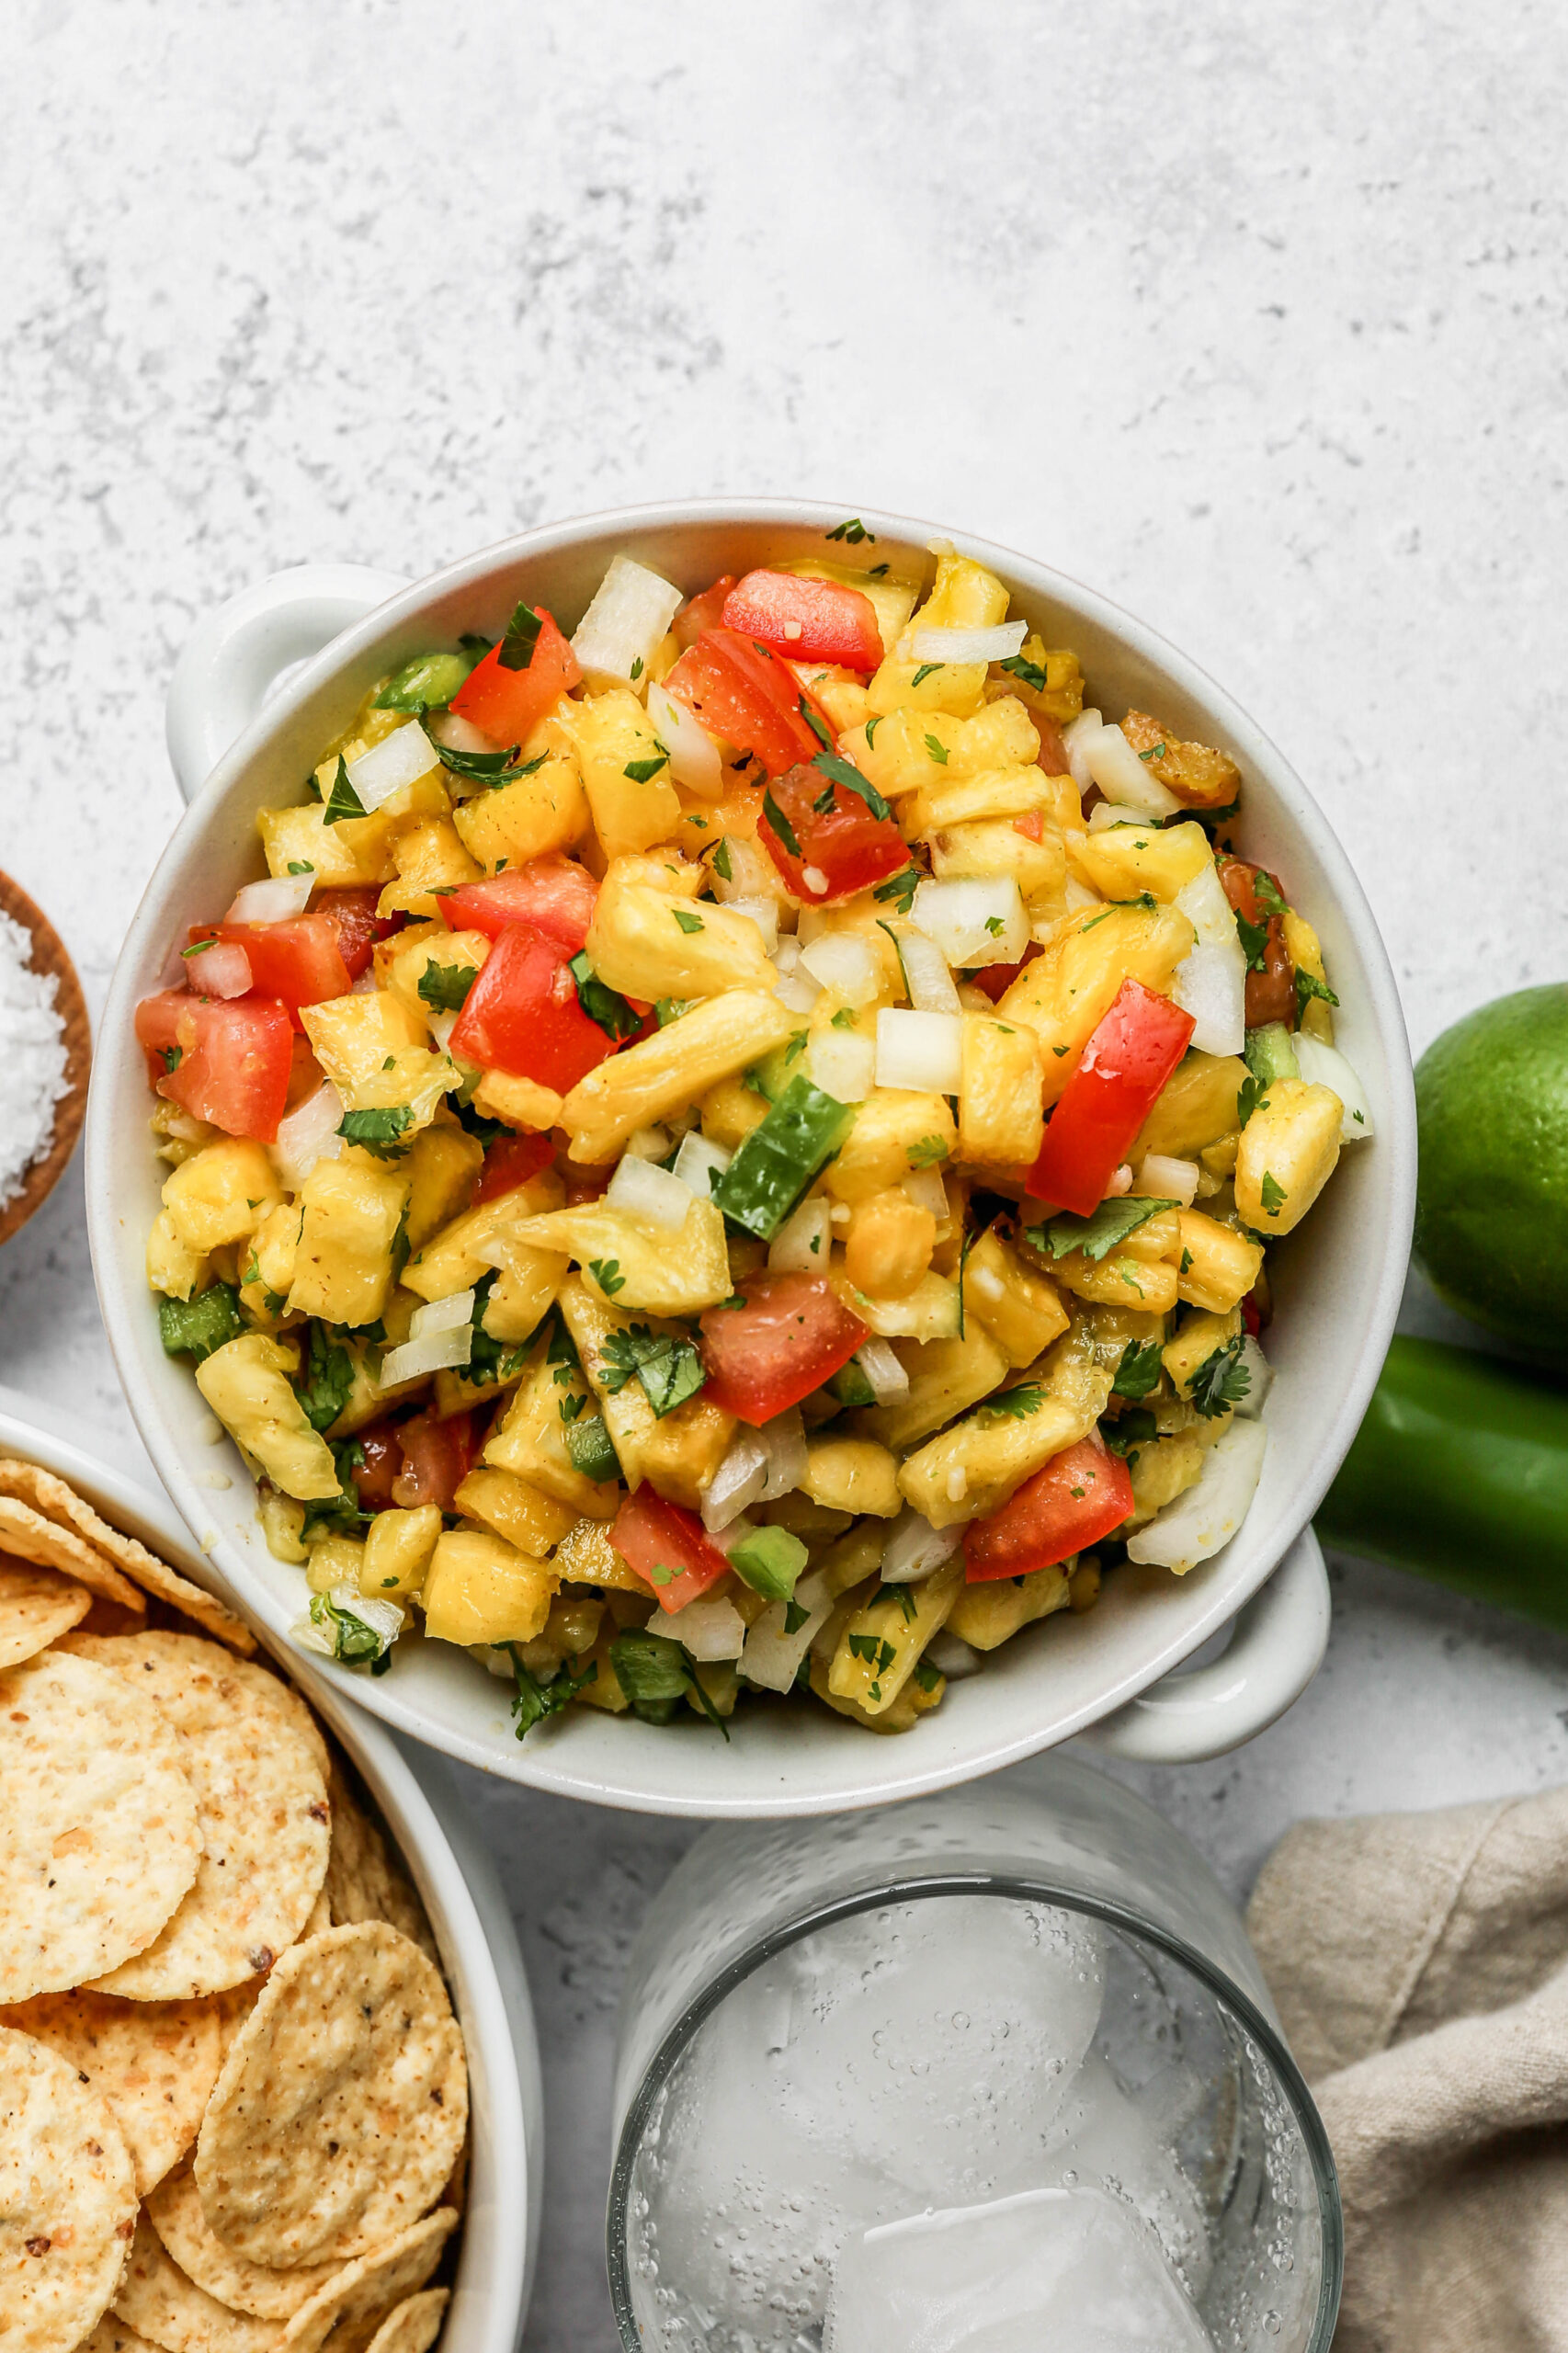
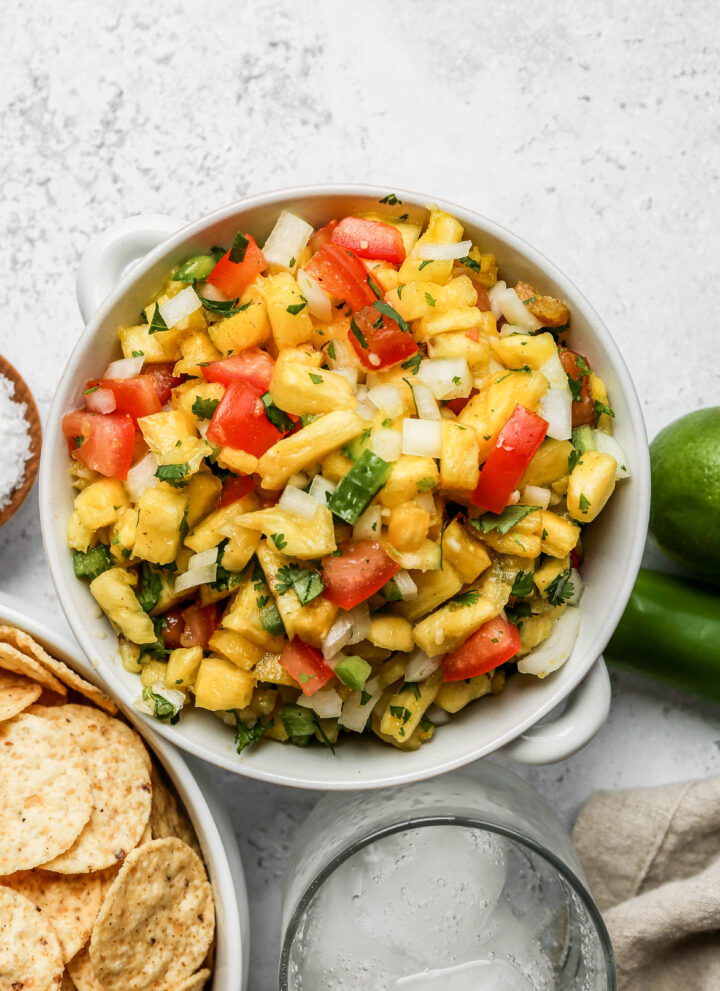
    a white bowl of easy fresh pineapple salsa next to a small wooden bowl of coarse salt, a bowl of gluten free tortilla chips and a glass of seltzer water.

    If you are looking for more pineapple recipes try my Pineapple Coleslaw, my Gluten Free Pineapple Bars, my Gluten Free Mango Pineapple Smoothie, or my Gluten Free Pineapple Upside Down Cake.

    You can find all of my salad recipes here: Gluten Free Salad Recipes

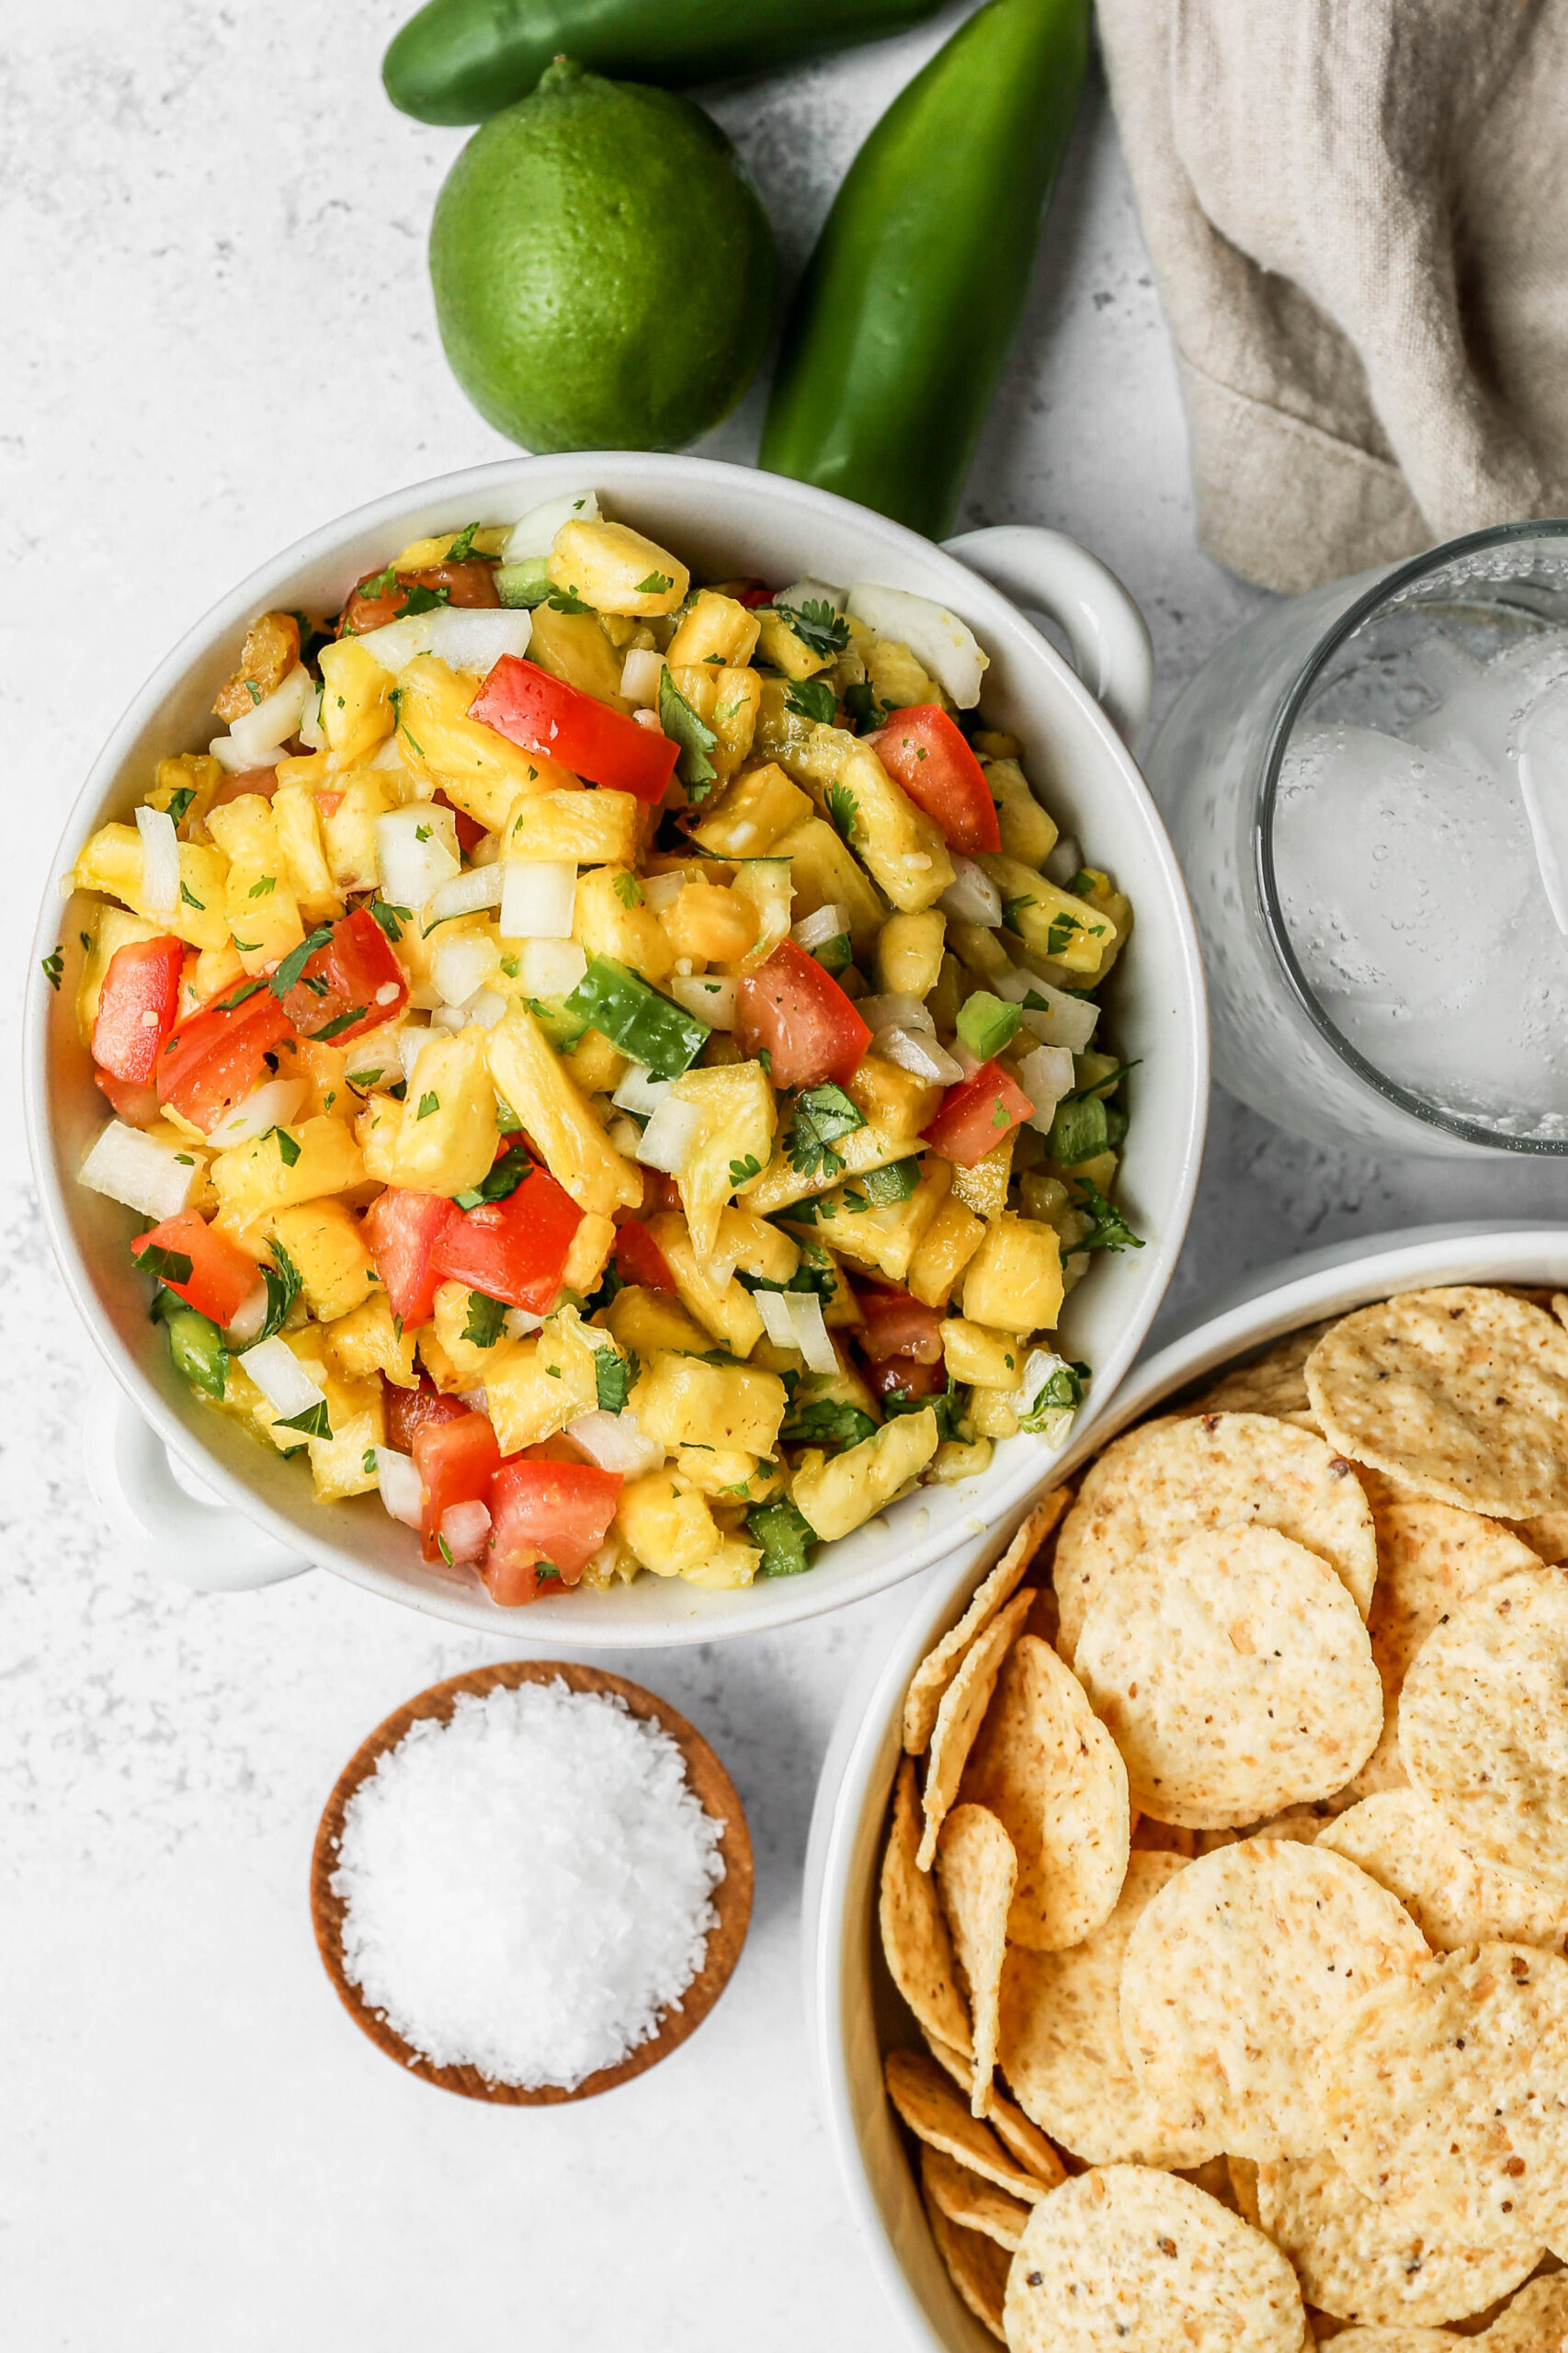
    a white bowl of easy fresh pineapple salsa next to a bowl of gluten free tortilla chips, a small wooden bowl of coarse salt and a glass with ice of seltzer water.

    Ingredients

    • Fresh Pineapple
    • Tomatoes
    • Sweet Onion
    • Cilantro
    • Jalapeno Pepper
    • Lime Juice
    • Minced Garlic
    • Ground Coriander
    • Ground Cumin
    • Sea Salt
    • Gluten Free Tortilla Chips

    Instructions

    Combine all of the ingredients in a large bowl and stir to mix.

    Refrigerate in a sealed container for at least 2 hours before serving.

    Serve with gluten free tortilla chips, with fish tacos, on chicken or on pork.

    Supplies

    Frequently Asked Questions

    What do I serve with pineapple salsa?

    This easy fresh pineapple salsa is perfect to serve with gluten free tortilla chips as a bbq appetizer. It is also delicious served with fish tacos, over pork tenderloin or with chicken.

    Should I use fresh or canned pineapple?

    For this recipe I would definitely use a ripe, fresh pineapple. The flavor is completely different and a lot more muted if you use canned pineapple. This salsa will turn out a lot better with a lot more flavor if you use finely diced fresh pineapple.

    How do I choose a fresh pineapple?

    To choose a fresh pineapple that is ripe you want the outside shell to be firm, but with a bit of give when you gently squeeze it. If the pineapple is completely hard it is likely not ripe. You also want to pull on the center leaves at the top. If there is give to the leaves or if one comes out the pineapple is ripe and ready to use now.

    More Recipes You Might Enjoy

    • Healthy Mexican Street Corn Salad
    • Black Beans and Corn Salad
    • Pineapple Coleslaw
    • Easy Apple Slaw with Poppyseed Dressing

    I get a lot of my ingredients from Thrive Market. Thrive Market has been a game changer for me eating gluten free. They have so many options I can't get at my rural grocery stores! Use this link to get 25% off your first order!

    Print
    clock clock iconcutlery cutlery iconflag flag iconfolder folder iconinstagram instagram iconpinterest pinterest iconfacebook facebook iconprint print iconsquares squares iconheart heart iconheart solid heart solid icon

    Easy Fresh Pineapple Salsa


    5 Stars 4 Stars 3 Stars 2 Stars 1 Star

    No reviews

    • Author: Elaine VanVleck
    • Total Time: 15 minutes
    • Yield: 10 servings 1x
    • Diet: Gluten Free
    Print Recipe
    Pin Recipe

    Description

    This recipe for easy fresh pineapple salsa is perfect with fish, chicken, tacos or as an appetizer. This homemade salsa is made with fresh pineapple, tomatoes, cilantro and jalapeno peppers. It has a mild flavor that is perfect for summer barbecues.


    Ingredients

    Scale

    1 Fresh Pineapple, diced
    2 large Tomatoes, seeded and chopped
    1 small Sweet Onion, diced
    ⅓ cup Fresh Cilantro, minced
    1 large Jalapeno Pepper, seeded and diced
    1 tablespoon Lime Juice
    1 tablespoon Minced Garlic
    ½ teaspoon Ground Coriander
    ½ teaspoon Ground Cumin
    ½ teaspoon Sea Salt
    Gluten Free Tortilla Chips, for serving


    Instructions

    Combine all of the ingredients in a large bowl and stir to mix.

    Refrigerate in a sealed container for at least 2 hours before serving.

    Serve with gluten free tortilla chips, with fish tacos, on chicken or on pork.

    • Prep Time: 15 minutes
    • Category: Appetizers, Dips
    • Method: Chopped
    • Cuisine: Gluten Free

    Did you make this recipe?

    Tag @smallfarmbiglife on Instagram and hashtag it #smallfarmbiglife

    Gluten Free Easy Homemade Garlic Hummus

    This recipe for gluten free easy homemade garlic hummus makes the best snack! The recipe uses garbanzo beans (also known as chickpeas), olive oil, tahini and lemon juice. These ingredients give the hummus dip a creamy texture with a delicious flavor. I like to serve my homemade hummus with crackers and fresh veggies.

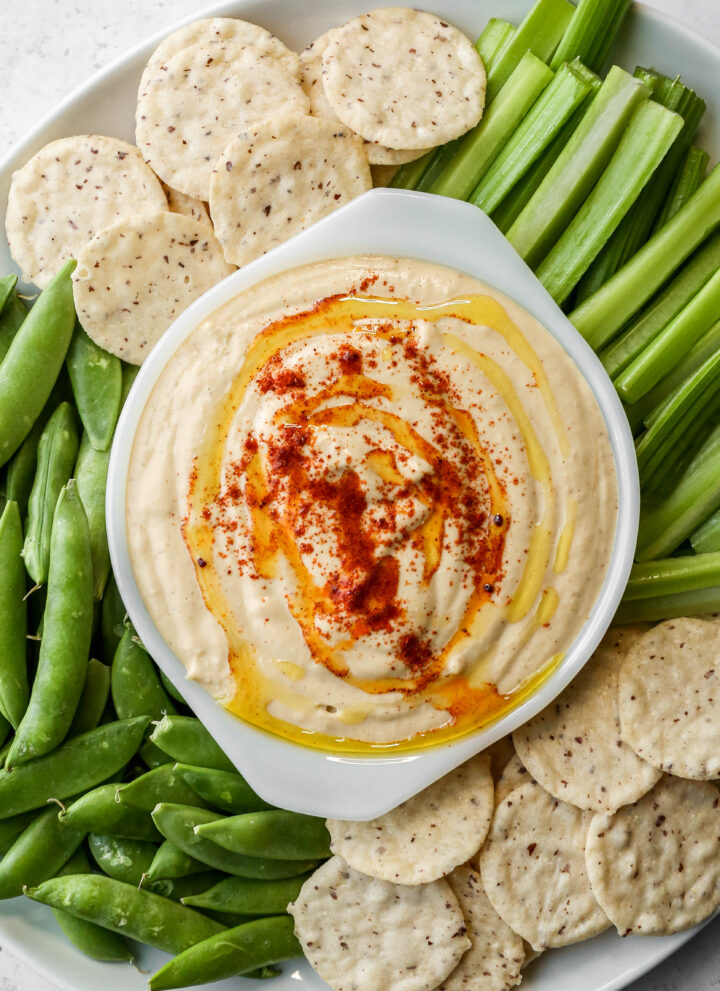
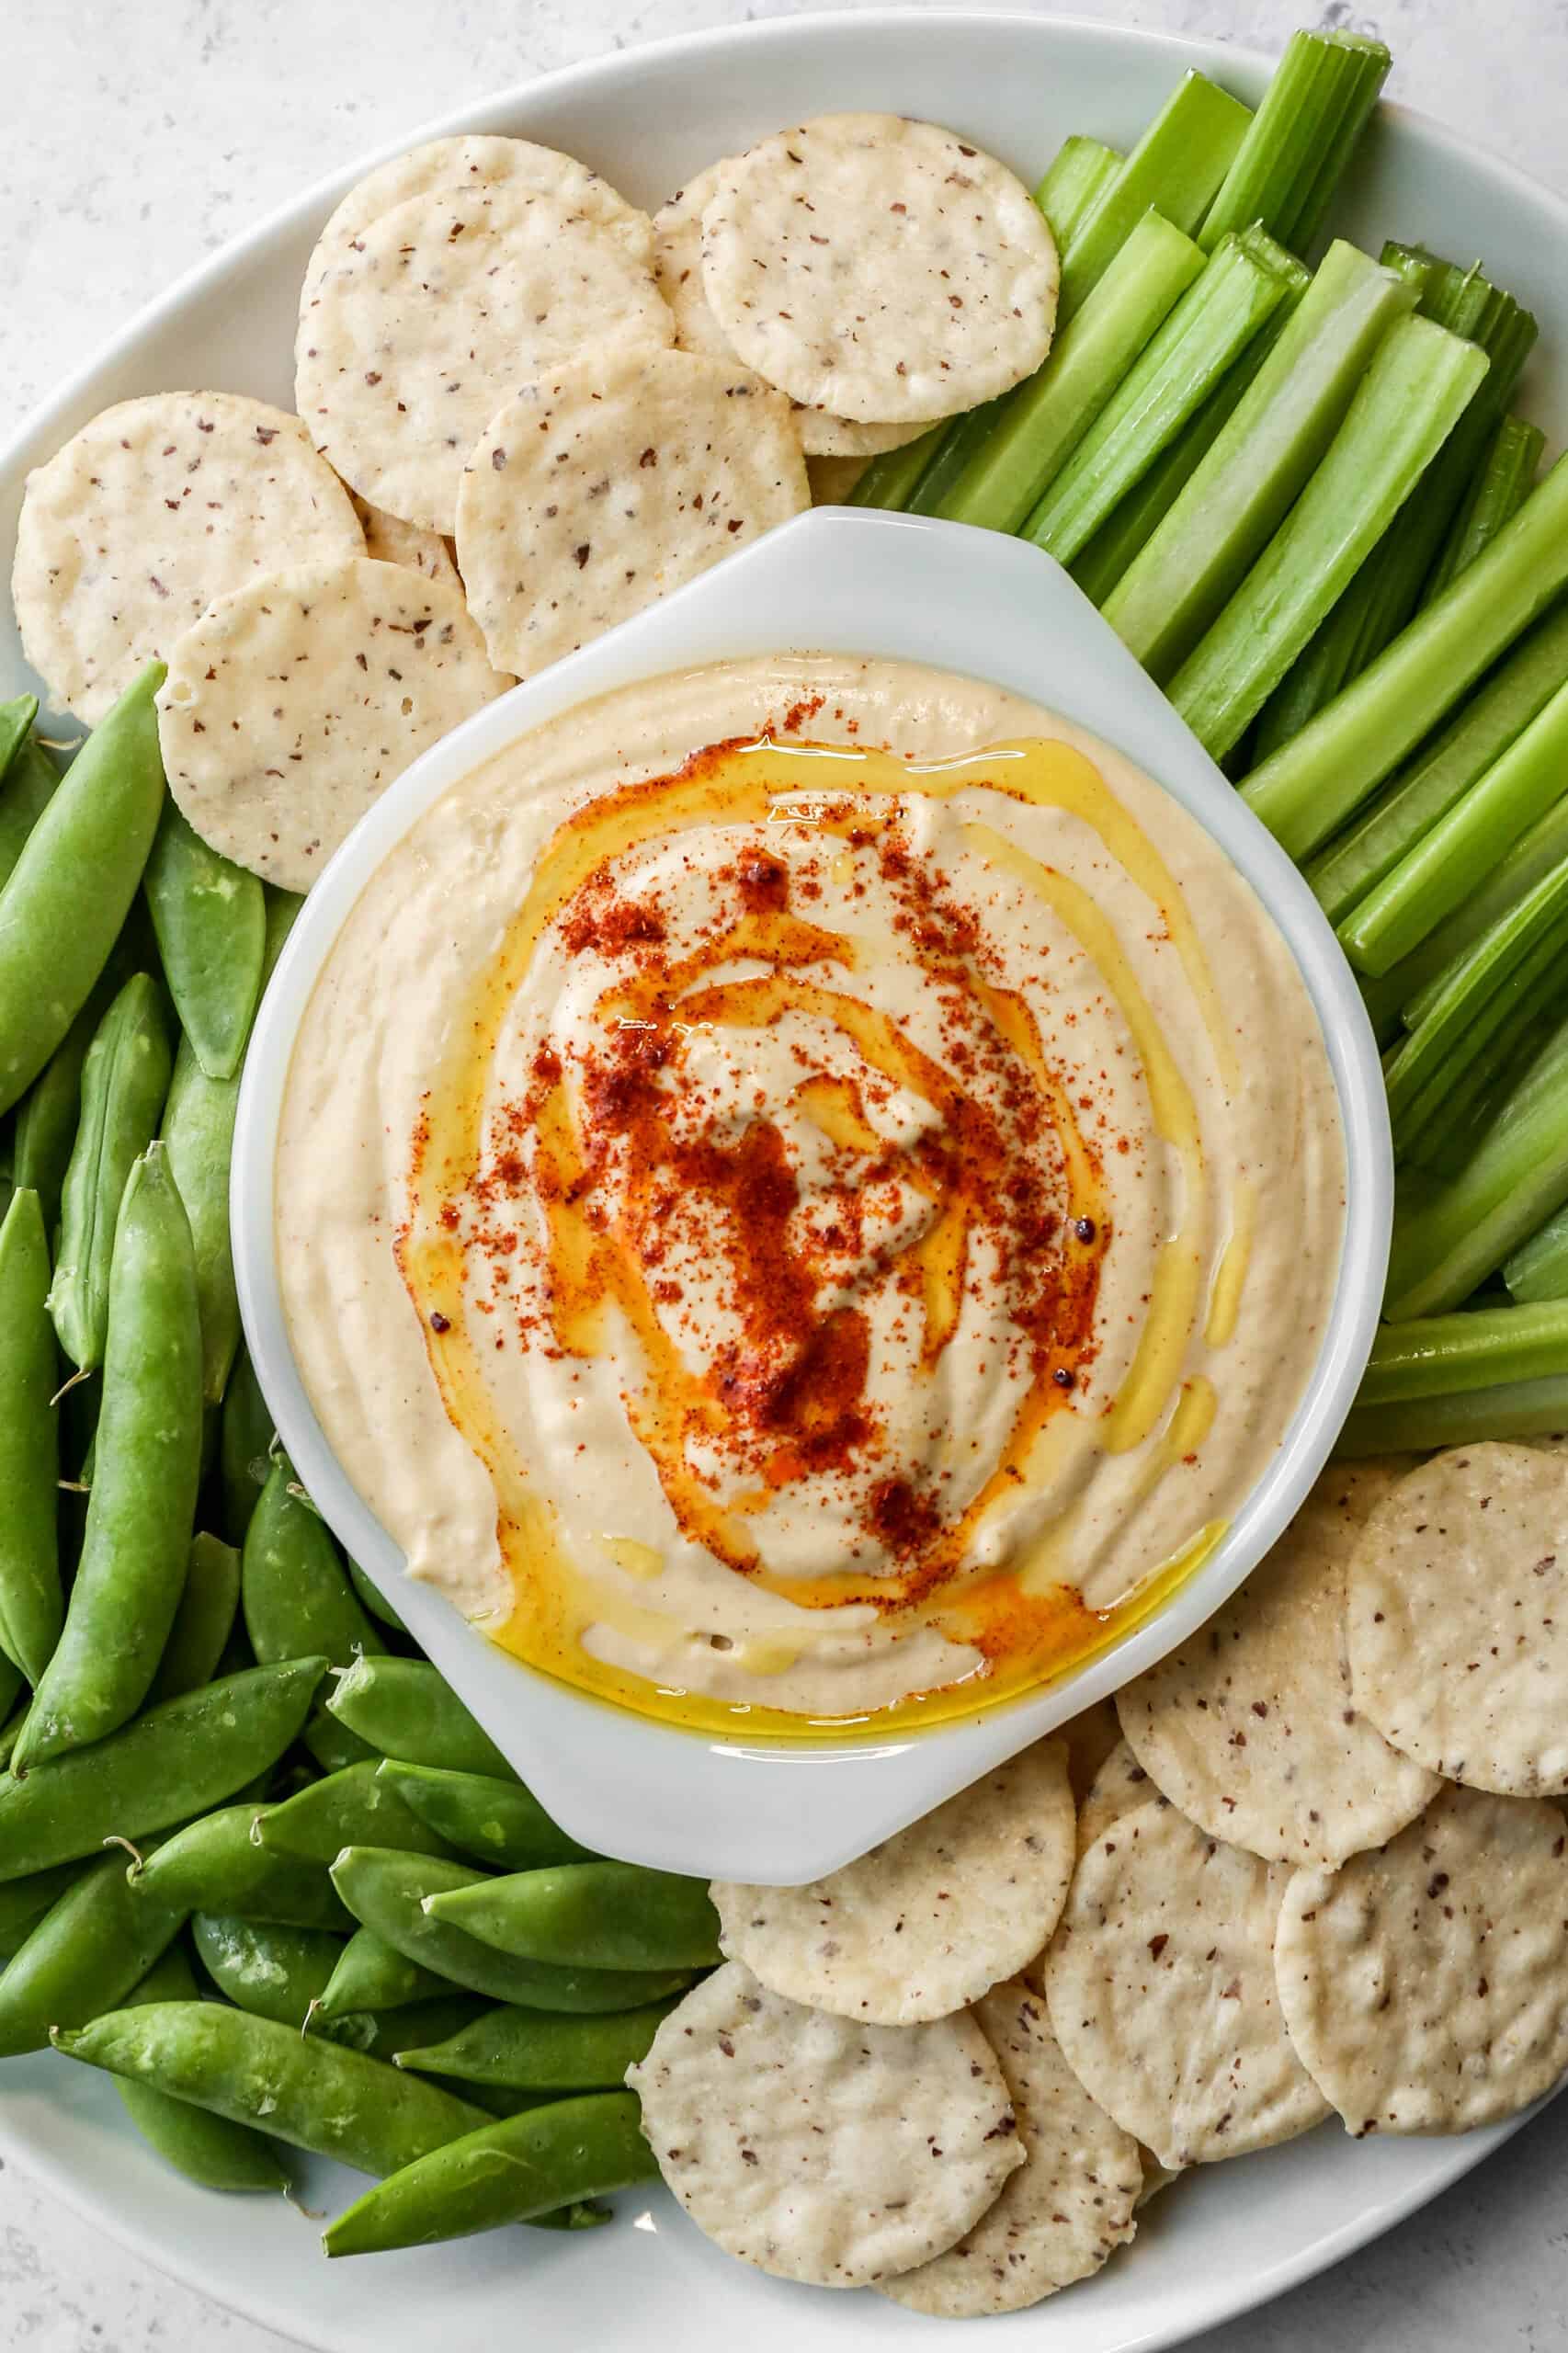
    a small white bowl of gluten free easy homemade garlic hummus surrounded by celery sticks, sugar snap peas and rice crackers.

    Gluten Free Easy Homemade Garlic Hummus is a delicious and healthy dip that brings the classic Mediterranean flavors right to your kitchen. Made with simple ingredients like canned chickpeas (garbanzo beans), garlic, tahini, and a touch of smoked paprika, this creamy hummus recipe is both flavorful and satisfying.

    It's a great option for a gluten free snack, offering a smooth texture that's perfect for dipping veggies, pita, or crackers. This easy homemade hummus is also incredibly versatile, whether you prefer a traditional hummus recipe or a garlic-infused twist.

    The combination of tahini and fresh garlic creates a savory, rich dip that's perfect as a vegan appetizer or a healthy homemade snack.

    You might also enjoy these my Gluten Free Homemade Ranch Dip, my Gluten Free Cheesy Pinto Beans, my Gluten Free Caramelized Onion Dip, or my Creamy Sausage Bean Dip.

    You can find all of my snack recipes here: Gluten Free Snack Recipes

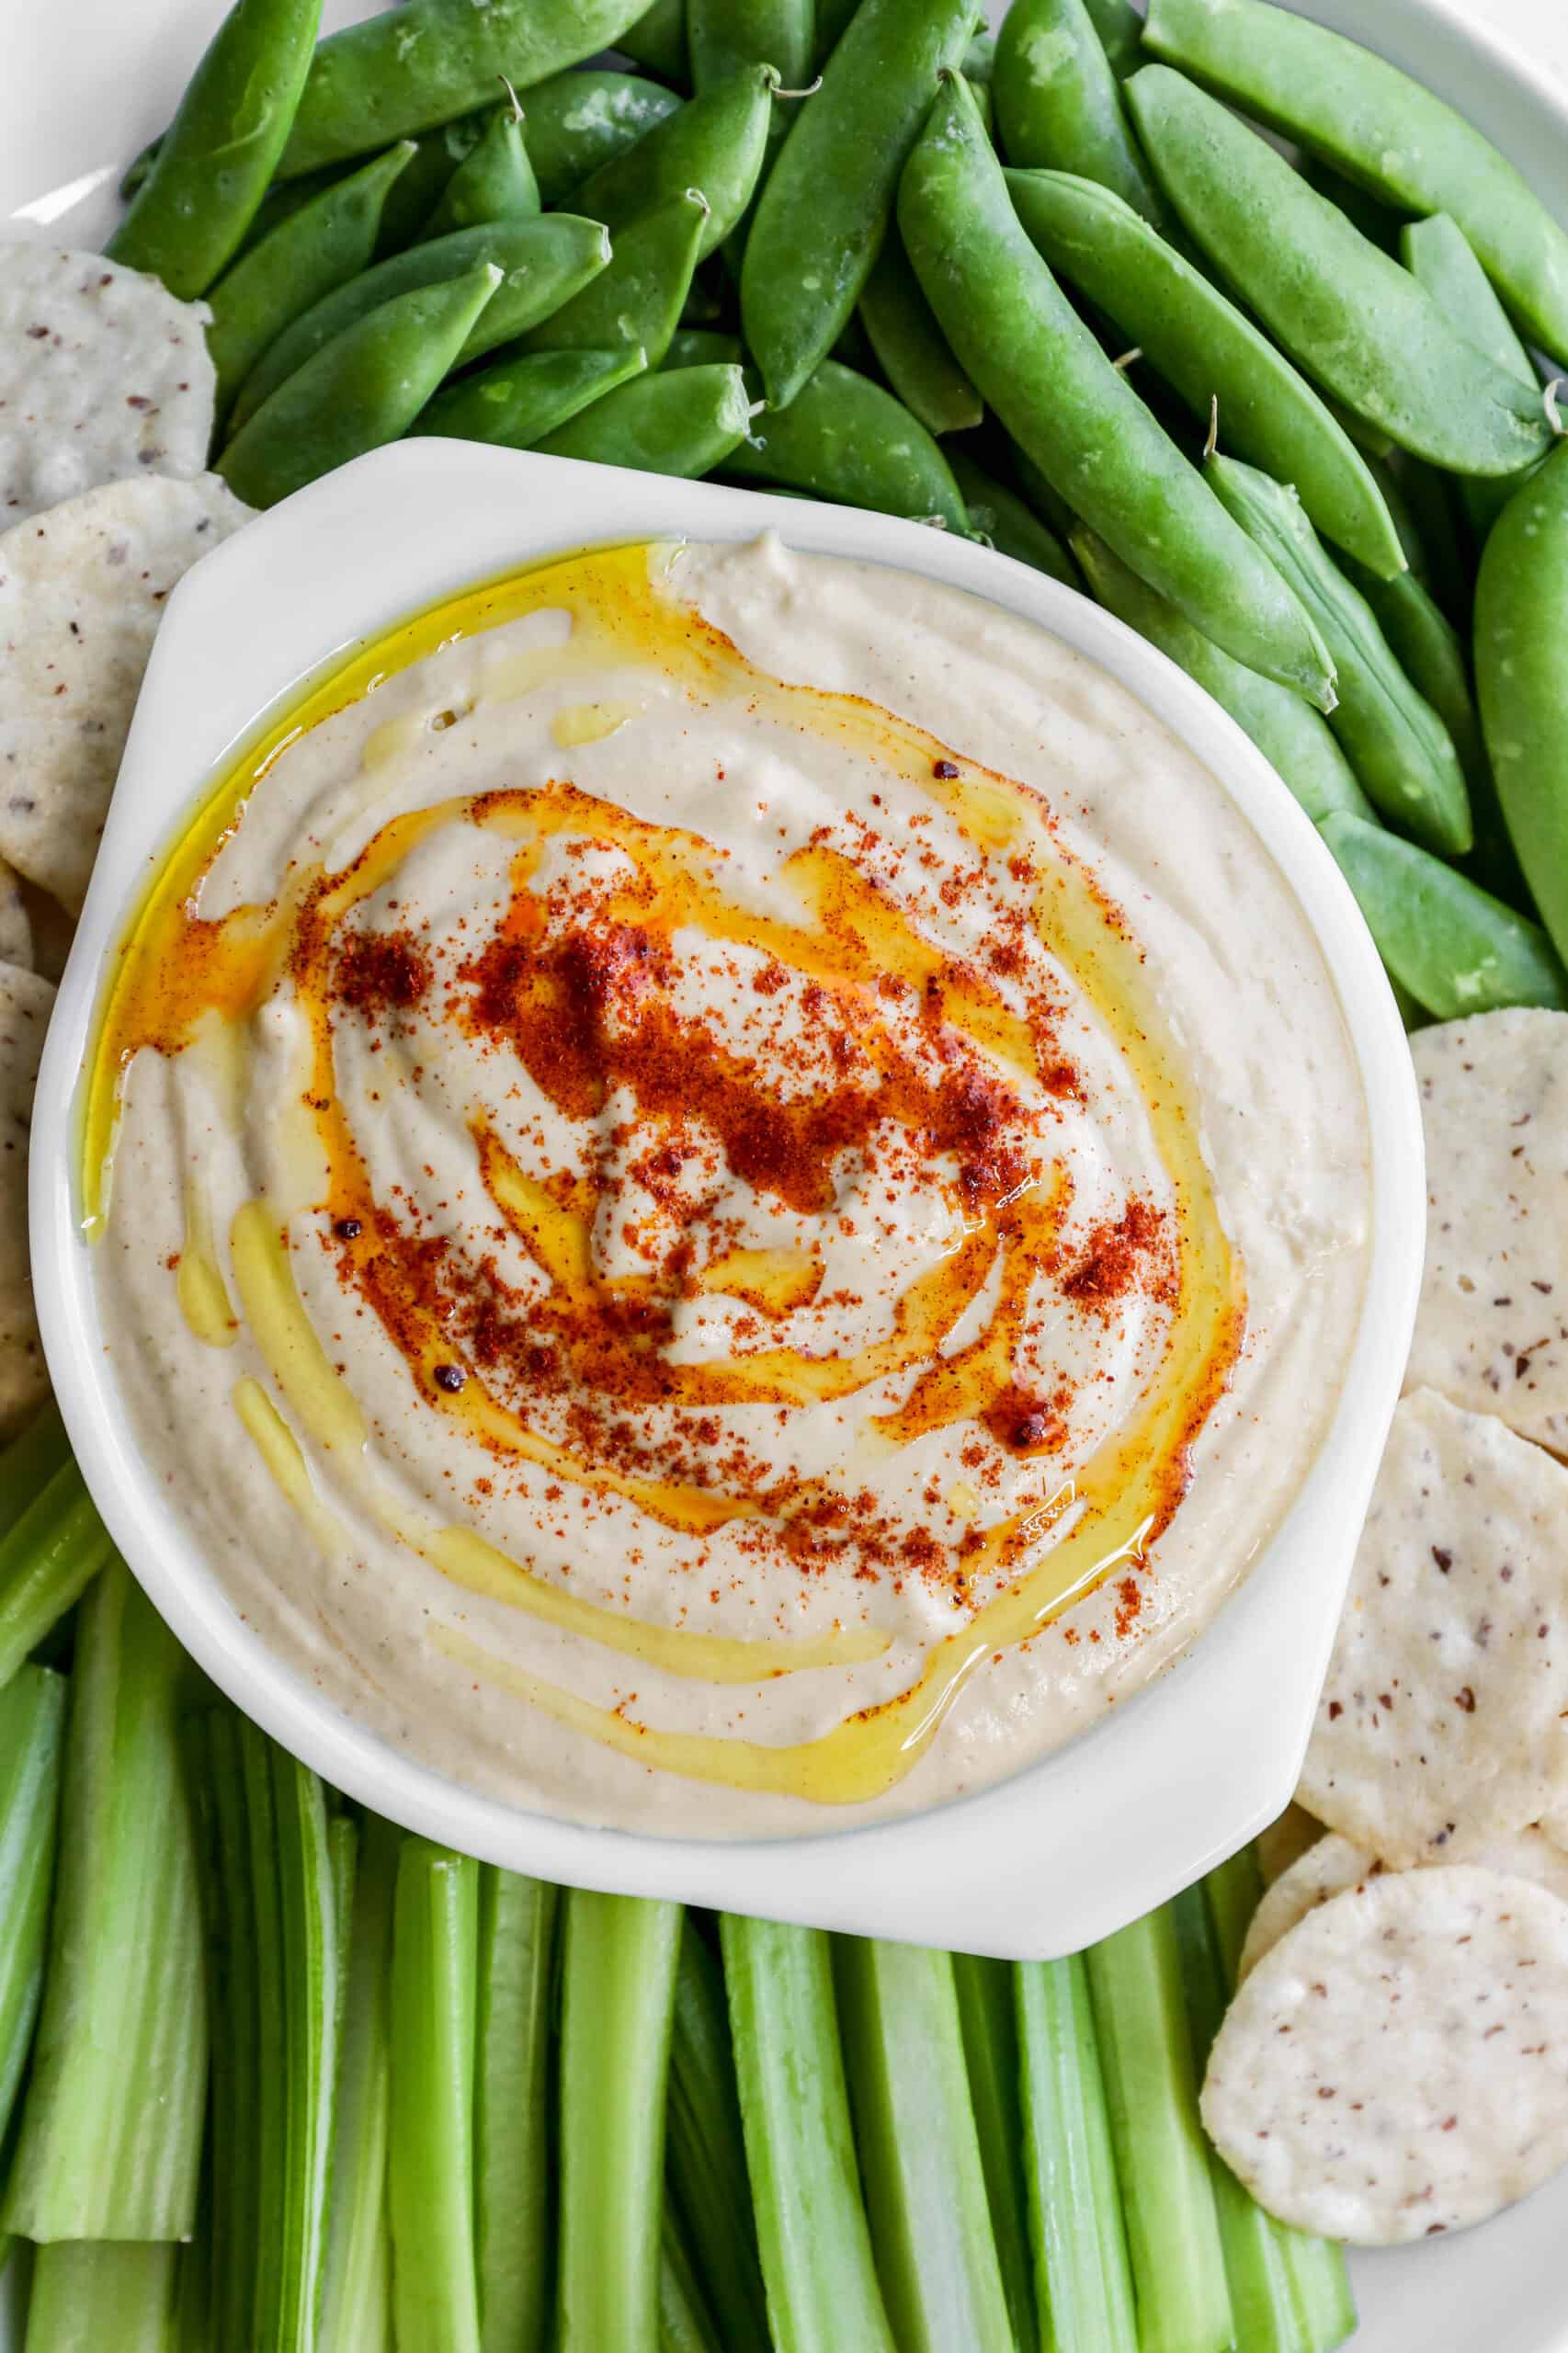
    a white bowl of gluten free easy homemade garlic hummus surrounded by celery sticks, sugar snap peas and rice crackers.
    [feast_advanced_jump_to]

    Ingredients

    • Garbanzo Beans (chickpeas)
    • Baking Soda
    • Tahini
    • Minced Garlic
    • Sea Salt
    • Ground Cumin
    • Smoked Paprika
    • Olive Oil
    • Lemon Juice
    • Cold Water

    Instructions

    Drain and rinse the canned chickpeas.

    In a 2-quart saucepan bring 4 cups of water to a boil. Add the chickpeas and baking soda and boil for 6-8 minutes until soft. If skins are floating strain those off. Drain the chickpeas and pick out any large skins.

    In a food processor or blender add the chickpeas, tahini, garlic, salt, cumin, paprika, olive oil and lemon juice. Blend until smooth stopping to scrape down the sides as needed between blending.

    Add 2 tablespoons of cold water and blend. If the hummus is too thick add another 2 tablespoons of cold water and blend until incorporated.

    Serve topped with a drizzle of olive oil and paprika sprinkled on top.

    Supplies

    Frequently Asked Questions

    Do I need to peel the chickpeas for hummus?

    I've made hummus both ways. I think when I do remove most of the chickpeas peel that the hummus is smoother. I don't think removing the skins changes the flavor at all.

    When I do remove the skins I wait until after I've boiled the chickpeas. Most of the skins will fall off in the water and can be skimmed off the top. After draining the chickpeas I quickly pick out any large skins in the strainer and then move on to make the hummus.

    Is it better to make hummus in a food processor or a blender?

    Both will work, but I prefer using my food processor for making hummus. I think the hummus turns out smoother. I also think making the hummus is quicker in a food processor. But, if all you've got is a blender it will work. You may want to add the cold water sooner if you need more liquid for your blender to work.

    What do you serve hummus with?

    I like to serve hummus with fresh vegetables and with gluten free crackers. My favorite gluten free crackers are: Good Thins Rice Crackers, Nut-Thins Almond Crackers, Simple Mills Almond Flour Crackers and Crunchmaster Multi Grain Crackers.

    More Recipes You Might Enjoy

    • Gluten Free Caramelized Onion Dip
    • Gluten Free Homemade Ranch Dip
    • Gluten Free Cheesy Pinto Beans
    • Creamy Sausage Bean Dip

    I get a lot of my ingredients from Thrive Market. Thrive Market has been a game changer for me eating gluten free. They have so many options I can't get at my rural grocery stores! Use this link to get 40% off your first order!

    Print
    clock clock iconcutlery cutlery iconflag flag iconfolder folder iconinstagram instagram iconpinterest pinterest iconfacebook facebook iconprint print iconsquares squares iconheart heart iconheart solid heart solid icon

    Gluten Free Easy Homemade Garlic Hummus


    5 Stars 4 Stars 3 Stars 2 Stars 1 Star

    No reviews

    • Author: Elaine VanVleck
    • Total Time: 21 minutes
    • Yield: 12 servings 1x
    • Diet: Gluten Free
    Print Recipe
    Pin Recipe

    Description

    This recipe for gluten free easy homemade garlic hummus makes the best snack! The recipe uses garbanzo beans (also known as chickpeas), olive oil, tahini and lemon juice. These ingredients give the hummus dip a creamy texture with a delicious flavor. I like to serve my homemade hummus with crackers and fresh veggies.


    Ingredients

    Units Scale
    • 15.5 ounce can Garbanzo Beans (chickpeas)
    • ½ tsp. Baking Soda
    • ½ cup Tahini
    • 2 Tbsp. Minced Garlic
    • 1 tsp. Sea Salt
    • ½ tsp. Ground Cumin
    • ¼ tsp. Smoked Paprika, plus more for garnish
    • 3 Tbsp. Olive Oil, plus more for garnish
    • 2 Tbsp. Lemon Juice
    • ¼ cup Cold Water

    Instructions

    Drain and rinse the canned chickpeas.

    In a 2-quart saucepan bring 4 cups of water to a boil. Add the chickpeas and baking soda and boil for 6-8 minutes until soft. If skins are floating strain those off. Drain the chickpeas and pick out any large skins.

    In a food processor or blender add the chickpeas, tahini, garlic, salt, cumin, paprika, olive oil and lemon juice. Blend until smooth stopping to scrape down the sides as needed between blending.

    Add 2 tablespoons of cold water and blend. If the hummus is too thick add another 2 tablespoons of cold water and blend until incorporated.

    Serve topped with a drizzle of olive oil and paprika sprinkled on top.

    • Prep Time: 15 minutes
    • Cook Time: 6 minutes
    • Category: Dips, Snacks
    • Method: Blending
    • Cuisine: Gluten Free

    Did you make this recipe?

    Tag @smallfarmbiglife on Instagram and hashtag it #smallfarmbiglife

    Gluten Free Banana Oat Muffins

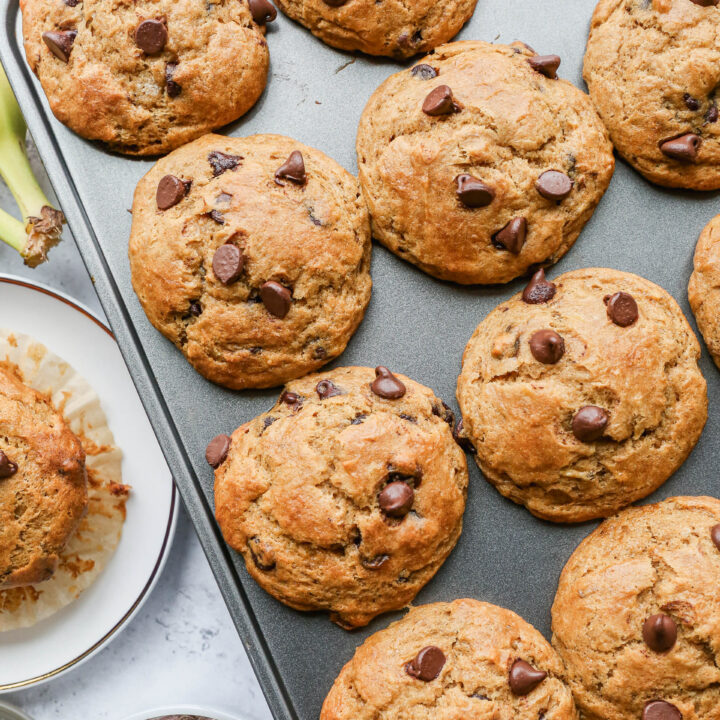
    These healthy and easy to make gluten free banana oat muffins contain oatmeal and are perfect for breakfast. This baking recipe is made with almond flour and is dairy free. These moist muffins taste just like banana bread!

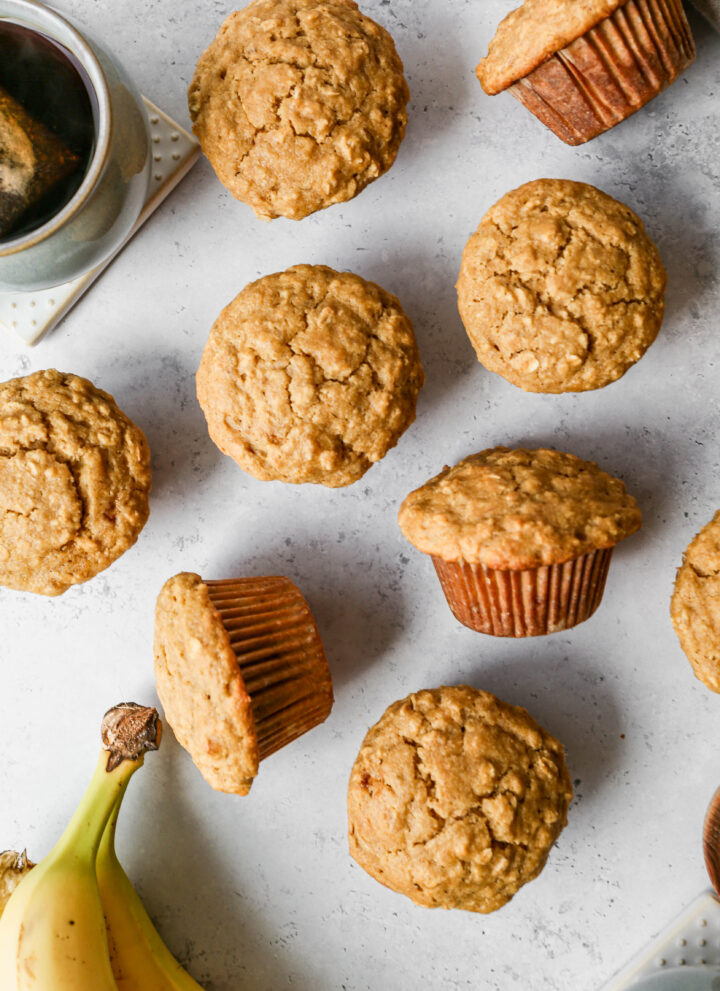
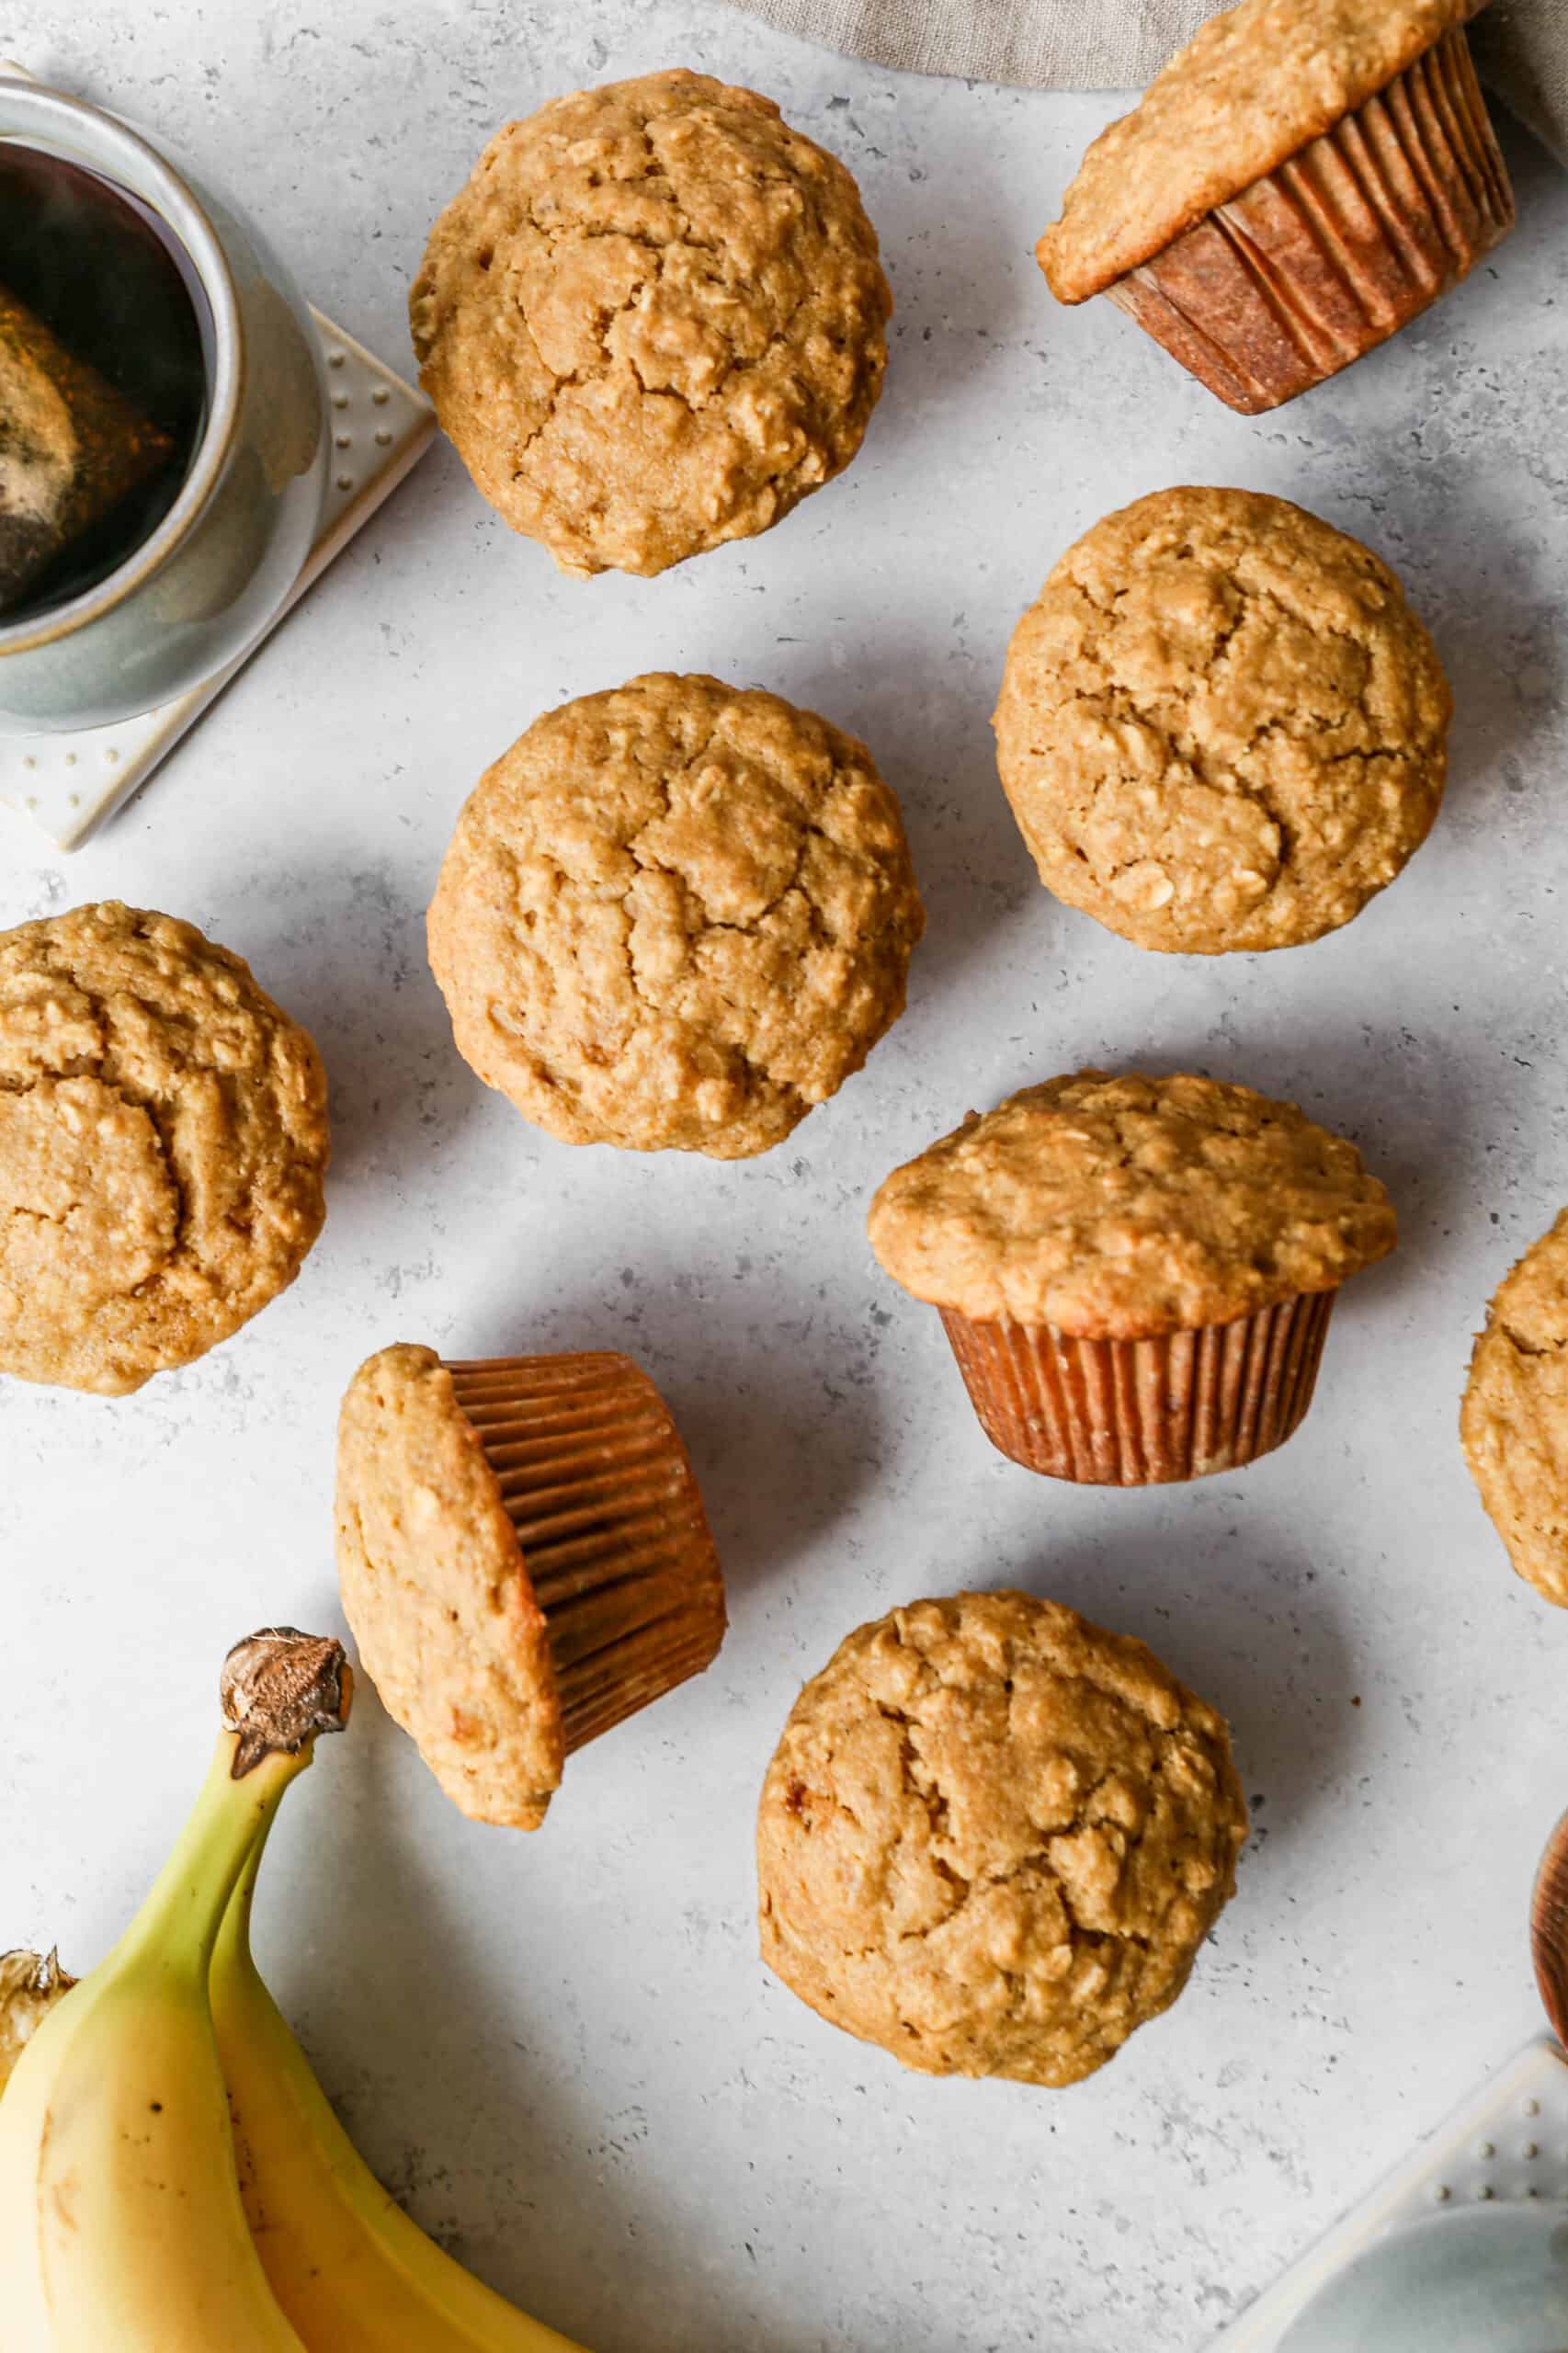
    gluten free banana oat muffins next to two mugs of tea and a bunch of bananas.

    These gluten free Banana Oat Muffins are the perfect blend of healthy and flavorful, making them an ideal addition to your gluten free breakfast or snack rotation.

    Packed with wholesome oats, ripe bananas, and a hint of almond flour, these muffins are naturally sweet, moist, and incredibly fluffy.

    The gluten free muffin recipe is easy to follow and yields soft, delicious muffins that are both kid friendly and a great way to use up overripe bananas.

    If you are looking for more muffins options you might also enjoy my Gluten Free Blueberry Oat Muffins, my Gluten Free Peanut Butter Banana Muffins, my Gluten Free Chocolate Chip Banana Muffins, or my Gluten Free Cranberry Orange Muffins.

    You can find all my breakfast recipes here: Gluten Free Breakfast Recipes

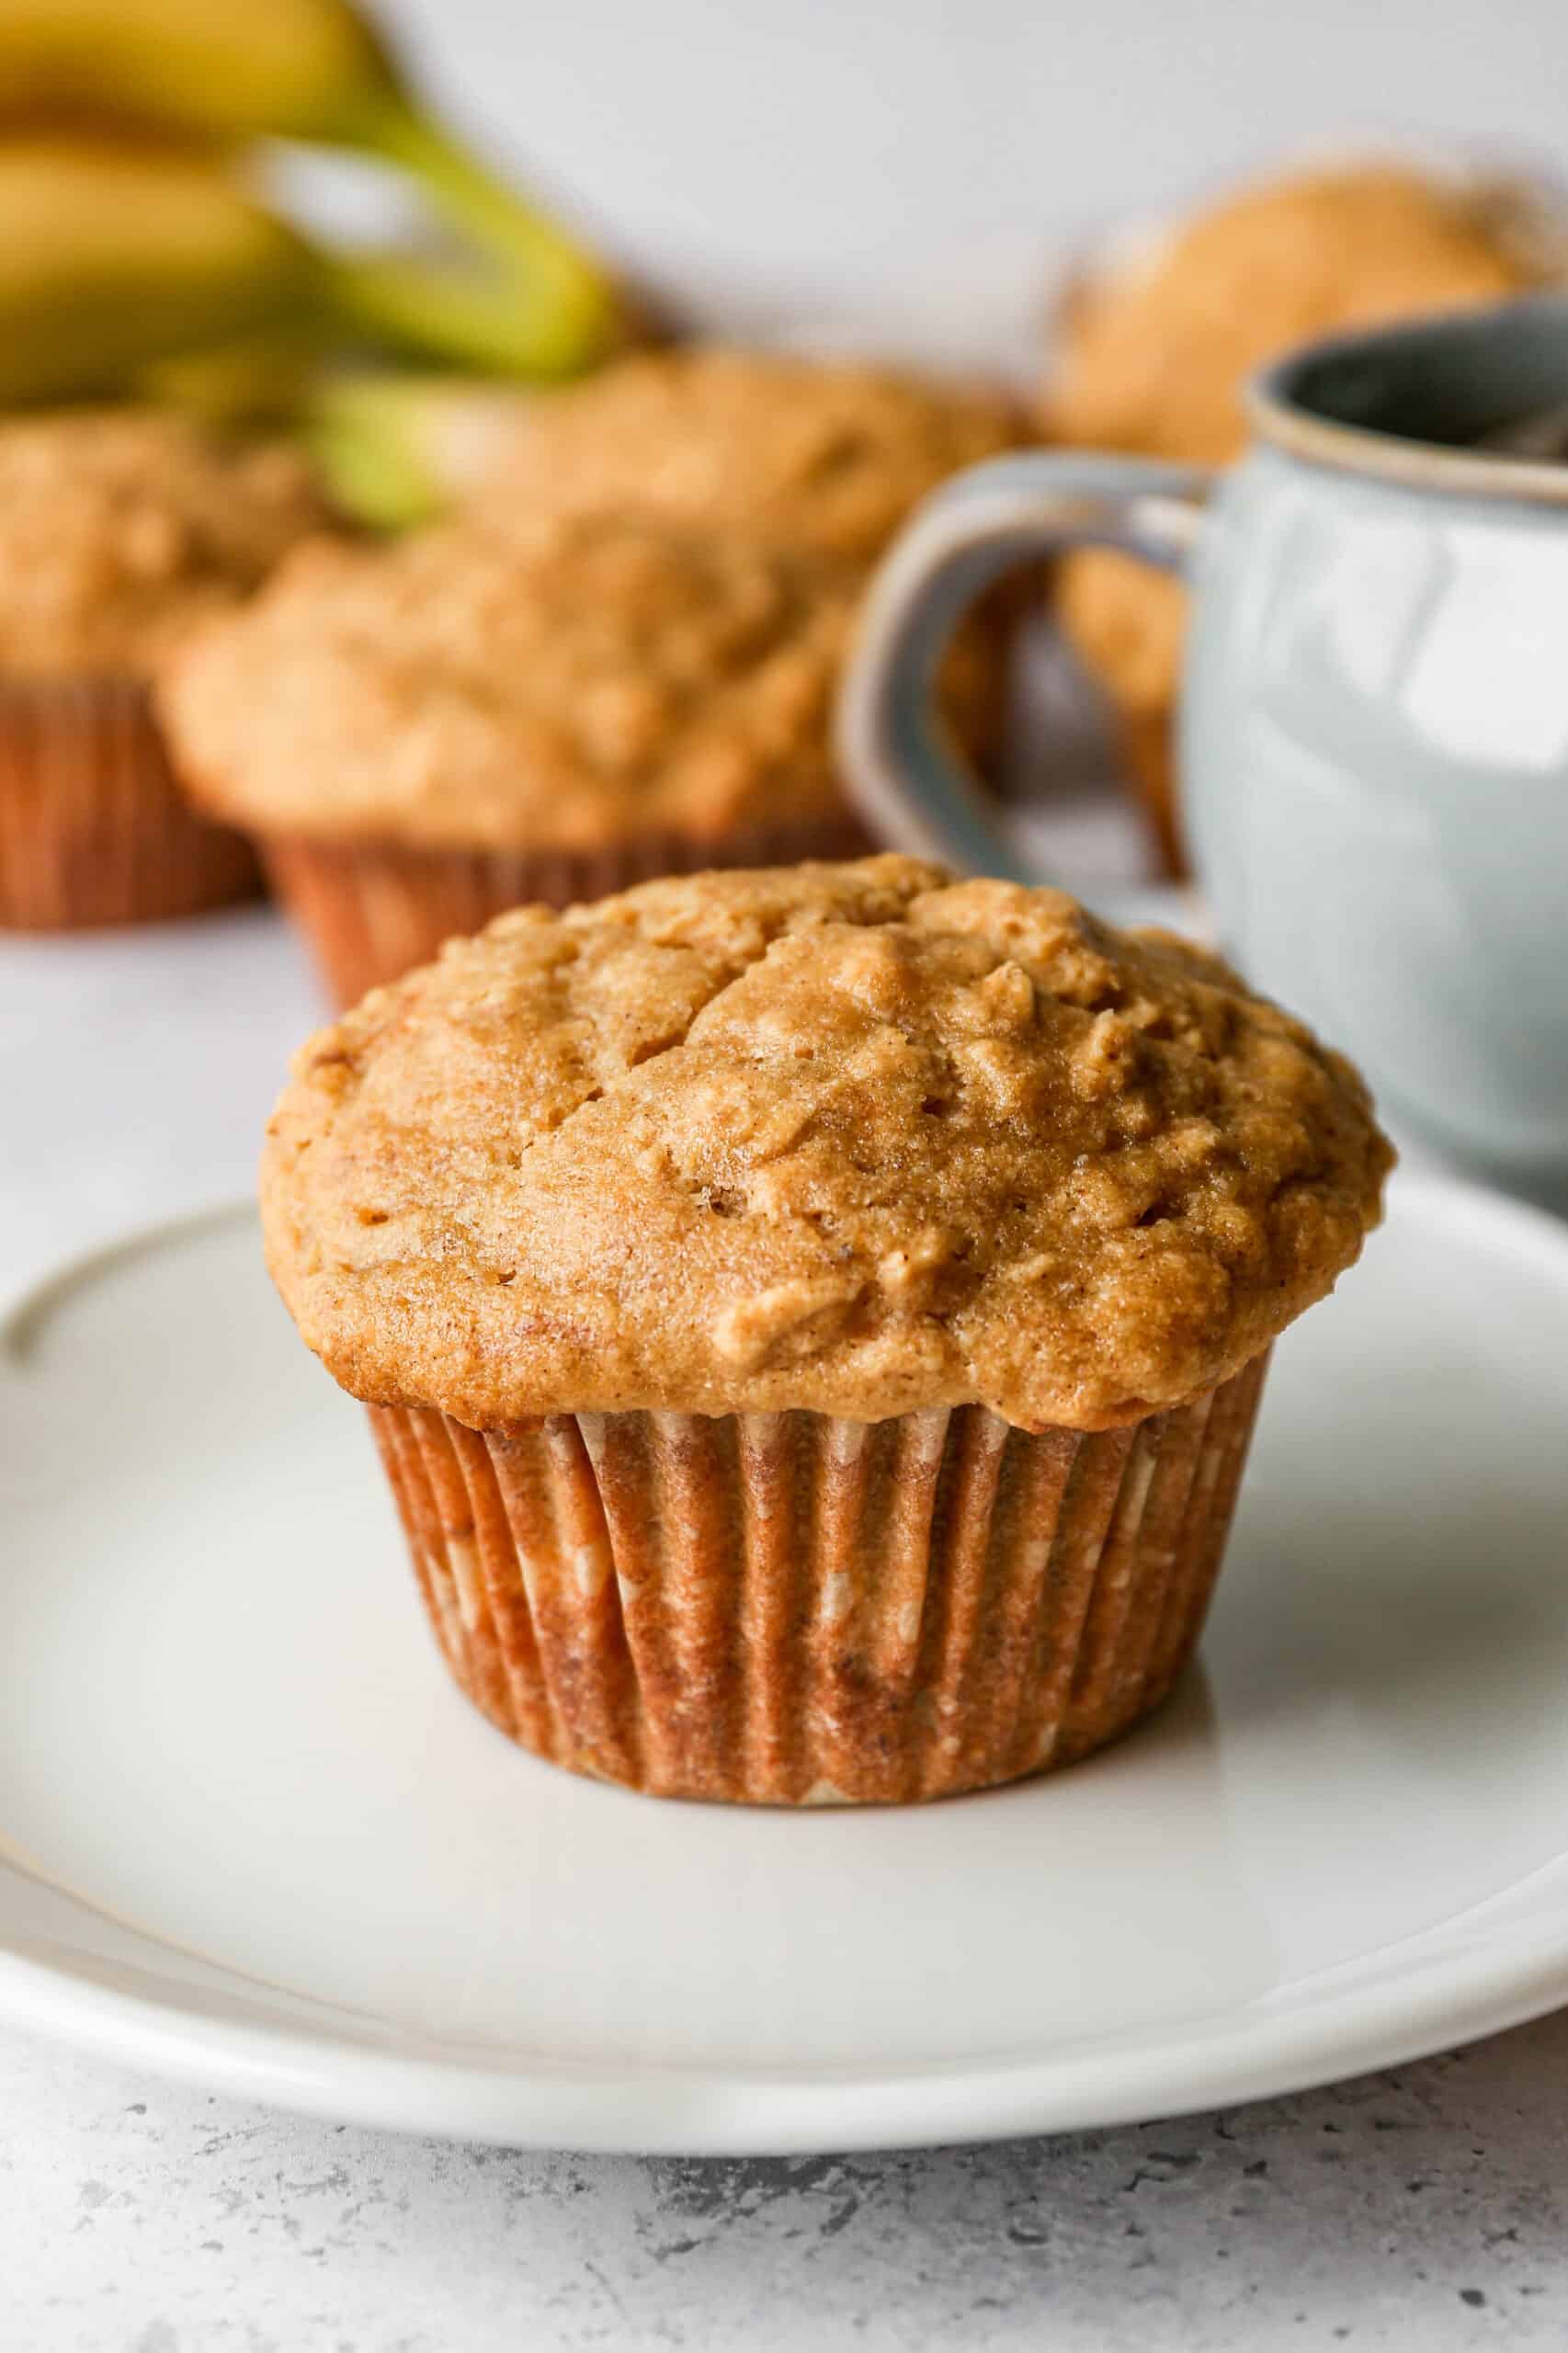
    a gluten free banana oat muffin on a white plate next to a mug of tea.
    [feast_advanced_jump_to]

    Why You'll Love This Recipe

    • Made with almond flour and oats for a hearty, filling muffin
    • Completely dairy free
    • Naturally sweetened with banana and a touch of honey
    • Great for using up overripe bananas

    Ingredient Notes

    • The combination of almond flour and gluten free flour gives these muffins a moist, tender crumb, while the oats add heartiness and texture.
    • Coconut oil and almond milk keep this recipe dairy free, if you don't need it dairy free, the Notes section already mentions you can swap in butter for the coconut oil.

    Ways to Customize This Recipe

    Add a handful of chocolate chips or chopped walnuts to the batter for a fun twist. Blueberries also work well folded in gently at the end.

    Storage and Freezing

    These gluten free banana muffins are best stored in an air tight container. You can leave them on your counter for up to 3 days and then it's best to move them to the refrigerator to keep them fresh.

    These muffins also freeze really well. I like to freeze them in individual bags so I have something quick to put in lunches or to take out for breakfast or a snack.

    Top Tip

    These gluten free banana oat muffins are easy to mix together and really rise into a dense, delicious muffin. With the combination of almond flour and oats they are hardy and keep me satisfied long after breakfast.

    Frequently Asked Questions

    Can I use gluten free flour instead of almond flour?

    Yes. Swap the almond flour for about 2 ½ cups of gluten free flour. The muffins will rise a bit more since almond flour is heavier, so you may want to divide the batter into 15 to 16 muffins instead of 12.

    Can I use oat flour instead of a gluten free flour blend?

    Using only oat flour in place of a mixed gluten free flour blend will make the muffins denser and change the texture, they won't be quite as light and fluffy. If you'd like to experiment, try mixing oat flour with your usual gluten free flour blend rather than replacing it entirely.

    Didn't find the answer you're looking for?

    Ask AI to answer based on this recipe:

    ChatGPT
    Google AI
    Perplexity
    Grok
    Claude

    Banana Oat Muffins Supplies

    More Recipes You Might Enjoy

    • Gluten Free Blueberry Oat Muffins
    • Gluten Free Chocolate Chip Banana Muffins
    • Gluten Free Blackberry Oat Muffins
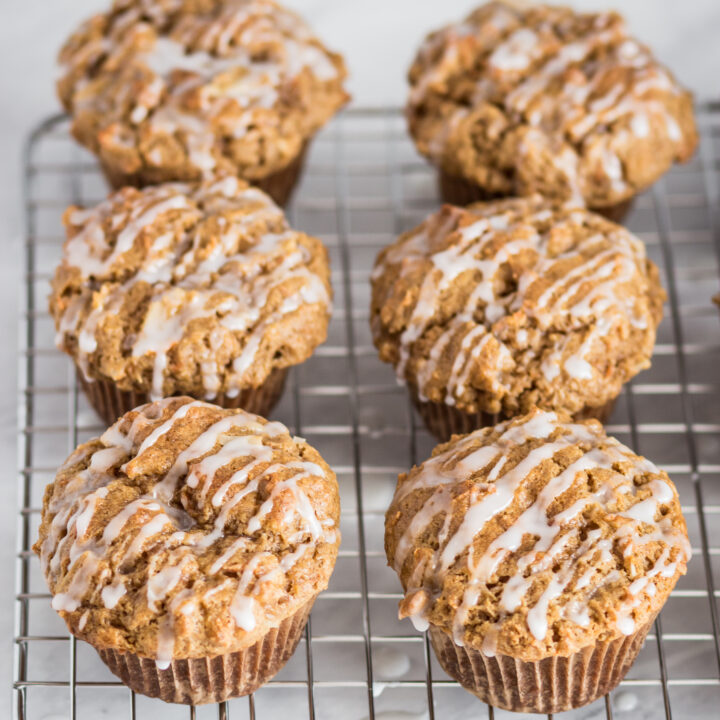
    • Gluten Free Apple Carrot Muffins

    I get a lot of my ingredients from Thrive Market. Thrive Market has been a game changer for me eating gluten free. They have so many options I can't get at my rural grocery stores! Use this link to get 40% off your first order!

    Print
    clock clock iconcutlery cutlery iconflag flag iconfolder folder iconinstagram instagram iconpinterest pinterest iconfacebook facebook iconprint print iconsquares squares iconheart heart iconheart solid heart solid icon

    Gluten Free Banana Oat Muffins


    5 Stars 4 Stars 3 Stars 2 Stars 1 Star

    No reviews

    • Author: Elaine VanVleck
    • Total Time: 45 minutes
    • Yield: 12 1x
    • Diet: Gluten Free
    Print Recipe
    Pin Recipe

    Description

    These gluten free banana oat muffins are moist, fluffy, and made with a blend of almond flour, oats, and ripe bananas. They're completely dairy free and taste just like banana bread in muffin form. Perfect for breakfast, snacking, or packing in lunches.


    Ingredients

    Scale
    • 3 medium Bananas, very ripe
    • 1 tsp. Vanilla Extract
    • 2 large Eggs
    • 3 Tbsp. Coconut Oil, melted
    • ¼ cup Granulated Sugar
    • ¼ cup Brown Sugar
    • 2 Tbsp. Honey
    • 3 tsp. Baking Powder
    • 1 tsp. Sea Salt
    • 1 tsp. Ground Cinnamon
    • ¾ cup Almond Milk (or your milk of choice)
    • 1 ¼ cups Almond Flour
    • 1 ¼ cups Gluten Free Flour
    • 1 ¼ cups Gluten Free Rolled Oats

    Instructions

    Preheat oven to 350 degrees. Line a muffin pan with liners and set aside.

    In the bowl of your stand mixer beat bananas, vanilla and eggs together. Add melted coconut oil, sugars and honey. Beat 1-2 minutes until ingredients are combined.

    In a separate mixing bowl whisk together baking powder, salt, cinnamon, almond flour, gluten free flour and oats. Add almond milk to batter and then add this dry mixture to batter 1 cup at a time mixing until the dry mixture is just blended in. Mix until ingredients are just blended together. Do not over mix or the dough gets tough and doesn't rise as well.

    Place batter into a lined 12 muffin pan. The batter will fill all the way to the top of your liners.

    Bake at 350 degrees for 30-35 minutes. 

    Let cool and then store in the refrigerator in an air tight container for up to five days.

    If you made this recipe please leave a star rating and comment below. It helps other readers find this recipe and means so much to me.

    Notes

    I use almond milk, but you can use whatever milk you have on hand.

    If you don't mind these not being dairy free you can substitute butter for the coconut oil. 

    • Prep Time: 10 minutes
    • Cook Time: 35 minutes
    • Category: Breakfast
    • Method: Baking
    • Cuisine: American

    Did you make this recipe?

    Tag @smallfarmbiglife on Instagram and hashtag it #smallfarmbiglife

    I'd love to hear how these gluten free banana oat muffins turn out for you! Leave a comment and star rating below, and let me know if you try any of the add ins. Don't forget to pin this recipe so you can make it again whenever you have ripe bananas on hand.

    Banana Oat Muffins Ingredients

    • Bananas
    • Vanilla Extract
    • Eggs
    • Coconut Oil
    • Granulated Sugar
    • Brown Sugar
    • Honey
    • Almond Milk
    • Baking Powder
    • Sea Salt
    • Ground Cinnamon
    • Almond Flour
    • Gluten Free Flour
    • Gluten Free Rolled Oats

    Instructions

    These muffins are so easy to make!

    Preheat your oven to 350 degrees.

    Mix bananas, vanilla and eggs together. Add melted coconut oil, sugars and honey. Mix until blended.

    In a separate bowl mix together baking powder, salt, cinnamon, almond flour, gluten free flour and oats. Add almond milk to batter and then add this dry mixture to batter 1 cup at a time mixing until the dry mixture is just blended in. Mix until ingredients are just blended together. Do not over mix or the dough gets tough and doesn't rise as well.

    Place batter into a 12 muffin pan. The batter will fill all the way to the top of your liners and the tops will rise quite a bit.

    Bake at 350 degrees for 30-35 minutes. 

    Let cool and then store in the refrigerator for up to five days.

    Gluten Free Cheesy Pinto Beans

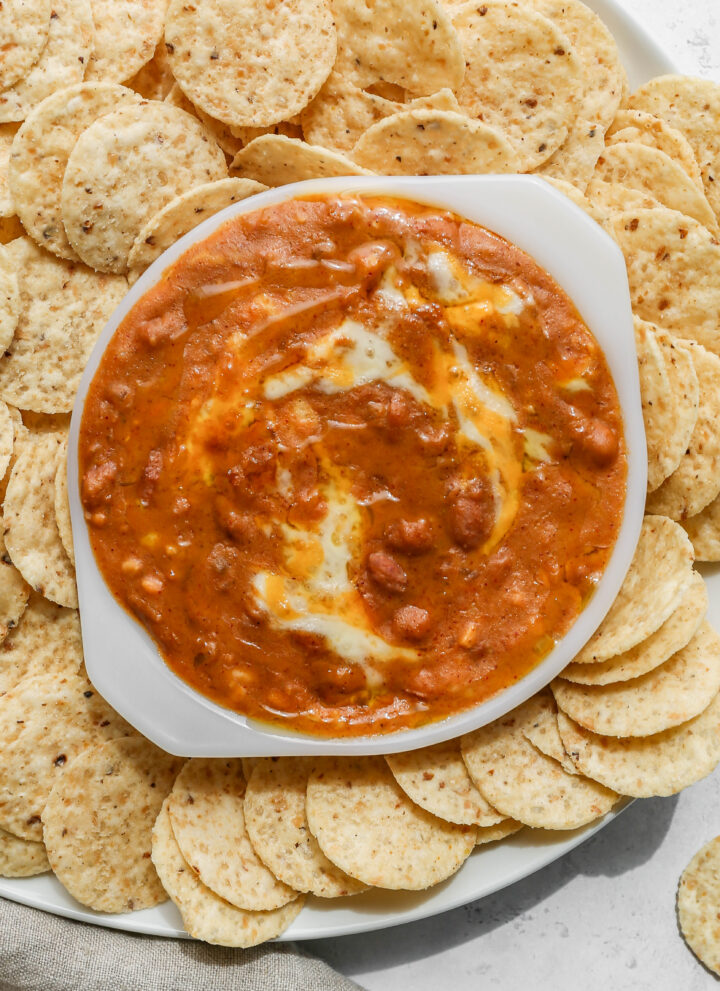
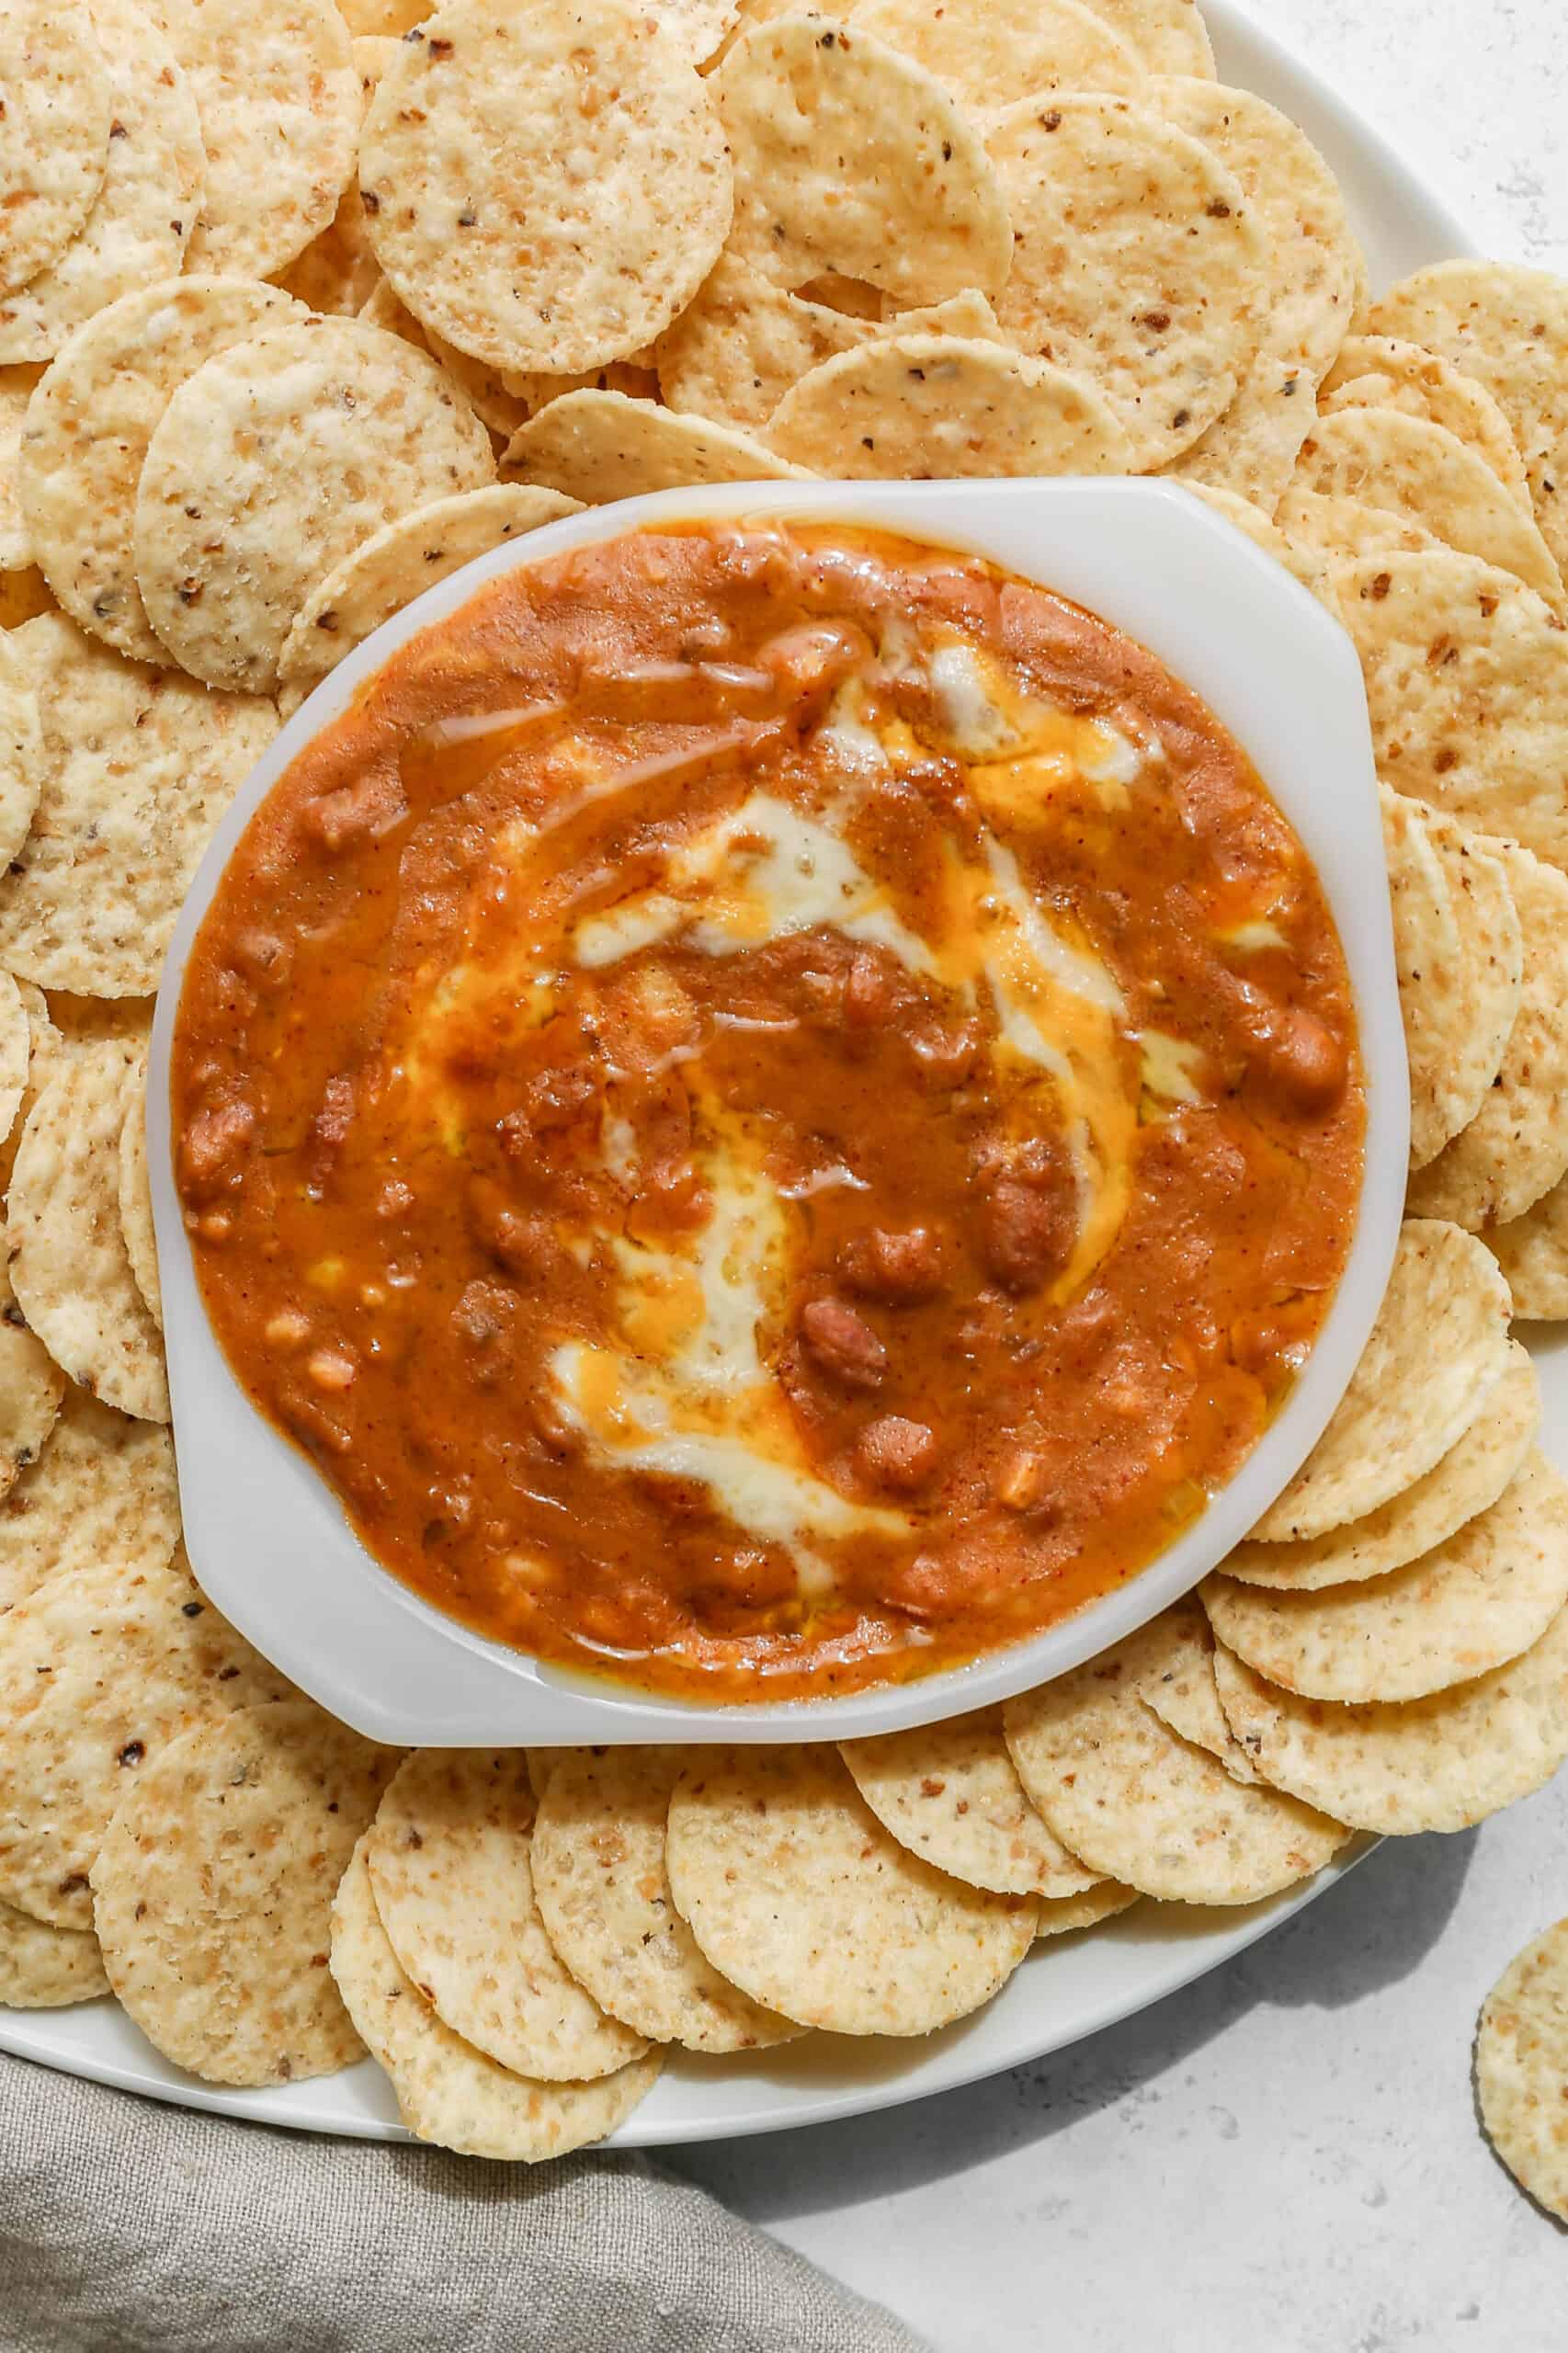
    These Gluten Free Cheesy Pinto Beans are the recipe that converted me into a true believer in what a can of pinto beans can become. Two cans of pinto beans are transformed into a warm, creamy, and deeply flavorful dip or side dish that is ready in just 20 minutes. One can is pureed smooth with chicken stock to create a silky base, the second stays whole for texture, and the whole thing is seasoned with smoked paprika, chili powder, and cumin before being baked under a generous blanket of cheddar and Monterey Jack cheese until golden and bubbling.

    Serve it hot with gluten free tortilla chips and watch it disappear.

    a white bowl of gluten free cheesy pinto beans surrounded by round tortilla chips.

    What makes this gluten free pinto bean recipe so special is how versatile it is. It works as a party dip, a side dish alongside your favorite Mexican inspired meals, a filling for gluten free bean burritos, and even a topping for rice bowls or baked potatoes.

    The flavor is rich and smoky with just the right amount of heat, and the combination of two cheeses gives it that melty, irresistible finish that keeps everyone coming back for more.

    If you are looking for an easy gluten free side dish that uses simple pantry staples and comes together in minutes, this is the one to save.

    If you are looking for more party snack recipes you might like my Creamy Sausage Bean Dip, my Easy Ground Beef Nacho Casserole, my Gluten Free Easy Homemade Garlic Hummus, or my Air Fryer Spicy Roasted Peanuts.

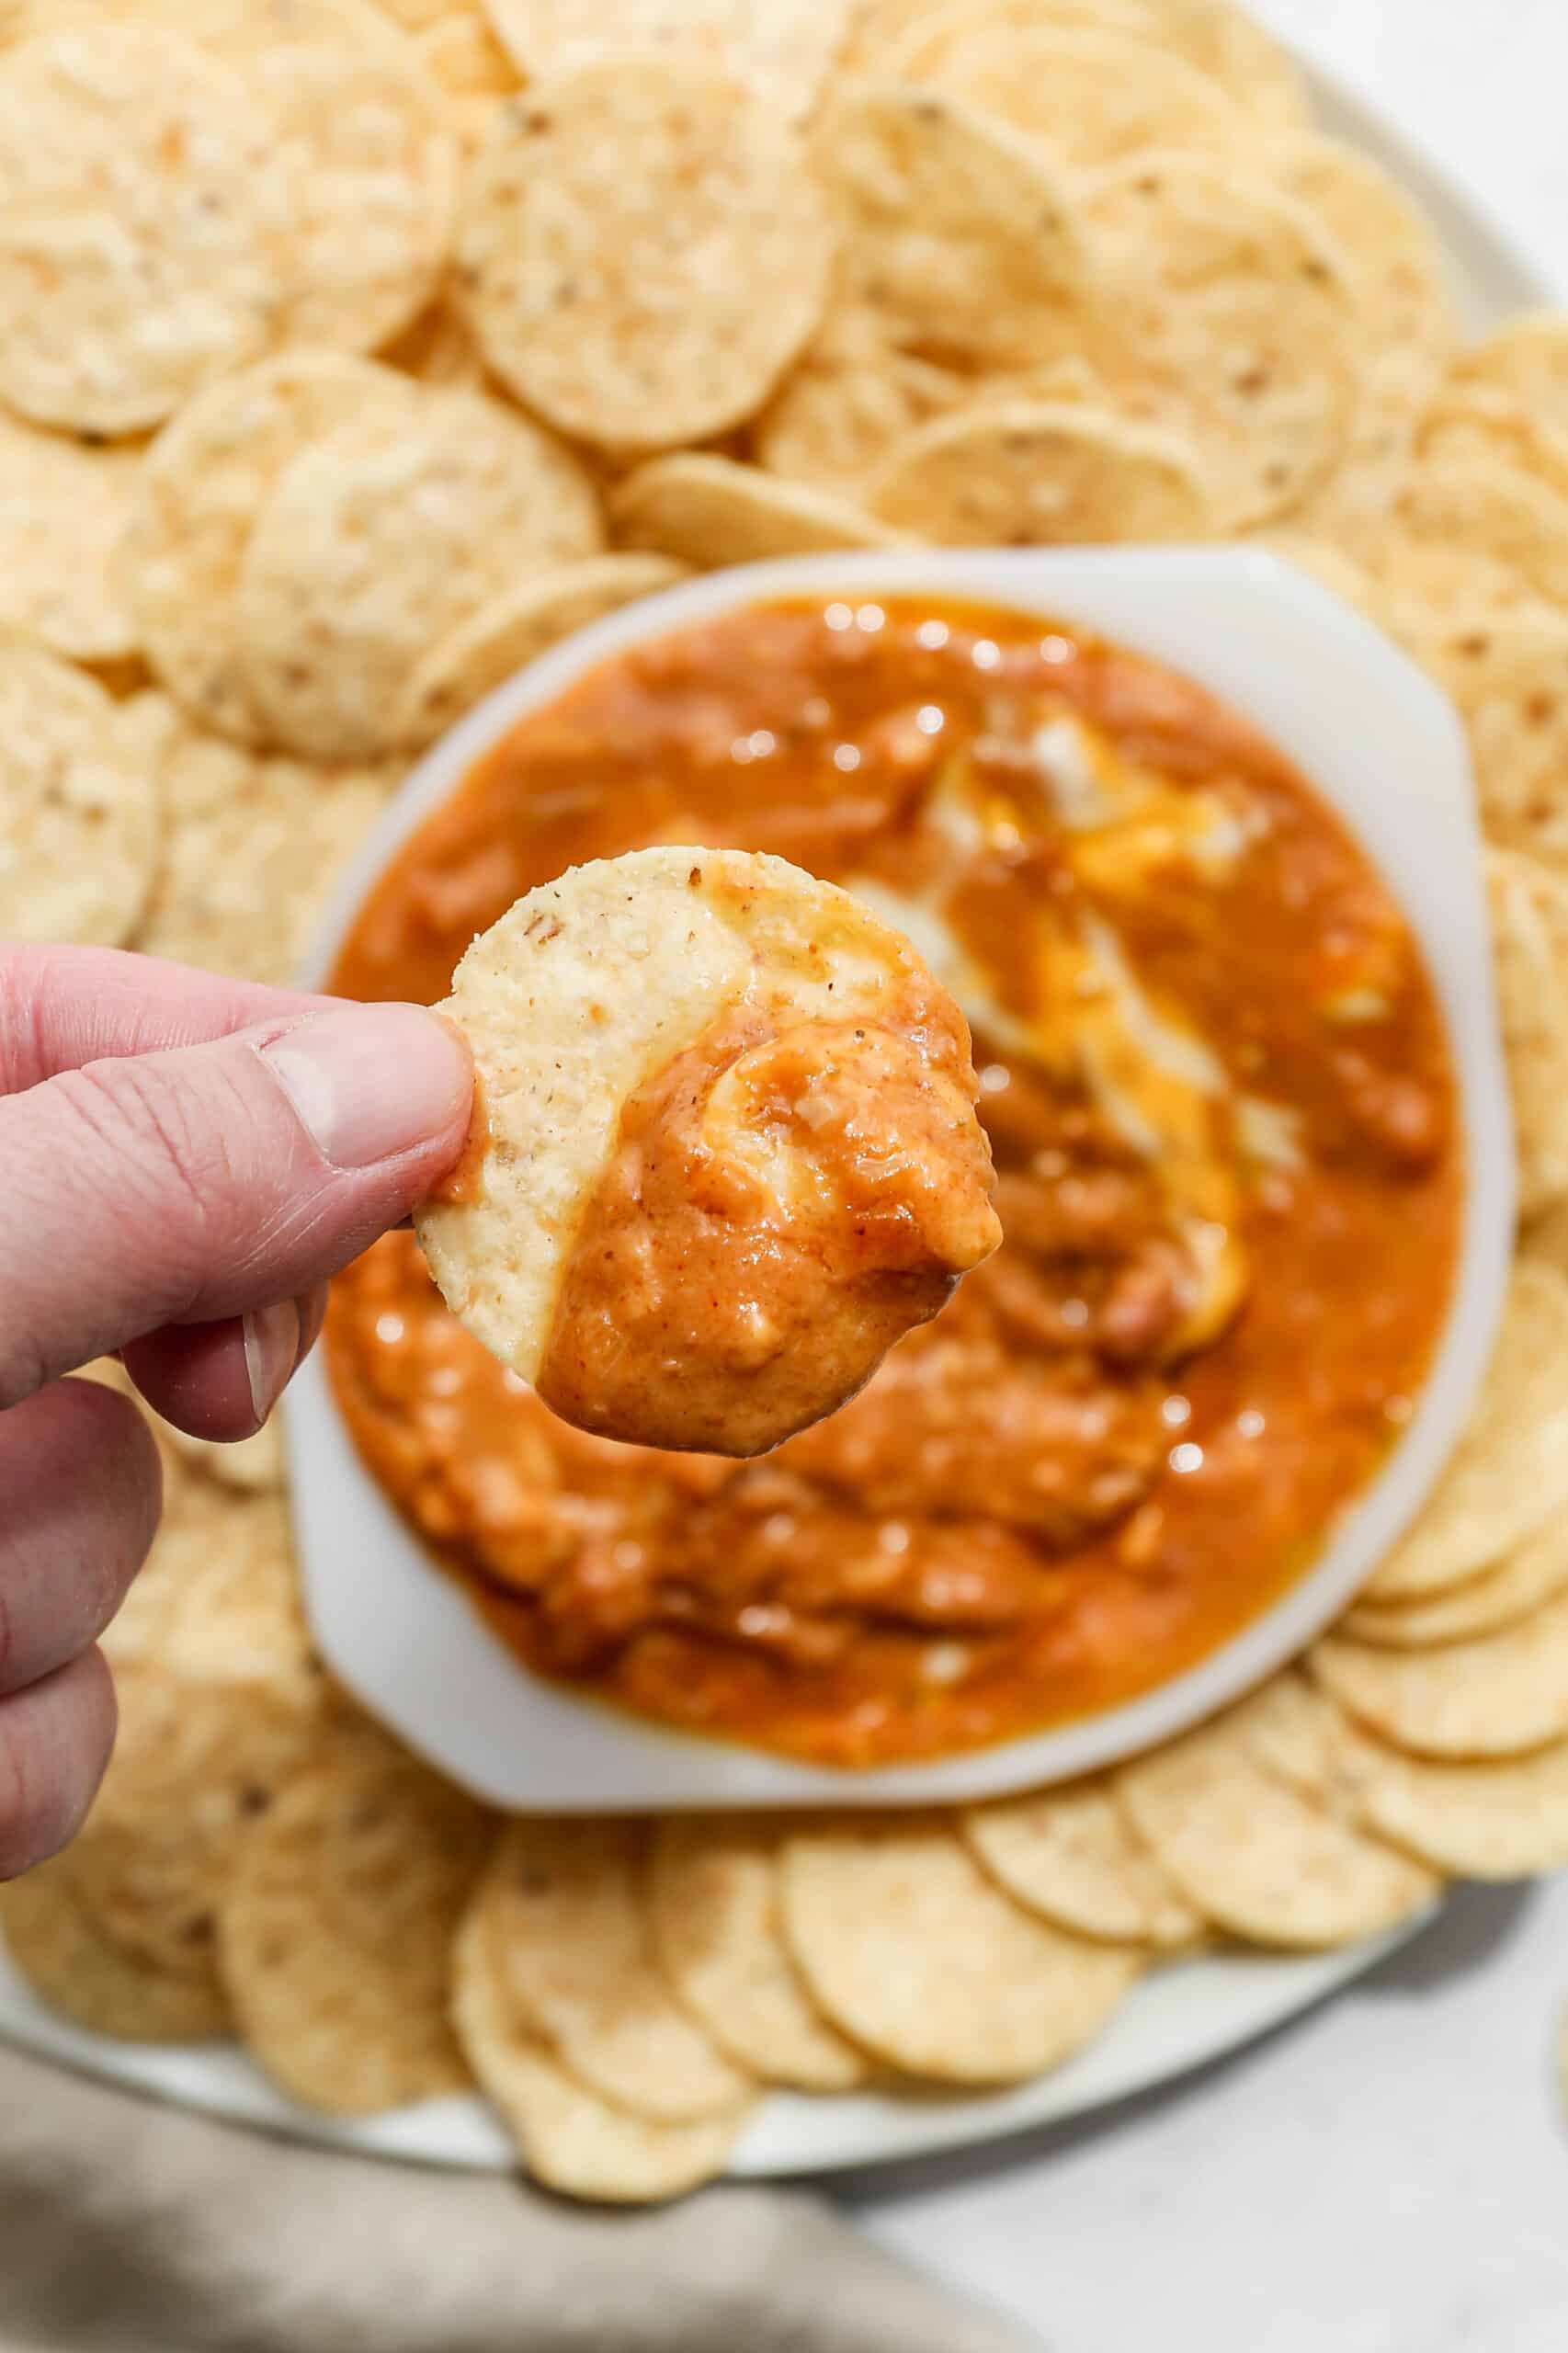
    a white bowl of gluten free cheesy pinto beans surrounded by round tortilla chips with me holding a chip with dip on it.
    [feast_advanced_jump_to]

    Health Benefits of Pinto Beans

    Pinto beans are one of the most nutritious pantry staples you can keep on hand, and this recipe is a delicious way to get more of them into your diet.

    • High in protein and fiber - Pinto beans are an excellent plant based source of both protein and dietary fiber, which work together to keep you full and satisfied long after the meal is over.
    • Blood sugar friendly - The high fiber content in pinto beans slows digestion and helps prevent blood sugar spikes, making them a smart choice for anyone managing blood sugar levels or looking for steady energy throughout the day.
    • Heart healthy - Pinto beans contain soluble fiber which helps reduce the absorption of cholesterol in the bloodstream. Regular consumption of beans has been linked to lower LDL cholesterol levels and reduced risk of heart disease.
    • Naturally gluten free - Pinto beans are a naturally gluten free ingredient, making them a staple in my kitchen as someone living with celiac disease. Combined with gluten free tortilla chips and gluten free chicken stock, this entire recipe is safe for anyone eating gluten free.

    Serving Suggestions

    There are so many great ways to enjoy these cheesy pinto beans beyond just scooping them up with chips, although that is always a great place to start.

    • With gluten free tortilla chips - The classic way to serve this dish. Set it out warm right from the oven and let everyone dig in.
    • In gluten free bean burritos - Spoon the cheesy pinto beans into a warm gluten free tortilla with rice, shredded chicken or ground beef, and your favorite toppings.
    • As a side dish with tacos - These beans are the perfect companion to taco night. Serve them alongside your favorite gluten free tacos for a complete and satisfying meal.
    • Over rice - Spoon the cheesy beans over a bowl of white or brown rice for an easy and filling weeknight dinner that comes together in minutes.
    • As a nacho topping - Spread the cheesy pinto beans over a layer of gluten free tortilla chips and top with extra shredded cheese, jalapeños, sour cream, and guacamole for loaded gluten free nachos.
    • Over baked potatoes - Spoon the warm cheesy beans over a baked potato and top with sour cream and chives for an easy and satisfying meal.
    • As a party dip - Transfer to a slow cooker set to warm and serve at your next gathering alongside gluten free tortilla chips, crackers, and fresh vegetables for dipping.

    Cheesy Pinto Beans Supplies

    Variations and Add Ins

    One of the best things about this recipe is how easy it is to customize. Here are some of my favorite ways to change it up:

    • Bacon - Stir in a few strips of cooked and crumbled bacon for a smoky and savory twist that takes this dip to the next level.
    • Diced Green Chiles - Add a small can of diced Hatch green chiles to the bean mixture for a mild heat and a subtle smoky flavor that pairs beautifully with the spices.
    • Jalapeños - Stir in diced fresh or pickled jalapeños for extra heat. You can also top the finished dish with sliced jalapeños before baking for a spicy kick.
    • Sour Cream - Stir a few tablespoons of sour cream into the bean mixture before baking for an extra creamy and tangy finish.
    • Black Beans - Swap one can of pinto beans for a can of black beans for a slightly different flavor and a beautiful color contrast in the finished dish.
    • Pepper Jack Cheese - Replace the Monterey Jack cheese with pepper jack for a spicier and more flavorful cheese pull on top.
    • Salsa - Stir a few tablespoons of your favorite salsa into the bean mixture for extra flavor and a hint of tomato.
    • Cilantro - Top the finished dish with freshly chopped cilantro right before serving for a bright and fresh finish.

    Top Tip

    For the creamiest texture make sure you blend one full can of pinto beans with the chicken stock until completely smooth before adding it to the skillet. This creates a silky base that holds everything together and gives the finished dish that rich, creamy consistency. The second can of whole beans adds great texture so do not skip that step either!

    Cheesy Pinto Beans Storage

    Store leftover cheesy pinto beans in an airtight container in the refrigerator for up to 4 days. When you are ready to reheat them the beans may have thickened up in the fridge, so stir in a small splash of chicken stock or olive oil before warming to bring the creamy texture back. Reheat on the stovetop over low heat stirring occasionally, or microwave in 30 second intervals stirring between each until heated through.

    Frequently Asked Questions

    What can I add to beans for flavor?

    My favorite options are onions, minced garlic, and a good spice blend. For this recipe I use smoked paprika, chili powder, cumin, and sea salt to give the beans a deep and savory flavor. I always recommend smoked paprika over regular paprika because the smoky flavor makes a noticeable difference in the finished dish.

    What tastes good with pinto bean dip?

    These cheesy pinto beans are amazing with gluten free tortilla chips as a dip, but they are equally delicious spooned into a gluten free burrito, served over rice, used as a nacho topping, or served alongside tacos and quesadillas as a side dish.

    Can I keep these cheesy pinto beans warm in a crockpot for a party?

    Yes, with a little planning this works well for gatherings! Bake the beans per the recipe instructions first, then transfer them to your crockpot and set it to warm. I would not leave them on warm for more than 2 hours as they can dry out. If they start to thicken up too much you can stir in a small splash of chicken stock to bring the creamy texture back.

    Can I use black beans instead of pinto beans?

    Yes, black beans work well in this recipe. The texture and flavor will be slightly different but still delicious. You can also use a combination of pinto beans and black beans for a fun variation.

    Can I make this recipe with dried pinto beans instead of canned?

    Yes. If you want to use dried pinto beans you will need approximately three cups of cooked pinto beans to replace the two cans called for in this recipe. Cook the beans until completely tender before using them in the recipe and you may need to add a little extra salt since canned beans already contain sodium.

    What is the best cheese for cheesy pinto beans?

    I use a combination of sharp cheddar and Monterey Jack in this recipe because together they give you great flavor and a beautiful melty texture. Pepper jack is a great substitute for the Monterey Jack if you want extra heat, and a Mexican blend cheese also works beautifully.

    Didn't find the answer you're looking for?

    Ask AI to answer based on this recipe:

    ChatGPT
    Google AI
    Perplexity
    Grok
    Claude

    More Recipes You Might Enjoy

    • Gluten Free Caramelized Onion Dip
    • Gluten Free Homemade Ranch Dip
    • Creamy Sausage Bean Dip
    • Gluten Free Burger Sauce

    I get a lot of my ingredients from Thrive Market. Thrive Market has been a game changer for me eating gluten free. They have so many options I can't get at my rural grocery stores! Use this link to get 40% off your first order!

    Print
    clock clock iconcutlery cutlery iconflag flag iconfolder folder iconinstagram instagram iconpinterest pinterest iconfacebook facebook iconprint print iconsquares squares iconheart heart iconheart solid heart solid icon

    Gluten Free Cheesy Pinto Beans


    5 Stars 4 Stars 3 Stars 2 Stars 1 Star

    5 from 3 reviews

    • Author: Elaine VanVleck
    • Total Time: 20 minutes
    • Yield: 2 cups 1x
    • Diet: Gluten Free
    Print Recipe
    Pin Recipe

    Description

    These gluten free cheesy pinto beans are a warm, creamy, and incredibly flavorful dip or side dish that comes together in just 20 minutes. Pinto beans are blended with chicken stock, seasoned with smoked paprika, chili powder, and cumin, then baked with a generous layer of cheddar and Monterey Jack cheese until perfectly golden and bubbling. Serve hot with gluten free tortilla chips as a party dip, spoon into burritos for an easy weeknight dinner, or enjoy as a hearty Mexican inspired side dish!


    Ingredients

    Scale
    • 2 - 15 ounce cans Pinto Beans, drained and rinsed
    • ½ cup Chicken Stock
    • 2 Tbsp. Olive Oil
    • 1 small Yellow Onion, finely chopped
    • 1 Tbsp. Minced Garlic
    • 1 tsp. Smoked Paprika
    • 1 tsp. Chili Powder
    • 1 tsp. Ground Cumin
    • 1 tsp. Sea Salt
    • 1 cup Cheddar Cheese, shredded
    • 1 cup Monterrey Jack Cheese, shredded
    • Gluten Free Tortilla Chips, for servings

    Instructions

    Preheat your oven to 400 degrees.

    In a food processor or blender puree 1 can of pinto beans (drained and rinsed) with the chicken stock. Set aside.

    In a skillet over medium heat add the olive oil and cook the onions and minced garlic until the onions are translucent, about 3-4 minutes. Add the spices and cook 1-2 minutes more.

    Add the can of pinto beans, the bean puree, ½ cup cheddar cheese and ½ cup monterrey jack cheese to the onion mixture and stir to combine.

    Pour into a 2 quart or 8x8 glass baking dish. Top with remaining cheese.

    Bake at 400 degrees for 10 minutes. The beans will be bubbling around the edges when they are done.

    • Prep Time: 10 minutes
    • Cook Time: 10 minutes
    • Category: Dips, Side Dishes
    • Method: Baking
    • Cuisine: American

    Did you make this recipe?

    Tag @smallfarmbiglife on Instagram and hashtag it #smallfarmbiglife

    If you made these gluten free cheesy pinto beans I would love to hear what you thought! Please leave a star rating and a comment below.

    Ingredients

    • Canned Pinto Beans
    • Chicken Stock
    • Olive Oil
    • Yellow Onion
    • Minced Garlic
    • Smoked Paprika
    • Chili Powder
    • Ground Cumin
    • Sea Salt
    • Cheddar Cheese
    • Monterrey Jack Cheese
    • Tortilla Chips

    Instructions

    Preheat your oven to 400 degrees.

    In a food processor or blender puree 1 can of pinto beans (drained and rinsed) with the chicken stock. Set aside.

    In a skillet over medium heat add the olive oil and cook the onions and minced garlic until the onions are translucent, about 3-4 minutes. Add the spices and cook 1-2 minutes more.

    Add the can of pinto beans, the bean puree, ½ cup cheddar cheese and ½ cup monterrey jack cheese to the onion mixture and stir to combine.

    Pour into a 2 quart or 8x8 glass baking dish. Top with remaining cheese.

    Bake at 400 degrees for 10 minutes. The beans will be bubbling around the edges when they are done.


    • « Previous Page
    • 1
    • …
    • 5
    • 6
    • 7
    • 8
    • 9
    • …
    • 11
    • Next Page »

    Welcome! I'm Elaine

    I'm so glad you are here! I share easy gluten free recipes from my small farm in Washington.

    Be sure to sign up for my newsletter to stay up to date on all of my new recipes.

    More about me...
    • Instagram
    • Pinterest
    • Facebook
    • Twitter
    • Mail

    Load up on new recipes, exclusive goodies, + more!
    Sign up below to stay up-to-date on news, events, and special deals.
    Thank you for subscribing!

    Easy Meals Recipes

    • Gluten Free Instant Pot Chili Mac and Cheese
    • Gluten Free Taco Casserole
    • Gluten Free Cowboy Baked Beans
    • Gluten Free Walking Taco Casserole
    • Gluten Free Creamy Beef and Mushroom Pasta
    • Gluten Free Instant Pot Chicken and Dumplings
    • Instant Pot Mexican Style Beef and Rice
    • Gluten Free Chicken Parmesan Pasta Casserole
    • Gluten Free One Pot Hamburger Helper Copycat
    • Gluten Free Salisbury Steak with Mushroom Gravy
    • Gluten Free Air Fryer Fajitas
    • Gluten Free Sloppy Joe Casserole

    Footer

    back to top

    About

    • Privacy Policy
    • Shop my Amazon Page
    • Follow me on LTK

    Newsletter

    • Sign Up! for emails and updates

    Contact

    • Contact
    • Media Kit
    • About Me

    As an Amazon Associate I earn from qualifying purchases.

    I may get commissions for purchases made through links on this site.

    Copyright © 2026 Brunch Pro on the Brunch Pro Theme