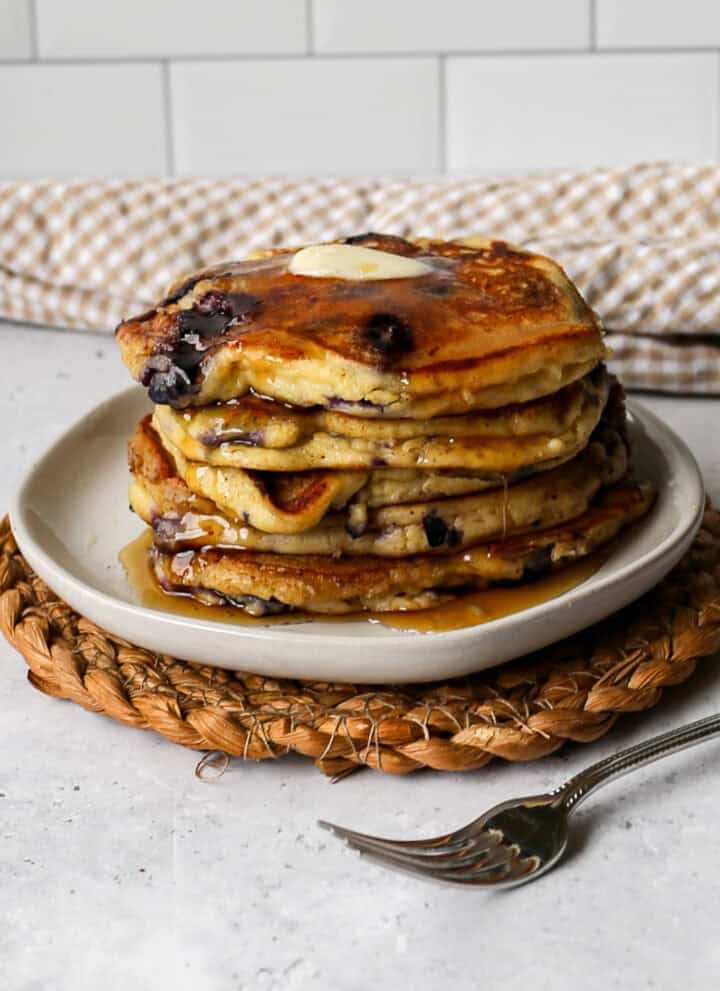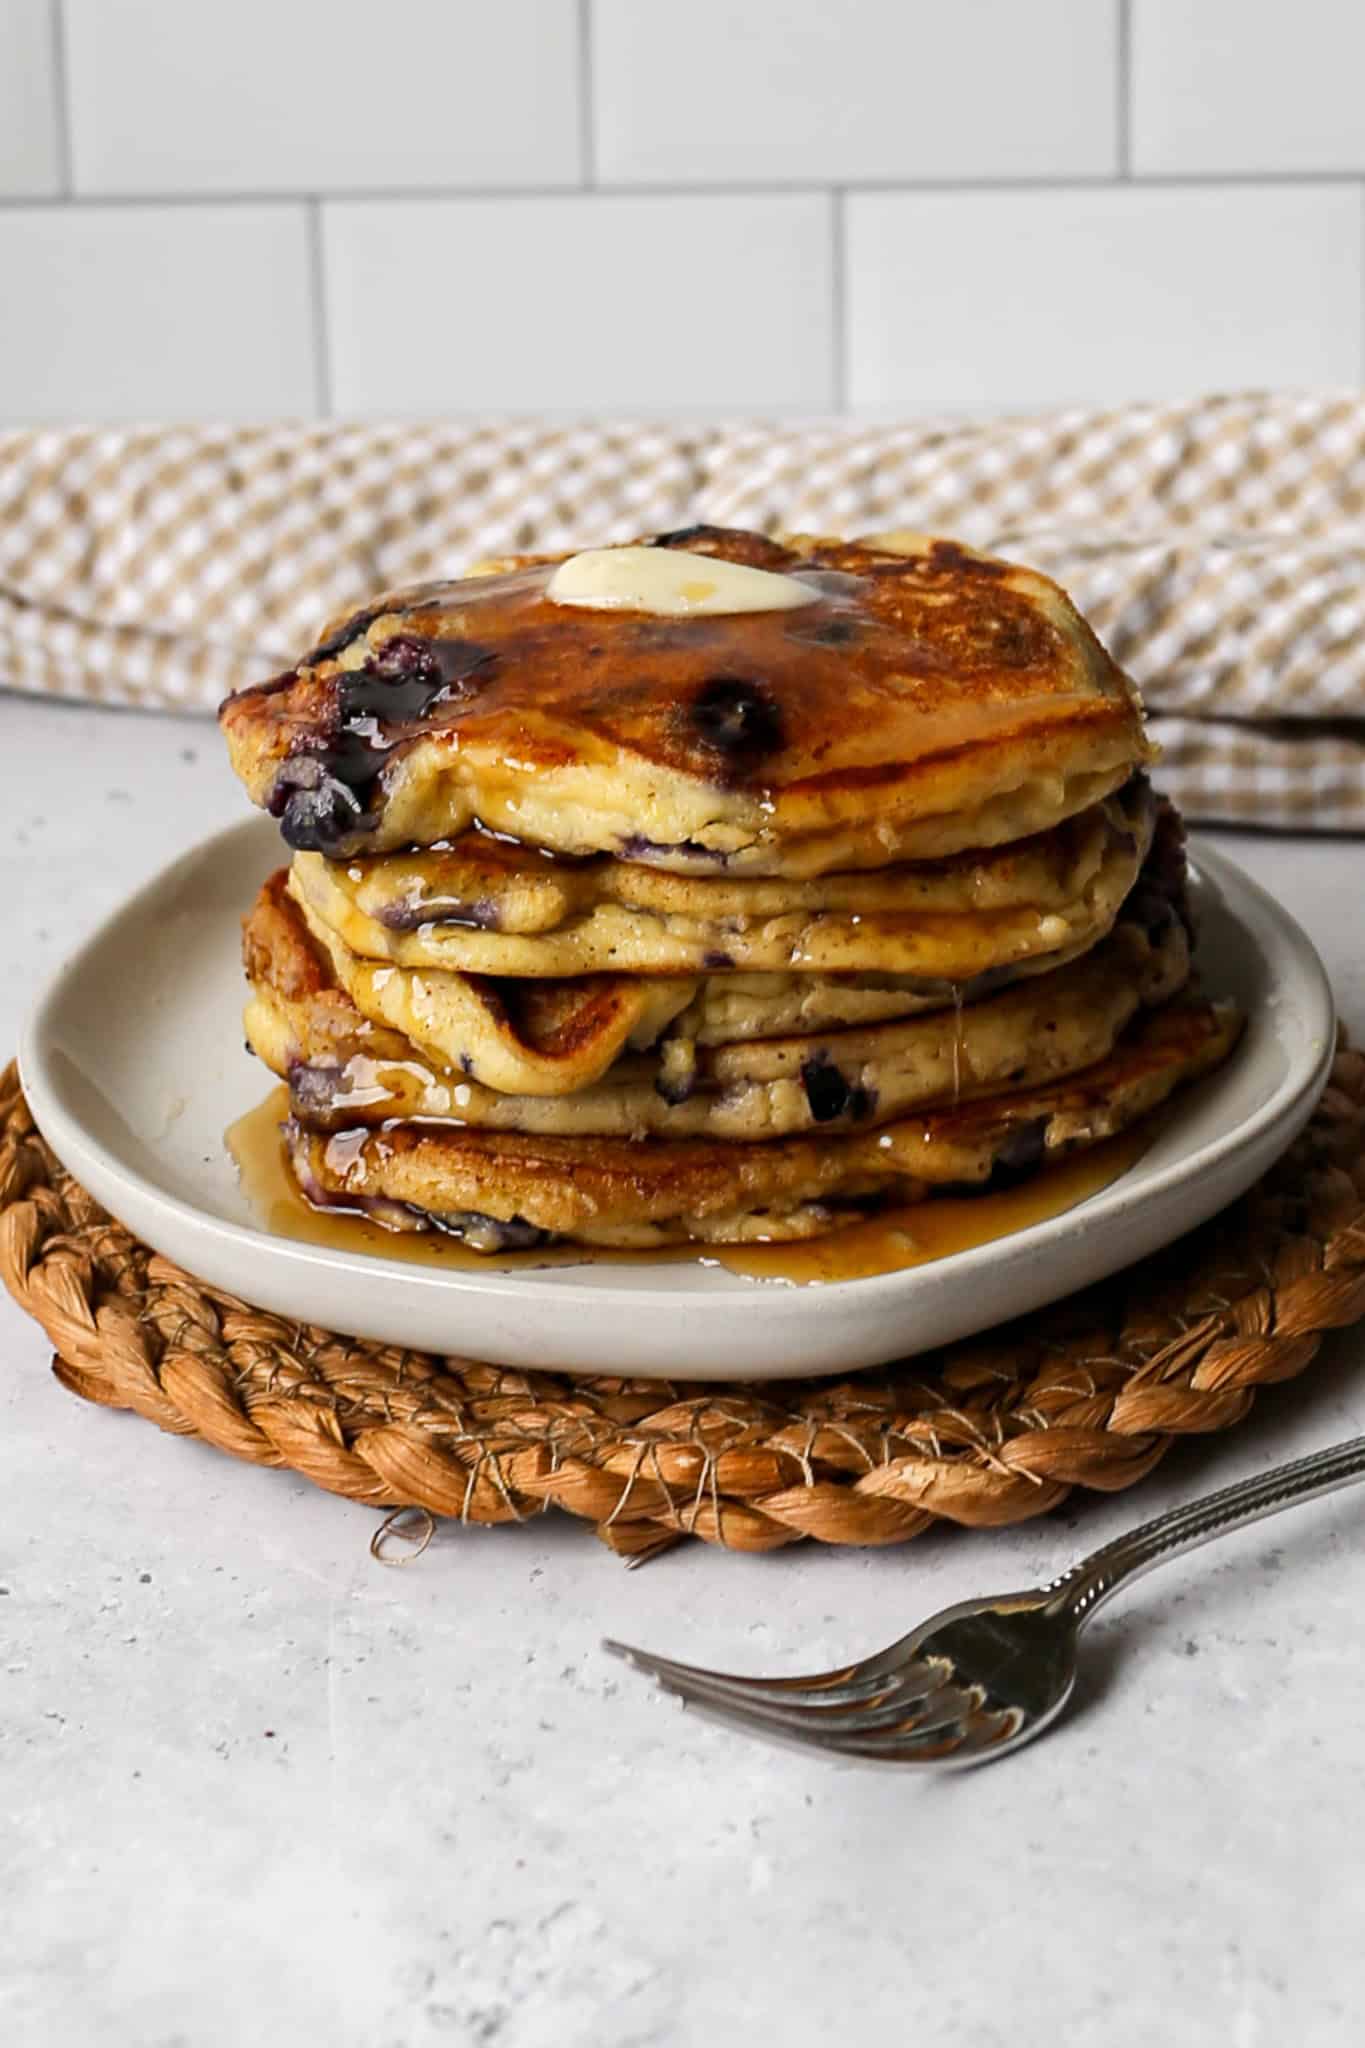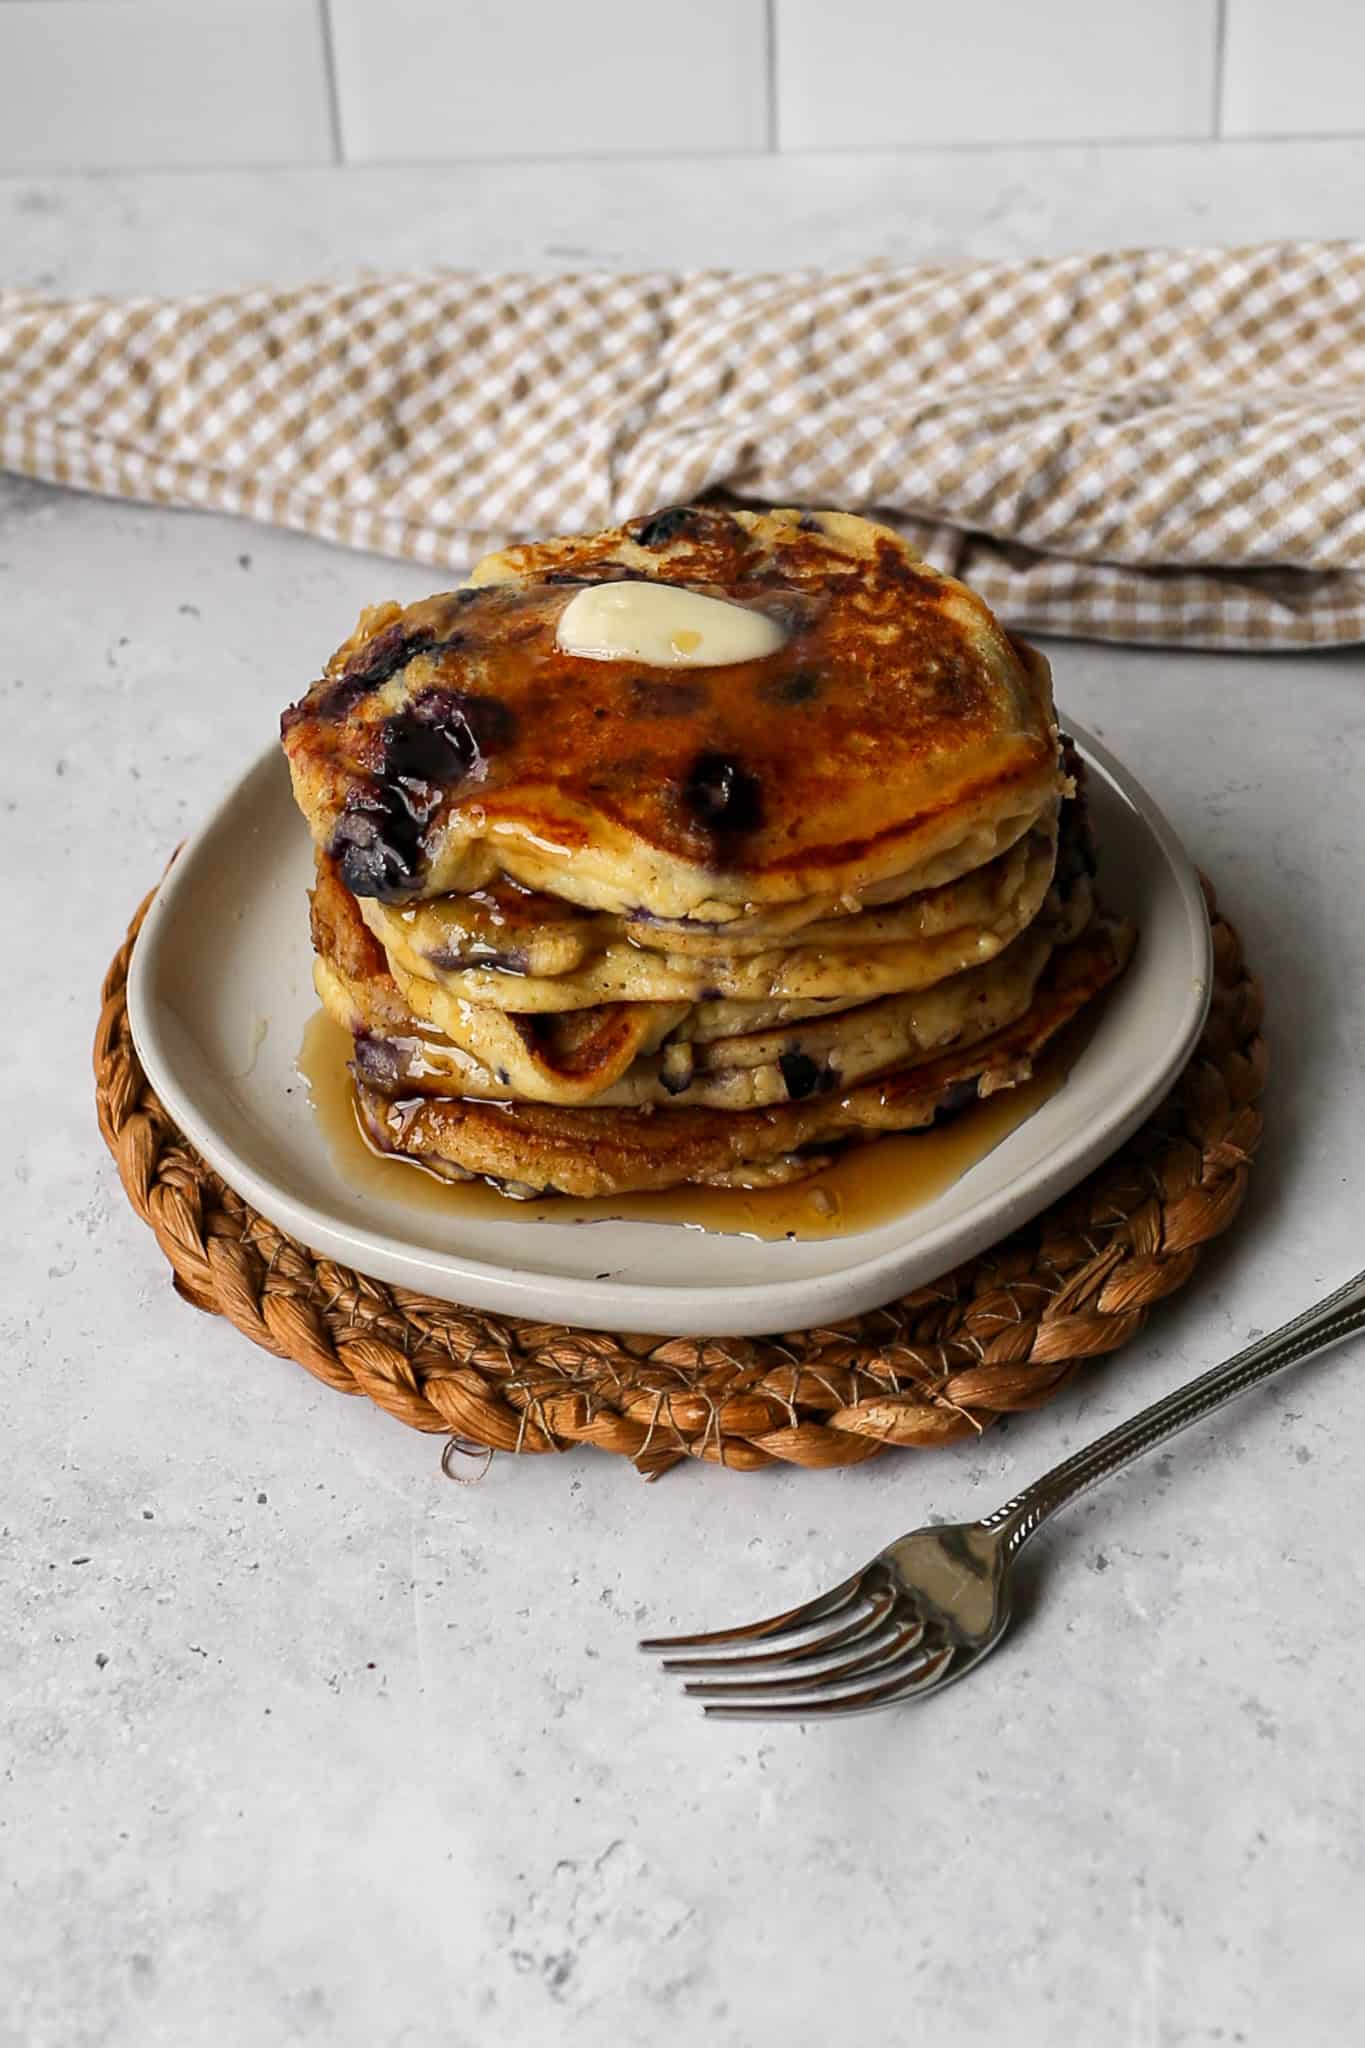
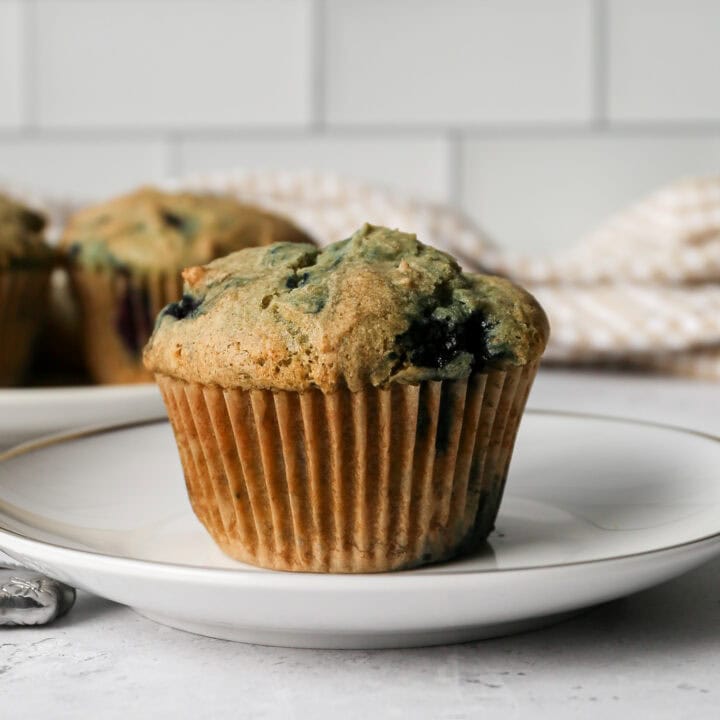
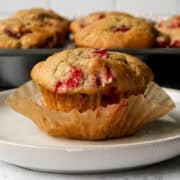
These easy gluten free strawberry muffins are the perfect way to celebrate fresh strawberry season and they come together in just 35 minutes with simple everyday ingredients. Moist and fluffy gluten free muffins loaded with fresh chopped strawberries in every bite, these are the kind of bakery style muffins that make your whole kitchen smell amazing while they are in the oven. Made with a combination of granulated and brown sugar for the perfect balance of sweetness and a rich buttery flavor that makes these the best gluten free strawberry muffins you will ever taste.
Whether you are making them for a weekend breakfast, a spring brunch, or just because you have a beautiful batch of fresh strawberries on hand these muffins are going to become a seasonal staple in your kitchen.
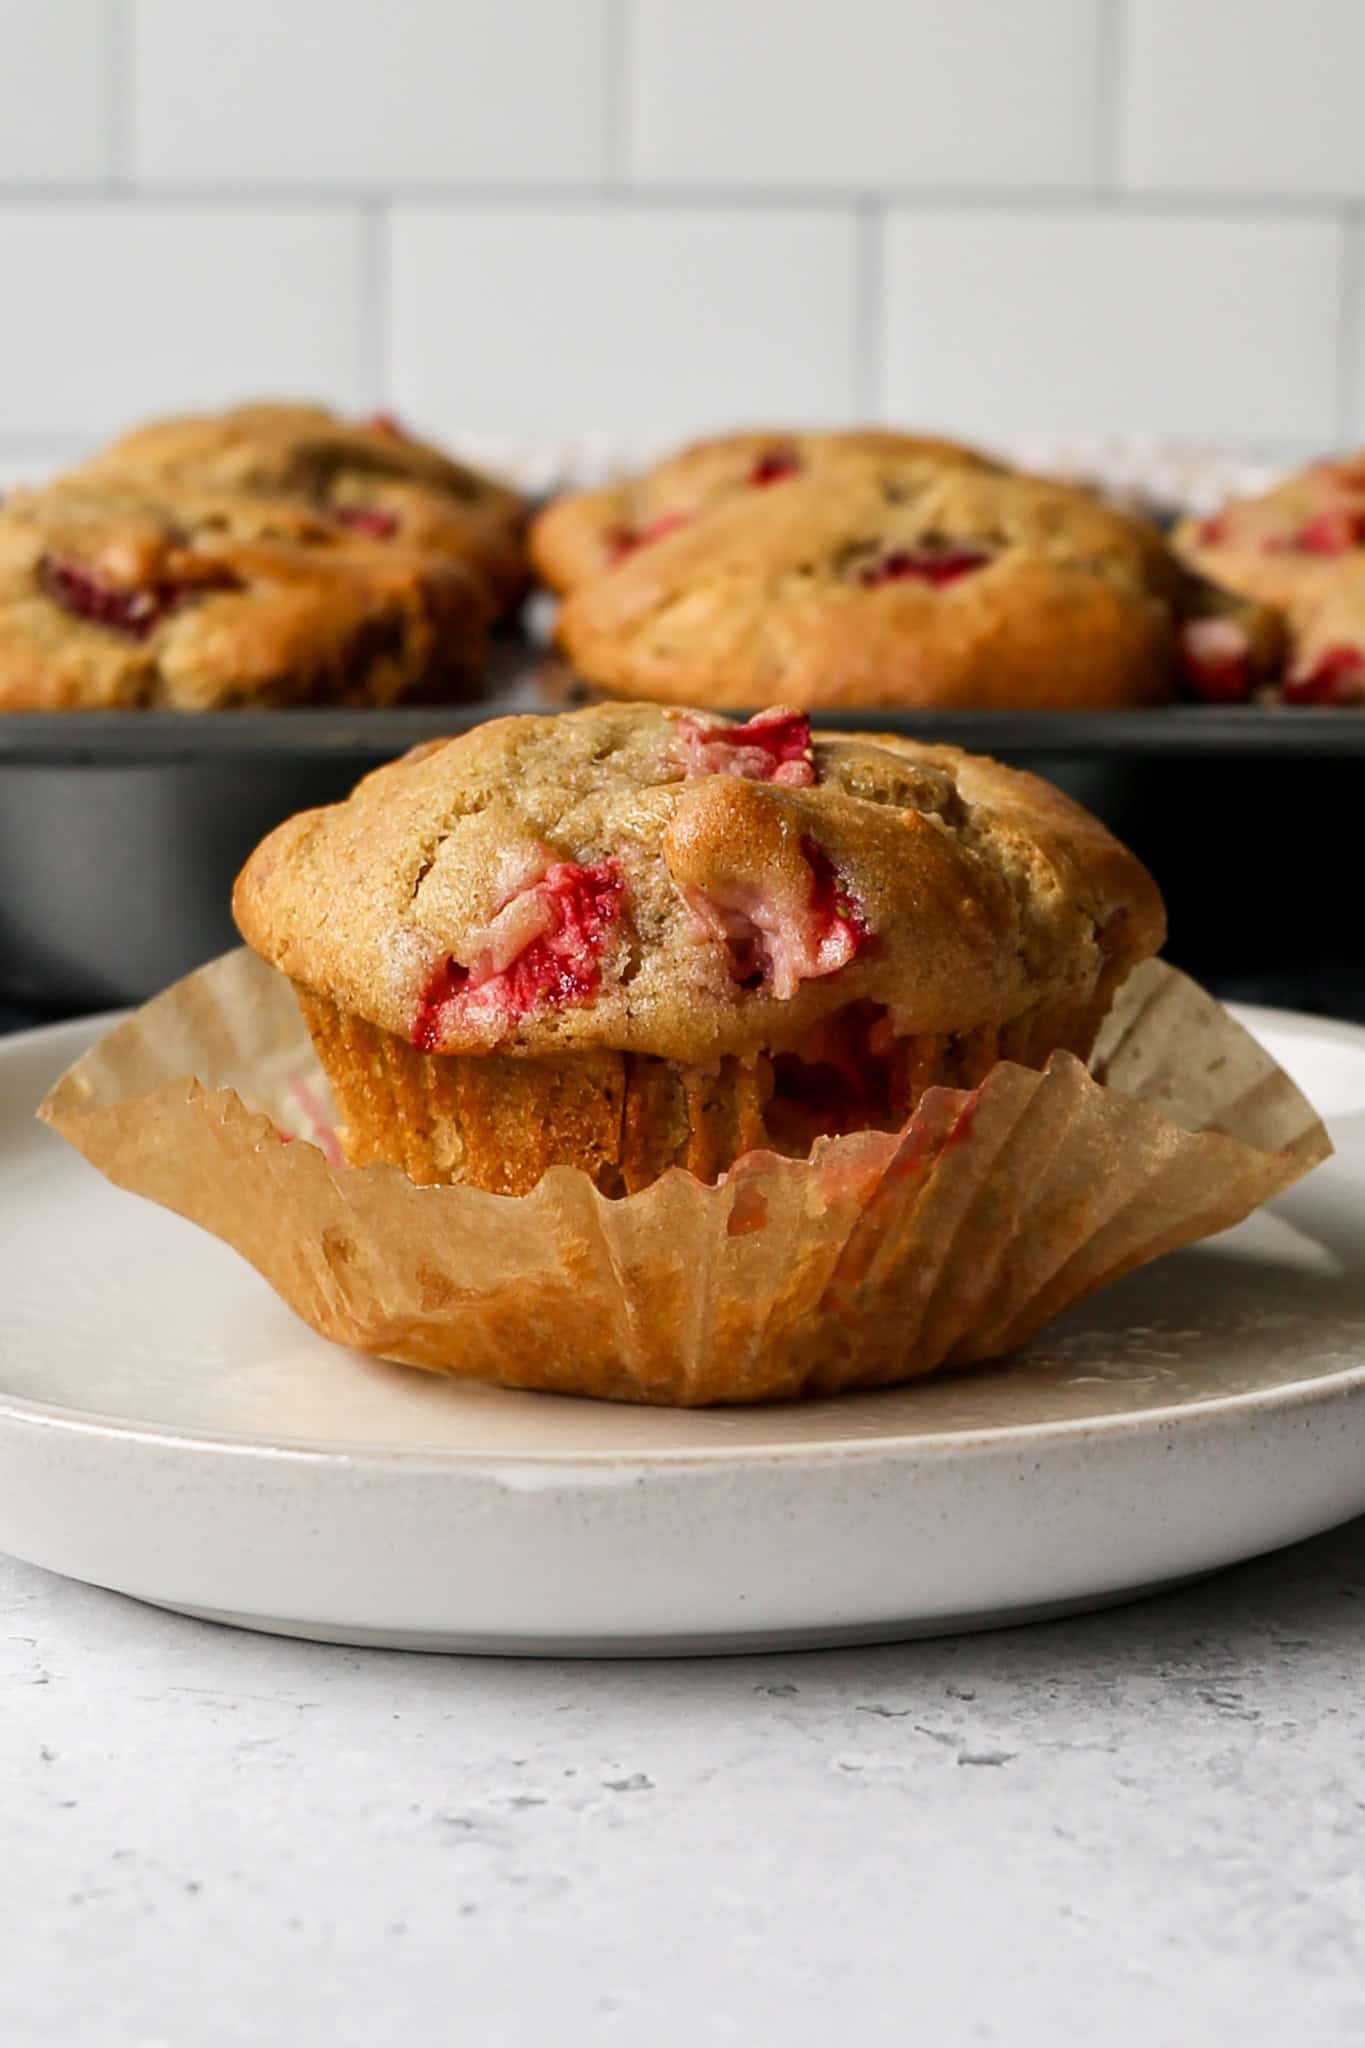
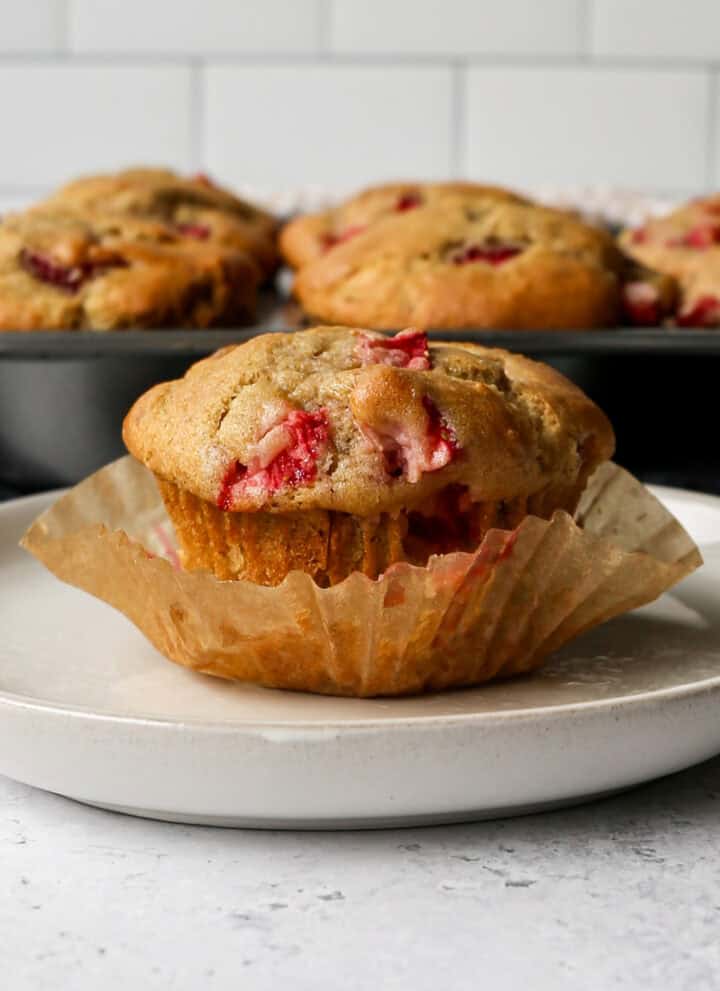
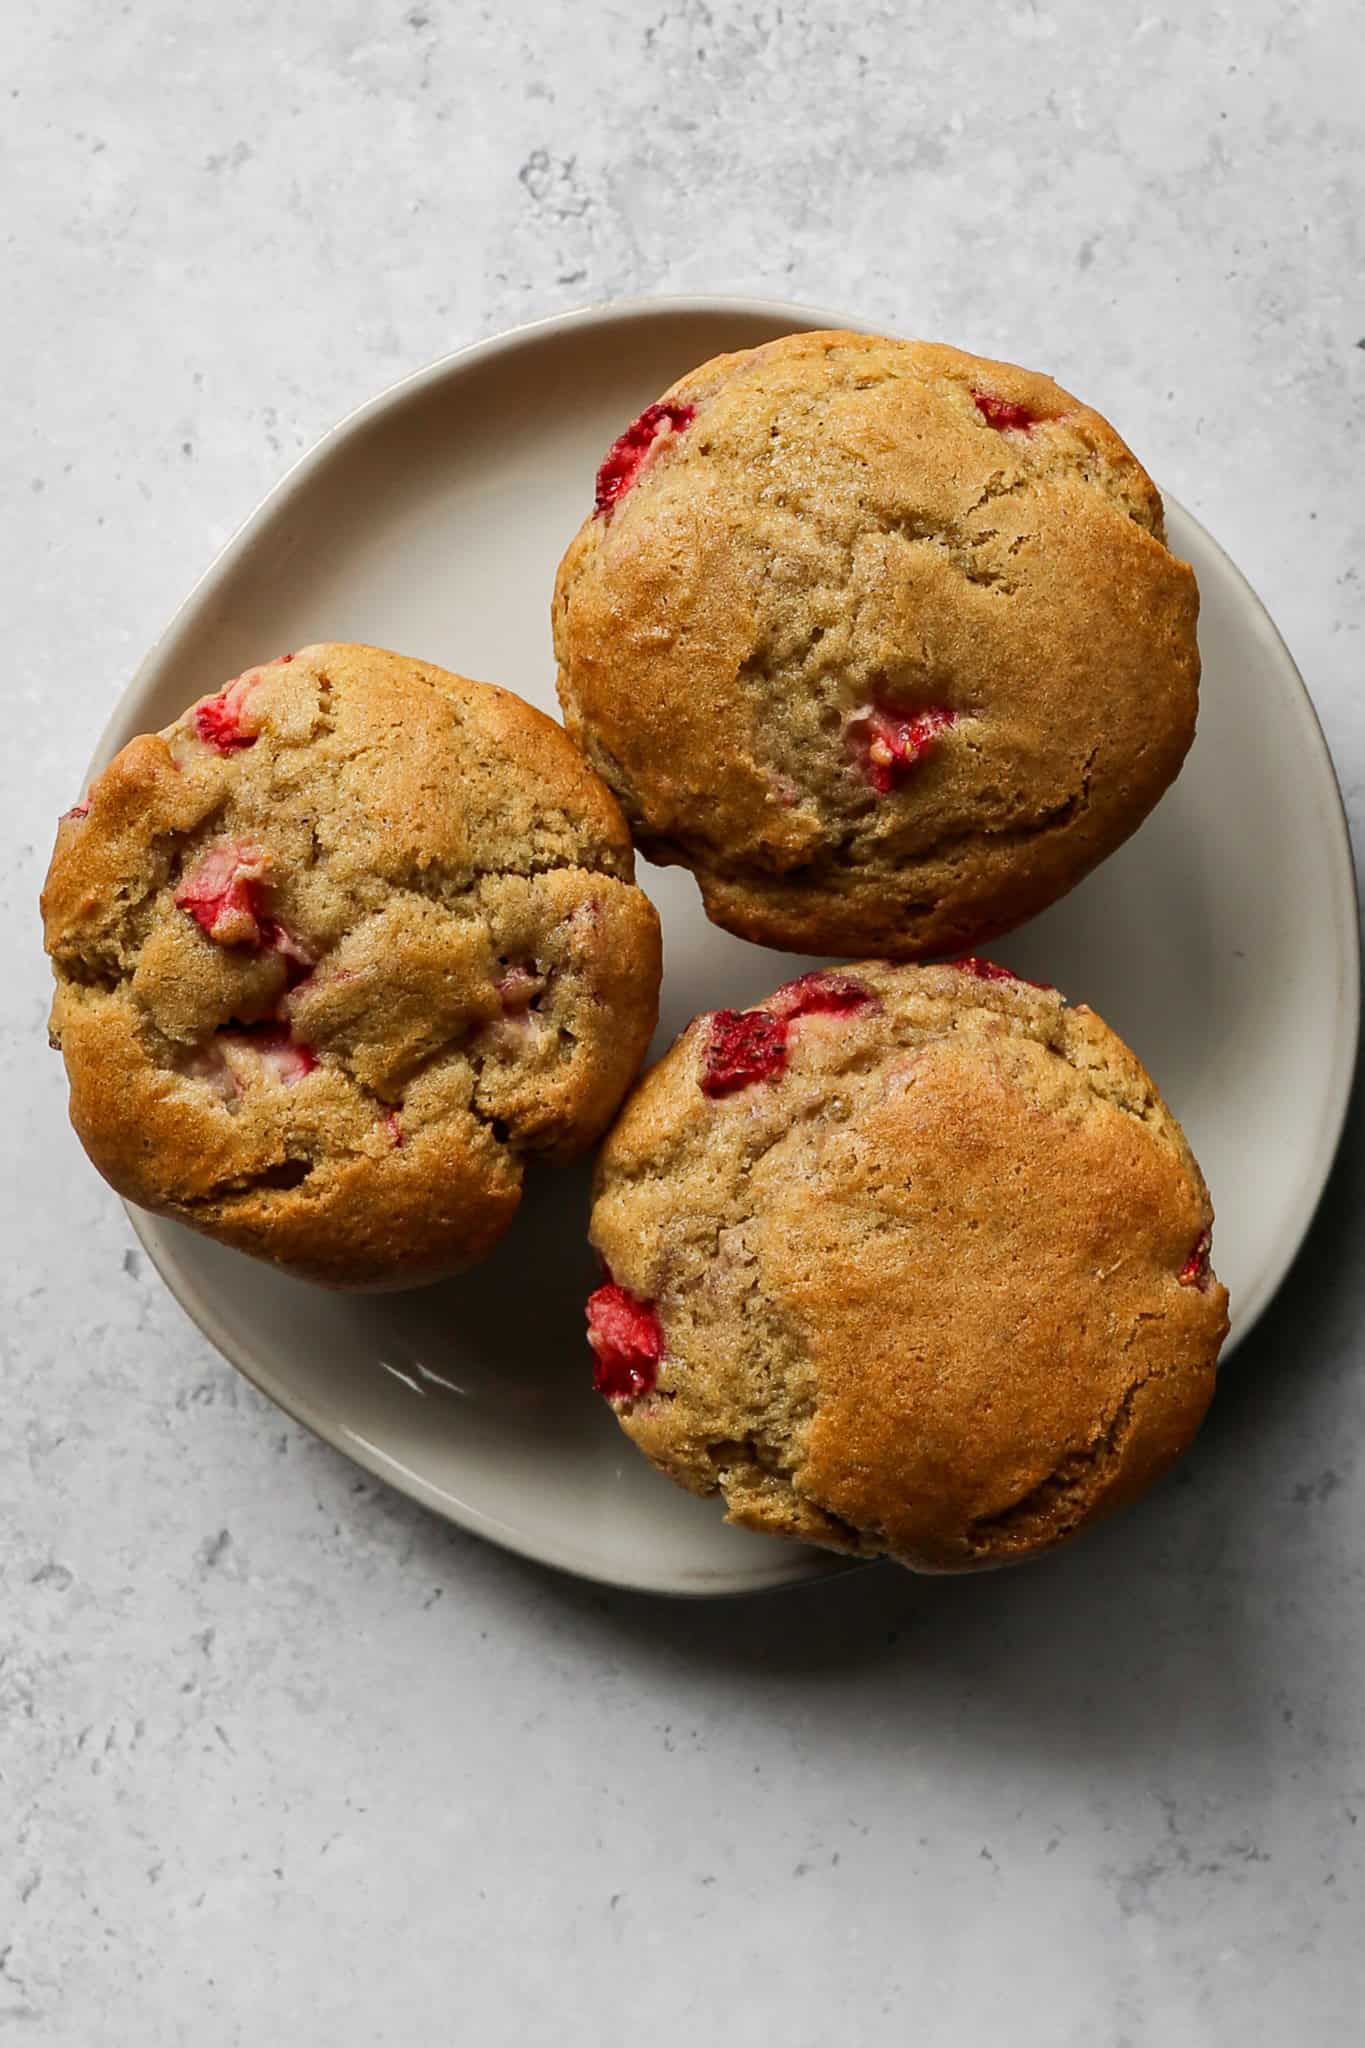
What makes these gluten free strawberry muffins so special is the generous amount of fresh strawberries folded into the batter. Two full cups of fresh chopped strawberries means every single muffin is loaded with juicy pockets of sweet berry flavor from top to bottom.
The trick of spacing the muffins out across two pans with only six muffins per pan gives each one plenty of room to rise beautifully in the oven for that gorgeous domed top you want in a really good bakery style muffin.
These are gluten free from start to finish and the kind of easy gluten free baking recipe that disappears fast at every gathering, potluck, and brunch table they are brought to.
If you are looking for more gluten free strawberry recipes try my Gluten Free Strawberry Upside Down Cake, my Gluten Free Strawberry Cobbler, my Gluten Free Strawberry Jam Bars or my 3 Ingredient Strawberry Lemonade Mocktail.
You can find all my breakfast recipes here: Gluten Free Breakfast Recipes
Instructions
Preheat your oven to 350 degrees. Line two muffin pans with 12 liners (6 liners for each pan). Giving room around the muffins while they bake will help them rise more.
In a large mixing bowl whisk together the gluten free flour, baking powder, salt and baking soda.
In the bowl of your stand mixer add the eggs and sugar. Blend until mixed together. Add the melted butter, milk and vanilla. Blend together.
Add the dry ingredients to the wet ingredients and blend just until combined.
Remove the bowl from your mixer and fold the chopped strawberries into the batter with a spatula.
Evenly spoon batter into lined muffin pans.
Bake at 350 degrees for 25-30 minutes. They will be browned and a toothpick will come out clean when they are done.
Let them cool completely in the muffin pans and then store in an air tight container.
Supplies


More Recipes You Might Enjoy


I get a lot of my ingredients from Thrive Market. Thrive Market has been a game changer for me eating gluten free. They have so many options I can't get at my rural grocery stores! Use this link to get 40% off your first order!
Gluten Free Strawberry Muffins
- Total Time: 45 minutes
- Yield: 12 muffins 1x
- Diet: Gluten Free
Description
These easy gluten free strawberry muffins are moist, fluffy, and loaded with fresh chopped strawberries in every bite! Made with a combination of granulated and brown sugar for the perfect balance of sweetness and a rich buttery flavor, these bakery style gluten free muffins are ready in just 35 minutes. The perfect easy gluten free breakfast muffin for fresh strawberry season!
Ingredients
- 2 cups Gluten Free Flour
- 2 tsp Baking Powder
- ½ tsp Salt
- ½ tsp Baking Soda
- 2 Eggs
- ½ cup Granulated Sugar
- ½ cup Brown Sugar
- ½ cup Butter, melted
- ½ cup Milk
- 1 tsp Vanilla Extract
- 2 cups Fresh Strawberries, cored and chopped
Instructions
Preheat your oven to 350 degrees. Line two muffin pans with 12 liners (6 liners for each pan). Giving room around the muffins while they bake will help them rise more.
In a large mixing bowl whisk together the gluten free flour, baking powder, salt and baking soda.
In the bowl of your stand mixer add the eggs and sugar. Blend until mixed together. Add the melted butter, milk and vanilla. Blend together.
Add the dry ingredients to the wet ingredients and blend just until combined.
Remove the bowl from your mixer and fold the chopped strawberries into the batter with a spatula.
Evenly spoon batter into lined muffin pans.
Bake at 350 degrees for 25-30 minutes. They will be browned and a toothpick will come out clean when they are done.
Let them cool completely in the muffin pans and then store in an air tight container.
If you made this recipe please leave a star rating and comment below. It helps other readers find this recipe and means so much to me.
- Prep Time: 15 minutes
- Cook Time: 30 minutes
- Category: Breakfast, Snacks
- Method: Baking
- Cuisine: American
If you make these Gluten Free Strawberry Muffins I would love to hear what you think! Leave a star rating and a comment below and let me know how they turned out.
Don't forget to save this recipe to your Pinterest boards so you can find it again all strawberry season long!
Storage
Store these gluten free strawberry muffins in an airtight container at room temperature for up to 2 days. Because these muffins are made with fresh strawberries they have more moisture than a standard muffin and should not be left out at room temperature for more than two days as the fresh fruit can cause them to spoil faster than a muffin made without fresh fruit.
For longer storage place the muffins in a sealed airtight container in the refrigerator for up to 5 days. These muffins also freeze beautifully making them a great option for meal prep during peak strawberry season.
Once completely cooled place individual muffins in a freezer safe bag or airtight container and freeze for up to 3 months. Thaw individual muffins at room temperature for about an hour or warm them in the microwave for 30 to 45 seconds straight from the freezer for a quick and easy gluten free breakfast any morning of the week.
Top Tip
Space your muffins out across two pans with only six muffins per pan rather than filling all twelve cups in one pan. This gives each muffin plenty of room for the hot air to circulate around it in the oven which helps the muffins rise taller and develop that beautiful domed top you see at a really good bakery. When muffins are too close together in a full pan they steam each other rather than bake which results in flat tops and a denser texture. Six muffins per pan with empty cups in between is the simple trick that takes these from good to truly bakery worthy every single time.
Frequently Asked Questions
Fresh strawberries are strongly recommended for this recipe for the best flavor and texture. Fresh strawberries hold their shape better in the batter and do not release as much excess moisture as frozen strawberries which can make the muffins too wet and dense. If you only have frozen strawberries available thaw them completely and drain off as much excess liquid as possible by patting them dry thoroughly with paper towels before folding them into the batter. The muffins will still be delicious but fresh strawberries during peak strawberry season will always give you the absolute best result.
Flat gluten free muffins are usually caused by one of three things. Over mixing the batter after adding the dry ingredients can deflate the air you worked into the eggs and sugar which leads to flat muffins. Filling all twelve cups in one muffin pan rather than spacing six muffins across two pans prevents proper air circulation and causes flat tops. And opening the oven door too early during baking can cause the muffins to sink before they have had a chance to set. Make sure to follow the tip of using only six liners per pan and resist the urge to open the oven before the 25 minute mark.
Absolutely! A simple streusel topping made with gluten free flour, brown sugar, butter, and sliced almonds or chopped pecans would be a wonderful addition to these muffins and would give them an even more bakery worthy look and feel. Simply mix together the streusel ingredients with your fingers until crumbly and sprinkle generously over the top of each muffin before baking. The streusel will bake up golden and crispy and add a delicious buttery crunch to every bite. I have a streusel recipe with my GF Strawberry Rhubarb Muffins that works great on any muffin.
Yes! To make these muffins dairy free substitute your favorite unsweetened dairy free milk for the regular milk and use melted coconut oil or a dairy free butter alternative in place of the melted butter. The texture and flavor will be very similar to the original recipe and the muffins will still be moist and delicious. Both coconut oil and dairy free butter alternatives work well in gluten free muffin recipes without significantly changing the finished result.
A good all purpose gluten free flour blend works best for this recipe. Look for a blend that contains xanthan gum as it helps bind the batter and gives the muffins the best texture and rise. My favorite brands are Bob's Red Mill 1 to 1 Gluten Free Baking Flour and King Arthur Measure for Measure Gluten Free Flour. Both produce moist and fluffy muffins with a great texture. Keep in mind that different flour blends absorb moisture at different rates so your batter consistency may vary slightly depending on which brand you use.
Yes! This recipe doubles easily to make 24 muffins. Simply double all of the ingredients and bake in four muffin pans with six muffins per pan to ensure even rising and beautiful domed tops. You may need to bake in batches depending on how many muffin pans you have. Making a double batch during peak strawberry season and freezing half for later is a wonderful way to enjoy these muffins well beyond strawberry season.