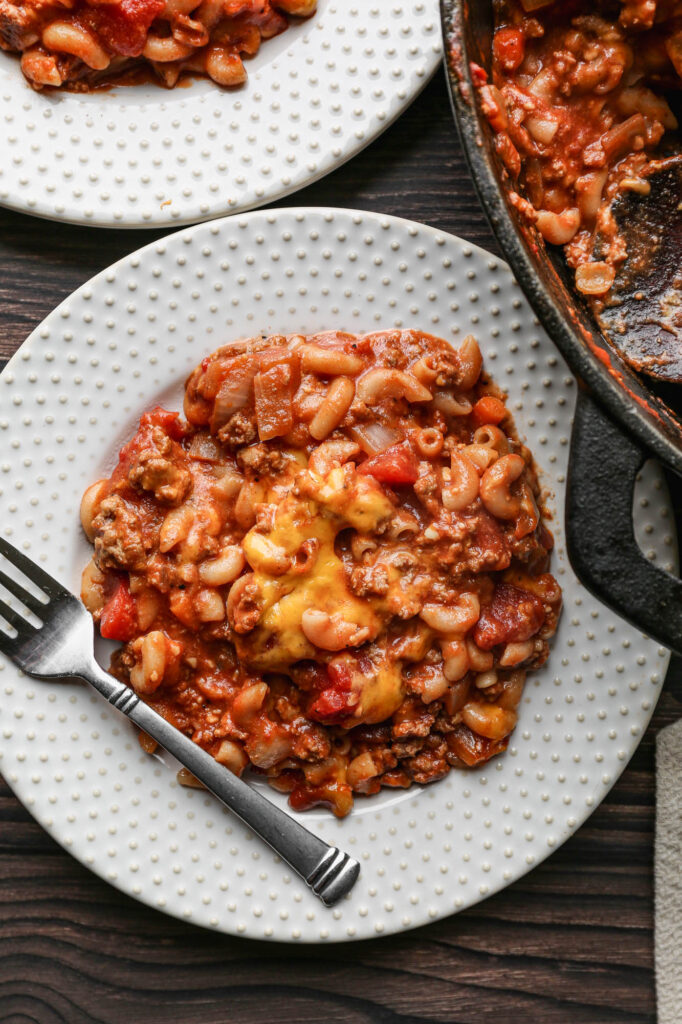
This easy recipe for gluten free sloppy joe casserole is made with pasta and hamburger. This is the best, homemade deep dish dinner and is super cheesy! I combine macaroni noodles and ground beef then it all gets baked. It is super simple!
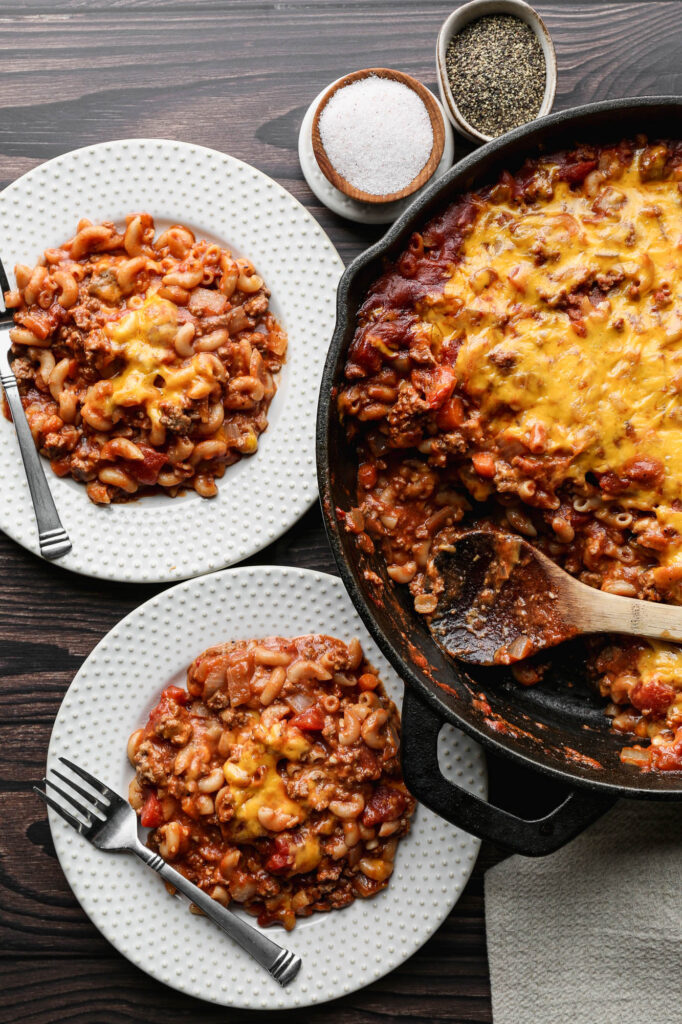
This Gluten-Free Sloppy Joe Casserole is a delicious and hearty dish that combines the classic flavors of a sloppy joe with the comforting texture of a casserole.
Made with ground beef, this recipe offers a quick and easy weeknight dinner option that is both satisfying and gluten-free.
It is perfect for families looking for a filling meal that accommodates dietary restrictions without sacrificing flavor. With simple steps, this casserole is a great way to enjoy a familiar favorite in a new form.
I know there are several brands of gluten free macaroni noodles to choose from, but I really like the Great Value brand from Walmart. They are inexpensive, hold together well and taste good. All wins!
If you are looking for more easy beef recipes try: 10 Easy Gluten Free Beef Recipes
Instructions
Preheat your oven to 375 degrees.
Heat a pot of water to boiling and cook the elbow macaroni noodles. I like to eliminate 2-3 minutes from the packages cooking time so the noodles are el dente when I put them in the casserole. They will continue to cook when you bake the casserole.
In a cast iron skillet or frying pan cook the carrots for 5-6 minutes to soften them. Poor them into a bowl and reserve.
In the skillet cook the ground beef until most of the pink is gone. Add the chopped onions and minced garlic. Cook until the onion is just starting to become translucent. Add the carrots to this mixture.
With the beef mixture on medium low heat add the tomato paste, diced tomatoes, tomato sauce, water, salt, pepper, worcestershire sauce, spicy brown mustard, dried mustard, brown sugar and 1 cup of shredded cheddar cheese. Stir and cook until simmering.
If you are using a frying pan that is not oven proof you will need to pour the mixture into a 9x13 baking dish.
Add the macaroni noodles to the beef mixture and stir them in. Top with the remaining shredded cheddar cheese.
Bake at 375 degrees for 20 minutes.
Let cool slightly and then serve.
Supplies

Frequently Asked Questions
Yes! This recipe is perfect for a freezer meal. You can freeze it before you put it in the oven to melt the cheese. So, make the entire casserole in your freezer container (I like to buy these at the dollar store), cover it tightly and freeze for up to a month.
It's perfect to make two of these at the same time so you have one for dinner and one for a quick freezer meal later. You can later take the dish out of the freezer and defrost in your fridge to cook it that night or the next day.
I love a salad with this casserole. Just a simple iceberg wedge salad with ranch or my recipe for Seven Layer Salad would be perfect too. You could also purchase a pre-made bag salad to make this dinner even easier.

More Recipes You Might Enjoy


I get a lot of my ingredients from Thrive Market. Thrive Market has been a game changer for me eating gluten free. They have so many options I can't get at my rural grocery stores! Use this link to get 40% off your first order!
Gluten Free Sloppy Joe Casserole
- Total Time: 45 minutes
- Yield: 7 servings 1x
- Diet: Gluten Free
Description
This easy recipe for gluten free sloppy joe casserole is made with pasta and hamburger. This is the best, homemade deep dish dinner and is super cheesy! I combine macaroni noodles and ground beef then it all gets baked. It is super simple!
Ingredients
- 8 ounces Gluten Free Elbow Pasta
- 1 ½ pounds Ground Beef
- 1 medium Yellow Onion, chopped
- 1 cup Carrots, chopped
- 1 Tbsp. Minced Garlic
- 1 - 6 ounce can Tomato Paste
- 1 - 14.5 ounce can Diced Tomatoes
- 1 - 15 ounce can Tomato Sauce
- ⅓ cup Water
- 2 tsp. Sea Salt
- 1 tsp. Coarse Ground Black Pepper
- 2 Tbsp. Worcestershire Sauce
- 2 Tbsp. Spicy Brown Mustard
- ½ tsp. Dried Mustard
- 1 Tbsp. Brown Sugar
- 2 cups Cheddar Cheese, shredded
Instructions
Preheat your oven to 375 degrees.
Heat a pot of water to boiling and cook the elbow macaroni noodles. I like to eliminate 2-3 minutes from the packages cooking time so the noodles are el dente when I put them in the casserole. They will continue to cook when you bake the casserole.
In a cast iron skillet or frying pan cook the carrots for 5-6 minutes to soften them. Poor them into a bowl and reserve.
In the skillet cook the ground beef until most of the pink is gone. Add the chopped onions and minced garlic. Cook until the onion is just starting to become translucent. Add the carrots to this mixture.
With the beef mixture on medium low heat add the tomato paste, diced tomatoes, tomato sauce, water, salt, pepper, worcestershire sauce, spicy brown mustard, dried mustard, brown sugar and 1 cup of shredded cheddar cheese. Stir and cook until simmering.
If you are using a frying pan that is not oven proof you will need to pour the mixture into a 9x13 baking dish.
Add the macaroni noodles to the beef mixture and stir them in. Top with the remaining shredded cheddar cheese.
Bake at 375 degrees for 20 minutes.
Let cool slightly and then serve.
- Prep Time: 25 minutes
- Cook Time: 20 minutes
- Category: Casserole
- Method: Baking
- Cuisine: Gluten Free
Top Tip
This is one of those great dinner for nights I forget to make anything. I can't be the only one that thinks there is leftovers or gets so consumed in their day that suddenly it's almost dinner time and there is nothing to eat. Right?!