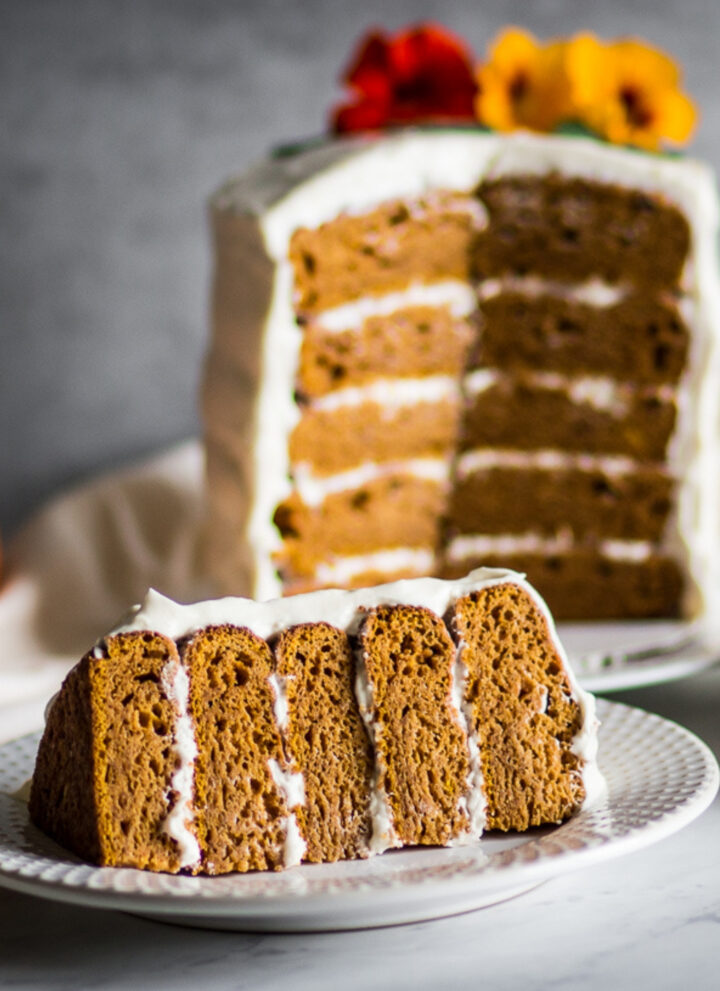
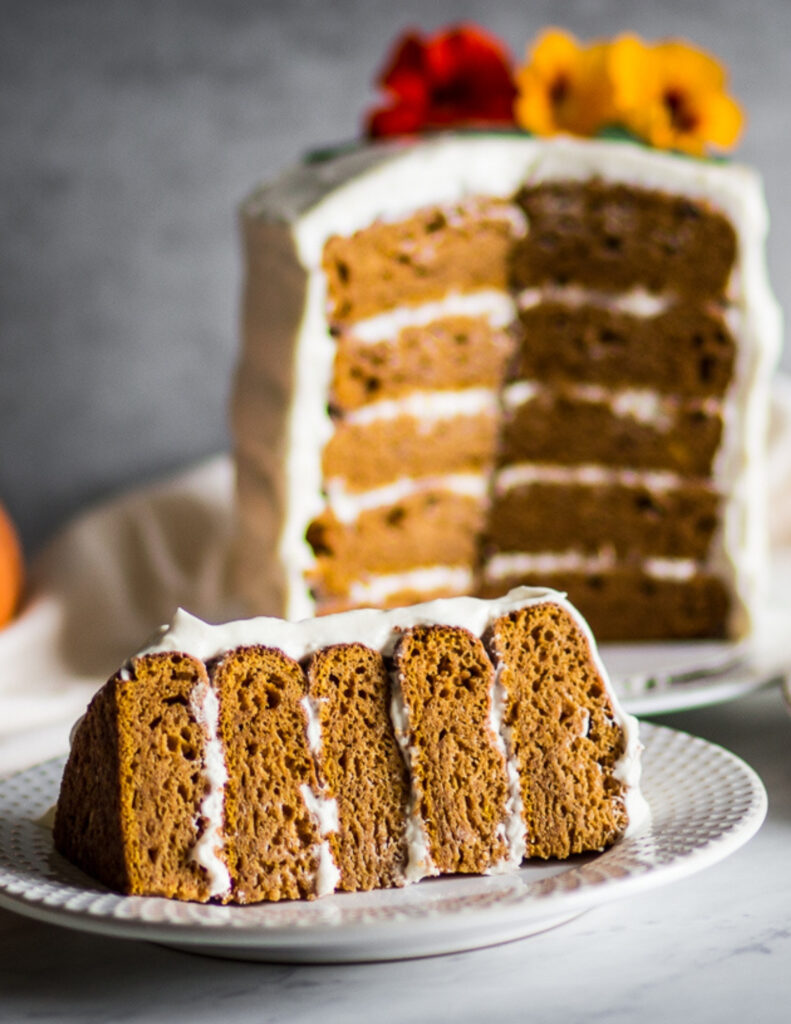
This gluten free Pumpkin Cake with Cream Cheese Frosting is an easy made from scratch treat. The layered cake is moist and a simple fall dessert. I used five mini pans, but you could use two nine inch pans for this recipe.
This gluten free pumpkin cake with cream cheese frosting is the perfect cozy treat to celebrate fall's warm, spiced flavors.
With its rich pumpkin spice aroma, tender moist cake texture, and dreamy cream cheese frosting, this easy pumpkin spice dessert brings comfort and indulgence to any autumn gathering or weeknight sweet tooth moment.
Perfect as a holiday recipe, a simple fall dessert, or a crowd-pleasing pumpkin layer cake. This easy pumpkin cake idea combines familiar fall ingredients into a show stopping treat.
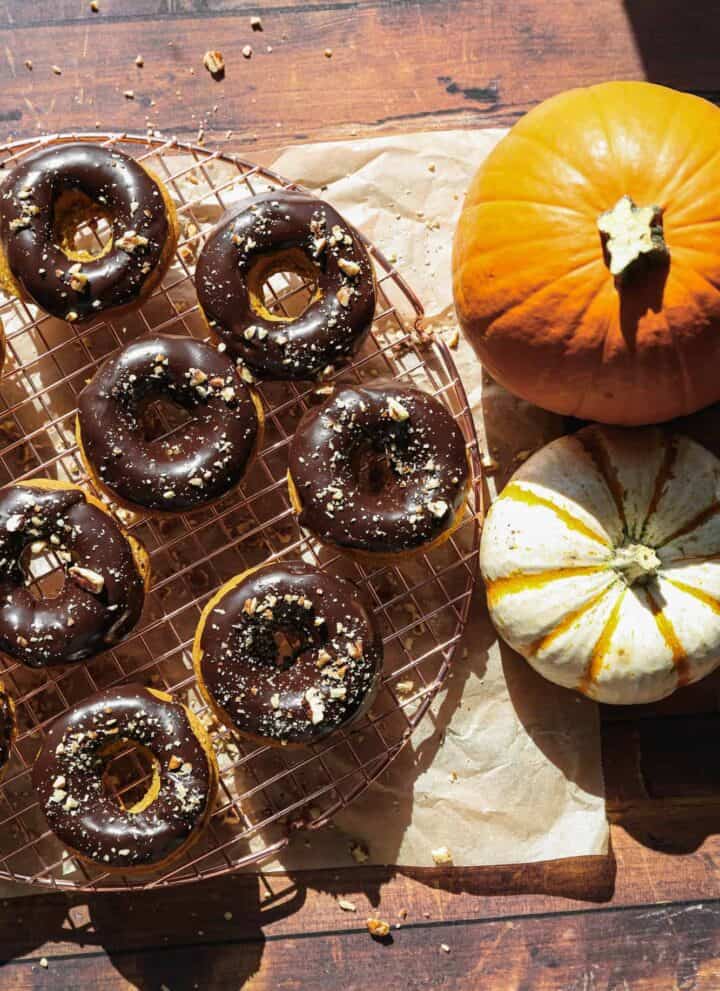
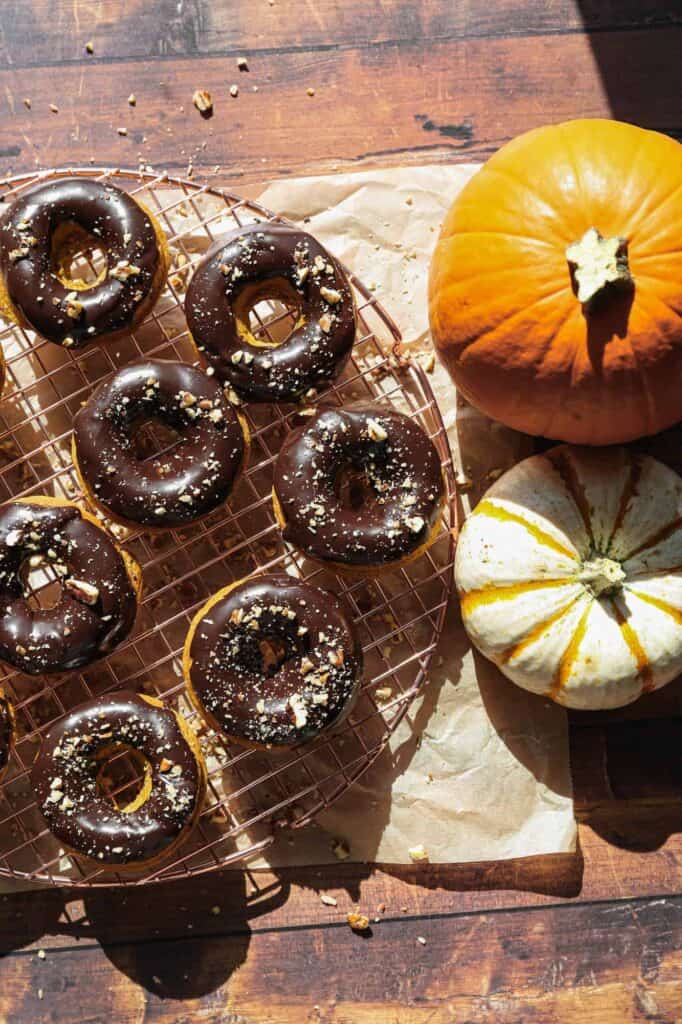
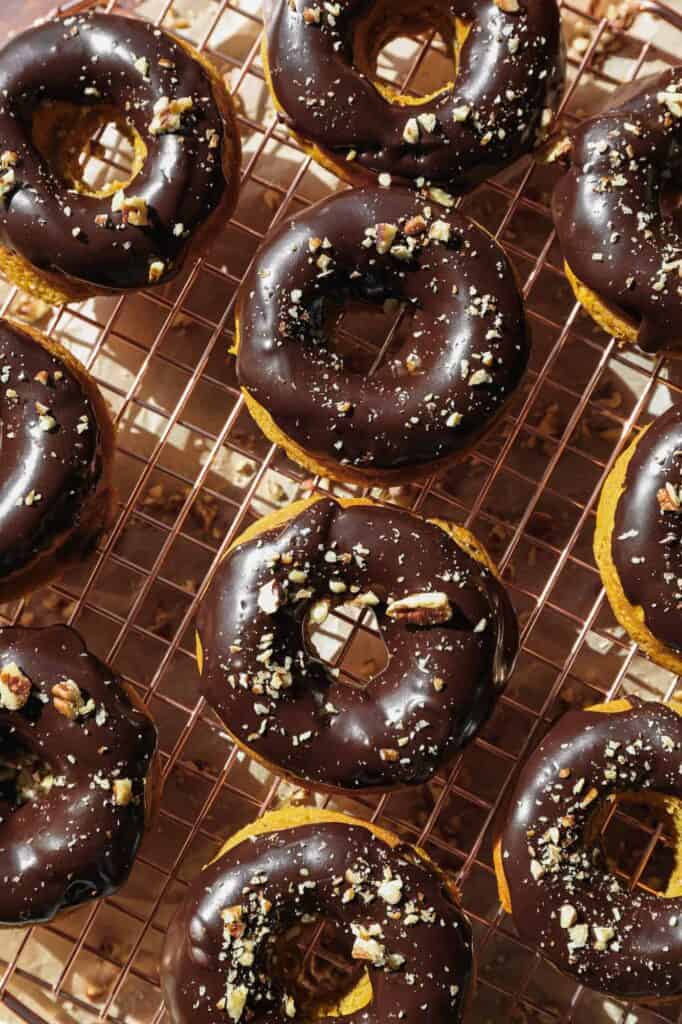
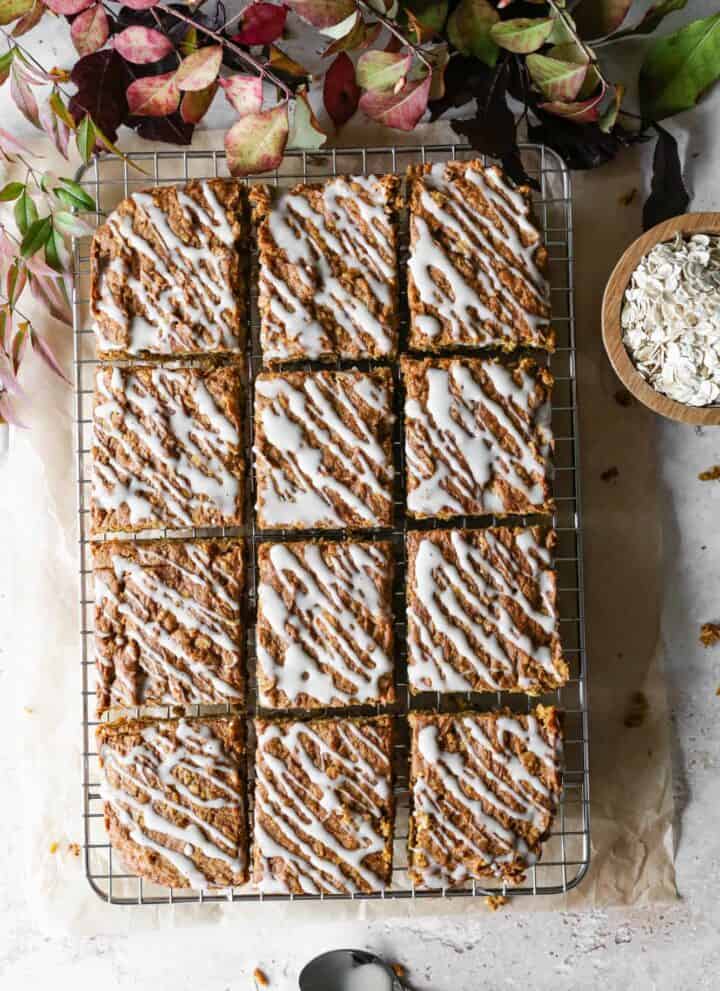
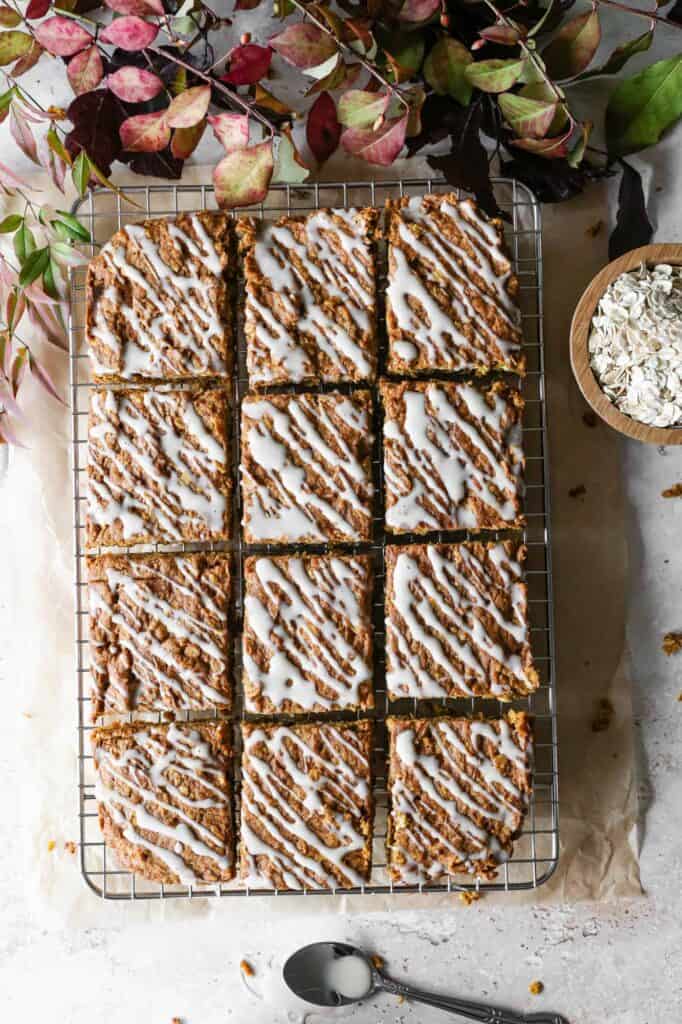
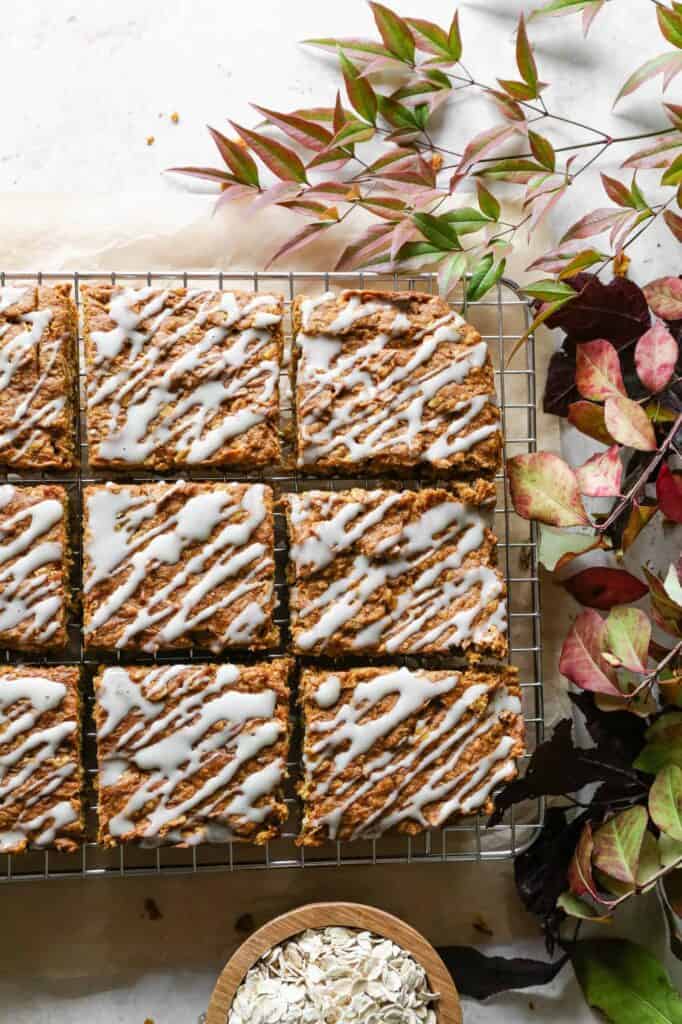
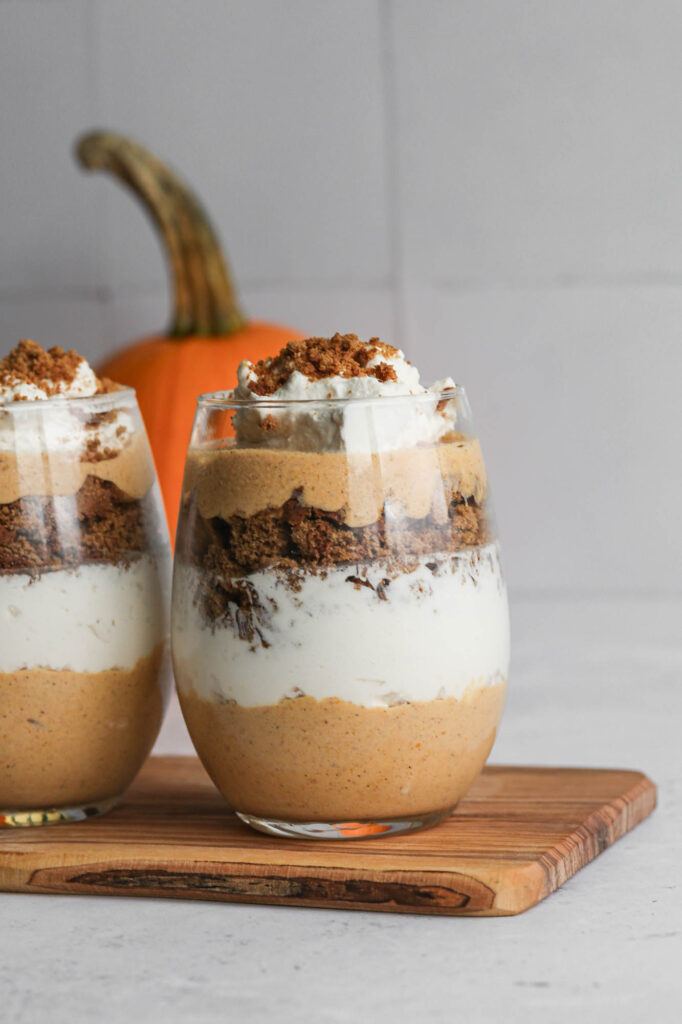
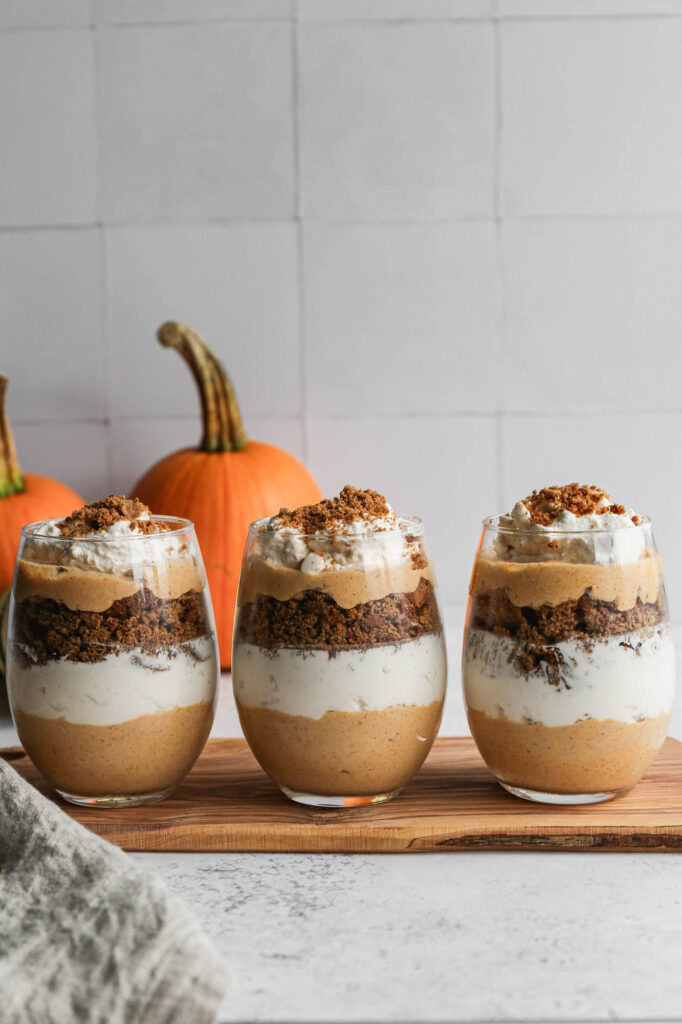
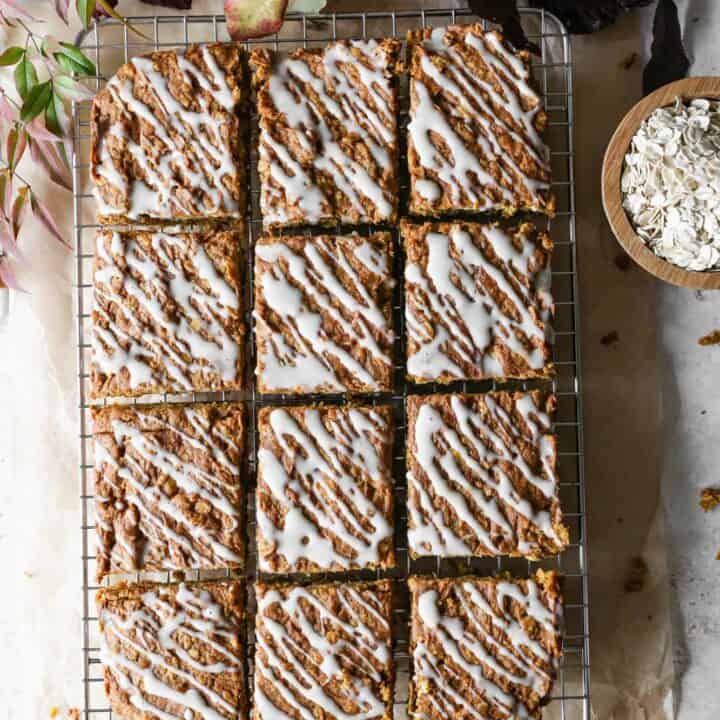
You might also enjoy my Gluten Free Baked Pumpkin Donuts with Chocolate Glaze, my Gluten Free Pumpkin Oatmeal Cake, my Gluten Free Pumpkin Gingersnap Parfait or my Gluten Free Pumpkin Spice Bundt Cake.
You can find all of my pumpkin recipes here: Gluten Free Pumpkin Recipes
Instructions
Preheat oven to 350 degrees.
Grease two nine inch or 5 six inch cake pans with butter or coconut oil.
In a mixing bowl whisk together the flour, xanthan gum, baking powder, baking soda, sea salt, cinnamon and pumpkin pie spice. Set aside.
In a stand mixer add the eggs, sugar and pumpkin puree. Mix until well blended together. Add the dry mixture ½ cup at a time until all is blended smoothly together.
Pour into greased pans and bake for 30 - 45 minutes or until a toothpick inserted in the center comes out clean. Baking time will be effected by whether you use mini pans or 9-inch cake pans.
For the frosting in a mixer blend together the cream cheese, butter and vanilla until smooth. Add the milk and powdered sugar and blend until smooth.
I suggest waiting a day for the cakes to cool before frosting. Add a crumb coating of frosting between each layer and on the outside of the layered cake. Place in the freezer for at least one hour. When the crumb coating is set use the rest of the frosting to completely frost the cake.
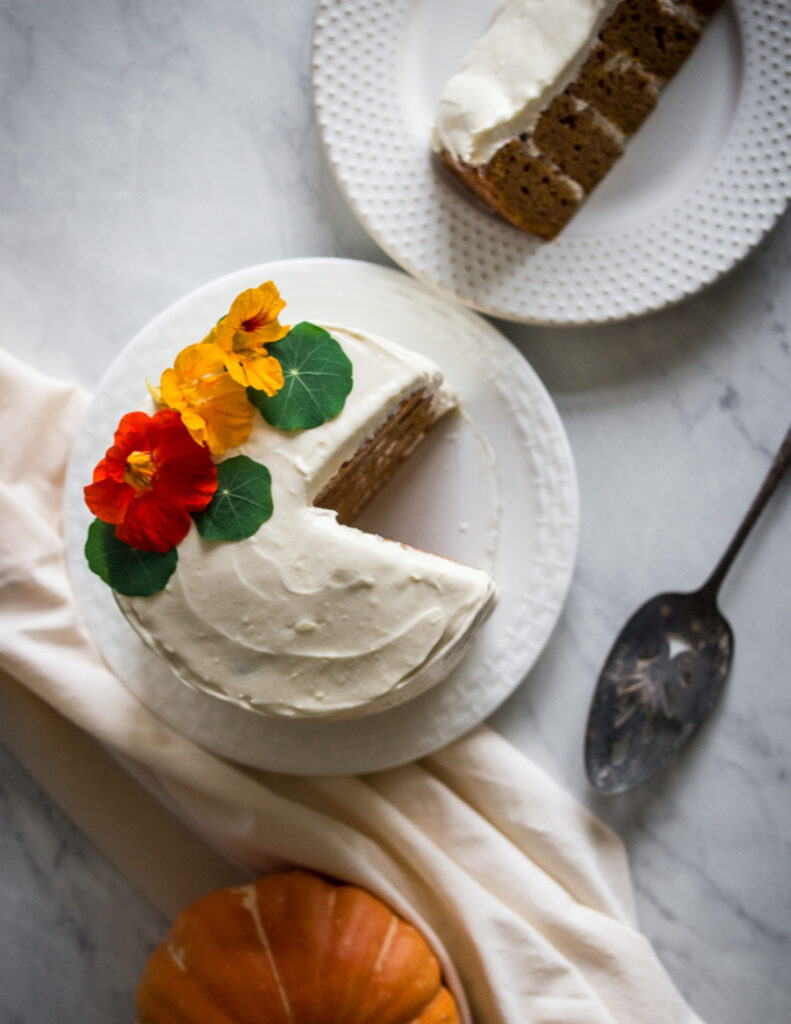
I garnished the cake with flowers, but toasted walnuts would also be a delicious option.
Supplies


More Recipes You Might Enjoy


I get a lot of my ingredients from Thrive Market. Thrive Market has been a game changer for me eating gluten free. They have so many options I can't get at my rural grocery stores! Use this link to get 40% off your first order!
PrintGluten Free Pumpkin Cake with Cream Cheese Frosting
- Total Time: 1 hour 5 minutes
- Yield: 2 - 9 inch layers 1x
- Diet: Gluten Free
Description
This gluten free Pumpkin Cake with Cream Cheese Frosting is an easy made from scratch treat. The layered cake is moist and a simple fall dessert.
Ingredients
Cake:
- 4 large Eggs
- 1 ½ cups Granulated Sugar
- 2 cups Pumpkin Puree
- 2 cups Gluten Free Flour
- 1 ½ tsp. Xanthan Gum
- 3 tsp. Baking Powder
- 1 tsp. Baking Soda
- 1 tsp. Sea Salt
- ½ tsp. Ground Cinnamon
- 1 tsp. Pumpkin Pie Spice
Frosting:
- 8 ounces Cream Cheese, at room temperature
- 1 cup Unsalted Butter, at room temperature
- 2 tsp. Vanilla Extract
- 2 Tbsp. Almond Milk, or milk of choice
- 3 cups Powdered Sugar
Instructions
Preheat oven to 350 degrees.
Grease two nine inch or 5 six inch cake pans with butter or coconut oil.
In a mixing bowl whisk together the flour, xanthan gum, baking powder, baking soda, sea salt, cinnamon and pumpkin pie spice. Set aside.
In a stand mixer add the eggs, sugar and pumpkin puree. Mix until well blended together. Add the dry mixture ½ cup at a time until all is blended smoothly together.
Pour into greased pans and bake for 30 - 45 minutes or until a toothpick inserted in the center comes out clean. Baking time will be effected by whether you use mini pans or 9-inch cake pans.
For the frosting in a mixer blend together the cream cheese, butter and vanilla until smooth. Add the milk and powdered sugar and blend until smooth.
I suggest waiting a day for the cakes to cool before frosting. Add a crumb coating of frosting between each layer and on the outside of the layered cake. Place in the freezer for at least one hour. When the crumb coating is set use the rest of the frosting to completely frost the cake.
I garnished the cake with flowers, but toasted walnuts would also be a delicious option.
Notes
- Make sure you are using room temperature cream cheese and butter for the frosting so you don't get lumps.
- I like to use full-fat cream cheese for the frosting. I think the texture is better.
- Prep Time: 20 minutes
- Cook Time: 45 minutes
- Category: Cake
- Method: Baking
- Cuisine: Gluten Free
Top Tip
The combination of pumpkin and cream cheese is one of my favorite fall treats. This gluten free Pumpkin Cake would be perfect for a fall birthday or for a gathering. The cake is easy to make ahead and then frost the day of your event.
Frequently Asked Questions
I would suggest making the cake a day in advance of when you want to serve it. Then the next day your cakes will be completely cooled and ready to frost. This cake is best eaten the same day but will last for three days before getting dry. Store the leftover cake in an air tight container in the refrigerator.
You can freeze the cake itself, but I would not freeze it once it has been frosted. The cream cheese frosting will not hold up to being frozen. You could make the cakes in advance, freeze them and then get them out the day before you want to frost them.
To freeze, wrap the cooled cakes in plastic wrap and then again in aluminum foil. Place the cakes in the freezer for no more than one month. This is a great way to have the baking done for the holidays or a gathering.