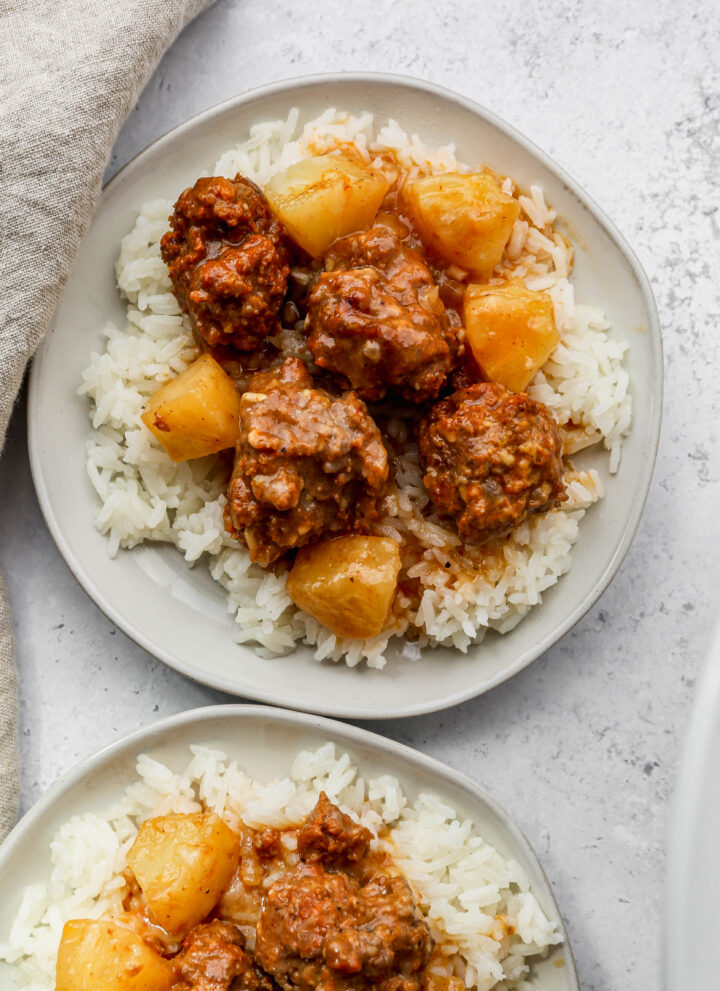
This easy recipe for gluten free slow cooker Hawaiin meatballs is perfect for barbecues! The meatballs are made with ground beef, bbq sauce, and pineapple in your crockpot. They are sweet, tangy and perfect served over rice or as an appetizer.
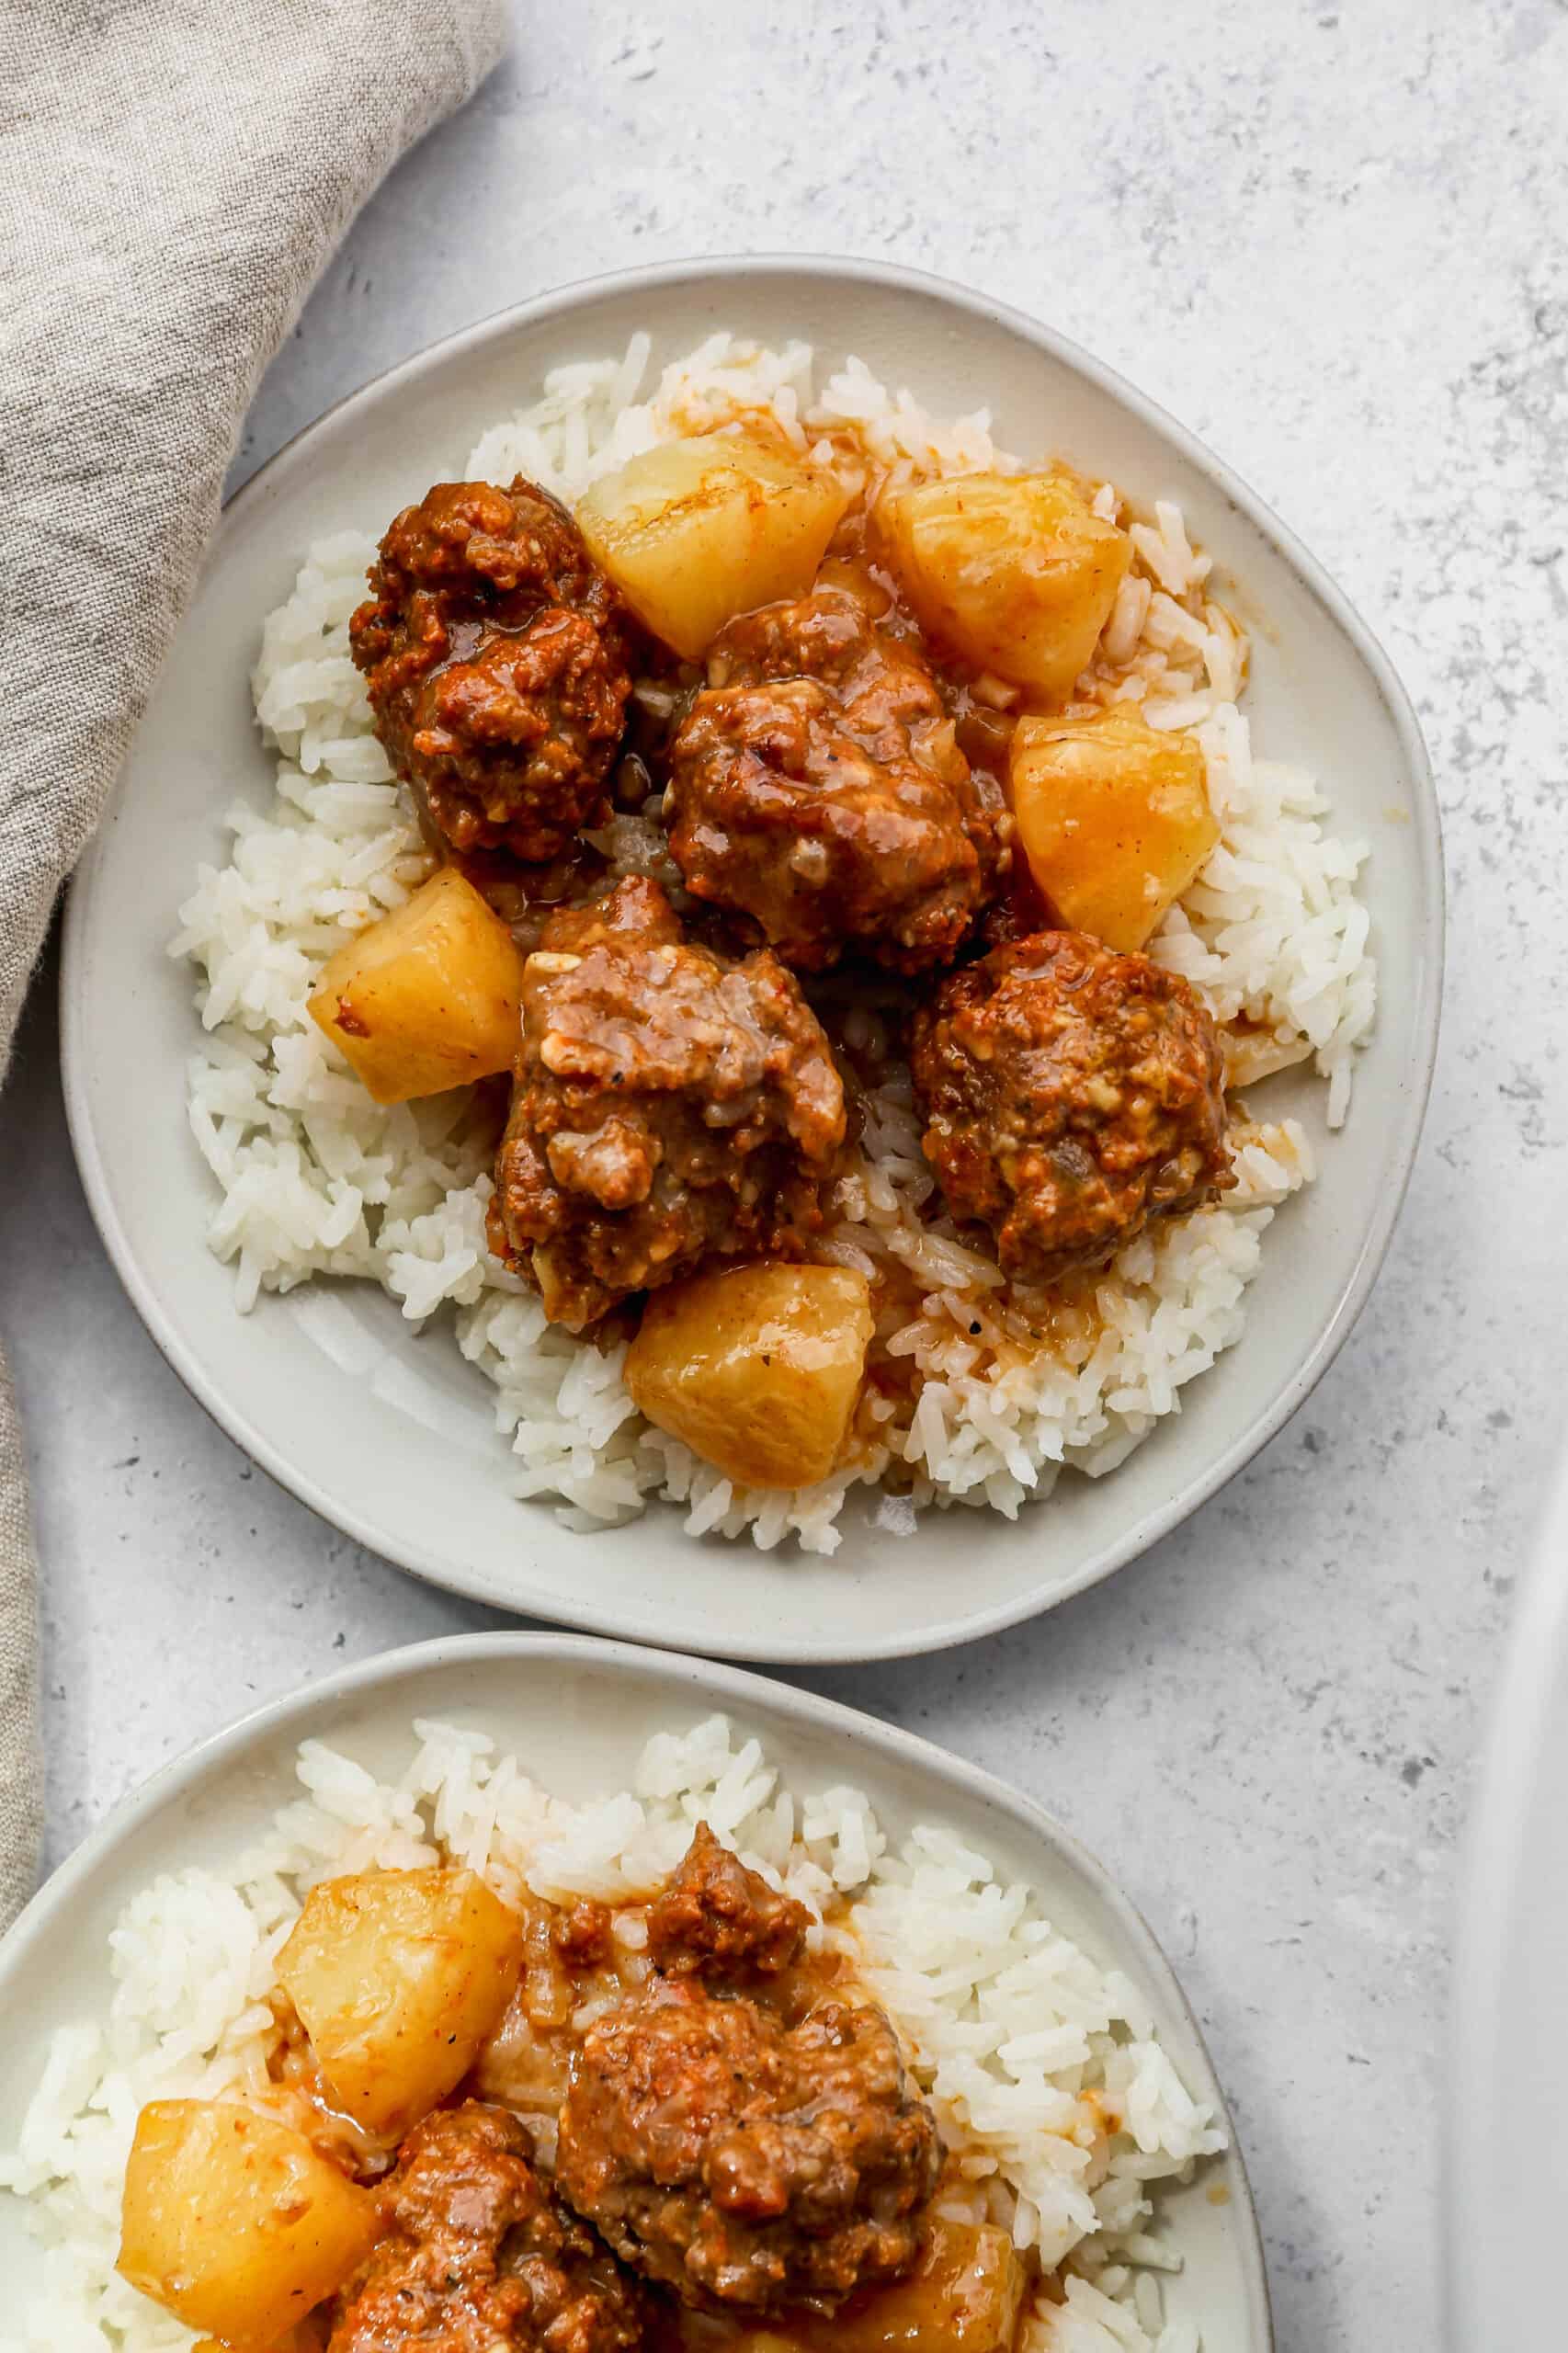
These Gluten Free Slow Cooker Hawaiian Meatballs offer a tropical twist on traditional meatballs with a sweet and savory flavor profile. Made with tender, juicy homemade meatballs, they're cooked in a tangy BBQ sauce with pineapple, creating a deliciously unique meal.
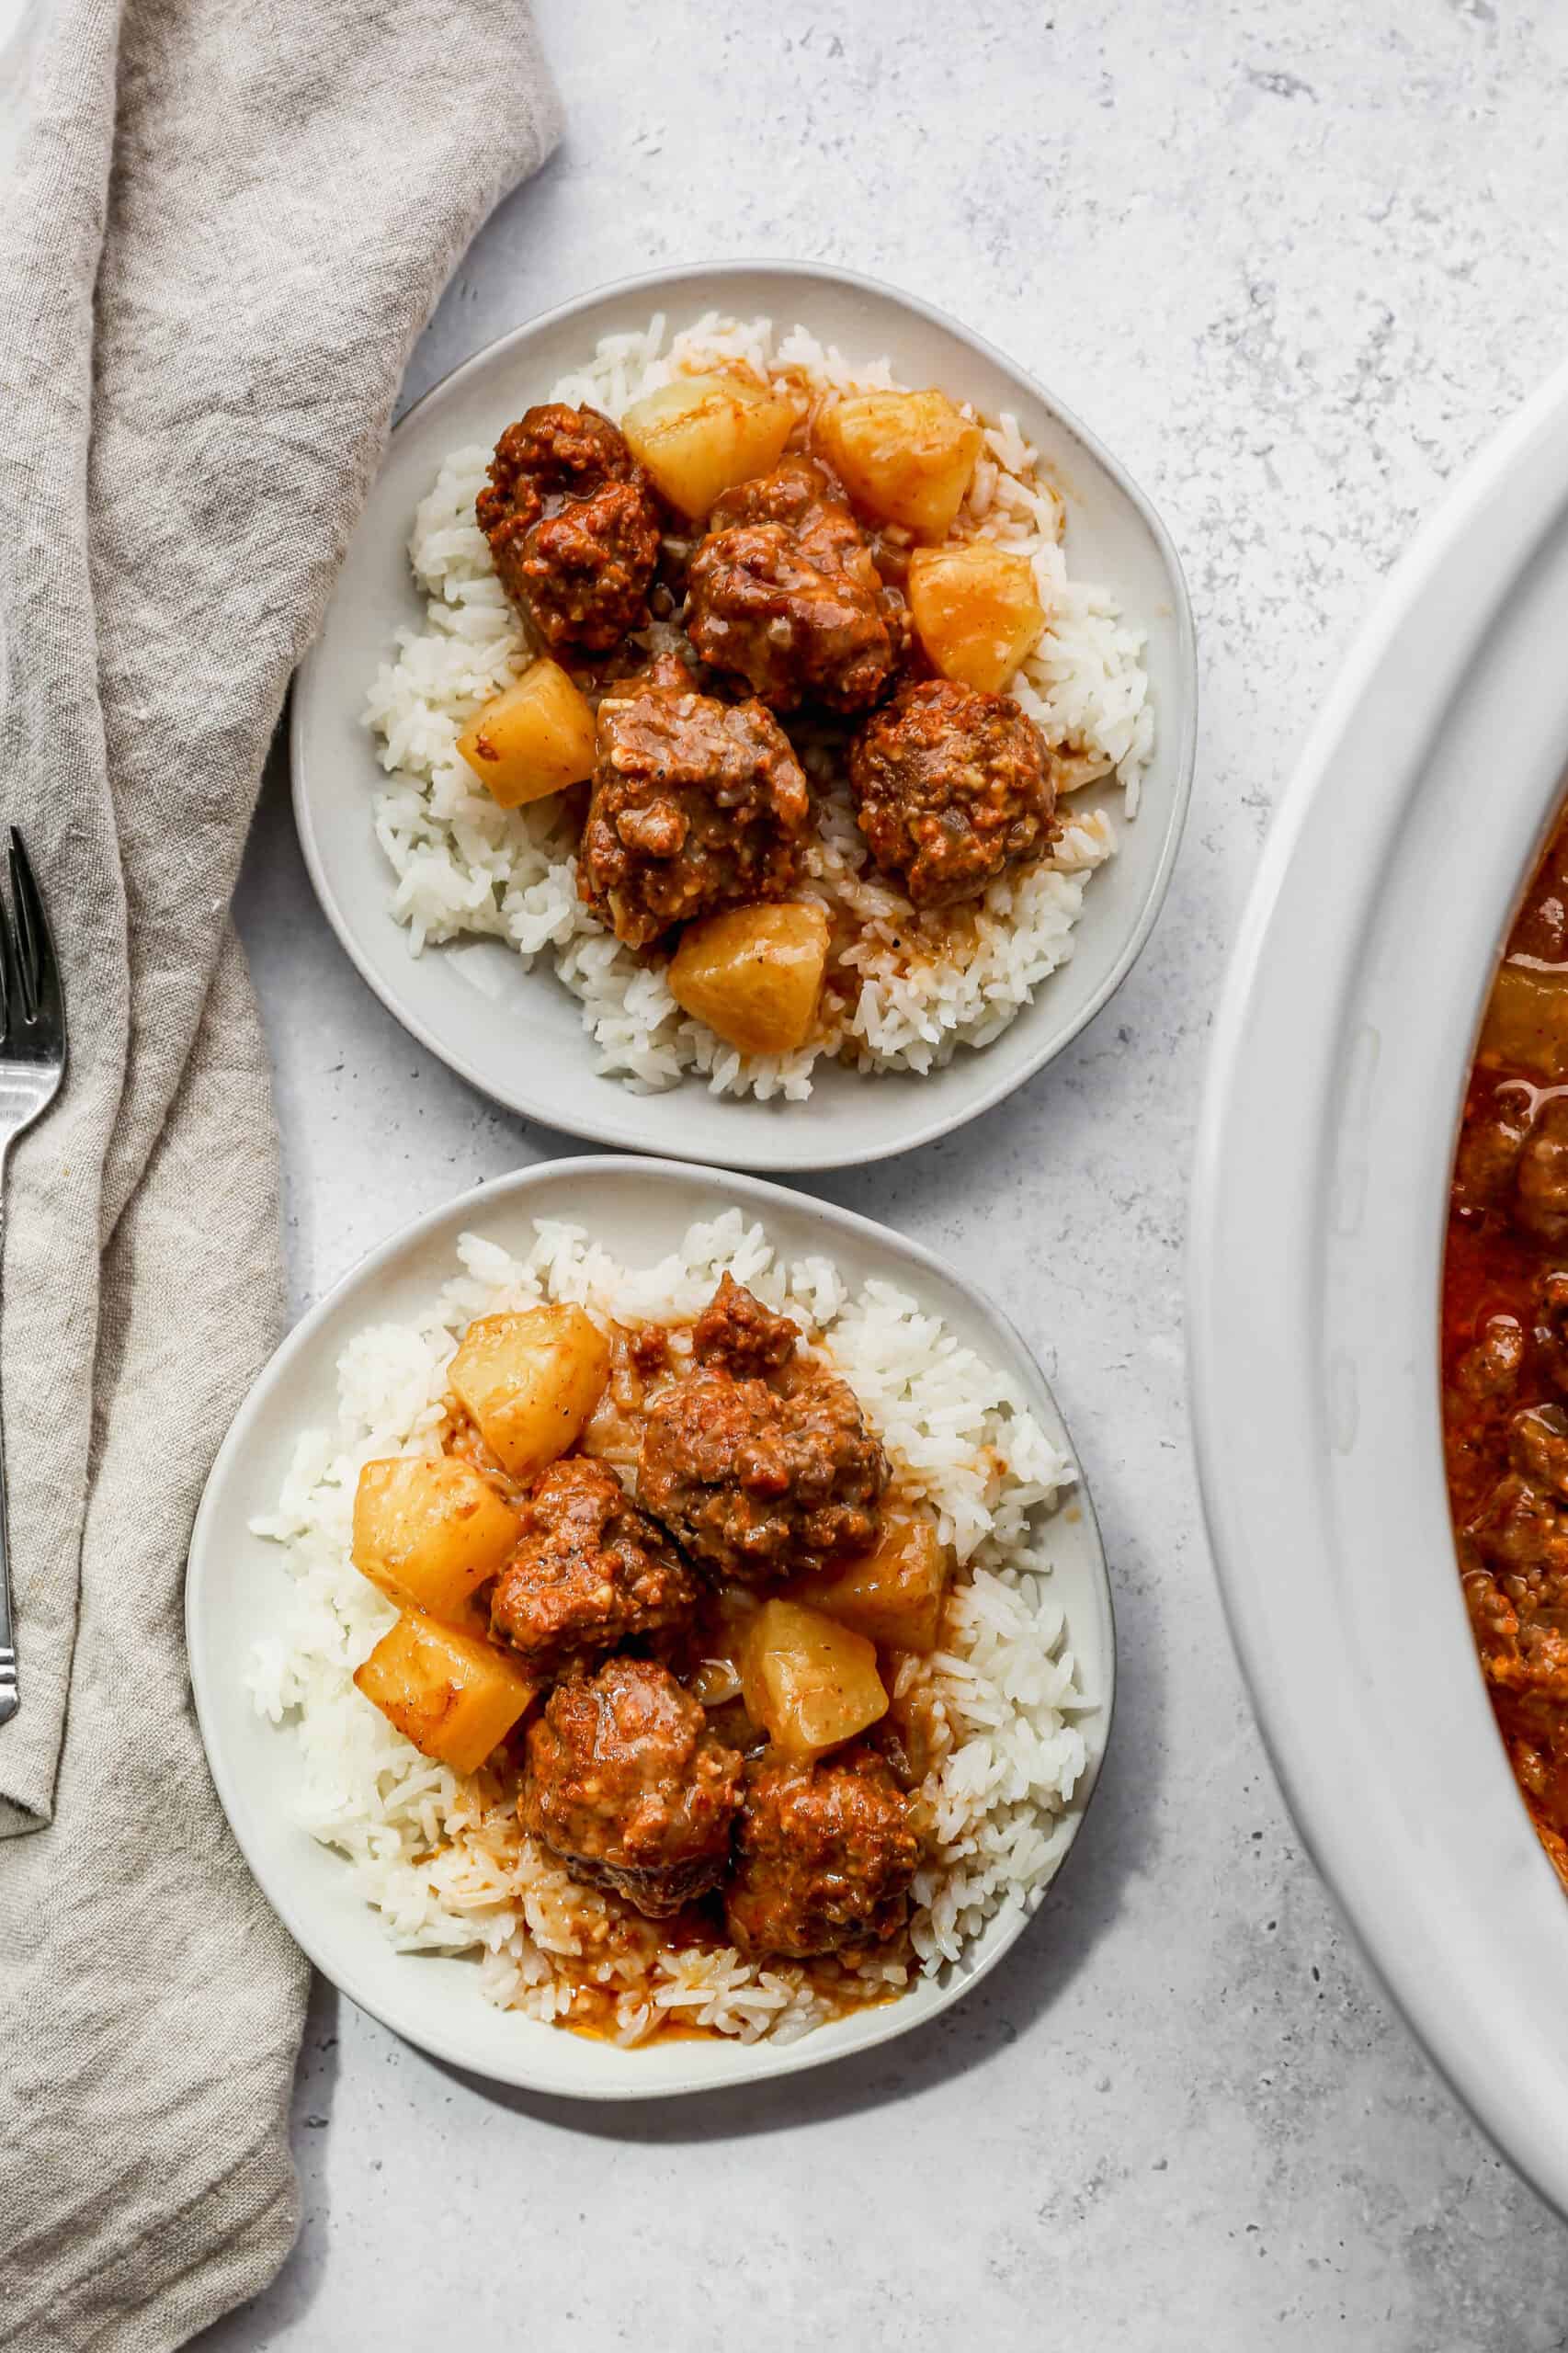
The combination of pineapple and BBQ sauce results in a flavorful dish that's perfect for any occasion, whether you're serving it as an easy weeknight dinner or a party appetizer.
This crockpot recipe is quick and easy, making it a go to for anyone looking for a hassle free, family friendly meal.
If you are looking for more slow cooker recipes try my Gluten Free Slow Cooker Meatloaf, my Slow Cooker Steak and Mushrooms, my Slow Cooker Hawaiin Pork Tenderloin or my Gluten Free Slow Cooker Barbecue Meatballs.
You can find all of my meal recipes here: Gluten Free Meal Recipes
Instructions
In a large bowl mix together the ground beef, gluten free bread crumbs, egg, parmesan cheese, onion, minced garlic, tomato paste, salt and pepper until well combined and sticking together.
Form the mixture into golf ball sized meatballs. Add the meatballs to your crockpot in an even layer.
Pour the barbecue sauce and pineapple chunks with juice over top the meatballs.
Cook on high for 2-3 hours or until the meatballs are done. They should be at least 165 degrees in the center.
Use as an appetizer or serve over rice for a meal.
Supplies

Frequently Asked Questions
Adding gluten free breadcrumbs and an egg help to hold the meatballs together. It's also important that you shred or very finely dice your onion. Then really make sure the ingredients are thoroughly mixed together.
Firmly pack the meatballs into golf ball sized rounds. Then, set them in the crockpot in one row. Don't stack them on top of each other or squish them together too much. This will ensure the meatballs hold their shape.
Yes, you can use gluten free rice crumbs that you make or purchase. You can also use crushed gluten free crackers. Place the crackers in your food processor and pulse until you get a crumb consistency. You can use the same amount of rice crumbs or cracker crumbs as you would breadcrumbs in the recipe.

More Recipes You Might Enjoy


I get a lot of my ingredients from Thrive Market. Thrive Market has been a game changer for me eating gluten free. They have so many options I can't get at my rural grocery stores! Use this link to get 40% off your first order!
Gluten Free Slow Cooker Hawaiin Meatballs
- Total Time: 2 hours 15 minutes
- Yield: 5 servings 1x
- Diet: Gluten Free
Description
This easy recipe for gluten free slow cooker Hawaiin meatballs is perfect for barbecues! The meatballs are made with ground beef, bbq sauce, and pineapple in your crockpot. They are sweet, tangy and perfect served over rice or as an appetizer.
Ingredients
Meatballs:
- 1 pound Ground Beef
- ½ cup Gluten Free Bread Crumbs
- 1 large Egg
- ¼ cup Parmesan Cheese, finely grated
- 1 small Yellow Onion, finely grated
- 2 Tbsp Minced Garlic
- 3 Tbsp Tomato Paste
- 1 tsp Sea Salt
- ½ tsp Coarse Ground Black Pepper
- 1 cup Barbecue Sauce
- 20 ounce can Pineapple Chunks, with juice
Jasmine Rice, for serving
Instructions
In a large bowl mix together the ground beef, gluten free bread crumbs, egg, parmesan cheese, onion, minced garlic, tomato paste, salt and pepper until well combined and sticking together.
Form the mixture into golf ball sized meatballs. Add the meatballs to your crockpot in an even layer.
Pour the barbecue sauce and pineapple chunks with juice over top the meatballs.
Cook on high for 2-3 hours or until the meatballs are done. They should be at least 165 degrees in the center.
Use as an appetizer or serve over rice for a meal.
- Prep Time: 15 minutes
- Cook Time: 2 hours
- Category: Meals, Appetizers
- Method: Slow Cooker
- Cuisine: Gluten Free