Small Farm Big Life

  • Gluten Free Recipe Index
  • Subscribe
  • Resources
menu icon
go to homepage
  • Home
  • Gluten Free Recipe Index
  • Subscribe
  • My Story
  • Resources
  • Free Guides
    • Email
    • Facebook
    • Instagram
    • Pinterest
  • subscribe
    search icon
    Homepage link
    • Home
    • Gluten Free Recipe Index
    • Subscribe
    • My Story
    • Resources
    • Free Guides
    • Email
    • Facebook
    • Instagram
    • Pinterest
  • ×

    Gluten Free Plum Cornmeal Cake

    This easy recipe for gluten free plum cornmeal cake is a great way to use the fruit in season. This simple corn flour cake is topped with plums. It makes a moist cake to serve as dessert or with coffee for brunch.

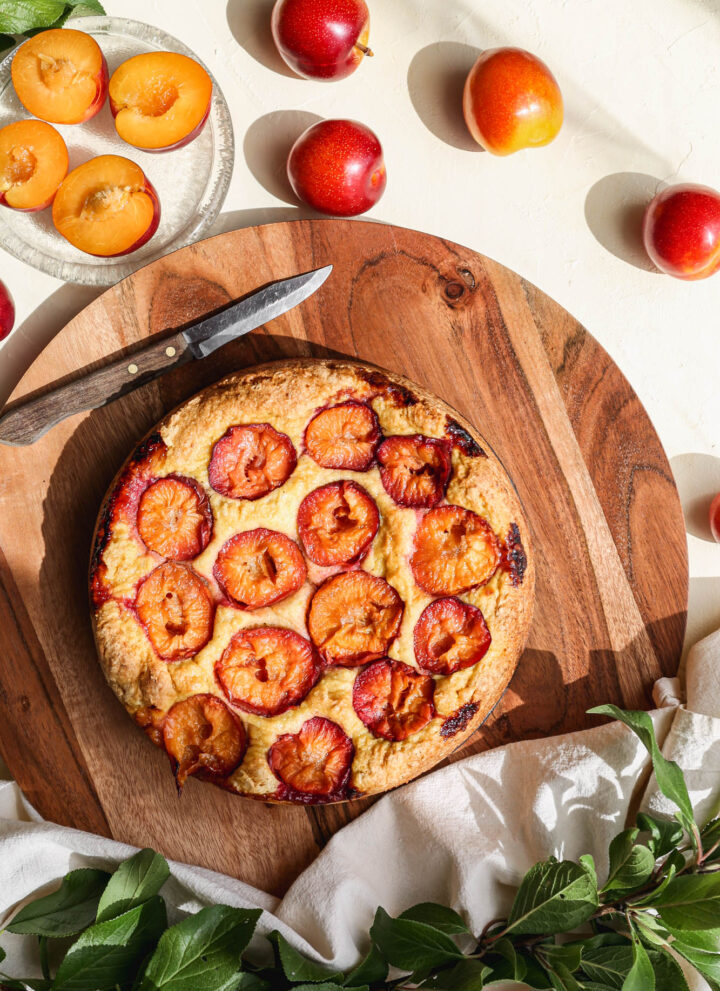
    a gluten free plum cornmeal cake on a round wooden platter with fresh yellow plums around it

    I used the fresh plums from our yellow plum tree in the yard, but you should be able to get delicious plums at the grocery store or the farmer's market. You can also use purple plums if that is what you have. These plums are a medium size, so you may need more or less for the recipe depending on the type of plum you pick.

    I prefer cutting the fresh plums in half and placing them on the cake, but you could also slice the plums into slivers and arrange those on the cake. The plums will sink slightly into the cake as it bakes. Leaving the plums in halves keeps the juicy when you slice the cake to serve it.

    You can find all of my cake recipes here: Gluten Free Cake Recipes

    three slices of gluten free plum cornmeal cake on white plates with fresh yellow plums around them
    [feast_advanced_jump_to]

    Ingredients

    • Fresh Plums
    • Gluten Free Flour
    • Gluten Free Yellow Cornmeal
    • Baking Powder
    • Xanthan Gum
    • Sea Salt
    • Granulated Sugar
    • Eggs
    • Milk
    • Vanilla Extract
    • Coconut Oil

    Instructions

    Preheat your oven to 350 degrees. Grease a 9-inch springform pan with coconut oil or butter and set aside.

    In a bowl whisk together the gluten free flour, yellow cornmeal, baking powder, xanthan gum and salt. Set aside.

    In the bowl of your stand mixer beat together the granulated sugar and eggs. Add the milk, vanilla and melted coconut oil. Beat until combined.

    Add the dry ingredients to the wet ingredients and beat just until they are combined.

    Pour the cake batter into the greased 9-inch springform pan. Place the plum halves on top of the cake batter to cover the entire top.

    Bake at 350 degrees for 45-50 minutes or until a toothpick in the middle of the cake comes out clean.

    Let the cake cool for at least 10 minutes before releasing the outside of the pan.

    Supplies

    Frequently Asked Questions

    How do I make my gluten free cakes more moist?

    Gluten free baking tends to require more moisture or oil than when you are using regular wheat flour. For this gluten free plum cornmeal cake recipe I added milk and coconut oil to make it moist and delicious.

    If you are using a cake recipe that isn't turning out moist I would suggest adding a bit more oil or butter. You can also add mashed banana or applesauce to help your baked goods have more moisture.

    Do gluten free cakes take longer to bake?

    Yes, gluten free baking in general takes a little bit longer to bake than a cake made with regular wheat flour. However, gluten free baked goods tend to brown faster. So you will want to test the cake with a tooth pick in the center to make sure it's actually done even if it looks browned. 

    Your cake should be a nice golden brown and a tooth pick inserted in the center of the cake should come out clean. You may need to bake your cake up to 5-8 minutes more. If your cake is already very brown, but not done in the center you will need to lower the oven temperature by 25 degrees and cook longer.

    More Recipes You Might Enjoy

    • Gluten Free Raspberry Cornmeal Cake
    • Gluten Free Plum Cake
    • Gluten Free Pineapple Upside Down Cake
    • Gluten Free Pear Bundt Cake

    I get a lot of my ingredients from Thrive Market. Thrive Market has been a game changer for me eating gluten free. They have so many options I can't get at my rural grocery stores! Use this link to get 25% off your first order!

    Print
    clock clock iconcutlery cutlery iconflag flag iconfolder folder iconinstagram instagram iconpinterest pinterest iconfacebook facebook iconprint print iconsquares squares iconheart heart iconheart solid heart solid icon

    Gluten Free Plum Cornmeal Cake


    5 Stars 4 Stars 3 Stars 2 Stars 1 Star

    No reviews

    • Author: Elaine VanVleck
    • Total Time: 1 hour 5 minutes
    • Yield: 8 slices 1x
    • Diet: Gluten Free
    Print Recipe
    Pin Recipe

    Description

    This easy recipe for gluten free plum cornmeal cake is a great way to use the fruit in season. This simple corn flour cake is topped with plums. It makes a moist cake to serve as dessert or with coffee for brunch.


    Ingredients

    Scale

    7-8 medium Plums
    1 cup Gluten Free Flour
    ½ cup Gluten Free Yellow Cornmeal
    2 tsp. Baking Powder
    1 tsp. Xanthan Gum
    ½ tsp. Sea Salt
    ¾ cup Granulated Sugar
    2 large Eggs
    ½ cup Milk
    1 tsp. Vanilla Extract
    ¼ cup Coconut Oil, melted


    Instructions

    Preheat your oven to 350 degrees. Grease a 9-inch springform pan with coconut oil or butter and set aside.

    In a bowl whisk together the gluten free flour, yellow cornmeal, baking powder, xanthan gum and salt. Set aside.

    In the bowl of your stand mixer beat together the granulated sugar and eggs. Add the milk, vanilla and melted coconut oil. Beat until combined.

    Add the dry ingredients to the wet ingredients and beat just until they are combined.

    Pour the cake batter into the greased 9-inch springform pan. Place the plum halves on top of the cake batter to cover the entire top.

    Bake at 350 degrees for 45-50 minutes or until a toothpick in the middle of the cake comes out clean.

    Let the cake cool for at least 10 minutes before releasing the outside of the pan.

    Serve warm or cooled.

    • Prep Time: 15 minutes
    • Cook Time: 50 minutes
    • Category: Cake
    • Method: Baking
    • Cuisine: Gluten Free

    Did you make this recipe?

    Tag @smallfarmbiglife on Instagram and hashtag it #smallfarmbiglife

    Easy Frozen Watermelon Margarita Mocktail

    This easy recipe for frozen watermelon margarita mocktails makes a pitcher of this delicious drink. You chop the fresh watermelon into cubes and then freeze it on a baking sheet. Using lime juice, lemon juice and a little salt you get a non alcoholic watermelon slushie using your blender.

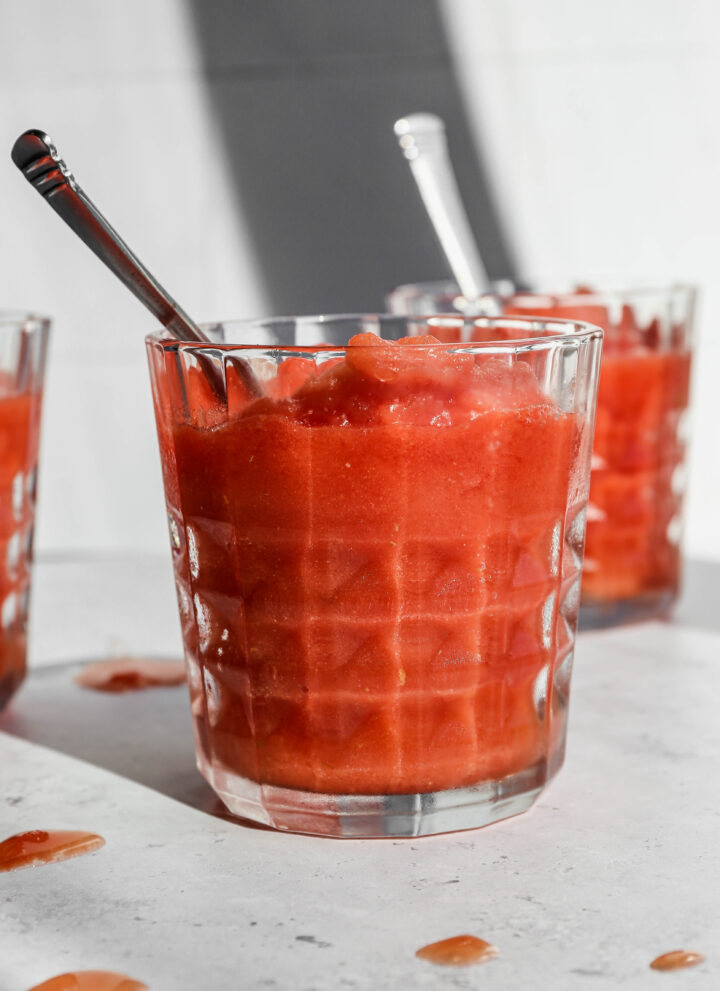
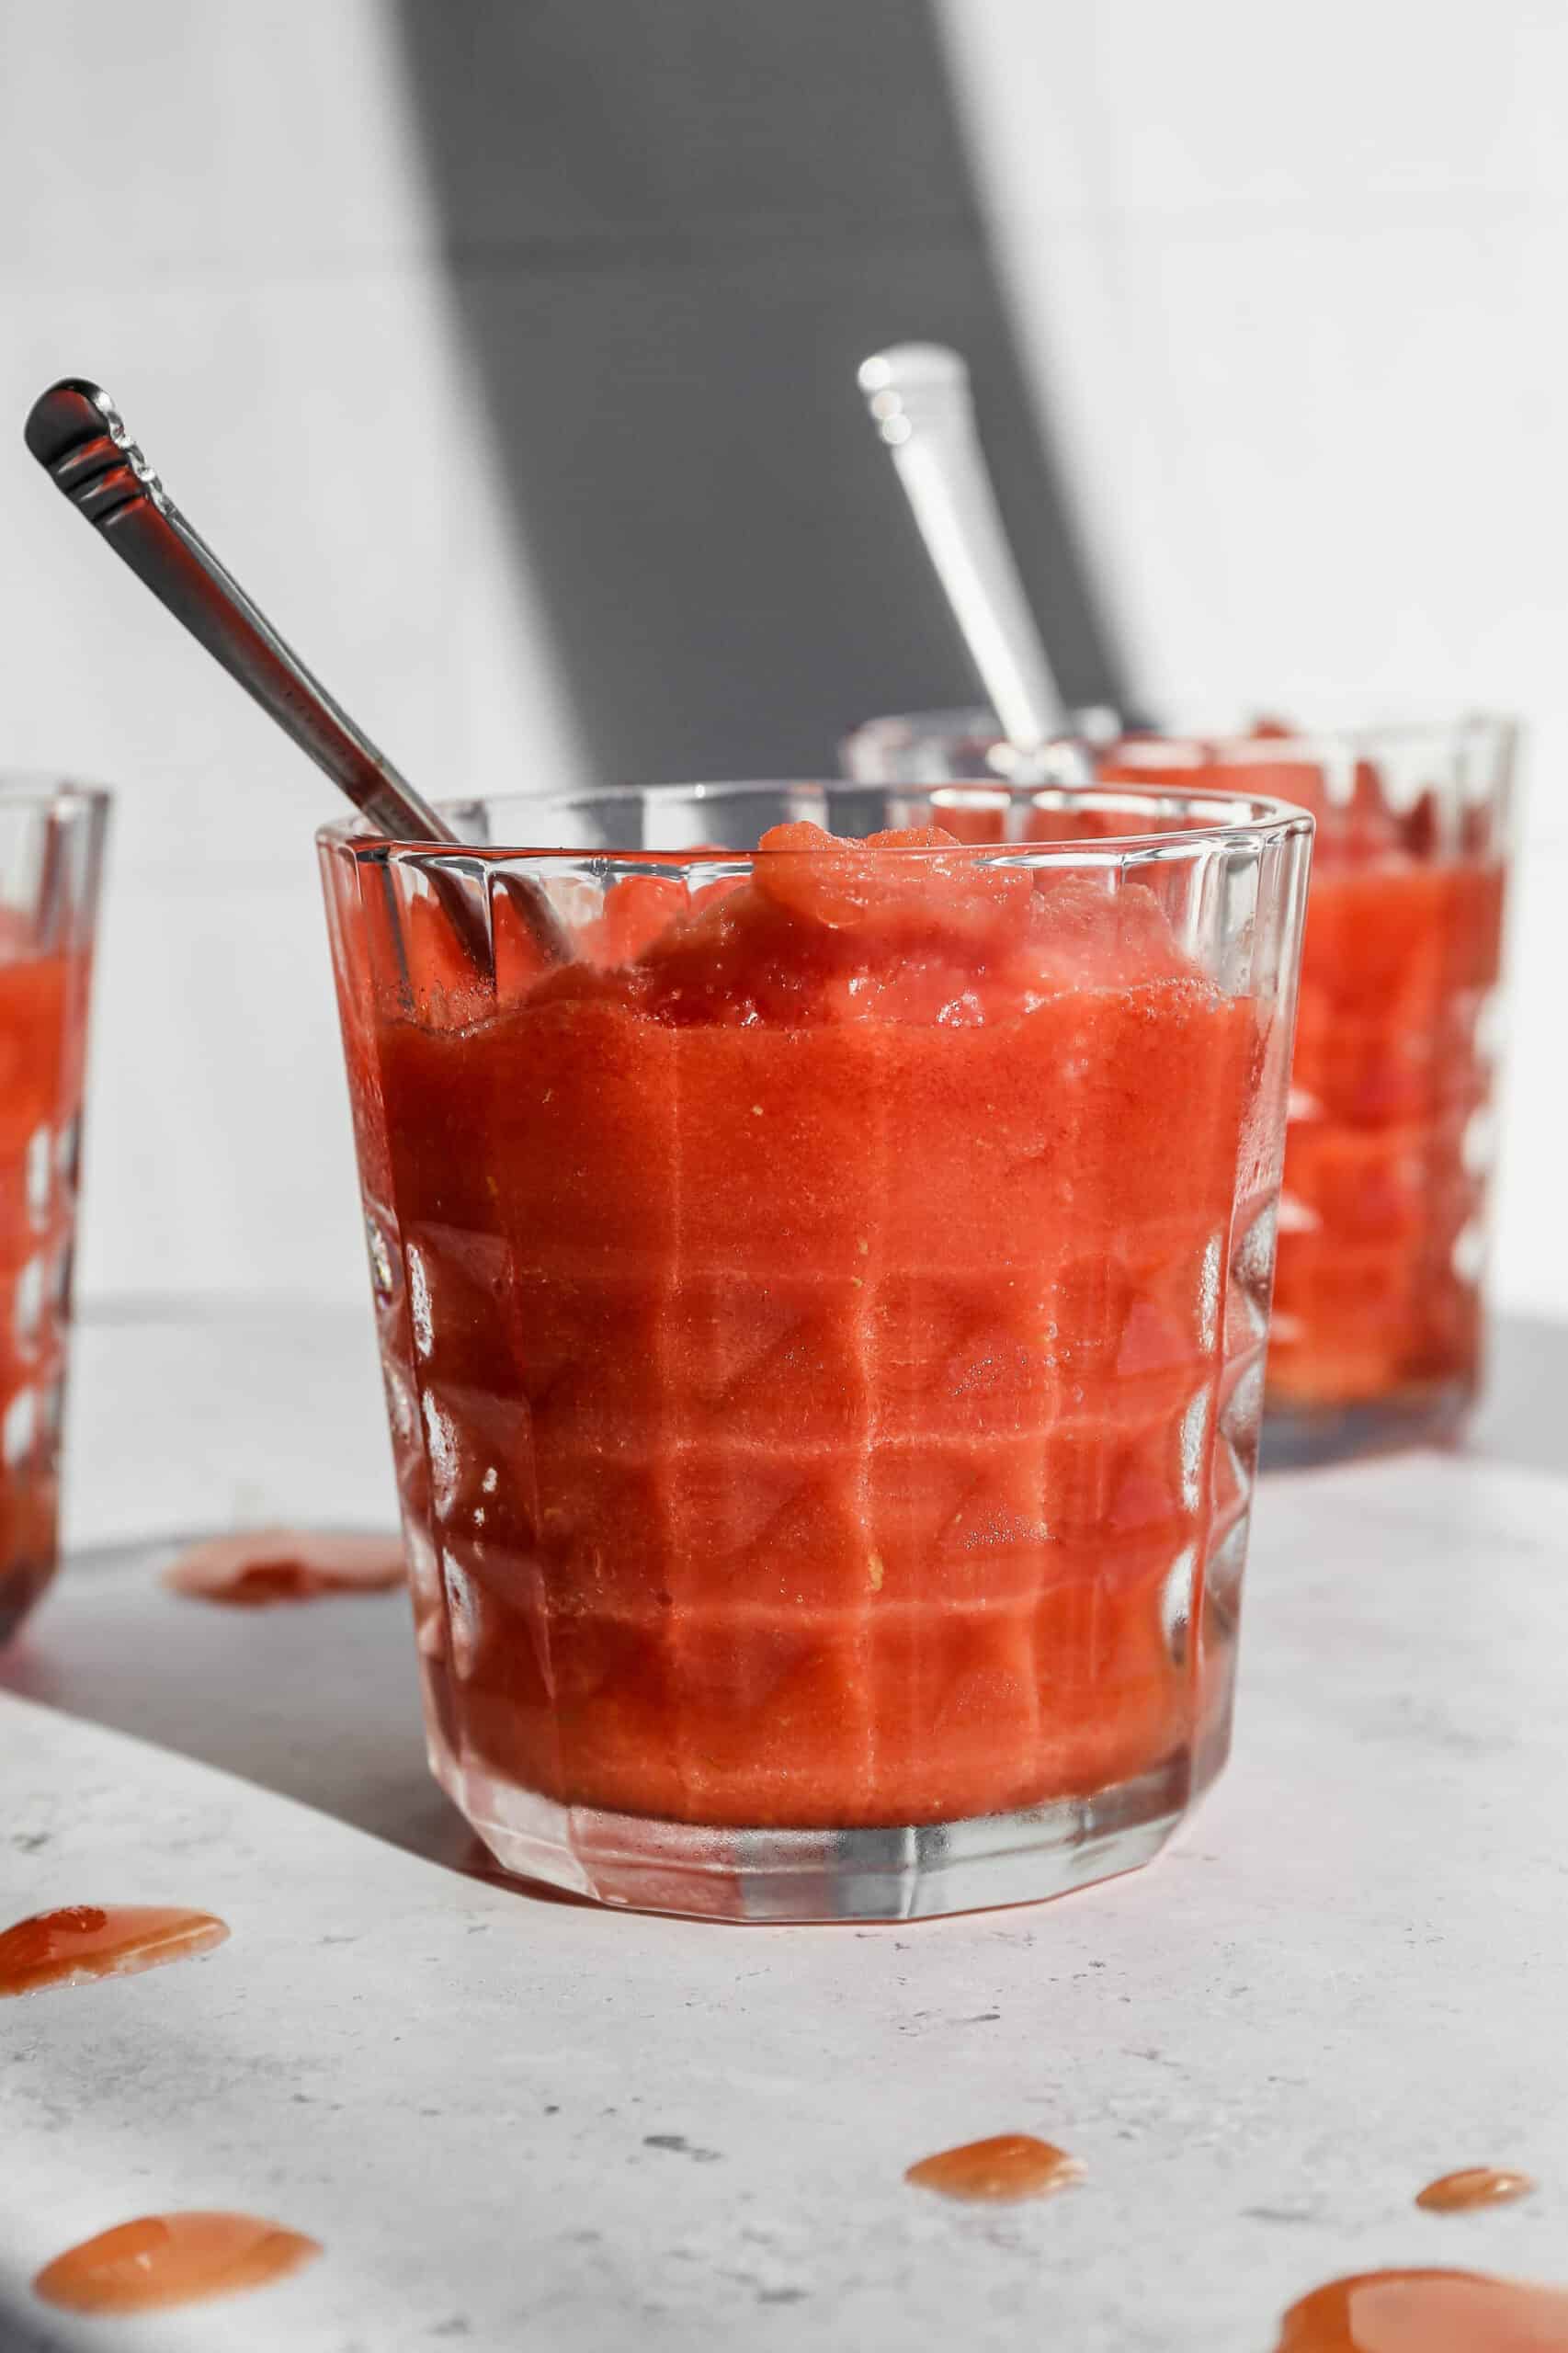
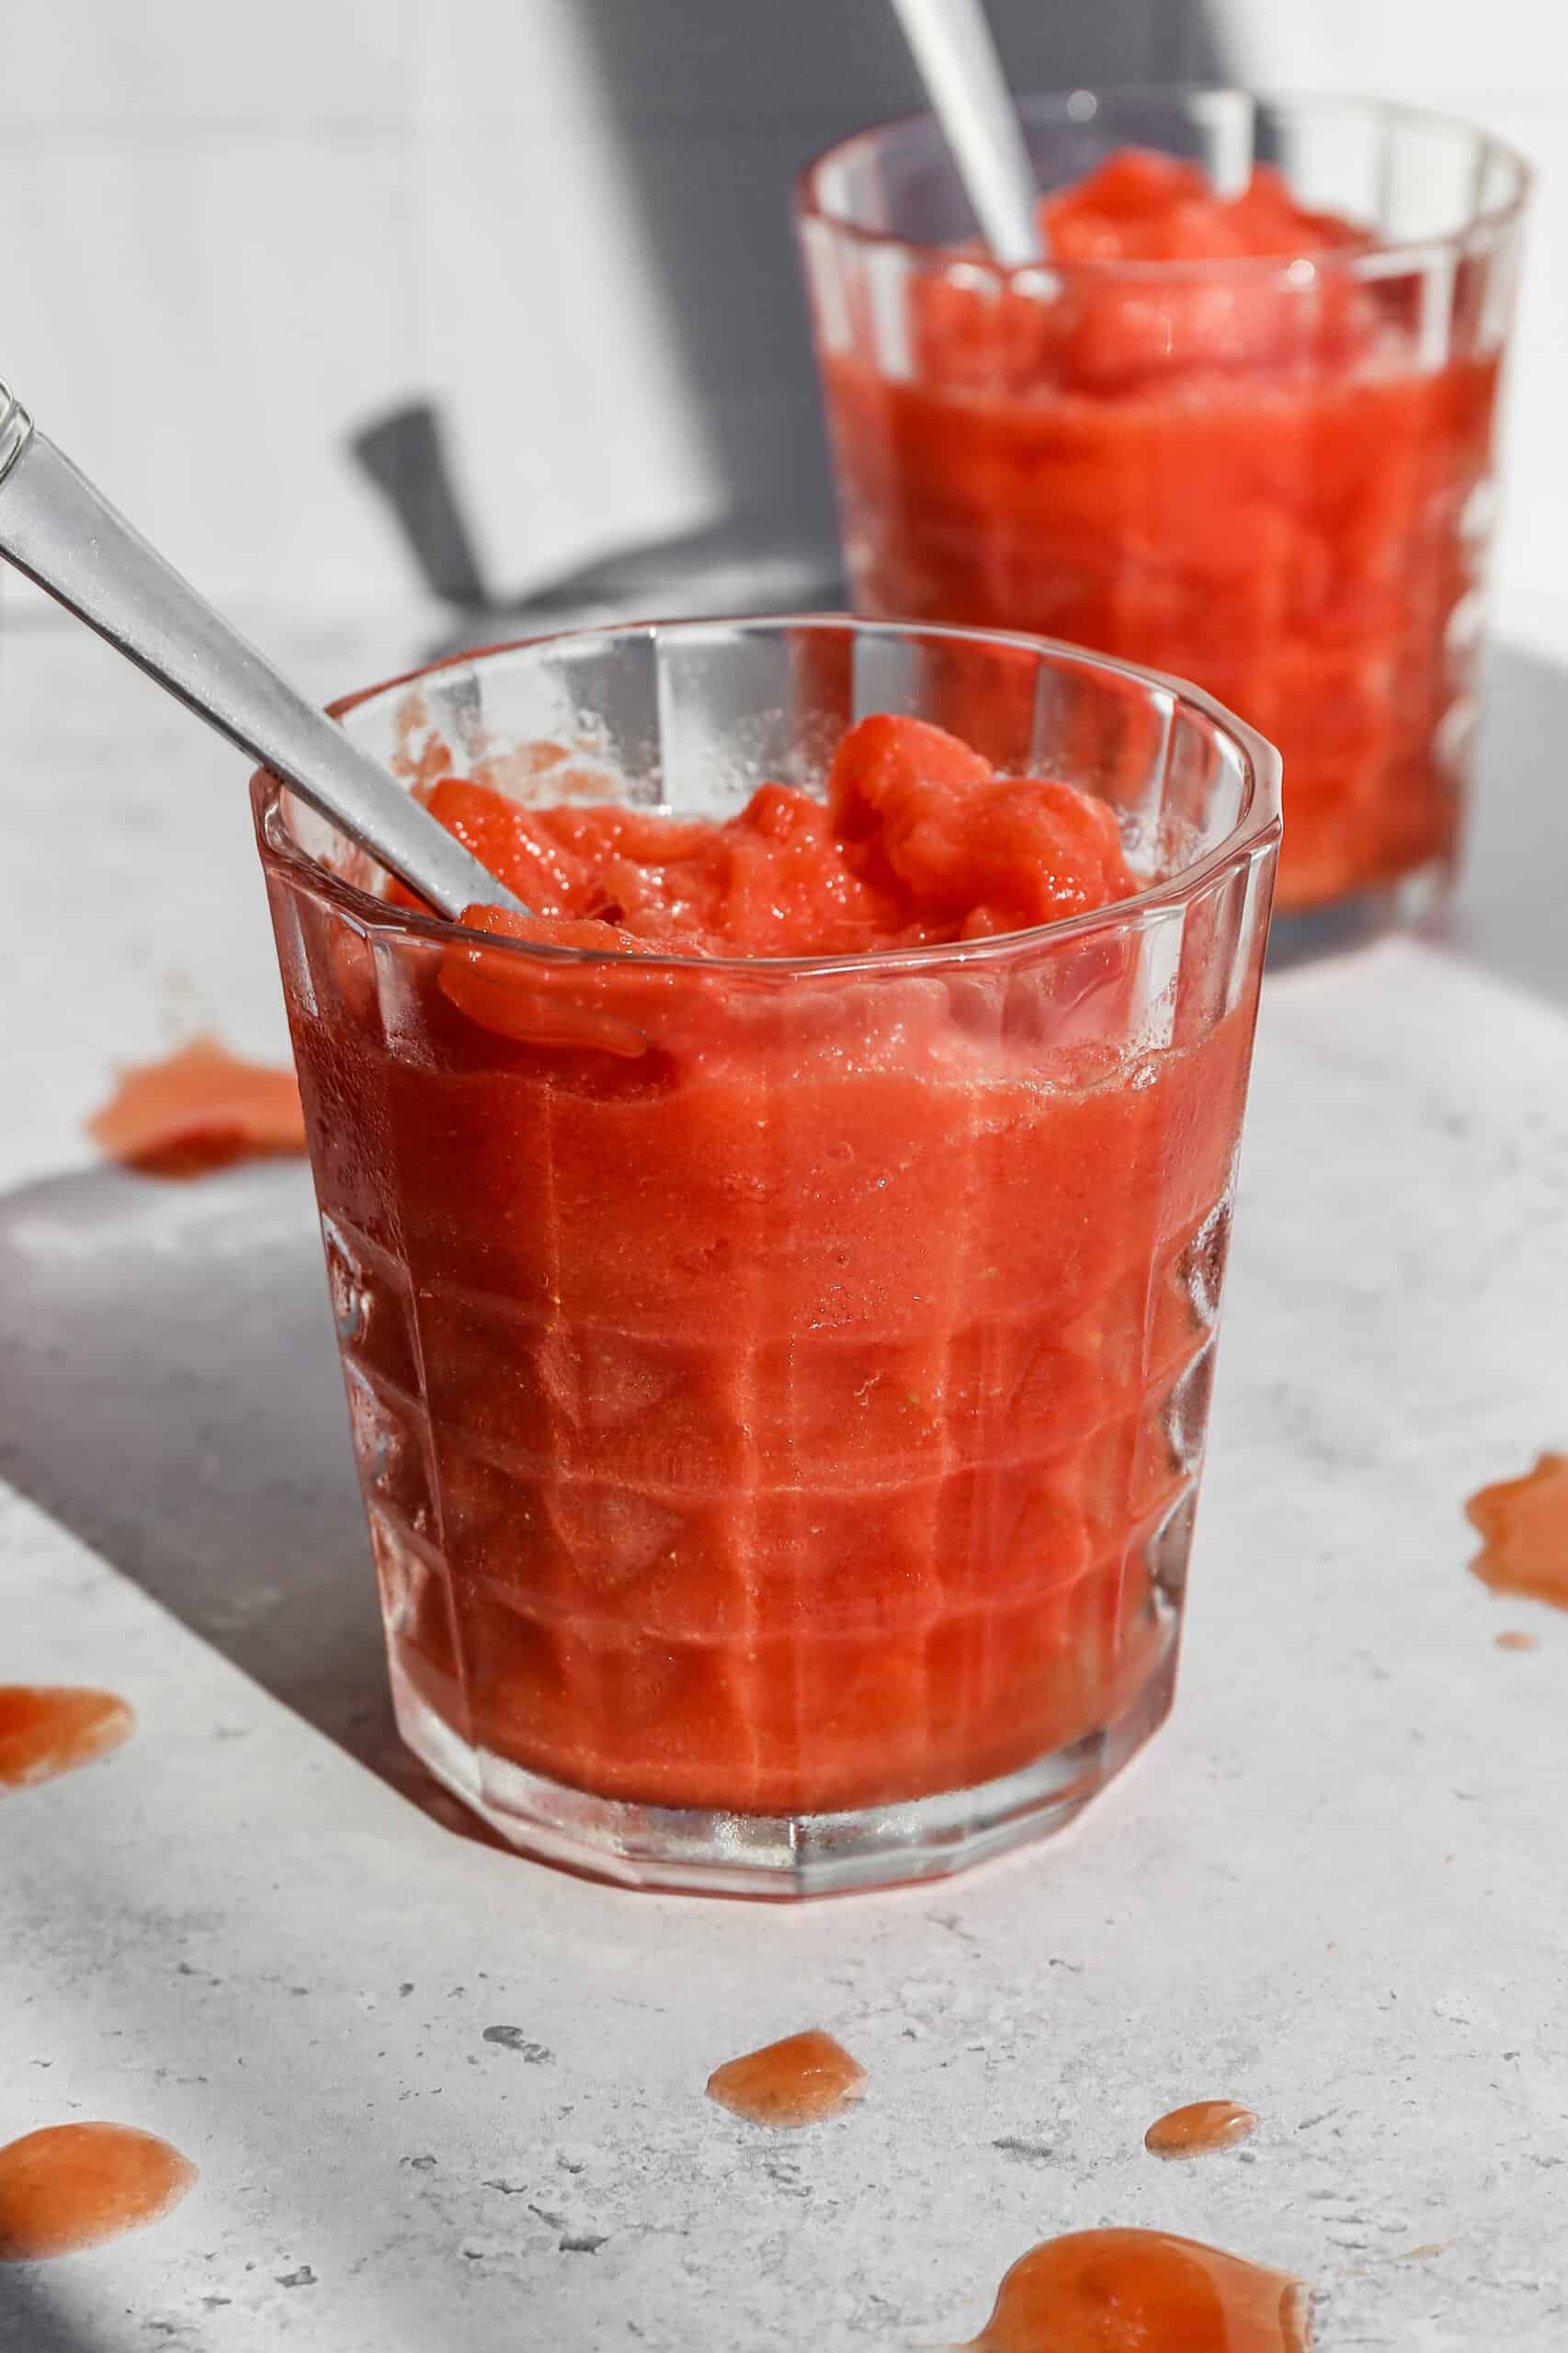
    a glass tumbler of easy frozen watermelon margarita mocktail with a silver spoon in it.

    I love to eat all the fresh watermelon that summer provides and I also like to turn it into this delicious frozen margaritas recipe!

    Ideal for backyard cookouts, summer parties, or simply cooling off on a hot day, this watermelon drink combines the vibrant taste of fresh fruit with the zesty flair of a margarita.

    Its bright color and frozen texture make it not only a delicious drink recipe but also a visually appealing one.

    Whether you're looking for the best mocktail idea or just a sweet and easy non-alcoholic treat, this watermelon margarita mocktail is a perfect choice for enjoying the flavors of summer.

    If you are looking for more non alcoholic mocktails you might also like my Strawberry Daiquiri Mocktail, this Long Island Iced Tea Mocktail or my Classic Margarita Mocktail recipes.

    a glass tumbler of easy frozen watermelon margarita mocktail with a silver spoon in it.
    [feast_advanced_jump_to]

    Ingredients

    • Seedless Watermelon
    • Simple Syrup
    • Lime Juice
    • Lemon Juice
    • Sea Salt
    • Water

    Instructions

    Cut the watermelon into cubes and remove the rind. Place the cubes on a baking sheet and freeze for at least one hour.

    You can purchase simple syrup or you can heat 1 cup water in the microwave for 3 minutes and then add 1 cup granulated sugar and stir until dissolved.

    In your blender add the frozen watermelon cubes, the simple syrup, lime juice, lemon juice and sea salt. Blend until smooth.

    If there isn't enough liquid to blend your mocktail add ¼ cup water and blend until smooth.

    Supplies

    I get a lot of my ingredients from Thrive Market. Thrive Market has been a game changer for me eating gluten free. They have so many options I can't get at my rural grocery stores! Use this link to get 40% off your first order!

    Print
    clock clock iconcutlery cutlery iconflag flag iconfolder folder iconinstagram instagram iconpinterest pinterest iconfacebook facebook iconprint print iconsquares squares iconheart heart iconheart solid heart solid icon

    Easy Frozen Watermelon Margarita Mocktail


    5 Stars 4 Stars 3 Stars 2 Stars 1 Star

    No reviews

    • Author: Elaine VanVleck
    • Total Time: 1 hour
    • Yield: 4 servings 1x
    • Diet: Gluten Free
    Print Recipe
    Pin Recipe

    Description

    This easy recipe for frozen watermelon margarita mocktails makes a pitcher of this delicious drink. You chop the fresh watermelon into cubes and then freeze it on a baking sheet. Using lime juice, lemon juice and a little salt you get a non alcoholic watermelon slushie using your blender.


    Ingredients

    Scale
    • 4 cups Seedless Watermelon, cubed and frozen
    • ½ cup Simple Syrup
    • 2 Tbsp Lime Juice
    • 2 Tbsp Lemon Juice
    • Pinch of Sea Salt
    • ¼ cup Water, if needed

    Instructions

    Cut the watermelon into cubes and remove the rind. Place the cubes on a baking sheet and freeze for at least one hour.

    You can purchase simple syrup or you can heat 1 cup water in the microwave for 3 minutes and then add 1 cup granulated sugar and stir until dissolved.

    In your blender add the frozen watermelon cubes, the simple syrup, lime juice, lemon juice and sea salt. Blend until smooth.

    If there isn't enough liquid to blend your mocktail add ¼ cup water and blend until smooth.

    • Prep Time: 1 hour
    • Category: Drinks, Frozen
    • Method: Blender
    • Cuisine: Gluten Free

    Did you make this recipe?

    Tag @smallfarmbiglife on Instagram and hashtag it #smallfarmbiglife

    Frequently Asked Questions

    How do I choose a ripe watermelon?

    You want a watermelon that has deep colored stripes and a dull rind. A yellow spot is ideal for getting a sweet flavor to your watermelon. It's best if it has a hollow sound when you knock on the rind with your hand.

    Do watermelon continue to ripen after picked?

    No, watermelon are not like cantaloupe that will continue to ripen on your counter. With a watermelon you want to get a sweet and ripe melon at the store. You can not count on it ripen up some at home.

    Can watermelon be frozen?

    Yes! Frozen watermelon cubes on a hot summer day are the best treat. You simply remove the rind from the watermelon and then chop the fruit into cubes. Place the cubes not touching on a baking sheet and freeze for at least one hour.

    After the watermelon cubes are frozen you can remove them from the baking sheet and place them in an air tight freezer safe container to enjoy for up to a week.

    Gluten Free Slow Cooker Hawaiin Meatballs

    This easy recipe for gluten free slow cooker Hawaiin meatballs is perfect for barbecues! The meatballs are made with ground beef, bbq sauce, and pineapple in your crockpot. They are sweet, tangy and perfect served over rice or as an appetizer.

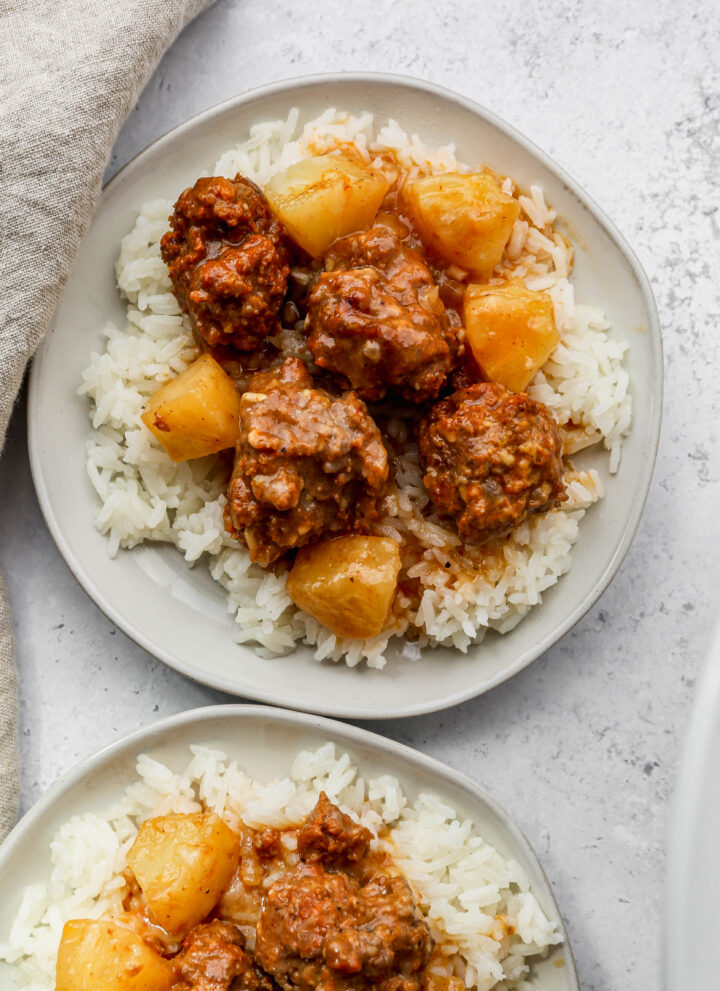
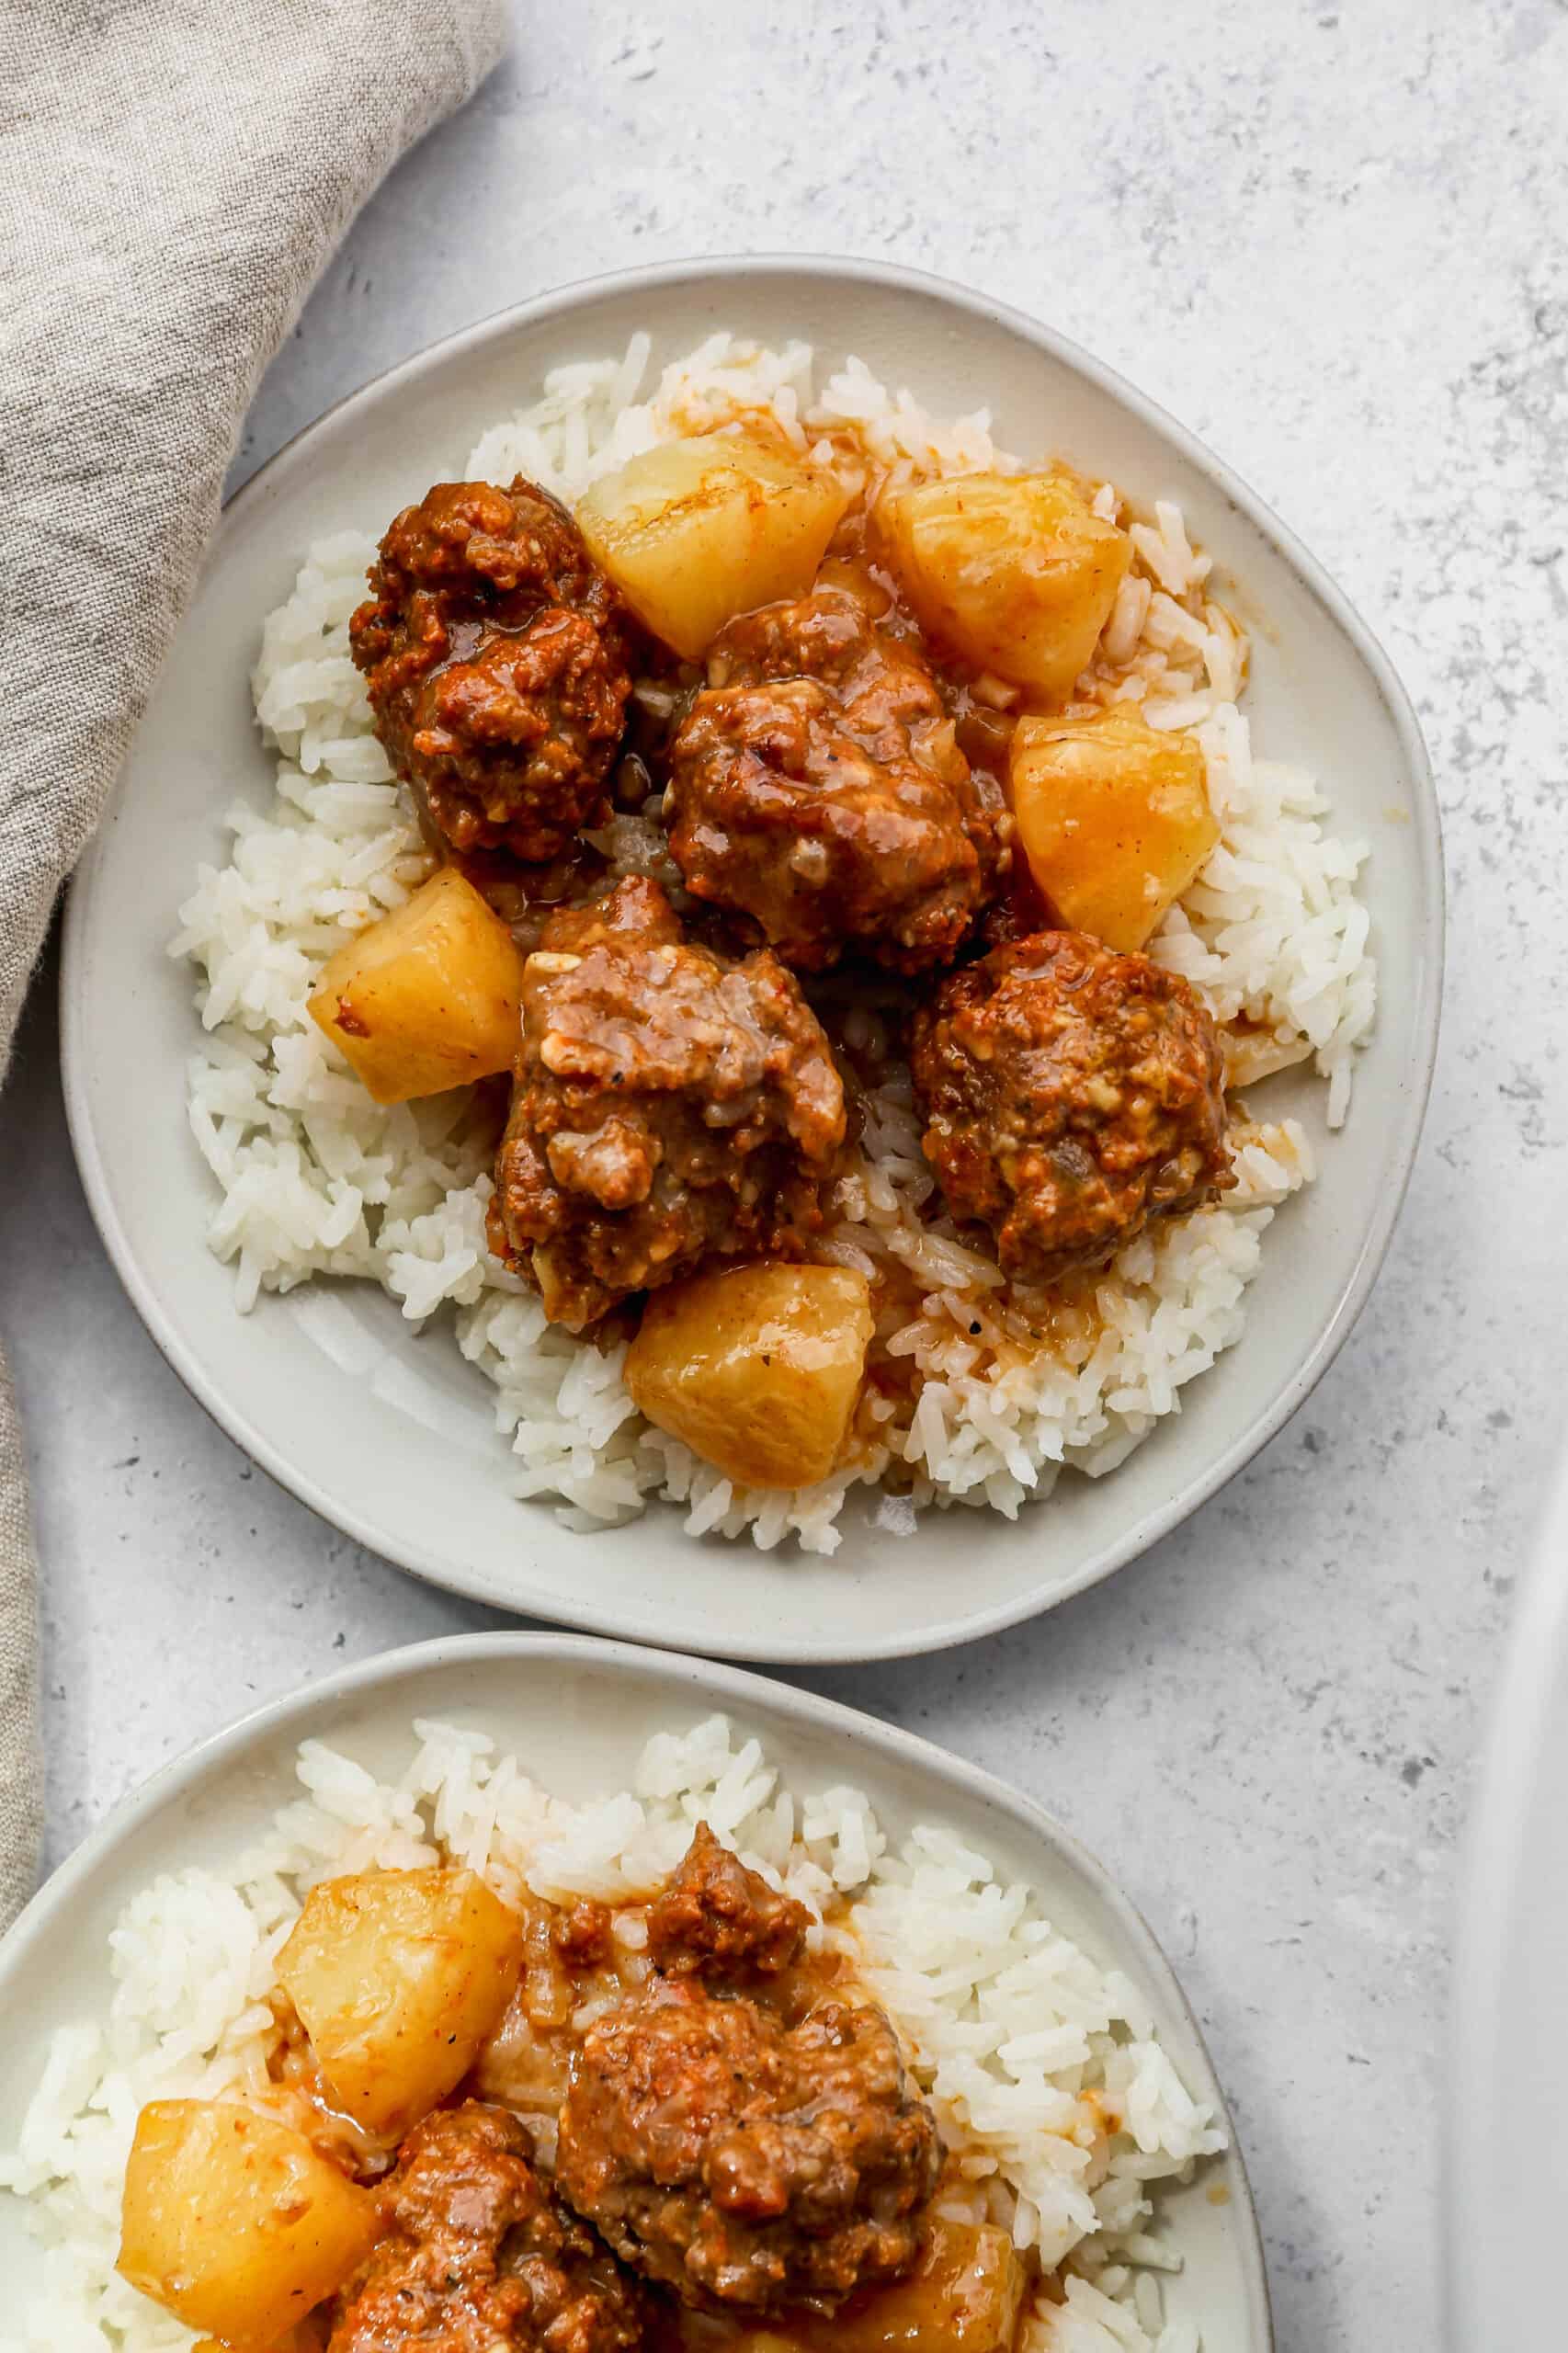
    a white plate of gluten free slow cooker meatballs over a bed of white jasmine rice.

    These Gluten Free Slow Cooker Hawaiian Meatballs offer a tropical twist on traditional meatballs with a sweet and savory flavor profile. Made with tender, juicy homemade meatballs, they're cooked in a tangy BBQ sauce with pineapple, creating a deliciously unique meal.

    The combination of pineapple and BBQ sauce results in a flavorful dish that's perfect for any occasion, whether you're serving it as an easy weeknight dinner or a party appetizer.

    This crockpot recipe is quick and easy, making it a go to for anyone looking for a hassle free, family friendly meal.

    If you are looking for more slow cooker recipes try my Gluten Free Slow Cooker Meatloaf, my Slow Cooker Steak and Mushrooms, my Slow Cooker Hawaiin Pork Tenderloin or my Gluten Free Slow Cooker Barbecue Meatballs.

    You can find all of my meal recipes here: Gluten Free Meal Recipes

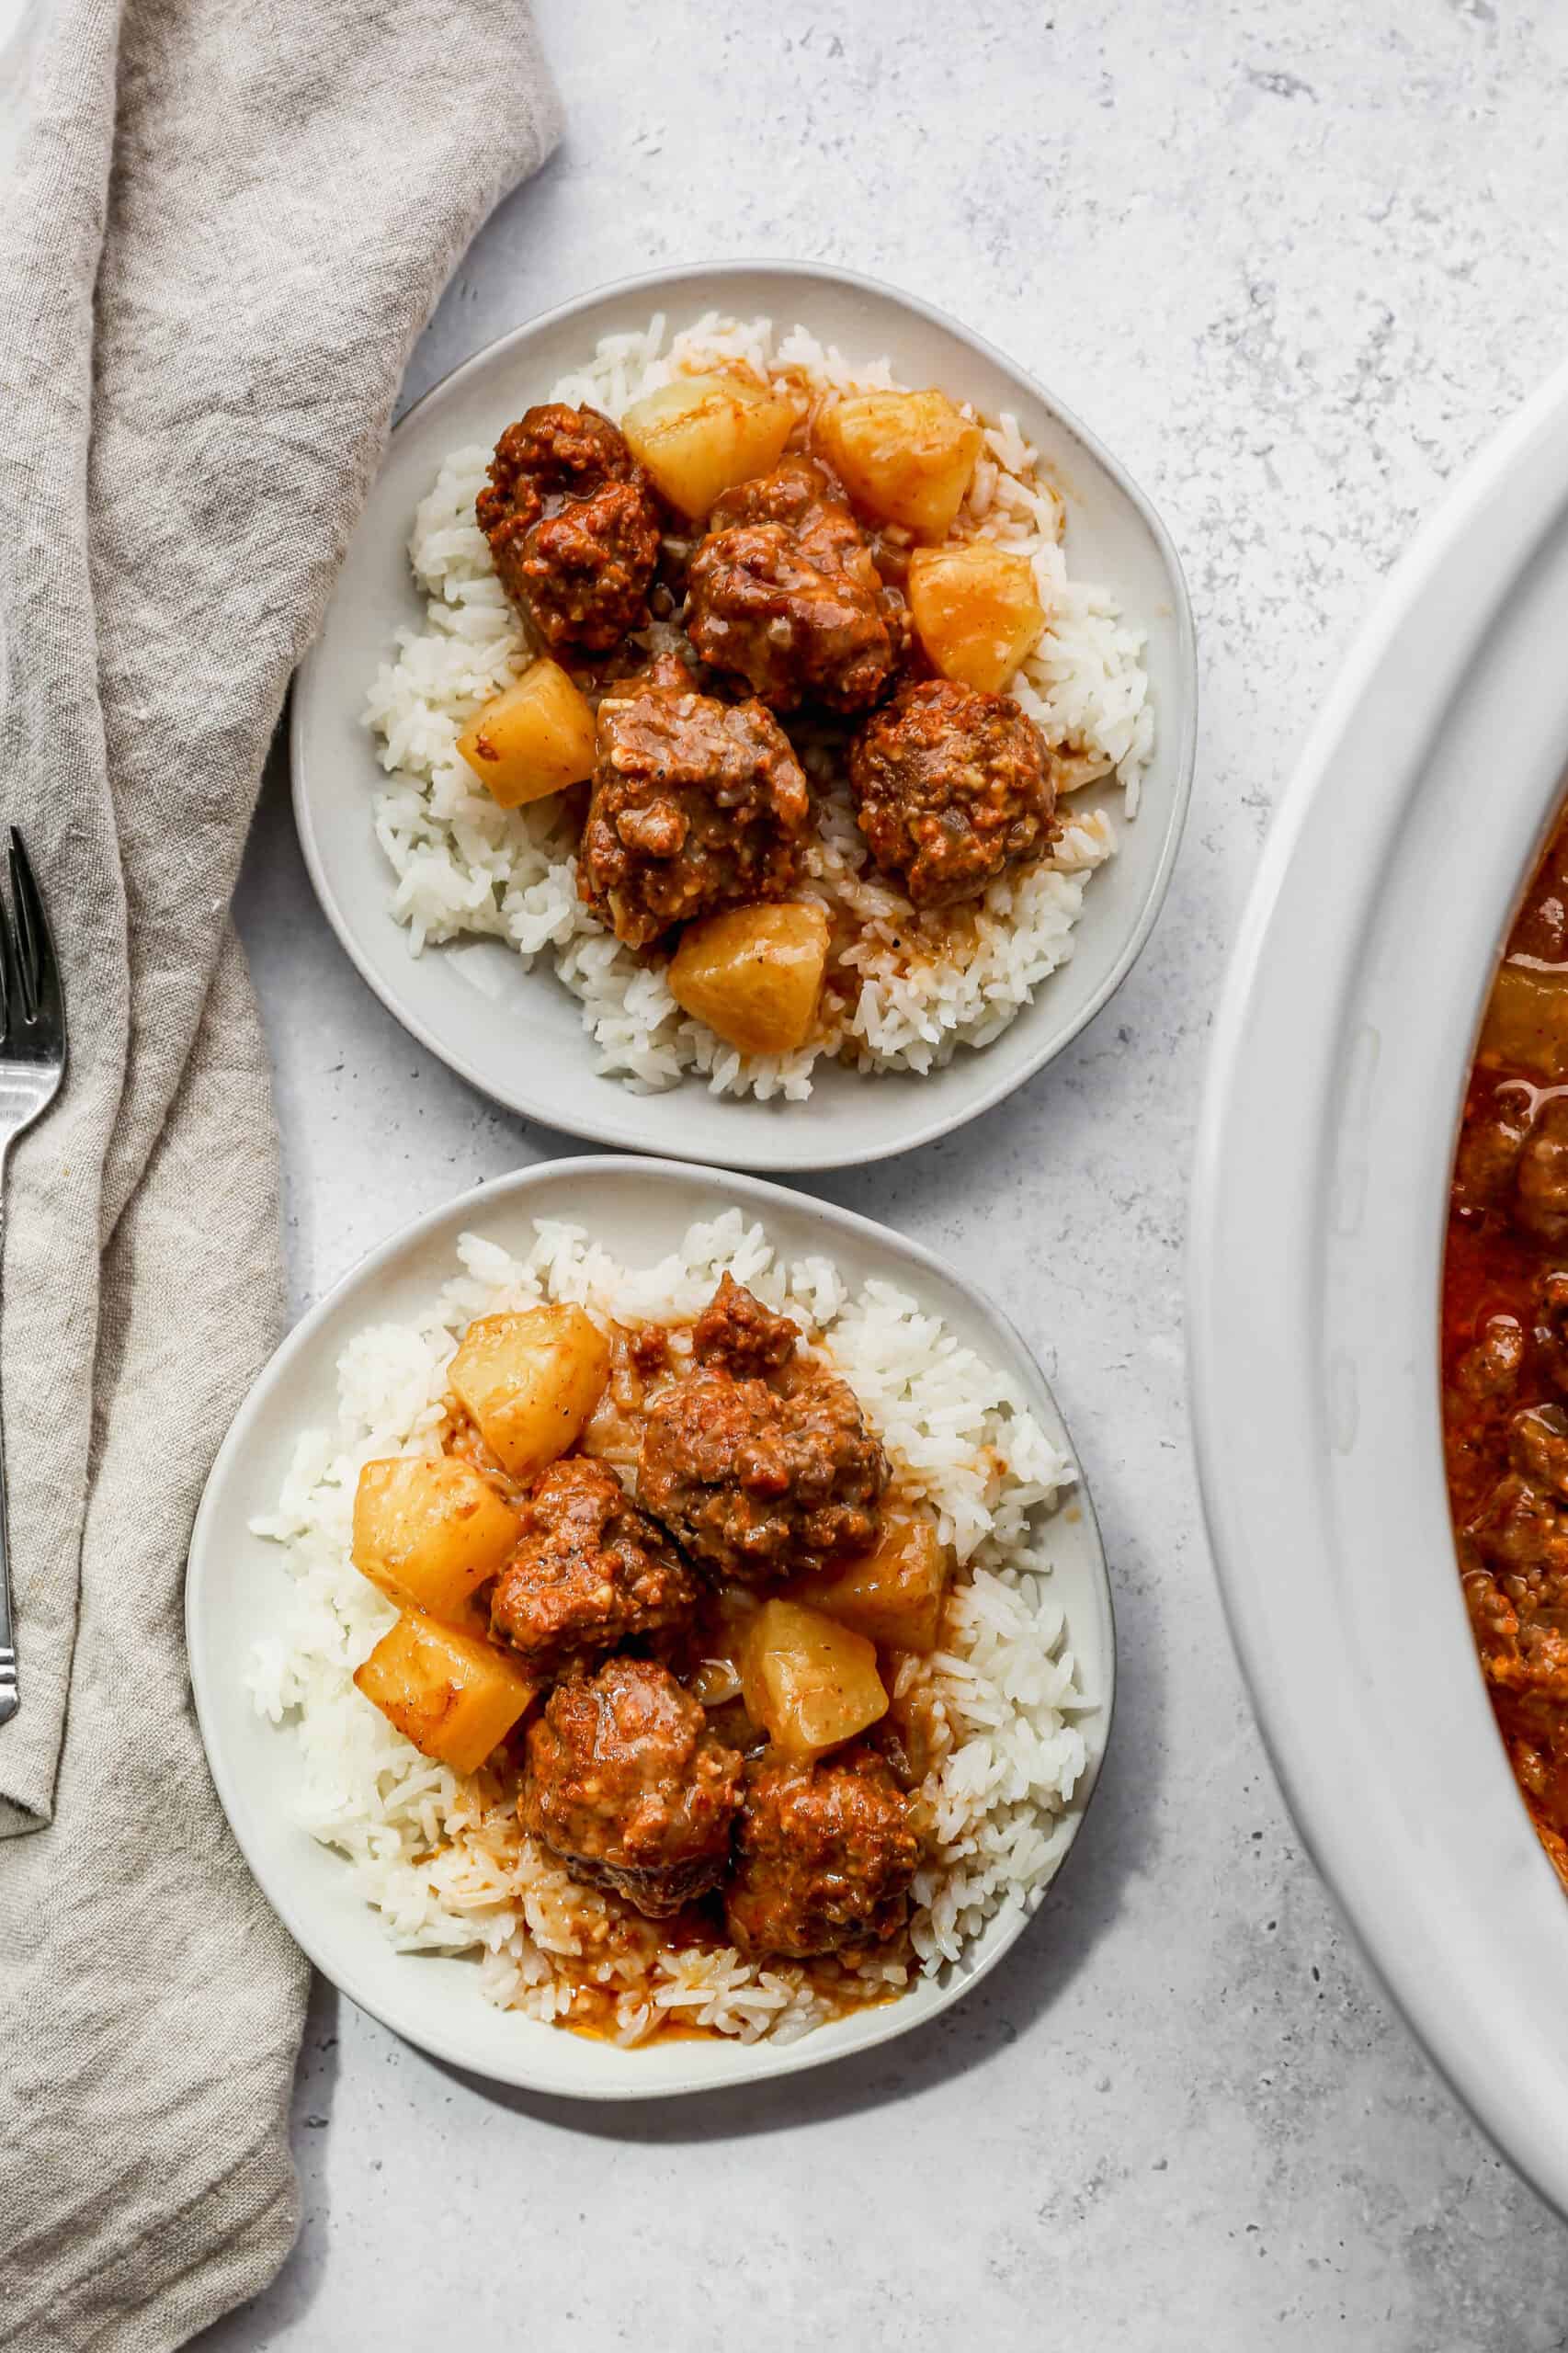
    two white plates of gluten free slow cooker Hawaiin meatballs over white jasmine rice.
    [feast_advanced_jump_to]

    Ingredients

    • Ground Beef
    • Gluten Free Bread Crumbs
    • Egg
    • Parmesan Cheese
    • Yellow Onion
    • Minced Garlic
    • Tomato Paste
    • Sea Salt
    • Coarse Ground Black Pepper
    • Barbecue Sauce
    • Pineapple Chunks
    • Jasmine Rice

    Instructions

    In a large bowl mix together the ground beef, gluten free bread crumbs, egg, parmesan cheese, onion, minced garlic, tomato paste, salt and pepper until well combined and sticking together.

    Form the mixture into golf ball sized meatballs. Add the meatballs to your crockpot in an even layer.

    Pour the barbecue sauce and pineapple chunks with juice over top the meatballs.

    Cook on high for 2-3 hours or until the meatballs are done. They should be at least 165 degrees in the center.

    Use as an appetizer or serve over rice for a meal.

    Supplies

    Frequently Asked Questions

    How do you keep gluten free meatballs from falling apart?

    Adding gluten free breadcrumbs and an egg help to hold the meatballs together. It's also important that you shred or very finely dice your onion. Then really make sure the ingredients are thoroughly mixed together.

    Firmly pack the meatballs into golf ball sized rounds. Then, set them in the crockpot in one row. Don't stack them on top of each other or squish them together too much. This will ensure the meatballs hold their shape.

    Can I used something besides breadcrumbs in meatballs?

    Yes, you can use gluten free rice crumbs that you make or purchase. You can also use crushed gluten free crackers. Place the crackers in your food processor and pulse until you get a crumb consistency. You can use the same amount of rice crumbs or cracker crumbs as you would breadcrumbs in the recipe.

    More Recipes You Might Enjoy

    • Gluten Free Slow Cooker Barbecue Meatballs
    • Gluten Free Slow Cooker Cranberry Meatballs
    • Gluten Free Swedish Style Meatballs
    • Gluten Free Slow Cooker Meatballs

    I get a lot of my ingredients from Thrive Market. Thrive Market has been a game changer for me eating gluten free. They have so many options I can't get at my rural grocery stores! Use this link to get 40% off your first order!

    Print
    clock clock iconcutlery cutlery iconflag flag iconfolder folder iconinstagram instagram iconpinterest pinterest iconfacebook facebook iconprint print iconsquares squares iconheart heart iconheart solid heart solid icon

    Gluten Free Slow Cooker Hawaiin Meatballs


    5 Stars 4 Stars 3 Stars 2 Stars 1 Star

    5 from 1 review

    • Author: Elaine VanVleck
    • Total Time: 2 hours 15 minutes
    • Yield: 5 servings 1x
    • Diet: Gluten Free
    Print Recipe
    Pin Recipe

    Description

    This easy recipe for gluten free slow cooker Hawaiin meatballs is perfect for barbecues! The meatballs are made with ground beef, bbq sauce, and pineapple in your crockpot. They are sweet, tangy and perfect served over rice or as an appetizer.


    Ingredients

    Scale

    Meatballs:

    • 1 pound Ground Beef
    • ½ cup Gluten Free Bread Crumbs
    • 1 large Egg
    • ¼ cup Parmesan Cheese, finely grated
    • 1 small Yellow Onion, finely grated
    • 2 Tbsp Minced Garlic
    • 3 Tbsp Tomato Paste
    • 1 tsp Sea Salt
    • ½ tsp Coarse Ground Black Pepper


    • 1 cup Barbecue Sauce
    • 20 ounce can Pineapple Chunks, with juice
      Jasmine Rice, for serving

    Instructions

    In a large bowl mix together the ground beef, gluten free bread crumbs, egg, parmesan cheese, onion, minced garlic, tomato paste, salt and pepper until well combined and sticking together.

    Form the mixture into golf ball sized meatballs. Add the meatballs to your crockpot in an even layer.

    Pour the barbecue sauce and pineapple chunks with juice over top the meatballs.

    Cook on high for 2-3 hours or until the meatballs are done. They should be at least 165 degrees in the center.

    Use as an appetizer or serve over rice for a meal.

    • Prep Time: 15 minutes
    • Cook Time: 2 hours
    • Category: Meals, Appetizers
    • Method: Slow Cooker
    • Cuisine: Gluten Free

    Did you make this recipe?

    Tag @smallfarmbiglife on Instagram and hashtag it #smallfarmbiglife

    Homemade Blueberry Lemonade made with Frozen Blueberries

    This Homemade Blueberry Lemonade made with frozen blueberries is one of the most popular recipes on my site and I completely understand why because it is absolutely stunning and tastes incredible. I love lemonade during the hot summer months but I do not like all the added ingredients and chemicals in store bought lemonade mix so my solution was to make my own blueberry syrup from scratch and mix it with fresh lemon juice and cold water.

    The result is the most gorgeous deep purple lemonade that is bright, sweet, tangy, and so refreshing that I make it constantly from spring through the end of summer.

    a glass of homemade blueberry lemonade with frozen blueberries in front of a glass pitcher of lemonade.

    The best part of this recipe is that frozen blueberries work just as well as fresh which means you can make this beautiful lemonade any time of year without waiting for blueberry season.

    The homemade blueberry syrup takes just 5 minutes on the stovetop and once it is strained and cooled it keeps in the refrigerator for up to a week so you can make a big batch and have gorgeous blueberry lemonade ready to pour all week long.

    One reader told me she adds a little extra lemon juice for an even more lemony flavor and I love that tip!

    If you are looking for more refreshing drinks you might also like my Lemon Lime Homemade Sports Drink, this Homemade Raspberry Lemonade or my Strawberry Daiquiri Mocktails.

    You can find all of my drink recipes here: Gluten Free Drink Recipes

    a glass of homemade blueberry lemonade with frozen blueberries in front of a pitcher of lemonade.
    [feast_advanced_jump_to]

    Ingredients

    • Frozen Blueberries
    • Granulated Sugar
    • Lemon Zest
    • Lemon Juice
    • Cold Water
    • Ice

    Instructions

    In a saucepan over medium heat cook the blueberries, sugar and lemon zest until the mixture is warm and bubbling. Be sure to stir the mixture so it doesn't stick to the pan.

    Pour the blueberry mixture through a fine mesh strainer to remove the seeds and pulp. Let the syrup cool.

    In a pitcher add the cold water, lemon juice, blueberry syrup and ice. Stir to combine.

    Serve immediately in tumblers with ice.

    Supplies

    Substitutions

    • Frozen Strawberries - instead of frozen blueberries you can use strawberries
    • Frozen Mixed Berries - the berry lemonade will be a bit more purple, but it will still be delicious and is a great way to use up leftover frozen berries.
    • Lime Juice - you can easily use lime juice and/or lime zest in the place of the lemon in this recipe

    More Recipes You Might Enjoy

    • 3 Ingredient Strawberry Lemonade Mocktail
    • Homemade Raspberry Lemonade
    • Blueberry Lemon Sparkling Mocktail
    • Homemade Blackberry Lemonade

    I get a lot of my ingredients from Thrive Market. Thrive Market has been a game changer for me eating gluten free. They have so many options I can't get at my rural grocery stores! Use this link to get 40% off your first order!

    Print
    clock clock iconcutlery cutlery iconflag flag iconfolder folder iconinstagram instagram iconpinterest pinterest iconfacebook facebook iconprint print iconsquares squares iconheart heart iconheart solid heart solid icon

    Homemade Blueberry Lemonade made with Frozen Blueberries


    5 Stars 4 Stars 3 Stars 2 Stars 1 Star

    5 from 1 review

    • Author: Elaine VanVleck
    • Total Time: 10 minutes
    • Yield: 4 servings 1x
    • Diet: Gluten Free
    Print Recipe
    Pin Recipe

    Description

    This Homemade Blueberry Lemonade made with frozen blueberries starts with a quick homemade blueberry syrup of frozen blueberries, sugar, and lemon zest that is strained and mixed with fresh lemon juice and cold water for the most gorgeous deep purple lemonade that is bright, sweet, tangy, and completely refreshing. Ready in just 10 minutes with simple everyday ingredients and so much better than anything from a mix. Naturally gluten free and the most beautiful and delicious summer drink you will make on repeat all season long!


    Ingredients

    Scale
    • 1 ½ cup Frozen Blueberries
    • 1 cup Granulated Sugar
    • 1 Tbsp Lemon Zest
    • ½ cup Lemon Juice
    • 5 cups Cold Water
    • Ice to serve

    Instructions

    In a saucepan over medium heat cook the frozen blueberries, sugar and lemon zest until the mixture is warm and bubbling. Be sure to stir the mixture so it doesn't stick to the pan.

    Pour the blueberry mixture through a fine mesh strainer to remove the seeds and pulp. Let the syrup cool.

    In a pitcher add the cold water, lemon juice, blueberry syrup and ice. Stir to combine.

    Serve immediately in tumblers with ice.

    • Prep Time: 5 minutes
    • Cook Time: 5 minutes
    • Category: Drinks
    • Method: Stove Top
    • Cuisine: American

    Did you make this recipe?

    Tag @smallfarmbiglife on Instagram and hashtag it #smallfarmbiglife

    If you made this Homemade Blueberry Lemonade I would love to hear what you thought! Please leave a star rating and a comment below. This is one of my most popular summer drink recipes and I hope it becomes a staple in your home too!

    Storage

    You can store this drink in the pitcher or a sealed glass container in the refrigerator for up to a week. If you know you aren't going to serve this recipe immediately you can mix everything together except for the ice. Add the ice right before serving to keep the drinks cold.

    Top Tip

    The key step in this recipe is properly straining the blueberry syrup after cooking. Pour the hot blueberry mixture through a fine mesh strainer into a bowl and use the back of a spoon to gently press the mixture and separate as much juice as possible from the pulp. The more you press the more beautiful deep purple syrup you will get. Let the syrup cool in the refrigerator for at least 30 minutes before adding it to the lemonade so it blends smoothly without melting all your ice immediately.

    Didn't find the answer you're looking for?

    Ask AI to answer based on this recipe:

    ChatGPT
    Google AI
    Perplexity
    Grok
    Claude

    Frequently Asked Questions

    Can I make this blueberry lemonade ahead of time?

    Yes and I actually recommend it! Make the blueberry syrup ahead of time and store it in a sealed jar in the refrigerator for up to one week. When you are ready to serve simply combine the cold syrup with fresh lemon juice and cold water in a pitcher and serve over ice. If you know you are not serving this immediately mix everything together except the ice and add ice right before serving to keep it perfectly cold without diluting the flavor.

    Can I use fresh blueberries instead of frozen?

    Yes! Fresh blueberries work beautifully in this recipe especially during peak blueberry season in summer when they are at their sweetest and most flavorful. The process is exactly the same. Simply cook the fresh blueberries with sugar and lemon zest until the mixture is warm and bubbling and then strain. Frozen blueberries are my preference for convenience since they are available year round at a great price but fresh blueberries will give you a slightly brighter and more intense flavor.

    Can I make a big batch of this blueberry lemonade for a party?

    Absolutely! Simply double or triple the recipe and mix everything in a large pitcher or drink dispenser. The blueberry syrup can be made days ahead of time and stored in the refrigerator so all you need to do on the day of your party is combine it with fresh lemon juice and cold water. This lemonade is absolutely beautiful served at summer parties, baby showers, bridal showers, and backyard barbecues.

    Can I make this into a blueberry lemonade cocktail?

    Yes! Add a splash of vodka or gin to individual glasses for a simple and stunning blueberry lemonade cocktail. You can also use sparkling water instead of still water for a beautiful effervescent blueberry lemonade that is especially refreshing on a hot day.

    How do I make the blueberry lemonade sweeter or more tart?

    This recipe is easily adjustable to your taste. For a sweeter lemonade add a little more sugar to the blueberry syrup while it is cooking or add a small drizzle of honey to the finished pitcher and stir. For a more tart and lemony lemonade add an extra quarter cup of lemon juice as one of my readers recommends. Taste as you go and adjust until it is perfect for you.

    Easy Gluten Free Zucchini Brownies

    These Easy Gluten Free Zucchini Brownies are what I make every single summer when the garden zucchini starts piling up faster than I can use it and I need a recipe that is both delicious and completely worth turning on the oven for. They are rich, deeply chocolatey, and so fudgy that nobody ever believes there is a vegetable hiding inside every single brownie. The melted chocolate chips and cocoa powder give these brownies the most incredible deep chocolate flavor and the fresh shredded zucchini is completely undetectable once they are baked.

    A sprinkle of coarse sea salt on top before serving takes them completely over the top.

    easy gluten free zucchini brownies cut into squares on a piece of white parchment paper.

    These brownies come together in just 55 minutes from start to finish and the recipe is simple enough that even beginner bakers will nail them on the first try. I

    like to use a high quality dutch process cocoa powder for the richest and most intense chocolate flavor and I use the small side of my box grater for the zucchini so the shreds are tiny and completely invisible in the finished brownie.

    If you peel the green skin from the zucchini before grating it nobody will even see it.

    These brownies also freeze beautifully which means you can make a batch and have individual brownies ready to pull from the freezer all summer long.

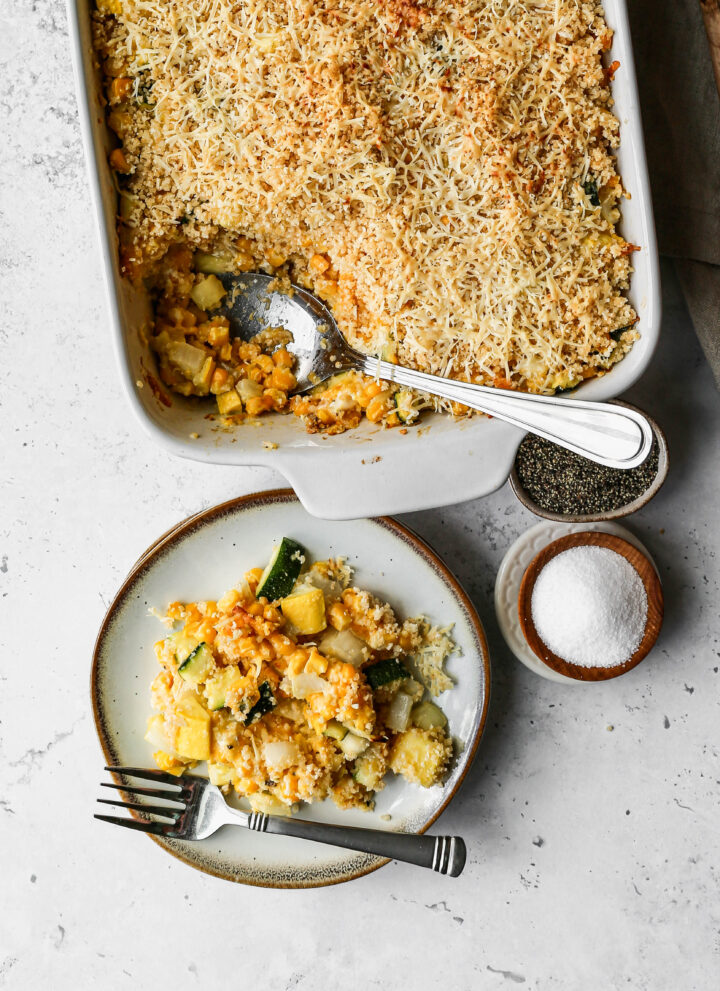
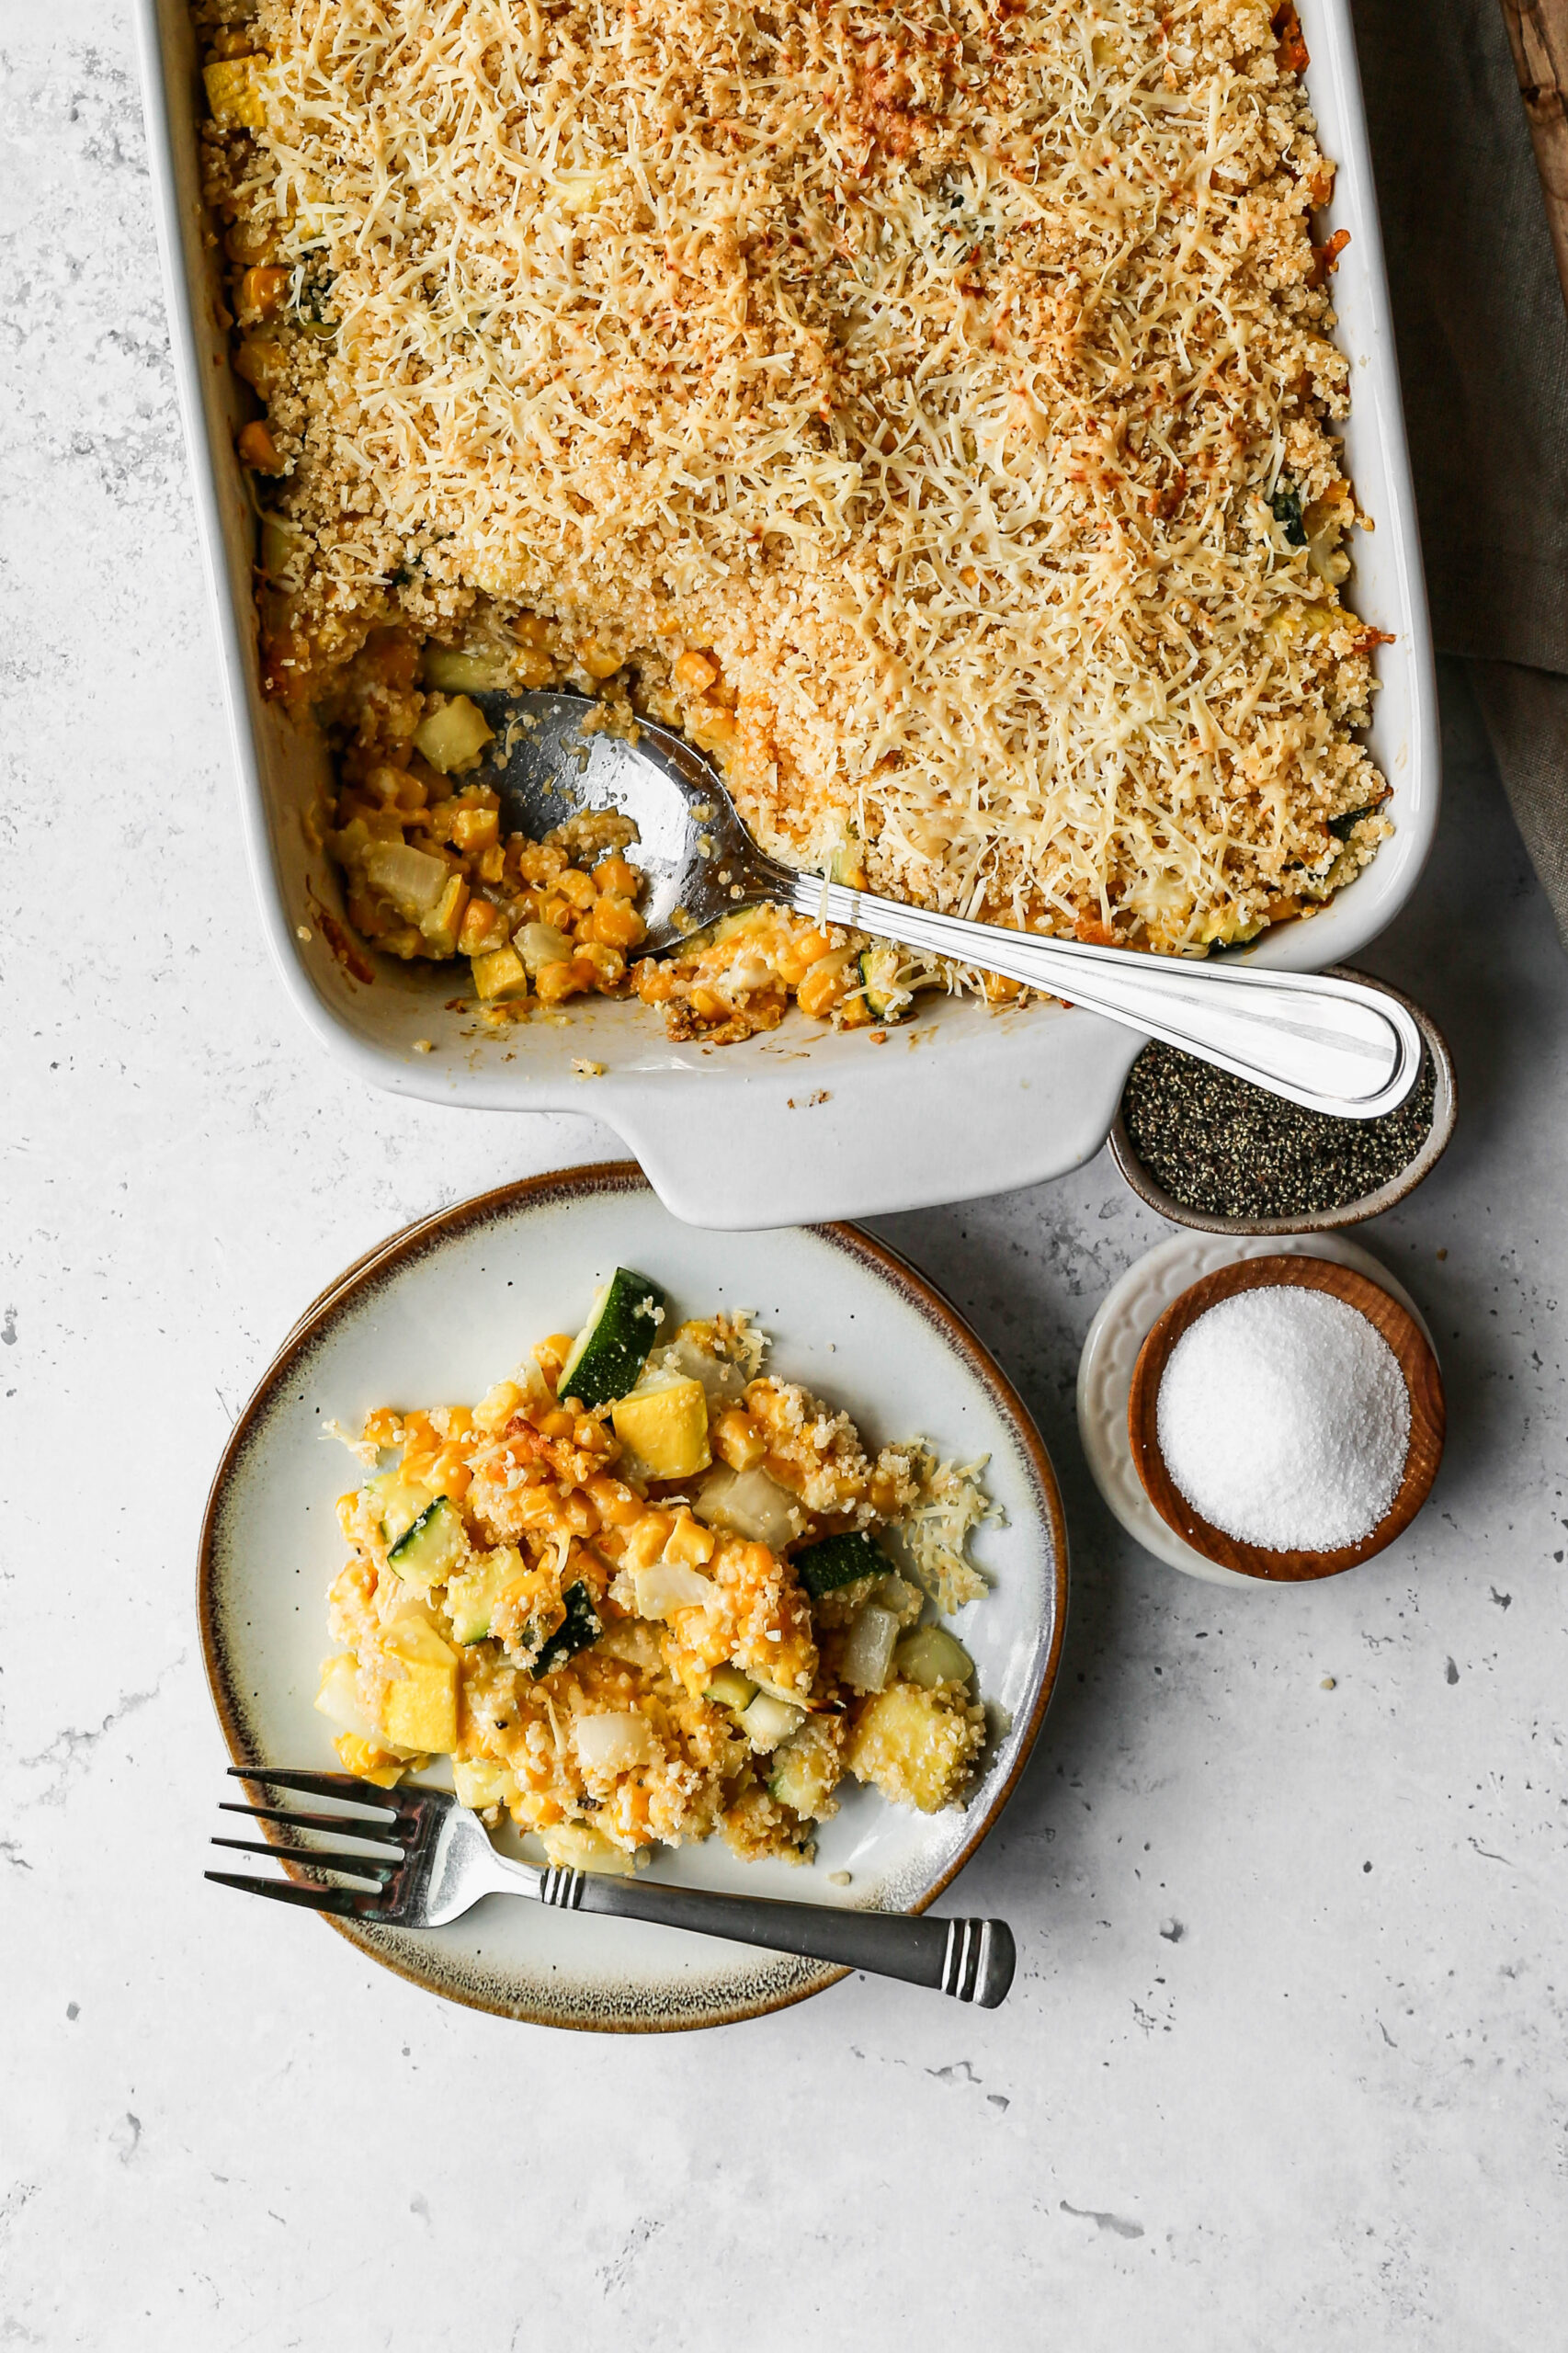
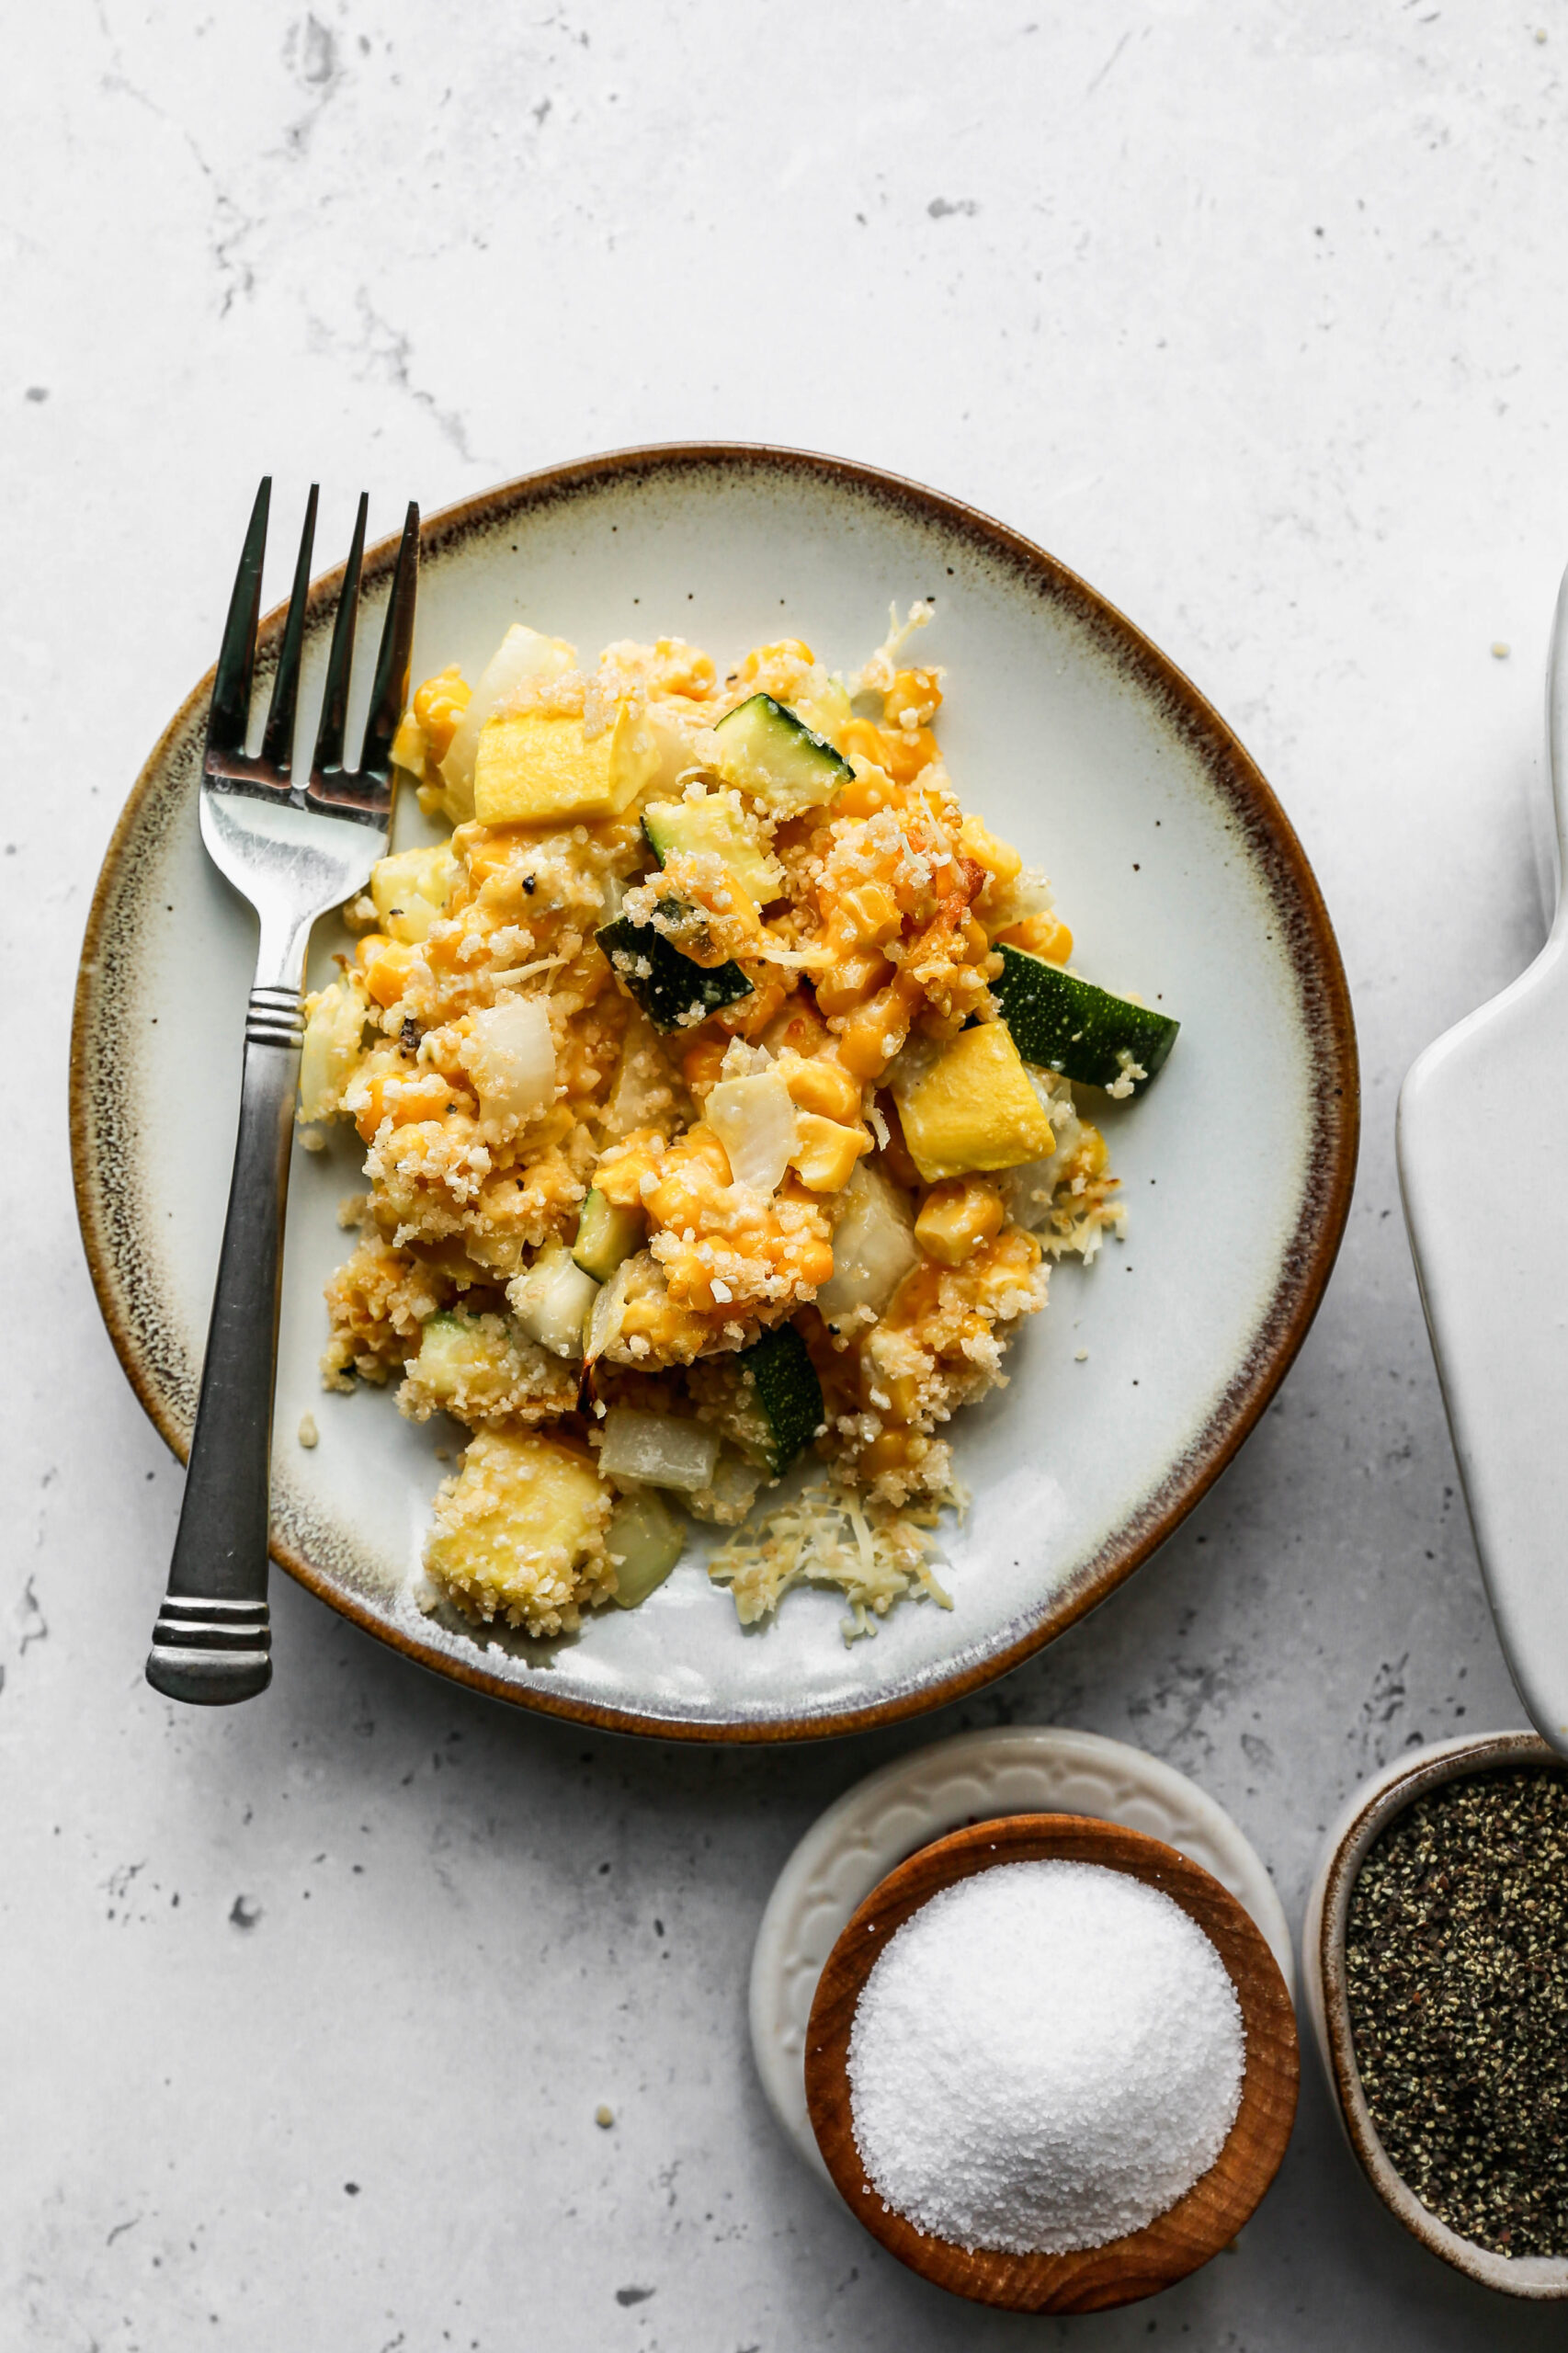
    If you are looking for more zucchini recipes you might also enjoy my Gluten Free Zucchini Chocolate Chip Cookies, this Air Fryer Roasted Zucchini Squash, my Gluten Free Zucchini Squash and Corn Casserole or my Baked Kale and Zucchini Pilaf recipes.

    easy gluten free zucchini brownies cut into squares with coarse sea salt sprinkled on top.
    [feast_advanced_jump_to]

    Ingredients

    • Unsalted Butter
    • Semi Sweet Chocolate Chips
    • Granulated Sugar
    • Brown Sugar
    • Eggs
    • Vanilla Extract
    • Zucchini
    • Gluten Free Flour
    • Cocoa Powder
    • Sea Salt
    • Coarse Sea Salt
    • Mini Chocolate Chips

    Instructions

    Preheat your oven to 350 degrees. Grease an 8x8-inch baking dish with butter or coconut oil. Set aside.

    In a small saucepan on low heat melt the butter and chocolate chips. Stirring occasionally until the lumps are gone. Remove from heat.

    Stir in the sugar, beaten eggs, vanilla and zucchini.

    In a bowl whisk together the flour and sea salt. Combine the wet and dry ingredients blending just until they are mixed together.

    Pour batter into a greased 8x8 inch baking dish. Sprinkle with mini chocolate chips.

    Bake at 350 degrees for 35 minutes or until a toothpick inserted in the center comes out clean.

    Let the brownies cool completely before cutting into squares.

    Sprinkle with coarse sea salt and serve with vanilla ice cream.

    Supplies

    • Gluten Free Chocolate Zucchini Muffins
    • Gluten Free Zucchini Bread
    • Gluten Free Zucchini Chocolate Chip Cookies
    • Gluten Free Zucchini Muffins

    I get a lot of my ingredients from Thrive Market. Thrive Market has been a game changer for me eating gluten free. They have so many options I can't get at my rural grocery stores! Use this link to get 40% off your first order!

    Print
    clock clock iconcutlery cutlery iconflag flag iconfolder folder iconinstagram instagram iconpinterest pinterest iconfacebook facebook iconprint print iconsquares squares iconheart heart iconheart solid heart solid icon

    Easy Gluten Free Zucchini Brownies


    5 Stars 4 Stars 3 Stars 2 Stars 1 Star

    No reviews

    • Author: Elaine VanVleck
    • Total Time: 55 minutes
    • Yield: 9 bars 1x
    • Diet: Gluten Free
    Print Recipe
    Pin Recipe

    Description

    These Easy Gluten Free Zucchini Brownies are rich, fudgy, and packed with deep chocolate flavor from melted semi-sweet chocolate chips and cocoa powder and the fresh shredded zucchini makes every brownie incredibly moist and tender without any trace of vegetable flavor. Topped with a sprinkle of coarse sea salt and mini chocolate chips these are the most decadent and delicious gluten free brownies you will ever pull out of your oven in just 55 minutes. Naturally gluten free and the perfect way to use up summer garden zucchini while satisfying your deepest chocolate craving!


    Ingredients

    Scale
    • ¼ cup Unsalted Butter
    • 1 cup Semi-Sweet Chocolate Chips
    • ½ cup Granulated Sugar
    • ¼ cup Brown Sugar
    • 2 large Eggs, beaten
    • 1 tsp. Vanilla Extract
    • 1 cup Zucchini, grated and drained
    • 1 cup Gluten Free Flour
    • ¼ cup Cocoa Powder
    • ½ tsp. Sea Salt
      Coarse Sea Salt, for serving
      Mini Chocolate Chips, for sprinkling on top

    Instructions

    Preheat your oven to 350 degrees. Grease an 8x8-inch baking dish with butter or coconut oil. Set aside.

    In a saucepan on low heat melt the butter and chocolate chips. Stirring occasionally until the lumps are gone. Remove from heat.

    Stir in the sugar, beaten eggs, vanilla and shredded zucchini.

    In a mixing bowl whisk together the flour, cocoa powder and sea salt. Combine the wet and dry ingredients blending just until they are mixed together.

    Pour batter into a greased 8x8 inch baking dish. Sprinkle mini chocolate chips on top.

    Bake at 350 degrees for 35 minutes or until a toothpick inserted in the center comes out clean.

    Let the brownies cool completely before cutting into squares.

    Sprinkle with coarse sea salt and serve with vanilla ice cream.

    • Prep Time: 20 minutes
    • Cook Time: 35 minutes
    • Category: Dessert
    • Method: Baking
    • Cuisine: American

    Did you make this recipe?

    Tag @smallfarmbiglife on Instagram and hashtag it #smallfarmbiglife

    If you made these Easy Gluten Free Zucchini Brownies I would love to hear what you thought! Please leave a star rating and a comment below. This is one of my favorite summer baking recipes and I hope it becomes a staple in your kitchen too!

    Storage

    Once the gluten free zucchini brownies have cooled cut them into squares and then store them in an air tight container for up to 5 days. If it's warm out I like to store mine in the refrigerator so they stay fresh longer.

    Top Tips

    Use the small side of your box grater to shred the zucchini so the pieces are tiny and completely undetectable in the finished brownies. Measure out your cup of zucchini before squeezing out the excess moisture so you have the right amount after draining. Use a high quality dutch process cocoa powder for the richest and most intense chocolate flavor. It makes a noticeable difference in the final result.

    Didn't find the answer you're looking for?

    Ask AI to answer based on this recipe:

    ChatGPT
    Google AI
    Perplexity
    Grok
    Claude

    Frequently Asked Questions

    What do zucchini brownies taste like?

    They taste just like regular brownies. I think the zucchini actually makes them a bit more moist and tender. The zucchini doesn't alter the flavor of the brownies. If you peel the green skin from the zucchini no one will even notice these brownies have zucchini in them!

    Can zucchini brownies be frozen?

    Yes! I like to bake the brownies, then when they have cooled I cut them into squares. I store individual squares of the brownies in the freezer for a quick treat or lunch snack later.

    In a freezer safe container or bag they should last for up to one month in your freezer. I microwave them so they are warm to have with ice cream. It also works to let them thaw naturally in your lunch.

    How do I store zucchini brownies?

    I let the brownies cool and then cut them into squares. I then either cover the baking dish or store the brownies individually in baggies. The brownies can be left out for a couple of days and then will either need to go in the refrigerator or be frozen.

    Does the type of cocoa powder I use in brownies matter?

    Yes! You want to use a high quality dutch cocoa powder to get the richest chocolate flavor in your brownies. My personal favorite is Rodelle Gourmet Baking Cocoa.

    • « Previous Page
    • 1
    • …
    • 32
    • 33
    • 34
    • 35
    • 36
    • …
    • 100
    • Next Page »

    Welcome! I'm Elaine

    I'm so glad you are here! I share easy gluten free recipes from my small farm in Washington.

    Be sure to sign up for my newsletter to stay up to date on all of my new recipes.

    More about me...
    • Instagram
    • Pinterest
    • Facebook
    • Twitter
    • Mail

    Load up on new recipes, exclusive goodies, + more!
    Sign up below to stay up-to-date on news, events, and special deals.
    Thank you for subscribing!

    Easy Meals Recipes

    • Gluten Free Instant Pot Chili Mac and Cheese
    • Gluten Free Taco Casserole
    • Gluten Free Cowboy Baked Beans
    • Gluten Free Walking Taco Casserole
    • Gluten Free Creamy Beef and Mushroom Pasta
    • Gluten Free Instant Pot Chicken and Dumplings
    • Instant Pot Mexican Style Beef and Rice
    • Gluten Free Chicken Parmesan Pasta Casserole
    • Gluten Free One Pot Hamburger Helper Copycat
    • Gluten Free Salisbury Steak with Mushroom Gravy
    • Gluten Free Air Fryer Fajitas
    • Gluten Free Sloppy Joe Casserole

    Footer

    back to top

    About

    • Privacy Policy
    • Shop my Amazon Page
    • Follow me on LTK

    Newsletter

    • Sign Up! for emails and updates

    Contact

    • Contact
    • Media Kit
    • About Me

    As an Amazon Associate I earn from qualifying purchases.

    I may get commissions for purchases made through links on this site.

    Copyright © 2026 Brunch Pro on the Brunch Pro Theme