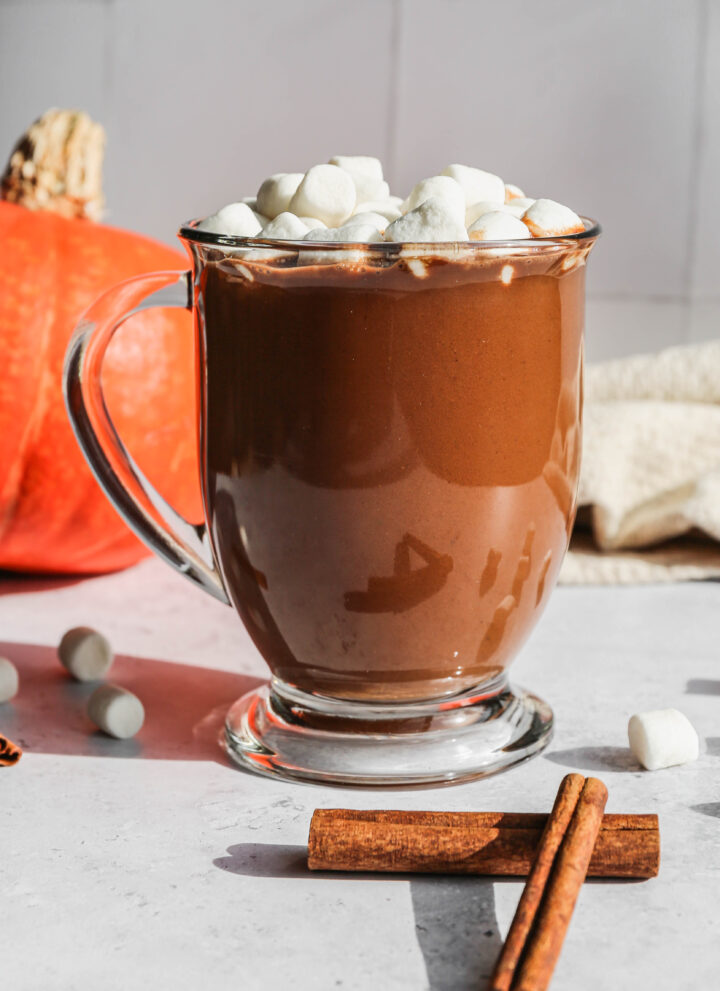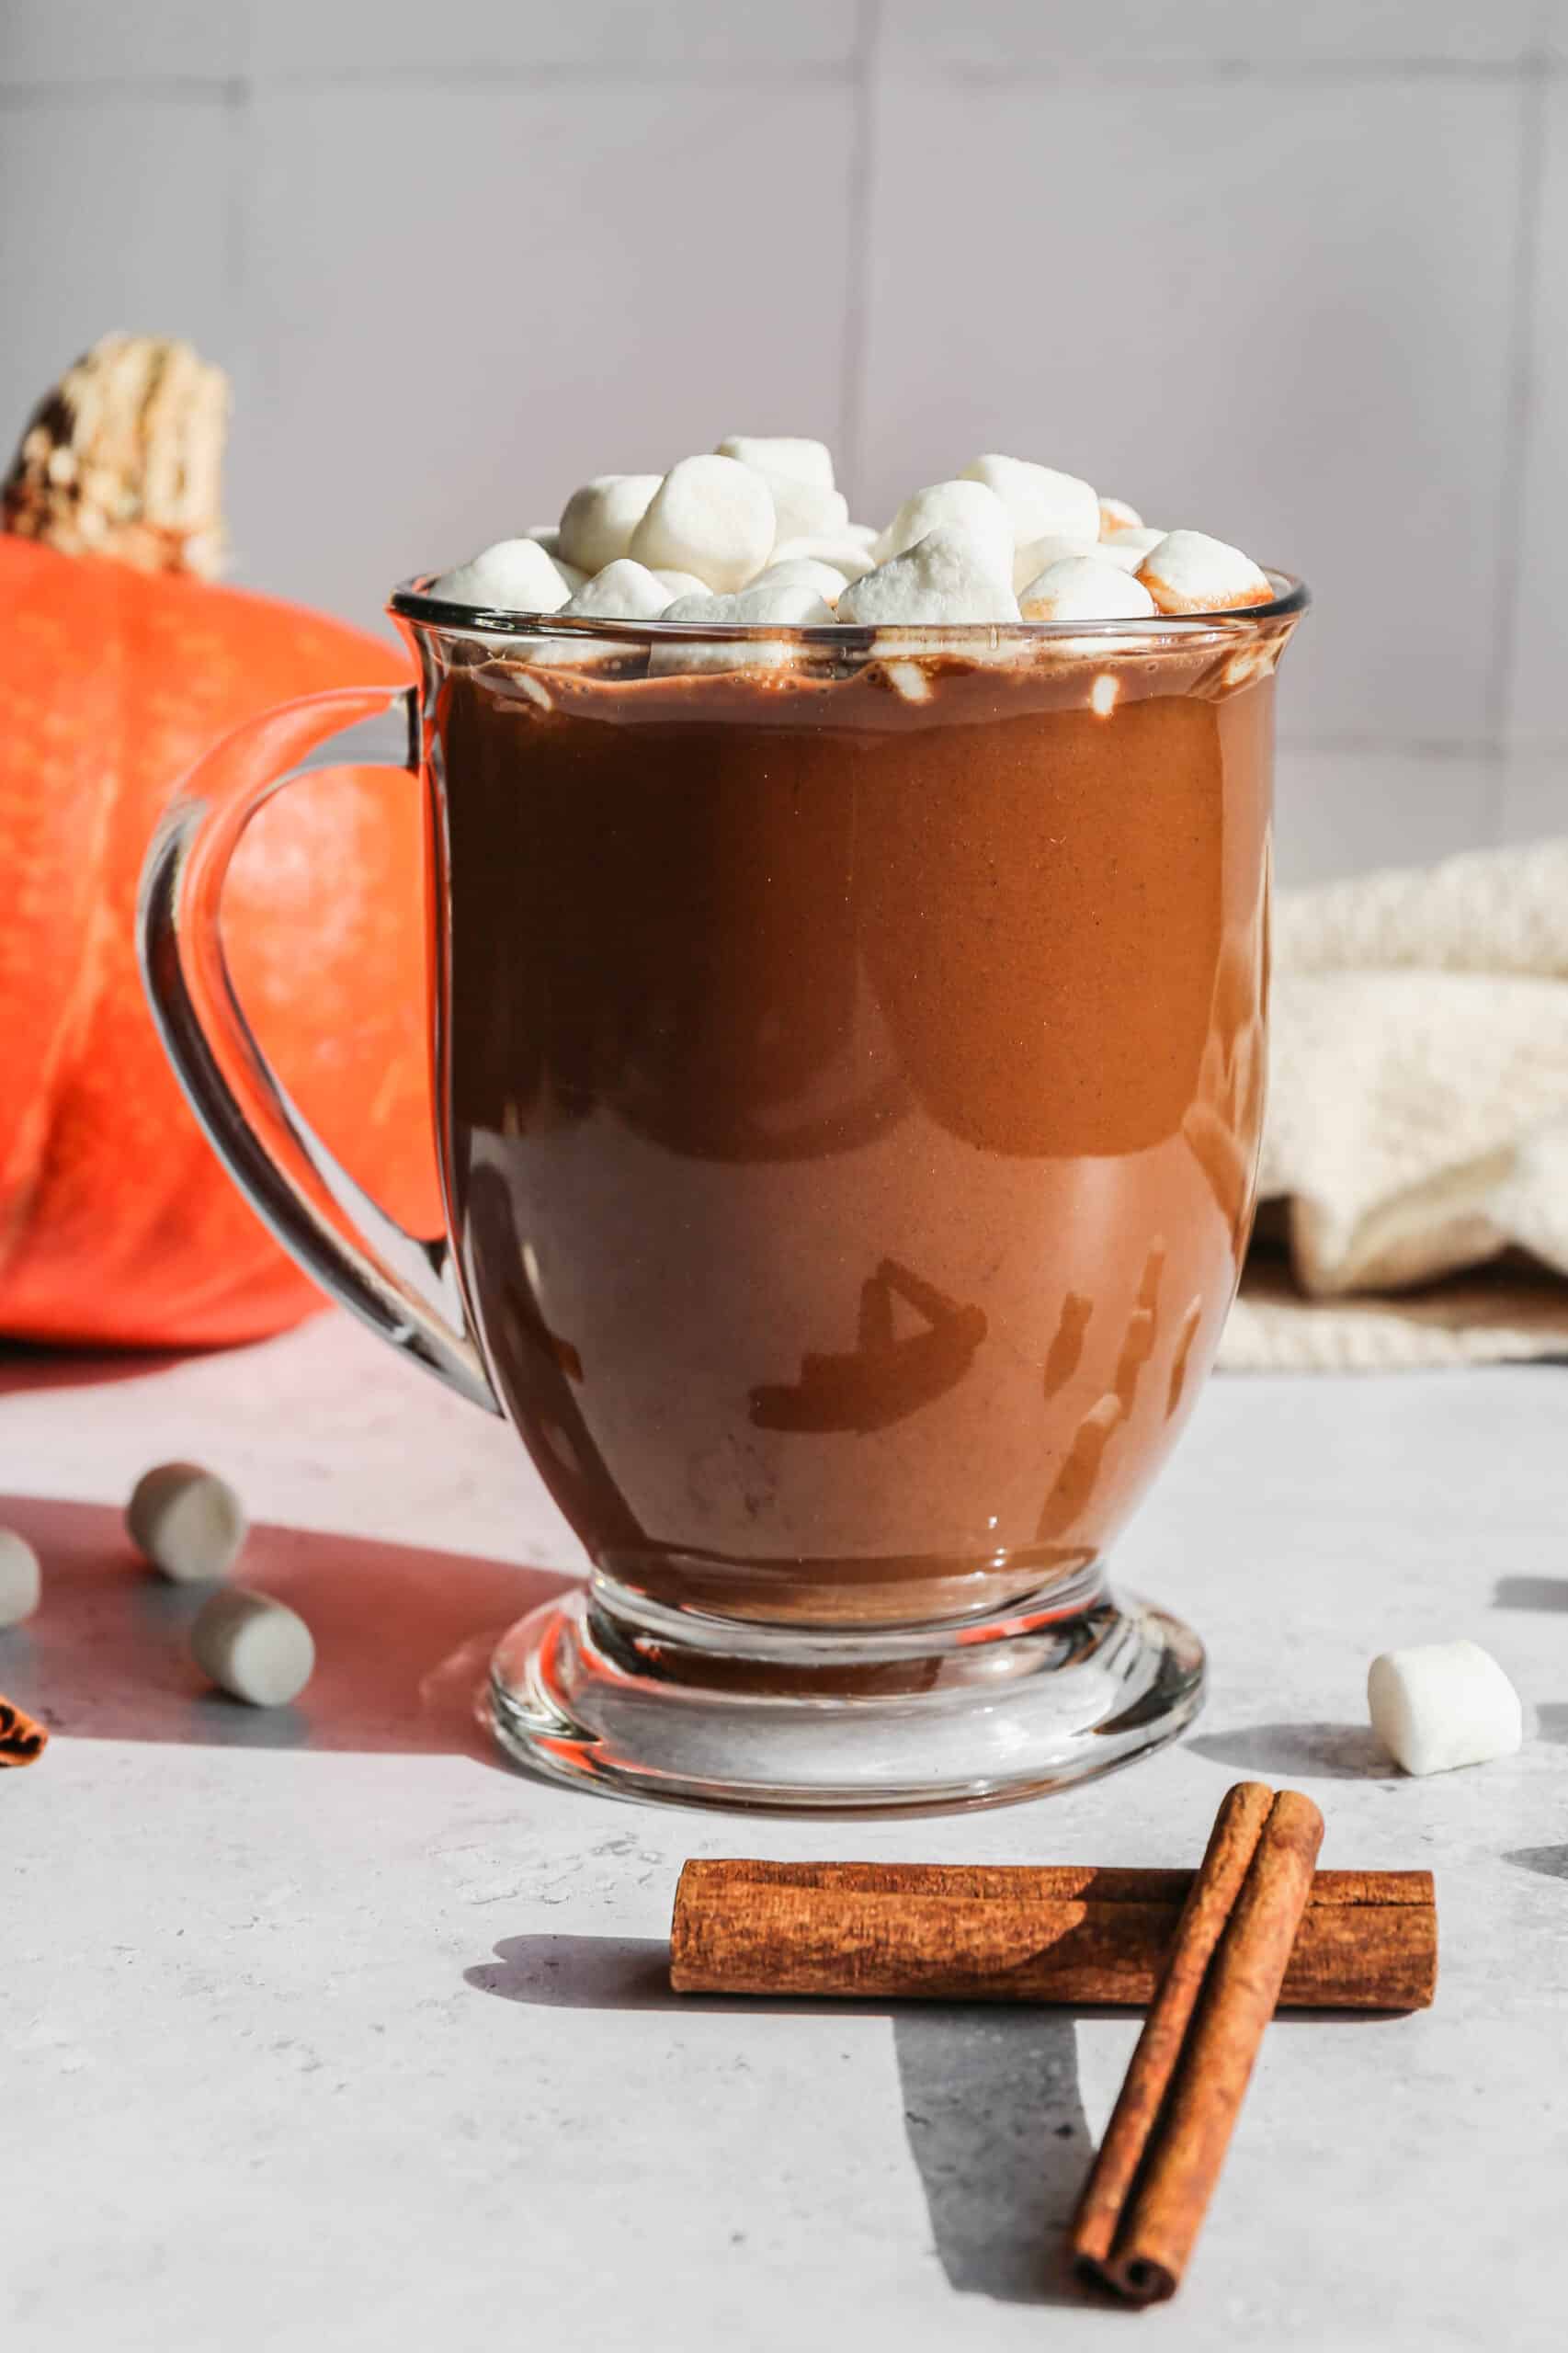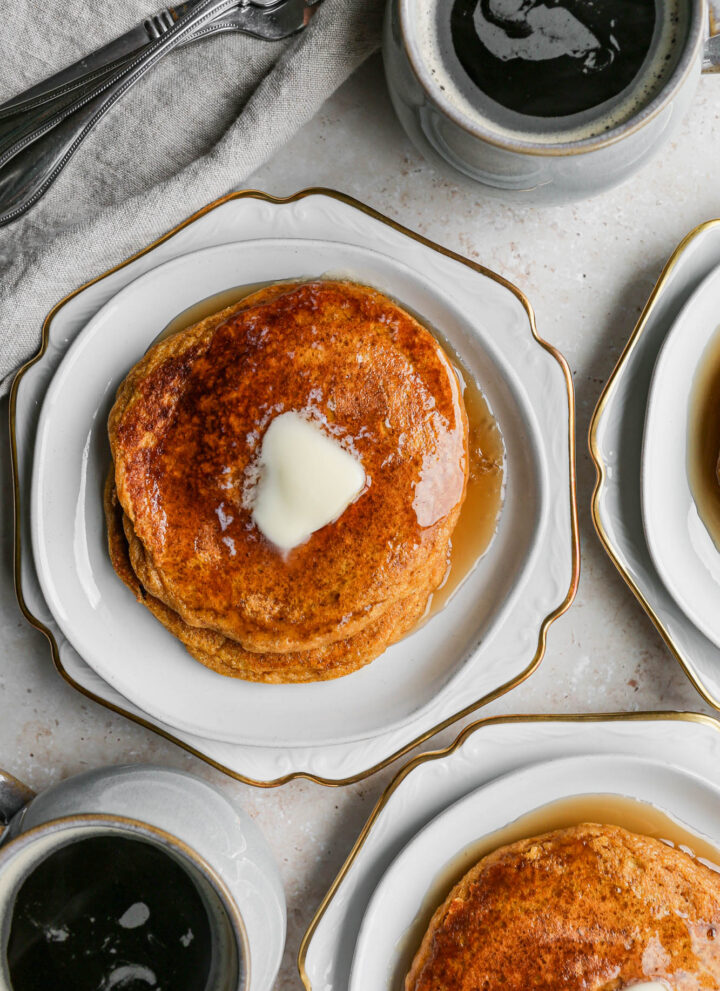
This easy recipe for gluten free pumpkin spice pancakes is the perfect fall breakfast! These healthy pancakes are made with maple syrup and pumpkin puree. It's really easy to make fluffy pancakes from scratch for brunch, breakfast or dinner.
These Gluten Free Pumpkin Spice Pancakes are the perfect cozy start to your fall mornings. Fluffy, flavorful, and made from scratch, they're an easy and delicious way to bring autumn warmth to the breakfast table.
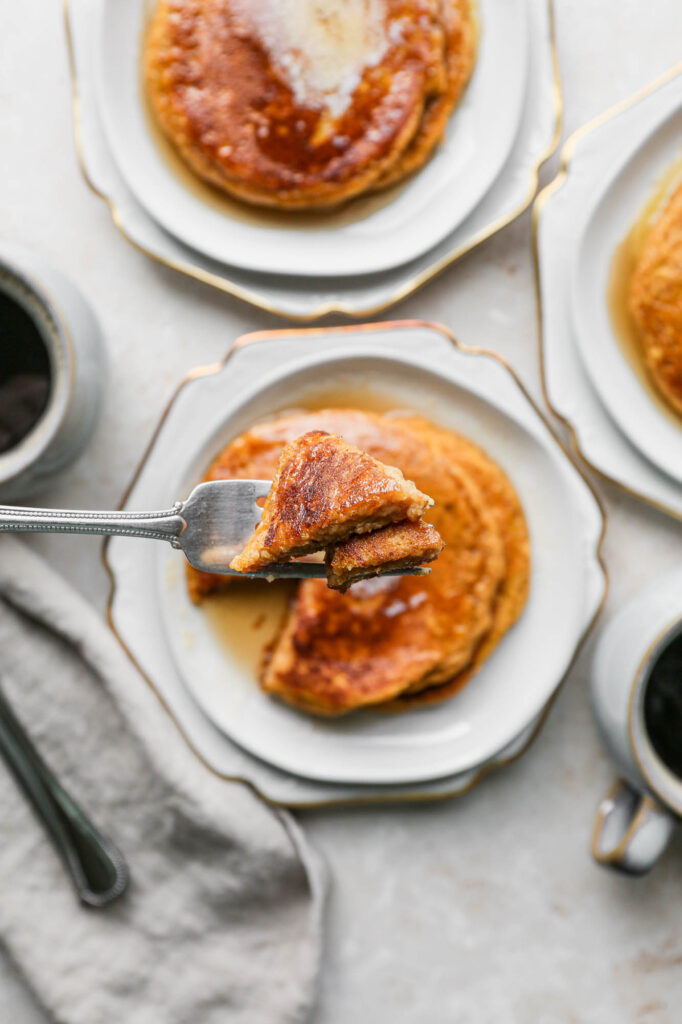
With hints of pumpkin spice and a tender texture, this quick pancake recipe is everything you want in a fall favorite breakfast without the gluten.
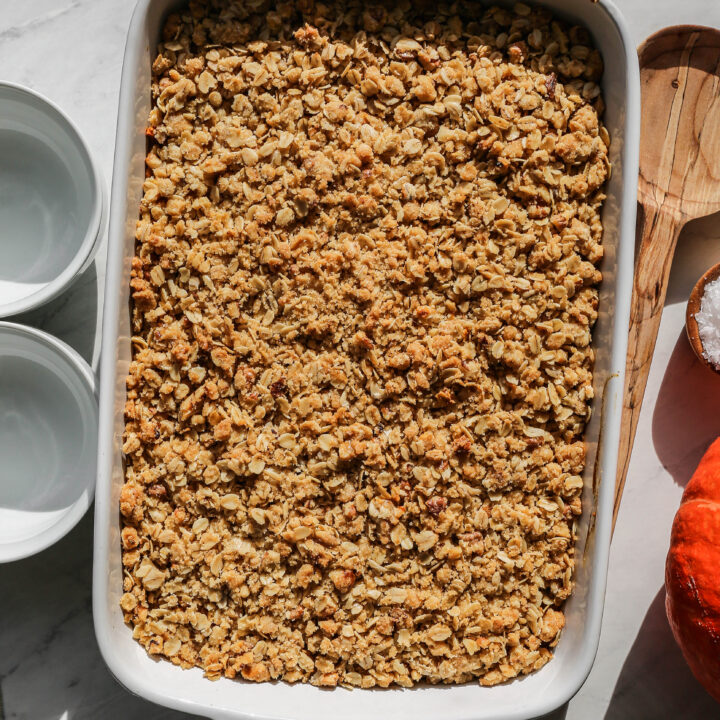
You might also like my Pumpkin Butter - Trader Joe's Copycat Recipe, my Dunkin Copycat Pumpkin Cream Cold Brew, my Gluten Free Baked Pumpkin Donuts with Chocolate Glaze or my Pumpkin Apple Baked Oatmeal with Streusel Topping.
You can find all of my pumpkin recipes here: Gluten Free Pumpkin Recipes
You can find all of my breakfast recipes here: Gluten Free Breakfast Recipes
Instructions
In a mixing bowl whisk together the gluten free flour, baking powder, baking soda, pumpkin pie spice, cinnamon, sea salt and brown sugar.
Add the maple syrup, eggs, buttermilk, milk, pumpkin puree and melted butter. Whisk by hand or blend together with a hand held mixer.
Pour about ½ cup of batter at a time into your hot, oiled frying pan. Once the pancake starts to bubble flip them and cook the other side until both sides are light brown and the center of the pancake is done.
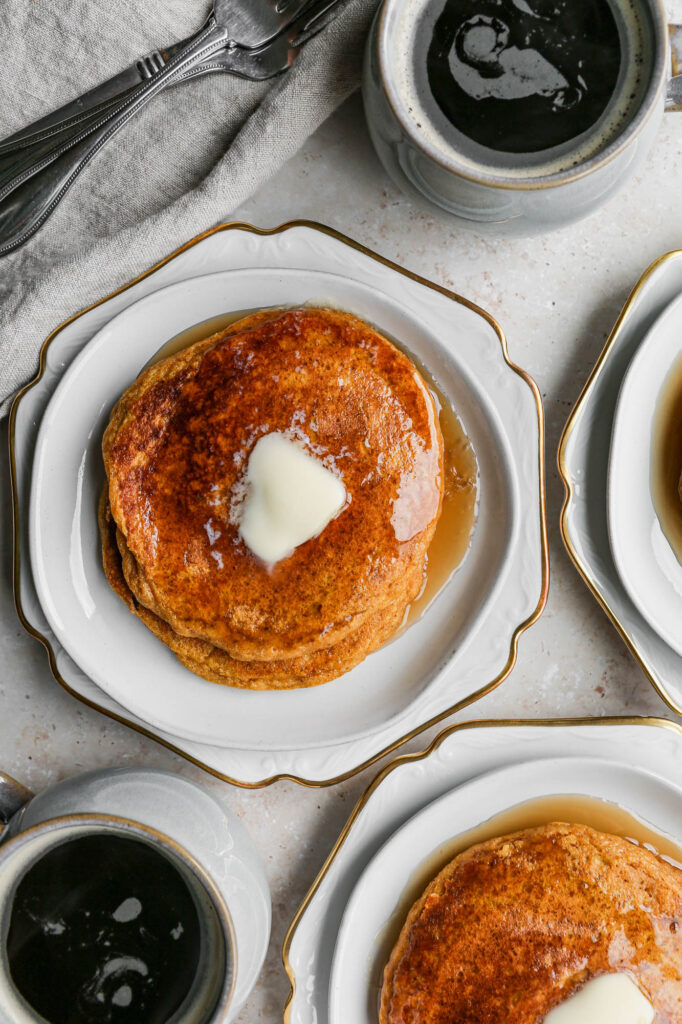
Serve hot with maple syrup and butter.
Supplies


More Recipes You Might Enjoy


I get a lot of my ingredients from Thrive Market. Thrive Market has been a game changer for me eating gluten free. They have so many options I can't get at my rural grocery stores! Use this link to get 40% off your first order!
Gluten Free Pumpkin Spice Pancakes
- Total Time: 15 minutes
- Yield: 10 pancakes 1x
- Diet: Gluten Free
Description
This easy recipe for gluten free pumpkin spice pancakes is the perfect fall breakfast! These healthy pancakes are made with maple syrup and pumpkin puree. It's really easy to make fluffy pancakes from scratch for brunch, breakfast or dinner.
Ingredients
- 2 cups Gluten Free Flour
- 2 tsp. Baking Powder
- ½ tsp. Baking Soda
- 2 tsp. Pumpkin Pie Spice
- 1 tsp. Ground Cinnamon
- ½ tsp. Sea Salt
- ¼ cup Brown Sugar
- ¼ cup Pure Maple Syrup
- 3 large Eggs
- 1 cup Buttermilk
- 1 cup Milk
- 1 cup Pumpkin Puree
- 4 Tbsp. Unsalted Butter, melted
Instructions
In a mixing bowl whisk together the gluten free flour, baking powder, baking soda, pumpkin pie spice, cinnamon, sea salt and brown sugar.
Add the maple syrup, eggs, buttermilk, milk, pumpkin puree and melted butter. Whisk by hand or blend together with a hand held mixer.
Pour about ½ cup of batter at a time into your hot, oiled frying pan. Once the pancake starts to bubble flip them and cook the other side until both sides are light brown and the center of the pancake is done.
Serve hot with maple syrup and butter.
- Prep Time: 10 minutes
- Cook Time: 5 minutes
- Category: Breakfast
- Method: Frying
- Cuisine: Gluten Free
Top Tip
I set my oven to the lowest setting and then put my cooked pancakes on a plate or baking sheet to keep them warm until all the pancakes are cooked and ready to serve. I like to serve the pancakes with butter and maple syrup. They are also delicious served with my Gluten Free Cranberry Jam.
Didn't find the answer you're looking for?
Ask AI to answer based on this recipe:
Frequently Asked Questions
Since these are gluten free pancakes they lack the structure that gluten would provide. Adding eggs to the recipe lets the pancakes rise and get fluffy. Without eggs the pancakes may be dry and the batter more like a biscuit dough.
Some try adding more oil, but the oil won't help the batter rise while you're cooking the pancakes and you will end up with flat pancakes. You can use ¼ cup of applesauce for each egg omitted but you will also need to add ½ teaspoon of baking powder so your pancakes will rise and get fluffy.
The acid in buttermilk reacts with the baking soda and will add air bubbles and more fluffiness to your pancakes. Buttermilk pancakes will have a moist and fluffy texture.
If you don't have buttermilk you can make it by adding one tablespoon of lemon juice or white vinegar to one cup of 2% milk. The lemon or vinegar adds the acid to the milk and will react to the baking soda.