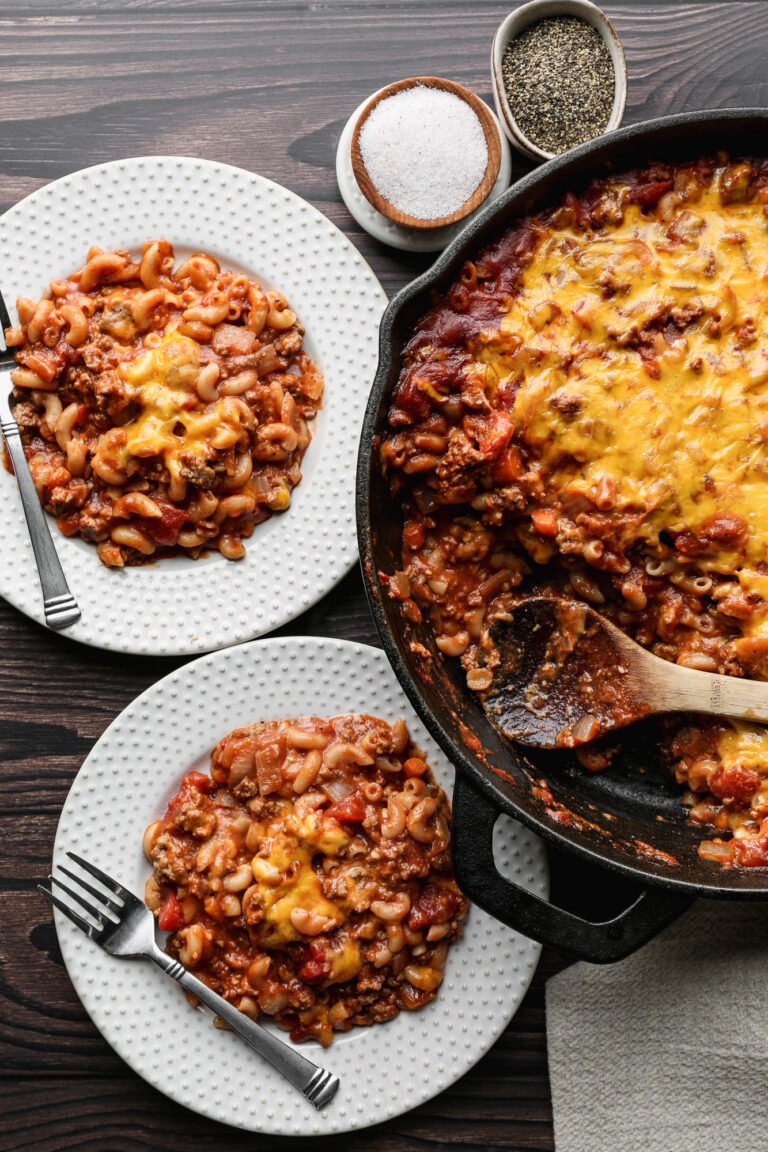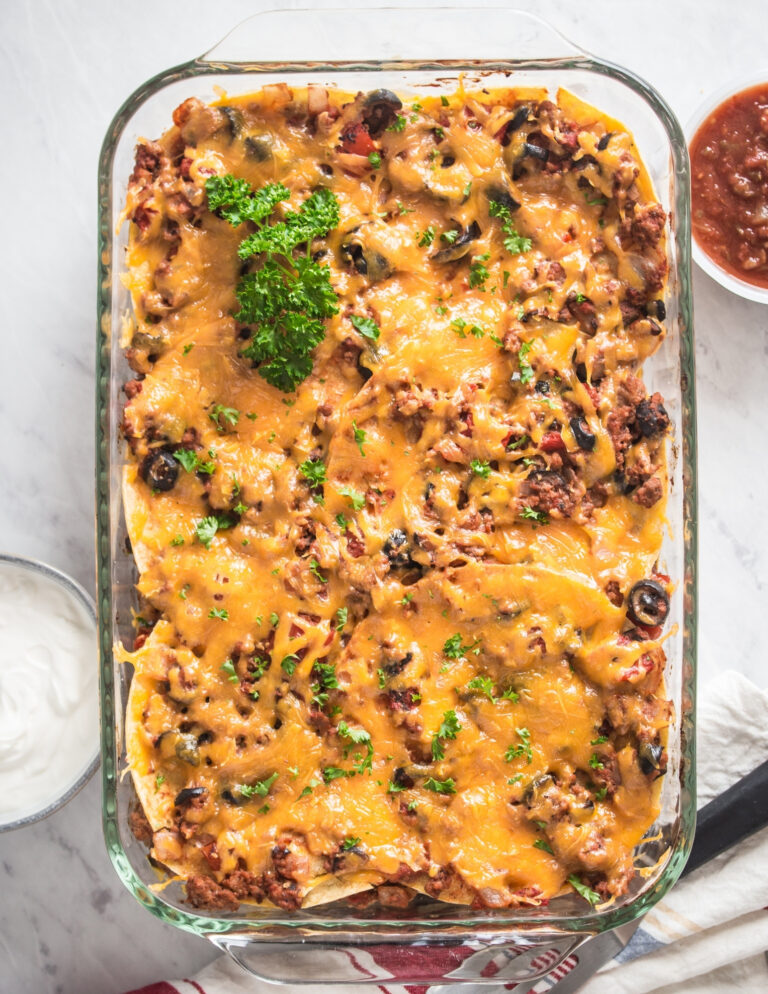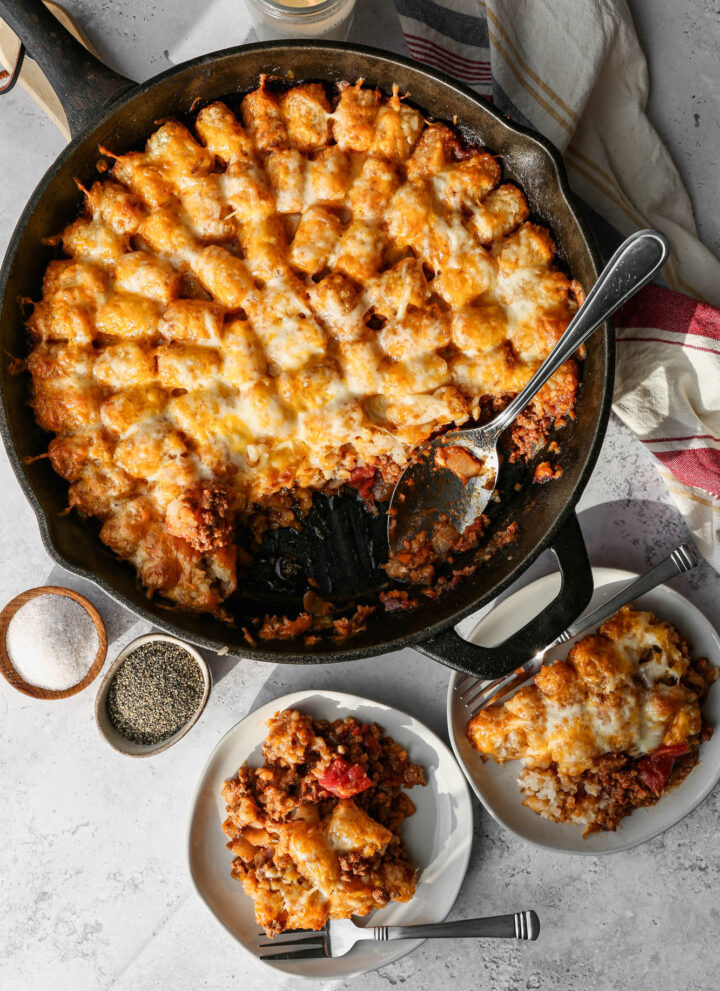
This easy recipe for gluten free cheesy tator tot casserole is like having a delicious cheeseburger! I use hamburger to make this the best casserole without cream soup. If you are looking for an easy way to use ground beef this delicious casserole is perfect.

This casserole is not only simple to prepare but also incredibly versatile. With ground beef as the base, it's a great dinner recipe that's filling and satisfying.
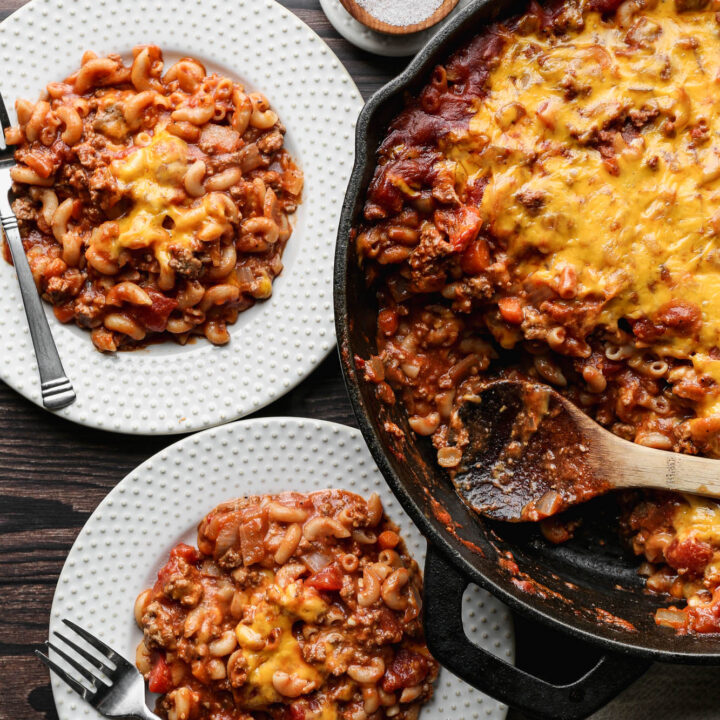
The cheesy topping and crispy tater tots create a perfect balance of textures and flavors. Whether you're looking for a gluten-free ground beef recipe, a cozy comfort food option, or an easy dinner to feed a crowd, this gluten-free tater tot casserole is sure to become a family favorite.
If you are looking for more dinner recipes try my Easy Ground Beef Nacho Casserole, my Gluten Free Cowboy Baked Beans, my Gluten Free Walking Taco Casserole or my Gluten Free One Pot Hamburger Helper Copycat.
You can find all of my meal recipes here: Gluten Free Meal Recipes

Instructions
Preheat your oven to 400 degrees.
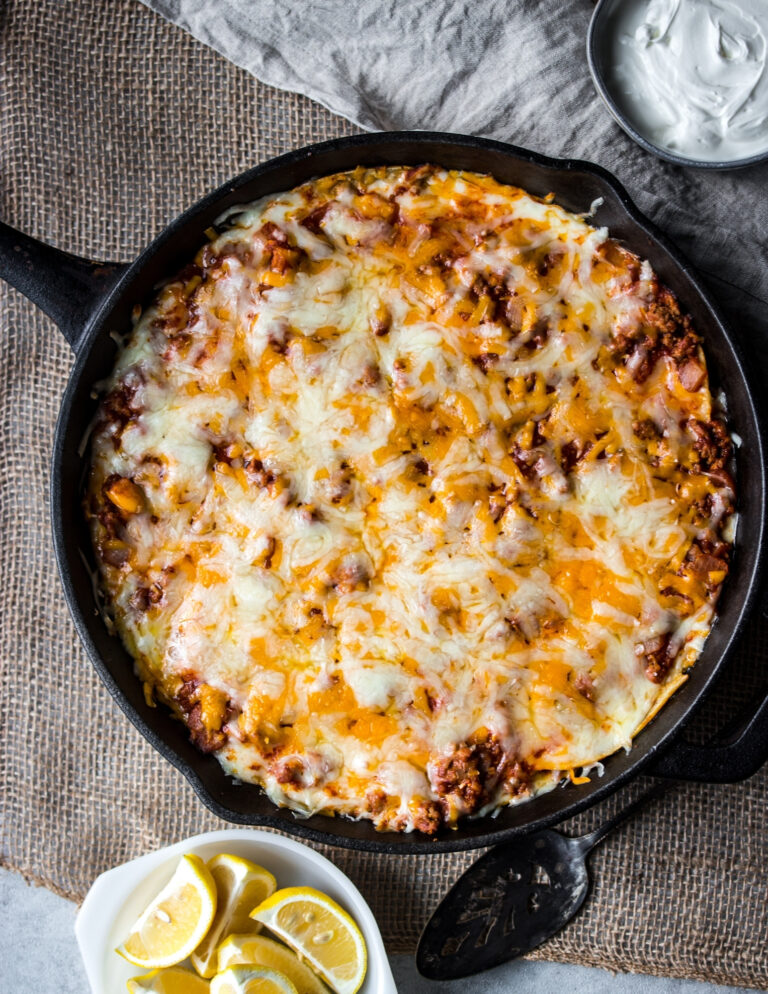
In your cast iron or regular skillet cook the ground beef until only a little pink remains. Add the chopped onion and cook until the onion is just starting to become translucent.
Add the tomato paste, diced tomatoes, beef broth, spicy brown mustard, dried mustard, worcestershire sauce, salt and pepper to the beef mixture. Stir all the ingredients together until they are blended.
Remove the skillet from heat and place the frozen tater tots on top in an even layer.
Sprinkle the shredded cheese on top of the tater tot layer.
Bake at 400 degrees for 30 minutes.
Supplies

Storage
Store the leftovers in an air tight container in the refrigerator for up to 5 days.

More Recipes You Might Enjoy


I get a lot of my ingredients from Thrive Market. Thrive Market has been a game changer for me eating gluten free. They have so many options I can't get at my rural grocery stores! Use this link to get 40% off your first order!
Gluten Free Cheesy Tater Tot Casserole
- Total Time: 45 minutes
- Yield: 7 servings 1x
- Diet: Gluten Free
Description
This easy recipe for gluten free cheesy tator tot casserole is like having a delicious cheeseburger! I use hamburger to make this the best casserole without cream soup. If you are looking for an easy way to use ground beef this delicious casserole is perfect.
Ingredients
- 1 ½ pounds Ground Beef
- 1 medium Yellow Onion, chopped
- 1 - 6 ounce can Tomato Paste
- 1 - 14.5 ounce can Diced Tomatoes
- ½ cup Beef Broth
- 1 Tbsp. Spicy Brown Mustard
- ½ tsp. Dried Mustard
- 2 Tbsp. Worcestershire Sauce
- 1 ½ tsp. Sea Salt
- 1 tsp. Coarse Ground Black Pepper
- 1 cup Cheddar Cheese, shredded
- 1 cup Monterey Jack Cheese, shredded
- 1 - 32 ounce bag Tater Tots
Instructions
Preheat your oven to 400 degrees.
In your cast iron or regular skillet cook the ground beef until only a little pink remains. Add the chopped onion and cook until the onion is just starting to become translucent.
Add the tomato paste, diced tomatoes, beef broth, spicy brown mustard, dried mustard, worcestershire sauce, salt and pepper to the beef mixture. Stir all the ingredients together until they are blended.
Remove the skillet from heat and place the frozen tater tots on top in an even layer.
Sprinkle the shredded cheese on top of the tater tot layer.
Bake at 400 degrees for 30 minutes.
Notes
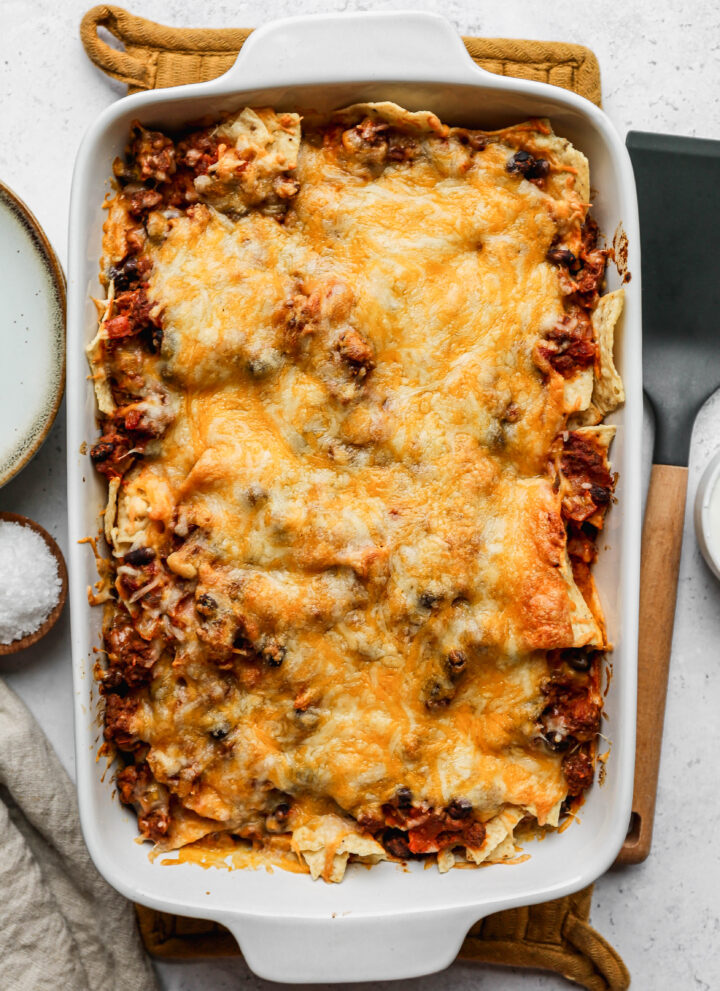
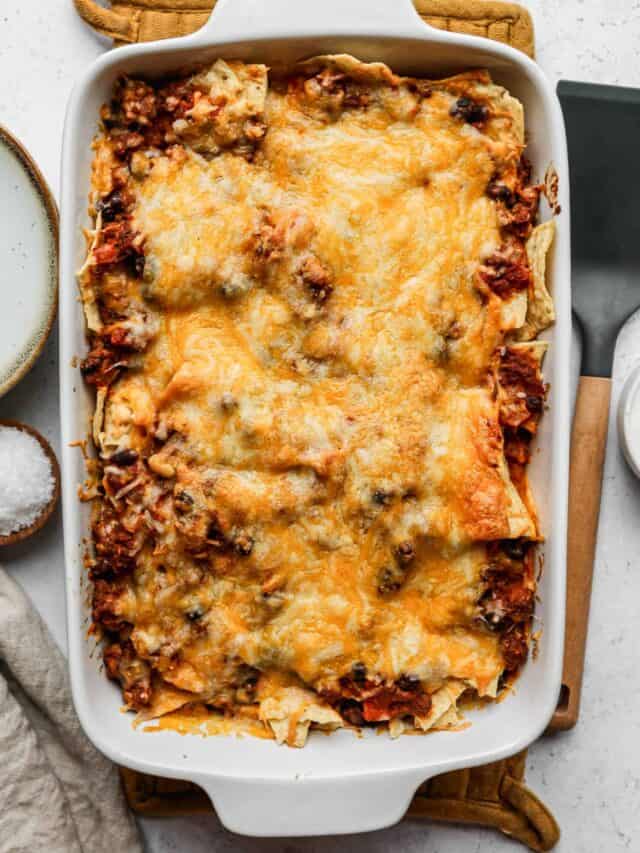
If you don't have a cast iron skillet or oven proof skillet, pour the beef mixture into a 9x13 baking dish and then cover with tater tots and cheese.
- Prep Time: 15 minutes
- Cook Time: 30 minutes
- Category: Dinner
- Method: Baking
- Cuisine: Gluten Free
Top Tip
Since going gluten free I don't eat a lot of burgers with buns. We don't live in an area that they are usually available and to be honest I just don't love gluten free buns. So, this casserole tasting like a delicious cheeseburger is perfect.
This casserole goes together really quickly in one pan. If you don't have a skillet you can use in the oven it's easy to transfer the cooked ground beef mixture to a 9x13 baking dish. Either chose leaves you with a quick and delicious meal!
Didn't find the answer you're looking for?
Ask AI to answer based on this recipe:
Frequently Asked Questions
Yes! This casserole is made gluten free by using tater tots that are gluten free. Most tater tots should automatically be gluten free, but that doesn't mean they aren't processed with other items that have gluten. Always read your labels and make sure your tater tots are gluten free!
Yes. This casserole makes a great freezer meal. Simply put the dish together like you are going to bake it and freeze it instead. This recipe would be perfect to double and make one meal for dinner and one meal to freeze for later.
Yes. You could cook the ground beef, onion, tomato paste, diced tomatoes, broth, mustards, worcestershire sauce, salt and pepper ahead of time. Then layer on the tater tots and cheese. Instead of placing the finished casserole in the oven you could let cool and then cover and refrigerate to cook the next night.