Small Farm Big Life

  • Gluten Free Recipe Index
  • Subscribe
  • Resources
menu icon
go to homepage
  • Home
  • Gluten Free Recipe Index
  • Subscribe
  • My Story
  • Resources
  • Free Guides
    • Email
    • Facebook
    • Instagram
    • Pinterest
  • subscribe
    search icon
    Homepage link
    • Home
    • Gluten Free Recipe Index
    • Subscribe
    • My Story
    • Resources
    • Free Guides
    • Email
    • Facebook
    • Instagram
    • Pinterest
  • ×

    Pork Tenderloin with Prune Sauce

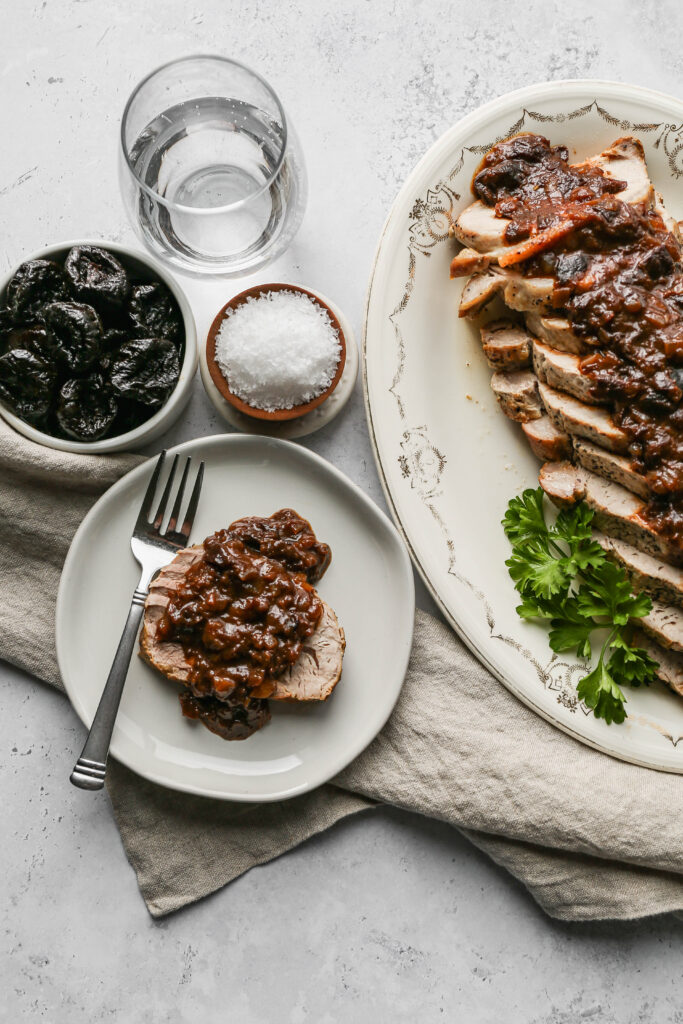
    This pork tenderloin with prune sauce is an elegant dinner that comes together with simple ingredients. Seared until golden, then baked until juicy, the pork gets topped with a tangy sweet sauce made from dried plums and balsamic vinegar. It looks like it took hours, but it's ready in under an hour.

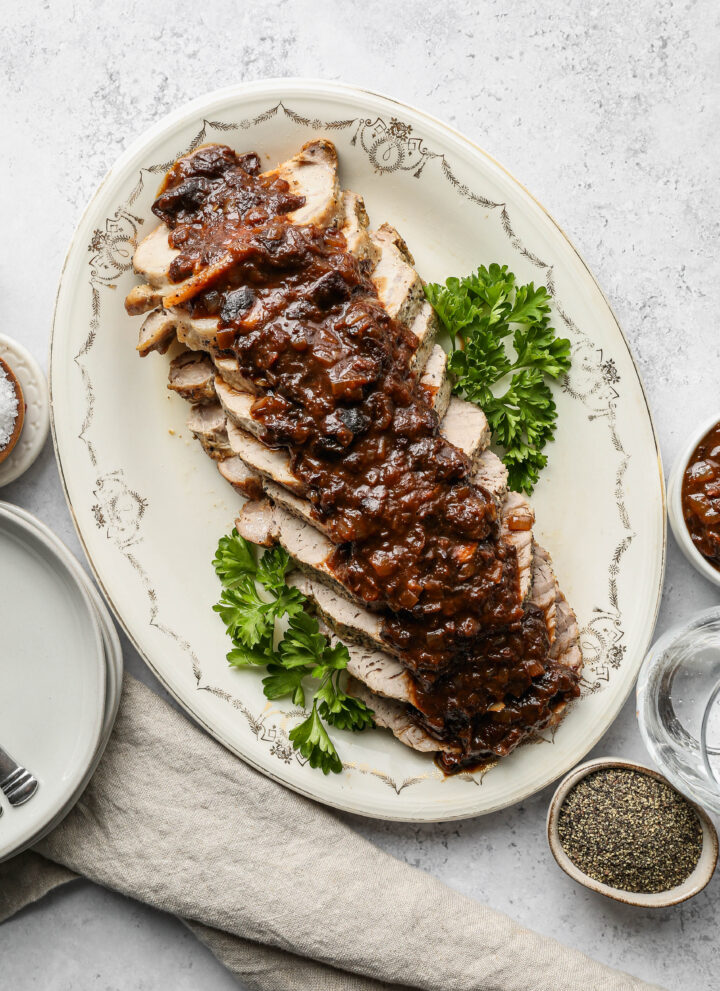
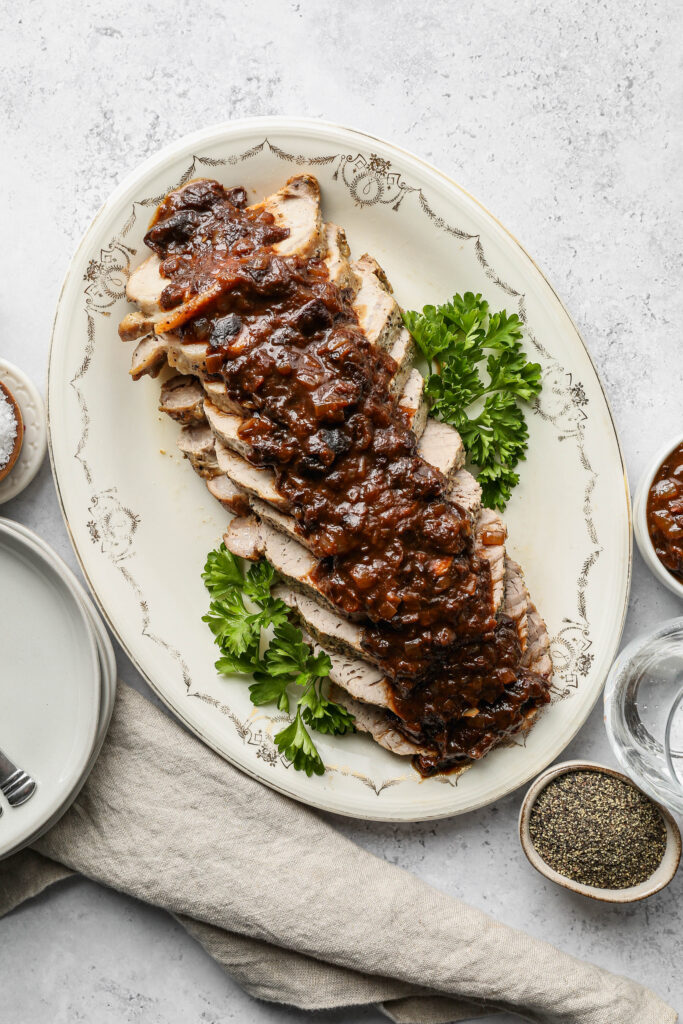
    a cream platter of pork tenderloin with prune sauce next to a stack of plates and a small white bowl of sauce

    I love to make this recipe for holidays and gatherings. It's easy to make and always well loved for meals. It's easy to pair any vegetable side dishes with this to make a complete meal.

    If you are looking for side dishes you might enjoy my Gluten Free Zucchini Squash and Corn Casserole, my Easy Fried Frozen Corn, my Cheesy Slow Cooker Creamed Corn, or my Pineapple Coleslaw.

    You can find all of my meal recipes here: Gluten Free Meal Recipes

    a cream platter of pork tenderloin with prune sauce next to a plate of tenderloin and a small white bowl of dried plums
    [feast_advanced_jump_to]

    Why You'll Love This Recipe

    • Tangy, sweet sauce made from simple pantry ingredients
    • Dutch oven keeps the pork juicy while it bakes
    • Elegant enough for holidays, easy enough for a weeknight
    • Ready in under an hour

    Ingredient Notes

    • Dried prunes break down into a rich, slightly sweet sauce as they simmer with the balsamic vinegar and chicken broth.
    • Letting the pork rest after it comes out of the oven is what keeps it juicy, the juices redistribute through the meat instead of running out when you slice it right away.

    Serving Suggestions

    This pairs wonderfully with mashed potatoes, rice, or roasted vegetables to soak up the extra sauce. Any of the side dishes linked above make a great addition to round out the meal.

    Storage and Freezing

    Store the leftovers in an air tight container in the refrigerator for up to 5 days. Store the pork and sauce separately if possible.

    To freeze, wrap the cooled pork tightly in plastic wrap and place in a freezer safe bag or container for up to 3 months. Freeze the sauce separately in its own container. Thaw both in the refrigerator overnight before reheating.

    Top Tip

    To reheat the pork tenderloin place a piece of pork on your plate and cover with a damp paper towel. In the microwave heat for 30 seconds. Pour sauce over the pork and heat for another 15-20 seconds without the paper towel.

    Frequently Asked Questions

    How do you keep pork tenderloin from drying out?

    First, it's important to sear the pork tenderloin on all sides in oil before putting it in the oven to bake. Next, make sure the pork loin is facing with the fat side up. The fat will melt and baste the meat as it cooks.

    I also like to cook my pork tenderloin in a dutch oven with the lid on. This allows the moisture to stay in the pan and helps the meat not to dry out. If you don't have a dutch oven you can cover your baking dish with tin foil.

    Should you sear pork tenderloin?

    Yes! Searing the pork tenderloin on all sides before putting it in the oven to bake will help keep the juices in and help you have moist and tender meat.

    I put my dutch oven on the stove top over medium high heat. I put about two tablespoons of olive oil in the pan and let it heat up a bit. While the oil is heating I pat my spices into the pork tenderloin.

    Then, I carefully put the meat into the pan. I let each side brown in the oil before rotating to the next side. Once all sides are browned I put the pork tenderloin in the oven to finish cooking.

    What temperature should pork tenderloin be cooked to?

    The USDA recommends cooking whole cuts of pork like tenderloin to at least 145°F, followed by a 3 minute rest. This recipe calls for a slightly higher temperature of 155°F for a more well done result, so feel free to pull it a little earlier if you prefer it juicier.

    Can I substitute the prunes with another dried fruit?

    Yes. Dried apricots or dried cherries both work well in place of prunes if you'd like to switch up the flavor of the sauce.

    Didn't find the answer you're looking for?

    Ask AI to answer based on this recipe:

    ChatGPT
    Google AI
    Perplexity
    Grok
    Claude

    Pork Tenderloin Supplies

    More Recipes You Might Enjoy

    • Slow Cooker Hawaiin Pork Tenderloin
    • Cheesy Slow Cooker Creamed Corn
    • Gluten Free Buttermilk Drop Biscuits
    • Pineapple Coleslaw

    I get a lot of my ingredients from Thrive Market. Thrive Market has been a game changer for me eating gluten free. They have so many options I can't get at my rural grocery stores! Use this link to get 40% off your first order!

    Print
    clock clock iconcutlery cutlery iconflag flag iconfolder folder iconinstagram instagram iconpinterest pinterest iconfacebook facebook iconprint print iconsquares squares iconheart heart iconheart solid heart solid icon

    Pork Tenderloin with Prune Sauce


    5 Stars 4 Stars 3 Stars 2 Stars 1 Star

    No reviews

    • Author: Elaine VanVleck
    • Total Time: 1 hour
    • Yield: 3 pound Pork Tenderloin 1x
    • Diet: Gluten Free
    Print Recipe
    Pin Recipe

    Description

    This pork tenderloin with prune sauce is a simple yet impressive dinner, seared and baked until juicy, then topped with a tangy balsamic prune sauce. It's an easy dish for holidays and gatherings, but simple enough for a weeknight too. Serve it sliced into medallions with your favorite side dishes.


    Ingredients

    Scale

    Pork Tenderloin:

    • 3 Tbsp. Olive Oil
    • 3 pound Pork Tenderloin
    • 2 tsp. Sea Salt
    • 1 tsp. Coarse Ground Black Pepper
    • 1 tsp. Garlic Powder
    • ½ tsp. Ground Mustard

    Prune Sauce:

    • 2 Tbsp. Olive Oil
    • 1 Tbsp. Unsalted Butter
    • 1 small Yellow Onion, finely chopped
    • 1 cup Dried Prunes, finely chopped
    • 1 cup Chicken Stock
    • 1 Tbsp. Balsamic Vinegar
    • ¼ tsp. Sea Salt

    Instructions

    Heat your oven to 350 degrees.

    In your dutch oven over medium high heat add the olive oil. Let it heat up while you pat the salt, pepper, garlic powder and ground mustard into the pork tenderloin.

    Carefully place the tenderloin into the heated dutch oven. Sear on each side until browned. This should take about 10 minutes total.

    Put the lid on the dutch oven and cook at 350 degrees for 30-40 minutes or until the internal temperature of the thickest part of the tenderloin is at least 155 degrees.

    Carefully remove the pork tenderloin from the hot pan and place on a cutting board to rest.

    While the meat is resting make the prune sauce. In a 2 quart saucepan over medium heat add the olive oil and butter. Add the onion and saute until translucent, about 3 minutes.

    Add the prunes, chicken broth, balsamic vinegar and salt. Bring the mixture to a simmer and reduce heat to medium low. Cook until the mixture reduces to a sauce, about 5 minutes.

    Cut the pork tenderloin into medallions and serve with prune sauce over top.

    If you made this recipe please leave a star rating and comment below. It helps other readers find this recipe and means so much to me.

    Notes

    If you reduce your prune sauce too much add 1-2 tablespoons of chicken broth to thin.

    • Prep Time: 20 minutes
    • Cook Time: 40 minutes
    • Category: Meat
    • Method: Oven Baked
    • Cuisine: American

    Did you make this recipe?

    Tag @smallfarmbiglife on Instagram and hashtag it #smallfarmbiglife

    Pork Tenderloin Ingredients

    • Olive Oil
    • Pork Tenderloin
    • Sea Salt
    • Coarse Ground Black Pepper
    • Garlic Powder
    • Ground Mustard
    • Unsalted Butter
    • Yellow Onion
    • Dried Prunes
    • Chicken Broth
    • Balsamic Vinegar

    Instructions

    Heat your oven to 350 degrees.

    In your dutch oven over medium high heat add the olive oil. Let it heat up while you pat the salt, pepper, garlic powder and ground mustard into the pork tenderloin.

    Carefully place the tenderloin into the heated dutch oven. Sear on each side until browned. This should take about 10 minutes total.

    Put the lid on the dutch oven and cook at 350 degrees for 30-40 minutes or until the internal temperature of the thickest part of the tenderloin is at least 155 degrees.

    Carefully remove the pork tenderloin from the hot pan and place on a cutting board to rest.

    While the meat is resting make the prune sauce. In a 2 quart saucepan over medium heat add the olive oil and butter. Add the onion and saute until translucent, about 3 minutes.

    Add the prunes, chicken broth, balsamic vinegar and salt. Bring the mixture to a simmer and reduce heat to medium low. Cook until the mixture reduces to a sauce, about 5 minutes.

    Cut the pork tenderloin into medallions and serve with prune sauce over top.

    New Year's Eve Party Ideas

    Celebrate the start of a brand new year in style with New Year's Eve party ideas that make hosting at home both fun and effortless. From New Year's Eve decorations that sparkle and shine to NYE party food that's perfect for grazing.

    You can gold streamers and fun table settings to set the tone for a warm and memorable New Year's Eve house party.

    gold letter balloons spelling out Happy New Year on a black background

    Whether you're planning a quiet night in or a lively New Year's Eve celebration, these NYE house party ideas will keep the energy high all night long. Mix up some non alcoholic drinks, prep crowd pleasing bites, and set out simple New Year's Eve decorations that make your home sparkle.

    With creative New Year's Eve game ideas and thoughtful party inspiration, you'll have everything you need to ring in the new year surrounded by good food, great company, and unforgettable memories.

    New Year's Eve Party Supplies

    Whether you are staying home for the New Year or going to a gathering it should involve tasty snacks. I've put together my favorite gluten free New Year's snacks that would be perfect for your New Year's Eve celebration and some party supplies to ring in the new year.

    New Year's Eve Party Snacks

    Gluten Free Monster Cookies

    This recipe for gluten free monster cookies taste just like my childhood favorite recipe! It is so easy to make these homemade cookies with oatmeal and rice crispies. I think these are the best cookies! They are soft, chewy and full of yummy chocolate candies.

    Get The Recipe

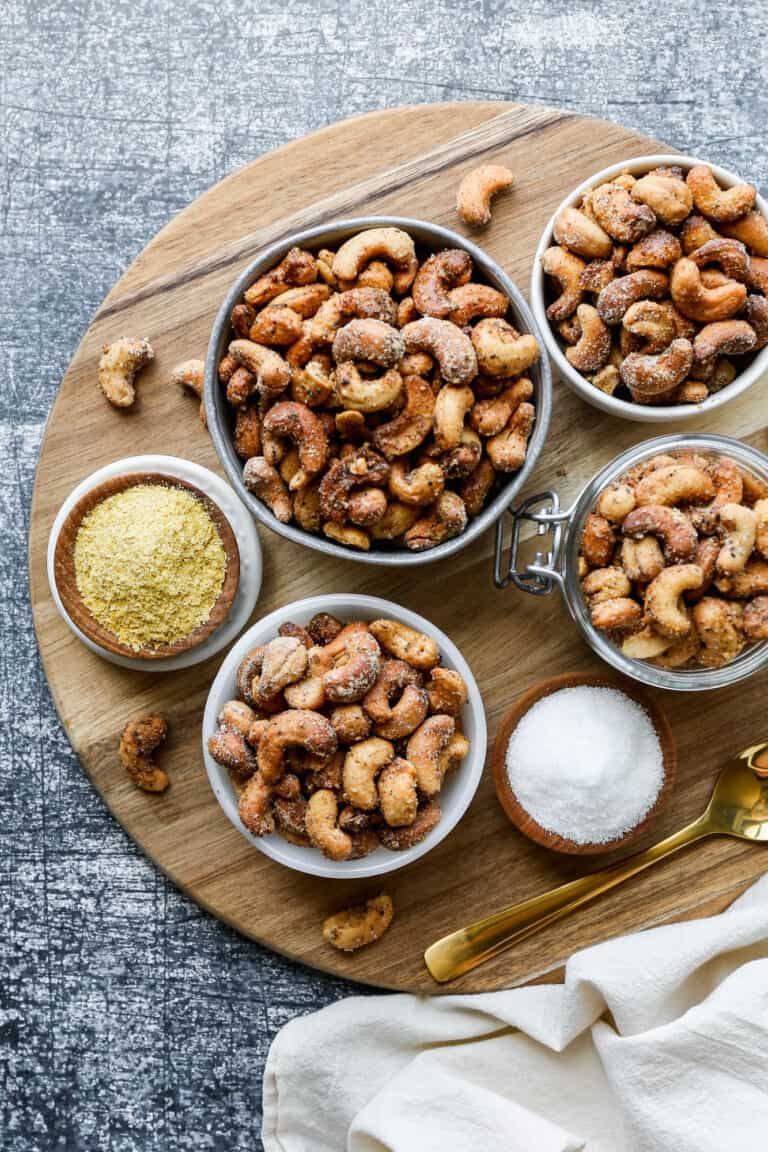
    Air Fryer Salt & Pepper Roasted Cashews

    This air fried salt and pepper cashew recipe makes a healthy version of the nuts you would buy in the store. It's quick and easy to make a batch in the air fryer to have a homemade snack.

    Get The Recipe

    Black Beans and Corn Salad

    This easy recipe for black beans and corn salad is the perfect summer side dish! It's a zesty cold salad that you can make ahead. The vegan recipe is full of colorful veggies with a lime dressing.

    Get The Recipe

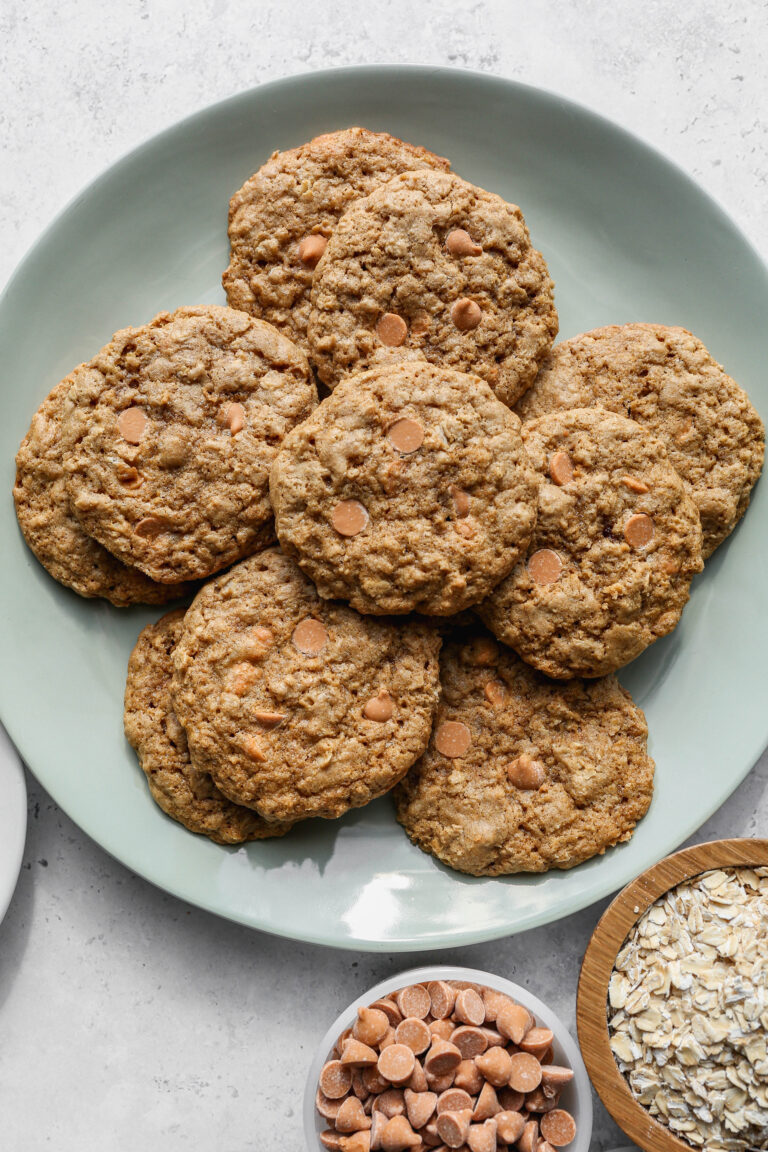
    Gluten Free Oatmeal Scotchie Cookies

    This easy recipe for gluten free oatmeal scotchie cookies uses oatmeal and butterscotch chips. These chewy oatmeal cookies are a classic recipe made gluten free. Baking cookies is a great way to make gluten free treats!

    Get The Recipe

    Gluten Free Homemade Ranch Dip

    This easy recipe for gluten free homemade ranch dip is thick and perfect for dipping fries, veggie and chips! The dip is made with sour cream, mayonnaise, and buttermilk. This keto friendly sauce is thick and creamy! Let me show you how to make the best ranch dip you've had.

    Get The Recipe

    Gluten Free Oatmeal Raisin Cookies

    These chewy gluten free oatmeal raisin cookies are just like the classic recipe and very easy to make. It's so simple to make homemade cookies that are soft and moist with this recipe. I think these are the best gluten free oatmeal raisin cookies!

    Get The Recipe

    Air Fryer Spicy Roasted Peanuts

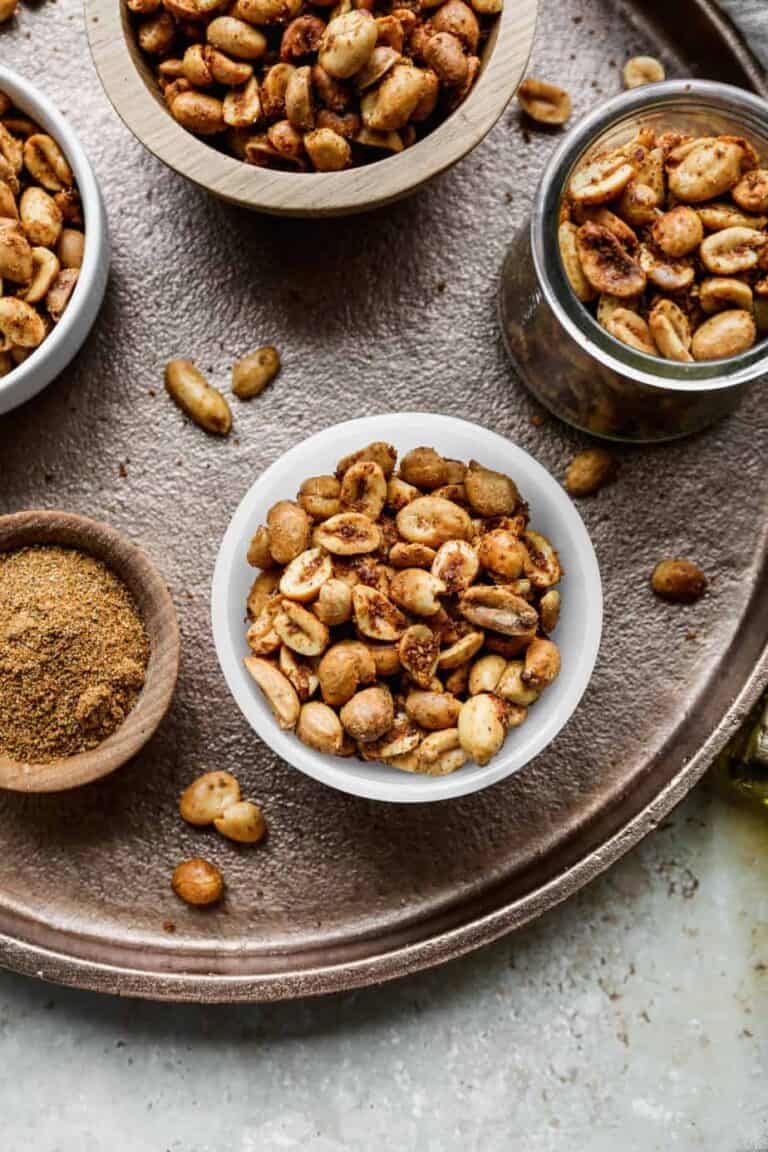
    This easy recipe for air fryer spicy roasted peanuts is the perfect snack! These air fried peanuts are a healthy snack idea that is crunchy and salty. They are great for a low carb or keto diet. I love making homemade roasted nuts in the air fryer for a delicious snack option.

    Get The Recipe

    Gluten Free Peanut Butter Kiss Cookies

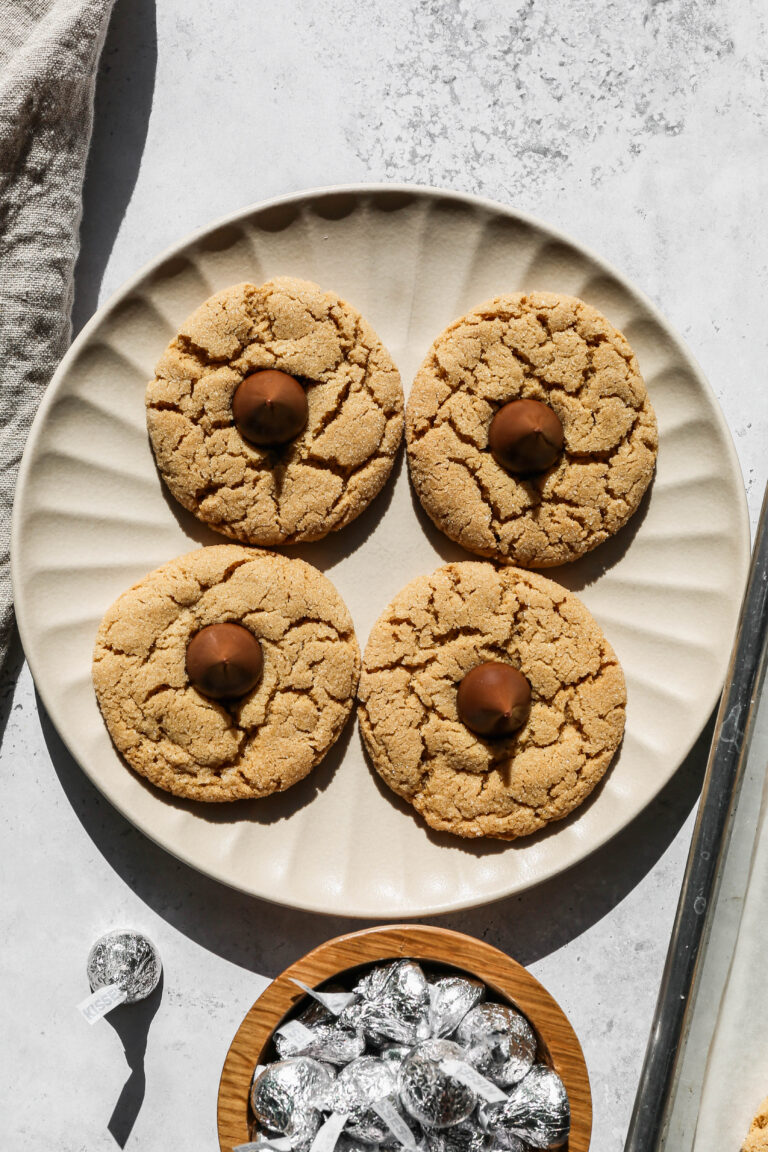
    These gluten free peanut butter kiss cookies are chewy and delicious! This easy to make recipe is the best peanut butter cookie with a Hershey's kiss in the center. These peanut butter blossoms are a simple recipe to add to your fall baking.

    Get The Recipe

    Gluten Free Peanut Butter Cup Cookies

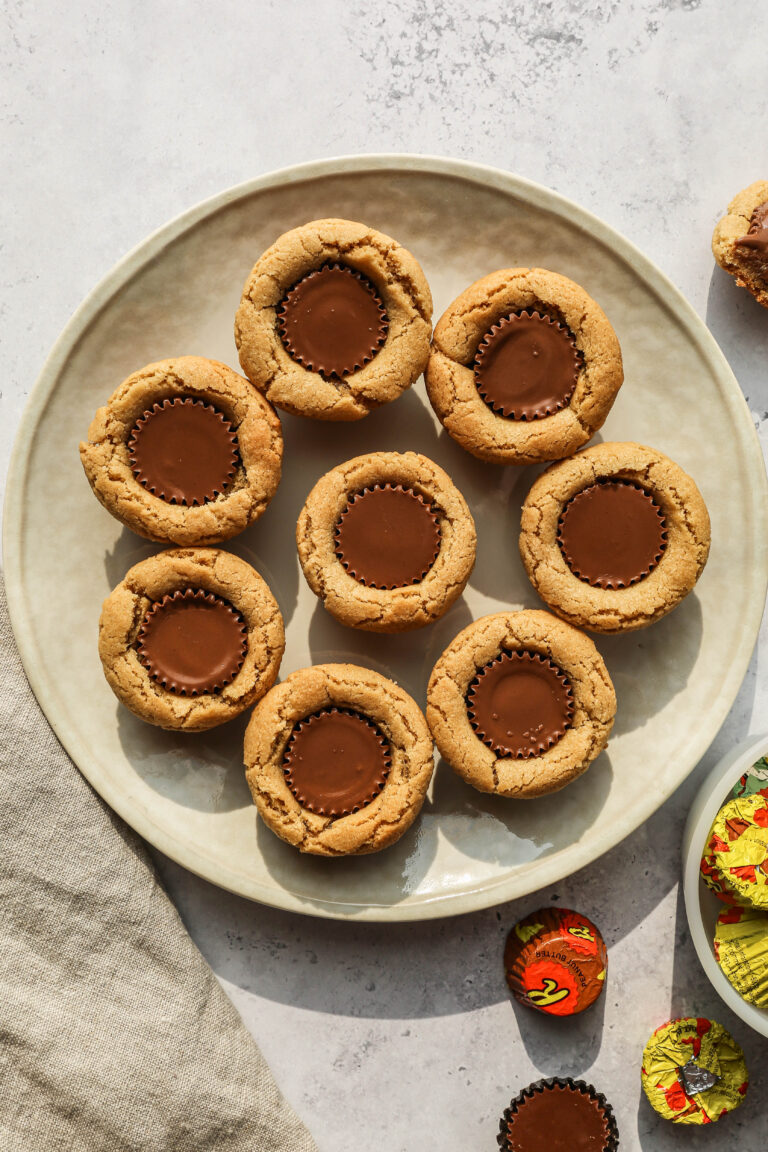
    This easy recipe for gluten free peanut butter cup cookies is made with Reese's miniature peanut butter cups. Using a mini muffin tin to bake the dough you then put the peanut butter candy in the center after baking. These cookies are a perfect after school snack or delicious in lunches.

    Get The Recipe

    Easy Fresh Pineapple Salsa

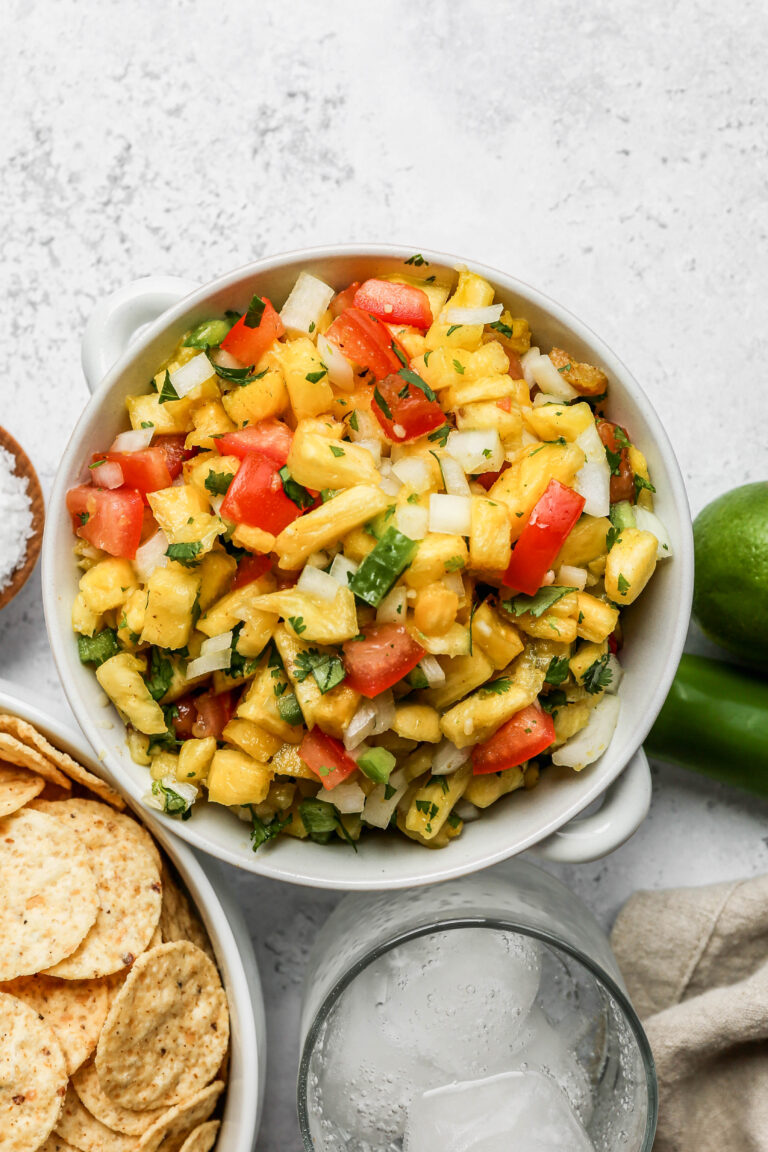
    This recipe for easy fresh pineapple salsa is perfect with fish, chicken, tacos or as an appetizer. This homemade salsa is made with fresh pineapple, tomatoes, cilantro and jalapeno peppers. It has a mild flavor that is perfect for summer barbecues.

    Get The Recipe

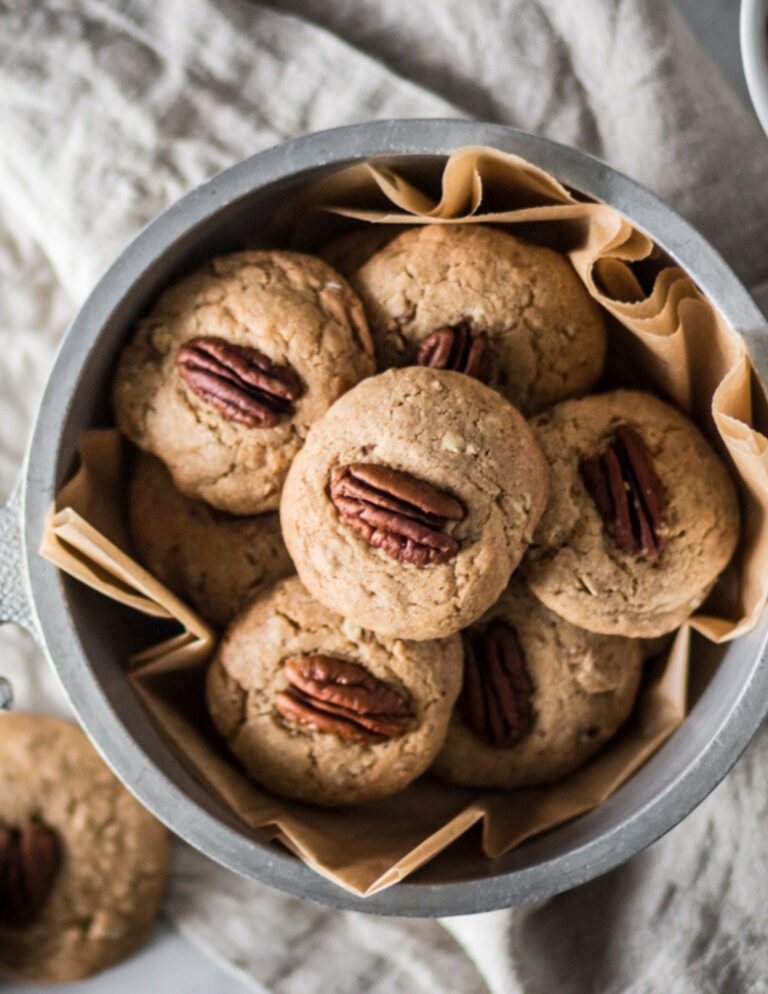
    Gluten Free Butter Pecan Cookies

    These gluten free butter pecan cookies are a very easy recipe to make. These are the best chewy cookies with a delicious brown butter flavor. I love how soft these cookies are. They melt in your mouth!

    Get The Recipe

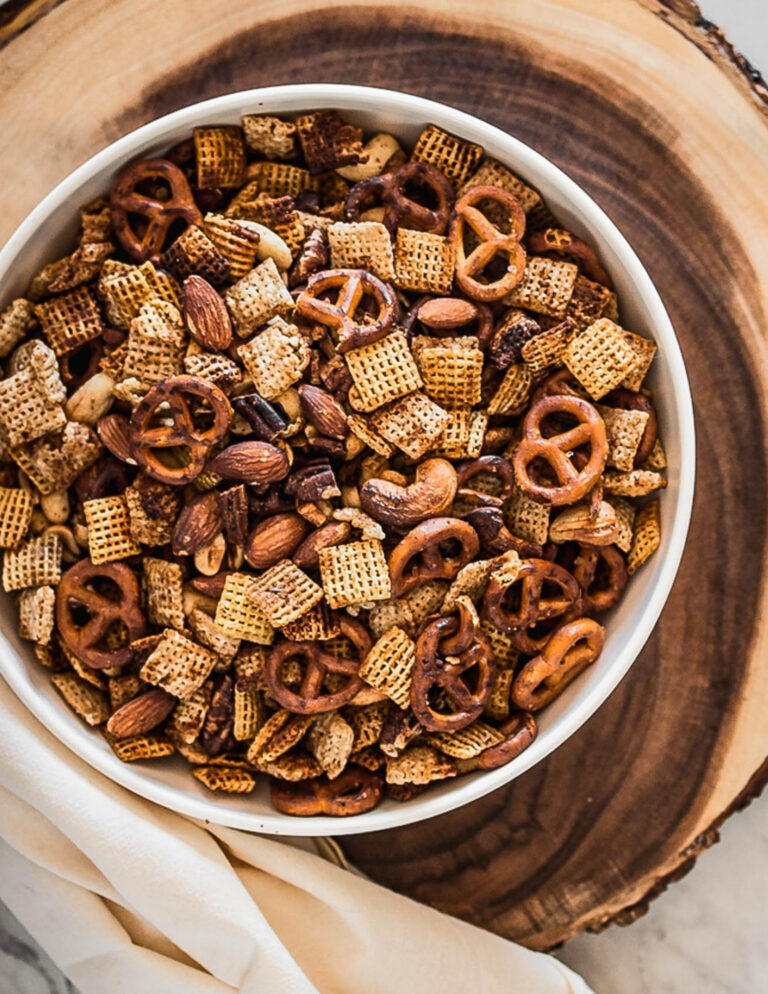
    Gluten Free Air Fryer Chex Mix

    This gluten free air fryer chex mix recipe is a quick and easy way to have a savory snack in under 10 minutes. You can have a healthy, homemade fall snack with little effort. This recipe is similar to the traditional chex mix with worcestershire sauce, but I've removed anything with gluten.

    Get The Recipe

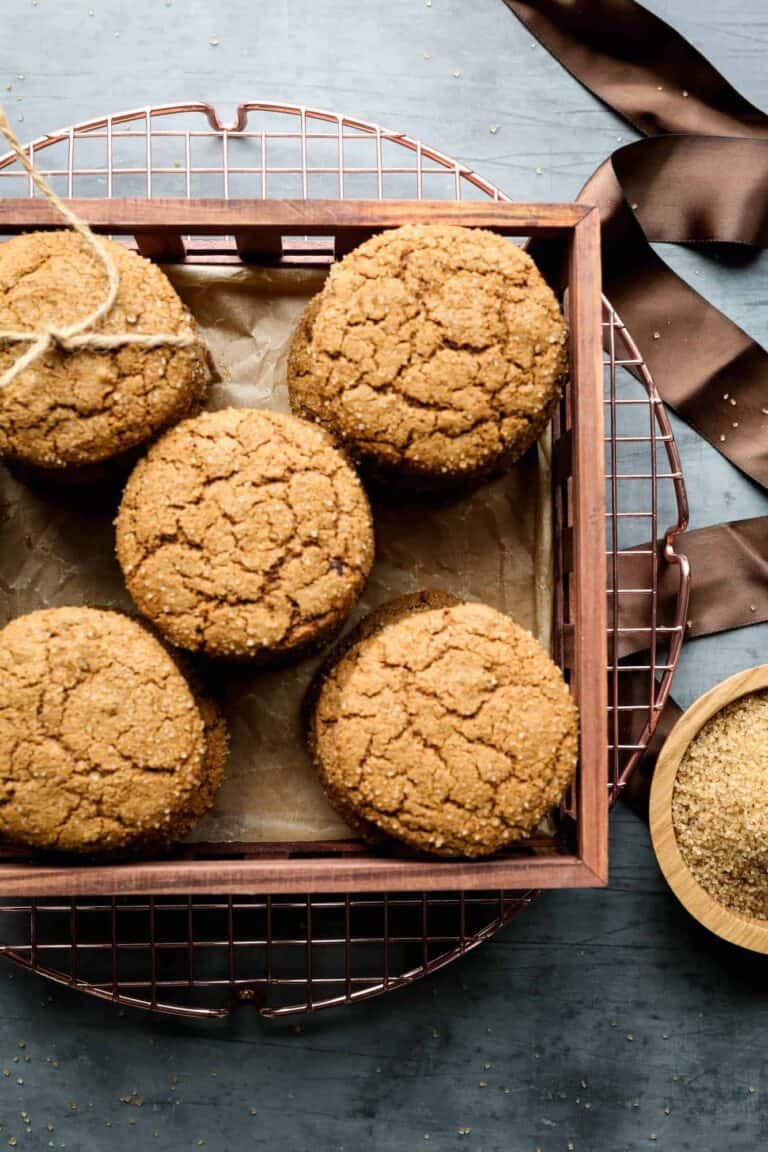
    Gluten Free Ginger Cookies

    This easy recipe for gluten free ginger cookies make soft, chewy cookies. These cookies are the best if you like ginger and molasses. The crystalized ginger really gives these cookies a gingerbread flavor.

    Get The Recipe

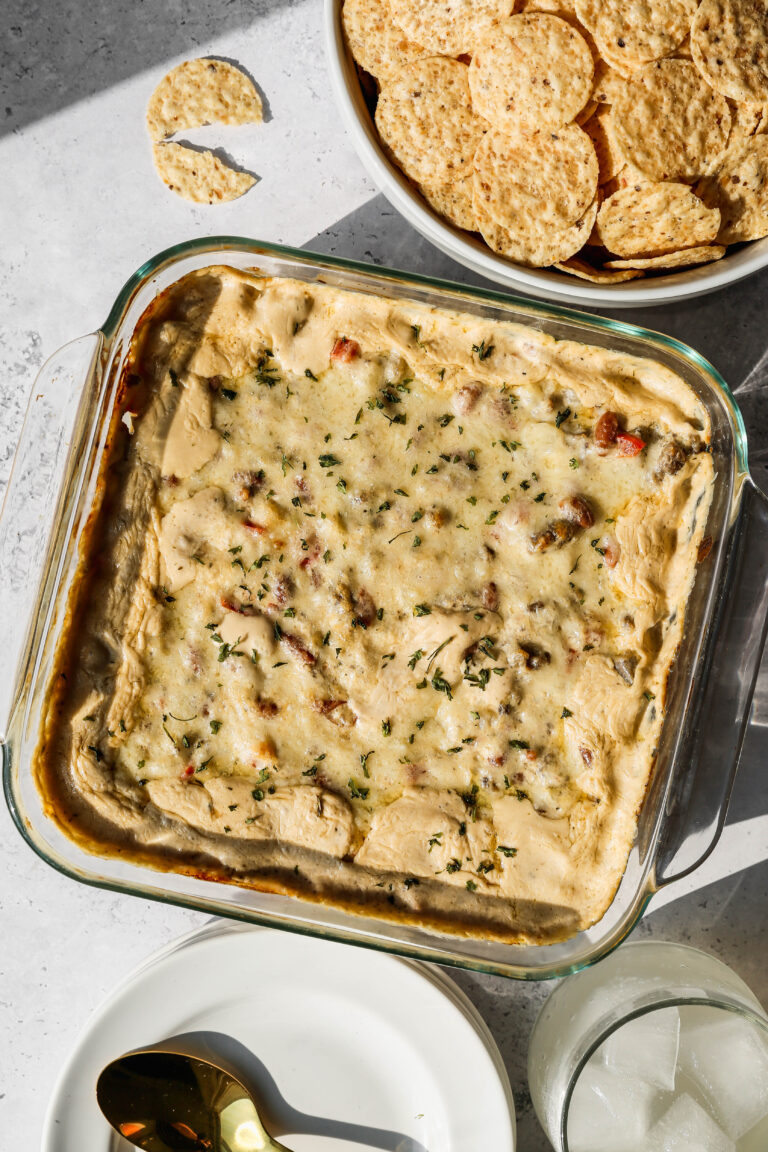
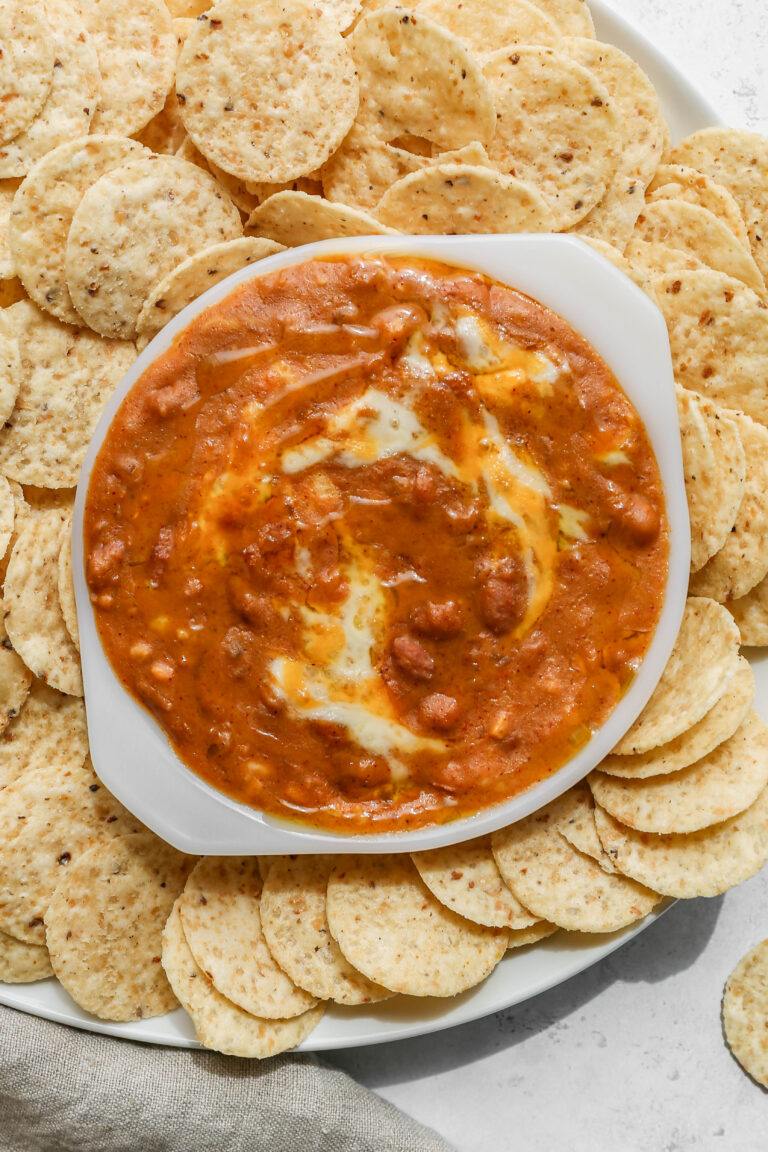
    Creamy Sausage Bean Dip

    This easy recipe for creamy sausage bean dip is perfect to serve warm at parties. It is made with cream cheese, sausage and pinto beans. This cheesy dip is easy to make ahead and then put in the oven right before serving with tortilla chips.

    Get The Recipe

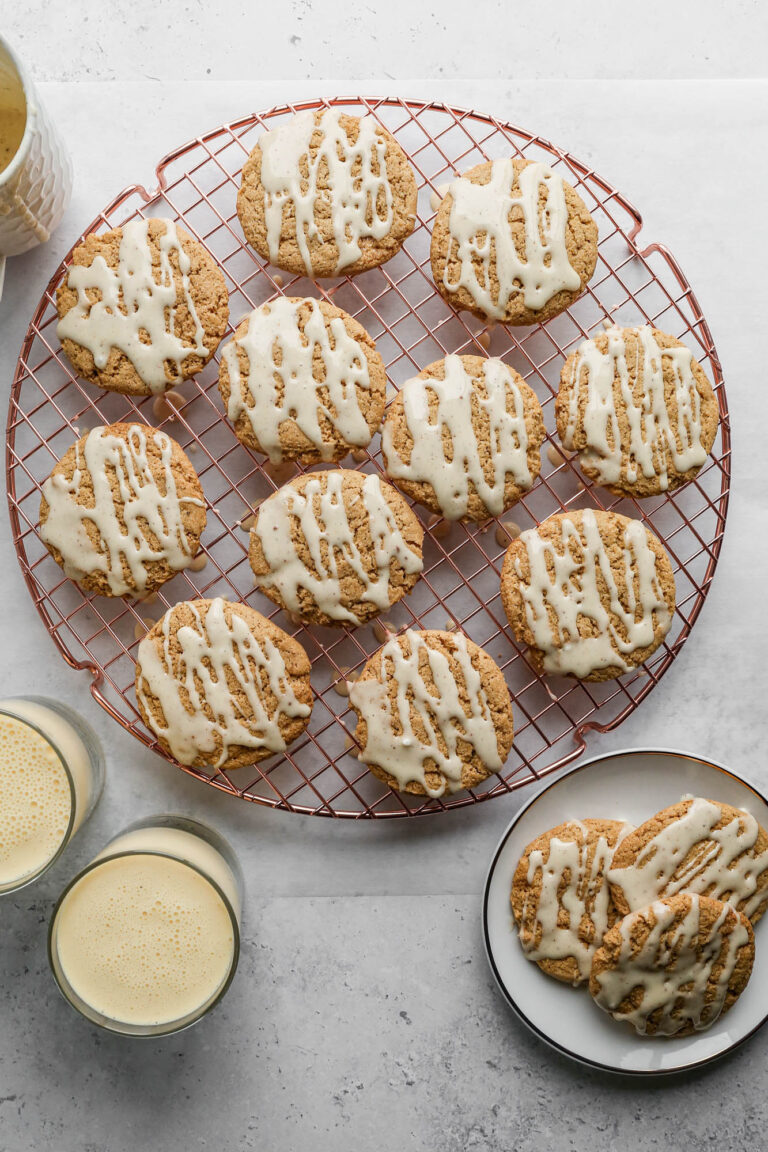
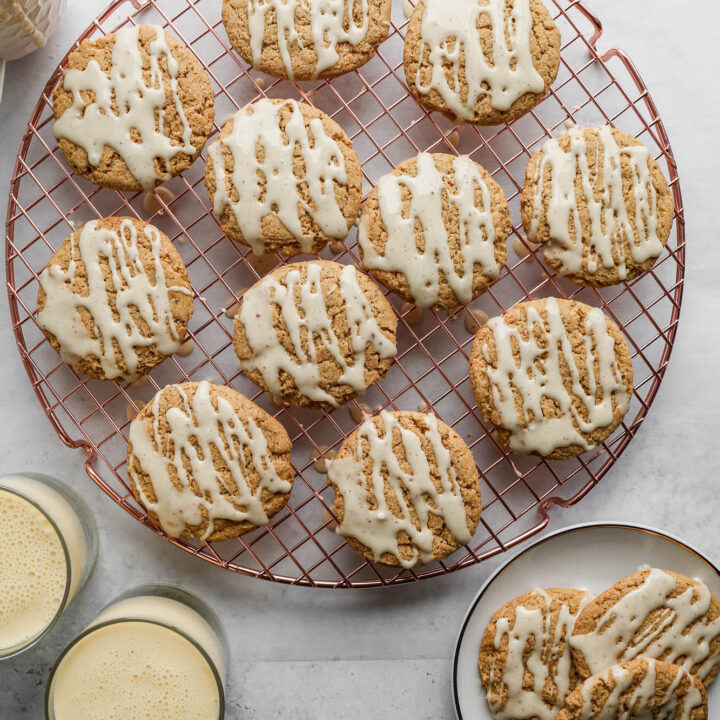
    Gluten Free Eggnog Cookies

    This gluten free eggnog cookies recipe is super easy to make! These are one of my best Christmas recipes. These cookies melt in our mouth! They are soft and chewy with delicous frosting on top. These homemade cookies have just enough spice and lots of eggnog flavor.

    Get The Recipe

    Gluten Free Cheesy Pinto Beans

    This easy recipe for gluten free cheesy pinto beans is delicious as a dip with tortilla chips or in your bean burritos. This bean dip recipe is baked with cheesy on top and served hot. It is a Mexican style bean dish full of flavor and spices.

    Get The Recipe

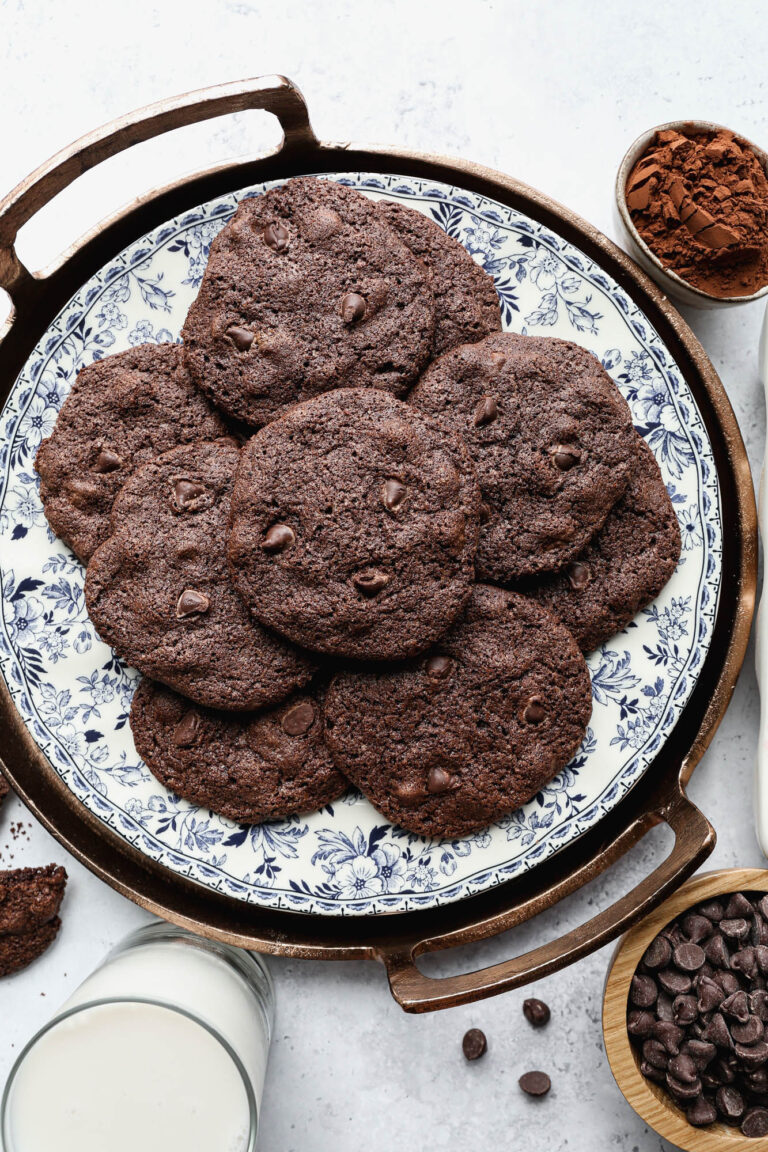
    Gluten Free Double Chocolate Chip Cookies

    This recipe makes the best chewy gluten free double chocolate cookies! These easy and soft cookies are made with cocoa powder and chocolate chips. #glutenfree #recipe #chocolate #cookies

    Get The Recipe

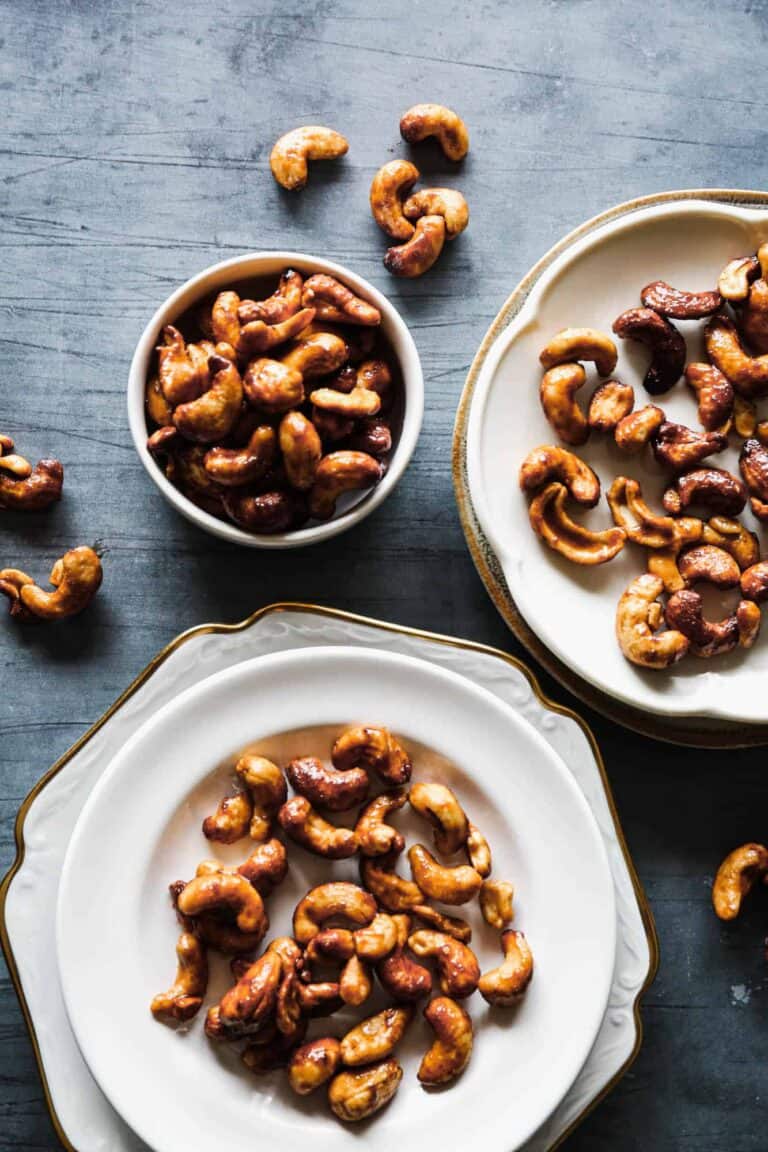
    Air Fryer Sweet and Salty Roasted Cashew Nuts

    This delicious recipe for air fryer sweet and salty roasted cashew nuts is super easy to make. This snack is quicker to make in the air fryer and has a perfect maple and salty flavor.

    Get The Recipe

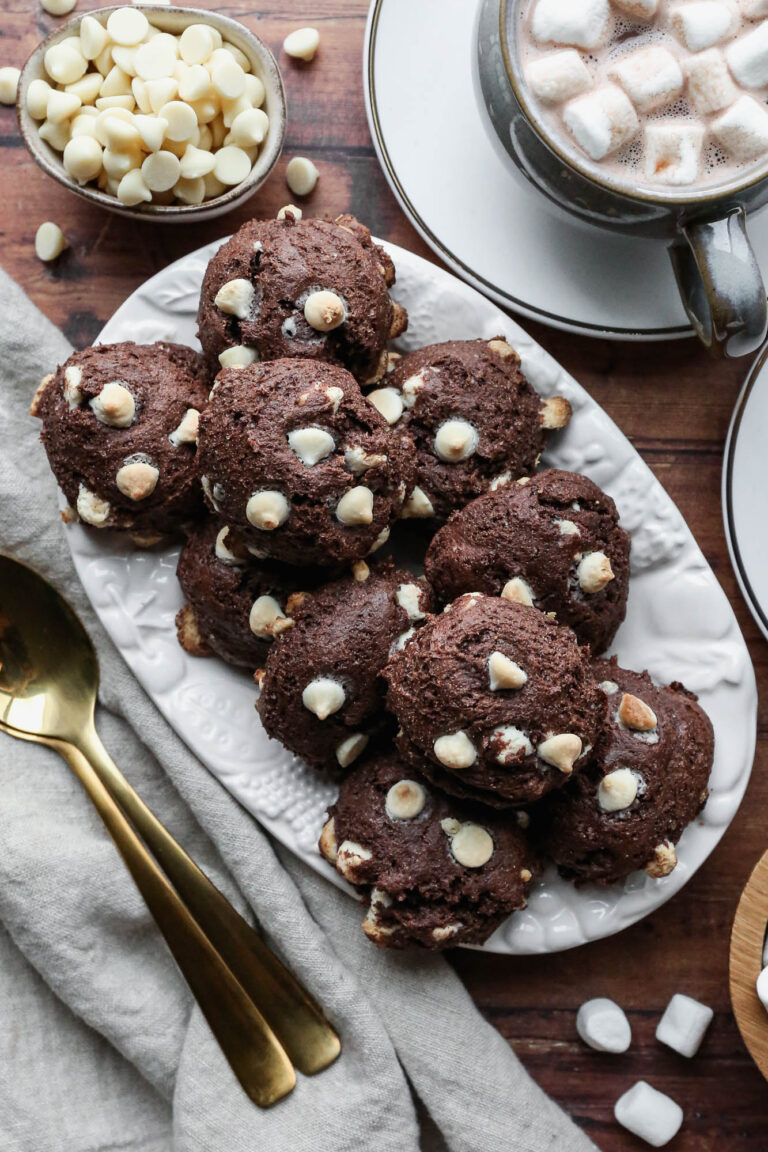
    Gluten Free Hot Cocoa Cookies

    This easy recipe for gluten free hot cocoa cookies is the best! These cookies are simple to make and come out chewy and delicious. They use white chocolate chips instead of marshmallows and have a nice hot cocoa flavor.

    Get The Recipe

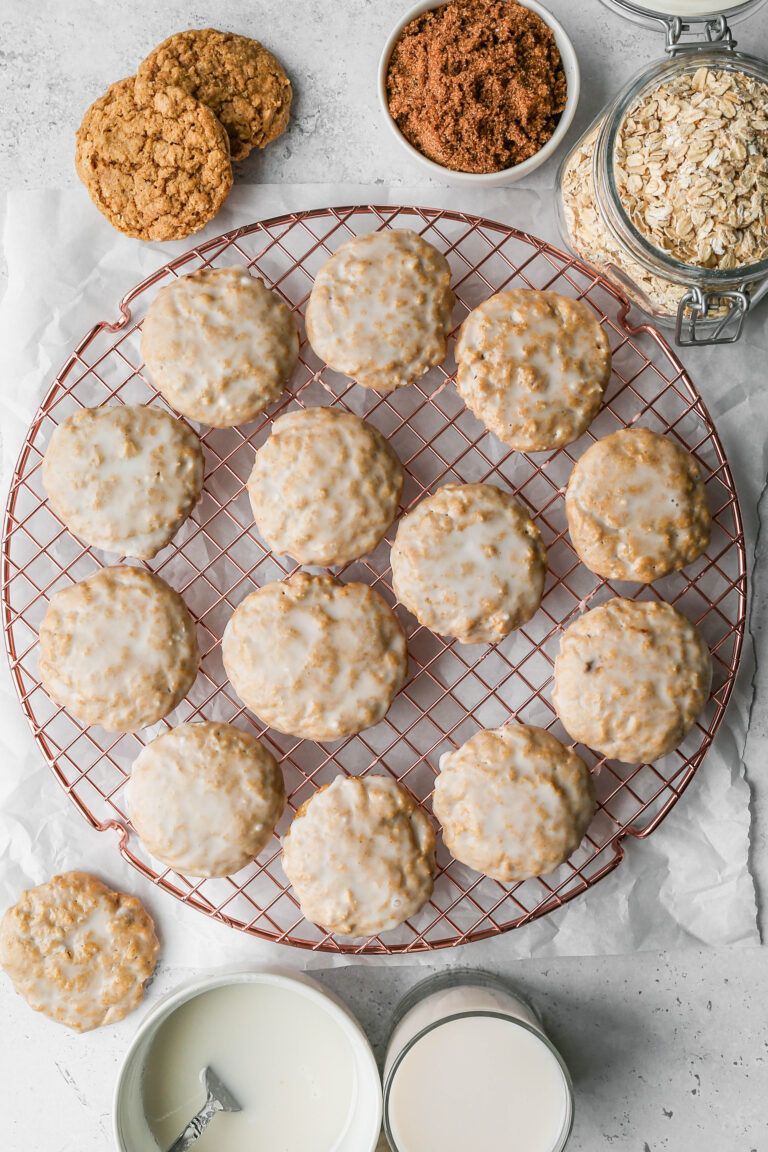
    Gluten Free Old Fashioned Iced Oatmeal Cookies

    This recipe for gluten free old fashioned iced oatmeal cookies is easy to make soft and chewy cookies. Using gluten free rolled oats these are a delicous oatmeal dessert. These cookies are made even better with icing over them.

    Get The Recipe

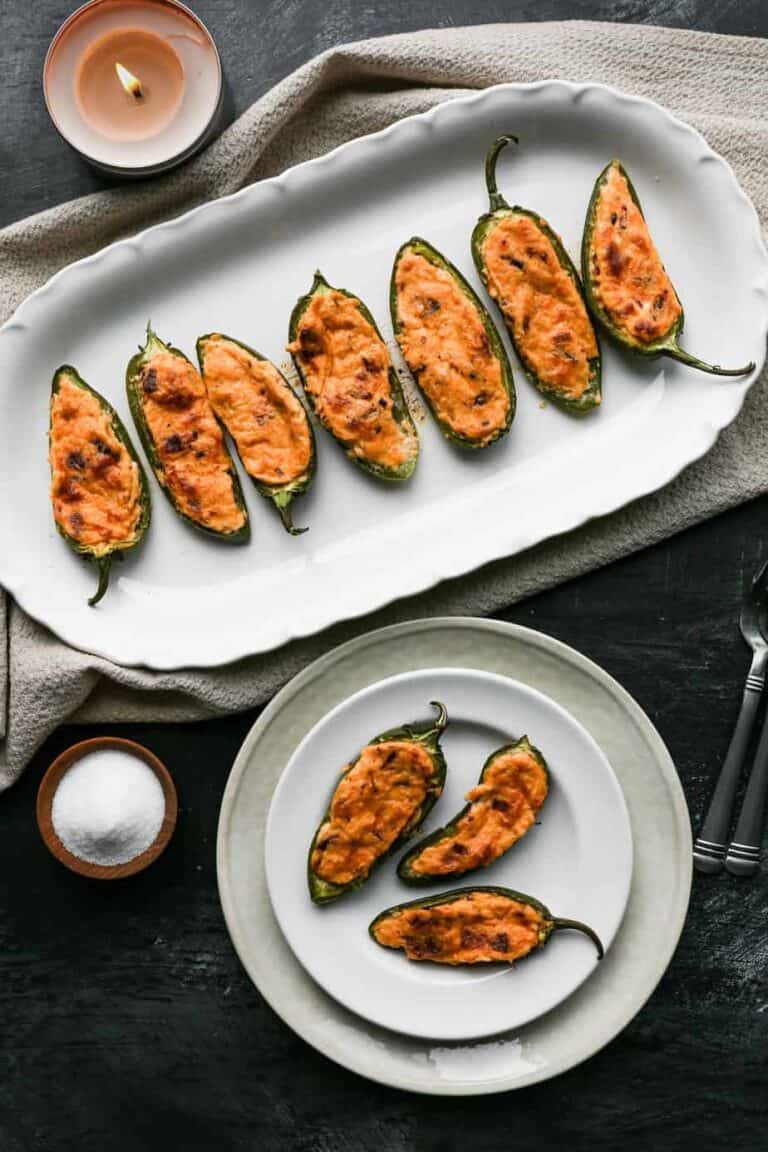
    Gluten Free Jalapeno Poppers

    This easy recipe for baked gluten free jalapeno poppers is keto and low carb friendly. The jalapeno peppers are stuffed with cream cheese, cheddar cheese, bacon and chicken. This is a perfect party appetizer or snack!

    Get The Recipe

    Air Fryer Savory Herb Roasted Nuts

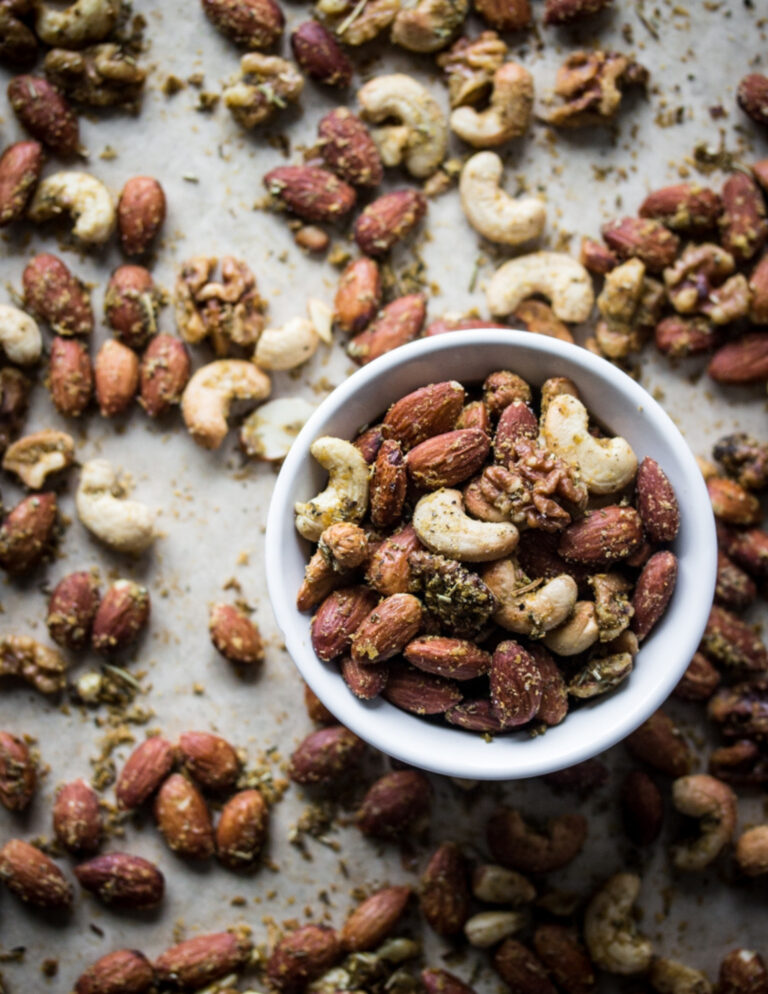
    These air fryer savory herb roasted nuts are healthy and easy to make! If you are looking for a low carb, paleo or whole30 snack these are the best. They are gluten free and super simple to make.

    Get The Recipe

    Gluten Free Easy Homemade Garlic Hummus

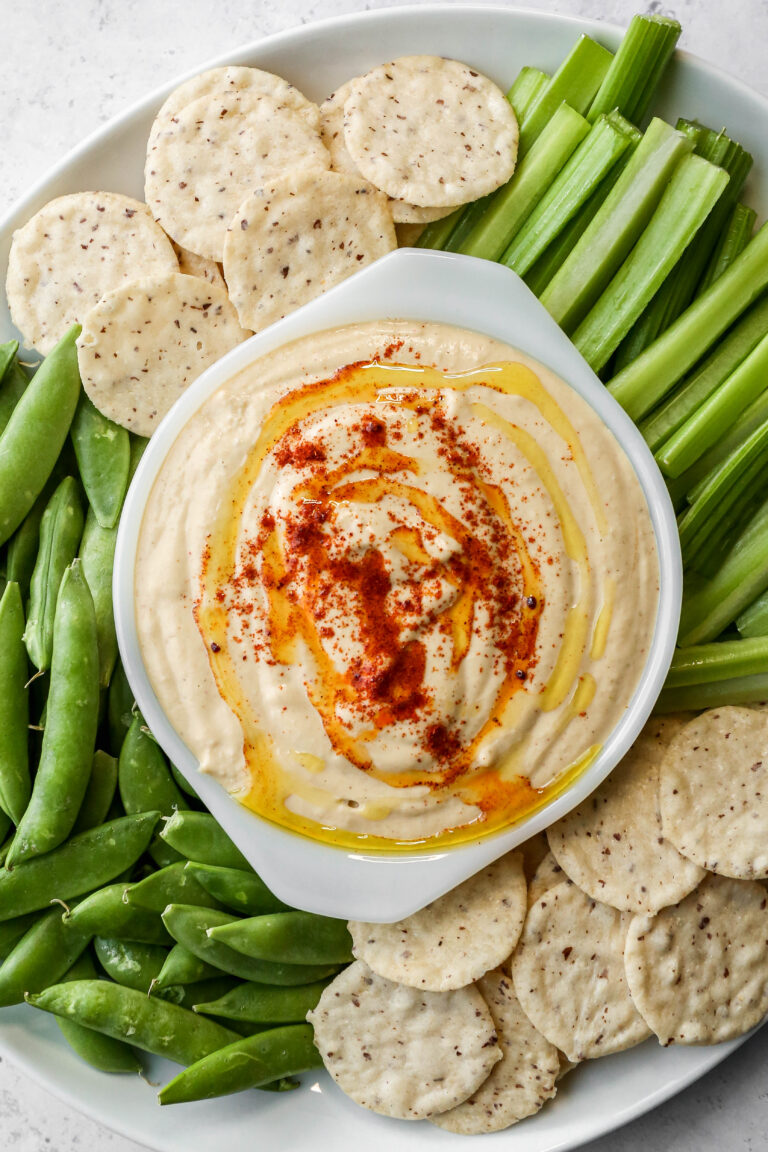
    This recipe for gluten free easy homemade garlic hummus makes the best snack! The recipe uses garbanzo beans (also known as chickpeas), olive oil, tahini and lemon juice. These ingredients give the hummus dip a creamy texture with a delicious flavor. I like to serve my homemade hummus with crackers and fresh veggies.

    Get The Recipe

    Gluten Free Brownie Bites

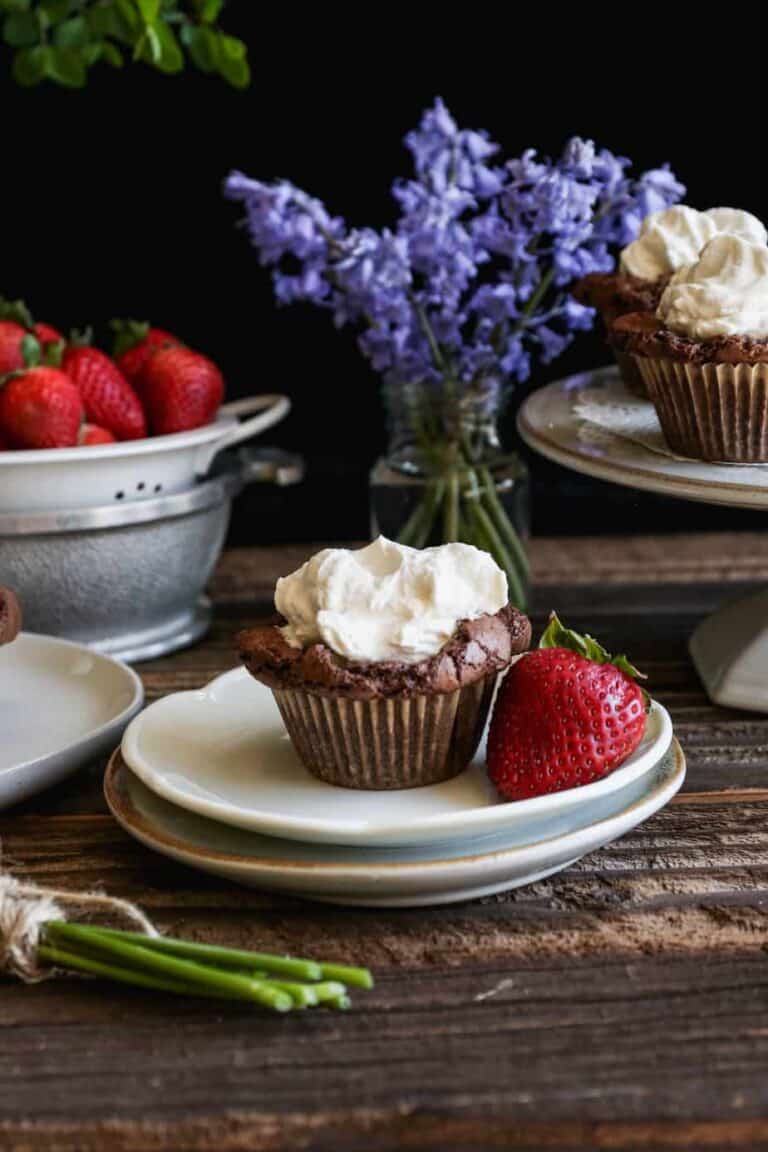
    This easy gluten free brownie bite recipe makes 18 brownie muffins. They have a soft cake like center and a crispy brownie top. The recipe uses chocolate chips and cocoa powder so these brownie cups are fudgy and delicious!

    Get The Recipe

    Gluten Free Triple Chocolate Brownies

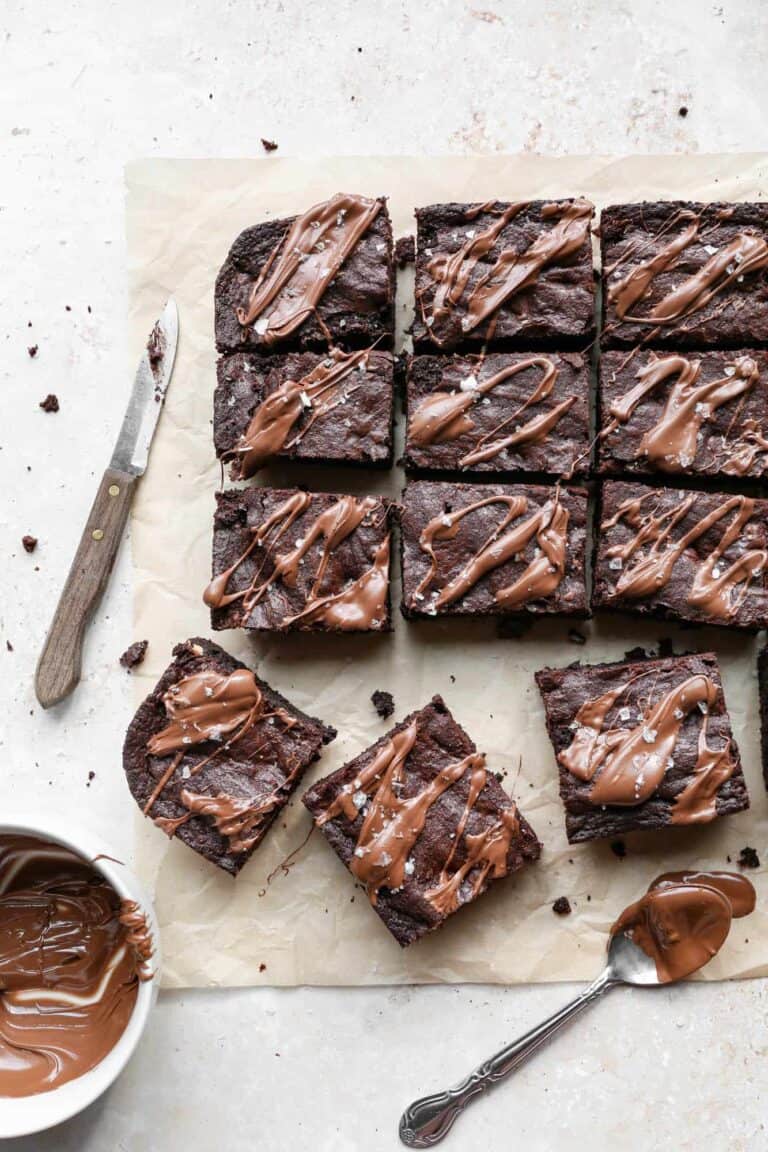
    These simple gluten free triple chocolate brownies are made from scratch and make a perfect dessert. These chocolate chip brownies are so easy and moist! I think you will love this homemade recipe.

    Get The Recipe

    Gluten Free Caramelized Onion Dip

    This easy recipe for gluten free caramelized onion dip is the best appetizer or potato chip dip. It's a cold dip that's great for Keto or low carb diets. This homemade dip combines fried, golden onions and sour cream for a creamy treat.

    Get The Recipe

    Party Mocktail Recipes

    Frozen Cranberry Margarita Mocktail

    This easy frozen cranberry margarita mocktail recipe is the perfect non alcoholic drink for Christmas! It's blended with orange juice, lime juice and cranberry sauce in a creamy mocktail. This is the perfect way to use leftover cranberry sauce.

    Get The Recipe

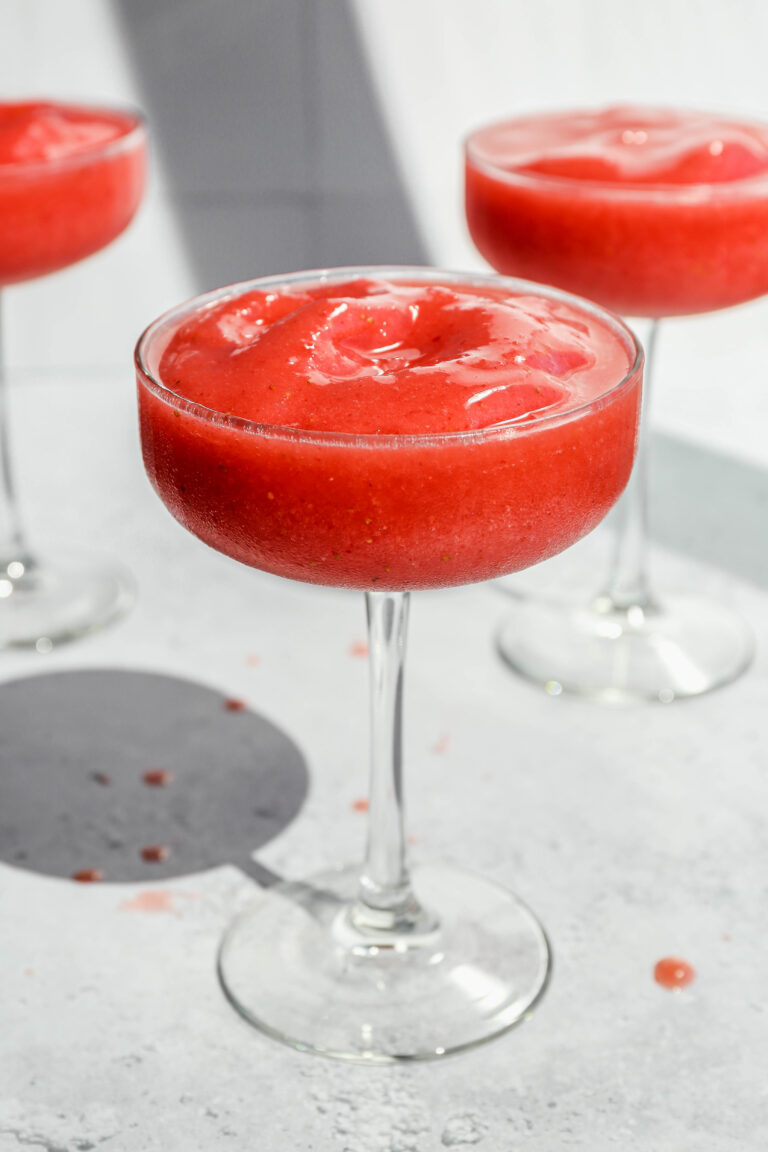
    Strawberry Daiquiri Mocktails

    This easy recipe for strawberry daiquiri mocktails is the perfect summer drink. It's a non alcoholic frozen drink with lots of strawberry flavor. This simple virgin version is fruity, delicious and great for kids or adults.

    Get The Recipe

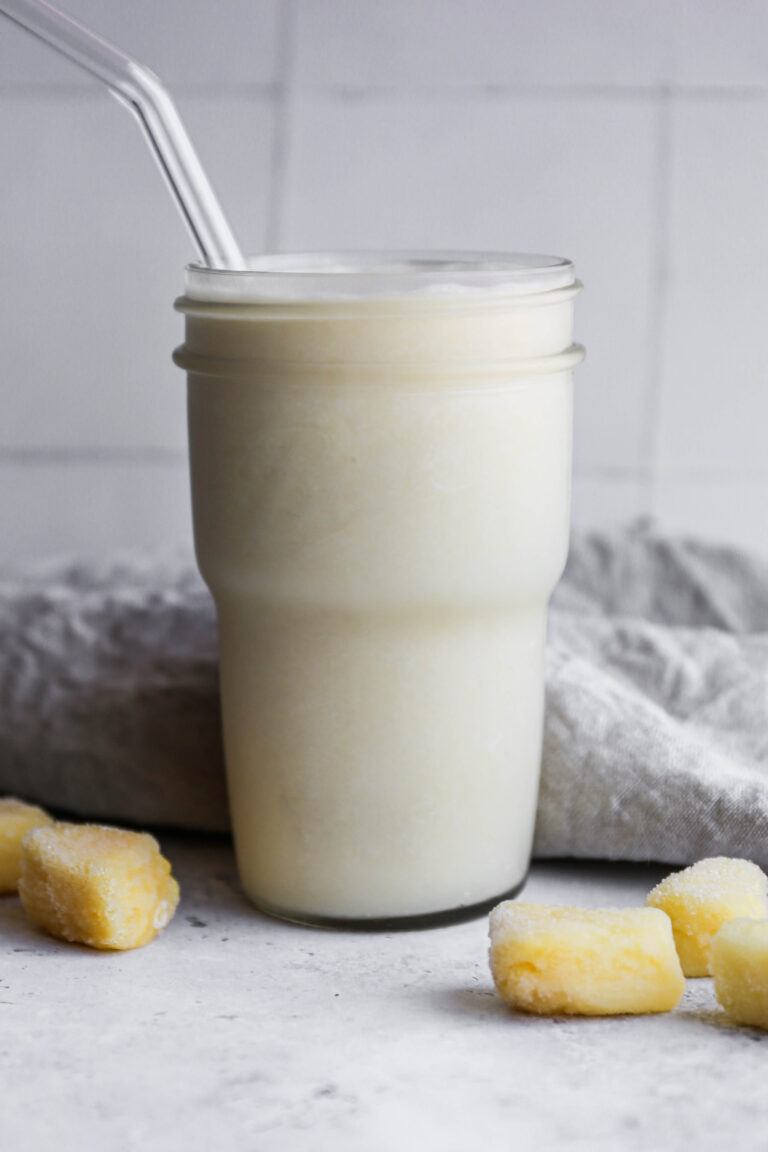
    Pina Colada Mocktail

    This easy recipe for a non alcoholic pina colada mocktail is dairy free and delicious! The virgin colada smoothie gets its tropical flavor from pineapple and coconut milk. This healthy drink uses frozen fruit and is super creamy.

    Get The Recipe

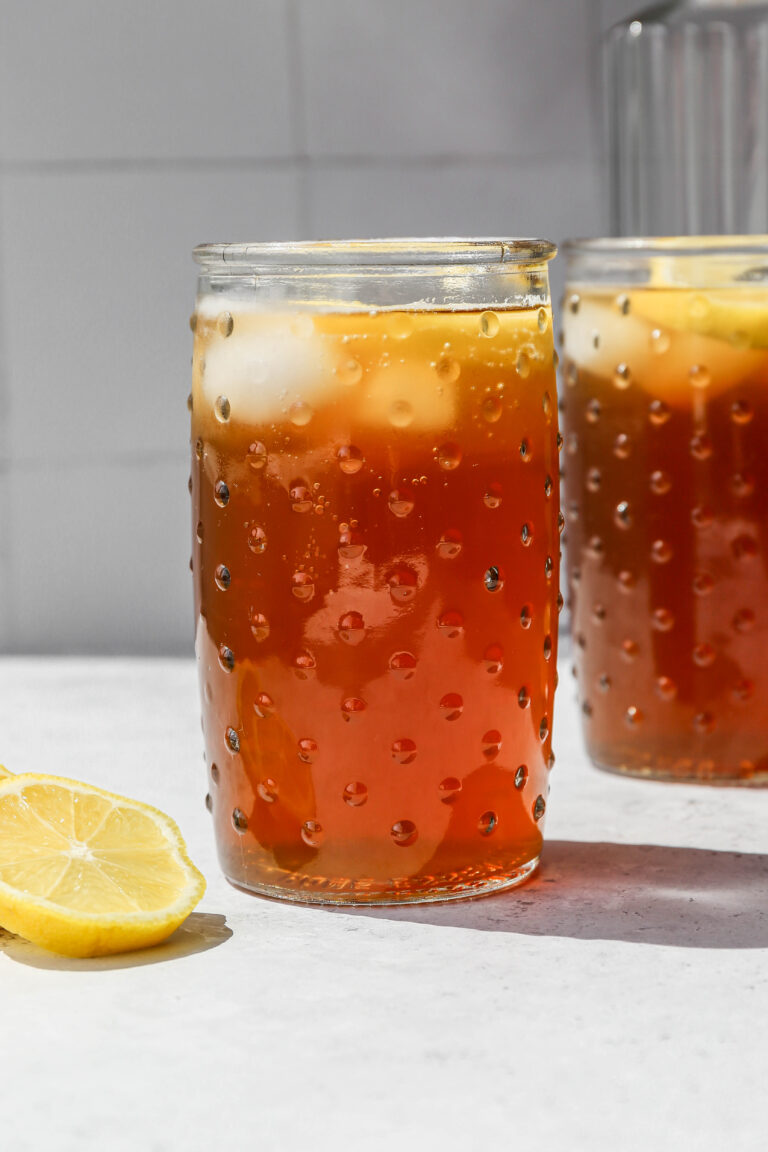
    Long Island Iced Tea Mocktails

    This easy recipe for long island iced tea mocktails makes a pitcher of non alcoholic drinks. This lemon iced tea mocktail is made with black tea bags, lemon and ginger beer. It's an easy mocktail recipe to serve at summer barbecues and parties.

    Get The Recipe

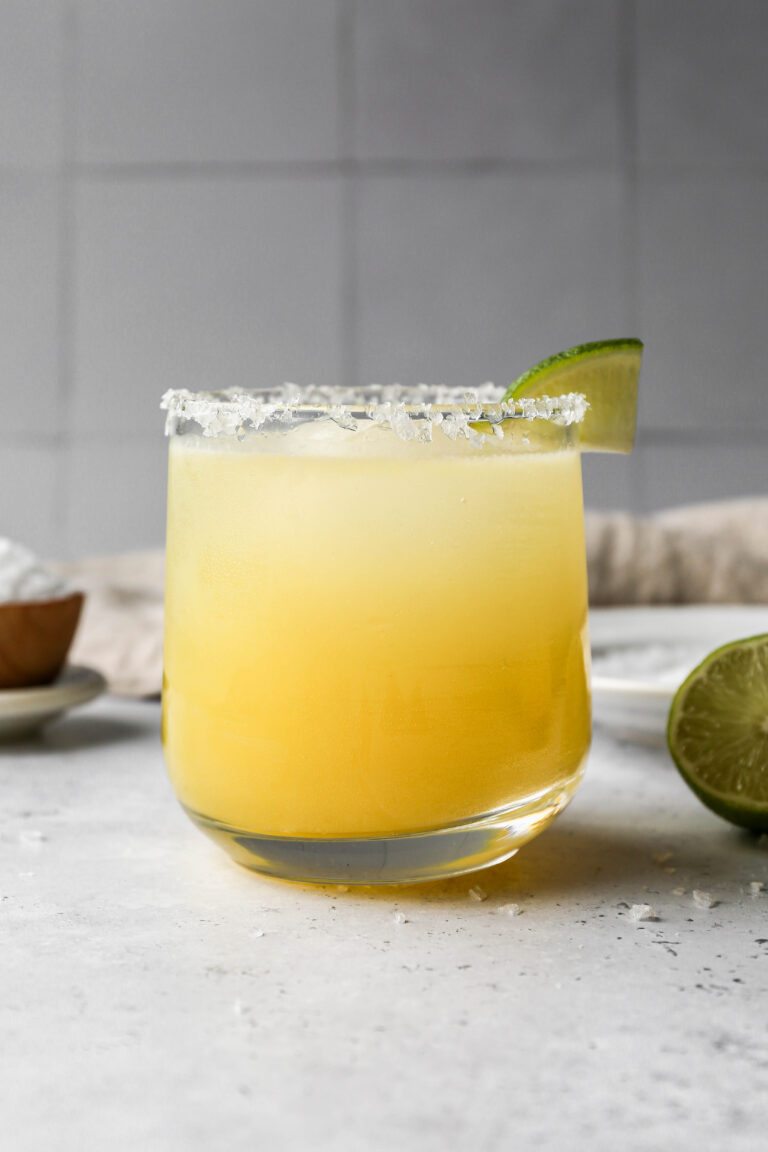
    Classic Margarita Mocktail

    This classic margarita mocktail recipe is made on the rocks and is the perfect summer drink! It's a refreshing no alcoholic drink you make in your blender at home. This virgin margarita is booze free and easy to make.

    Get The Recipe

    Easy Frozen Watermelon Margarita Mocktail

    This easy recipe for frozen watermelon margarita mocktails makes a pitcher of this delicious drink. You chop the fresh watermelon into cubes and then freeze it on a baking sheet. Using lime juice, lemon juice and a little salt you get a non alcoholic watermelon slushie using your blender.

    Get The Recipe

    New Year's Eve Party Game Ideas

    More Ideas You Might Enjoy

    • Gluten Free New Year's Eve Party Snacks
    • The Best Gluten Free Cookie Recipes
    • My Favorite Gluten Free Soup Recipes
    • 25 Inexpensive Gluten Free Dinners Your Family Will Love

    I get a lot of my ingredients from Thrive Market. Thrive Market has been a game changer for me eating gluten free. They have so many options I can't get at my rural grocery stores! Use this link to get 40% off your first order!

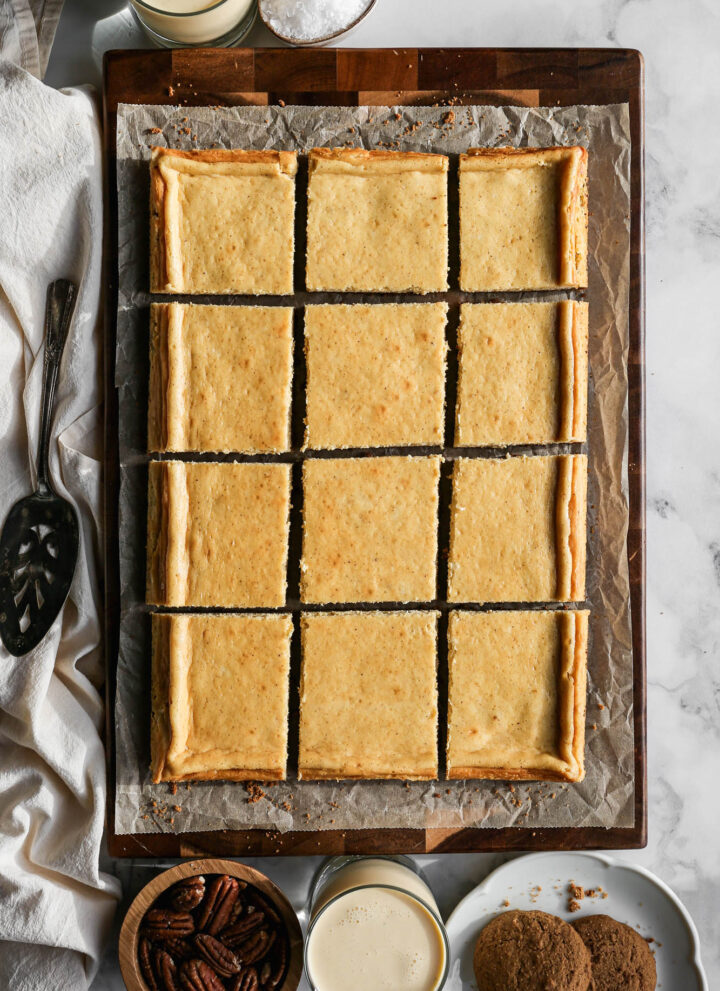
    Gluten Free Eggnog Cheesecake Bars with Gingersnap Crust

    This recipe for gluten free eggnog cheesecake bars with a gingersnap crust are an easy holiday dessert. They are simple to make the day before a gathering so the cheesecake can set up and be ready to cut. I used my gluten free gingersnap cookies recipe for the crust but you could also use store bought gingersnap cookies.

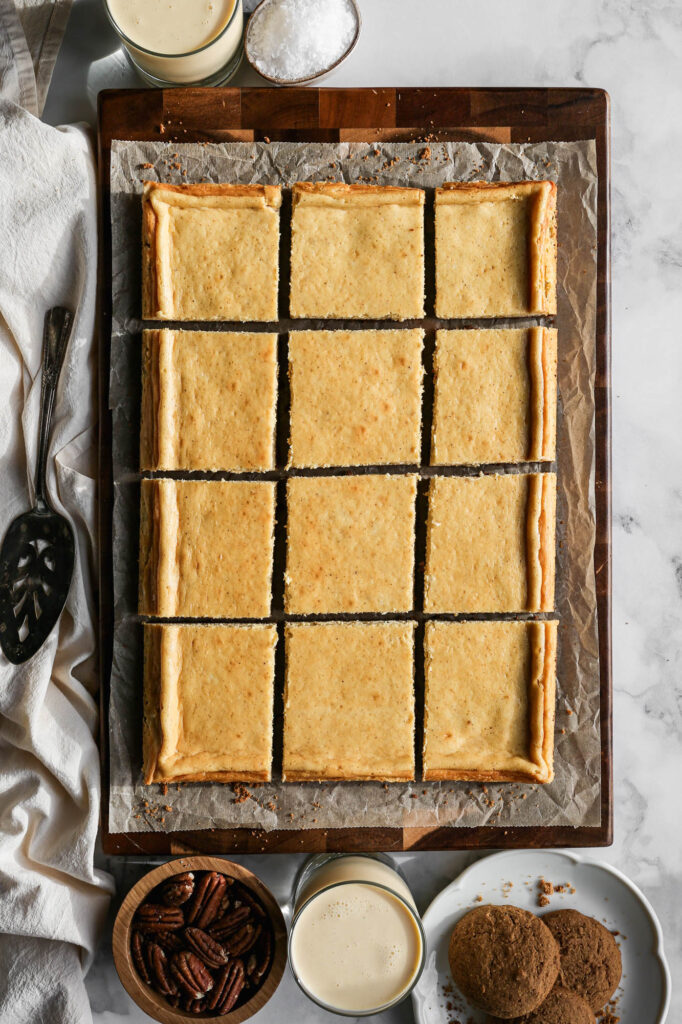
    a wood cutting board with gluten free eggnog cheesecake bars with gingersnap crust cut into squares next to a plate of gingersnap cookies and two glasses of eggnog

    These Gluten Free Eggnog Cheesecake Bars with Gingersnap Crust are a delicious holiday treat perfect for Christmas, Thanksgiving, or New Year's celebrations. The creamy cheesecake is infused with festive eggnog flavors, while the gingersnap crust adds a delightful spice.

    This easy recipe is gluten-free, making it suitable for various dietary needs. Ideal for holiday gatherings, these bars combine the rich taste of baked cheesecake with the warmth of eggnog, creating a standout dessert that captures the spirit of the season.

    These are perfect for anyone looking for the best eggnog desserts or festive cheesecake options!

    If you are looking for more eggnog recipes try my Gluten Free Eggnog Bundt Cake, my Gluten Free Eggnog Cake with White Chocolate Frosting, or my Gluten Free Eggnog Cookies.

    You can find all of my Christmas recipes here: Easy Gluten Free Christmas Recipes

    You can find all of my dessert recipes here: Gluten Free Dessert Recipes

    a wood cutting board with gluten free eggnog cheesecake bars with gingersnap crust cut into squares next to a plate of gingersnap cookies and two glasses of eggnog
    [feast_advanced_jump_to]

    Ingredients

    • Gluten Free Gingersnap Cookies
    • Pecans
    • Unsalted Butter
    • Cream Cheese
    • Granulated Sugar
    • Eggs
    • Eggnog
    • Vanilla Extract
    • Ground Cinnamon
    • Ground Nutmeg
    • Sea Salt

    Instructions

    Preheat your oven to 350 degrees. Grease a 9x13 baking dish with butter or coconut oil. Set aside.

    In the bowl of your stand mixer beat together the crushed gluten free gingersnap cookie, pecans and butter until they are combined and starting to stick together in clumps.

    Press the crust mixture evenly in the bottom of the greased 9x13 baking dish.

    Bake at 350 degrees for 8-10 minutes.

    In the bowl of your stand mixer add the cream cheese and granulated sugar. Beat until combined. Wipe down the edges of your bowl with a spatula and beat until the cream cheese begins to be fluffy. Add the eggs one at a time combing them with the ingredients before adding the next.

    Add the eggnog, vanilla, cinnamon, nutmeg and salt to the mixture and beat until these ingredients are mixed into the filling batter.

    Fill the bottom of a baking dish with an inch of water. Add this to the oven and let the temperature come back up to 350 degrees. The water will help the cheesecake bars not to crack.

    Pour the filling over the crust and bake at 350 degrees for 40 minutes or until the cheesecake is browned around the edges.

    Carefully remove the bars from the oven and let them stand undisturbed while they cool. 

    After they have cooled, store the bars in the refrigerator for at least 4 hours before cutting them to keep the edges from crumbling. 

    Store the bars in an airtight container in the refrigerator for up to a week.

    Supplies

    Frequently Asked Questions

    How do I store these gluten free eggnog cheesecake bars?

    They should be allowed to cool completely and then they can be stored in an airtight container in the refrigerator. After they have been refrigerated for at least 4 hours I take them out and cut them into bars. Then, I place them back in an airtight container to store them in the refrigerator.

    Where do I get gluten free eggnog?

    I used Darigold Eggnog that I got at our local Walmart grocery store. The 59 ounce carton says it is a gluten free product on the label. Trader Joe's also carries a seasonal eggnog, but the label doesn't say it's gluten free. Check the label and the ingredients of what you can find locally.

    More Recipes You Might Enjoy

    • Gluten Free Eggnog Bundt Cake
    • Gluten Free Eggnog Cookies
    • Gluten Free Eggnog Cake with White Chocolate Frosting
    • Easy Gluten Free Christmas Recipes

    I get a lot of my ingredients from Thrive Market. Thrive Market has been a game changer for me eating gluten free. They have so many options I can't get at my rural grocery stores! Use this link to get 25% off your first order!

    Print
    clock clock iconcutlery cutlery iconflag flag iconfolder folder iconinstagram instagram iconpinterest pinterest iconfacebook facebook iconprint print iconsquares squares iconheart heart iconheart solid heart solid icon

    Gluten Free Eggnog Cheesecake Bars with Gingersnap Crust


    5 Stars 4 Stars 3 Stars 2 Stars 1 Star

    No reviews

    • Author: Elaine VanVleck
    • Total Time: 1 hour 5 minutes
    • Yield: 12 bars
    • Diet: Gluten Free
    Print Recipe
    Pin Recipe

    Description

    This recipe for gluten free eggnog cheesecake bars with a gingersnap crust are an easy holiday dessert. They are simple to make the day before an gathering so the cheesecake can set up and be ready to cut. I used my gluten free gingersnap cookies recipe for the crust.


    Ingredients

    Crust:
    3 cups crushed Gluten Free Gingersnap Cookies
    1 cup Pecans, finely chopped
    ½ cup Unsalted Butter, melted

    Filling:
    2 - 8 ounce packages Cream Cheese
    ½ cup Granulated Sugar
    3 large Eggs
    ½ cup Eggnog
    1 tsp. Vanilla Extract
    ½ tsp. Ground Cinnamon
    ¼ tsp. Ground Nutmeg
    ¼ tsp. Sea Salt


    Instructions

    Preheat your oven to 350 degrees. Grease a 9x13 baking dish with butter or coconut oil. Set aside.

    In the bowl of your stand mixer beat together the crushed gluten free gingersnap cookie, pecans and butter until they are combined and starting to stick together in clumps.

    Press the crust mixture evenly in the bottom of the greased 9x13 baking dish.

    Bake at 350 degrees for 8-10 minutes.

    In the bowl of your stand mixer add the cream cheese and granulated sugar. Beat until combined. Wipe down the edges of your bowl with a spatula and beat until the cream cheese begins to be fluffy. Add the eggs one at a time combing them with the ingredients before adding the next.

    Add the eggnog, vanilla, cinnamon, nutmeg and salt to the mixture and beat until these ingredients are mixed into the filling batter.

    Fill the bottom of a baking dish with an inch of water. Add this to the oven and let the temperature come back up to 350 degrees. The water will help the cheesecake bars not to crack.

    Pour the filling over the crust and bake at 350 degrees for 40 minutes or until the cheesecake is browned around the edges.

    Carefully remove the bars from the oven and let them stand undisturbed while they cool. 

    After they have cooled, store the bars in the refrigerator for at least 4 hours before cutting them to keep the edges from crumbling. 

    Store the bars in an airtight container in the refrigerator for up to a week.

    • Prep Time: 25 minutes
    • Cook Time: 40 minutes
    • Category: Bars
    • Method: Baking
    • Cuisine: Gluten Free

    Did you make this recipe?

    Tag @smallfarmbiglife on Instagram and hashtag it #smallfarmbiglife

    Gluten Free Eggnog Bundt Cake

    This gluten free eggnog bundt cake is one of my favorite ways to use up extra eggnog during the holidays. The cake itself is soft and lightly spiced with cinnamon and nutmeg, and the eggnog gives it a rich, moist crumb you don't get from a regular vanilla cake. It bakes in a single bundt pan, so there is no layering or frosting involved.

    Once it cools, a simple eggnog glaze gets drizzled over the top for a beautiful, festive finish.

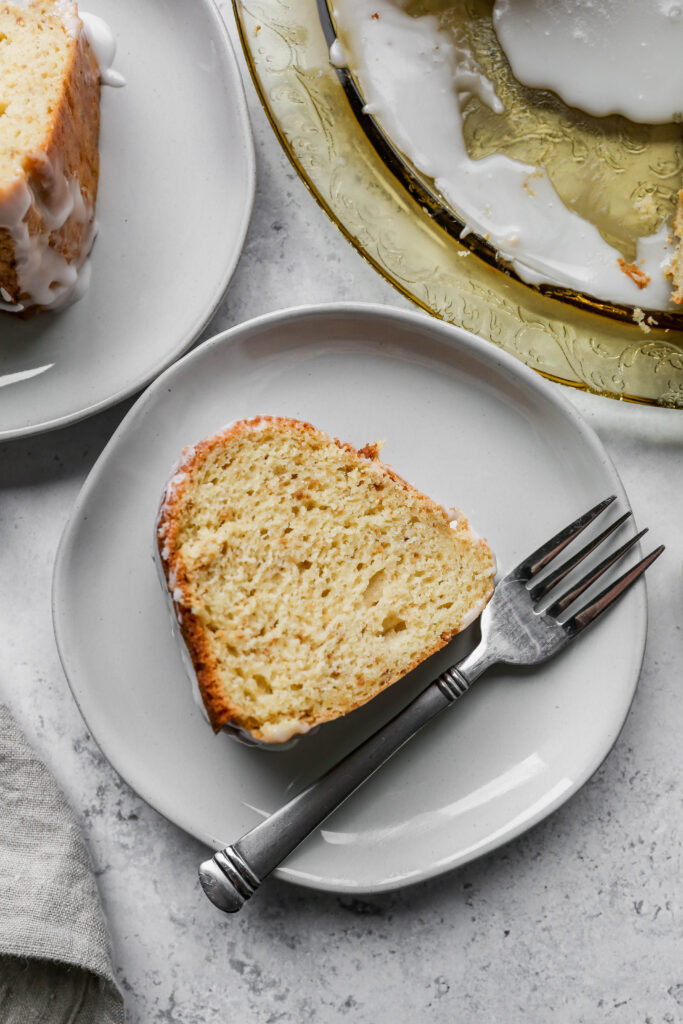
    a gluten free eggnog bundt cake with eggnog glaze on a yellow glass platter next to small gold ornaments, plates and a small bowl of glaze

    I love how easy this cake is to pull together for a holiday gathering. The batter comes together in one bowl with the mixer, and the bundt pan does all the work of making it look impressive without a lot of extra effort.

    This is one of my go to desserts for Christmas and New Year's Eve, and it also freezes well if you want to make it ahead of a busy holiday week.

    If you are looking for more eggnog recipes try my Gluten Free Eggnog Cheesecake Bars with Gingersnap Crust, my Gluten Free Eggnog Cake with White Chocolate Frosting, or my Gluten Free Eggnog Cookies.

    You can find all of my Christmas recipes here: Gluten Free Christmas Recipes

    You can find all of my cake recipes here: Gluten Free Cake Recipes

    a gluten free eggnog bundt cake with eggnog glaze on a yellow glass platter next to small gold ornaments, plates and a small bowl of glaze
    [feast_advanced_jump_to]

    Why You'll Love This Recipe

    • Made with real eggnog in both the cake and the glaze for full holiday flavor
    • Bakes in one pan, no layering or frosting required
    • Ready in about an hour and 5 minutes
    • Freezes well, so you can bake it ahead of a busy holiday week
    • A festive, elegant dessert that needs almost no decorating

    How to Prevent Sticking

    Bundt pans have a lot of detail in the design, which makes greasing them properly extra important.

    • Use softened butter or a baking spray with flour in it to coat every groove of the pan, not just the bottom.
    • For extra insurance, dust the greased pan with a light coating of gluten free flour or cocoa powder and tap out the excess before adding the batter.
    • Let the cake stand in the pan for exactly 10 minutes before flipping it out. Any longer and it can start to stick as it cools.

    Storage Instructions

    This cake stays moist for several days thanks to the eggnog in the batter.

    • Room temperature: Store covered for up to 3 days.
    • Refrigerator: Store covered for up to a week. Bring to room temperature before serving for the best texture.
    • Freezer: Freeze the unglazed cake tightly wrapped for up to 3 months. Thaw at room temperature, then add the glaze before serving.

    Can I Add Rum or Bourbon to This Cake?

    Yes. If you want a boozy version of this cake, add 2 tablespoons of spiced rum or bourbon to the batter along with the eggnog. You can also add a splash to the glaze for extra flavor. If you would rather keep it alcohol free, a teaspoon of rum extract gives a similar flavor without the alcohol.

    Top Tip

    Use full fat eggnog for the best texture and flavor. Low fat or light eggnog has less richness, which can make the cake less moist. Also be sure to grease every groove of your bundt pan well with softened butter or baking spray, since that's the most common spot for a bundt cake to stick and lose its shape when you flip it out.

    Frequently Asked Questions

    What is the difference between a cake and a bundt cake?

    There really isn't that much difference in the cake batter itself. The bundt cake recipe may call for a bit more moisture and/or baking powder as the cake is going to raise higher than a regular layer cake or sheet cake.
     
    The main difference you might find is that a bundt cake tends to have a crunchier texture on the top. I also love the ease of a bundt cake. The cake gets baked in one pan and then I either drizzle it with a glaze or sprinkle powdered sugar over the top. So much easier than frosting a layer cake!

    How do I make my gluten free cakes more moist?

    Gluten free baking tends to require more moisture or oil than when you are using regular wheat flour. For this gluten free eggnog bundt cake recipe I added the eggnog to make it moist and delicious.

    If you are using a cake recipe that isn't turning out moist I would suggest adding a bit more oil or butter. You can also add mashed banana or applesauce to help your baked goods have more moisture.

    Supplies

    More Recipes You Might Enjoy

    • Gluten Free Eggnog Cake with White Chocolate Frosting
    • Gluten Free Eggnog Cheesecake Bars with Gingersnap Crust
    • Easy Gluten Free Christmas Recipes
    • Gluten Free Eggnog Cookies

    I get a lot of my ingredients from Thrive Market. Thrive Market has been a game changer for me eating gluten free. They have so many options I can't get at my rural grocery stores! Use this link to get 40% off your first order!

    Print
    clock clock iconcutlery cutlery iconflag flag iconfolder folder iconinstagram instagram iconpinterest pinterest iconfacebook facebook iconprint print iconsquares squares iconheart heart iconheart solid heart solid icon

    Gluten Free Eggnog Bundt Cake


    5 Stars 4 Stars 3 Stars 2 Stars 1 Star

    No reviews

    • Author: Elaine VanVleck
    • Total Time: 1 hour 5 minutes
    • Yield: 10 slices 1x
    • Diet: Gluten Free
    Print Recipe
    Pin Recipe

    Description

    This gluten free eggnog bundt cake is moist, lightly spiced with cinnamon and nutmeg, and topped with a sweet eggnog glaze. It bakes in one pan and comes together with simple pantry staples, making it an easy holiday dessert. Perfect for Christmas, New Year's Eve, or any gathering where you want to use up extra eggnog.


    Ingredients

    Scale
    • ¾ cup Unsalted Butter, at room temperature
    • 1 cup Granulated Sugar
    • 2 tsp. Vanilla Extract
    • 3 large Eggs
    • 1 ¼ cups Eggnog
    • 3 cups Gluten Free Flour
    • 2 tsp. Baking Powder
    • 1 tsp. Baking Soda
    • ½ tsp. Sea Salt
    • 1 tsp. Ground Cinnamon
    • ½ tsp. Ground Nutmeg

    Glaze:

    • 1 cup Powdered Sugar
    • 1 tsp. Vanilla Extract
    • 1-2 Tbsp. Eggnog

    Instructions

    Preheat your oven to 350 degrees. Grease your bundt pan with butter or coconut oil and set aside.

    In the bowl of your stand mixer blend together the butter and sugar until it is combined. Add the vanilla extract and the eggs one at a time blending them each in before adding the next. Add the eggnog and blend into the batter thoroughly.
    In a mixing bowl whisk together the gluten free flour, baking powder, baking soda, salt, cinnamon and nutmeg. Add this mixture to the wet ingredient and beat until they are incorporated into the batter.

    Pour the cake batter into your greased bundt pan.

    Bake at 350 degrees for 45 minutes or until the cake is golden brown and a tooth pick inserted near the center comes out clean.

    Let the cake stand in the pan for 10 minutes and then flip it out onto a cooling rack.

    Let the cake cool completely before drizzling the glaze or powdered sugar over top.

    To make the glaze add the powdered sugar, vanilla and eggnog to a small bowl and beat with a fork or a whisk until all of the dry ingredient are combined. You can add more powdered sugar or eggnog to get the thickness you would like for your glaze.

    If you made this recipe please leave a star rating and comment below. It helps other readers find this recipe and means so much to me.

    • Prep Time: 20 minutes
    • Cook Time: 45 minutes
    • Category: Cake
    • Method: Baking
    • Cuisine: American

    Did you make this recipe?

    Tag @smallfarmbiglife on Instagram and hashtag it #smallfarmbiglife

    If you make this gluten free eggnog bundt cake, I would love to hear how it turns out. Leave a star rating and a comment below, and be sure to tag @smallfarmbiglife on Instagram so I can see your cake. For more gluten free holiday recipes like this one, subscribe to the newsletter so you never miss a new post.

    Eggnog Bundt Cake Ingredients

    • Unsalted Butter
    • Granulated Sugar
    • Vanilla Extract
    • Eggs
    • Eggnog
    • Gluten Free Flour
    • Baking Powder
    • Baking Soda
    • Sea Salt
    • Ground Cinnamon
    • Ground Nutmeg
    • Powdered Sugar

    Instructions

    Preheat your oven to 350 degrees. Grease your bundt pan with butter or coconut oil and set aside.

    In the bowl of your stand mixer blend together the butter and sugar until it is combined. Add the vanilla extract and the eggs one at a time blending them each in before adding the next. Add the eggnog and blend into the batter thoroughly.
    In a mixing bowl whisk together the gluten free flour, baking powder, baking soda, salt, cinnamon and nutmeg. Add this mixture to the wet ingredient and beat until they are incorporated into the batter.
    Pour the cake batter into your greased bundt pan.

    Bake at 350 degrees for 45 minutes or until the cake is golden brown and a tooth pick inserted near the center comes out clean.

    Let the cake stand in the pan for 10 minutes and then flip it out onto a cooling rack.

    Let the cake cool completely before drizzling the glaze or powdered sugar over top.

    To make the glaze add the powdered sugar, vanilla and eggnog to a small bowl and beat with a fork or a whisk until all of the dry ingredient are combined. You can add more powdered sugar or eggnog to get the thickness you would like for your glaze.

    Gluten Free Thumbprint Cookies

    These gluten free thumbprint cookies are a holiday classic in our house, and we make them every single year. Each buttery cookie gets filled with a dollop of sweet jam right in the center, making them as pretty as they are delicious.

    a white platter of gluten free thumbprint cookies with strawberry jam in the center next to red ribbon, a small white bowl of strawberry jam and some small red christmas ornaments

    These jam filled thumbprint cookies feature a tender, buttery base topped with sweet fruit jam, and they're every bit as festive as they look. They're perfect for Christmas cookie trays, cookie exchanges, or homemade dessert spreads. Their soft texture and vibrant jam centers make them a favorite for holiday baking and gifting.

    If you are looking for more easy gluten free cookie recipes try: Easy Gluten Free Christmas Cookie Recipes

    You can also find all of my easy Christmas recipes here: Easy Gluten Free Christmas Recipes

    [feast_advanced_jump_to]

    Why You'll Love This Recipe

    • Buttery, tender base with a sweet jam center
    • Easy to customize with different jam flavors
    • Perfect for a holiday cookie tray or exchange
    • Simple enough to make ahead

    Ways to Customize This Recipe

    • Roll the dough balls in granulated sugar or finely chopped nuts before baking for extra texture.
    • A small amount of almond extract or citrus zest added to the dough is also a delicious twist alongside the vanilla.

    Make Ahead and Freezing

    You can make the dough balls, add the thumbprint indentation, and freeze them unbaked for up to 3 months. Thaw them for a couple of hours before filling with jam and baking as directed.

    Storage

    Let the cookies cool completely, then store in an airtight container for up to one week.

    Top Tip

    I filled my cookies with Smucker's Natural Strawberry Preserves . This year I didn't have homemade strawberry jam, but this tastes just like homemade. I may have eaten a spoon full as I was filling the cookies.

    These cookies are delicious with any flavor of jam in the center. They are also amazing with lemon curd in the center!

    Frequently Asked Questions

    Can I freeze thumbprint cookies?

    Yes! These cookies freeze really well. I suggest freezing them in an airtight freezer container. When you want to defrost the cookies take them out of the container and set them on a paper towel to absorb any moisture they may have accrued while thawing.

    How do you keep thumbprint cookies from spreading too much?

    If your thumbprint cookies are spreading too much they likely have too much oil or butter in them. If the cookies are dry instead of adding more oil or butter add a tablespoon or two of milk.

    Do I have to use jam with my thumbprint cookies?

    No. You can use jam, but you can also use nut or seed butter, chocolate, or lots of other yummy fillings. Jam is my favorite thing to use though. I like to use various types of jam to have multiple colors if I'm making a cookie box or a plate for a gathering.

    Can I freeze the cookie dough before baking?

    Yes. Shape the dough into balls and make the thumbprint indentation, then freeze them unbaked for up to 3 months. Thaw for a couple of hours before filling with jam and baking as directed.

    Didn't find the answer you're looking for?

    Ask AI to answer based on this recipe:

    ChatGPT
    Google AI
    Perplexity
    Grok
    Claude

    Thumbprint Cookies Supplies

    You Might Also Enjoy These Recipes

    • Gluten Free Snowball Cookies
    • Easy Gluten Free Christmas Cookie Recipes
    • Gluten Free Eggnog Cookies
    • Gluten Free Orange Cranberry Butter Cookies

    I get a lot of my ingredients from Thrive Market. Thrive Market has been a game changer for me eating gluten free. They have so many options I can't get at my rural grocery stores! Use this link to get 40% off your first order!

    Print
    clock clock iconcutlery cutlery iconflag flag iconfolder folder iconinstagram instagram iconpinterest pinterest iconfacebook facebook iconprint print iconsquares squares iconheart heart iconheart solid heart solid icon

    Gluten Free Thumbprint Cookies


    5 Stars 4 Stars 3 Stars 2 Stars 1 Star

    No reviews

    • Author: Elaine VanVleck
    • Total Time: 24 minutes
    • Yield: 30 1x
    • Diet: Gluten Free
    Print Recipe
    Pin Recipe

    Description

    These gluten free thumbprint cookies have a buttery, tender base filled with a dollop of sweet jam in the center. They're an easy holiday classic that comes together quickly and looks beautiful on any cookie tray. Fill them with your favorite jam for a pop of color and flavor.


    Ingredients

    Scale
    • 1 cup Unsalted Butter, softened
    • ½ cup Granulated Sugar
    • 1 large Egg
    • 1 tsp. Vanilla Extract
    • 2 Tbsp. Milk
    • 2 cups Gluten Free Flour
    • ½ tsp. Baking Powder
    • ½ tsp. Sea Salt
    • ½ cup Jam, for filling

    Instructions

    Preheat your oven to 350 degrees. Line two baking sheets with parchment paper. Set them aside.

    In the bowl of a stand mixer beat together the butter, sugar, egg, vanilla and milk.

    Add the flour, baking powder and salt to the wet ingredients. Mix together until combined.

    Using a cookie scoop measure the dough and roll into balls. Then, press your thumb in the center or use a tart press to make an indentation. Be sure not to press all the way through so your cookies don't leak.

    Add a dollop of jam to the center of each cookie.

    Bake at 350 degrees for 14 minutes or until the edges of the cookies are golden brown.

    Let the cookies cool completely on a cooling rack before you move them to an air tight container to store.

    Cookies will last in a container for up to one week.

    If you made this recipe please leave a star rating and comment below. It helps other readers find this recipe and means so much to me.

    Notes

    Any flavor of jam will work for these cookies. I like to use various flavors of jam so I have various colors of cookies.

    • Prep Time: 10 minutes
    • Cook Time: 14 minutes
    • Category: Cookies
    • Method: Baking
    • Cuisine: American

    Did you make this recipe?

    Tag @smallfarmbiglife on Instagram and hashtag it #smallfarmbiglife

    I'd love to hear how these gluten free thumbprint cookies turn out for you! Leave a comment and star rating below, and let me know which jam flavor you used. Don't forget to pin this recipe so you can make it again for your next holiday cookie tray.

    Thumbprint Cookies Ingredients

    • Unsalted Butter
    • Granulated Sugar
    • Eggs
    • Vanilla Extract
    • Milk
    • Gluten Free Flour
    • Baking Powder
    • Sea Salt
    • Jam

    Instructions

    Preheat your oven to 350 degrees. Line two baking sheets with parchment paper. Set them aside.

    In the bowl of a stand mixer beat together the butter, sugar, egg, vanilla and milk.

    Add the flour, baking powder and salt to the wet ingredients. Mix together until combined.

    Using a cookie scoop measure the dough and roll into balls. Then, press your thumb in the center or use a tart press to make an indentation. Be sure not to press all the way through so your cookies don't leak.

    Add a dollop of jam to the center of each cookie.

    Bake at 350 degrees for 14 minutes or until the edges of the cookies are golden brown.

    Let the cookies cool completely on a cooling rack before you move them to an air tight container to store.

    Cookies will last in a container for up to one week.

    • « Previous Page
    • 1
    • …
    • 19
    • 20
    • 21
    • 22
    • 23
    • …
    • 30
    • Next Page »

    Welcome! I'm Elaine

    I'm so glad you are here! I share easy gluten free recipes from my small farm in Washington.

    Be sure to sign up for my newsletter to stay up to date on all of my new recipes.

    More about me...
    • Instagram
    • Pinterest
    • Facebook
    • Twitter
    • Mail

    Load up on new recipes, exclusive goodies, + more!
    Sign up below to stay up-to-date on news, events, and special deals.
    Thank you for subscribing!

    Easy Meals Recipes

    • Gluten Free Instant Pot Chili Mac and Cheese
    • Gluten Free Taco Casserole
    • Gluten Free Cowboy Baked Beans
    • Gluten Free Walking Taco Casserole
    • Gluten Free Creamy Beef and Mushroom Pasta
    • Gluten Free Instant Pot Chicken and Dumplings
    • Instant Pot Mexican Style Beef and Rice
    • Gluten Free Chicken Parmesan Pasta Casserole
    • Gluten Free One Pot Hamburger Helper Copycat
    • Gluten Free Salisbury Steak with Mushroom Gravy
    • Gluten Free Air Fryer Fajitas
    • Gluten Free Sloppy Joe Casserole

    Footer

    back to top

    About

    • Privacy Policy
    • Shop my Amazon Page
    • Follow me on LTK

    Newsletter

    • Sign Up! for emails and updates

    Contact

    • Contact
    • Media Kit
    • About Me

    As an Amazon Associate I earn from qualifying purchases.

    I may get commissions for purchases made through links on this site.

    Copyright © 2026 Brunch Pro on the Brunch Pro Theme