Small Farm Big Life

  • Gluten Free Recipe Index
  • Subscribe
  • Resources
menu icon
go to homepage
  • Home
  • Gluten Free Recipe Index
  • Subscribe
  • My Story
  • Resources
  • Free Guides
    • Email
    • Facebook
    • Instagram
    • Pinterest
  • subscribe
    search icon
    Homepage link
    • Home
    • Gluten Free Recipe Index
    • Subscribe
    • My Story
    • Resources
    • Free Guides
    • Email
    • Facebook
    • Instagram
    • Pinterest
  • ×

    Gluten Free Lemon Curd

    This lemon curd is a classic, easy dessert recipe that delivers bright citrus flavor with a smooth, creamy texture. Made with simple techniques and cooked gently on the stovetop, it comes together quickly and feels both timeless and indulgent.

    The result is a thick, silky lemon curd that balances sweet and tangy perfectly, making it one of the best easy lemon curd recipes to master at home.

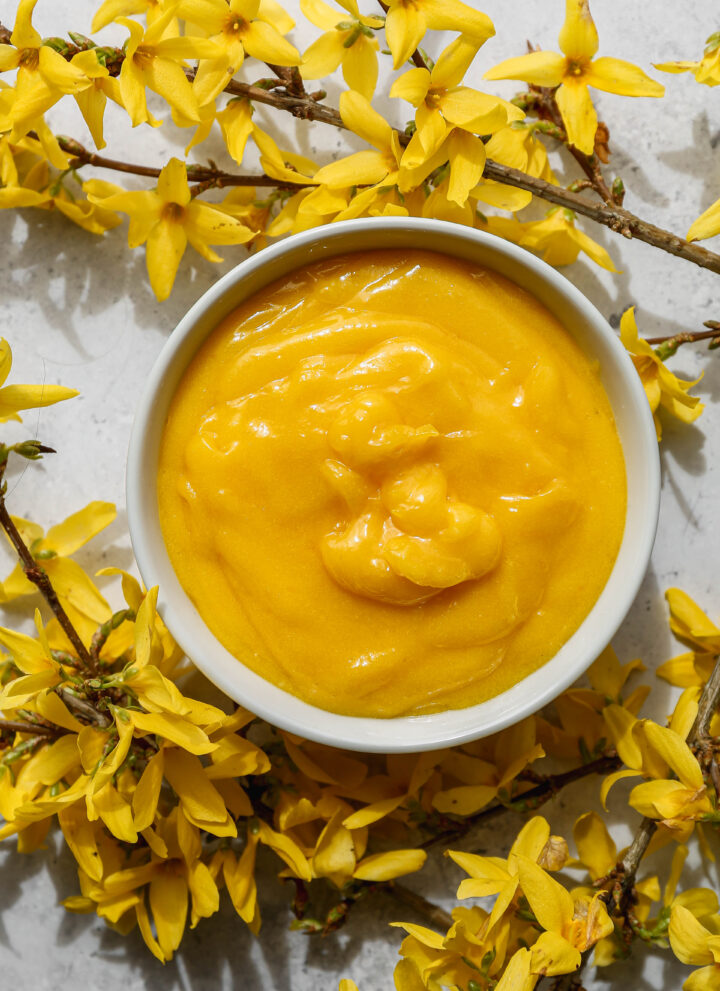
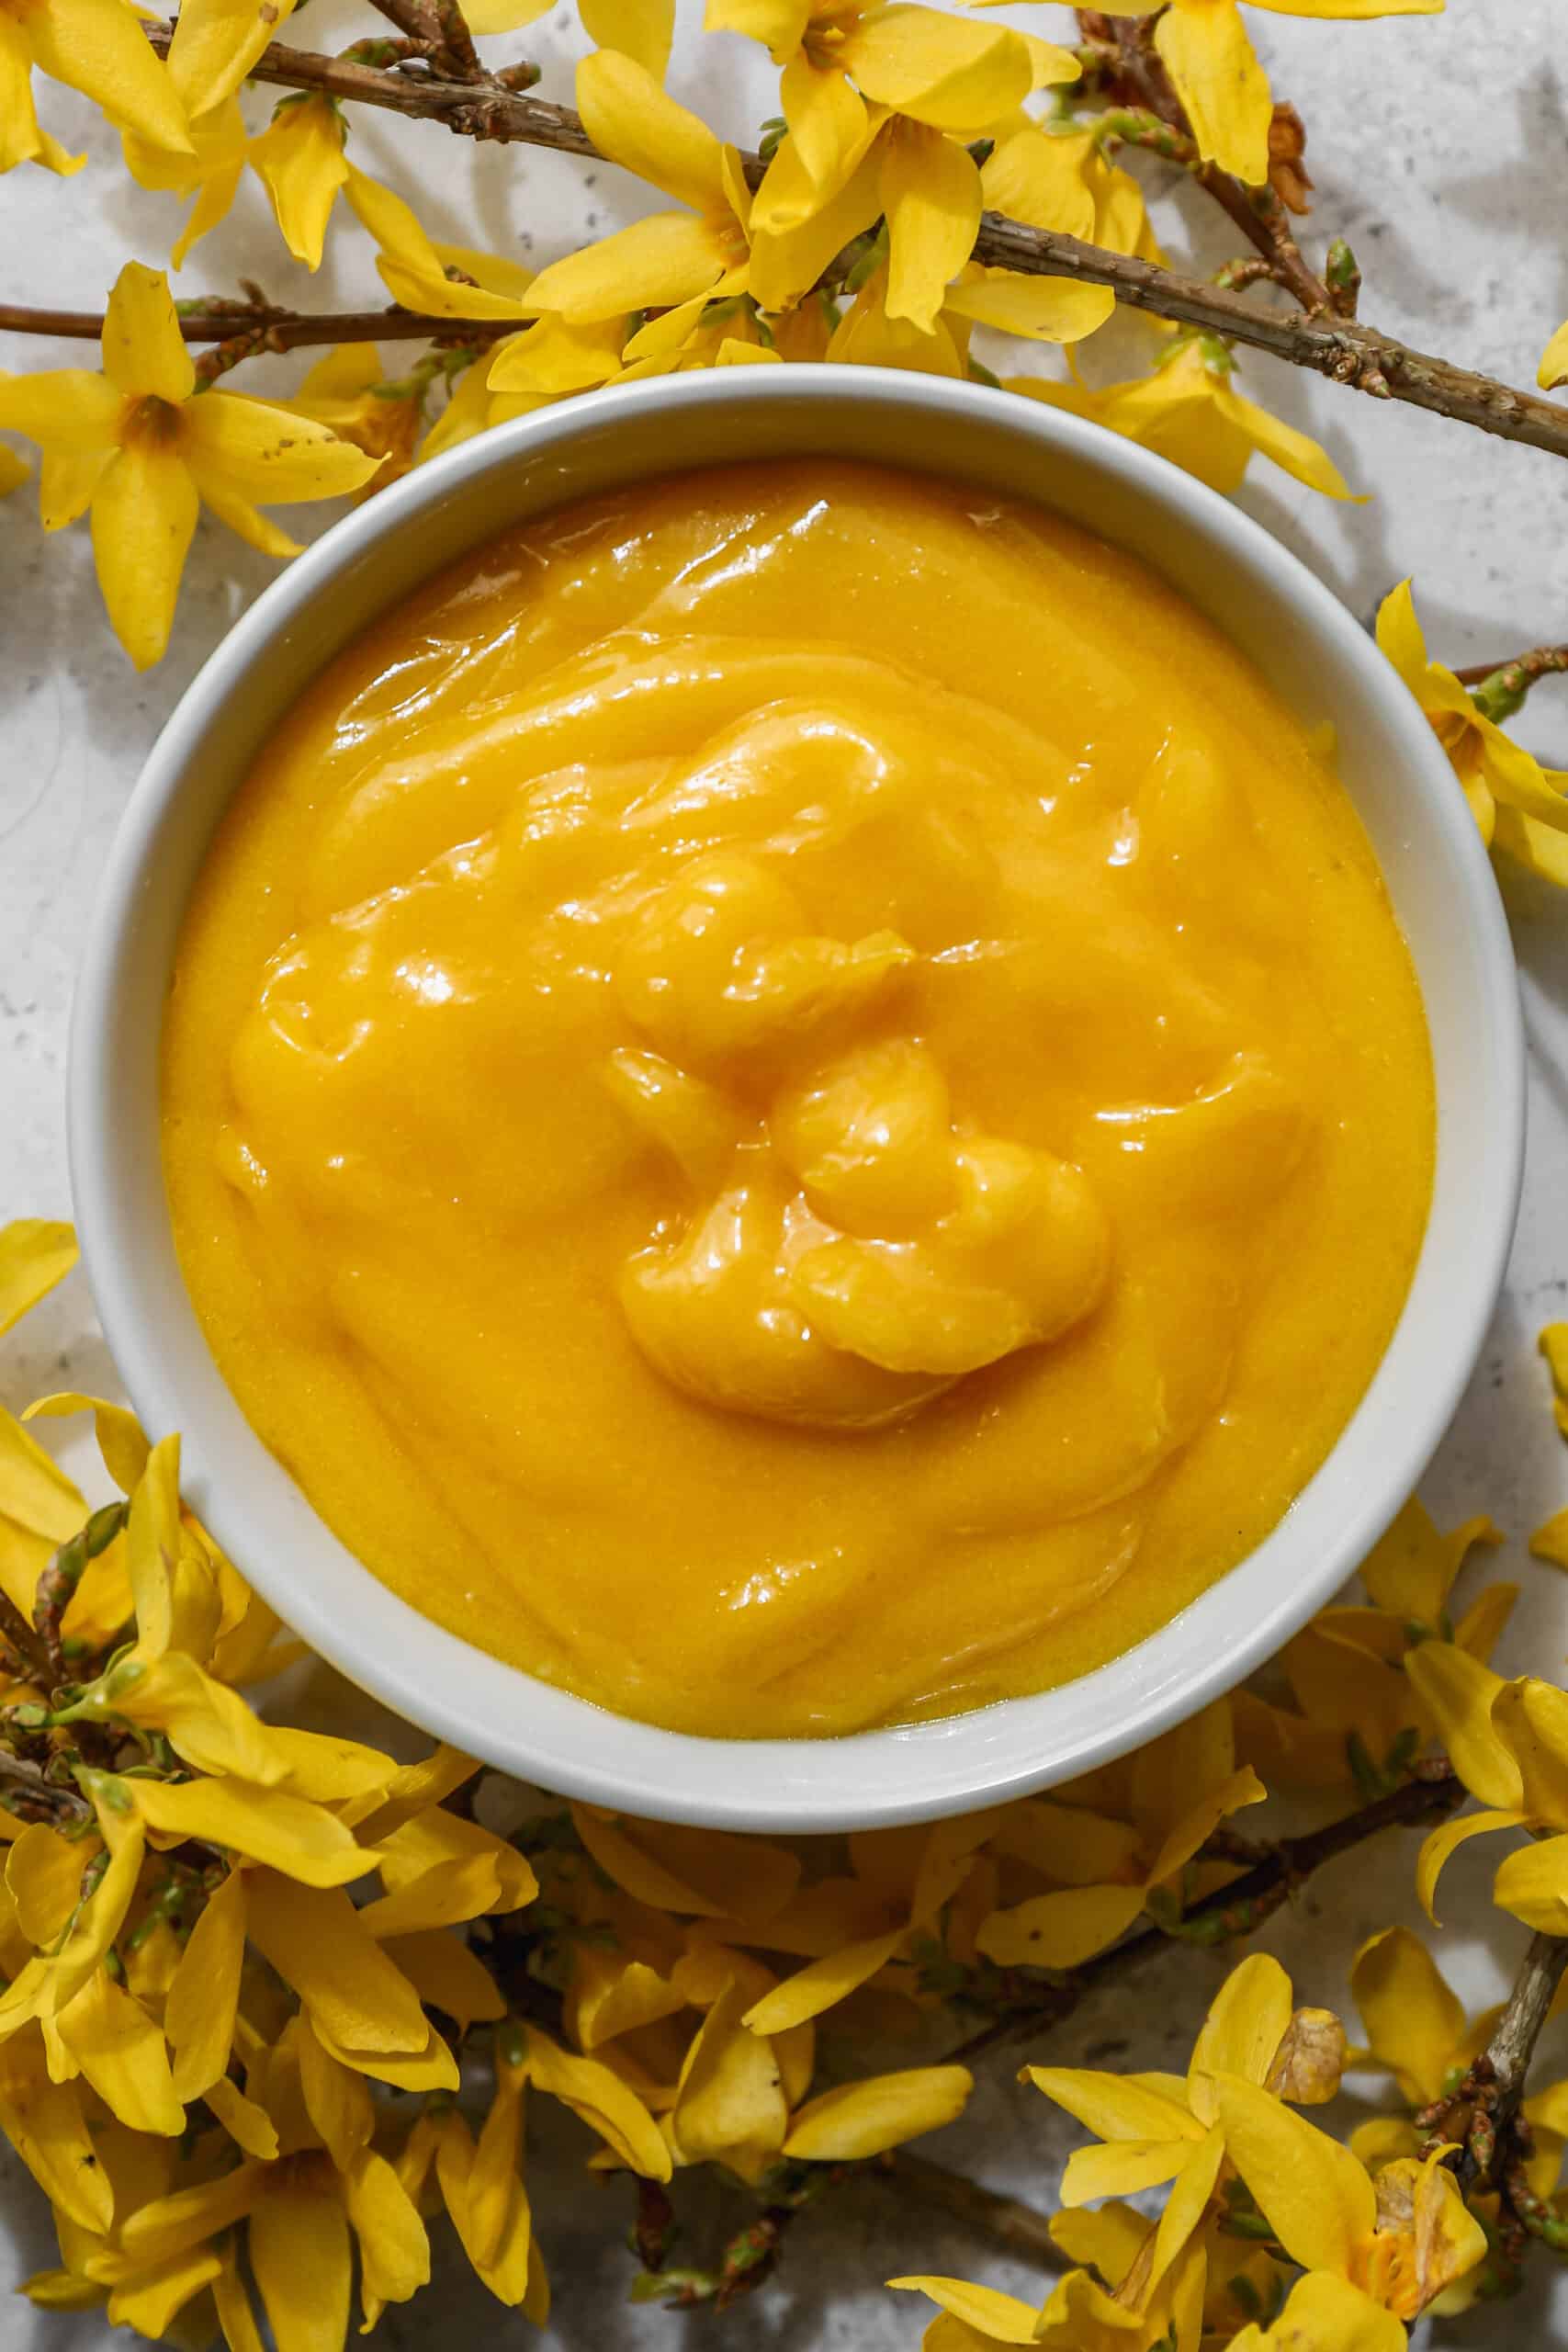
    a white bowl of gluten free lemon curd surrounded by yellow forsythia blooms.

    Perfect for cakes, pies, tarts, or spooning straight from the jar, this homemade lemon curd is incredibly versatile and naturally gluten free. It works beautifully as a filling, topping, or dessert component and adds a fresh pop of lemon to any sweet treat.

    Whether you're learning how to make homemade lemon curd for the first time or looking for a reliable, classic recipe, this version is simple, foolproof, and always delicious.

    If you are looking for more lemon recipes you might also like my Gluten Free No Bake Lemon Icebox Pie, my Gluten Free Iced Lemon Cookies, my Gluten Free Lemon Bundt Cake with Lemon Glaze or my Gluten Free Lemon Shortbread Bars.

    You can find all my dessert recipes here: Gluten Free Dessert Recipes

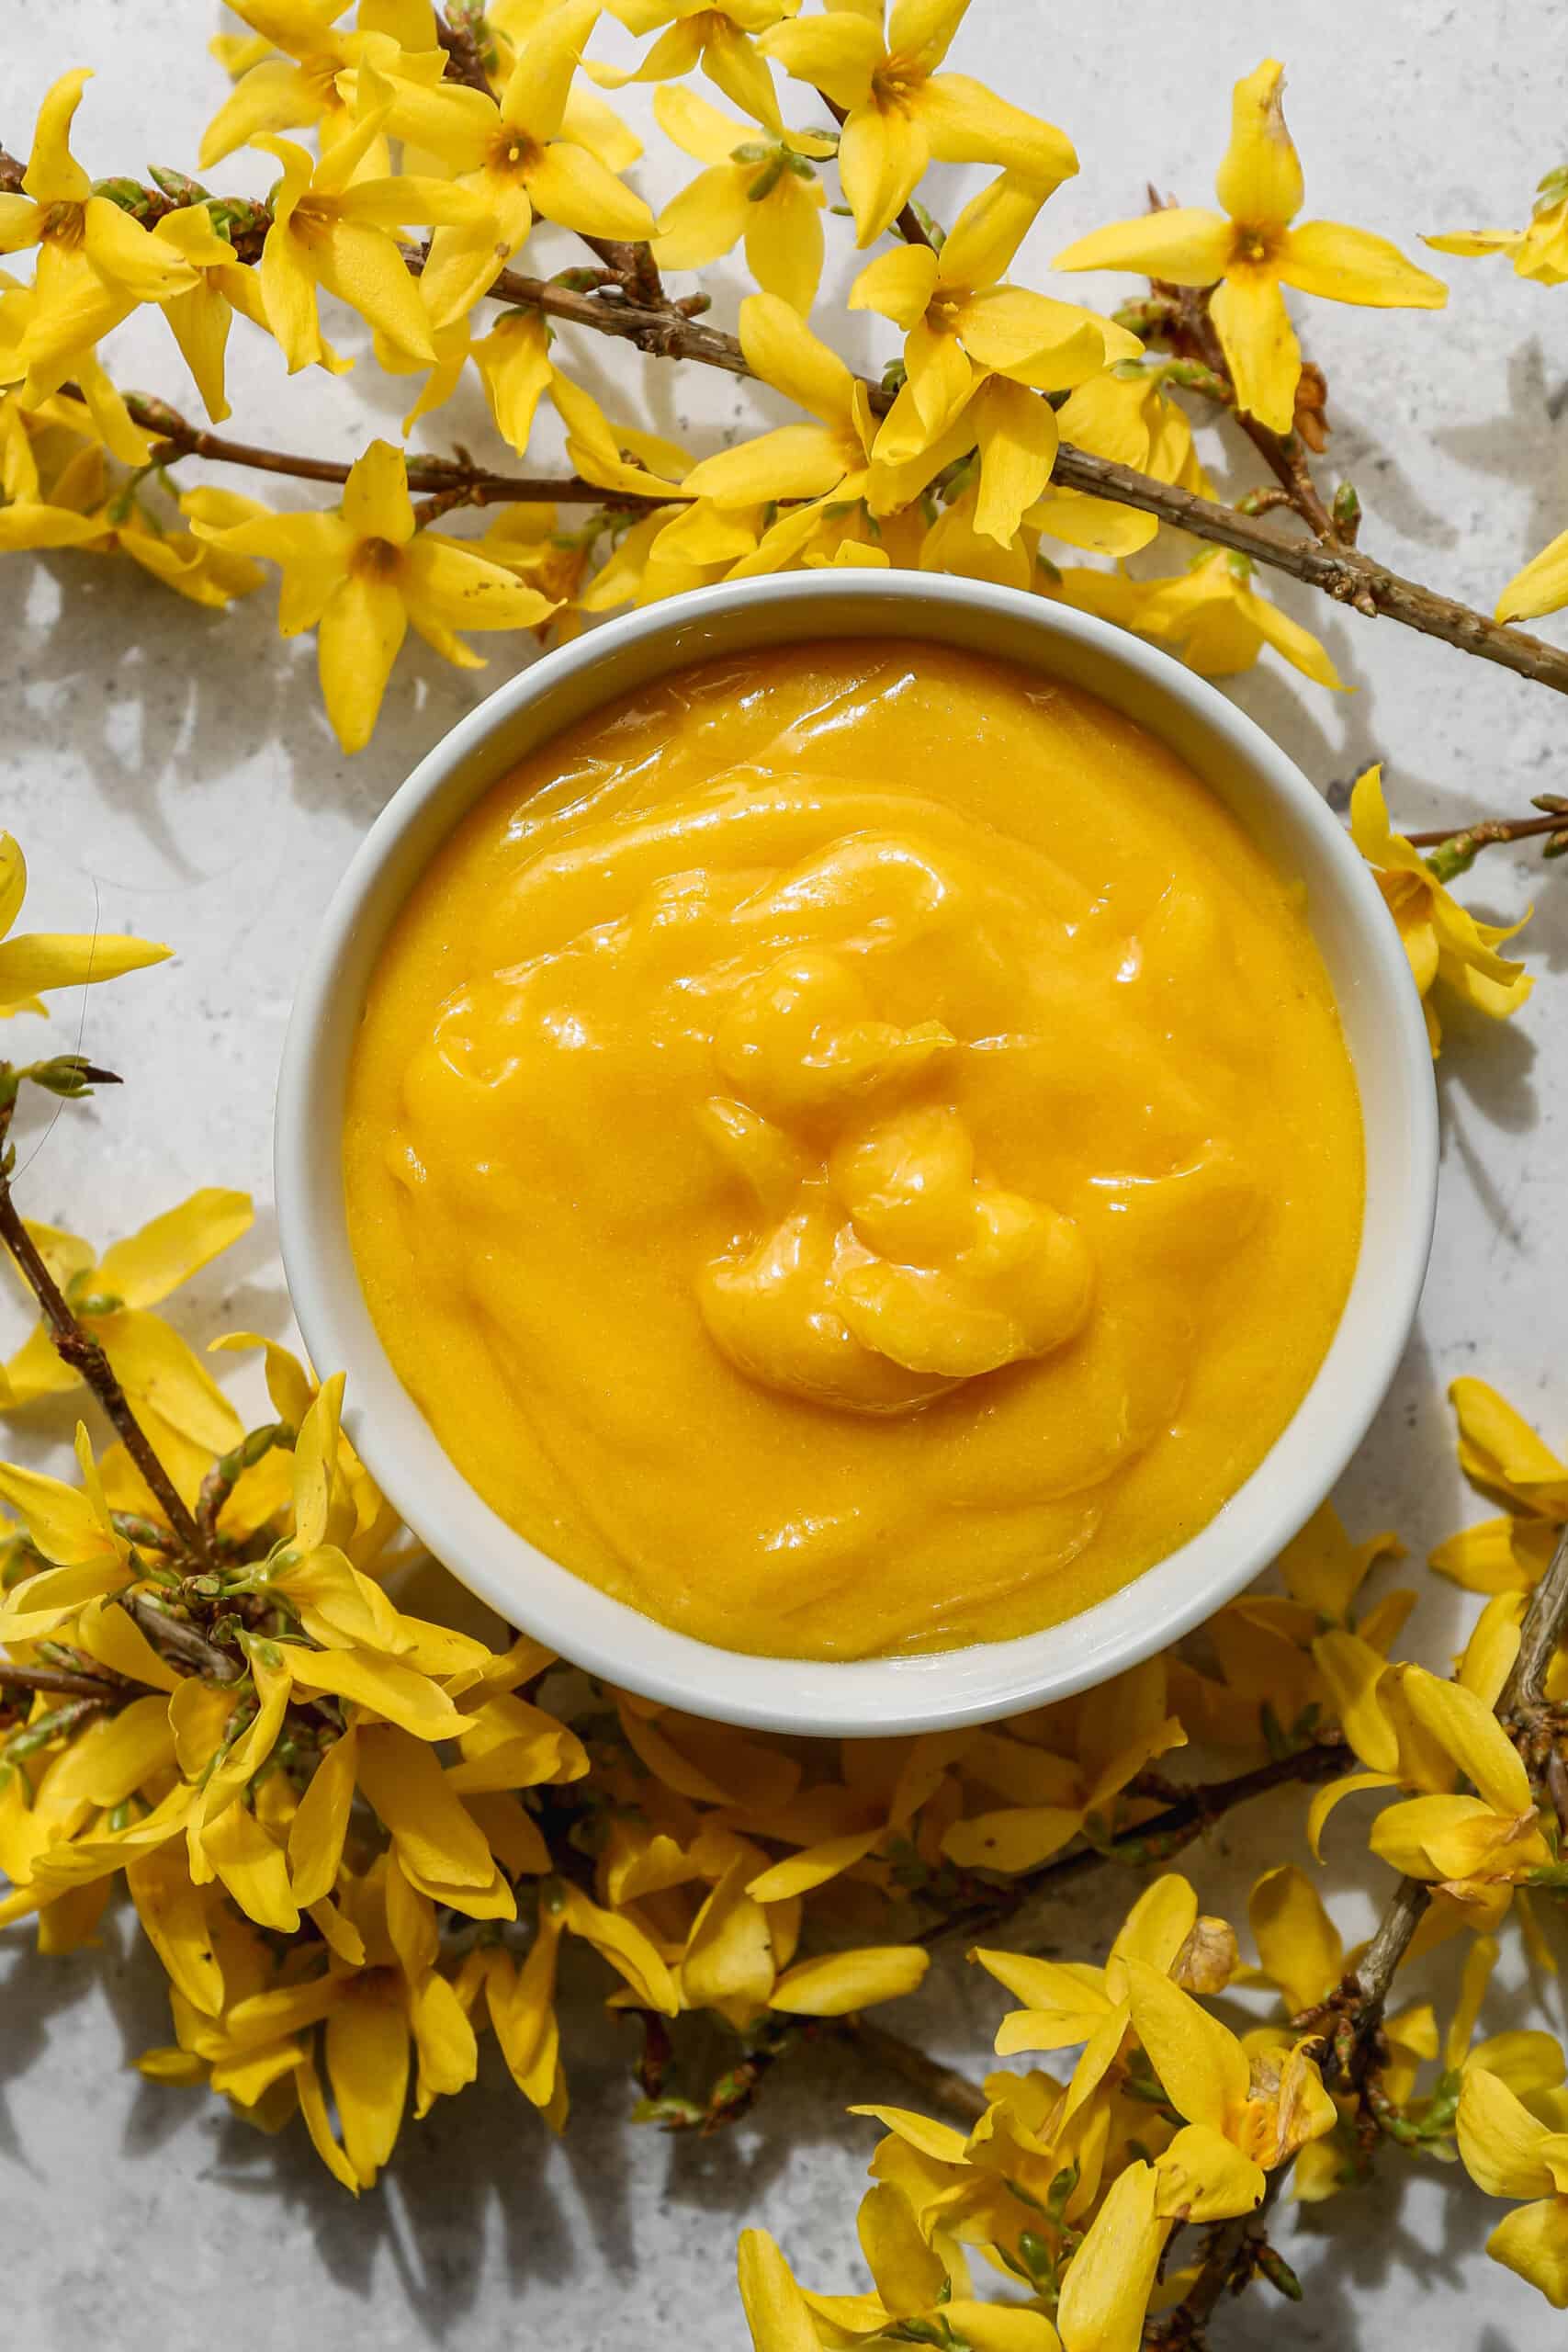
    a white bowl of gluten free lemon curd surrounded by yellow forsythia blooms.
    [feast_advanced_jump_to]

    Ingredients

    • Eggs
    • Granulated Sugar
    • Lemon Juice
    • Lemon Zest
    • Unsalted Butter

    Instructions

    In your stand mixer whisk together the eggs, sugar, lemon juice and lemon zest until thoroughly combined.

    Place your mixing bowl over a saucepan of simmering water. Cook for 8-10 minutes until the mixture thickens.

    When the mixture thickens add the butter one piece at a time. Stir until the mixture is creamy and all the butter is melted.

    Pour the lemon curd into a bowl and let cool slightly on the counter. Then cover with plastic wrap making sure the plastic wrap touches the surface of the lemon curd so you don't get a crusty layer.

    Chill in your refrigerator overnight or until cold.

    You can store the lemon curd in your refrigerator for a little over a week in a sealed container.

    Supplies

    More Recipes You Might Enjoy

    • Gluten Free No Bake Lemon Icebox Pie
    • Gluten Free Iced Lemon Cookies
    • Gluten Free Lemon Bundt Cake with Lemon Glaze
    • Gluten Free Lemon Shortbread Bars

    I get a lot of my ingredients from Thrive Market. Thrive Market has been a game changer for me eating gluten free. They have so many options I can't get at my rural grocery stores! Use this link to get 40% off your first order!

    Print

    clock clock iconcutlery cutlery iconflag flag iconfolder folder iconinstagram instagram iconpinterest pinterest iconfacebook facebook iconprint print iconsquares squares iconheart heart iconheart solid heart solid icon

    Gluten Free Lemon Curd


    5 Stars 4 Stars 3 Stars 2 Stars 1 Star

    No reviews

    • Author: Elaine VanVleck
    • Total Time: 22 minutes
    • Yield: Approximately 1 cup 1x
    • Diet: Gluten Free
    Print Recipe
    Pin Recipe

    Description

    This recipe for gluten free lemon curd is tart and easy to make. This is the perfect addition to any dessert and works perfectly for cake filling. This homemade meyer lemon curd is made with egg yolks and is a beautiful yellow. 


    Ingredients

    Scale
    • 2 Egg Yolks
    • 1 Whole Egg
    • 5 Tbsp. Granulated Sugar
    • ⅓ cup Lemon Juice
    • 1 tsp. Lemon Zest
    • 5 Tbsp. Unsalted Butter, cut into pieces

    Instructions

    In your stand mixer whisk together the eggs, sugar, lemon juice and lemon zest until thoroughly combined.

    Place your mixing bowl over a saucepan of simmering water. Cook for 8-10 minutes until the mixture thickens.

    When the mixture thickens add the butter one piece at a time. Stir until the mixture is creamy and all the butter is melted.

    Pour the lemon curd into a bowl and let cool slightly on the counter. Then cover with plastic wrap making sure the plastic wrap touches the surface of the lemon curd so you don't get a crusty layer.

    Chill in your refrigerator overnight or until cold.

    You can store the lemon curd in your refrigerator for a little over a week in a sealed container.

    Notes

    You can also freeze lemon curd in a freezer safe container for up to a year.

    • Prep Time: 10 minutes
    • Cook Time: 12 minutes
    • Category: Dessert
    • Method: Stove Top
    • Cuisine: Gluten Free

    Did you make this recipe?

    Tag @smallfarmbiglife on Instagram and hashtag it #smallfarmbiglife

    Frequently Asked Questions

    What is lemon curd made from?

    Gluten free lemon curd is simply eggs, sugar, lemon juice, lemon zest and butter. I like to use farm fresh eggs to get a deeper color, but any eggs will work.

    How do you make lemon curd?

    You whisk together the eggs and sugar and then add the lemon juice and lemon zest. Mix these ingredients together in your metal mixer bowl.

    Then place your mixing bowl over a pot of simmering water. Stir the mixture until it begins to thicken. Then add the butter in a small cube at a time. Continue stirring until the butter is all melted and you have a creamy mixture.

    How long will lemon curd keep?

    It will keep in a sealed container in the refrigerator for a little over a week. If you find you need to use up your lemon curd it is great on toast, pancakes or waffles. It's also a great filling for thumbprint cookies.

    Can I freeze lemon curd?

    Yes! You can freeze gluten free lemon curd for up to one year in a freezer safe container. When you want to thaw it remove it from the freezer and place in your refrigerator to thaw.

    Crispy Garlic and Rosemary Smashed Potatoes

    These Crispy Garlic and Rosemary Smashed Potatoes are a simple yet irresistible way to turn everyday potatoes into a standout side dish. Baked in the oven until golden and crisp, this smashed potatoes recipe delivers the perfect balance of crunchy edges and tender centers, infused with classic garlic rosemary flavor.

    They're easy to make and feel elevated enough for special meals while still fitting into a busy weeknight routine.

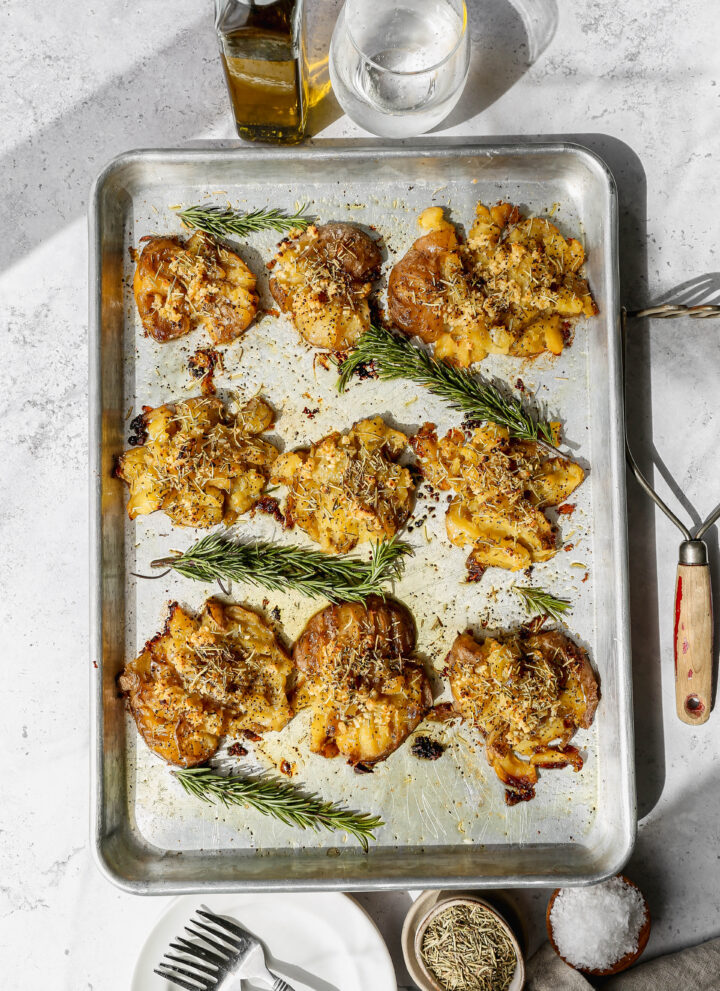
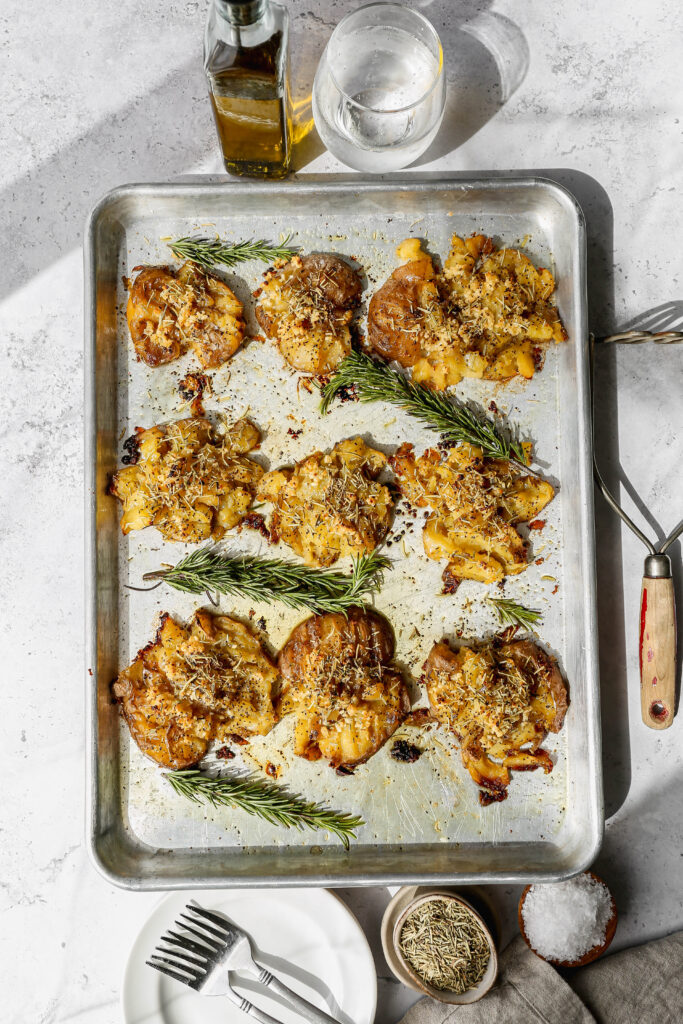
    a silver baking sheet of crispy garlic and rosemary smashed potatoes next to a bottle of olive oil and small white plates.

    Perfect alongside just about any dinner, these crispy smashed potatoes are a dependable gluten free side everyone loves. The combination of roasted potatoes with fresh rosemary and garlic creates a cozy, comforting potato dish that's both familiar and exciting.

    Whether you're looking for a perfect side dish or a new way to enjoy roasted potatoes, this recipe is one you'll come back to again and again.

    I like to cook the potatoes in my instant pot on manual for 12 minutes. I let the steam release naturally and then let them cool so I can handle them. Then, I place the potatoes on a baking sheet and smash them down with a potato masher.

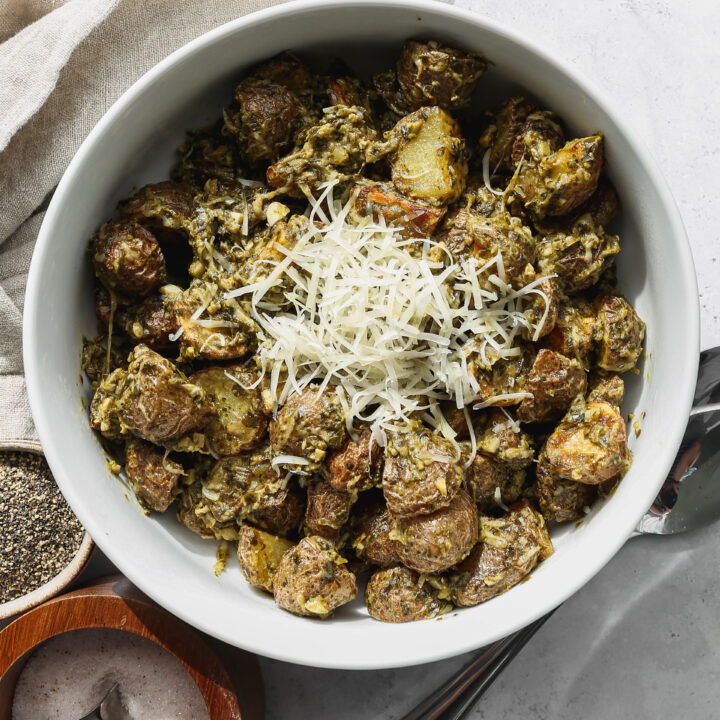
    If you are looking for more potato dishes you might also like my Oven Baked Steak and Potato Kabobs, my Air Fryer Pesto Baby Potatoes, my Gluten Free Instant Pot Baked Potato Soup or my Gluten Free Sausage, Kale and Potato Skillet.

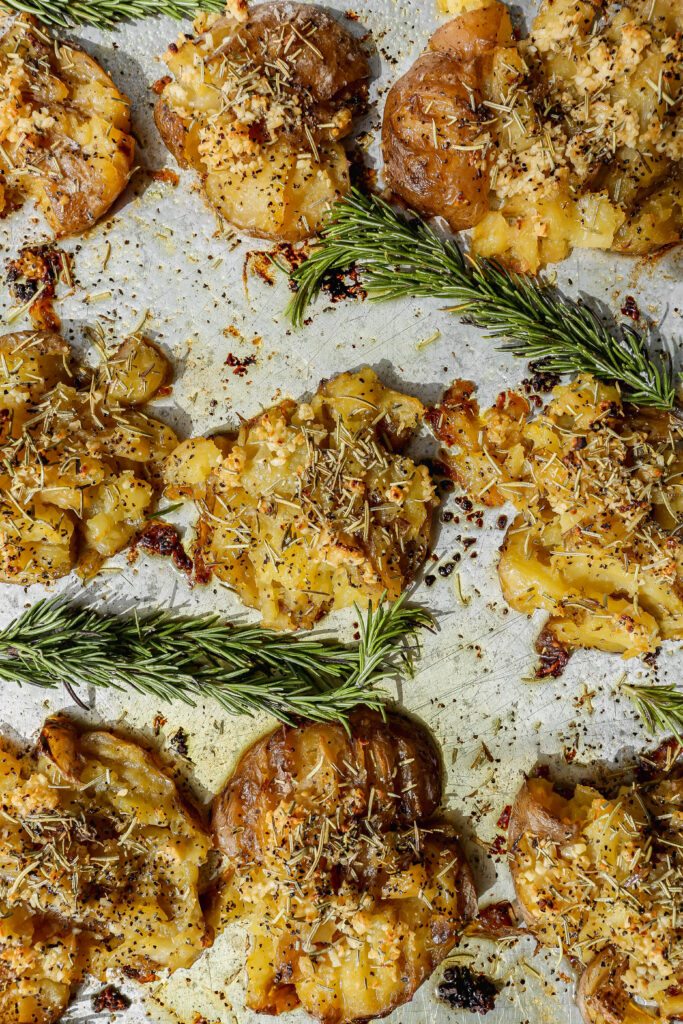
    a baking sheet of crispy garlic and rosemary smashed potatoes with fresh sprigs of garlic.
    [feast_advanced_jump_to]

    Ingredients

    • Potatoes
    • Unsalted Butter
    • Minced Garlic
    • Dried Rosemary
    • Sea Salt
    • Coarse Ground Black Pepper
    • Olive Oil

    Instructions

    Wash your potatoes in cold water.

    Place the rack in your instant pot, pour 1 cup water into the bottom of the pot and place the potatoes inside. Seal the lid, making sure the steam valve is closed. On the manual setting cook the potatoes for 12 minutes. Let the steam release naturally and then take the lid off the instant pot and let the potatoes cool slightly.

    If you don't have an instant pot boil the potatoes in a large pot on your stove top until they are tender. You can test them with a fork or knife to make sure they are cooked all the way through.

    Preheat your oven to 350 degrees.

    Once your potatoes are cool enough to work with place them on a baking sheet. Using a potato masher or fork smash the potatoes until they are approximately ¼ inch thick. 

    Place small pieces of butter on each potato. This is for flavor and not meant to grease the pan.

    Divide the garlic, rosemary, salt and pepper between all the potatoes.

    Pour the olive oil between the potatoes so they don't stick to the pan.

    Place your baking sheet in your oven at 350 degrees for 40 minutes.

    After 40 minutes change your oven setting to high broil. Watch the potatoes closely as they will get brown and get crispy quickly! Take the potatoes out when they have reached your desired crispiness. I like mine a dark golden brown on top.

    If the potatoes seem a little dry mist or pour a little more olive oil over top of them. 

    I like to serve these smashed potatoes while they are still hot.

    Supplies

    More Recipes You Might Enjoy

    • Oven Baked Steak and Potato Kabobs
    • Air Fryer Pesto Baby Potatoes
    • Gluten Free Instant Pot Baked Potato Soup
    • Sheet Pan Mini Meatloaves and Sweet Potatoes

    I get a lot of my ingredients from Thrive Market. Thrive Market has been a game changer for me eating gluten free. They have so many options I can't get at my rural grocery stores! Use this link to get 40% off your first order!

    Print
    clock clock iconcutlery cutlery iconflag flag iconfolder folder iconinstagram instagram iconpinterest pinterest iconfacebook facebook iconprint print iconsquares squares iconheart heart iconheart solid heart solid icon

    Crispy Garlic and Rosemary Smashed Potatoes


    5 Stars 4 Stars 3 Stars 2 Stars 1 Star

    4 from 1 review

    • Author: Elaine VanVleck
    • Total Time: 1 hour 10 minutes
    • Yield: 10-12 potatoes 1x
    • Diet: Gluten Free
    Print Recipe
    Pin Recipe

    Description

    This recipe for crispy garlic and rosemary smashed potatoes is easy to make with Yukon gold, red or russet potatoes. I like to cook my potatoes in the instant pot and then bake them in the oven until they are crispy. The cooked potatoes are mashed and then roasted.


    Ingredients

    Scale
    • 10-12 Yukon, Red or Russet Potatoes
    • 4 Tbsp. Unsalted Butter
    • 4 Tbsp. Minced Garlic
    • 2 tsp. Dried Rosemary
    • ½ tsp. Sea Salt
    • ½ tsp. Coarse Ground Black Pepper
    • ¼ cup Olive Oil

    Instructions

    Wash your potatoes in cold water.

    Place the rack in your instant pot, pour 1 cup water into the bottom of the pot and place the potatoes inside. Seal the lid, making sure the steam valve is closed. On the manual setting cook the potatoes for 12 minutes. Let the steam release naturally and then take the lid off the instant pot and let the potatoes cool slightly.

    If you don't have an instant pot boil the potatoes in a large pot on your stove top until they are tender. You can test them with a fork or knife to make sure they are cooked all the way through.

    Preheat your oven to 350 degrees.

    Once your potatoes are cool enough to work with place them on a baking sheet. Using a potato masher or fork smash the potatoes until they are approximately ¼ inch thick. 

    Place small pieces of butter on each potato. This is for flavor and not meant to grease the pan.

    Divide the garlic, rosemary, salt and pepper between all the potatoes.

    Pour the olive oil between the potatoes so they don't stick to the pan.

    Place your baking sheet in your oven at 350 degrees for 40 minutes.

    After 40 minutes change your oven setting to high broil. Watch the potatoes closely as they will get brown and get crispy quickly! Take the potatoes out when they have reached your desired crispiness. I like mine a dark golden brown on top.

    If the potatoes seem a little dry mist or pour a little more olive oil over top of them. 

    I like to serve these smashed potatoes while they are still hot.

    • Prep Time: 25 minutes
    • Cook Time: 45 minutes
    • Category: Side Dish
    • Method: Baking
    • Cuisine: Gluten Free

    Did you make this recipe?

    Tag @smallfarmbiglife on Instagram and hashtag it #smallfarmbiglife

    Frequently Asked Questions

    What is the difference between smashed potatoes and mashed potatoes?

    Both smashed potatoes and mashed potatoes are made from cooked potatoes, but how they are prepared is very different. For smashed potatoes you smash them into about a ¼ inch thick patty on a baking sheet. For mashed potatoes you mash them until they are all combined together in a pot.

    The flavor of smashed potatoes is different because they are roasted in the oven after being cooked. I think it gives them a sweeter, richer flavor.

    What should I serve with smashed potatoes?

    I like to serve these smashed potatoes with roast or steaks along with green beans. They are a perfect side dish for dinner or lunch. I'm a fan of having a smashed potato on its own for lunch. They are a great carb to serve with your meat and veggies.

    Gluten Free Scotch Eggs with Honey Mustard Dipping Sauce

    This easy recipe for oven baked gluten free scotch eggs with honey mustard dipping sauce is made with boiled eggs, sausage and gluten free bread crumbs. The scotch eggs are delicious on their own, but the special sauce makes them even better. I used turkey sausage for mine, but you could also use pork sausage for a rich treat.

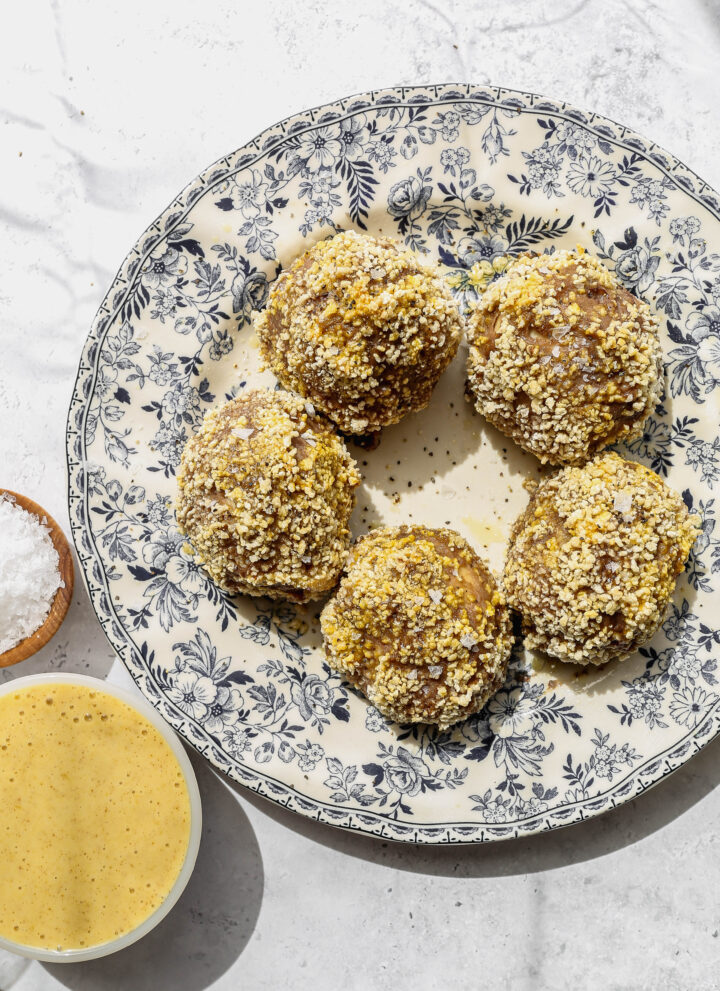
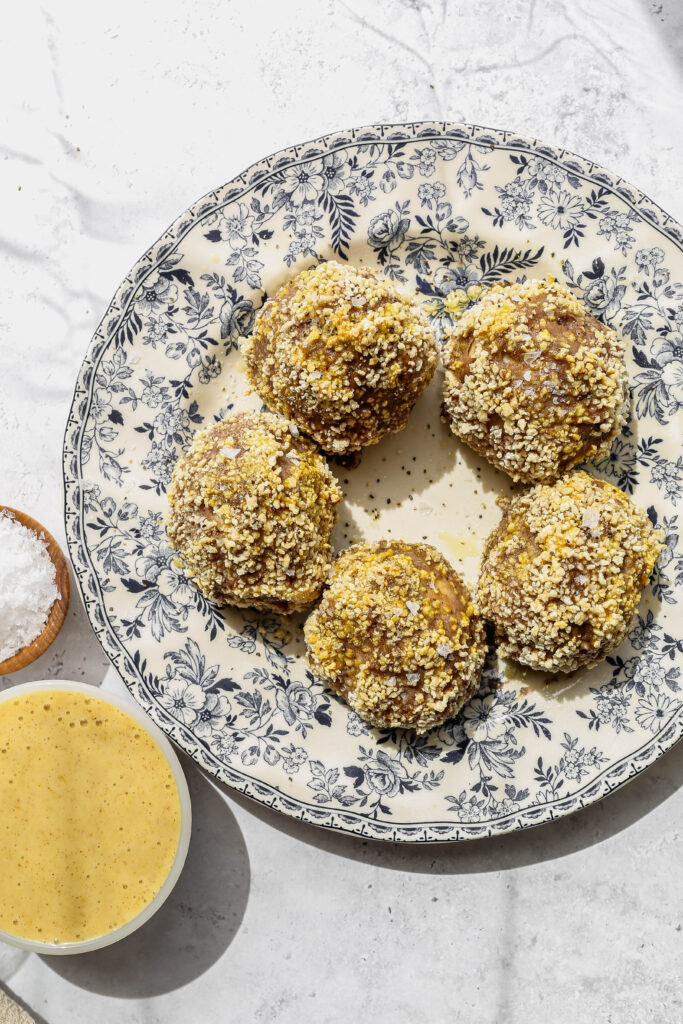
    a blue floral plate with five scotch eggs next to a small white bowl of honey mustard dipping sauce.

    For the recipe I split one pound of sausage into five equal sections. Then, I flatten the section in my hand as evenly as possible. I wrap the sausage around the boiled egg (with the shell removed) and make sure the entire outside of the egg is coated.

    Next in a small bowl I have one egg that is beaten. I roll the sausage coated egg in the beaten egg and then roll it in the gluten free bread crumbs. Place the final product on a baking sheet or in a baking dish and bake for 30 to 35 minutes. The outside will be browned and the sausage will be completely cooked when the scotch egg is done.

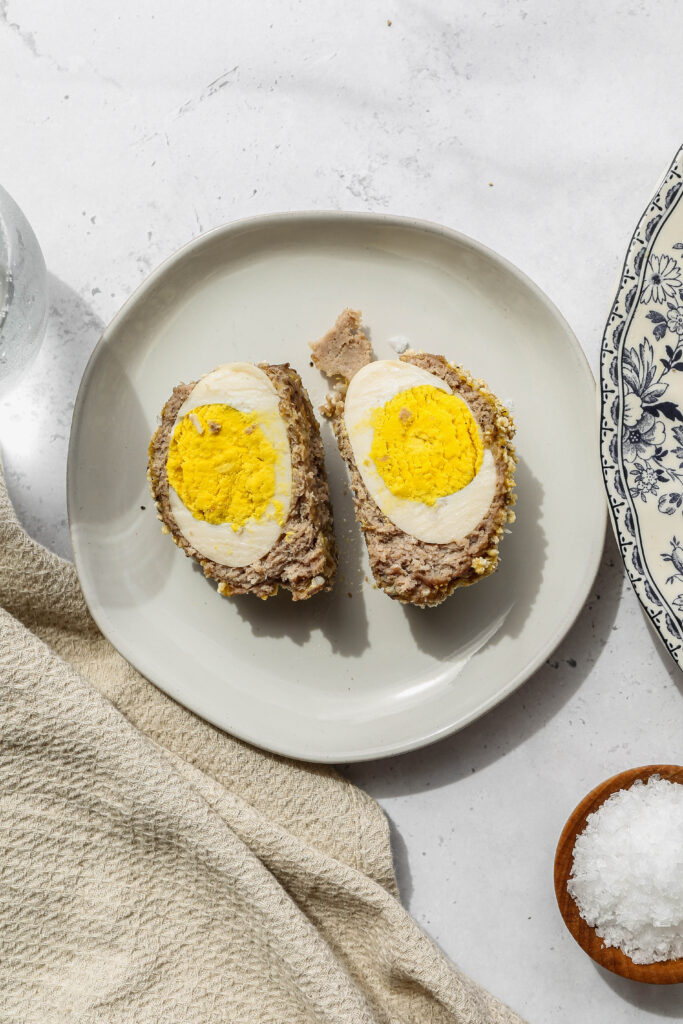
    a white plate with a gluten free scotch egg cut in half next to a small white bowl of honey mustard dipping sauce.
    [feast_advanced_jump_to]

    Ingredients

    • Turkey Sausage or Pork Sausage
    • Eggs
    • Gluten Free Bread Crumbs
    • Sea Salt
    • Coarse Ground Black Pepper
    • Mayonnaise
    • Spicy Brown Mustard
    • Honey

    Instructions

    Preheat your oven to 400 degrees.

    In a small bowl mix the gluten free bread crumbs, salt and pepper.

    In another small bowl lightly beat the egg for rolling the scotch eggs in.

    Divide the pound of ground sausage into five portions. Take a portion and flatten it out evenly in your hand. Wrap the sausage patty around the egg until the entire surface of the egg is covered.

    Roll the sausage wrapped egg in the beaten and egg and then the crumb mixture. Place on a baking sheet. Repeat this step four more times. Be sure to leave room between each egg so they cook evenly.

    Bake the scotch eggs at 400 degrees for 30 minutes. The eggs will be browned and the juice around them will be clear or slightly browned when they are done.

    While the scotch eggs are baking make the honey mustard dipping sauce. In a bowl or jar add the mayonnaise, mustard and honey. Using a whisk or immersion blender blend the ingredients together until smooth and combined. Store in a sealed container in the refrigerator.

    Let the scotch eggs cool slightly and then remove them from the baking sheet with a turner.

    Serve them immediately warm with the dipping sauce or refrigerate them for at least 2 hours and serve cold with the dipping sauce.

    Supplies

    More Recipes You Might Enjoy

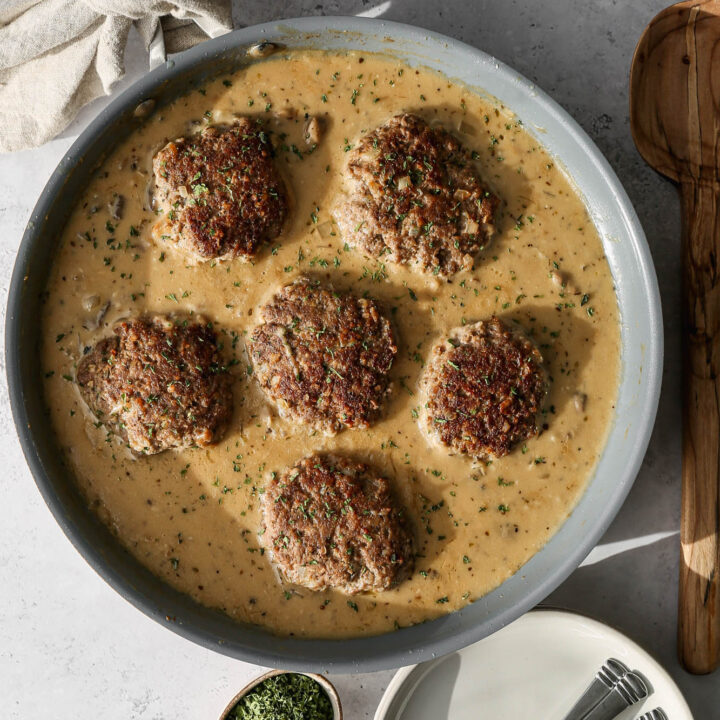
    • Gluten Free Salisbury Steak with Mushroom Gravy
    • Gluten Free Tater Tot Breakfast Casserole
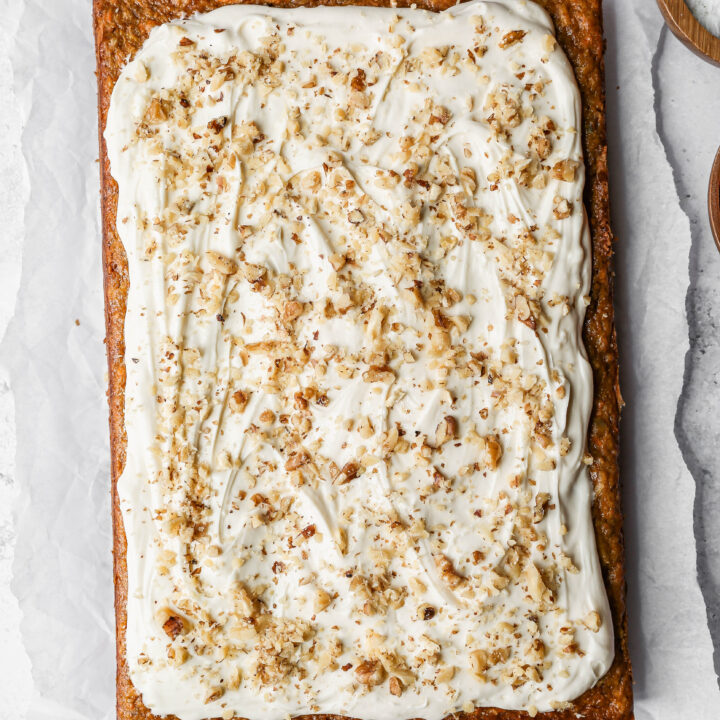
    • Gluten Free Carrot Sheet Cake with Cream Cheese Frosting
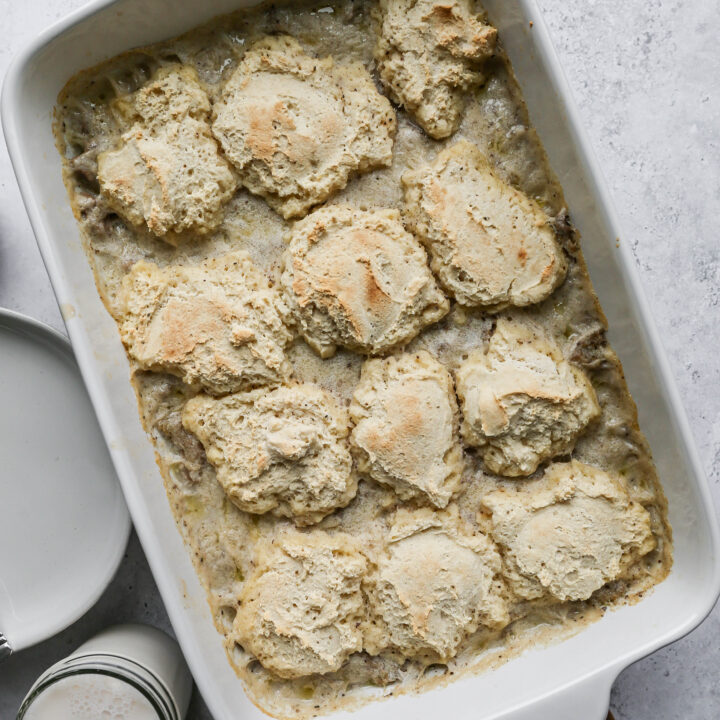
    • Gluten Free Biscuits and Gravy Casserole

    I get a lot of my ingredients from Thrive Market. Thrive Market has been a game changer for me eating gluten free. They have so many options I can't get at my rural grocery stores! Use this link to get 40% off your first order!

    Print
    clock clock iconcutlery cutlery iconflag flag iconfolder folder iconinstagram instagram iconpinterest pinterest iconfacebook facebook iconprint print iconsquares squares iconheart heart iconheart solid heart solid icon

    Gluten Free Scotch Eggs with Honey Mustard Dipping Sauce


    5 Stars 4 Stars 3 Stars 2 Stars 1 Star

    No reviews

    • Author: Elaine VanVleck
    • Total Time: 40 minutes
    • Yield: 5 servings 1x
    • Diet: Gluten Free
    Print Recipe
    Pin Recipe

    Description

    This easy recipe for oven baked gluten free scotch eggs with honey mustard dipping sauce is made with boiled eggs, sausage and gluten free bread crumbs. The scotch eggs are delicious on their own, but the special sauce makes them even better. I used turkey sausage for mine, but you could also use pork sausage for a rich treat.


    Ingredients

    Scale
    • 1 pound Ground Turkey Sausage or Pork Sausage
    • 5 Eggs, hard boiled and peeled
    • 1 large Egg, beaten
    • ¾ cup Gluten Free Bread Crumbs
    • ½ tsp. Sea Salt
    • ¼ tsp. Coarse Ground Black Pepper

    Dipping Sauce:

    • 1 cup Mayonnaise
    • ½ cup Spicy Brown Mustard
    • ¼ cup Honey

    Instructions

    Preheat your oven to 400 degrees.

    In a small bowl mix the gluten free bread crumbs, salt and pepper.

    In another small bowl lightly beat the egg for rolling the scotch eggs in.

    Divide the pound of ground sausage into five portions. Take a portion and flatten it out evenly in your hand. Wrap the sausage patty around the egg until the entire surface of the egg is covered.

    Roll the sausage wrapped egg in the beaten and egg and then the crumb mixture. Place on a baking sheet. Repeat this step four more times. Be sure to leave room between each egg so they cook evenly.

    Bake the scotch eggs at 400 degrees for 30 minutes. The eggs will be browned and the juice around them will be clear or slightly browned when they are done.

    While the scotch eggs are baking make the honey mustard dipping sauce. In a bowl or jar add the mayonnaise, mustard and honey. Using a whisk or immersion blender blend the ingredients together until smooth and combined. Store in a sealed container in the refrigerator.

    Let the scotch eggs cool slightly and then remove them from the baking sheet with a turner.

    Serve them immediately warm with the dipping sauce or refrigerate them for at least 2 hours and serve cold with the dipping sauce.

    Notes

    I like to save my mayonnaise jars for making sauces and dressings in. They work perfectly with an immersion blender and then one container can go directly into the fridge. I love less mess!

    • Prep Time: 10 minutes
    • Cook Time: 30 minutes
    • Category: Snack
    • Method: Baking
    • Cuisine: Gluten Free

    Did you make this recipe?

    Tag @smallfarmbiglife on Instagram and hashtag it #smallfarmbiglife

    Didn't find the answer you're looking for?

    Ask AI to answer based on this recipe:

    ChatGPT
    Google AI
    Perplexity
    Grok
    Claude

    Frequently Asked Questions

    Why is a Scotch egg called a Scotch egg?

    Mincing meat is also known as scotching. This recipe is made of eggs coated in minced or scotched meat, rolled in egg and then gluten free bread crumbs. Traditionally the recipe uses pork sausage, but I used turkey sausage for mine.

    Do I eat my scotch eggs hot or cold?

    This is really based on personal preference. I love to eat these gluten free scotch eggs hot, but traditionally scotch eggs are picnic or pub food and are served cold. I like to eat one warm right after I make them and then wrap the rest in tinfoil and have them cold the next day for breakfast.

    Gluten Free Iced Lemon Cookies

    These Gluten Free Iced Lemon Cookies are one of my absolute favorite recipes on this site and I think once you make them you are going to completely understand why. They are soft, tender, and melt in your mouth in the most incredible way and the lemon flavor is bright and real thanks to both lemon extract and fresh lemon zest in the dough.

    The sweet drizzled lemon glaze on top makes them look so beautiful and nobody ever believes they are completely gluten free.

    a gold wire basket lined with parchment paper of gluten free iced lemon cookies next to a bowl of lemons and a mug of hot tea.

    The best part about this recipe is how simple it is to pull together. The dough comes together quickly in a stand mixer, the cookies bake in just 15 minutes, and once they cool you drizzle the glaze over the top and let it set. That is it.

    They are perfect for Easter and Mother's Day, beautiful on a spring dessert table, wonderful for gifting, and honestly just as good with a cup of tea on a random Tuesday afternoon.

    This is one of those recipes you are going to keep coming back to all season long.

    If you are looking for more delicious gluten free cookie recipes try my Gluten Free Old Fashioned Iced Oatmeal Cookies, my Gluten Free Ginger Cookies, my Gluten Free Double Chocolate Chip Cookies or my Gluten Free Monster Cookies.

    You can find all of my cookie recipes here: Gluten Free Cookie Recipes

    a gold wire basket lined in parchment paper of gluten free iced lemon cookies next to some forsythia blooms, mugs of tea and a bowl of lemons.
    [feast_advanced_jump_to]

    Ingredients

    • Granulated Sugar
    • Unsalted Butter
    • Sour Cream
    • Lemon Extract
    • Lemon Zest
    • Eggs
    • Gluten Free Flour
    • Baking Powder
    • Baking Soda
    • Sea Salt
    • Powdered Sugar
    • Milk

    Instructions

    Preheat your oven to 350 degrees. Link three baking sheets with parchment paper and set aside.

    In a mixing bowl whisk together the gluten free flour, baking powder, baking soda and salt. Set aside.

    In the bowl of your stand mixer beat the granulated sugar and butter 2-3 minutes until combined and fluffy. Add the sour cream, lemon extract, lemon zest and eggs. Beat to combine ingredients.

    Add the dry ingredients to the wet ingredients and beat just until they are mixed together.

    Using a cookie scoop or tablespoon portion out the dough and place twelve cookies on each baking sheet leaving room for them to spread when baked.

    Bake at 350 degrees for 15 minutes or until light golden brown on the bottom.

    Let cool slightly before moving to cooling racks to finish cooling.

    When the cookies are completely cool mix together the icing. Place the powdered sugar, lemon extract and milk in a bowl and whisk together until a smooth icing forms. Drizzle the icing over the cookies.

    Let the icing dry completely and then move the cookies to a sealed container for up to a week.

    Supplies

    More Recipes You Might Enjoy

    • Gluten Free Lemon Curd
    • Gluten Free No Bake Lemon Icebox Pie
    • Gluten Free Lemon Bundt Cake with Lemon Glaze
    • Gluten Free Lemon Shortbread Bars

    I get a lot of my ingredients from Thrive Market. Thrive Market has been a game changer for me eating gluten free. They have so many options I can't get at my rural grocery stores! Use this link to get 40% off your first order!

    Print
    clock clock iconcutlery cutlery iconflag flag iconfolder folder iconinstagram instagram iconpinterest pinterest iconfacebook facebook iconprint print iconsquares squares iconheart heart iconheart solid heart solid icon

    Gluten Free Iced Lemon Cookies


    5 Stars 4 Stars 3 Stars 2 Stars 1 Star

    No reviews

    • Author: Elaine VanVleck
    • Total Time: 30 minutes
    • Yield: 38 cookies 1x
    • Diet: Gluten Free
    Print Recipe
    Pin Recipe

    Description

    These Gluten Free Iced Lemon Cookies are soft, tender, and melt in your mouth with the most incredible bright lemon flavor from real lemon extract and fresh lemon zest. Made from scratch in just 30 minutes and finished with a sweet drizzled homemade lemon glaze they are the perfect gluten free citrus cookie for Easter, Mother's Day, spring gatherings, and every lemon lover in your life. This is the easy gluten free cookie recipe you are going to make on repeat all spring and summer long!


    Ingredients

    Scale
    • 1 cup Granulated Sugar
    • 1 cup Unsalted Butter, at room temperature
    • ½ cup Sour Cream
    • 1 tsp. Lemon Extract
    • 2 tsp. Lemon Zest
    • 2 large Eggs
    • 2 ½ cups Gluten Free Flour
    • 2 tsp. Baking Powder
    • 1 tsp. Baking Soda
    • ½ tsp. Sea Salt

    Icing:

    • 2 cups Powdered Sugar
    • ½ tsp. Lemon Extract
    • 2-3 Tbsp. Milk

    Instructions

    Preheat your oven to 350 degrees. Link three baking sheets with parchment paper and set aside.

    In a mixing bowl whisk together the gluten free flour, baking powder, baking soda and salt. Set aside.

    In the bowl of your stand mixer beat the granulated sugar and butter 2-3 minutes until combined and fluffy. Add the sour cream, lemon extract, lemon zest and eggs. Beat to combine ingredients.

    Add the dry ingredients to the wet ingredients and beat just until they are mixed together.

    Using a cookie scoop or tablespoon portion out the dough and place twelve cookies on each baking sheet leaving room for them to spread when baked.

    Bake at 350 degrees for 15 minutes or until light golden brown on the bottom.

    Let cool slightly before moving to cooling racks to finish cooling.

    When the cookies are completely cool mix together the icing. Place the powdered sugar, lemon extract and milk in a bowl and whisk together until a smooth icing forms. Drizzle the icing over the cookies.

    Let the icing dry completely and then move the cookies to a sealed container for up to a week.

    • Prep Time: 15 minutes
    • Cook Time: 15 minutes
    • Category: Cookies
    • Method: Baking
    • Cuisine: American

    Did you make this recipe?

    Tag @smallfarmbiglife on Instagram and hashtag it #smallfarmbiglife

    If you made these Gluten Free Iced Lemon Cookies I would love to hear what you thought! Please leave a star rating and a comment below. This is one of my favorite gluten free cookie recipes and I hope it becomes one of yours too!

    Storage

    Store these gluten free iced lemon cookies in a sealed container at room temperature for up to one week. Do not store them in the refrigerator as this changes their texture and can make them hard and dry. If you want to keep them longer place the cookies in a freezer safe container and freeze for up to one month. Let them thaw at room temperature before serving. I recommend letting the lemon glaze dry completely before stacking or storing the cookies so they do not stick together.

    Top Tip

    Make sure your butter is completely at room temperature before you begin. Cold butter will not cream properly with the sugar and you will end up with a denser less tender cookie. I take my butter out of the refrigerator at least an hour before I start baking. Room temperature butter creamed until fluffy with the sugar is the key to getting that perfect soft and melt in your mouth texture in every single cookie.

    Didn't find the answer you're looking for?

    Ask AI to answer based on this recipe:

    ChatGPT
    Google AI
    Perplexity
    Grok
    Claude

    Frequently Asked Questions

    How should I store gluten free cookies?

    I like to store my gluten free cookies in a sealed container on our countertop. If they aren't going to get eaten before they expire I freeze them. You can place the cookies in the fridge, but this changes their texture and can make them hard.
     
    If you are going to freeze the cookies, place them in a freezer safe container and store for up to a month in the freezer.

    Do gluten free cookies take longer to bake?

    Yes, gluten free cookies do tend to take longer to bake than cookies made with a wheat flour. The outside of the cookie will be browned, but they may not be cooked through in the center.
     
    If you are having this issue you can lower the oven temperature and bake the cookies a bit longer. I also only bake one baking sheet at a time of gluten free cookies. They need to be evenly heated to cook correctly.

    Gluten Free Lemon Bundt Cake with Lemon Glaze

    This Gluten Free Lemon Bundt Cake with Lemon Glaze is one of those recipes that looks like it took a lot of effort but comes together so easily and the result is absolutely stunning. The combination of fresh lemon juice and lemon zest gives this cake the most beautiful bright citrus flavor and the sour cream keeps it incredibly moist.

    a gluten free lemon bundt cake with lemon glaze on a yellow glass plate next to a sliced lemon and a white colander of lemons.

    There's nothing gritty or dry like so many gluten free cakes can be. I love serving this slightly warm with the glaze drizzled over the top right before it hits the table. It is the perfect spring and Easter dessert and honestly one of my favorite gluten free cakes in my entire collection.

    If you are looking for more lemon recipes try my Gluten Free Iced Lemon Cookies, my Gluten Free Lemon Shortbread Bars, my Gluten Free Lemon Curd or my Gluten Free No Bake Lemon Icebox Pie.

    You can find all of my cake recipes here: Gluten Free Cake Recipes

    a slice of gluten free lemon bundt cake with lemon glaze on a white plate next to a sliced lemon.
    [feast_advanced_jump_to]

    Ingredients

    • Unsalted Butter
    • Granulated Sugar
    • Eggs
    • Lemon Juice
    • Milk
    • Sour Cream
    • Lemon Zest
    • Gluten Free Flour
    • Baking Powder
    • Baking Soda
    • Sea Salt
    • Powdered Sugar
    • Lemon Extract

    Instructions

    Preheat oven to 350 degrees. Grease a bundt cake pan with coconut oil or butter. Set aside.

    In the bowl of your stand mixer beat the softened unsalted butter with the sugar until creamed together. Add the eggs one at a time beating until mixed together. Add the sour cream, lemon juice, milk and lemon zest. Beat until blended into the batter.

    In a mixing bowl whisk together the gluten free flour, baking powder, baking soda and salt. Add this dry mixture ½ cup at a time to the wet ingredients. Mix until all ingredients are just combined. 

    Pour batter evenly in the greased bundt pan and tap a couple of times on the counter to get air bubbles out.

    Bake at 350 degrees for 45-50 minutes or until a toothpick inserted in the center comes out clean.

    Let cake cool for 10 minutes in the pan and then invert onto a cooling rack.

    In a small bowl whisk together the powdered sugar, lemon extract, and 1 tablespoon of milk until smooth. Add the second tablespoon of milk only if needed to reach a pourable consistency. Pour over the completely cooled cake right before serving.

    Supplies

    More Recipes You Might Enjoy

    • Gluten Free Orange Bundt Cake
    • Gluten Free Eggnog Bundt Cake
    • Gluten Free Hummingbird Bundt Cake
    • Gluten Free Double Chocolate Bundt Cake

    I get a lot of my ingredients from Thrive Market. Thrive Market has been a game changer for me eating gluten free. They have so many options I can't get at my rural grocery stores! Use this link to get 40% off your first order!

    Print
    clock clock iconcutlery cutlery iconflag flag iconfolder folder iconinstagram instagram iconpinterest pinterest iconfacebook facebook iconprint print iconsquares squares iconheart heart iconheart solid heart solid icon

    Gluten Free Lemon Bundt Cake with Lemon Glaze Recipe


    5 Stars 4 Stars 3 Stars 2 Stars 1 Star

    No reviews

    • Author: Elaine VanVleck
    • Total Time: 1 hour
    • Yield: 10 servings 1x
    • Diet: Gluten Free
    Print Recipe
    Pin Recipe

    Description

    This gluten free lemon bundt cake with lemon glaze is moist, bright, and bursting with fresh lemon flavor in every single bite. Made with real lemon juice, lemon zest, and sour cream for incredible moisture, this is the easiest and most delicious gluten free lemon cake you will ever bake. Finished with a simple homemade lemon glaze it is the perfect spring dessert for Easter, Mother's Day, brunch gatherings, and any occasion where you want to serve something beautiful and impressive without spending hours in the kitchen!


    Ingredients

    Scale

    Cake:

    • ¾ cup Unsalted Butter, at room temperature
    • 1 cup Granulated Sugar
    • 3 large Eggs
    • ⅓ cup Lemon Juice
    • 1 cup Sour Cream
    • ½ cup Milk
    • 2 Tbsp. Lemon Zest
    • 3 cups Gluten Free Flour
    • 2 tsp. Baking Powder
    • 1 tsp. Baking Soda
    • ½ tsp. Sea Salt

    Glaze:

    • 1 cup Powdered Sugar
    • 1 tsp. Lemon Extract
    • 1-2 Tbsp. Milk

    Instructions

    Preheat oven to 350 degrees. Grease a bundt cake pan with coconut oil or butter. Set aside.

    In the bowl of your stand mixer beat the softened unsalted butter with the sugar until creamed together. Add the eggs one at a time beating until mixed together. Add the sour cream, lemon juice, milk and lemon zest. Beat until blended into the batter.

    In a mixing bowl whisk together the gluten free flour, baking powder, baking soda and salt. Add this dry mixture ½ cup at a time to the wet ingredients. Mix until all ingredients are just combined. 

    Pour batter evenly in the greased bundt pan and tap a couple of times on the counter to get air bubbles out.

    Bake at 350 degrees for 45-50 minutes or until a toothpick inserted in the center comes out clean.

    Let cake cool for 10 minutes in the pan and then invert onto a cooling rack.

    In a small bowl whisk together the powdered sugar, lemon extract, and 1 tablespoon of milk until smooth. Add the second tablespoon of milk only if needed to reach a pourable consistency. Pour over the completely cooled cake right before serving.

    • Prep Time: 15 minutes
    • Cook Time: 45 minutes
    • Category: Cake
    • Method: Baking
    • Cuisine: American

    Did you make this recipe?

    Tag @smallfarmbiglife on Instagram and hashtag it #smallfarmbiglife

    Top Tip

    Make sure your butter is truly at room temperature before you begin. Cold butter will not cream properly with the sugar and you will end up with a denser, less fluffy cake. I take my butter out of the refrigerator at least an hour before I start baking. Room temperature butter is the single most important step for getting a light and moist bundt cake every time.

    Didn't find the answer you're looking for?

    Ask AI to answer based on this recipe:

    ChatGPT
    Google AI
    Perplexity
    Grok
    Claude

    Frequently Asked Questions

    What is the difference between a cake and a bundt cake?

    There really isn't that much difference in the cake batter itself. The bundt cake recipe may call for a bit more moisture and/or baking powder as the cake is going to rise higher than a regular layer cake or sheet cake.
     
    The main difference you might find is that a bundt cake tends to have a crunchier texture on the top. I also love the ease of a bundt cake. The cake gets baked in one pan and then I either drizzle it with a glaze or sprinkle powdered sugar over the top. So much easier than frosting a layer cake!

    How do I make my gluten free cakes more moist?

    Gluten free baking tends to require more moisture or oil than when you are using regular wheat flour. For this gluten free lemon bundt cake recipe I added the sour cream to make it moist and delicious.

    If you are using a cake recipe that isn't turning out moist I would suggest adding a bit more oil or butter. You can also add mashed banana or applesauce to help your baked goods have more moisture.

    Storage

    Store this gluten free lemon bundt cake covered at room temperature for up to 3 days. If you have already added the glaze store it loosely covered so the glaze does not stick. For longer storage wrap the cake tightly and refrigerate for up to 5 days. I recommend adding the glaze fresh right before serving rather than storing the cake with glaze on it for the best presentation.

    If you made this gluten free lemon bundt cake I would love to hear what you thought! Please leave a star rating and a comment below. This is one of my favorite spring desserts and I hope it becomes one of yours too!

    • « Previous Page
    • 1
    • …
    • 18
    • 19
    • 20
    • 21
    • 22
    • …
    • 30
    • Next Page »

    Welcome! I'm Elaine

    I'm so glad you are here! I share easy gluten free recipes from my small farm in Washington.

    Be sure to sign up for my newsletter to stay up to date on all of my new recipes.

    More about me...
    • Instagram
    • Pinterest
    • Facebook
    • Twitter
    • Mail

    Load up on new recipes, exclusive goodies, + more!
    Sign up below to stay up-to-date on news, events, and special deals.
    Thank you for subscribing!

    Easy Meals Recipes

    • Gluten Free Instant Pot Chili Mac and Cheese
    • Gluten Free Taco Casserole
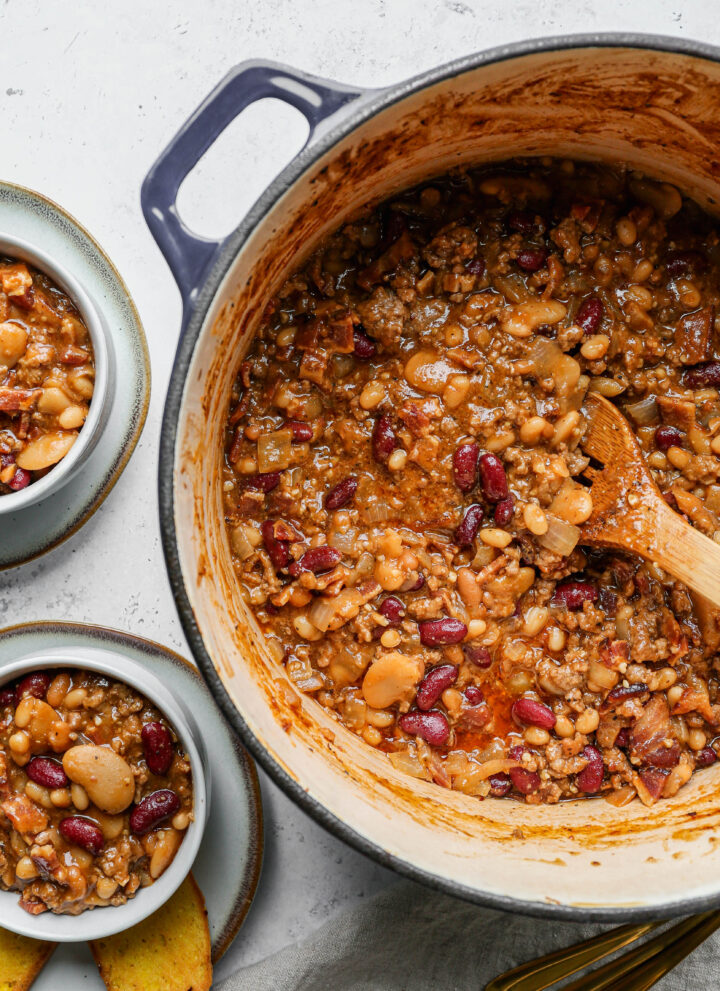
    • Gluten Free Cowboy Baked Beans
    • Gluten Free Walking Taco Casserole
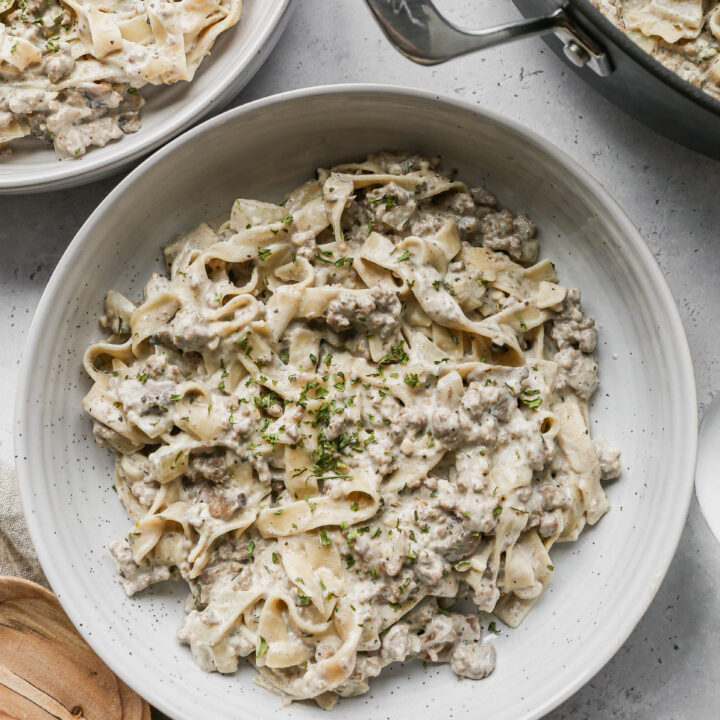
    • Gluten Free Creamy Beef and Mushroom Pasta
    • Gluten Free Instant Pot Chicken and Dumplings
    • Instant Pot Mexican Style Beef and Rice
    • Gluten Free Chicken Parmesan Pasta Casserole
    • Gluten Free One Pot Hamburger Helper Copycat
    • Gluten Free Salisbury Steak with Mushroom Gravy
    • Gluten Free Air Fryer Fajitas
    • Gluten Free Sloppy Joe Casserole

    Footer

    back to top

    About

    • Privacy Policy
    • Shop my Amazon Page
    • Follow me on LTK

    Newsletter

    • Sign Up! for emails and updates

    Contact

    • Contact
    • Media Kit
    • About Me

    As an Amazon Associate I earn from qualifying purchases.

    I may get commissions for purchases made through links on this site.

    Copyright © 2026 Brunch Pro on the Brunch Pro Theme