Small Farm Big Life

  • Gluten Free Recipe Index
  • Subscribe
  • Resources
menu icon
go to homepage
  • Home
  • Gluten Free Recipe Index
  • Subscribe
  • My Story
  • Resources
  • Free Guides
    • Email
    • Facebook
    • Instagram
    • Pinterest
  • subscribe
    search icon
    Homepage link
    • Home
    • Gluten Free Recipe Index
    • Subscribe
    • My Story
    • Resources
    • Free Guides
    • Email
    • Facebook
    • Instagram
    • Pinterest
  • ×

    Gluten Free No Bake Lemon Icebox Pie

    This easy recipe for gluten free no bake icebox pie is the perfect summer dessert! It's an old fashioned recipe with condensed milk, cream cheese and a gingersnap cookie crust. This no bake lemonade icebox pie is creamy and a classic recipe for hot days.

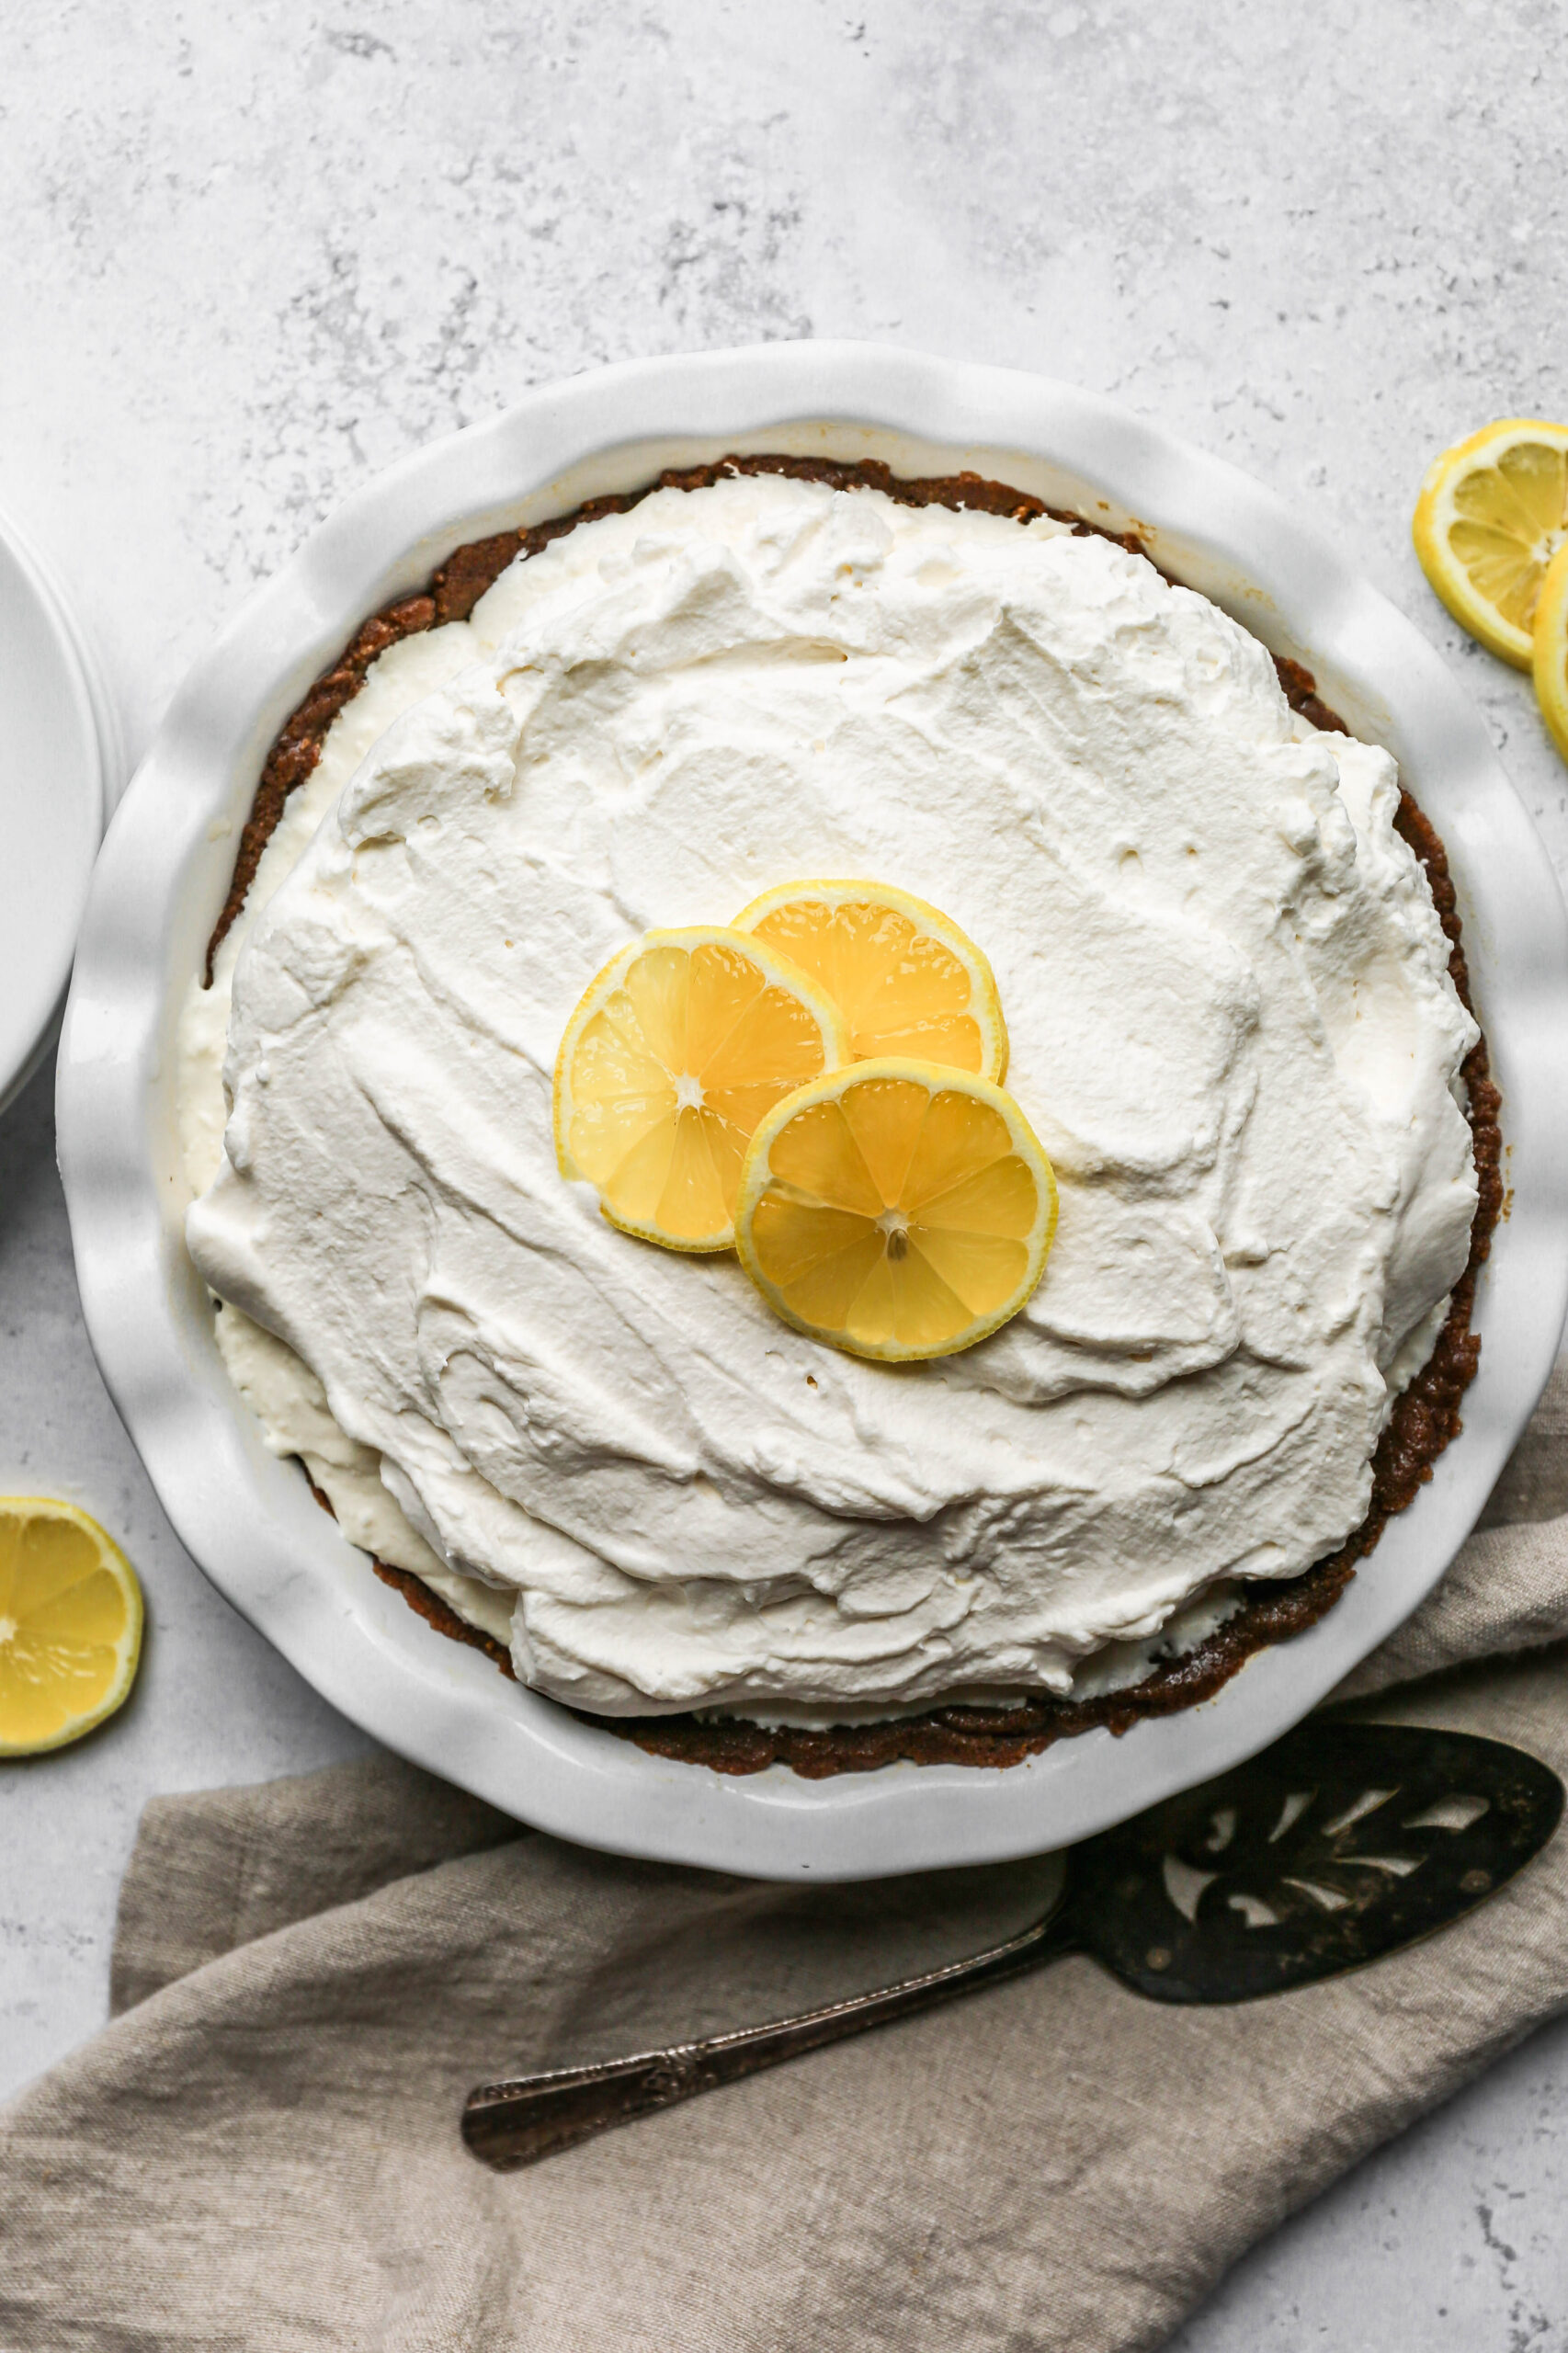
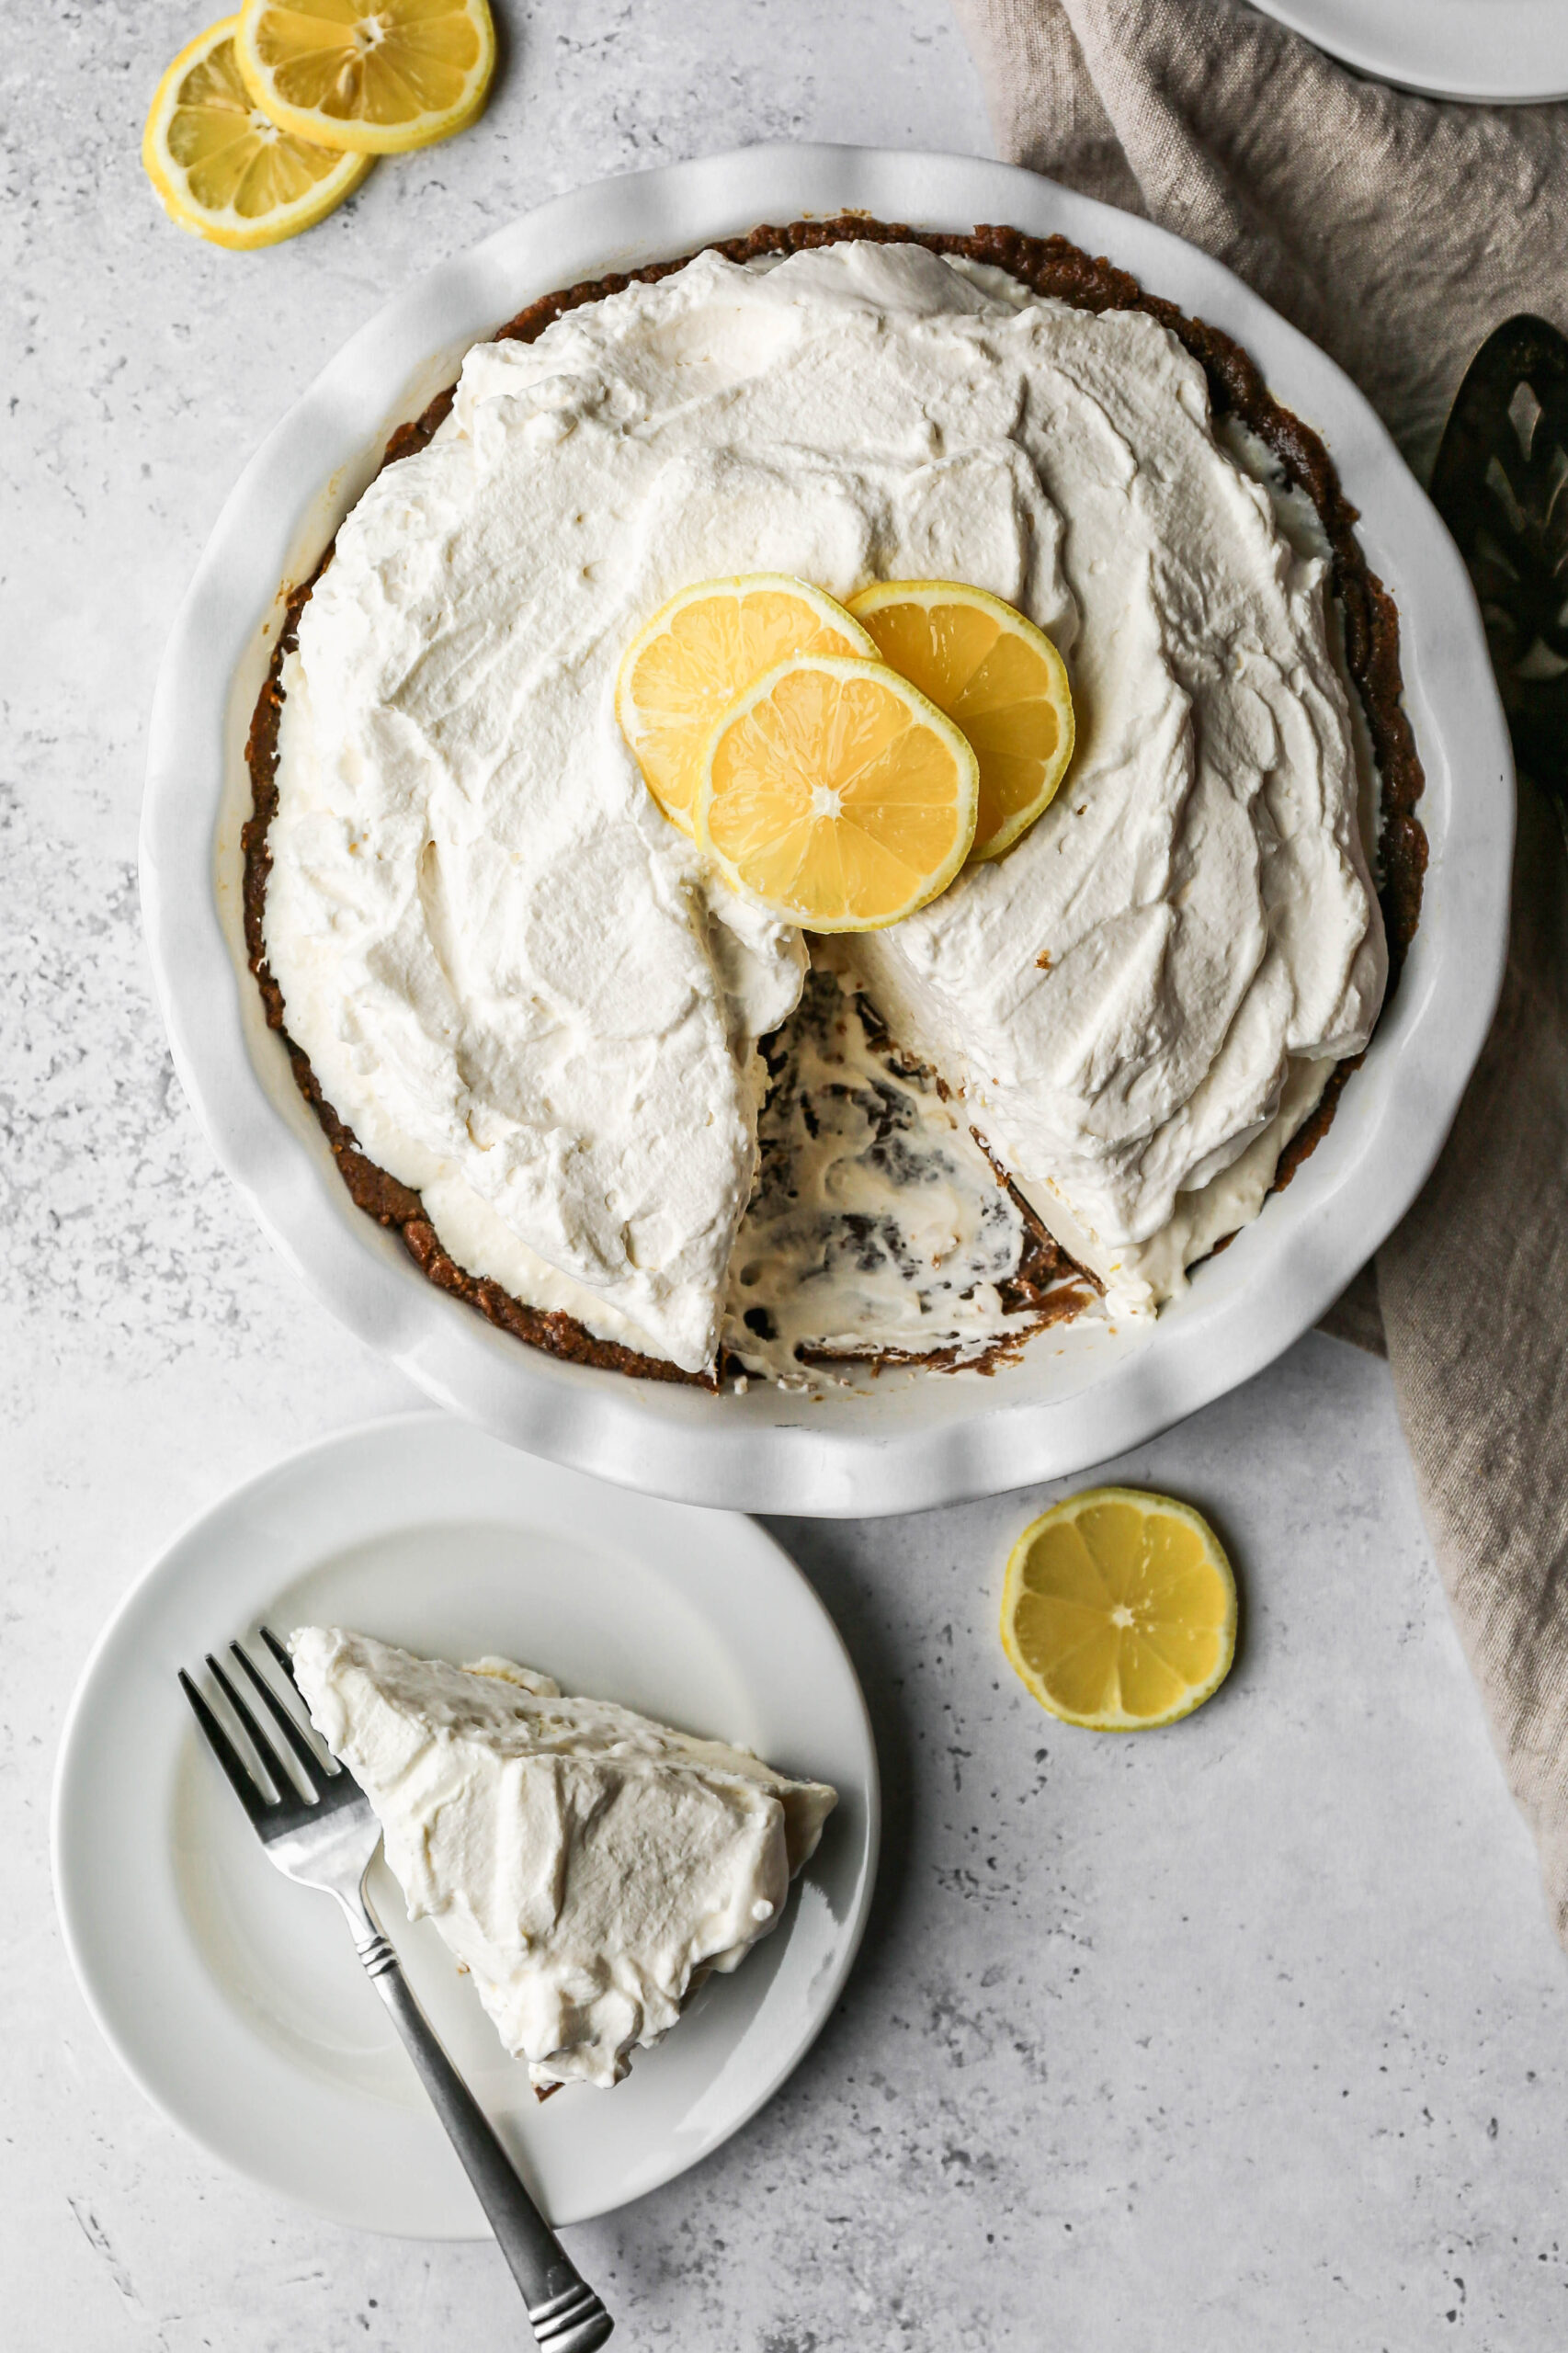
    a white pie plate of gluten free no bake lemon icebox pie next to lemon slices.

    This Gluten Free No Bake Lemon Icebox Pie is a cool, creamy dessert that delivers bright citrus flavor in every bite.

    Perfect for warm weather, this refreshing dessert is a modern twist on the Old Fashioned No Bake Lemon Icebox Pie, making it ideal for summer gatherings, picnics, or anytime you need a quick, no fuss treat.

    Its smooth, lemony filling and chilled texture create a satisfying contrast that's both light and indulgent. It's everything you want in a classic Lemon Dessert Recipe!

    If you are looking for more cold treats to serve on hot days try my Gluten Free Strawberry Icebox Bars, my Gluten Free No Bake S'mores Pie, my Gluten Free No Bake Key Lime Pie, or my Homemade Strawberry Banana Popsicles.

    You can find all of my dessert recipes here: Gluten Free Dessert Recipes

    a white pie plate of gluten free no bake lemon icebox pie next to a slice on a white plate.
    [feast_advanced_jump_to]

    Ingredients

    • Gluten Free Gingersnap Cookies Recipe or Gluten Free Gingersnap Cookies
    • Unsalted Butter
    • Sea Salt
    • Cream Cheese
    • Sweetened Condensed Milk
    • Lemon Juice
    • Lemon Zest
    • Vanilla Extract
    • Unflavored Gelatin
    • Water
    • Heavy Whipping Cream
    • Powdered Sugar

    Instructions

    In a food processor, process the gingersnap cookies until they are crumbled. Add the melted butter and salt. Pulse to combine the ingredients into a paste.

    Pour the cookie mixture into a 9-inch pie plate and press evenly on the bottoms and sides. Place in the freezer while you make the filling.

    In your stand mixer beat the cream cheese 1-2 minutes until creamy. Add the sweetened condensed milk and beat 2 minutes more to combine. Add the lemon juice, lemon zest and vanilla. Beat just until incorporated into the cream cheese mixture.

    Stir together the gelatin packet and water in a small bowl. Let stand 1-2 minutes to dissolve fully. Add to the cream cheese mixture and beat to combine.

    Pour the cream cheese mixture into the pie crust. Freeze for at least 2 hours.

    In the bowl of your stand mixer using the whisk attachment whisk at medium high speed the heavy whipping cream, powdered sugar and vanilla until stiff peaks form.

    Top the icebox pie with the whipped cream before serving.

    Supplies

    Frequently Asked Questions

    Can you freeze no bake lemon icebox pie?

    Yes! This pie is frozen after it is put together. It is perfect for making a day or two in advance and having ready to serve. Simply take the pie out of the freezer 15-20 minutes before you want to serve it.

    How many lemons do I need for ⅓ cup lemon juice?

    You will need 3 medium lemons to get ⅓ cup of lemon juice. If lemons aren't in season or hard to get you can also use bottled lemon juice. Before you use the lemons for juice be sure to zest the outside for this recipe and then you can freeze the leftovers for a future recipe.

    More Recipes You Might Enjoy

    • Gluten Free Lemon Curd
    • Gluten Free Iced Lemon Cookies
    • Gluten Free Lemon Bundt Cake with Lemon Glaze
    • Gluten Free Lemon Shortbread Bars

    I get a lot of my ingredients from Thrive Market. Thrive Market has been a game changer for me eating gluten free. They have so many options I can't get at my rural grocery stores! Use this link to get 40% off your first order!

    Print
    clock clock iconcutlery cutlery iconflag flag iconfolder folder iconinstagram instagram iconpinterest pinterest iconfacebook facebook iconprint print iconsquares squares iconheart heart iconheart solid heart solid icon

    Gluten Free No Bake Lemon Icebox Pie


    5 Stars 4 Stars 3 Stars 2 Stars 1 Star

    No reviews

    • Author: Elaine VanVleck
    • Total Time: 20 minutes
    • Yield: 8 servings 1x
    • Diet: Gluten Free
    Print Recipe
    Pin Recipe

    Description

    This easy recipe for gluten free no bake icebox pie is the perfect summer dessert! It's an old fashioned recipe with condensed milk, cream cheese and a gingersnap cookie crust. This no bake lemonade icebox pie is creamy and a classic recipe for hot days.


    Ingredients

    Units Scale

    Crust:

    • 1 ½ cups Gluten Free Ginger Cookies Recipe or Gluten Free Gingersnap Cookies
    • ¼ cup Unsalted Butter, melted
    • ½ tsp Sea Salt

    Filling:

    • 2 - 8 ounce packages Cream Cheese, at room temperature
    • 14 ounce can Sweetened Condensed Milk
    • ⅓ cup Lemon Juice
    • 2 Tbsp Lemon Zest
    • 1 tsp Vanilla Extract
    • 1 - .75 ounce pouch Unflavored Gelatin
    • ¼ cup Water

    Whipped Cream Topping:

    • 1 ½ cups Heavy Whipping Cream
    • 2 Tbsp Powdered Sugar, sifted
    • 1 tsp Vanilla Extract

    Instructions

    In a food processor, process the gingersnap cookies until they are crumbled. Add the melted butter and salt. Pulse to combine the ingredients into a paste.

    Pour the cookie mixture into a 9-inch pie plate and press evenly on the bottoms and sides. Place in the freezer while you make the filling.

    In your stand mixer beat the cream cheese 1-2 minutes until creamy. Add the sweetened condensed milk and beat 2 minutes more to combine. Add the lemon juice, lemon zest and vanilla. Beat just until incorporated into the cream cheese mixture.

    Stir together the gelatin packet and water in a small bowl. Let stand 1-2 minutes to dissolve fully. Add to the cream cheese mixture and beat to combine.

    Pour the cream cheese mixture into the pie crust. Freeze for at least 2 hours.

    In the bowl of your stand mixer using the whisk attachment whisk at medium high speed the heavy whipping cream, powdered sugar and vanilla until stiff peaks form.

    Top the icebox pie with the whipped cream before serving.

    Notes

    You can make this lemon icebox pie up to 2 days in advance. Take the pie out of the freezer 15-20 minutes before serving so you can cut it.

    You can replace the gingersnap cookies with gluten free graham crackers. Add ½ teaspoon of ground cinnamon to the crumbled mixture for a bit more flavor.

    • Prep Time: 20 minutes
    • Category: Pie, Ice Cream
    • Method: Freezer
    • Cuisine: Gluten Free

    Did you make this recipe?

    Tag @smallfarmbiglife on Instagram and hashtag it #smallfarmbiglife

    Long Island Iced Tea Mocktails

    If you love the bold tangy flavor of a Long Island Iced Tea but want a version you can serve to everyone at the table, this mocktail recipe is exactly what you need. Black tea bags, apple cider vinegar, fresh lemon juice, sugar, baking soda, and ginger beer come together in just 5 minutes for a pitcher of the most refreshing and flavorful non alcoholic drink you will ever make.

    It has all the complexity and zing of the classic cocktail without any of the alcohol, making it a perfect summer drink for BBQs, backyard parties, and any gathering where you want something fun and festive that everyone can enjoy.

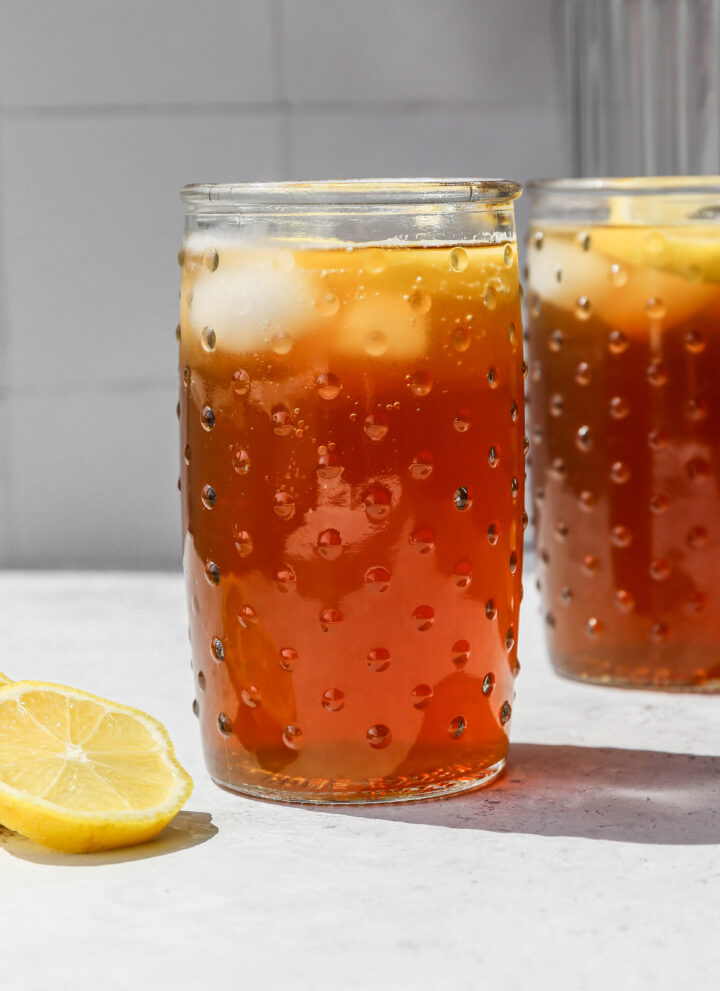
    two glasses of long island iced tea mocktails with lemon slices on top.

    What makes this Long Island Iced Tea mocktail so clever is the combination of apple cider vinegar and ginger beer. The apple cider vinegar adds the tangy bite that mimics the multi-spirit base of the original cocktail, and the ginger beer brings a light fizzy kick that makes every sip feel refreshing and satisfying.

    A small pinch of baking soda smooths out the bitterness of the black tea and gives the drink that beautiful amber color you expect from a classic Long Island Iced Tea.

    The whole pitcher comes together in just 10 minutes and serves four, making it one of the easiest and most impressive non alcoholic summer drinks you can make for a crowd.

    If you are looking for more non alcoholic mocktail recipes to enjoy you might also like my Easy Frozen Watermelon Margarita Mocktail, my Pina Colada Mocktail, my Frozen Cranberry Margarita Mocktail, my Strawberry Daiquiri Mocktails or my Classic Margarita Mocktail.

    You can find all of my drink recipes here: Gluten Free Drink Recipes

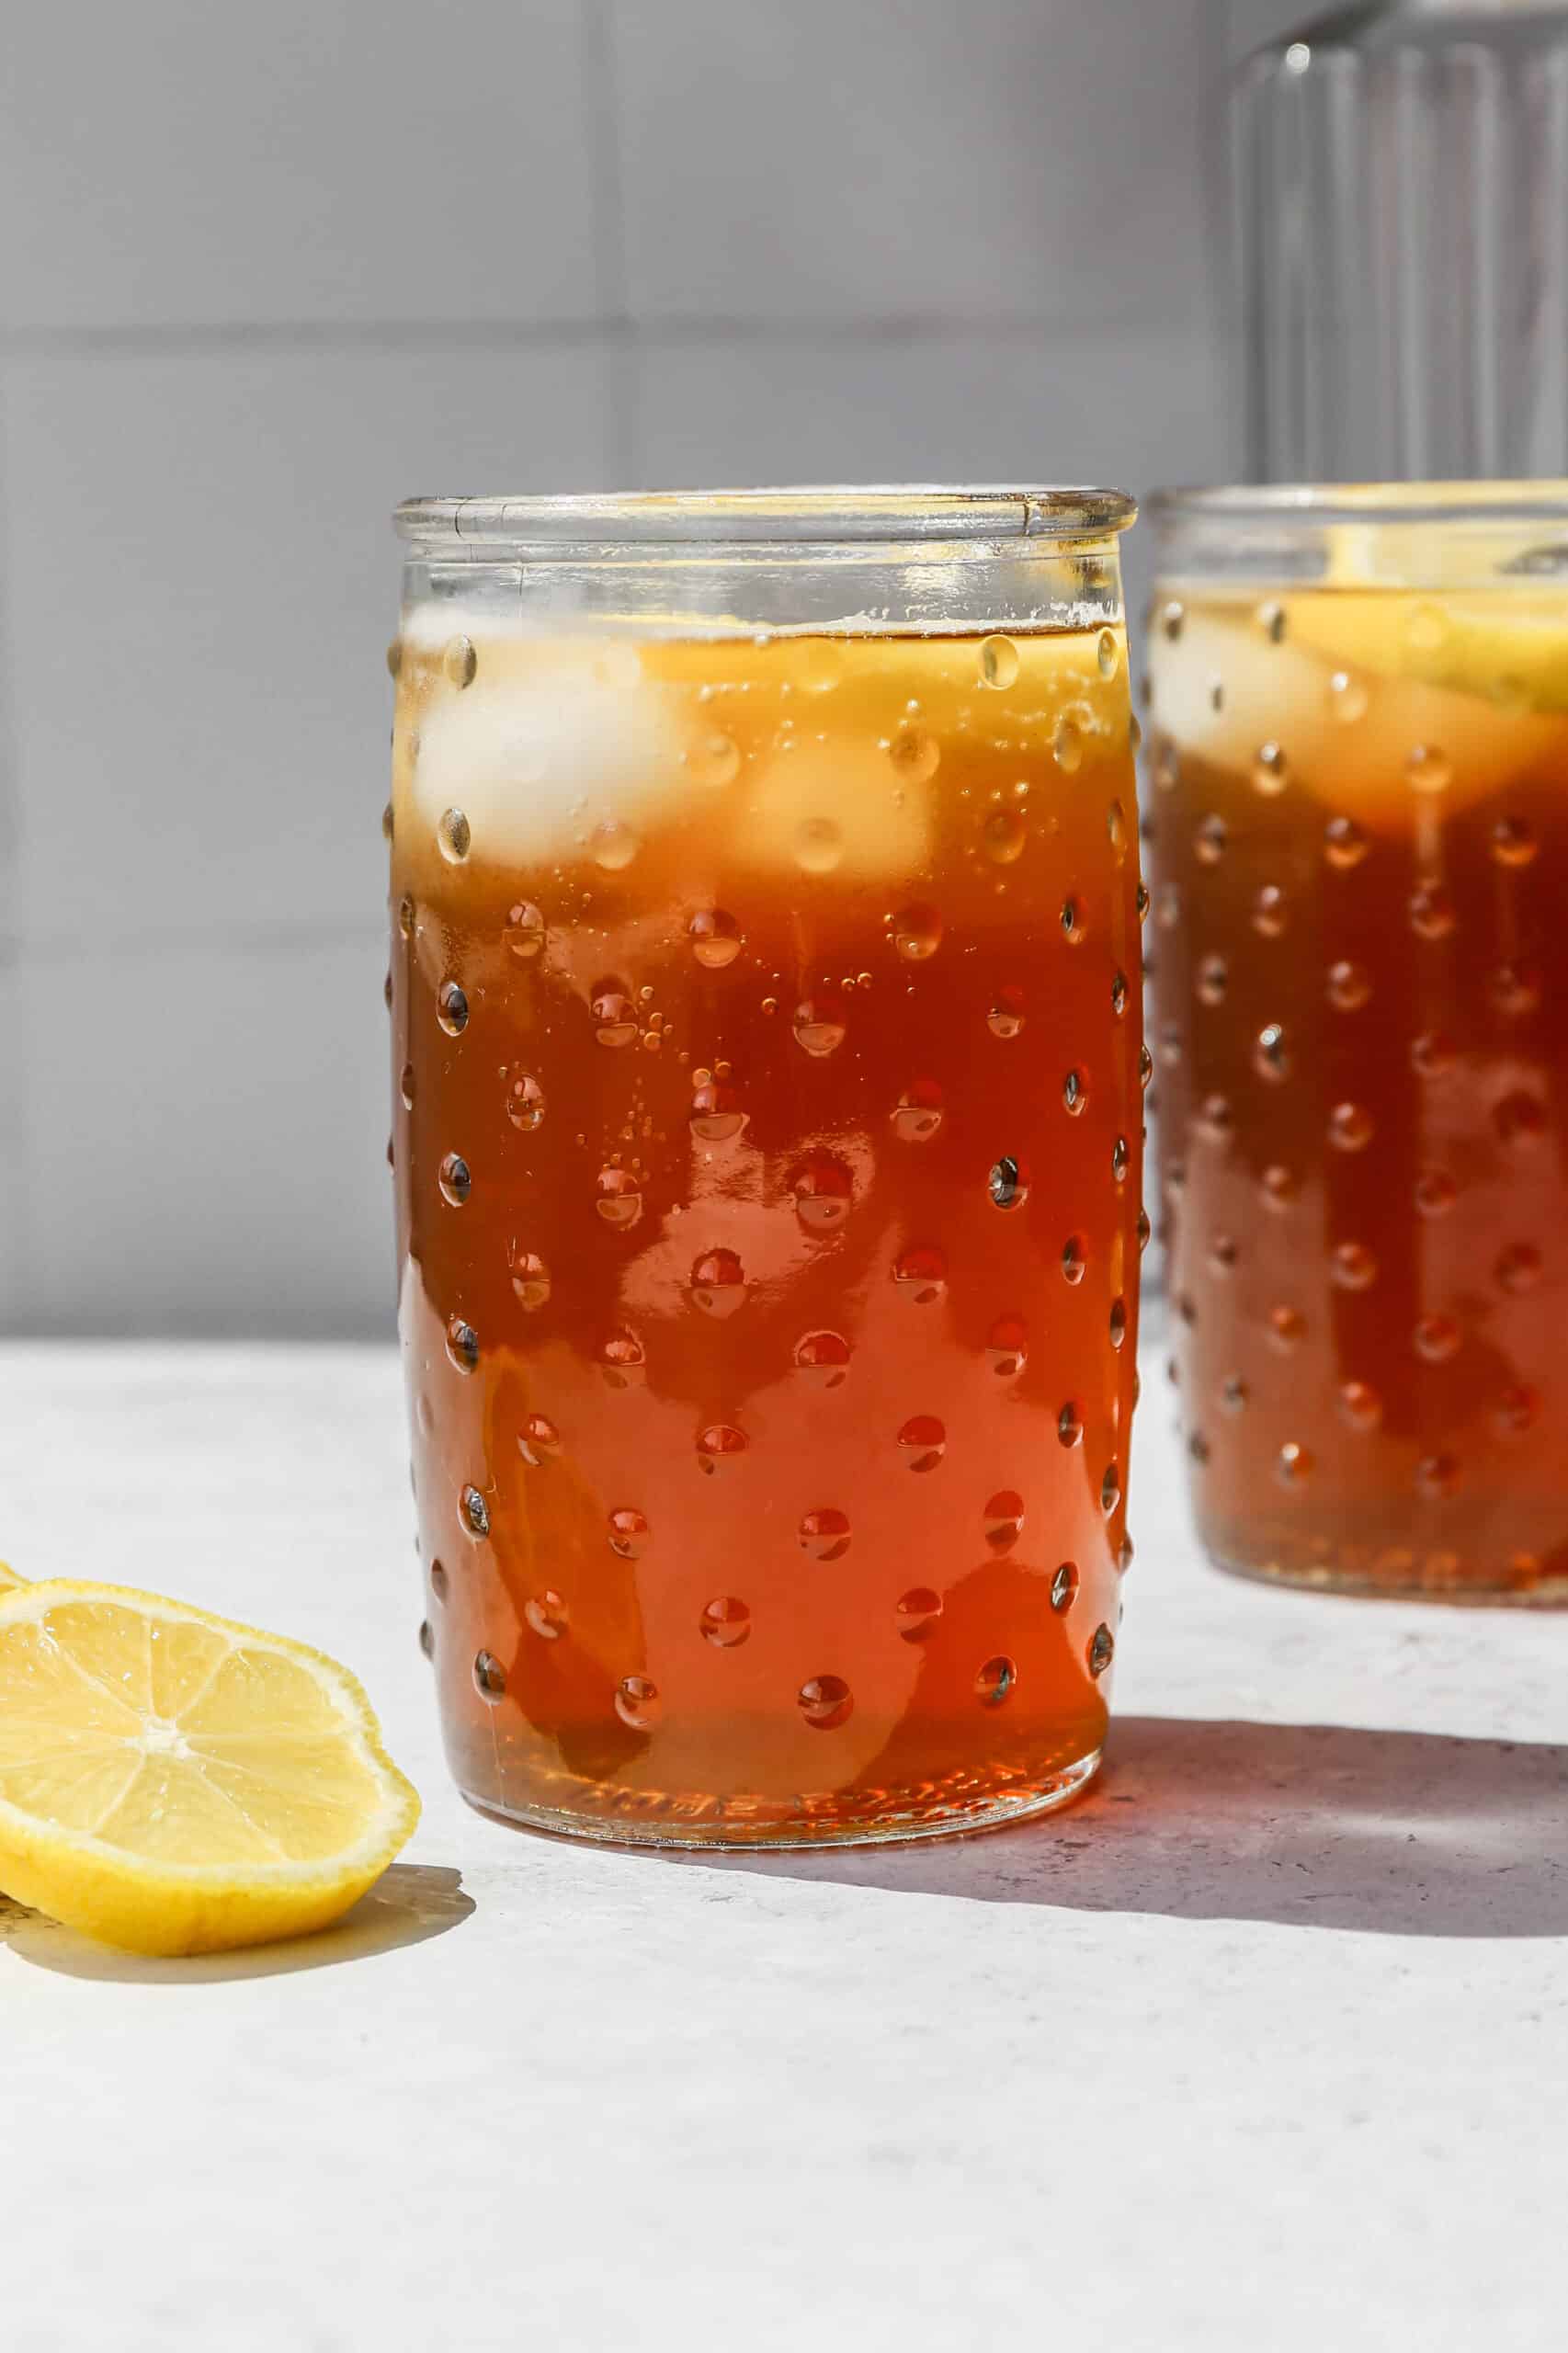
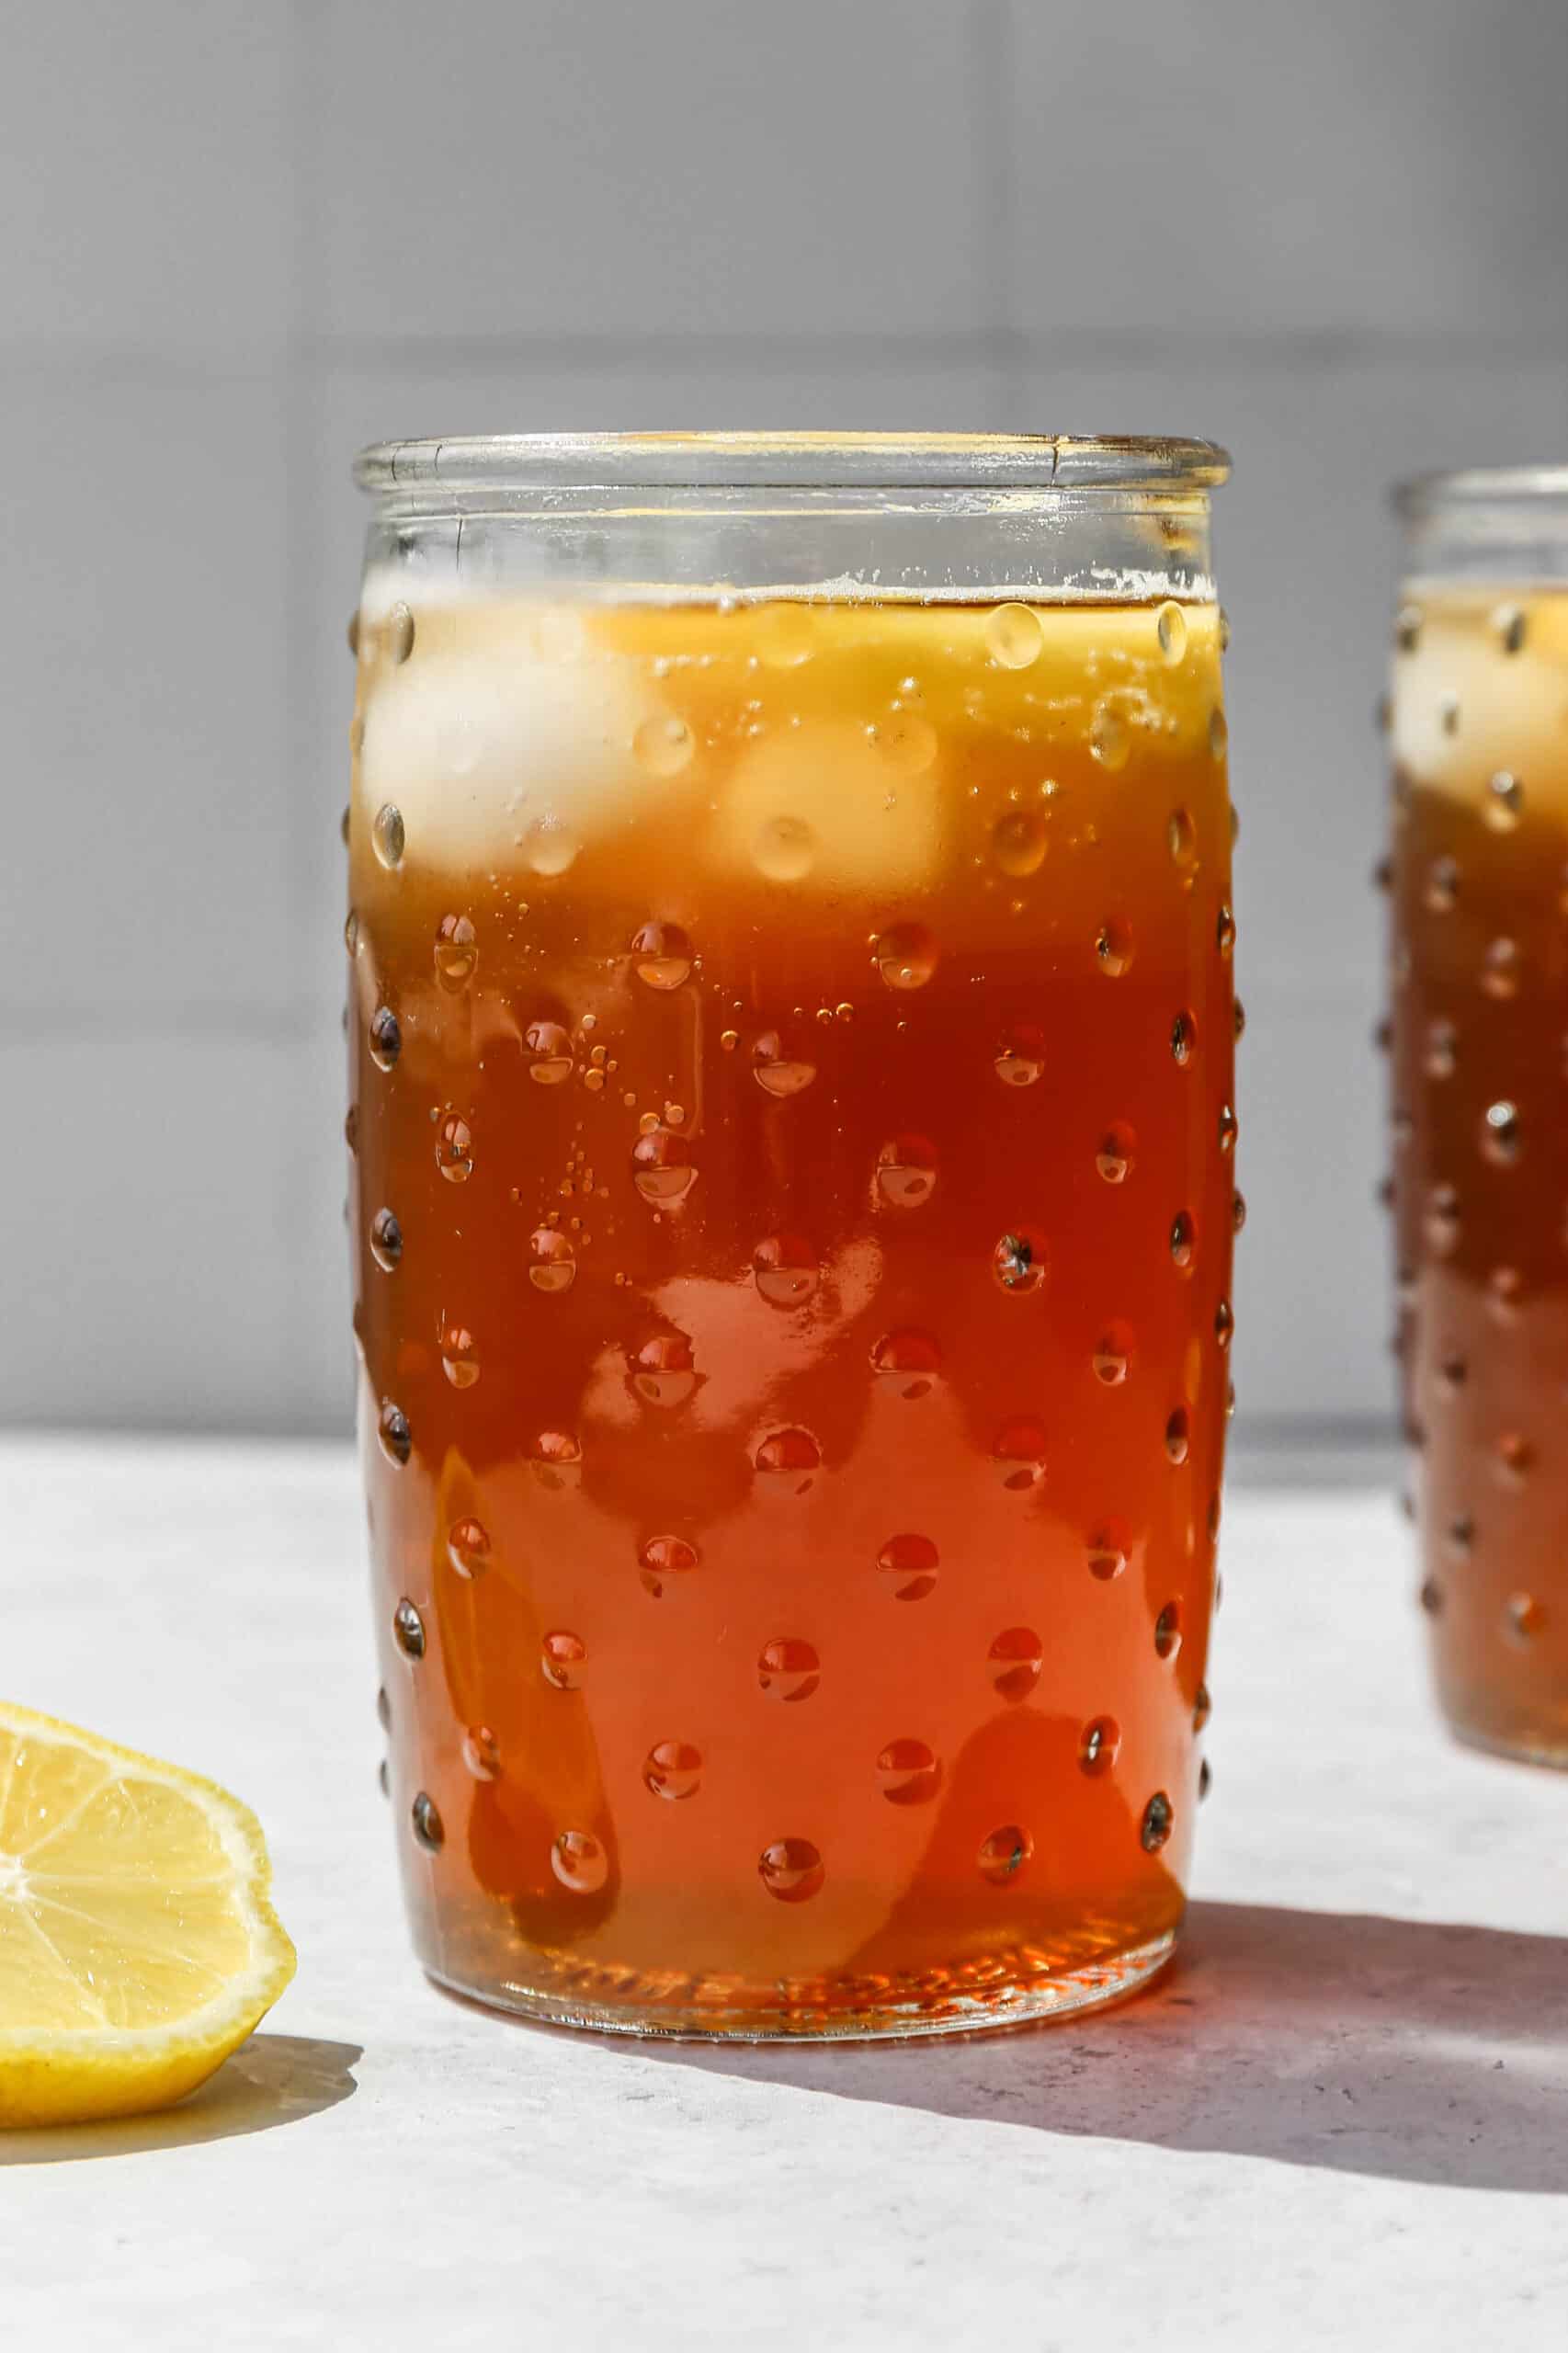
    a glass of long island iced tea mocktails with a lemon slice next to it.
    [feast_advanced_jump_to]

    Ingredients

    • Iced Tea Bags
    • Water
    • Apple Cider Vinegar
    • Ginger Beer
    • Lemon Juice
    • Granulated Sugar
    • Baking Soda
    • Ice
    • Lemon Slices

    Instructions

    Boil water and pour over tea bags in a pitcher. Let steep for 5 minutes.

    Carefully remove the tea bags. Add the apple cider vinegar, lemon juice, sugar and baking soda. Stir to combine. Let the mixture cool slightly.

    Pour the ginger beer into the iced tea mixture.

    Fill glasses with ice and pour the tea over it. Top the drink with a lemon slice.

    Serve immediately.

    Supplies

    More Recipes You Might Enjoy

    • Lemon Lime Homemade Gatorade
    • Iced Chai Tea Latte Concentrate
    • Classic Margarita Mocktail
    • Strawberry Daiquiri Mocktails

    I get a lot of my ingredients from Thrive Market. Thrive Market has been a game changer for me eating gluten free. They have so many options I can't get at my rural grocery stores! Use this link to get 40% off your first order!

    Print
    clock clock iconcutlery cutlery iconflag flag iconfolder folder iconinstagram instagram iconpinterest pinterest iconfacebook facebook iconprint print iconsquares squares iconheart heart iconheart solid heart solid icon

    Long Island Iced Tea Mocktails


    5 Stars 4 Stars 3 Stars 2 Stars 1 Star

    No reviews

    • Author: Elaine VanVleck
    • Total Time: 10 minutes
    • Yield: 4 servings 1x
    • Diet: Gluten Free
    Print Recipe
    Pin Recipe

    Description

    This Long Island Iced Tea mocktail makes a whole pitcher of refreshing non alcoholic drinks in just 5 minutes! Black tea bags, apple cider vinegar, fresh lemon juice, sugar, baking soda, and ginger beer come together for a tangy and lightly sweet mocktail that delivers all the classic flavor of a Long Island Iced Tea without any alcohol. Naturally gluten free and perfect for summer BBQs, parties, and warm weather entertaining!


    Ingredients

    Units Scale
    • 2 Family Size Iced Tea Bags
    • 4 cups Boiling Water
    • ¼ cup Apple Cider Vinegar
    • 3 Tbsp Lemon Juice
    • 2 Tbsp Granulated Sugar
    • ¼ tsp Baking Soda
    • 1 bottle or can of Ginger Beer, 8-12 ounces
      Ice, to fill your glasses
      Lemon Slices, to serve with drinks

    Instructions

    Boil water and pour over tea bags in a pitcher. Let steep for 5 minutes.

    Carefully remove the tea bags. Add the apple cider vinegar, lemon juice, sugar and baking soda. Stir to combine. Let the mixture cool slightly.

    Pour the ginger beer into the iced tea mixture.

    Fill glasses with ice and pour the tea over it. Top the drink with a lemon slice.

    Serve immediately.

    • Prep Time: 5 minutes
    • Cook Time: 5 minutes
    • Category: Drinks
    • Method: Mixing
    • Cuisine: American

    Did you make this recipe?

    Tag @smallfarmbiglife on Instagram and hashtag it #smallfarmbiglife

    If you make these Long Island Iced Tea Mocktails I would love to hear what you think! Leave a star rating and a comment below and let me know what occasion you served them for.

    Don't forget to save this recipe to your Pinterest boards so you can find it again all summer long!

    Storage

    This Long Island Iced Tea mocktail is best served fresh immediately after mixing for the best flavor and fizz. If you have leftover mocktail store it in a sealed pitcher or jar in the refrigerator for up to 24 hours. Keep in mind that the ginger beer will lose its carbonation as it sits so the drink will be less fizzy the next day.

    To get the best results when making this ahead of time, brew the tea mixture and store it in the refrigerator until you are ready to serve, then add the ginger beer right before pouring over ice. This way the mocktail stays fresh and bubbly for every glass.

    Top Tip

    Let the brewed tea cool for at least 5 to 10 minutes before adding the ginger beer. If the tea is still very hot when you pour in the ginger beer it will cause it to go flat almost immediately and you will lose all of that light fizzy quality that makes this mocktail so refreshing. The ginger beer is best added when the tea mixture is warm but not steaming, and then poured immediately over ice so the whole drink stays cold and bubbly from the very first sip.

    Didn't find the answer you're looking for?

    Ask AI to answer based on this recipe:

    ChatGPT
    Google AI
    Perplexity
    Grok
    Claude

    Frequently Asked Questions

    Can I make this Long Island Iced Tea mocktail ahead of time?

    Yes, with one important tip. Brew the tea and mix in the apple cider vinegar, lemon juice, sugar, and baking soda ahead of time and store the mixture in a sealed pitcher in the refrigerator for up to 24 hours. Add the ginger beer right before serving so the mocktail stays fizzy and fresh. If you add the ginger beer too early it will go flat and lose the light bubbly quality that makes this drink so refreshing.

    Can I use decaf tea bags for this recipe?

    Absolutely! Regular or decaf black tea bags both work perfectly in this recipe. The tea is what gives this mocktail its classic amber color and slightly bitter base that balances the sweetness and tang of the other ingredients. If you are serving this mocktail in the evening or to anyone who is sensitive to caffeine, decaf black tea bags are a great option and the flavor will be nearly identical

    What does apple cider vinegar do in this mocktail?

    The apple cider vinegar is the secret ingredient that gives this Long Island Iced Tea mocktail its signature tangy complexity. In the original Long Island Iced Tea that tangy bite comes from the combination of multiple spirits. In this non alcoholic version the apple cider vinegar replicates that bold tangy flavor without any alcohol. It sounds unusual but you would never guess it was there. It simply makes the drink taste more complex and layered.

    Why do you add baking soda to iced tea?

    Adding a small amount of baking soda to the brewed tea neutralizes the tannins that cause bitterness and cloudiness. The result is a smoother, less bitter tea with a beautiful clear amber color that looks just like a classic Long Island Iced Tea. You only need a tiny amount so the baking soda does not affect the flavor of the drink at all.

    Can I use a different type of tea for this recipe?

    Black tea is strongly recommended for this recipe because it gives the mocktail its classic deep amber color and bold flavor that holds up against the apple cider vinegar and ginger beer. Green tea or herbal teas would produce a very different color and flavor profile and would not give you the same Long Island Iced Tea look and taste. If you want to experiment, a strong black and green tea blend could work but classic black tea is always the best choice for this recipe.

    Can I make this mocktail without ginger beer?

    Ginger beer is what gives this mocktail its fizzy kick and a subtle spicy warmth that makes it taste more complex and interesting. If you cannot find ginger beer you could substitute sparkling water or club soda for the carbonation, but keep in mind that the flavor will be noticeably milder without the ginger. Ginger ale is a closer substitute than plain sparkling water if ginger beer is not available and will give you a similar but slightly sweeter result.

    Classic Margarita Mocktail

    This classic margarita mocktail recipe is made on the rocks and is the perfect summer drink! It's a refreshing non alcoholic drink you make in your blender at home. This virgin margarita is booze free and easy to make.

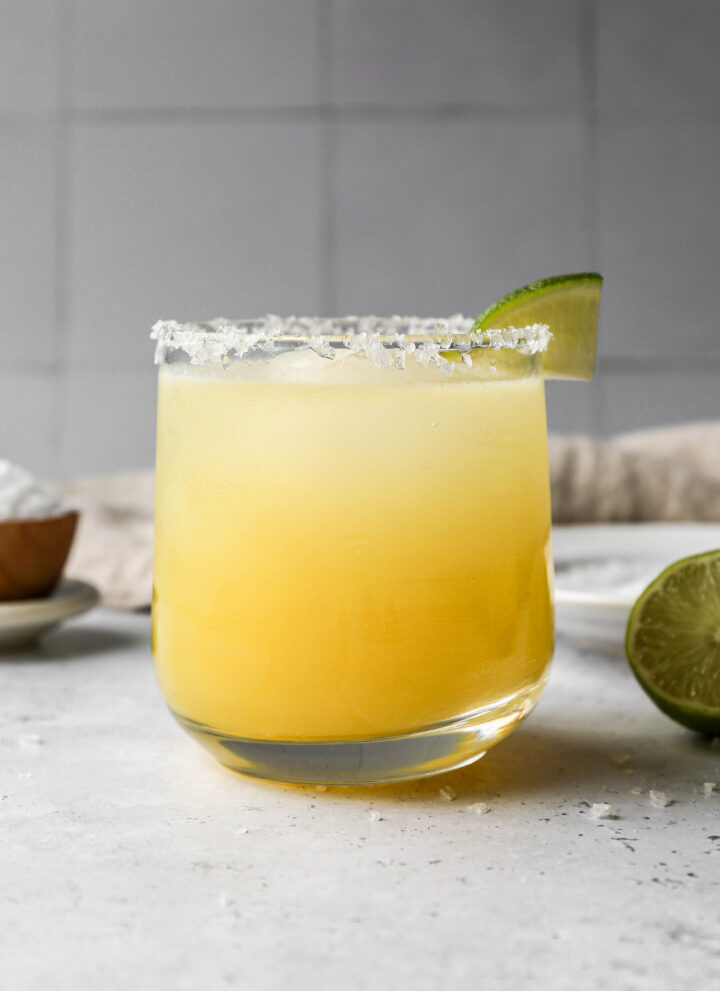
    a clear glass of classic margarita mocktail with the rim lined in salt and a lime wedge.

    A Classic Margarita Mocktail is a vibrant, zesty drink that delivers all the flavor of a traditional margarita, without the alcohol.

    Perfect for warm days or festive occasions, this non alcoholic margarita combines bold citrus flavor with a refreshing finish, making it a standout summer mocktail.

    Whether you're entertaining guests or just want to unwind with something crisp and tangy, this virgin margarita is a satisfying and family friendly option.

    If you are looking for more mocktails try my Easy Frozen Watermelon Margarita Mocktail, my Frozen Cranberry Margarita Mocktail, my Strawberry Daiquiri Mocktails, or my Pina Colada Mocktail.

    You can find all of my drink recipes here: Gluten Free Drink Recipes

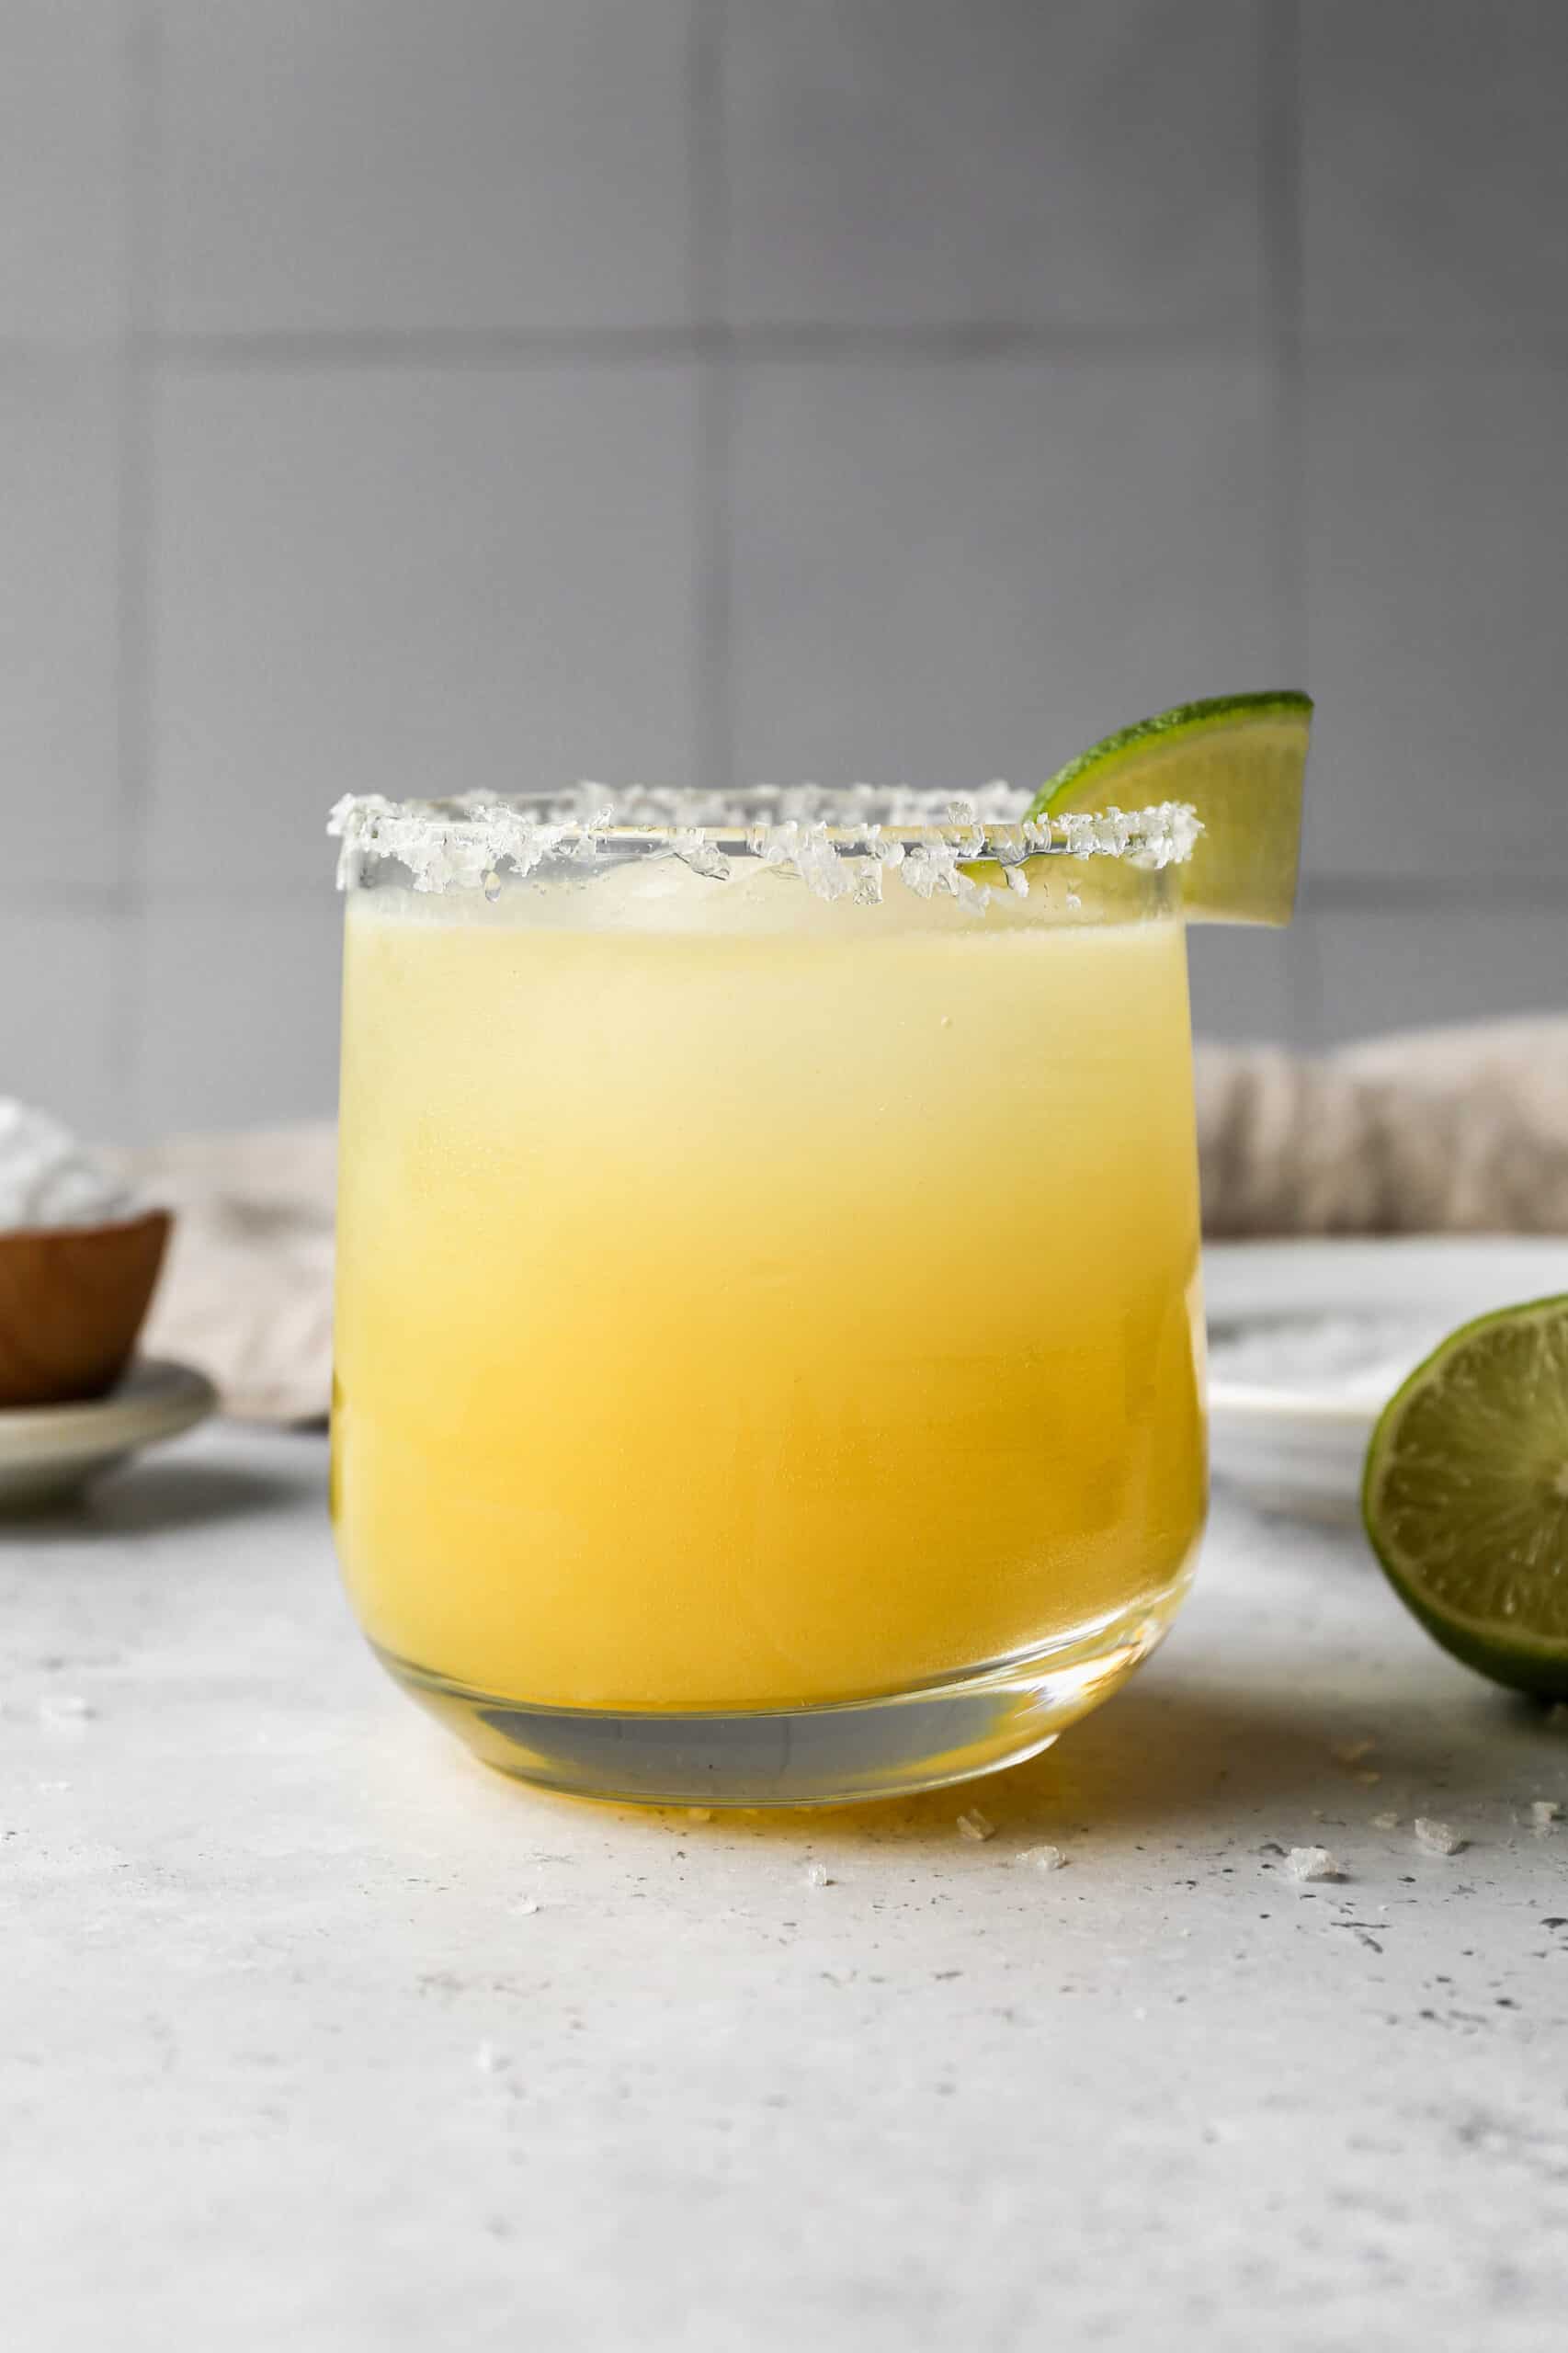
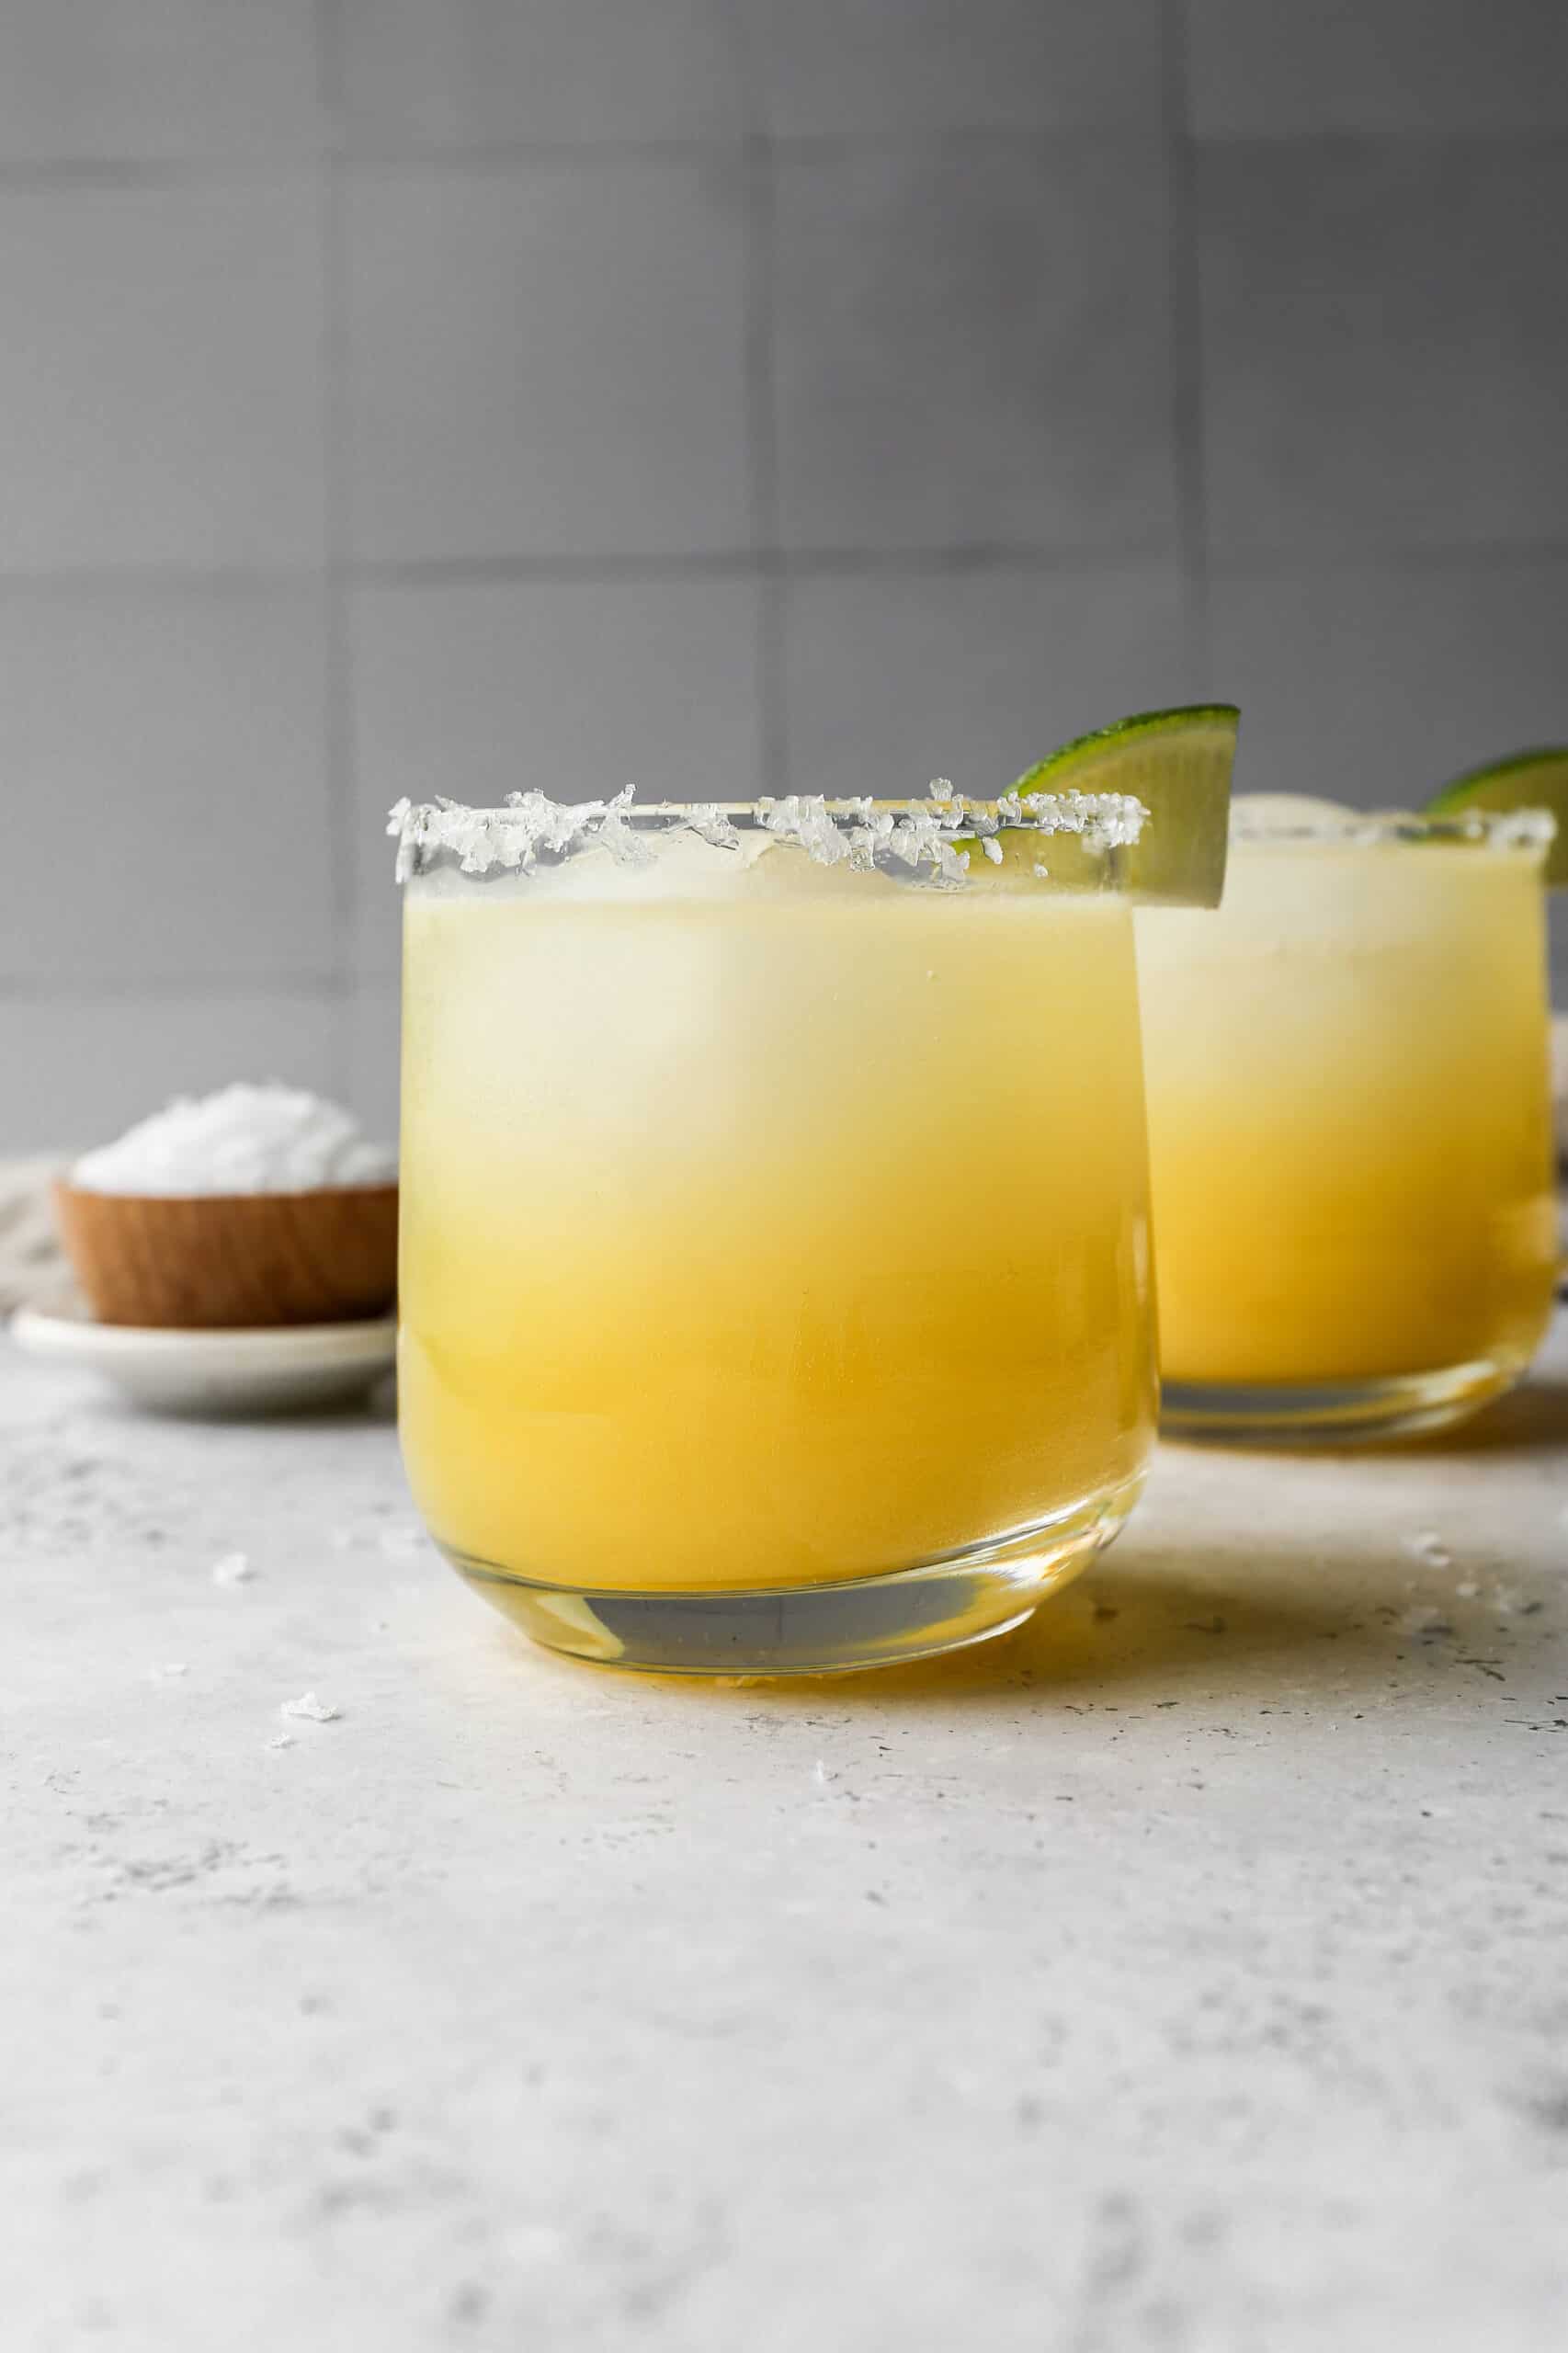
    a glass of classic margarita mocktail with salt and lime on the rim.
    [feast_advanced_jump_to]

    Ingredients

    • Lime Juice
    • Lemon Juice
    • Orange Juice
    • Granulated Sugar
    • Simple Syrup or make your own with the recipe below
    • Seltzer Water
    • Flaky Salt
    • Lime Wedges

    Instructions

    To make simple syrup add 1 cup granulated sugar and 1 cup water to a microwave safe measuring cup or bowl. Stir to combine. Microwave for 3-4 minutes and then stir until sugar is incorporated into water, about 1 minute.

    In a glass measuring cup or jar press the lime and lemon for juice. Add orange juice and simple syrup. Stir to combine.

    Add a large round ice cube or ice cubes to a tumbler. Pour half the lime mixture over top. Pour ½ cup seltzer water over that. Repeat steps for second drink.

    Serve immediately.

    Supplies

    Frequently Asked Questions

    What are virgin margaritas made of?

    For this classic margarita mocktail you combine lime juice, lemon juice, orange juice, simple syrup and seltzer water over ice. It is a refreshing booze free combination!

    How do you make simple syrup?

    I love to have a bottle of homemade simple syrup in the fridge all summer long for making quick mocktails and drinks. To make simple syrup you add 1 cup sugar and 1 cup water to a microwave safe dish and microwave for 3-4 minutes. Stir to combine the water and sugar. Let cool before storing in a sealed jar or bottle in the refrigerator.

    More Recipes You Might Enjoy

    • Strawberry Daiquiri Mocktails
    • Easy Frozen Watermelon Margarita Mocktail
    • Frozen Cranberry Margarita Mocktail
    • Pina Colada Mocktail

    I get a lot of my ingredients from Thrive Market. Thrive Market has been a game changer for me eating gluten free. They have so many options I can't get at my rural grocery stores! Use this link to get 40% off your first order!

    Print
    clock clock iconcutlery cutlery iconflag flag iconfolder folder iconinstagram instagram iconpinterest pinterest iconfacebook facebook iconprint print iconsquares squares iconheart heart iconheart solid heart solid icon

    Classic Margarita Mocktail


    5 Stars 4 Stars 3 Stars 2 Stars 1 Star

    No reviews

    • Author: Elaine VanVleck
    • Total Time: 5 minutes
    • Yield: 2 servings 1x
    • Diet: Gluten Free
    Print Recipe
    Pin Recipe

    Description

    This classic margarita mocktail recipe is made on the rocks and is the perfect summer drink! It's a refreshing no alcoholic drink you make in your blender at home. This virgin margarita is booze free and easy to make.


    Ingredients

    Scale
    • ¼ cup Lime Juice
    • ¼ cup Lemon Juice
    • 2 Tbsp. Orange Juice
    • 2 Tbsp. Simple Syrup
    • ½ cup Seltzer Water
    • Flaky Salt, for rimming glasses
    • Lime Wedges, for rim garnish

    Instructions

    To make simple syrup add 1 cup granulated sugar and 1 cup water to a microwave safe measuring cup or bowl. Stir to combine. Microwave for 3-4 minutes and then stir until sugar is incorporated into water, about 1 minute.

    In a glass measuring cup or jar press the lime and lemon for juice. Add orange juice and simple syrup. Stir to combine.

    Add a large round ice cube or ice cubes to a tumbler. Pour half the lime mixture over top. Pour ½ cup seltzer water over that. Repeat steps for second drink.

    Serve immediately.

    • Prep Time: 5 minutes
    • Category: Drinks
    • Method: Mixing
    • Cuisine: Gluten Free

    Did you make this recipe?

    Tag @smallfarmbiglife on Instagram and hashtag it #smallfarmbiglife

    Easy Gluten Free Bow Tie Pasta Salad

    This easy gluten free bow tie pasta salad recipe is the perfect summer side dish! It's a simple cold salad with feta cheese and the best homemade dressing. This healthy salad is loaded with veggies and brown rice pasta.

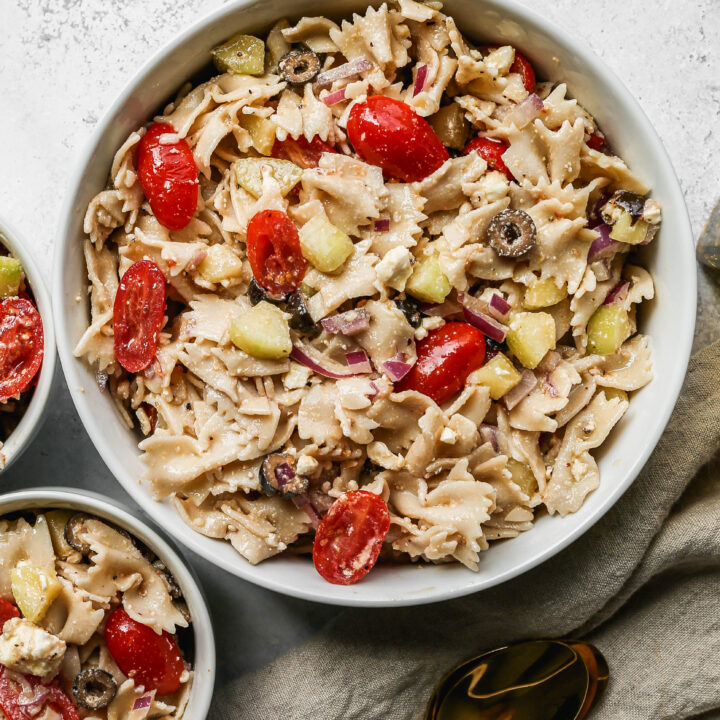
    a white bowl of easy gluten free bow tie pasta salad next to small bowls of salt and pepper.

    This Easy Gluten Free Bow Tie Pasta Salad is the perfect dish for warm weather gatherings. It offers a refreshing and healthy option that's both satisfying and simple to prepare.

    Served cold, it makes an ideal summer salad for lunches, picnics, potlucks, and cookouts. The dish is vibrant with tomatoes and cucumbers.

    It is completely meat free, making it great for those seeking a lighter fare. It's especially convenient for anyone looking for a quick, gluten free lunch or an easy pasta side dish to bring to a party.

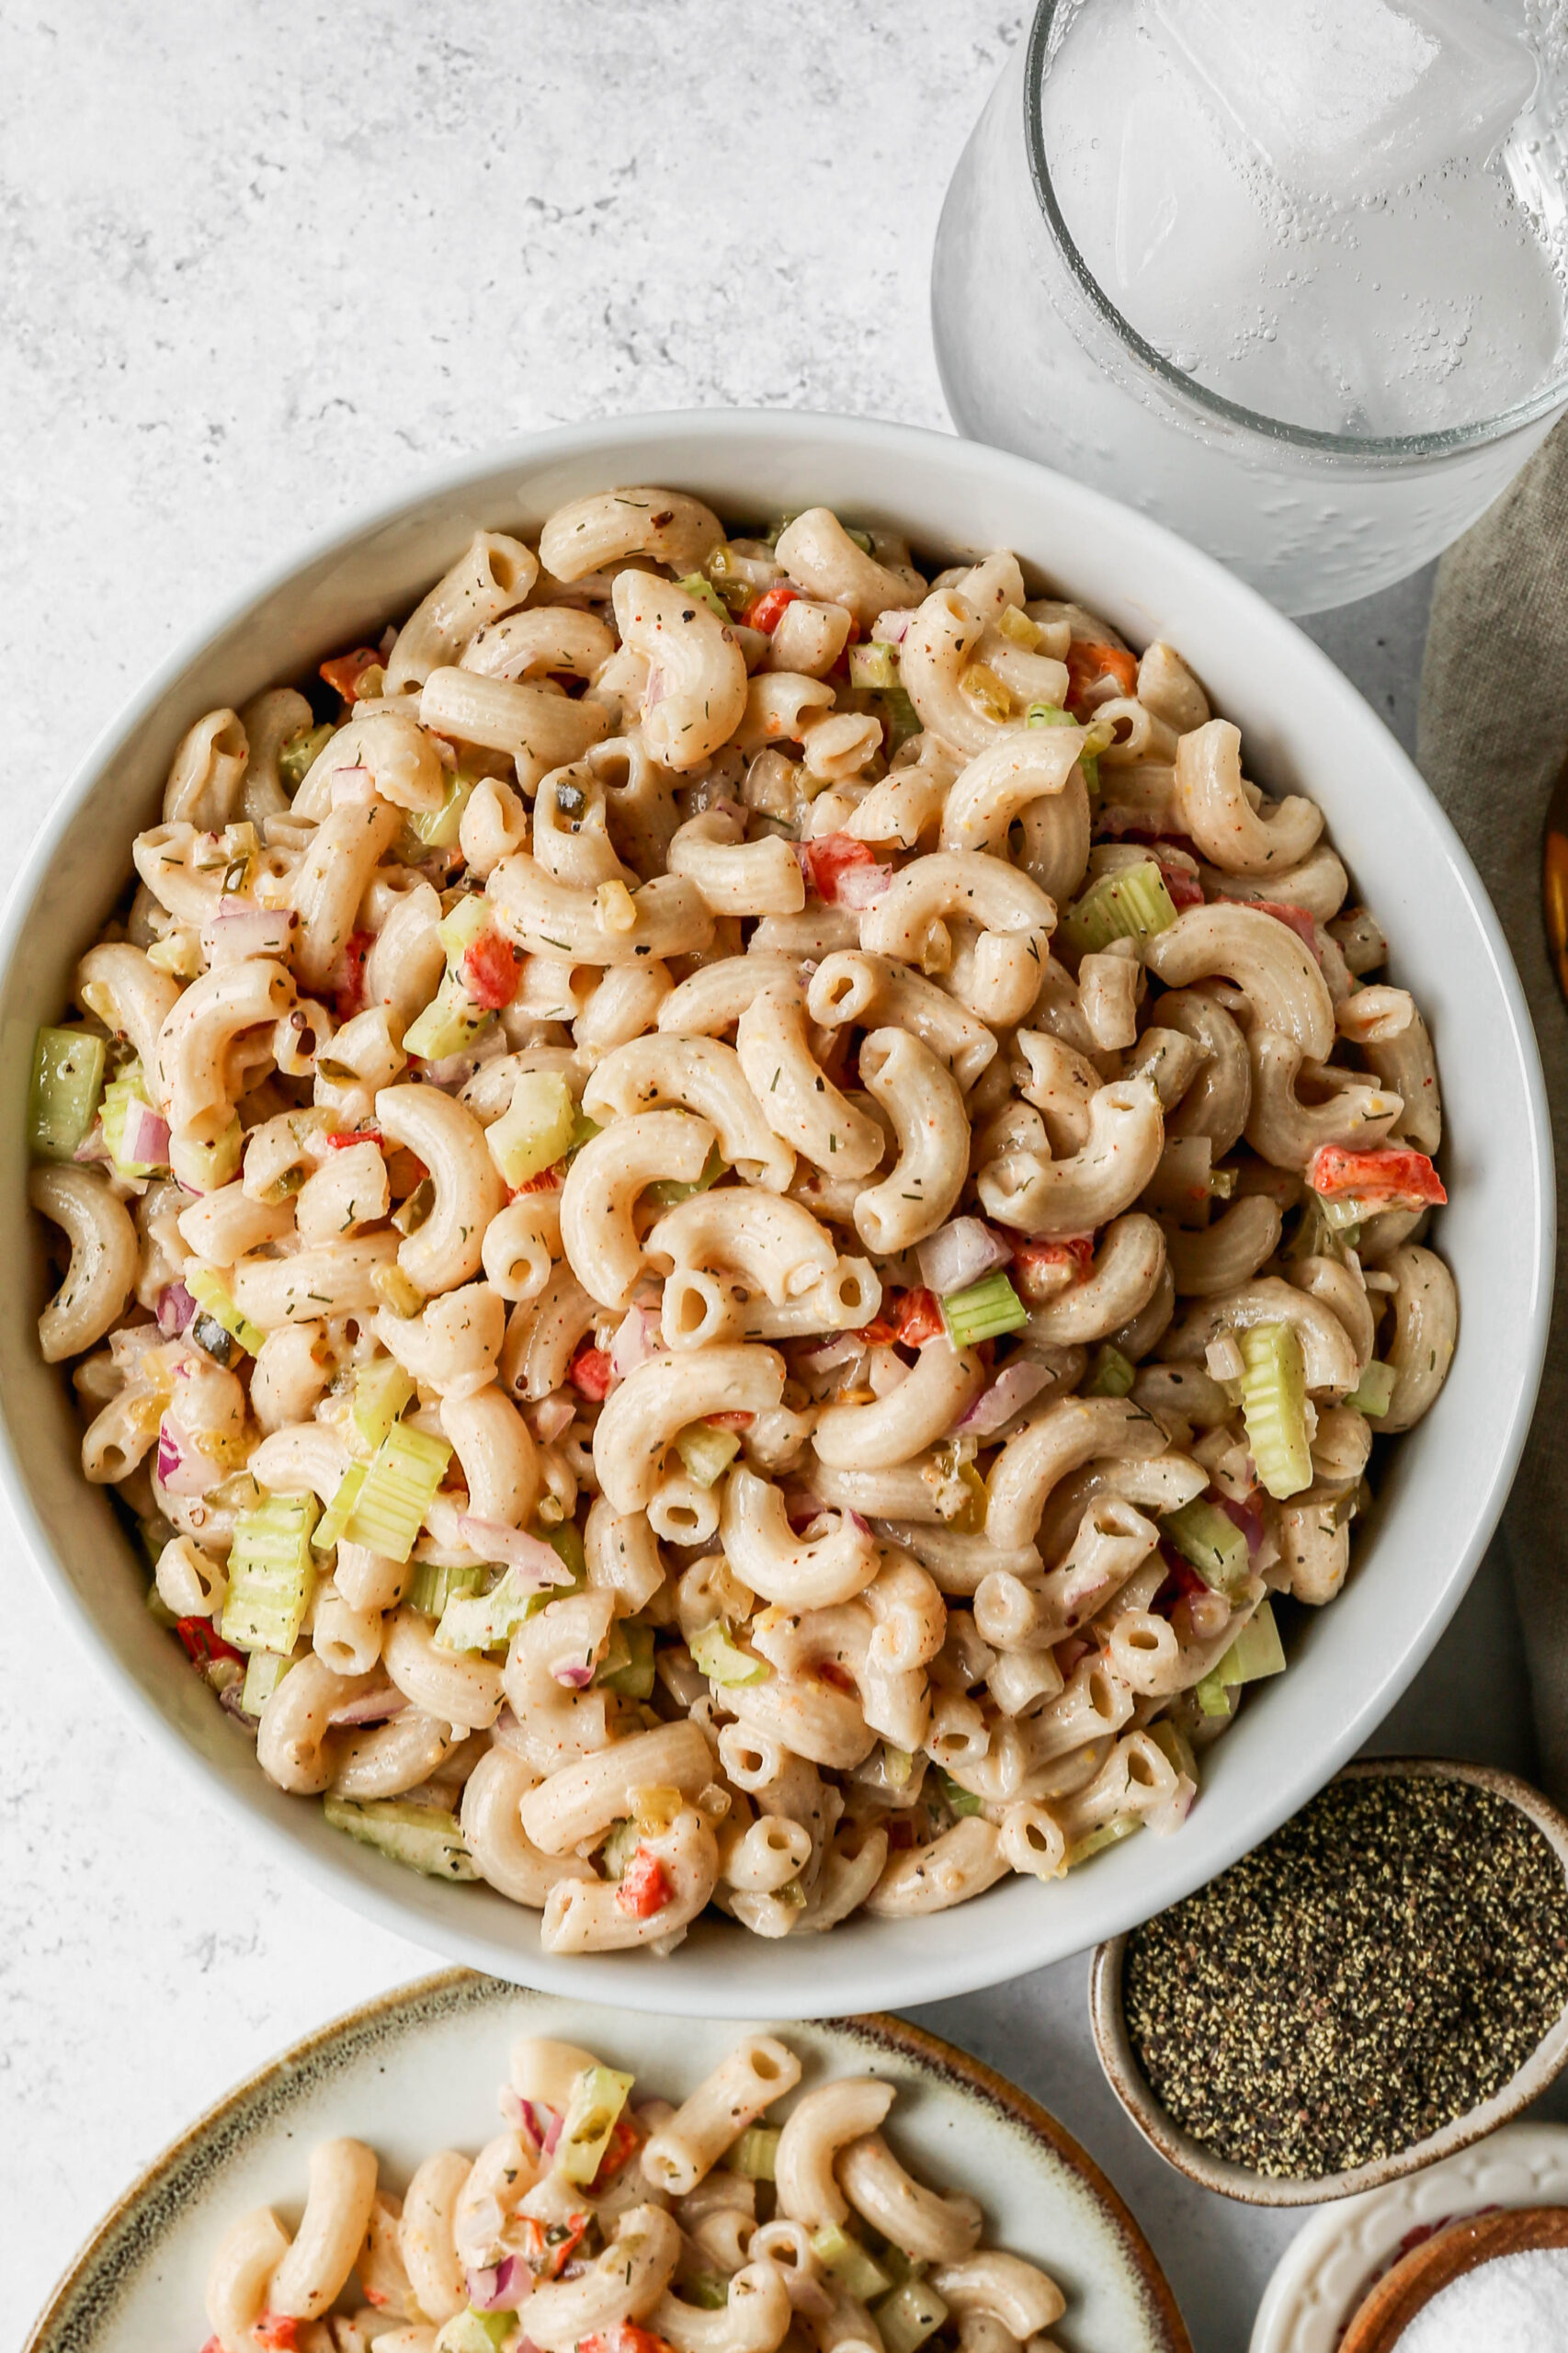
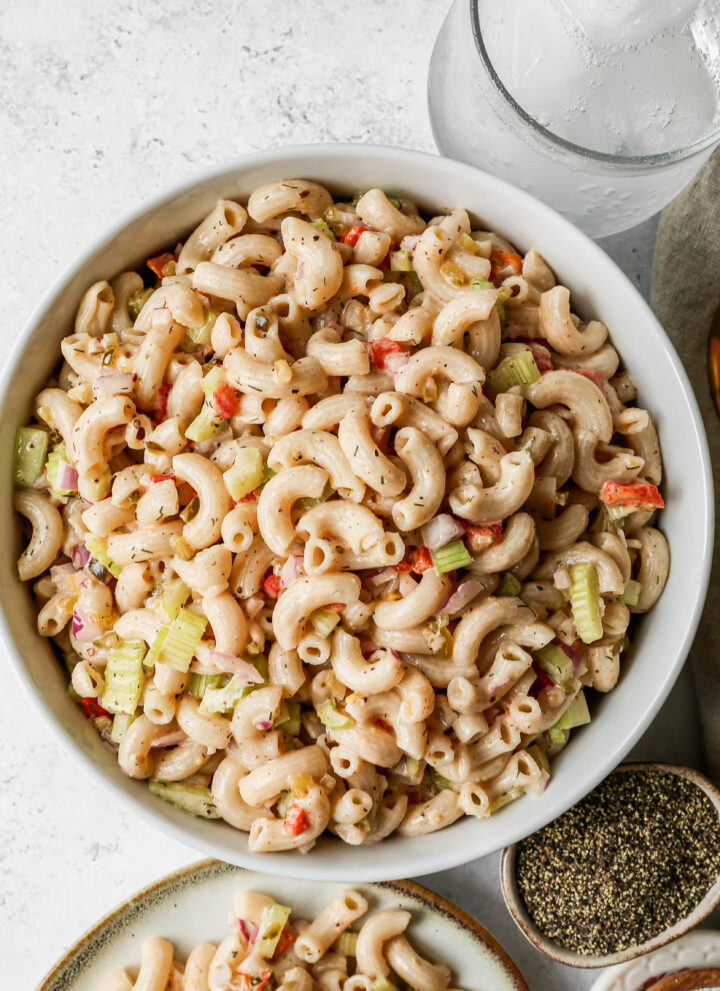
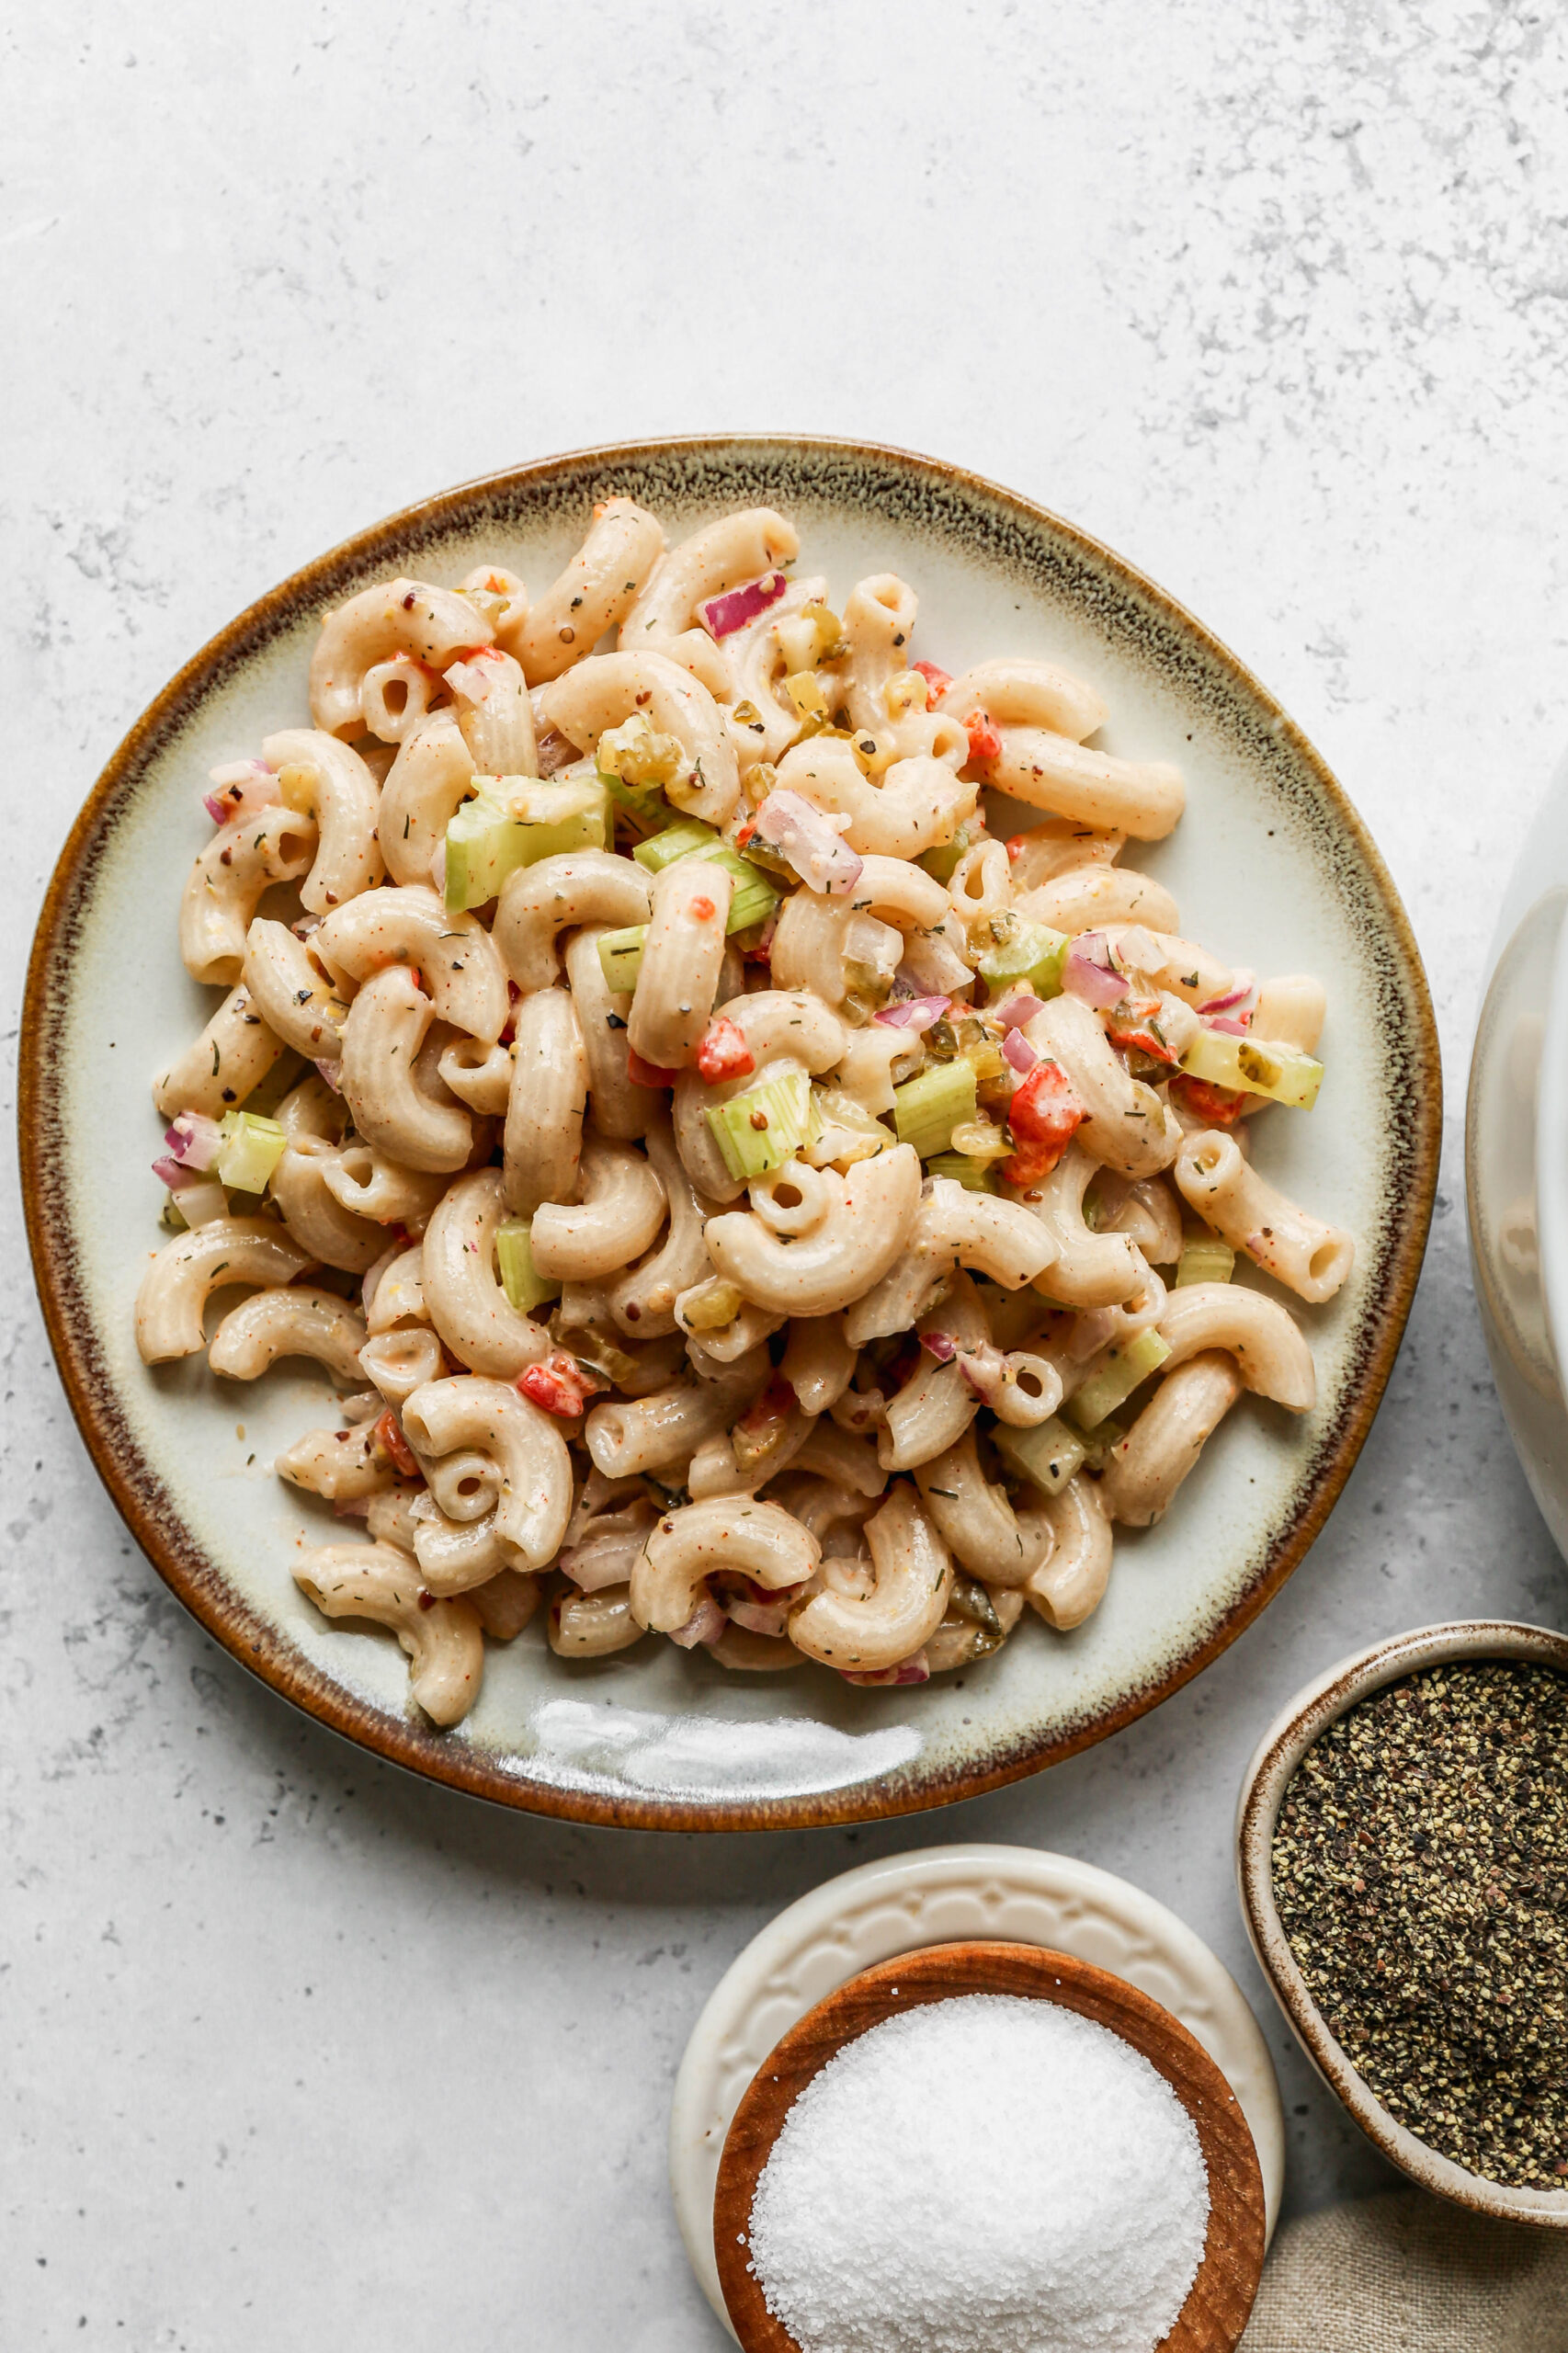
    If you are looking fore more pasta salads you might like my Gluten Free Pesto Pasta Salad, my Gluten Free BLT Pasta Salad, my Easy Gluten Free Macaroni Salad or my Gluten Free Green Goddess Pasta Salad.

    You can find all of my salad recipes here: Gluten Free Salad Recipes
    a small white bowl of easy gluten free bow tie pasta salad next to a bigger bowl of salad.
    [feast_advanced_jump_to]

    Ingredients

    • Jovial Gluten Free Farfalle
    • Lemon Juice
    • Olive Oil
    • Stone Ground Mustard
    • Minced Garlic
    • Sea Salt
    • Coarse Ground Black Pepper
    • Cucumber
    • Cherry Tomatoes
    • Sliced Black Olives
    • Red Onion
    • Feta Cheese

    Instructions

    Cook the pasta per the boxes instructions. Drain and rinse with cold water.

    While the pasta is cooking make the dressing in a jar or small bowl. Whisk together the lemon juice, olive oil, mustard, garlic, salt and pepper. Set aside.

    In a large serving bowl pour the cooked pasta, cucumber, tomatoes, olives, onion and feta cheese. Pour the dressing over the salad and stir to coat.

    Refrigerate for at least 2 hours before serving.

    Store in a sealed container in the refrigerator for up to 5 days.

    Supplies

    Frequently Asked Questions

    Does bow tie pasta have gluten?

    If you buy regular wheat pasta it will contain gluten. For this recipe I used Jovial Gluten Free Farfalle (farfalle is also known as bow tie pasta). Their gluten free pasta is made from brown rice and is certified to be gluten free.

    Is farfalle the same as bow tie pasta?

    Yes. In Italian farfalle means butterflies. We tend to call farfalle pasta bow tie pasta in the United States because of its shape.

    More Recipes You Might Enjoy

    • Gluten Free Creamy Beef and Mushroom Pasta
    • Gluten Free Instant Pot Italian Style Pasta and Bean Soup
    • Gluten Free Chicken Parmesan Pasta Casserole
    • Gluten Free One Pot Hamburger Helper Copycat

    I get a lot of my ingredients from Thrive Market. Thrive Market has been a game changer for me eating gluten free. They have so many options I can't get at my rural grocery stores! Use this link to get 40% off your first order!

    Print
    clock clock iconcutlery cutlery iconflag flag iconfolder folder iconinstagram instagram iconpinterest pinterest iconfacebook facebook iconprint print iconsquares squares iconheart heart iconheart solid heart solid icon

    Easy Gluten Free Bow Tie Pasta Salad


    5 Stars 4 Stars 3 Stars 2 Stars 1 Star

    No reviews

    • Author: Elaine VanVleck
    • Total Time: 20 minutes
    • Yield: 6 servings 1x
    • Diet: Gluten Free
    Print Recipe
    Pin Recipe

    Description

    This easy gluten free bow tie pasta salad recipe is the perfect summer side dish! It's a simple cold salad with feta cheese and the best homemade dressing. This healthy salad is loaded with veggies and brown rice pasta.


    Ingredients

    Scale
    • 12 ounce box Jovial Gluten Free Farfalle
    • ¼ cup Lemon Juice
    • ¼ cup Olive Oil
    • 1 Tbsp. Stone Ground Mustard
    • 1 Tbsp. Minced Garlic
    • ½ tsp. Sea Salt
    • ½ tsp. Coarse Ground Black Pepper
    • 1 cup Cucumber, peeled, seeded and chopped
    • 1 pint Grape Tomatoes, halved
    • 2.25 ounce can Sliced Black Olives, drained
    • 1 small Red Onion, finely diced
    • 1 cup Crumbled Feta Cheese

    Instructions

    Cook the pasta per the boxes instructions. Drain and rinse with cold water.

    While the pasta is cooking make the dressing in a jar or small bowl. Whisk together the lemon juice, olive oil, mustard, garlic, salt and pepper. Set aside.

    In a large serving bowl pour the cooked pasta, cucumber, tomatoes, olives, onion and feta cheese. Pour the dressing over the salad and stir to coat.

    Refrigerate for at least 2 hours before serving.

    Store in a sealed container in the refrigerator for up to 5 days.

    Notes

    If your pasta soaks up the dressing you can add 1-2 tablespoons olive oil and stir to coat the pasta.

    • Prep Time: 10 minutes
    • Cook Time: 10 minutes
    • Category: Salad
    • Method: Tossed
    • Cuisine: Gluten Free

    Did you make this recipe?

    Tag @smallfarmbiglife on Instagram and hashtag it #smallfarmbiglife

    Top Tip

    I like to make the salad the day before so it's very cold and ready to serve. If you find your salad is a bit dry and has soaked up the dressing you can add more olive oil and stir it into the salad.

    Gluten Free Cowboy Baked Beans

    These gluten free cowboy baked beans are the kind of recipe that makes everyone at the table go back for seconds. Ground beef, crispy bacon, four types of beans, and a rich smoky BBQ sauce all come together in one dutch oven and bake into the most hearty and satisfying dish you will ever make. The combination of butter beans, navy beans, kidney beans, and pork and beans gives every bite a different texture and the bold sauce made with brown sugar, apple cider vinegar, yellow mustard, and BBQ sauce is sweet, tangy, and absolutely irresistible.

    Ready in just 45 minutes and completely gluten free from start to finish.

    a dutch oven of gluten free cowboy baked beans next to two white bowls of beans.

    This recipe works beautifully as both a hearty main dish and a crowd pleasing BBQ side dish which makes it one of the most versatile recipes in my summer rotation.

    It is the dish I bring to every summer cookout, Fourth of July gathering, and potluck because it feeds a crowd, travels well, and gets even better the next day reheated.

    If you are looking for a gluten free BBQ recipe that is guaranteed to impress, this is the one. You will make it once and it will become a permanent fixture in your summer recipe lineup.

    If you are looking for more ground beef recipes you might also enjoy my Gluten Free Ground Beef Pasta Casserole, my Easy Ground Beef Nacho Casserole, my Instant Pot Beef and Vegetable Soup, my Gluten Free Creamy Beef and Mushroom Pasta, or my Gluten Free Instant Pot Chili Mac and Cheese.

    You can also find more recipes here: 10 Easy Gluten Free Beef Recipes

    a white bowl of gluten free cowboy baked beans on a plate with a slice of bread.
    [feast_advanced_jump_to]

    Ingredients

    • Ground Beef
    • Olive Oil
    • Bacon
    • Barbecue Sauce
    • Butter Beans
    • Pork and Beans
    • Navy Beans
    • Kidney Beans
    • Onion
    • Minced Garlic
    • Brown Sugar
    • Apple Cider Vinegar
    • Yellow Mustard
    • Stone Ground Mustard
    • Gluten Free Worcestershire Sauce
    • Sea Salt
    • Coarse Ground Black Pepper

    Instructions

    Preheat your oven to 350 degrees.

    In your dutch oven over medium heat pour the olive oil and cook the ground beef until just a little pink remains. Add the chopped onion and minced garlic and cook 3-4 minutes more until the onion is translucent.

    Add the bacon, barbecue sauce, butter beans, pork and beans, navy beans, kidney beans, brown sugar, apple cider vinegar, yellow mustard, ground mustard, gluten free Worcestershire sauce, salt and pepper to the beef mixture and stir to combine.

    Bake at 350 degrees for 35 minutes.

    Let cool slightly before serving.

    Supplies

    More Recipes You Might Enjoy

    • Gluten Free Cheesy Pinto Beans
    • Gluten Free Instant Pot Italian Style Pasta and Bean Soup
    • Instant Pot Vegetarian Navy Bean Soup
    • 10 Easy Gluten Free Beef Recipes

    I get a lot of my ingredients from Thrive Market. Thrive Market has been a game changer for me eating gluten free. They have so many options I can't get at my rural grocery stores! Use this link to get 40% off your first order!

    Print
    clock clock iconcutlery cutlery iconflag flag iconfolder folder iconinstagram instagram iconpinterest pinterest iconfacebook facebook iconprint print iconsquares squares iconheart heart iconheart solid heart solid icon

    Gluten Free Cowboy Baked Beans


    5 Stars 4 Stars 3 Stars 2 Stars 1 Star

    No reviews

    • Author: Elaine VanVleck
    • Total Time: 45 minutes
    • Yield: 6 servings 1x
    • Diet: Gluten Free
    Print Recipe
    Pin Recipe

    Description

    These easy gluten free cowboy baked beans are the ultimate hearty comfort food made with ground beef, crispy bacon, four types of beans, and a rich smoky BBQ sauce all baked together in one dutch oven in just 45 minutes. A crowd pleasing gluten free recipe that works as a hearty main dish or the best BBQ side dish for summer cookouts, potlucks, Fourth of July, and easy weeknight dinners!


    Ingredients

    Scale
    • 2 Tbsp. Olive Oil
    • 1 pound Ground Beef
    • 1 large Onion, chopped
    • 2 Tbsp. Minced Garlic
    • 1 pound Bacon, cooked and chopped
    • 2 cups Barbecue Sauce
    • 16 ounce can Butter Beans, drained and rinsed
    • 15 ounce can Pork and Beans
    • 15 ounce can Navy Beans, drained and rinsed
    • 15 ounce can Kidney Beans, drained and rinsed
    • ¼ cup Brown Sugar
    • 2 Tbsp. Apple Cider Vinegar
    • 1 Tbsp. Yellow Mustard
    • 1 tsp. Ground Mustard
    • 2 tsp. Gluten Free Worcestershire Sauce
    • 1 ½ tsp Sea Salt
    • 1 tsp. Coarse Ground Black Pepper

    Instructions

    Preheat your oven to 350 degrees.

    In your dutch oven over medium heat pour the olive oil and cook the ground beef until just a little pink remains. Add the chopped onion and minced garlic and cook 3-4 minutes more until the onion is translucent.

    Add the bacon, barbecue sauce, butter beans, pork and beans, navy beans, kidney beans, brown sugar, apple cider vinegar, yellow mustard, ground mustard, gluten free Worcestershire sauce, salt and pepper to the beef mixture and stir to combine.

    Bake at 350 degrees for 35 minutes.

    Let cool slightly before serving.

    Notes

    Be sure to use certified gluten free Worcestershire sauce in this recipe. Standard Worcestershire sauce is not gluten free as it typically contains malt vinegar which is made from barley. Always check the label carefully and look for a product that is specifically labeled certified gluten free. Lea and Perrins is one of the most widely available brands and their Worcestershire sauce is considered gluten free in the United States, but always verify the label on the bottle you purchase to be sure.
    • Prep Time: 10 minutes
    • Cook Time: 35 minutes
    • Category: Main Dish, Beans
    • Method: Baking
    • Cuisine: American

    Did you make this recipe?

    Tag @smallfarmbiglife on Instagram and hashtag it #smallfarmbiglife

    If you make these Gluten Free Cowboy Baked Beans I would love to hear what you think! Leave a star rating and a comment below and let me know what occasion you served them for.

    Don't forget to save this recipe to your Pinterest boards so you can find it again all summer long!

    Storage

    Store leftover gluten free cowboy baked beans in a sealed airtight container in the refrigerator for up to 3 to 5 days. These beans reheat beautifully and the flavor gets even better the next day as the sauce continues to develop overnight. Reheat on the stovetop over medium low heat stirring occasionally until warmed through, or microwave individual portions in a covered bowl. These cowboy baked beans also freeze well. Store in a freezer safe container for up to 3 months and thaw overnight in the refrigerator before reheating.

    Top Tip

    Do not drain the pork and beans before adding them to the dutch oven. The liquid in the can is part of what creates the rich and saucy base for these cowboy baked beans. All of the other canned beans should be drained and rinsed as the recipe calls for, but keeping the pork and beans liquid in the pot adds flavor and helps the sauce come together beautifully during baking. If you drain all four cans of beans the finished dish will be too thick and dry rather than saucy and rich.

    Didn't find the answer you're looking for?

    Ask AI to answer based on this recipe:

    ChatGPT
    Google AI
    Perplexity
    Grok
    Claude

    Frequently Asked Questions

    What are cowboy baked beans?

    Cowboy baked beans are a hearty and flavor packed version of classic baked beans that are loaded with meat, typically ground beef and bacon, along with multiple types of beans and a rich smoky BBQ sauce. Unlike traditional baked beans which are usually served as a simple side dish, cowboy beans are substantial enough to serve as a complete main course. The combination of sweet, smoky, and tangy flavors from the BBQ sauce, brown sugar, apple cider vinegar, and mustard is what makes them so irresistible.

    Can I make these cowboy baked beans ahead of time?

    Absolutely and I actually recommend it! These beans taste even better the next day after the flavors have had more time to develop and meld together overnight in the refrigerator. You can assemble the entire dish and bake it a day ahead, then reheat it covered in a 350 degree oven for about 20 minutes before serving. They are also a great make ahead option for summer cookouts and potlucks since they travel well and reheat beautifully.

    Can I make these cowboy baked beans in a slow cooker?

    Yes! To make these in a slow cooker, brown the ground beef and cook the onion and garlic on the stovetop first, then transfer everything to your slow cooker and add all of the remaining ingredients. Cook on low for 6 to 8 hours or on high for 3 to 4 hours. The slow cooker version is a great option for summer entertaining because it keeps the beans warm throughout the party without heating up your kitchen.

    What kind of BBQ sauce should I use for this recipe?

    Any BBQ sauce you enjoy works well in this recipe. Just make sure to check the label and use a certified gluten free BBQ sauce as many store bought versions contain gluten. A smoky or hickory flavored BBQ sauce gives the beans the most classic cowboy flavor but a sweet BBQ sauce works beautifully too. If you prefer a spicier version look for a chipotle or spicy BBQ sauce for an extra kick.

    Can I make this recipe without ground beef?

    Yes! If you want to make a meatless version you can omit the ground beef entirely and the beans will still be hearty and delicious thanks to the bacon and the four types of beans. You can also substitute ground turkey or ground chicken for the beef if you prefer a lighter option. The cooking time and method remain the same regardless of which protein you choose.

    Can I use different types of beans in this recipe?

    Absolutely. The four bean combination of butter beans, navy beans, kidney beans, and pork and beans is what gives these cowboy beans their hearty texture and variety but you can easily swap in whatever canned beans you have on hand. Great northern beans, black beans, or cannellini beans all work well as substitutes. Just remember to drain and rinse all of the canned beans except for the pork and beans, which should go in with their liquid for the best sauce consistency.

    • « Previous Page
    • 1
    • …
    • 17
    • 18
    • 19
    • 20
    • 21
    • …
    • 30
    • Next Page »

    Welcome! I'm Elaine

    I'm so glad you are here! I share easy gluten free recipes from my small farm in Washington.

    Be sure to sign up for my newsletter to stay up to date on all of my new recipes.

    More about me...
    • Instagram
    • Pinterest
    • Facebook
    • Twitter
    • Mail

    Load up on new recipes, exclusive goodies, + more!
    Sign up below to stay up-to-date on news, events, and special deals.
    Thank you for subscribing!

    Easy Meals Recipes

    • Gluten Free Instant Pot Chili Mac and Cheese
    • Gluten Free Taco Casserole
    • Gluten Free Cowboy Baked Beans
    • Gluten Free Walking Taco Casserole
    • Gluten Free Creamy Beef and Mushroom Pasta
    • Gluten Free Instant Pot Chicken and Dumplings
    • Instant Pot Mexican Style Beef and Rice
    • Gluten Free Chicken Parmesan Pasta Casserole
    • Gluten Free One Pot Hamburger Helper Copycat
    • Gluten Free Salisbury Steak with Mushroom Gravy
    • Gluten Free Air Fryer Fajitas
    • Gluten Free Sloppy Joe Casserole

    Footer

    back to top

    About

    • Privacy Policy
    • Shop my Amazon Page
    • Follow me on LTK

    Newsletter

    • Sign Up! for emails and updates

    Contact

    • Contact
    • Media Kit
    • About Me

    As an Amazon Associate I earn from qualifying purchases.

    I may get commissions for purchases made through links on this site.

    Copyright © 2026 Brunch Pro on the Brunch Pro Theme