Fall means apples, pumpkin, and warm spices in everything. This collection rounds up my favorite gluten free fall recipes, all in one place. You'll find cozy breakfasts, apple desserts, pumpkin treats, and a few fall drinks to sip along the way.
Easy Gluten Free Fall Recipes
Whether you're baking for a weekend gathering or prepping ahead for Thanksgiving, there's something here for every occasion.
I've organized these recipes into a few easy categories, so whether you're craving something sweet, looking for a make ahead breakfast, or want a cozy drink to sip on a cool afternoon, you can jump straight to what sounds good.
If you are looking for more fall recipes try my 10 Gluten Free Game Day Snacks & Sweets, my Delicious Gluten Free Thanksgiving Recipes, My Favorite Gluten Free Air Fryer Recipes or my 10 Gluten Free Chocolate Desserts.
Cozy Gluten Free Fall Breakfasts
Start your morning off right with these warm, fall inspired breakfasts. From baked oatmeal to pancakes to a make ahead french toast casserole, there's something here for a slow weekend morning or a quick weekday breakfast.

Gluten Free Chai Spice Scones
These gluten free chai spice scones are the ultimate cozy fall recipe, perfect for breakfast, an afternoon snack, or a holiday brunch. Light, tender, and full of warm chai spice, they're an easy homemade recipe that feels both comforting and special.

Gluten Free Apple Spice Muffins
This easy recipe for gluten free apple spice muffins is the perfect healthy breakfast! These muffins are dairy free and super moist. Cinnamon helps make these the best gluten free muffins you will ever make.

Overnight Apple Pie Chia Pudding
This Overnight Apple Pie Chia Pudding is the breakfast that tastes like dessert and takes about ten minutes to put together the night before. What makes this version different from every other apple pie chia pudding you will find is the applesauce in the pudding base itself. Most recipes add apple flavor only through the topping but by mixing applesauce directly into the chia pudding you get that warm apple cinnamon flavor in every single bite from bottom to top.

Gluten Free Pumpkin Cranberry Breakfast Cookies
This healthy recipe for gluten free pumpkin cranberry breakfast cookies is perfect for starting the day or packing in lunches. These easy pumpkin cookies have oatmeal, pecans, pumpkin seeds and pumpkin puree in the recipe. They go great with coffee or a glass of milk first thing in the morning.
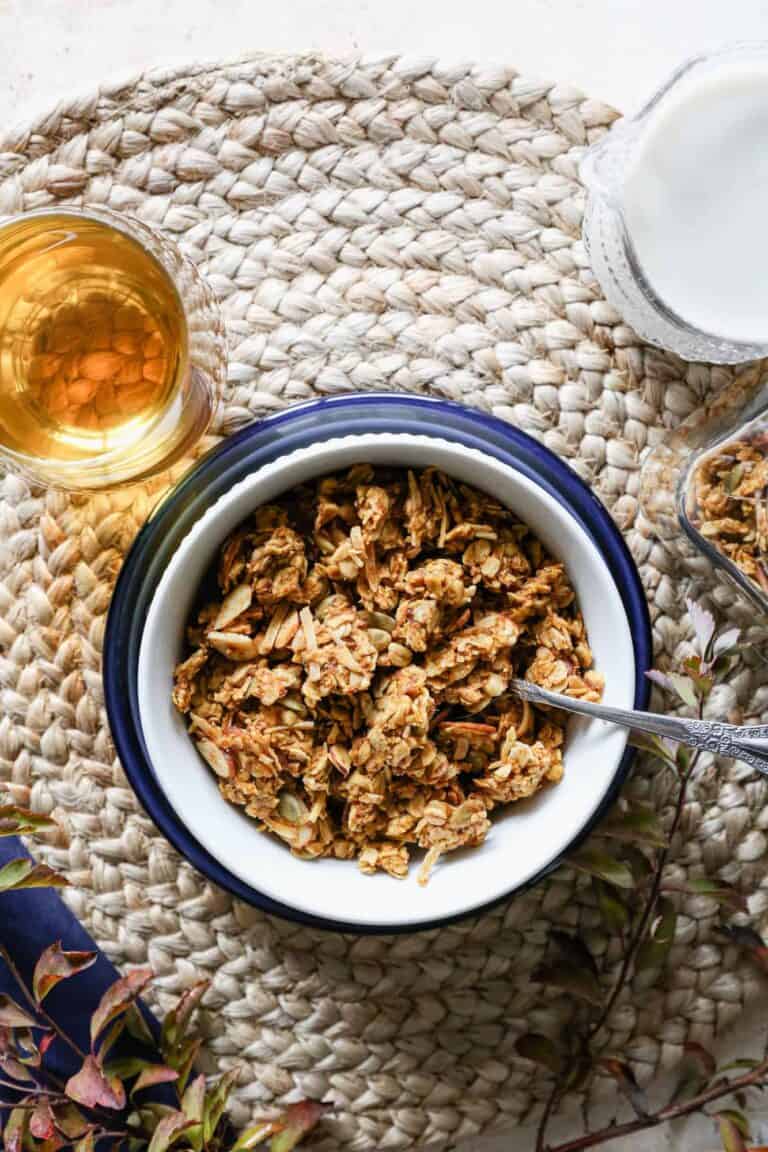
Gluten Free Pumpkin Pie Granola
This healthy and homemade gluten free pumpkin pie granola is so easy to make! My recipe walks you through a diy recipe for gluten free granola. This makes a great breakfast or snack.
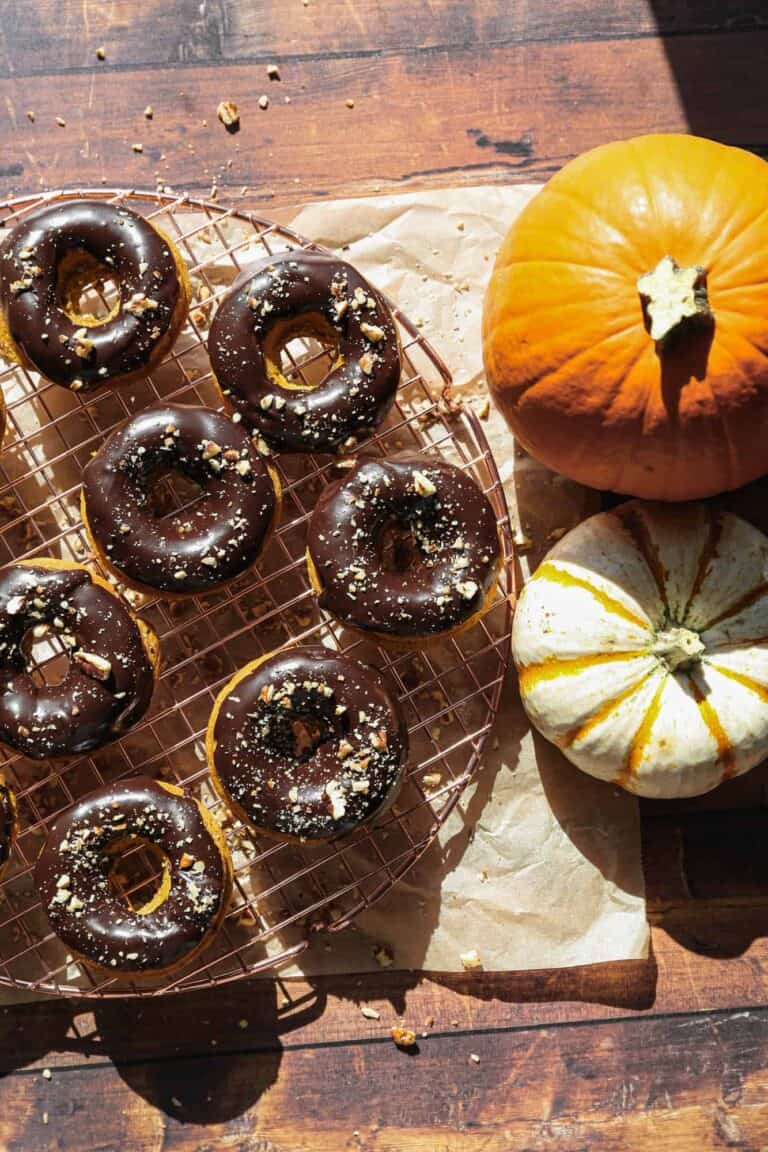
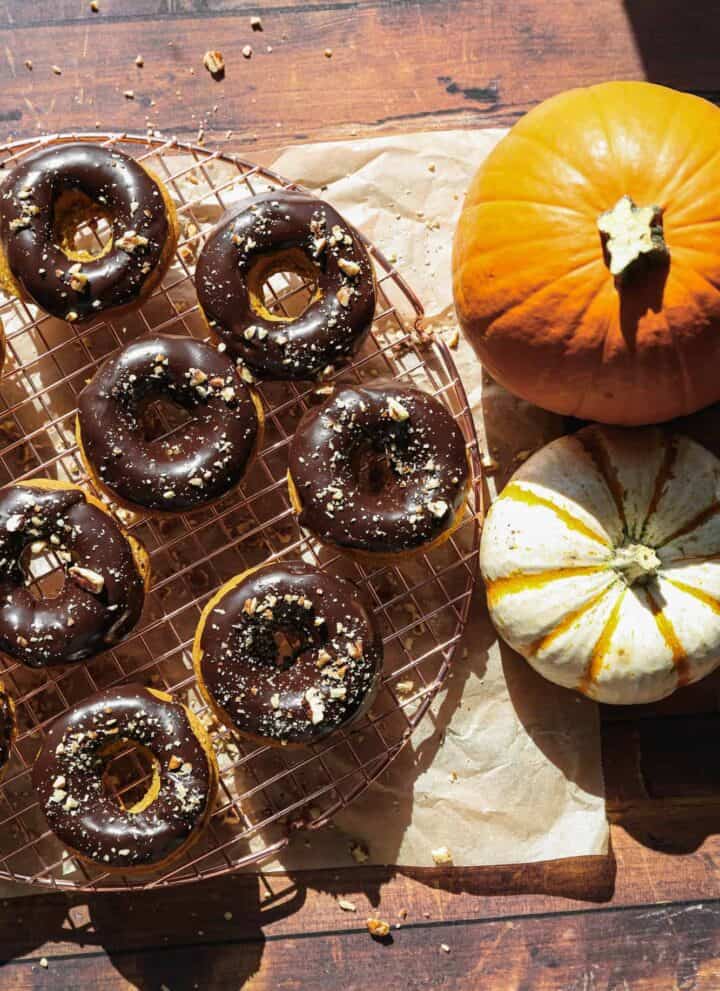
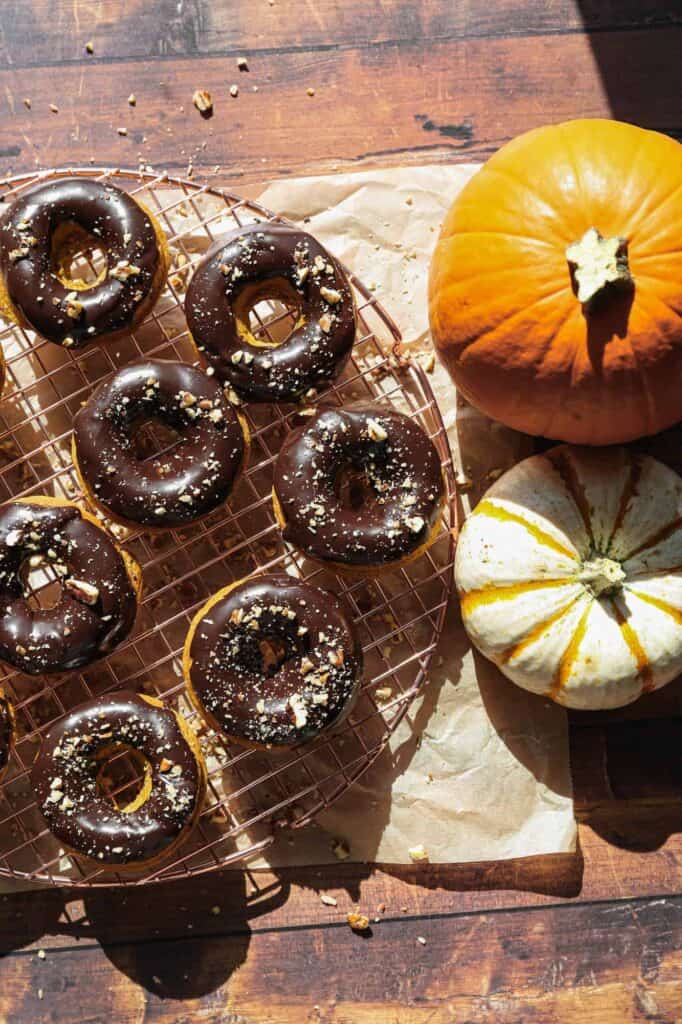
Gluten Free Baked Pumpkin Donuts with Chocolate Glaze
These easy gluten free baked pumpkin donuts have an amazing homemade chocolate glaze! For this recipe you don't need a fryer and just use your oven. They are the best fall treat or breakfast!

Gluten Free Apple Carrot Muffins
These easy and healthy gluten free apple carrot muffins are moist and make a great breakfast. This recipe is the best for quick and simple muffins. They are very similar to morning glory muffins.
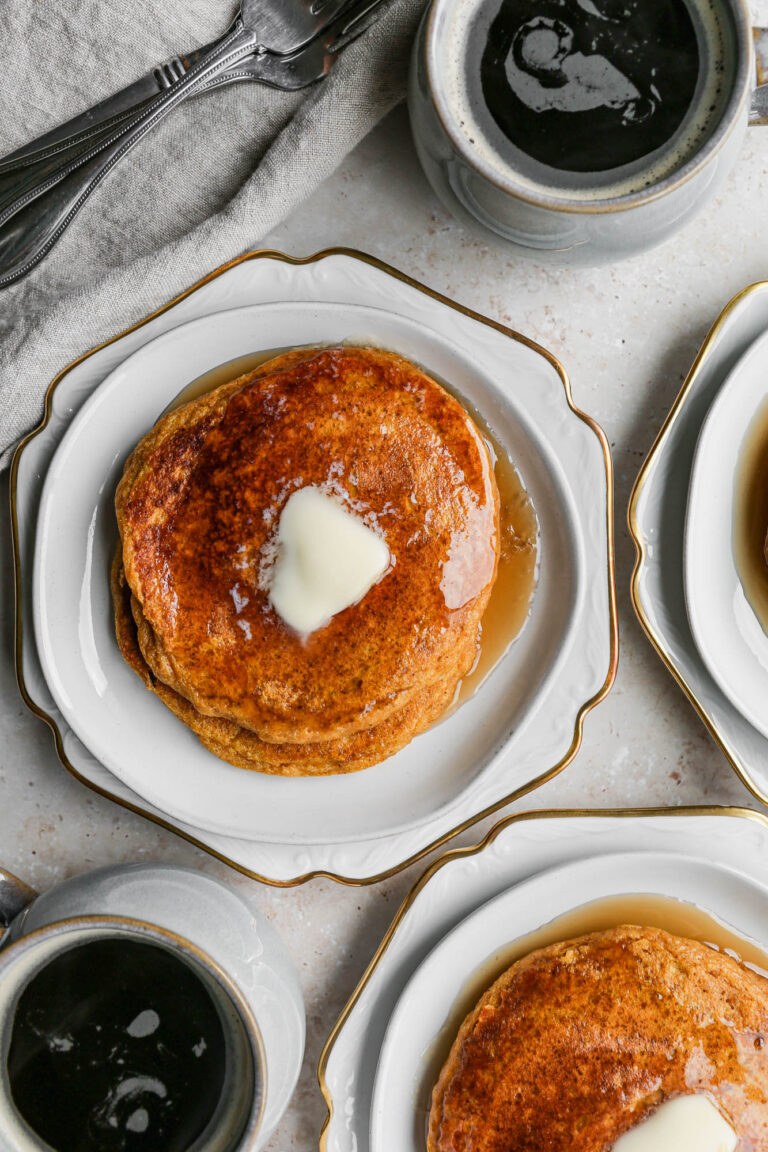
Gluten Free Pumpkin Spice Pancakes
This easy recipe for gluten free pumpkin spice pancakes is the perfect fall breakfast! These healthy pancakes are made with maple syrup and pumpkin puree. It's really easy to make fluffy pancakes from scratch for brunch, breakfast or dinner.

Pumpkin Apple Baked Oatmeal with Streusel Topping
This easy recipe for pumpkin apple baked oatmeal with streusel topping is the perfect breakfast! It's a healthy oatmeal casserole that can be made ahead to serve a crowd or for individual servings for meal prepping. The delicious pumpkin apple oats are topped with a sweet and salty crumble streusel with walnuts for crunch.
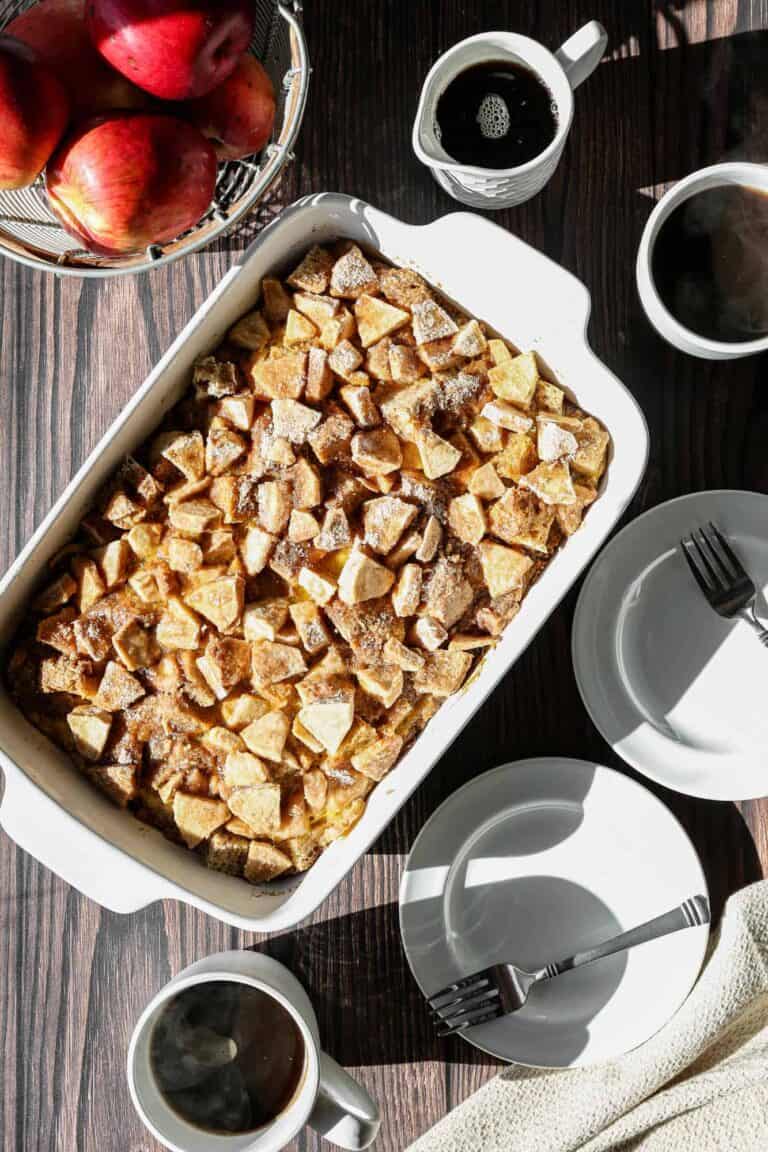
Gluten Free Apple Cinnamon French Toast Casserole
This easy recipe for gluten free apple cinnamon french toast casserole is baked the same day. You can have breakfast ready to eat in under an hour. It is delicious with maple syrup or on it's own. I love this recipe for brunch!
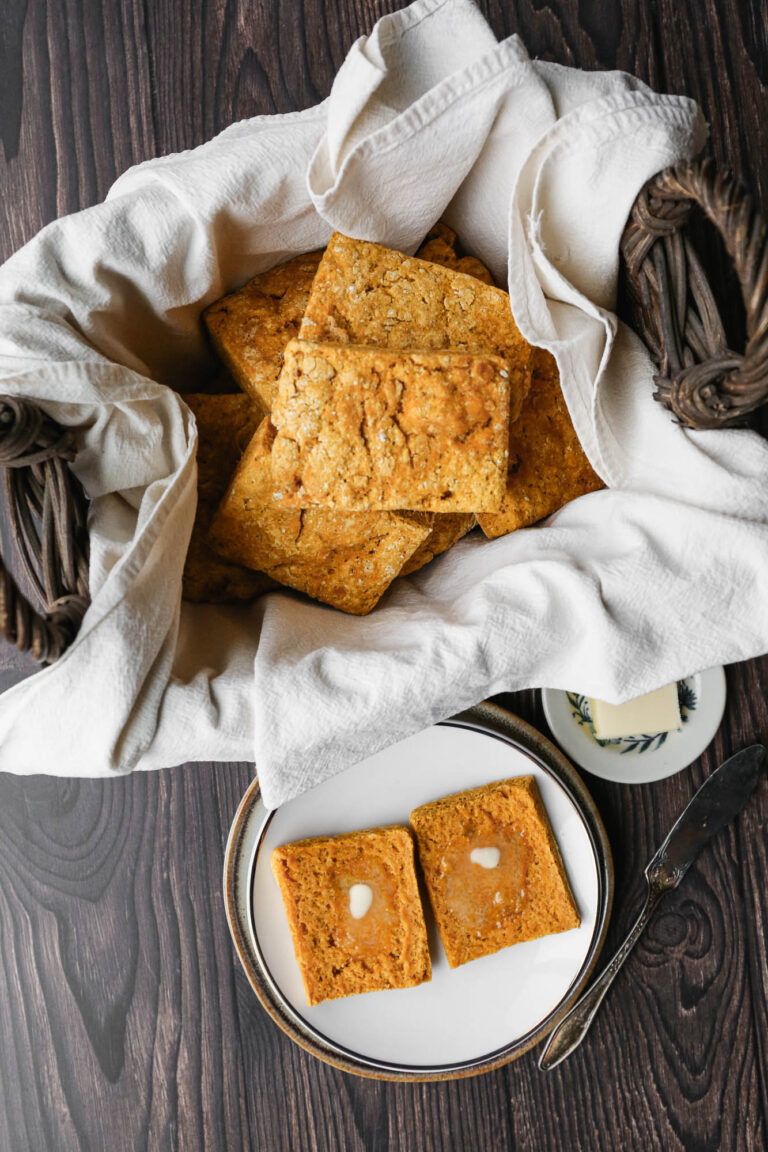
Gluten Free Sweet Potato Biscuits
This easy recipe for gluten free sweet potato biscuits is perfect to go along with a meal. These homemade biscuits are delicious warm and slathered with butter. I love to serve these simple gluten free biscuits with soup or on their own with some jam for breakfast.
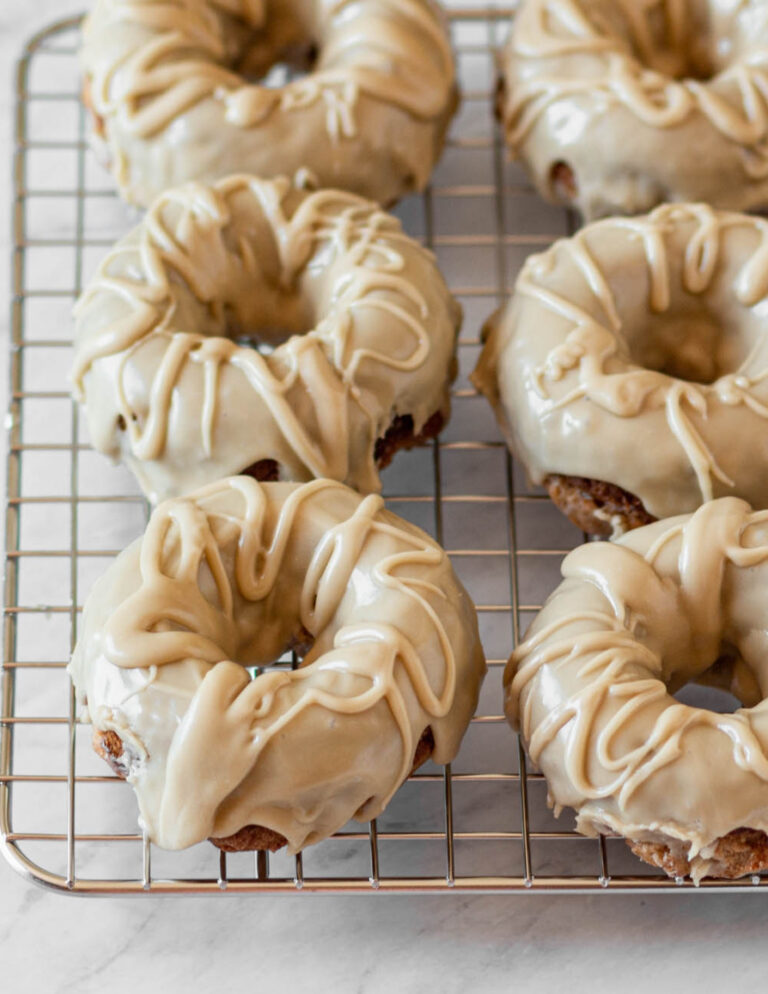
Gluten Free Cinnamon Sugar Baked Donuts
These gluten-free & dairy-free baked cinnamon sugar donuts are delicious and easy to make.
Hearty Fall Soups & Mains
When the weather turns cooler, it's time for soups, casseroles, and comforting dinners that fill up the whole house with a good smell. This category has everything from slow cooker classics to quick Instant Pot meals, perfect for busy fall weeknights or a cozy Sunday dinner.
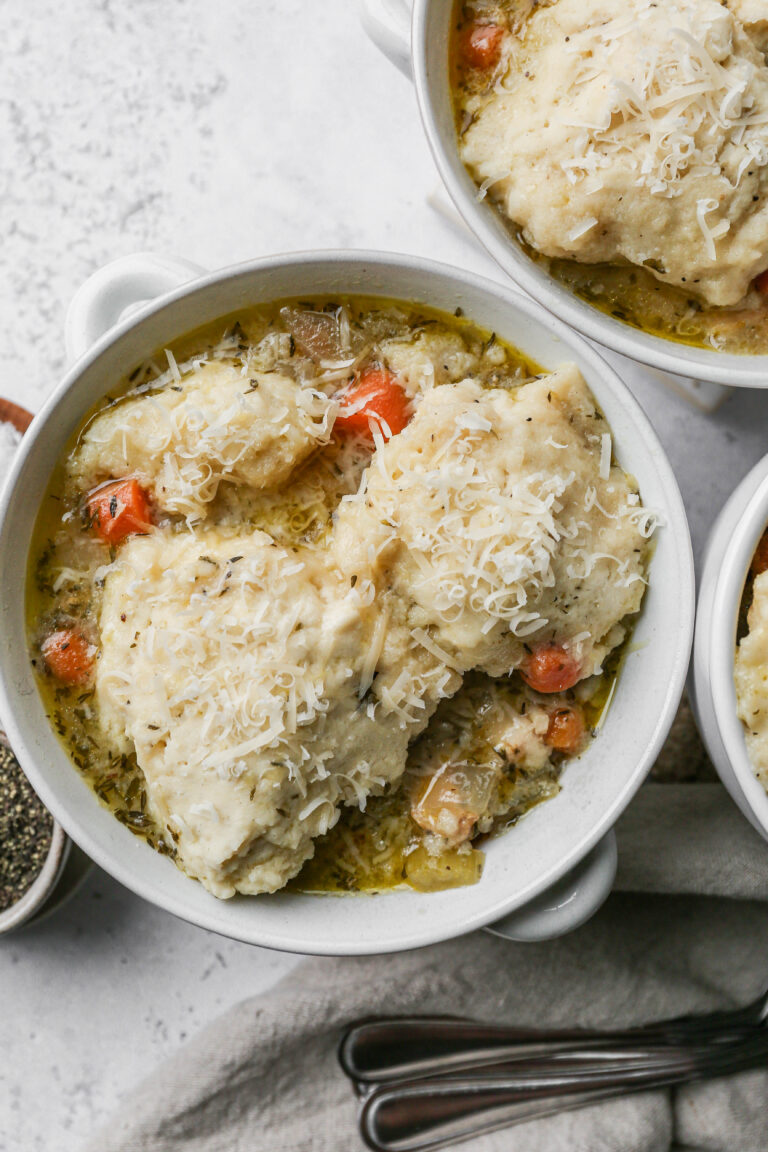
Gluten Free Instant Pot Chicken & Dumplings
This easy homemade gluten free Instant Pot chicken and dumplings recipe is the best! The gluten free biscuits are made from scratch in this healthy soup. This is a quick Instant Pot recipe for an easy weeknight meal.
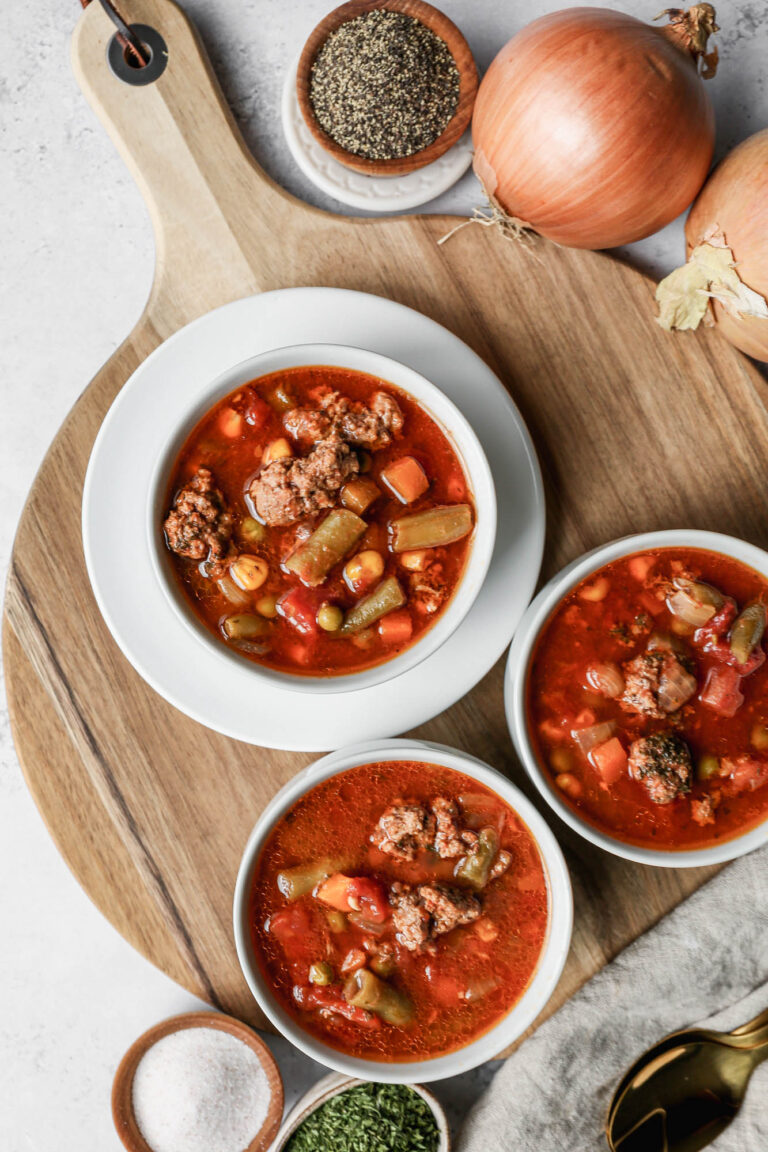
Instant Pot Beef and Vegetable Soup
This healthy, gluten free beef and vegetable soup in made in the Instant Pot. This is the best recipe for a quick and hearty meal! Using frozen vegetables it's easy and inexpensive to make this soup.
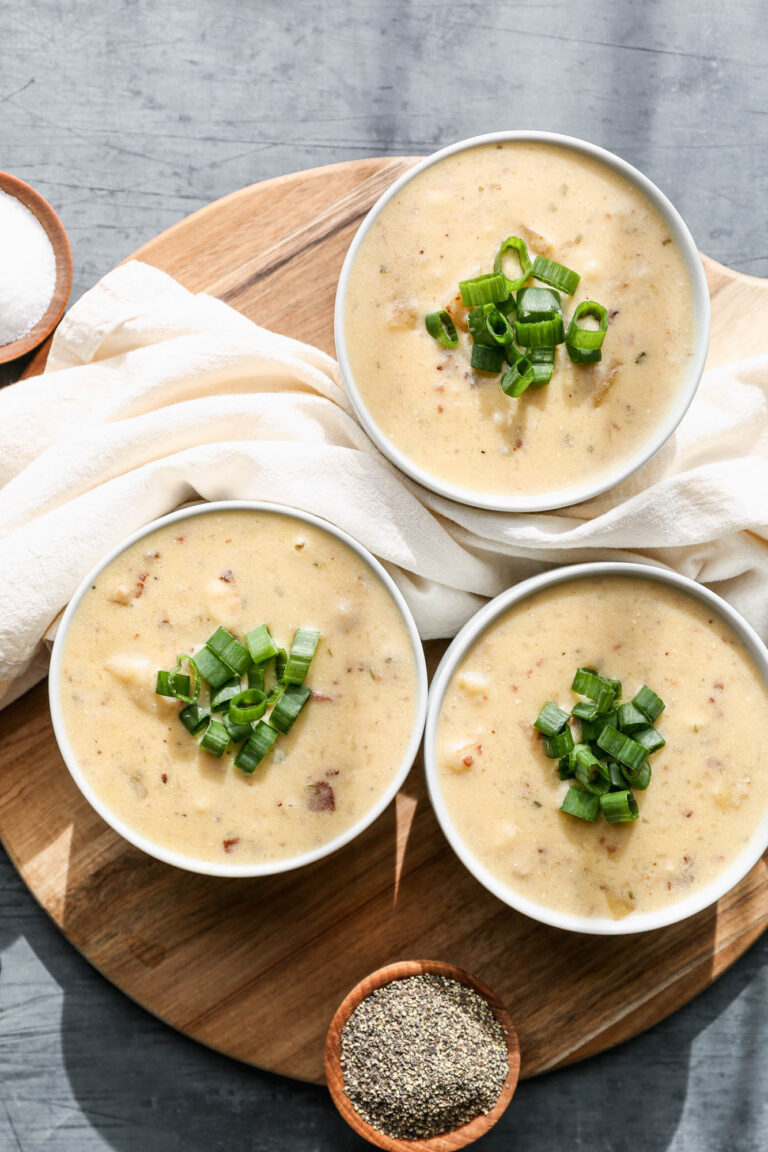
Gluten Free Instant Pot Baked Potato Soup
This easy recipe for gluten free instant pot baked potato soup is a one pot meal made in 30 minutes. Using your pressure cooker this creamy soup is made with bacon, chicken broth and sour cream. This soup recipe is a perfect comfort food weeknight meal.
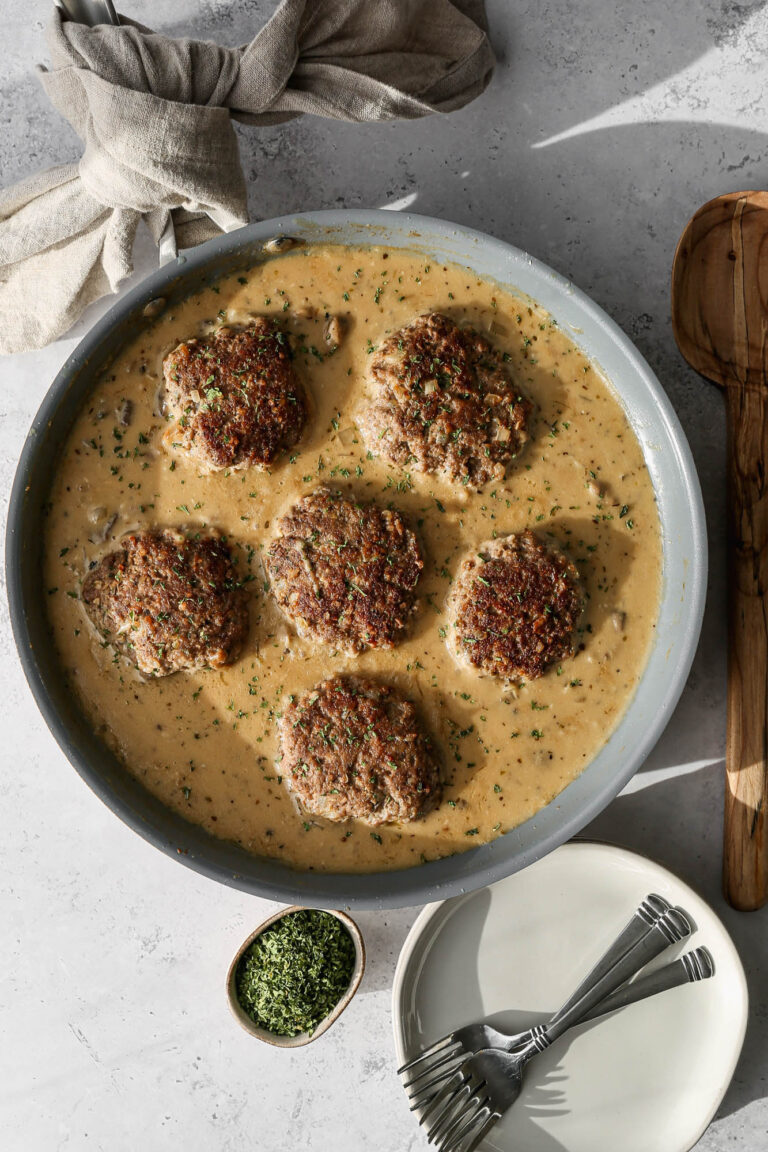
Gluten Free Salisbury Steak with Mushroom Gravy
This Gluten Free Salisbury Steak with Mushroom Gravy is one of those dinners that feels like pure comfort food from the first bite. Seasoned ground beef patties made with spicy brown mustard, dried basil, gluten free Worcestershire sauce, and grated onion get pan fried until beautifully browned and then smothered in a rich and savory mushroom gravy that you will want to pour over everything on your plate. Serve it over mashed potatoes and you have one of the most satisfying gluten free weeknight dinners you can make in about 40 minutes.
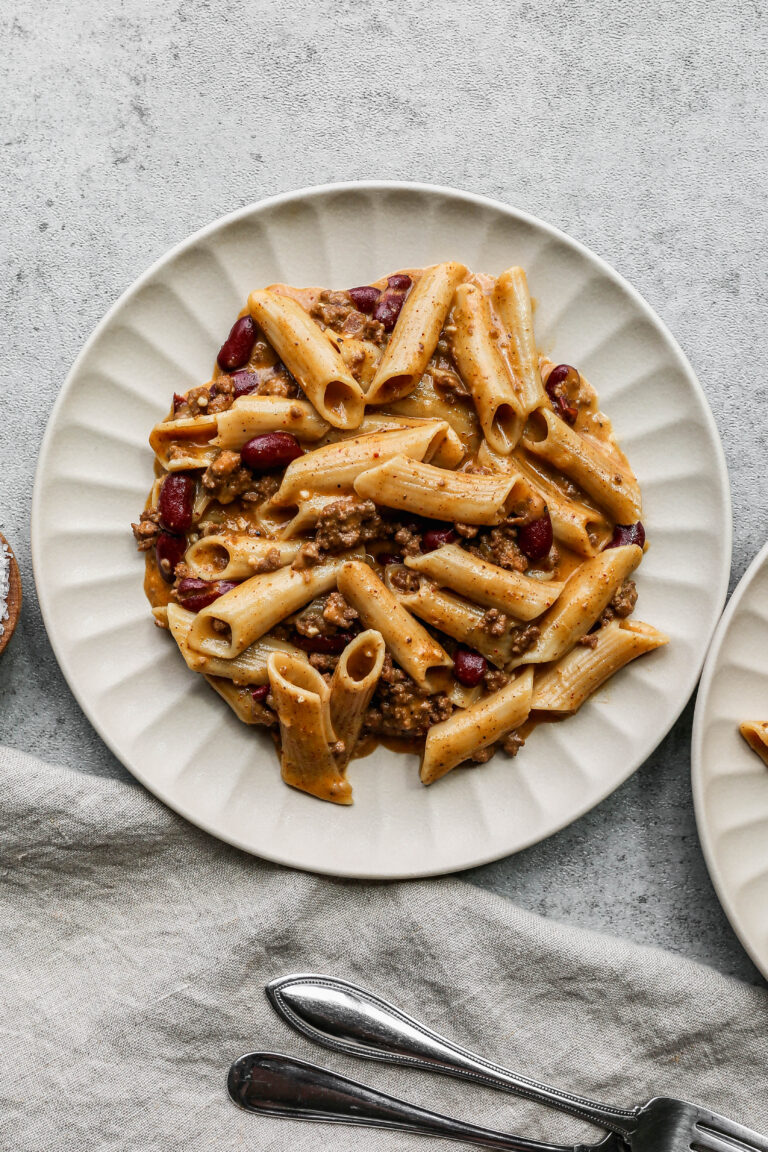
Gluten Free Instant Pot Chili Mac and Cheese
This easy recipe for gluten free instant pot chili mac and cheese is perfect for weeknight dinners. It's a cheap and simple homemade meal with ground beef, beans and pasta. This healthy instant pot pasta recipe is sure to become your families new favorite supper!

Slow Cooker Steak and Mushrooms
This slow cooker steak and mushrooms is one of those set it and forget it crockpot recipes that makes weeknight dinners so much easier. I love that you can throw everything in the slow cooker in the morning and come home to a hot, tender, flavorful meal that is completely gluten free, dairy free, and keto friendly. No canned soup required!

Gluten Free Chicken Pot Pie Casserole
This gluten free chicken pot pie casserole is the ultimate cozy comfort food that's both hearty and simple to make. With no pie crust needed, this easy chicken pot pie casserole uses fluffy biscuits on top for a quicker, fuss-free dinner.

Gluten Free Easy Ground Beef Shepherd's Pie
This Gluten Free Easy Ground Beef Shepherd's Pie is the ultimate comfort food for chilly nights! It combines savory ground beef and creamy mashed potatoes in one cozy casserole dish.
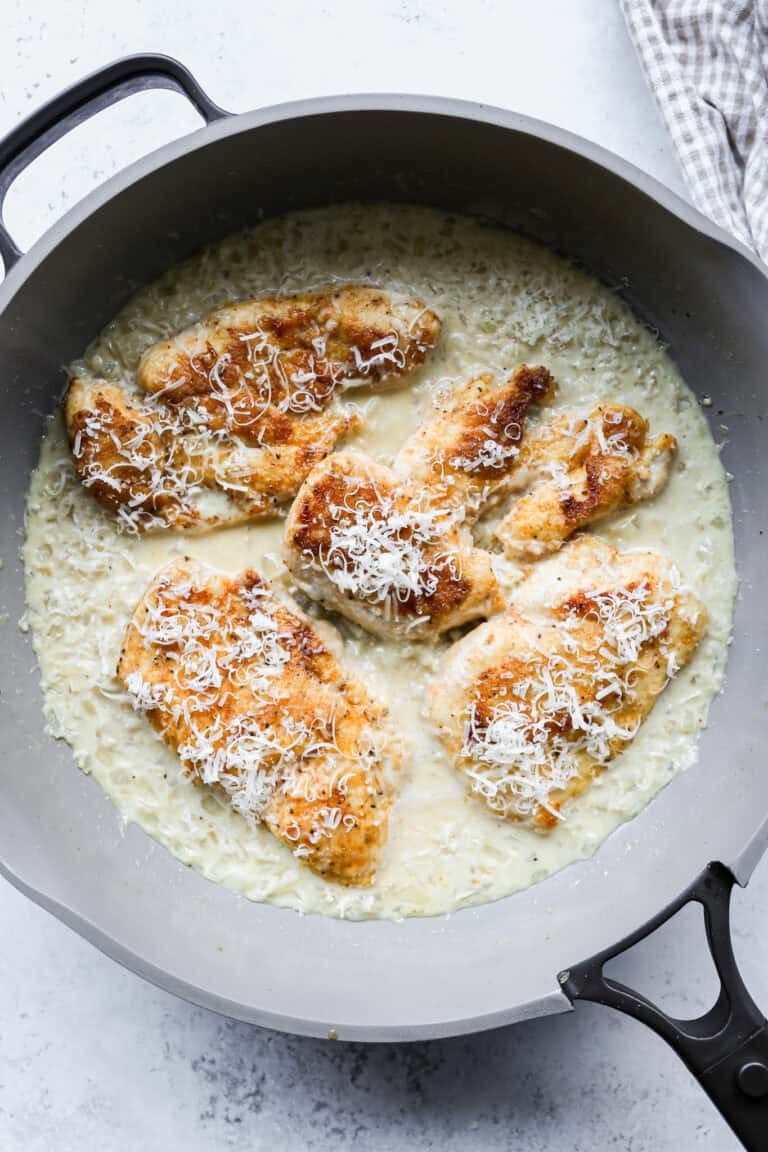
One Pan Creamy Garlic Chicken
This One Pan Creamy Garlic Chicken is the kind of quick and easy weeknight dinner you'll keep on repeat. Juicy pan seared chicken breast simmers in a rich, flavorful creamy garlic sauce, all made in one skillet for minimal cleanup.
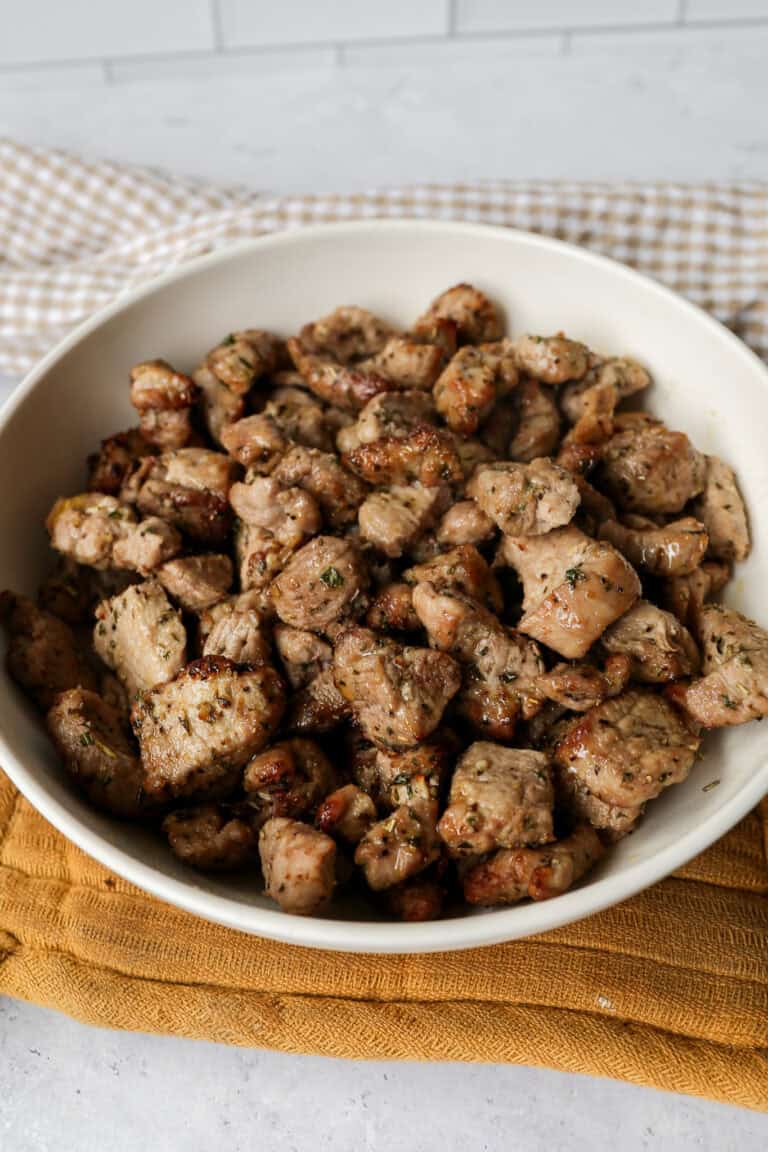
Air Fryer Pork Tenderloin Bites
These Air Fryer Pork Tenderloin Bites are the ultimate quick and easy weeknight dinner that doesn't sacrifice flavor. Juicy, tender chunks of pork tenderloin in the air fryer cook up perfectly golden on the outside while staying moist and flavorful inside.
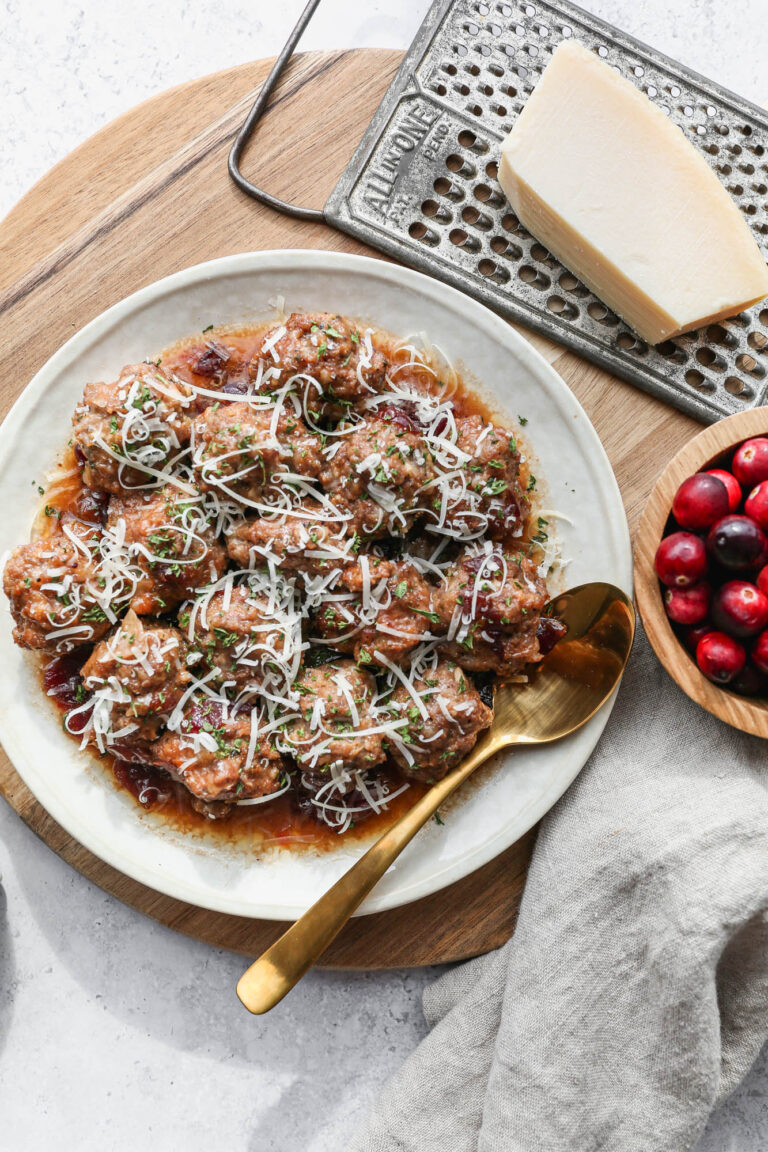
Gluten Free Slow Cooker Cranberry Meatballs
This easy recipe for gluten free slow cooker cranberry meatballs is a perfect holiday appetizer! They are cooked in your crockpot for 2-4 hours on low and then ready to serve hot. I used ground beef, but you could easily use turkey for these tangy meatballs with cranberries and chili sauce.
Fall Sides, Breads & Snacks
No fall meal is complete without a few good sides to round out the table. From homemade sourdough bread to warm skillet dishes and crispy roasted vegetables, these recipes pair perfectly with any of the mains above or stand well on their own.
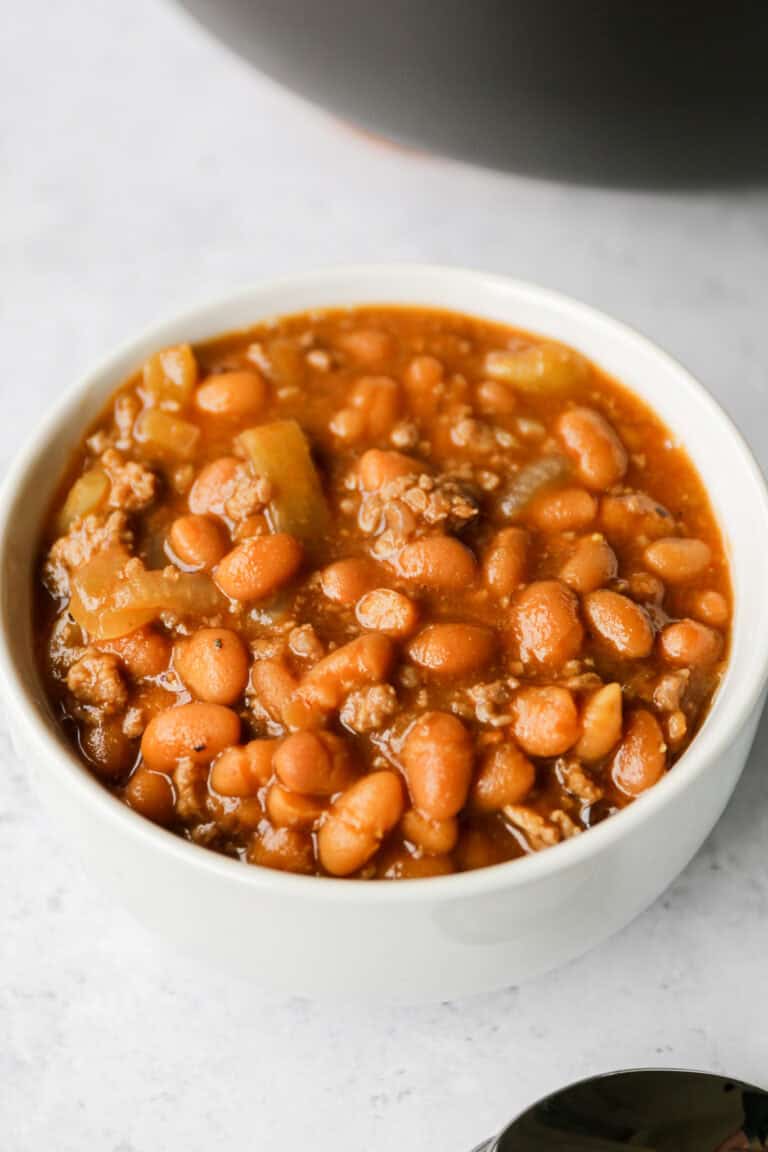
Gluten Free Baked Beans with Ground Beef
These Gluten Free Baked Beans with Ground Beef are the easiest one pot side dish you can bring to a summer cookout or potluck. Ground beef and onion are browned right in a Dutch oven, then canned baked beans, gluten free Worcestershire sauce, mustard, and brown sugar are stirred in and baked until hot and bubbling.
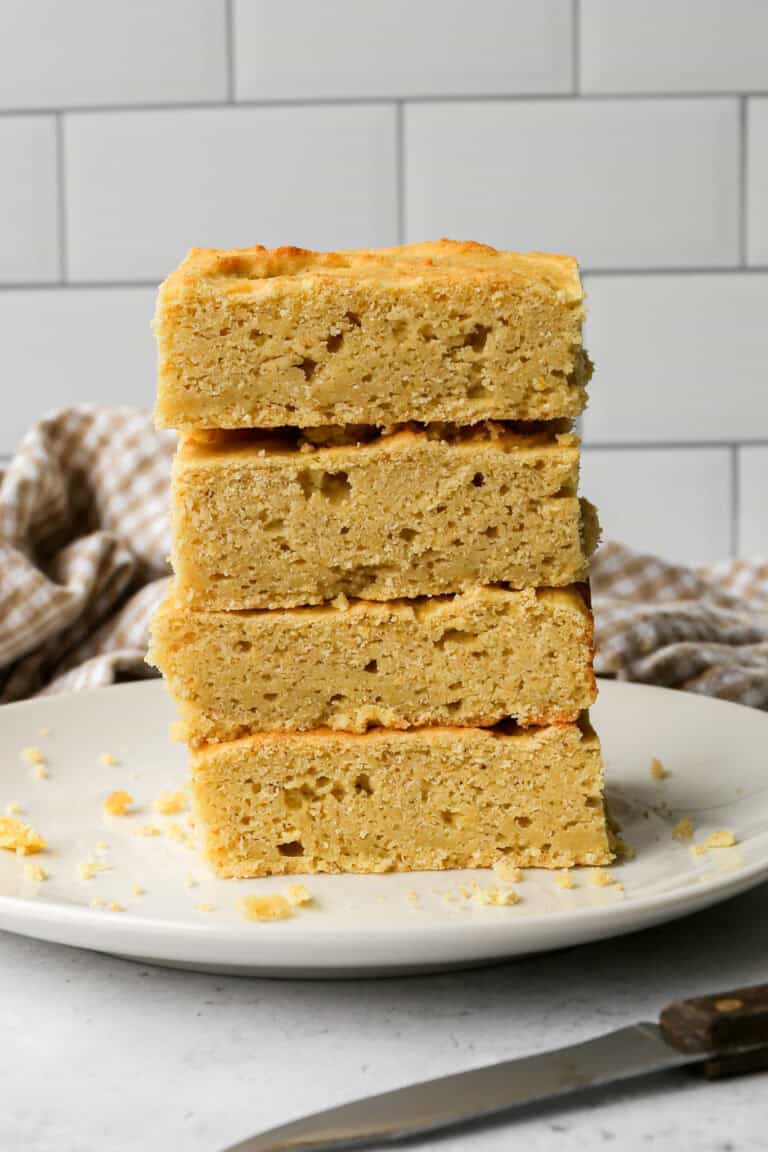
Gluten Free Buttermilk Cornbread
Sometimes the simplest recipes are the best ones and this Gluten Free Buttermilk Cornbread is proof of that. It uses eight ingredients, one 8x8 pan, and takes about 30 minutes from start to finish. The buttermilk gives this cornbread a subtle tang and keeps the crumb incredibly moist and tender. The butter makes every bite rich and satisfying. And the touch of sugar gives it just the right amount of sweetness without tipping into dessert territory.
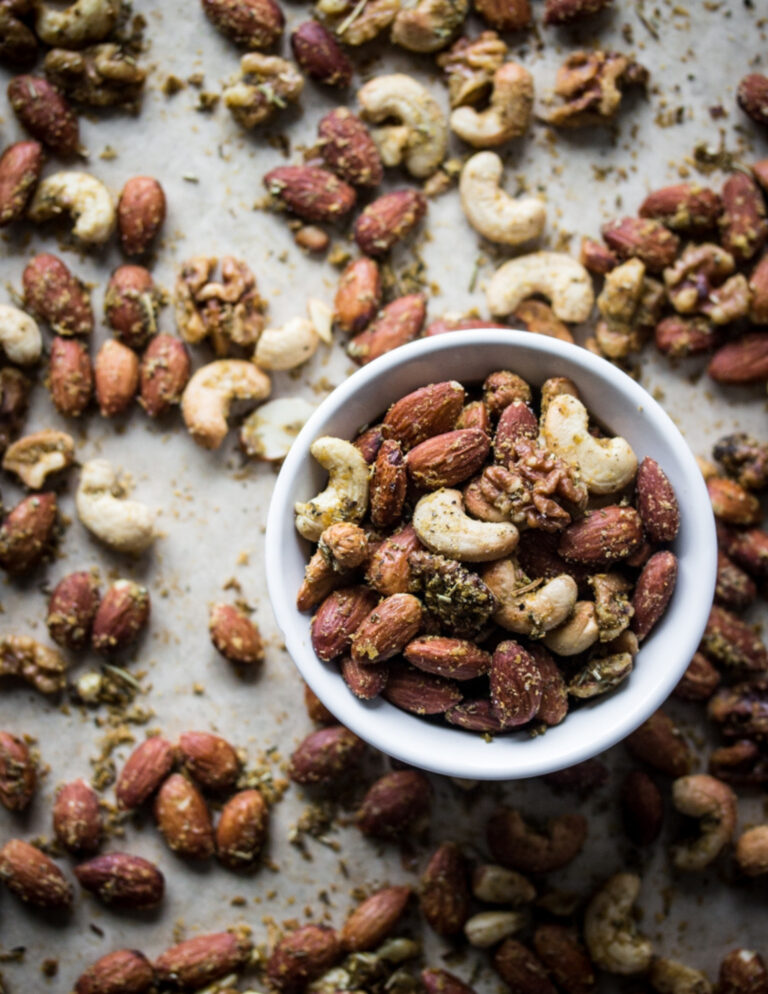
Air Fryer Savory Herb Roasted Nuts
These Air Fryer Savory Herb Roasted Nuts are the snack I make when I want something that tastes like it came from a fancy nut shop but takes about ten minutes and costs a fraction of the price. A mix of almonds, cashews, walnuts, and pecans gets tossed in olive oil, fresh herbs, warming spices, and the secret ingredient that makes all the difference: nutritional yeast. That one addition gives these nuts the deeply savory and almost cheesy flavor you taste in premium store bought seasoned nut mixes and you simply cannot replicate it without it.
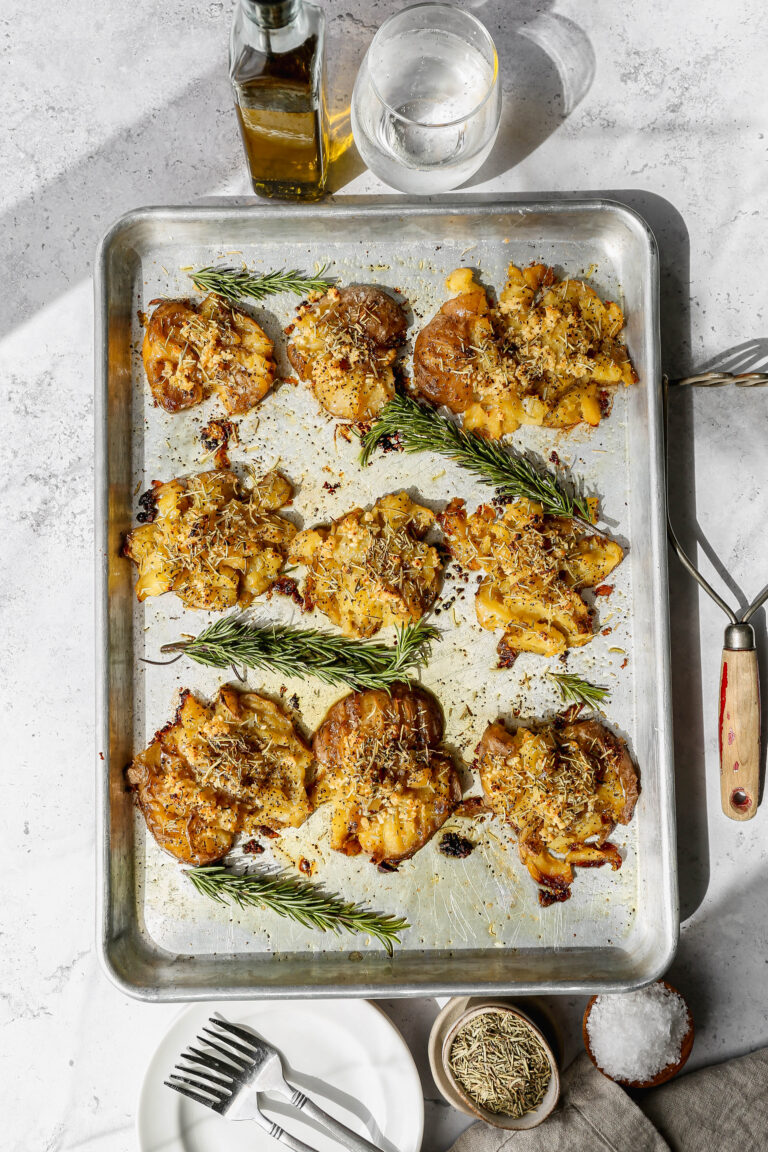
Crispy Garlic and Rosemary Smashed Potatoes
This recipe for crispy garlic and rosemary smashed potatoes is easy to make with yukon gold or russet potatoes. I like to cook my potatoes in the instant pot and then bake them in the oven until they are crispy. The cooked potatoes are mashed and then roasted. I show you how to make this simple recipe. #glutenfree #recipe #potatoes
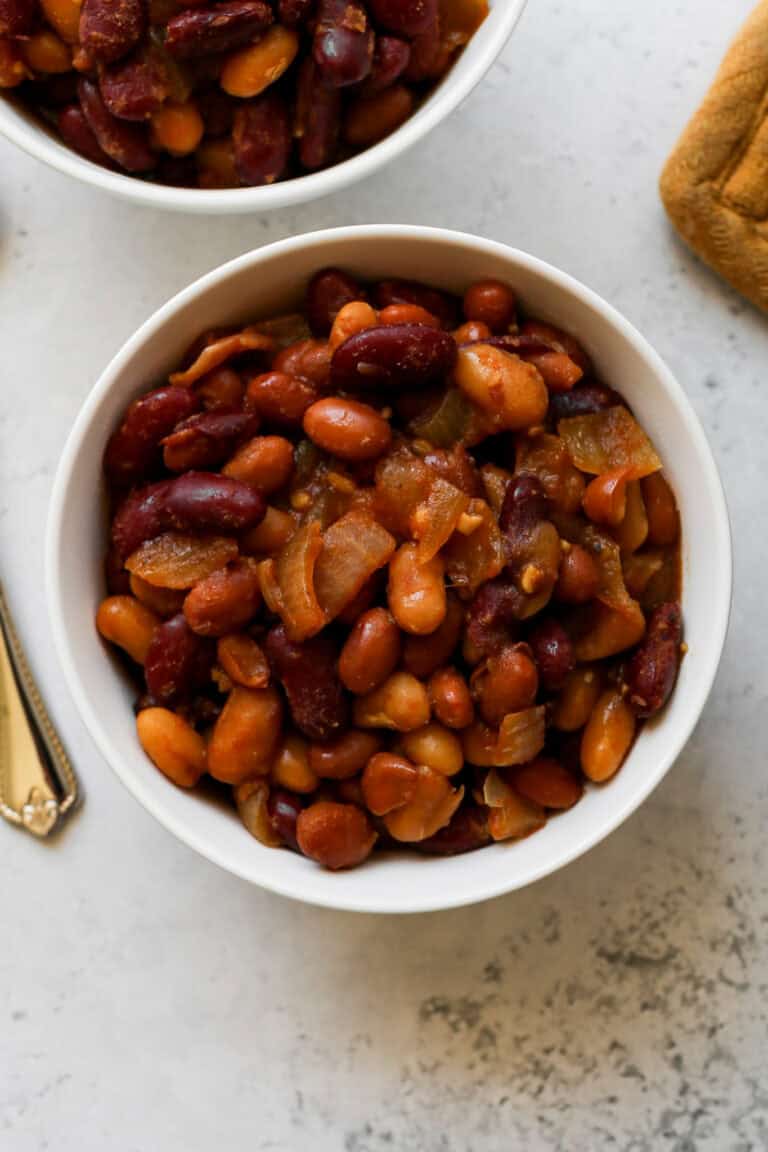
Gluten Free Slow Cooker Baked Beans
These gluten free slow cooker baked beans might be the easiest side dish I make all year. There's no soaking dried beans overnight and no bacon to cook on the stovetop first. I just drain and rinse the cans of beans, dump everything else right into the slow cooker, give it a stir, and walk away. A few hours later, dinner is basically done for you.
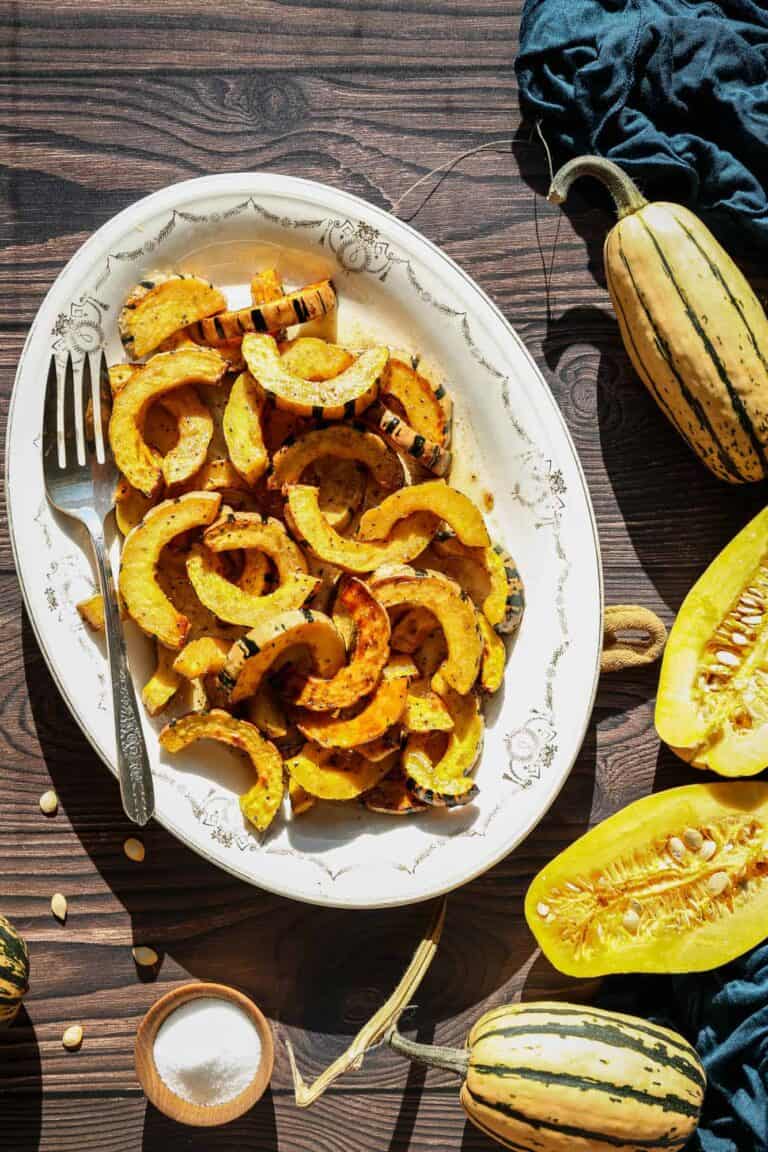
Air Fryer Roasted Maple Delicata Squash
This Air Fryer Maple Delicata Squash is the fall side dish I look forward to making every single year. Delicata squash is my absolute favorite winter squash and I grow it in my garden every season specifically because it is the easiest squash to work with. No peeling, no wrestling with a rock hard butternut skin, and no special equipment required.
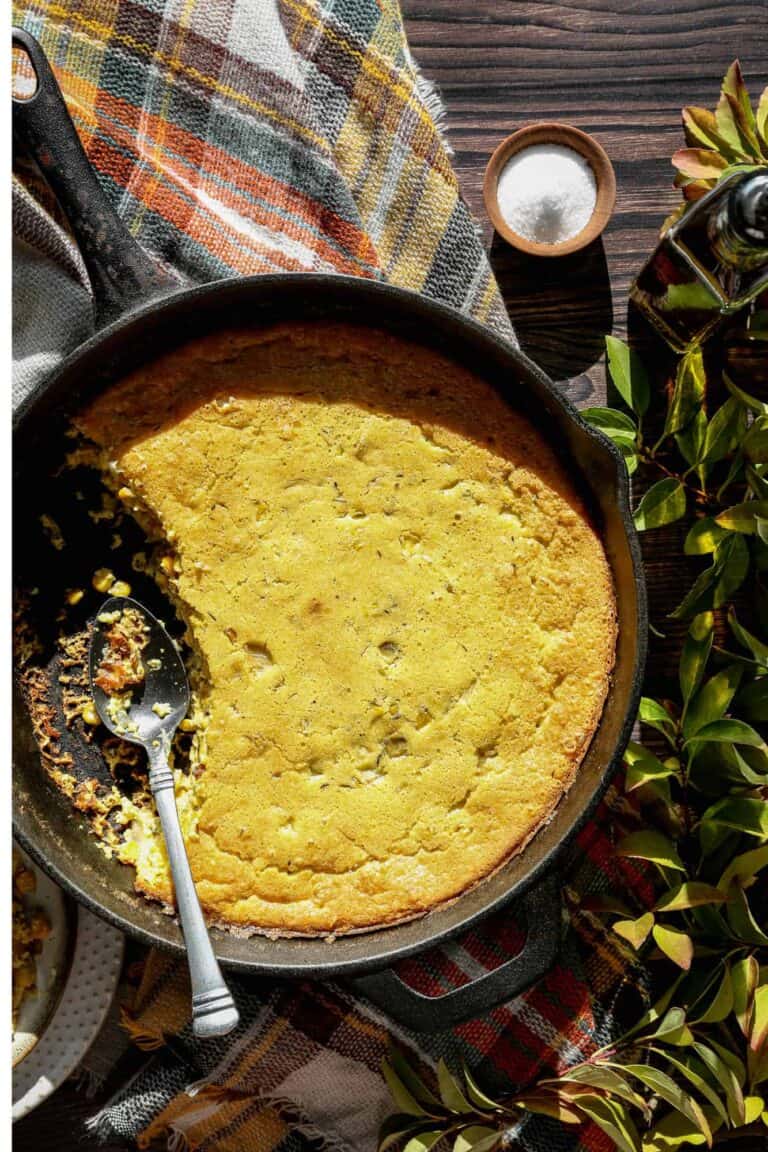
Gluten Free Corn Pudding Skillet
This easy recipe for gluten free corn pudding skillet makes a great Thanksgiving side dish. This baked casserole is healthy and homemade. This new version of an old fashioned recipe makes the best savory corn pudding.

Baked Kale and Zucchini Pilaf
This easy recipe for gluten free baked kale and zucchini pilaf is made with jasmine rice and lots of green veggies. It's a perfect side dish with steak, chicken or on it's own for a light meal. This rice casserole has cream cheese and spices for a delicious, creamy flavor.

Gluten Free Cowboy Baked Beans
These gluten free cowboy baked beans are the kind of recipe that makes everyone at the table go back for seconds. Ground beef, crispy bacon, four types of beans, and a rich smoky BBQ sauce all come together in one dutch oven and bake into the most hearty and satisfying dish you will ever make. The combination of butter beans, navy beans, kidney beans, and pork and beans gives every bite a different texture and the bold sauce made with brown sugar, apple cider vinegar, yellow mustard, and BBQ sauce is sweet, tangy, and absolutely irresistible.
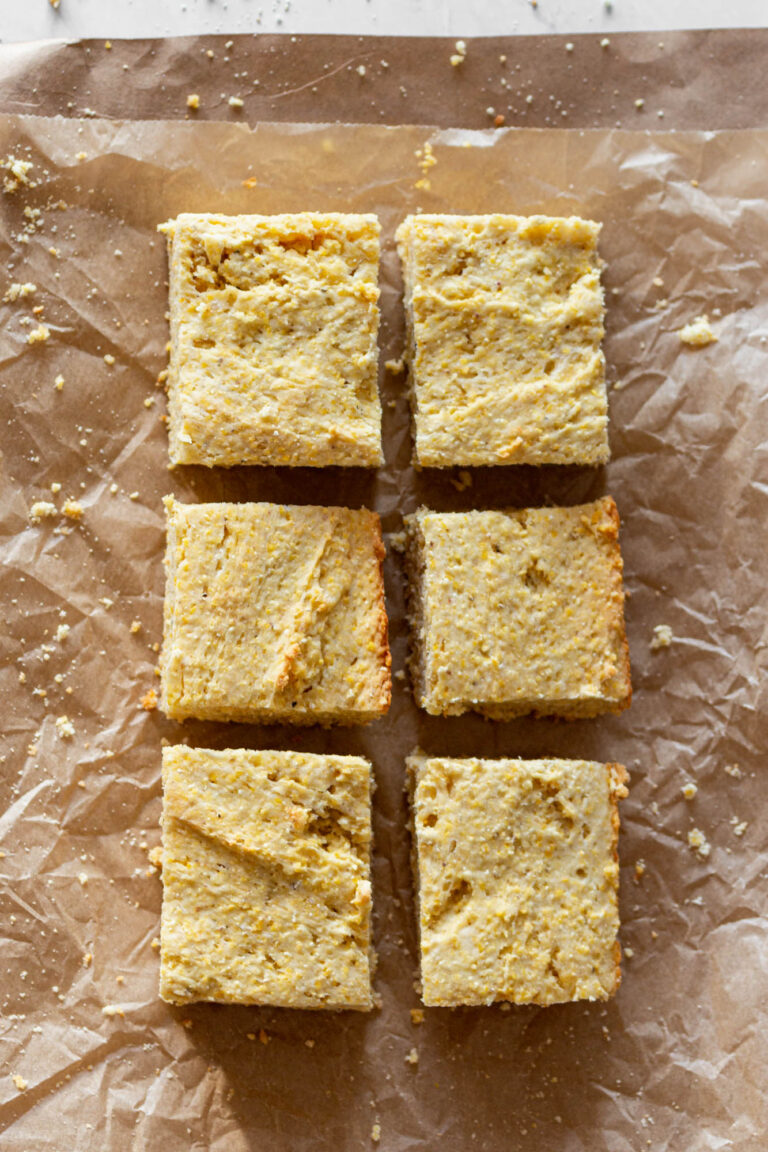
Gluten Free Cornbread
This easy gluten free cornbread is one of those recipes that belongs in every gluten free kitchen and once you make it from scratch you will never go back to a box mix. Made with gluten free cornmeal and gluten free flour, this homemade cornbread bakes up perfectly golden on the edges with a soft and tender center that is slightly sweet and absolutely delicious.
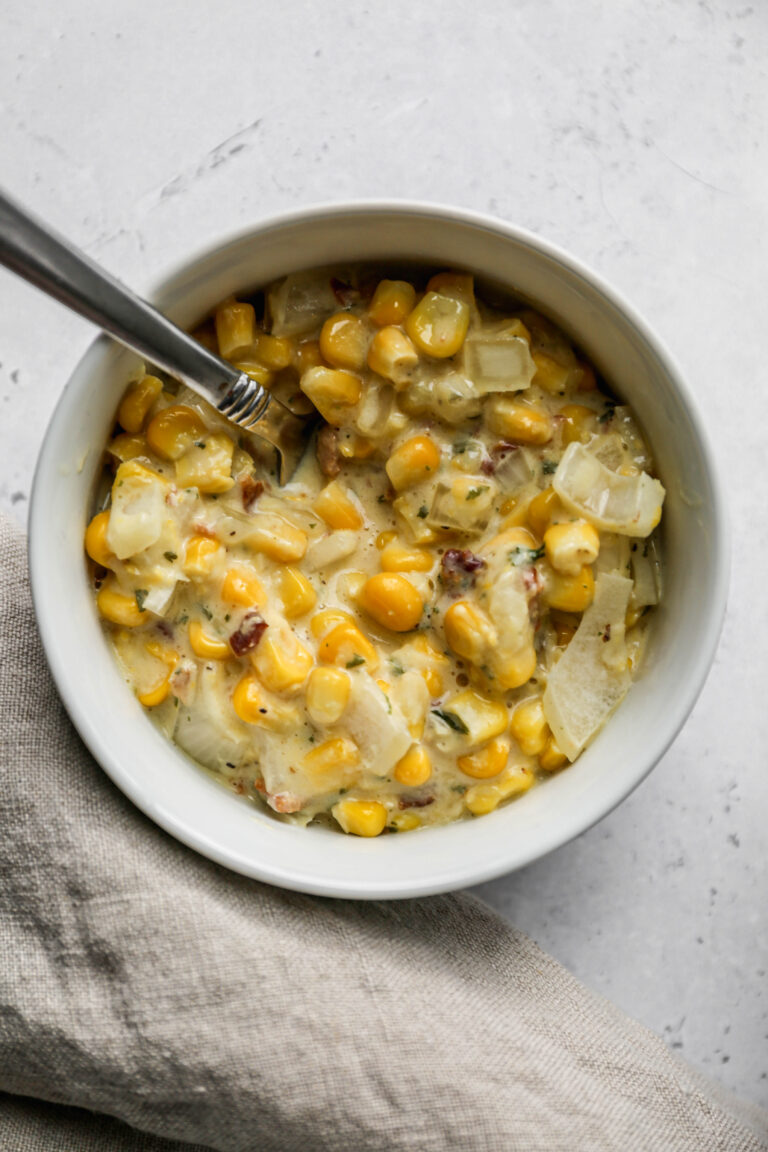
Cheesy Slow Cooker Creamed Corn
This easy recipe for cheesy slow cooker creamed corn is perfect for a side dish or a meal. Using your crockpot you add frozen corn, bacon, heavy cream and parmesan cheese for a loaded cream corn. You will never want canned cream corn again after making this homemade version!

Gluten Free Cinnamon Raisin Sourdough Bread
This Gluten Free Cinnamon Raisin Sourdough Bread is a cozy, homemade sourdough recipe that's both easy and made same day. It's perfect for any baker who wants that fresh from the oven taste without the wait.
Made with gluten free sourdough starter discard and measured in cups for simplicity, this no knead sourdough bread recipe delivers a soft, tender crumb filled with sweet raisins and warm cinnamon flavor.

Gluten Free Cranberry Pecan Sourdough Bread
This gluten free cranberry pecan sourdough bread is an easy, no knead artisan sourdough bread recipe that's perfect for cozy mornings and holiday gatherings.
Made with a gluten free sourdough starter, this cranberry sourdough bread is soft on the inside with a golden crust and just the right hint of sweetness from dried cranberries and a nutty crunch from pecans. It's a homemade gluten free bread that feels bakery quality yet simple enough for everyday sourdough baking.
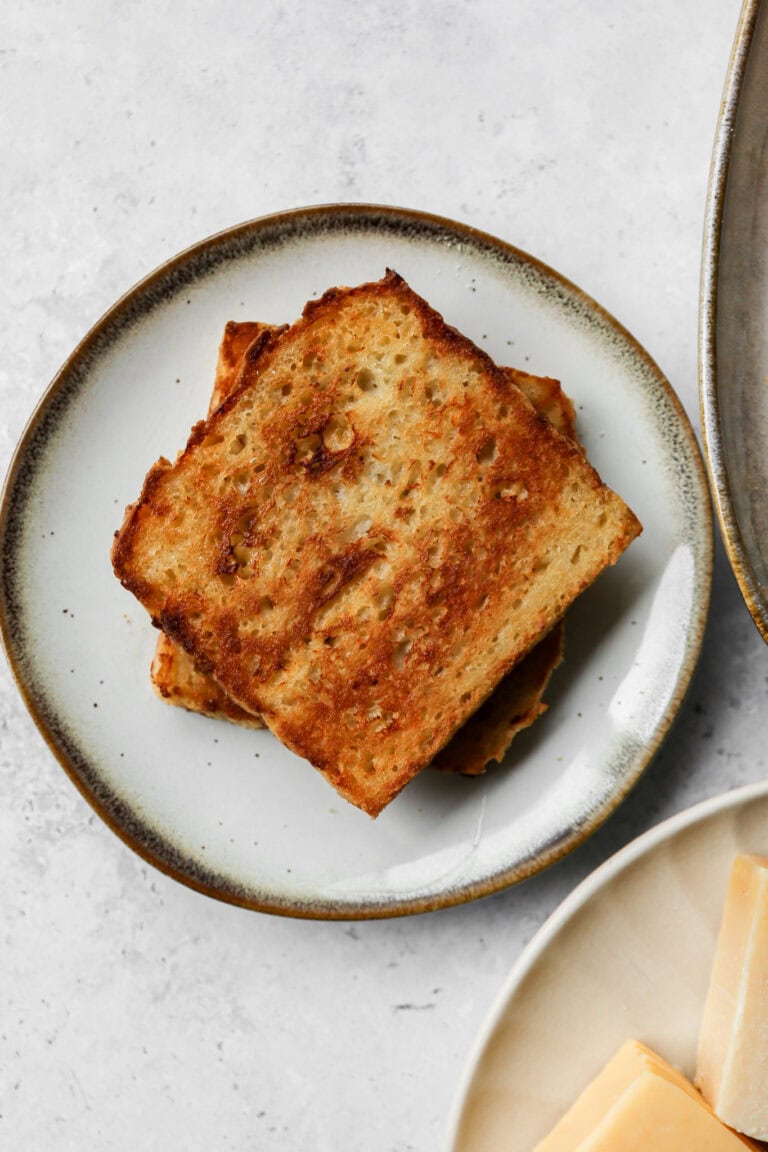
Gluten Free Cheesy Sourdough Bread
This Gluten Free Cheesy Sourdough Bread is a savory, bakery style loaf that delivers everything you love about artisan sourdough bread with the rich flavor of melted cheese in every bite. Made as a gluten free sourdough bread recipe, this loaf uses sourdough discard to create a tender crumb, crisp crust, and deep, tangy flavor.
Apple Recipes You'll Fall For
Apple season means it's time to bake. These recipes make the most of fresh apples in cookies, cake, crisp, and more.
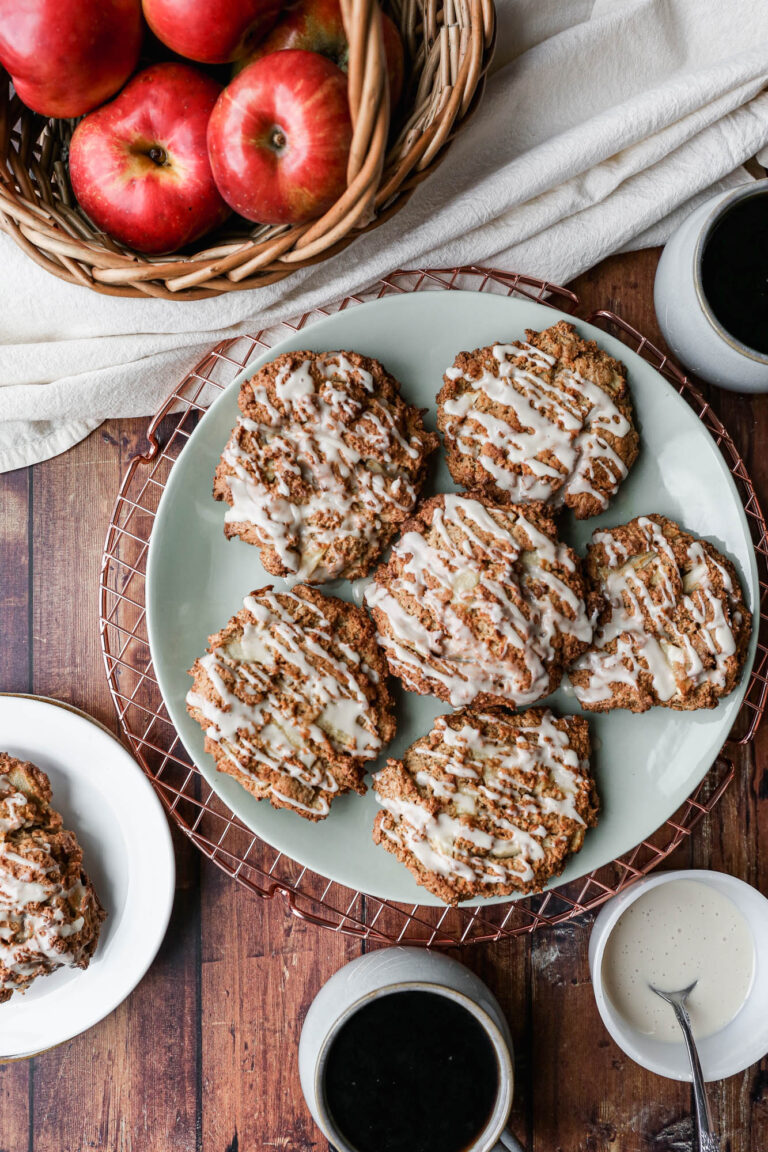
Gluten Free Air Fryer Apple Fritters
There is something about apple fritters that feels like fall in every bite. I love the warm cinnamon spiced dough studded with fresh apple and finished with a sweet vanilla glaze. This recipe for gluten free air fryer apple fritters gives you all of that classic flavor without the deep frying. The batter comes together from scratch with a gluten free flour blend like Bob's Red Mill 1 to 1 or King Arthur Measure for Measure and then air fries up golden and crisp in under 15 minutes.
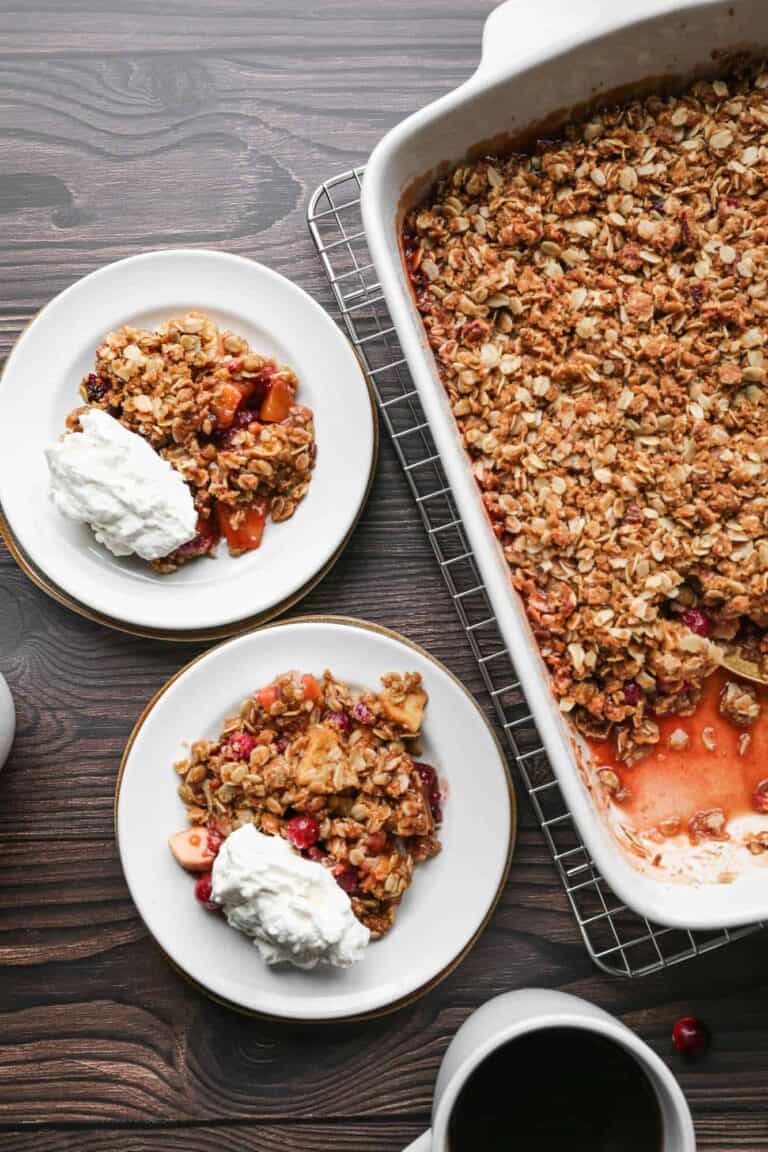
Gluten Free Cranberry Apple Crisp
There's something so comforting about the smell of apples and cranberries baking together. This gluten free cranberry apple crisp brings sweet and tart together under a golden oat topping. It's rustic, cozy, and just right for a fall gathering or a quiet night in.
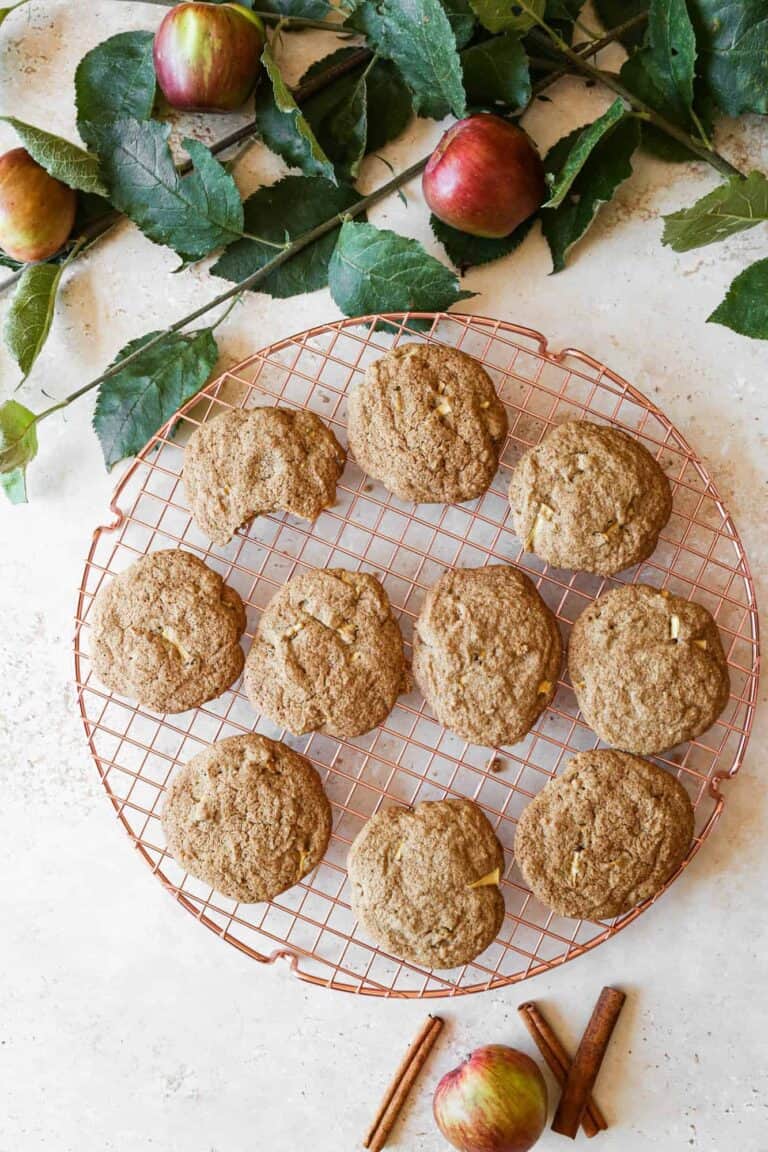
Gluten Free Apple Spice Cookies
There's nothing like the smell of cinnamon and apples baking together. These gluten free apple spice cookies deliver that cozy fall feeling in every bite. They come together in one bowl with your stand mixer. There's no chilling the dough or fussing with extra steps, just soft, chewy cookies loaded with fresh apple and warm spice.
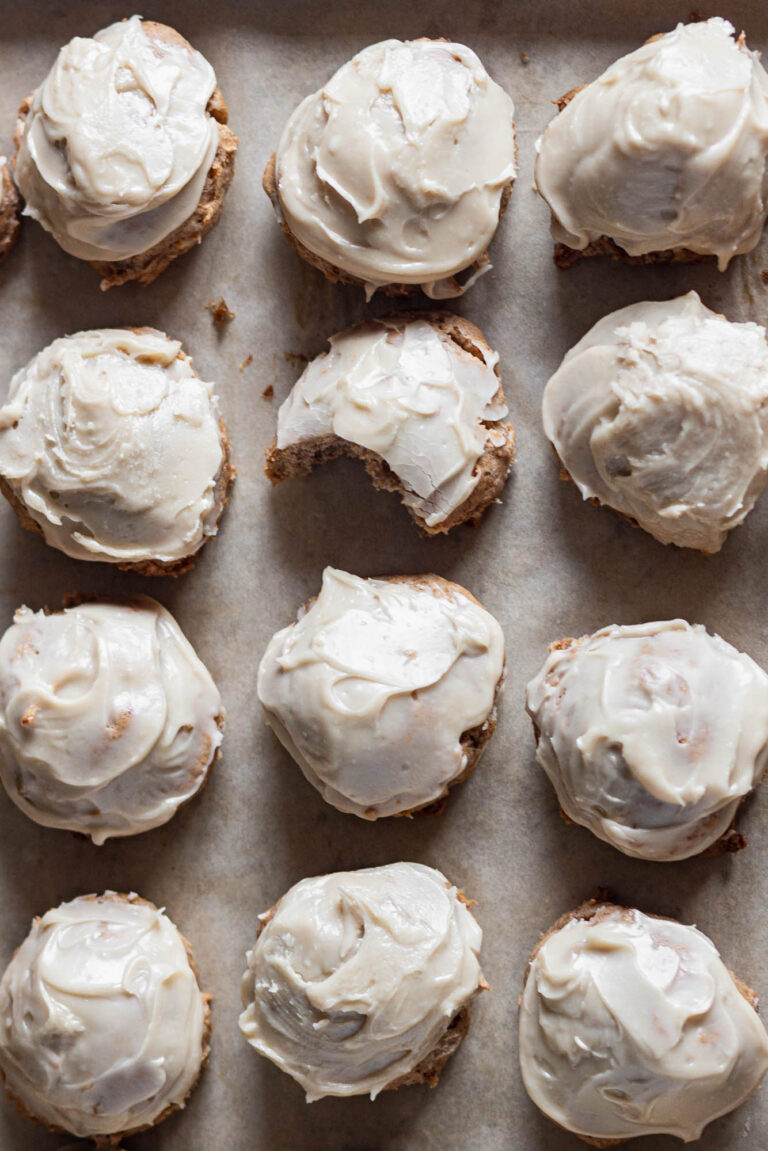
Gluten Free Apple Pie Cookies
These gluten free apple pie cookies taste like a slice of apple pie in cookie form. They're soft, cake like, and packed with shredded apple and warm fall spices. There's no chilling required here, just mix the dough, scoop it onto your cookie sheet, and bake. If you like a flatter, chewier cookie, gently flatten the dough before baking, otherwise leave it as is for a softer, more cake like bite.
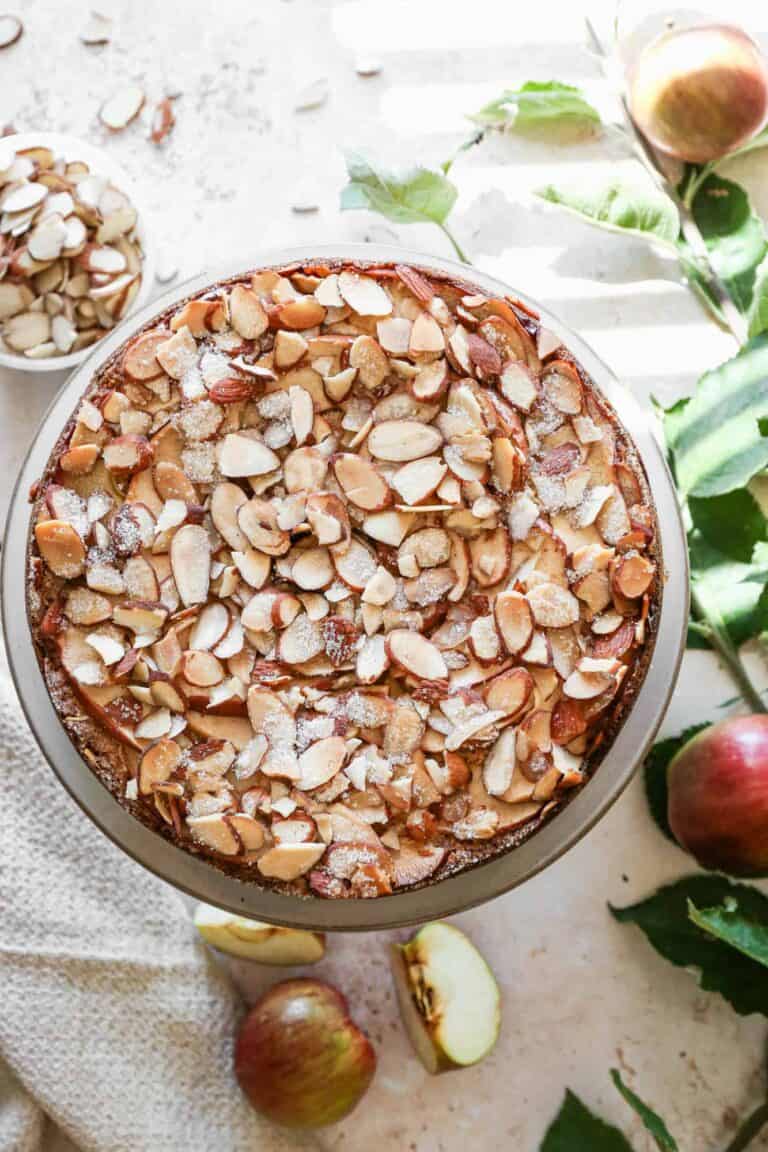
Gluten Free Apple Almond Cake
This gluten free apple almond cake is one of my favorite ways to use up apples from the trees in our backyard. I love a sweeter apple variety in this recipe, something like Honeycrisp or Gala, since they hold their shape and add just the right amount of natural sweetness as the cake bakes. The almond flour gives this cake a wonderfully tender crumb, while the gluten free flour blend helps it rise and hold together the way a traditional cake would.
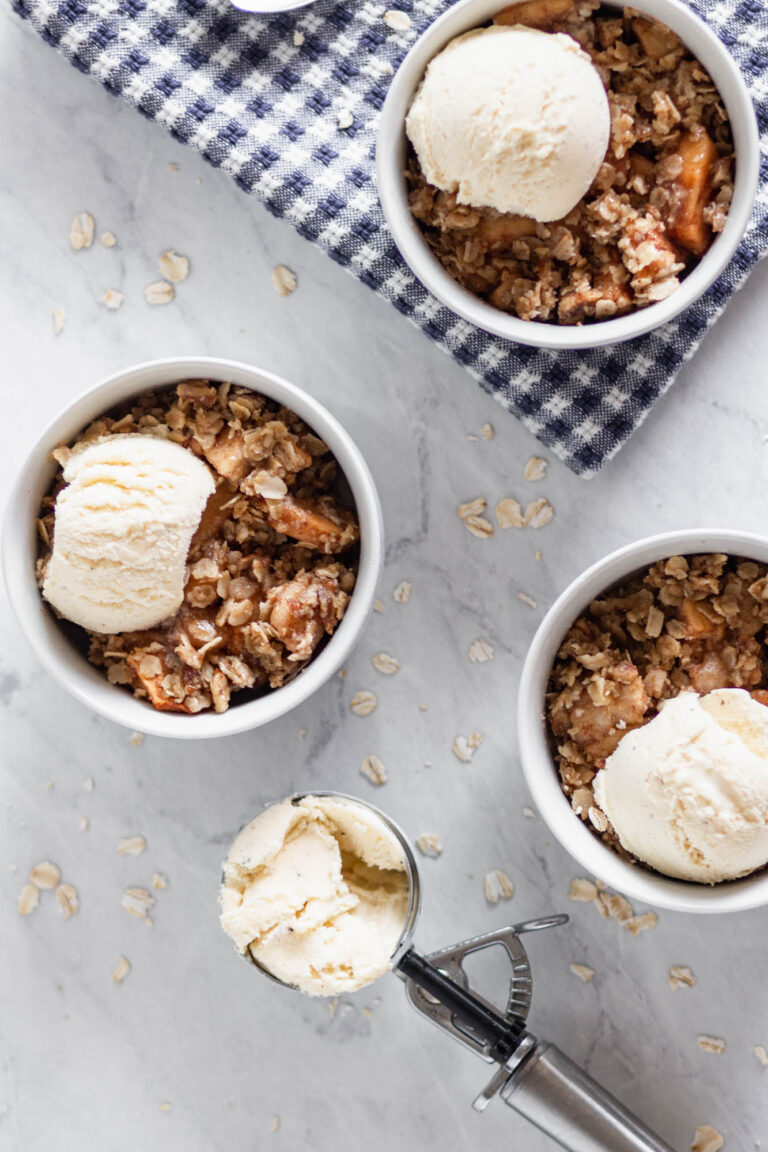
Gluten Free Apple Crisp
This gluten free apple crisp is easy to make from scratch. The homemade topping is made with oats making this a healthier option. This simple recipe is similar to the old fashioned apple crisp I grew up eating.
Pumpkin Everything
No fall roundup is complete without pumpkin, and this collection has it covered from breakfast to dessert to a savory pasta sauce.

Gluten Free Praline Pumpkin Pie
This easy recipe for gluten free praline pumpkin pie is perfect to serve at Thanksgiving! The pumpkin pecan pie uses canned pumpkin puree for the pie filling. It has a delicious and crunchy pecan praline topping.
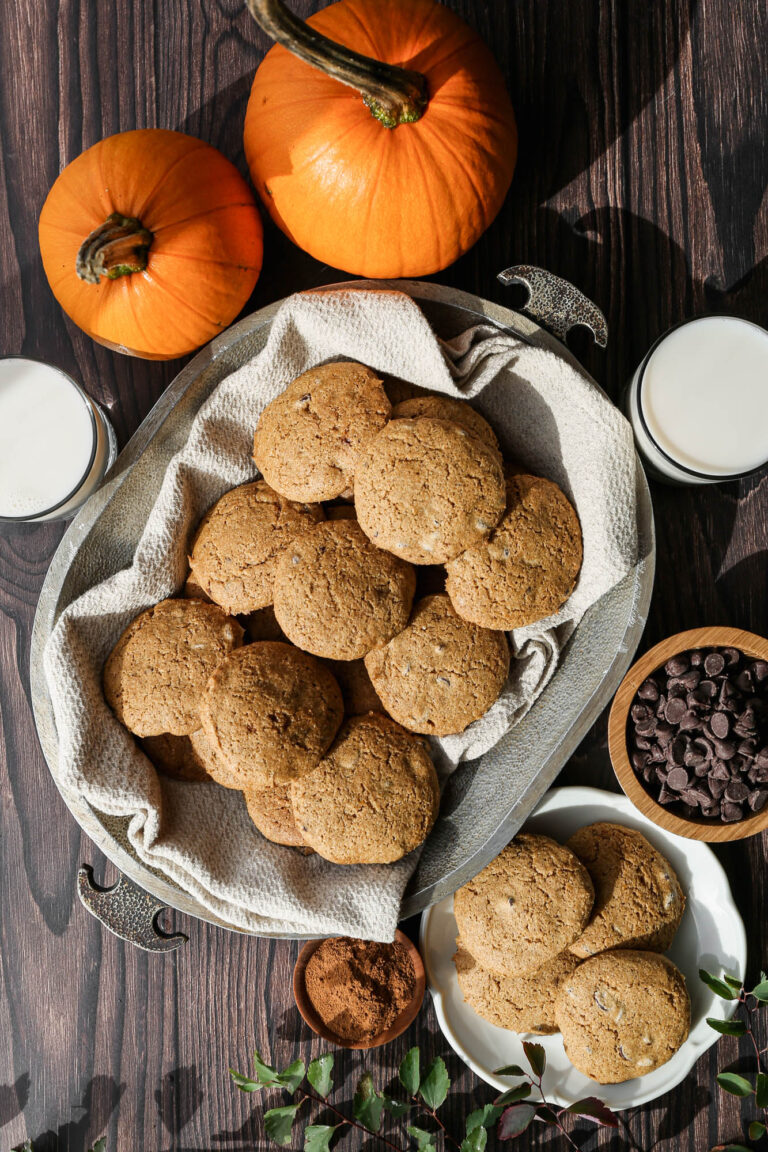
Gluten Free Pumpkin Spice Chocolate Chip Cookies
This easy recipe for gluten free pumpkin spice chocolate chip cookies are sure to become a fall favorite! The cookies get their delicious flavor from spices, pumpkin puree and chocolate chips. It's an amazing combination for pumpkin baking.
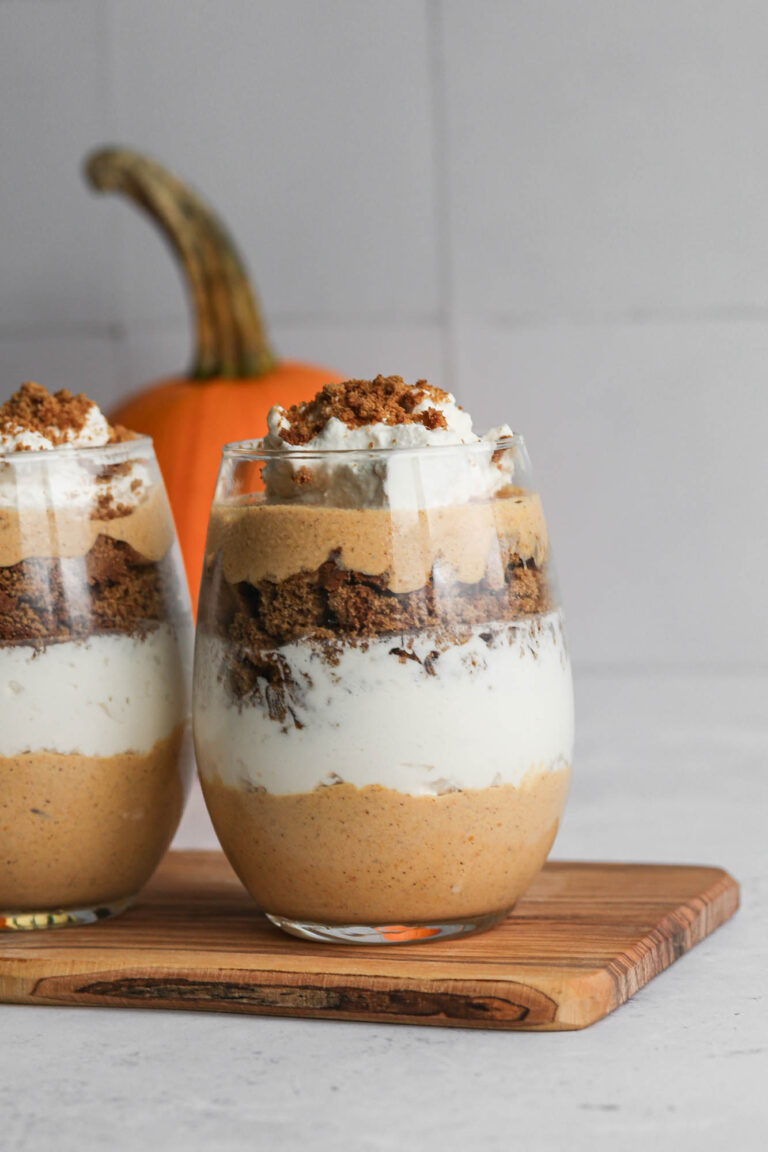
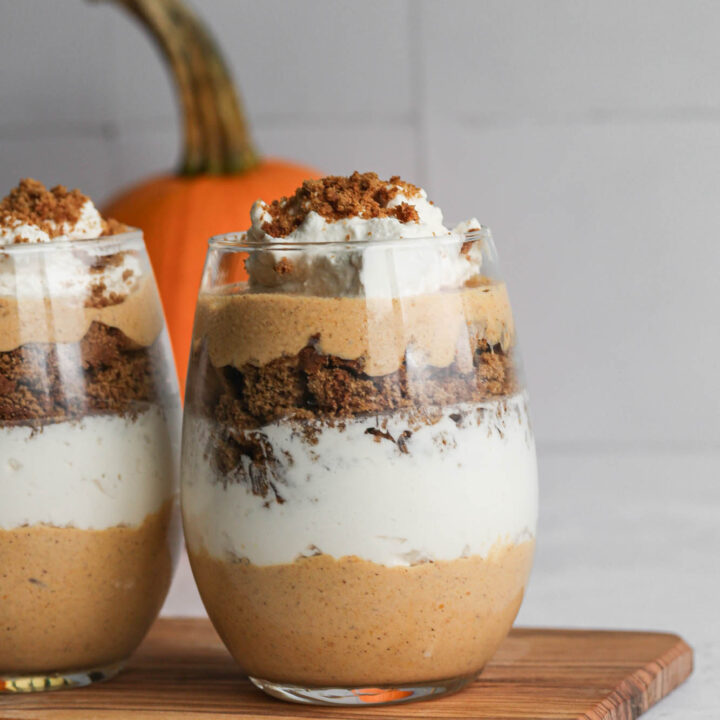
Gluten Free Pumpkin Gingersnap Parfait
This easy recipe for gluten free pumpkin gingersnap parfaits is a perfect fall dessert! The recipe uses my gluten free gingersnap cookies, pumpkin spice mousse and homemade whipped cream. These parfait cups are perfect to make ahead of a gathering and serve cold from the refrigerator.
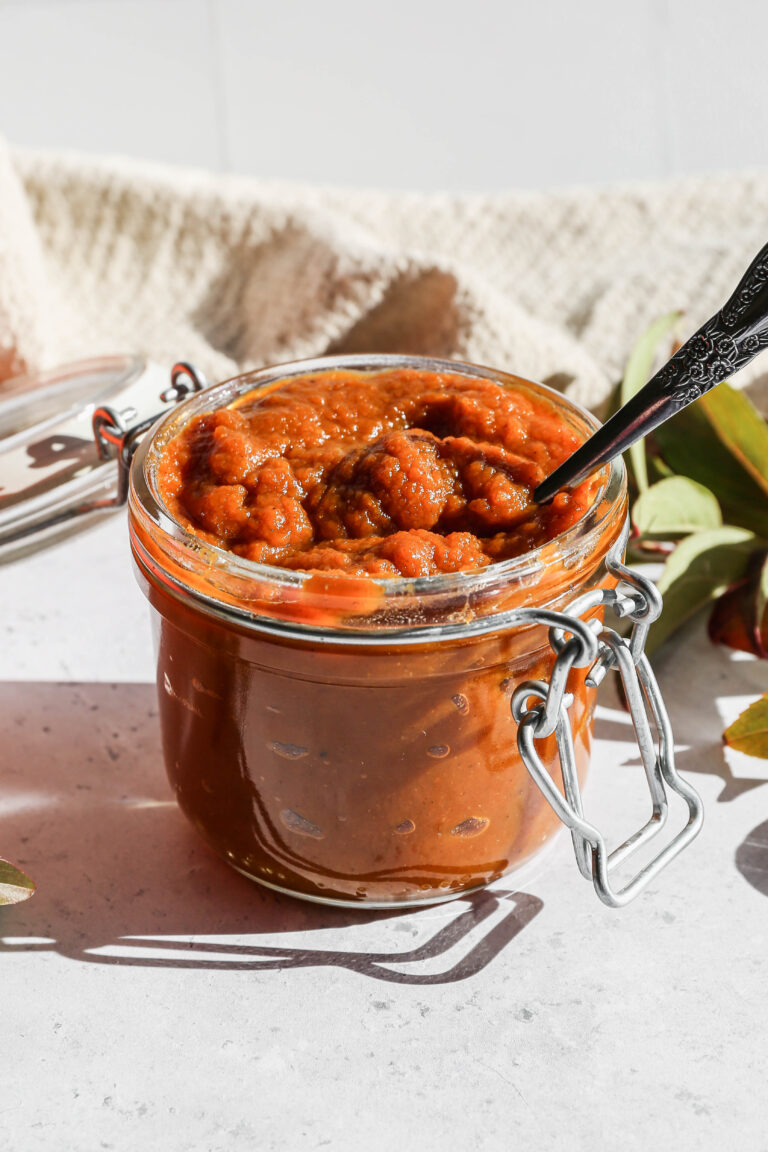
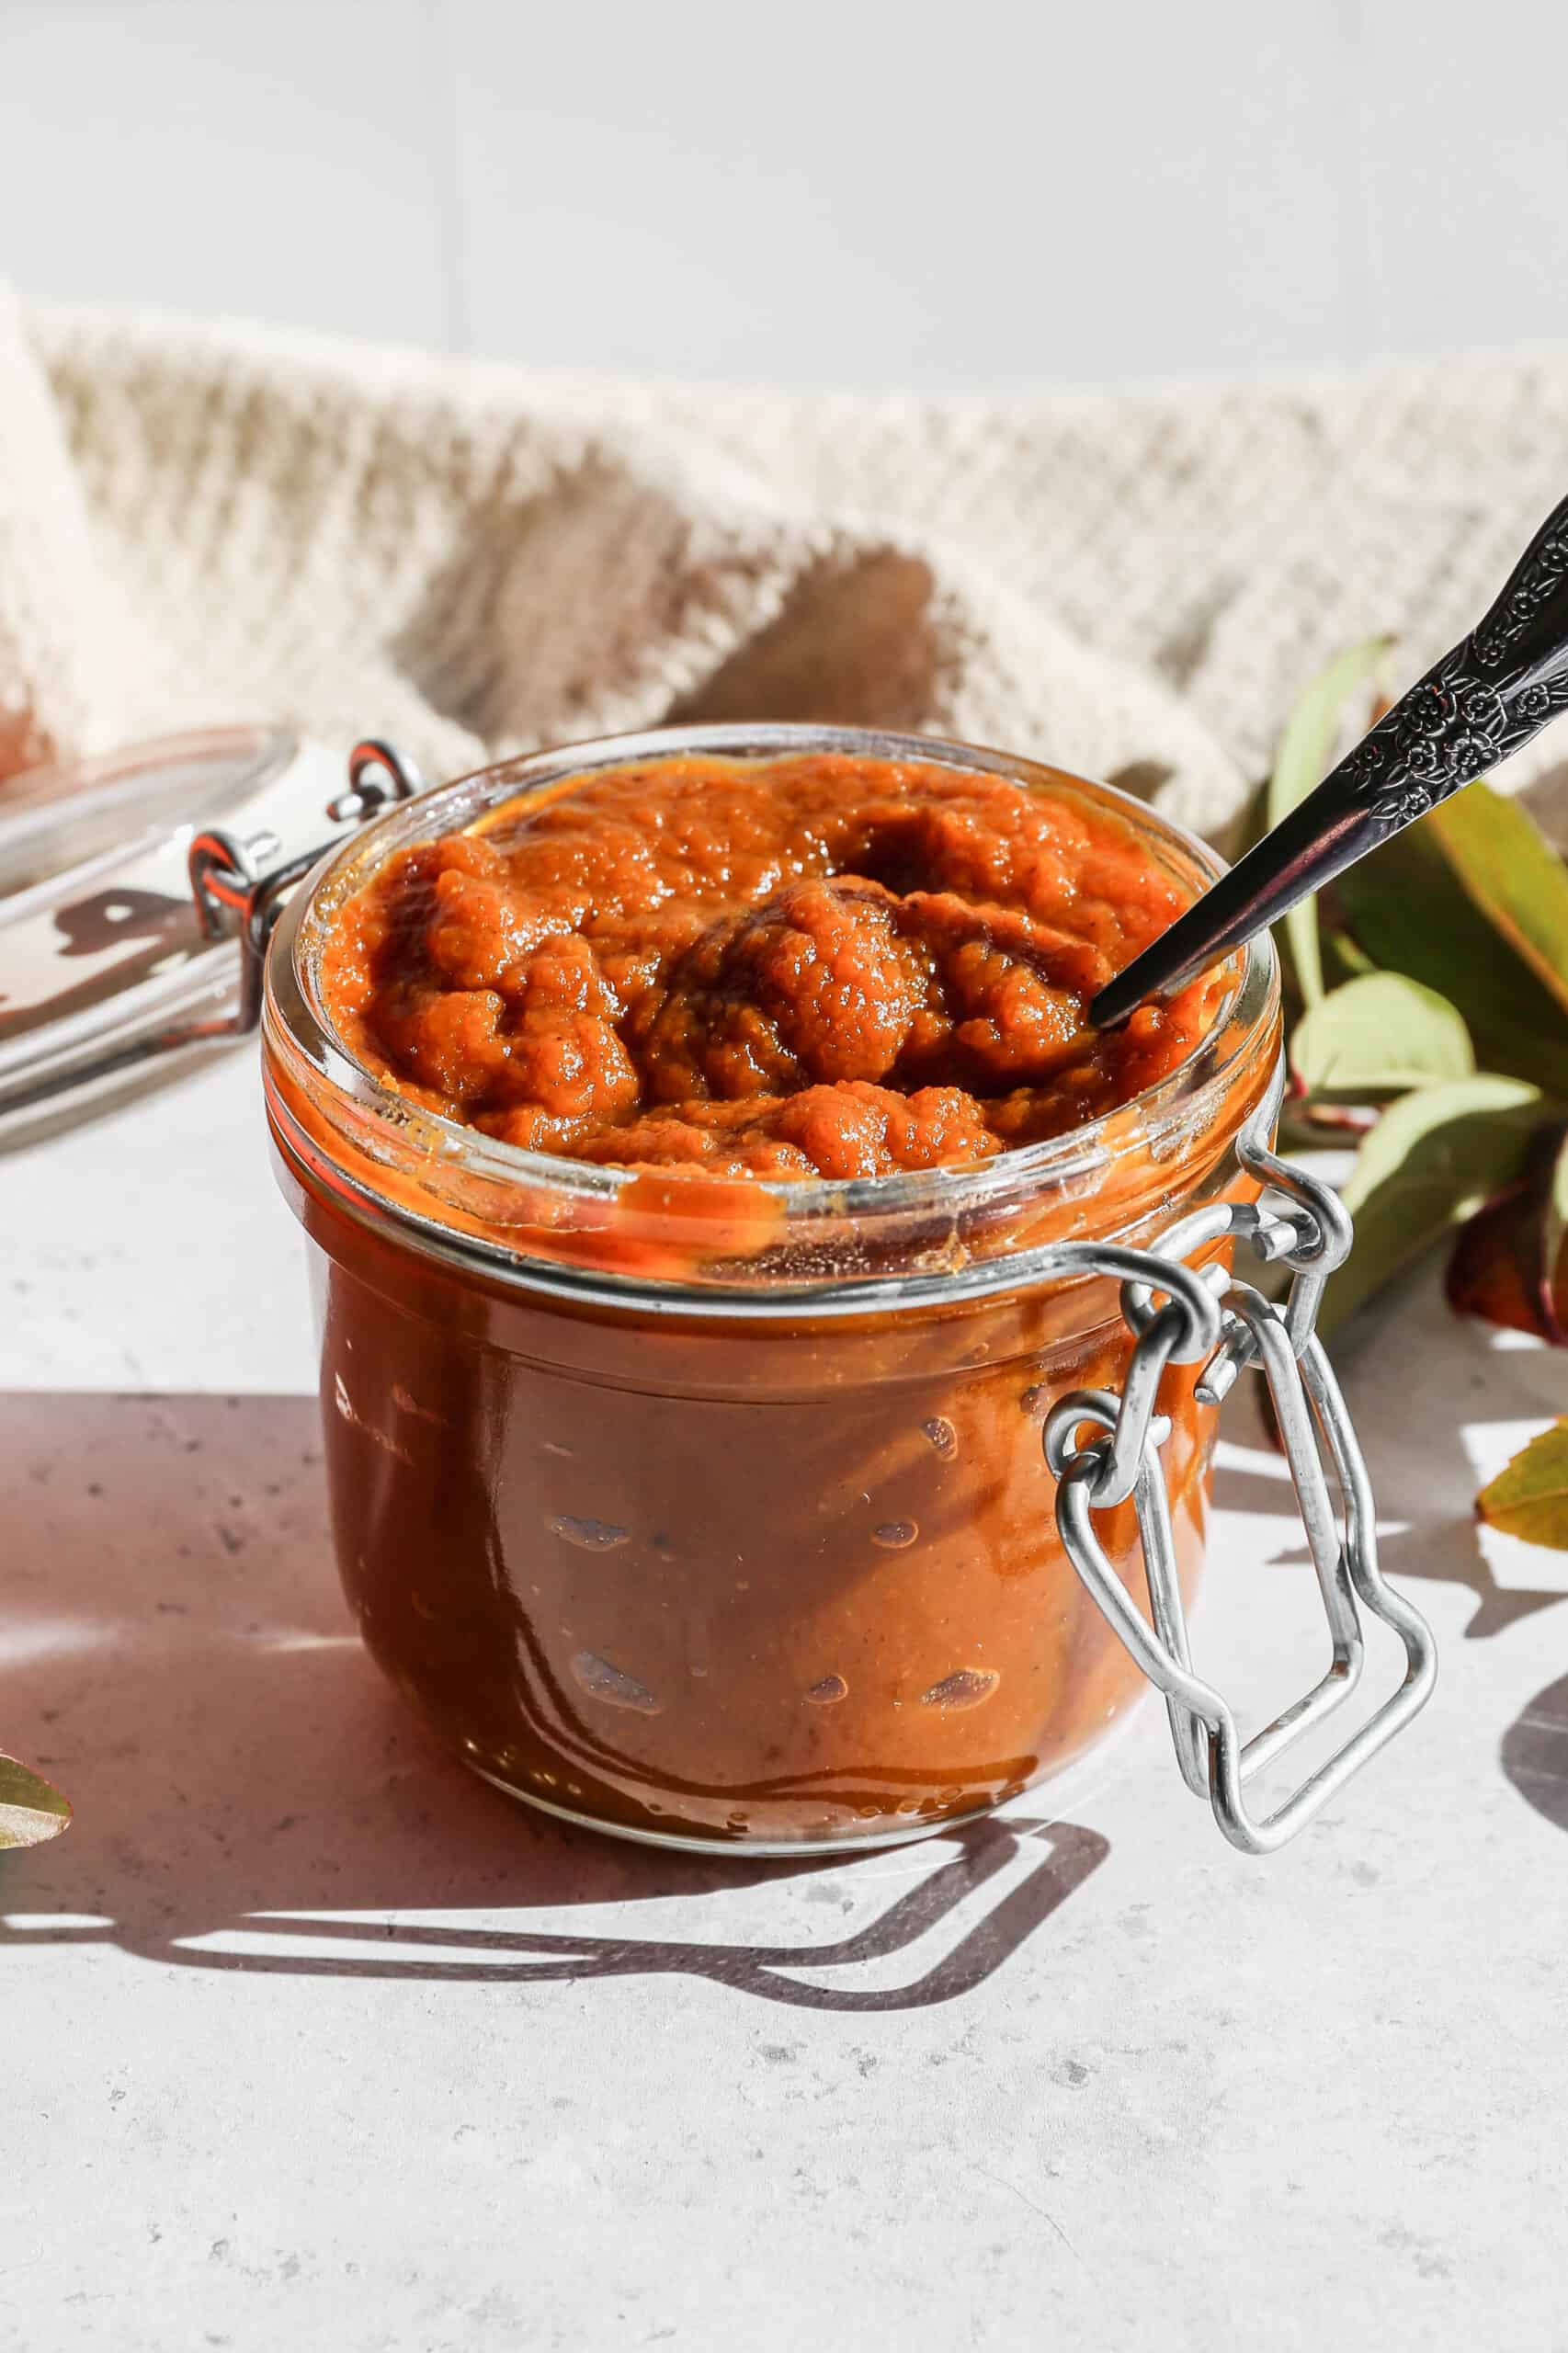
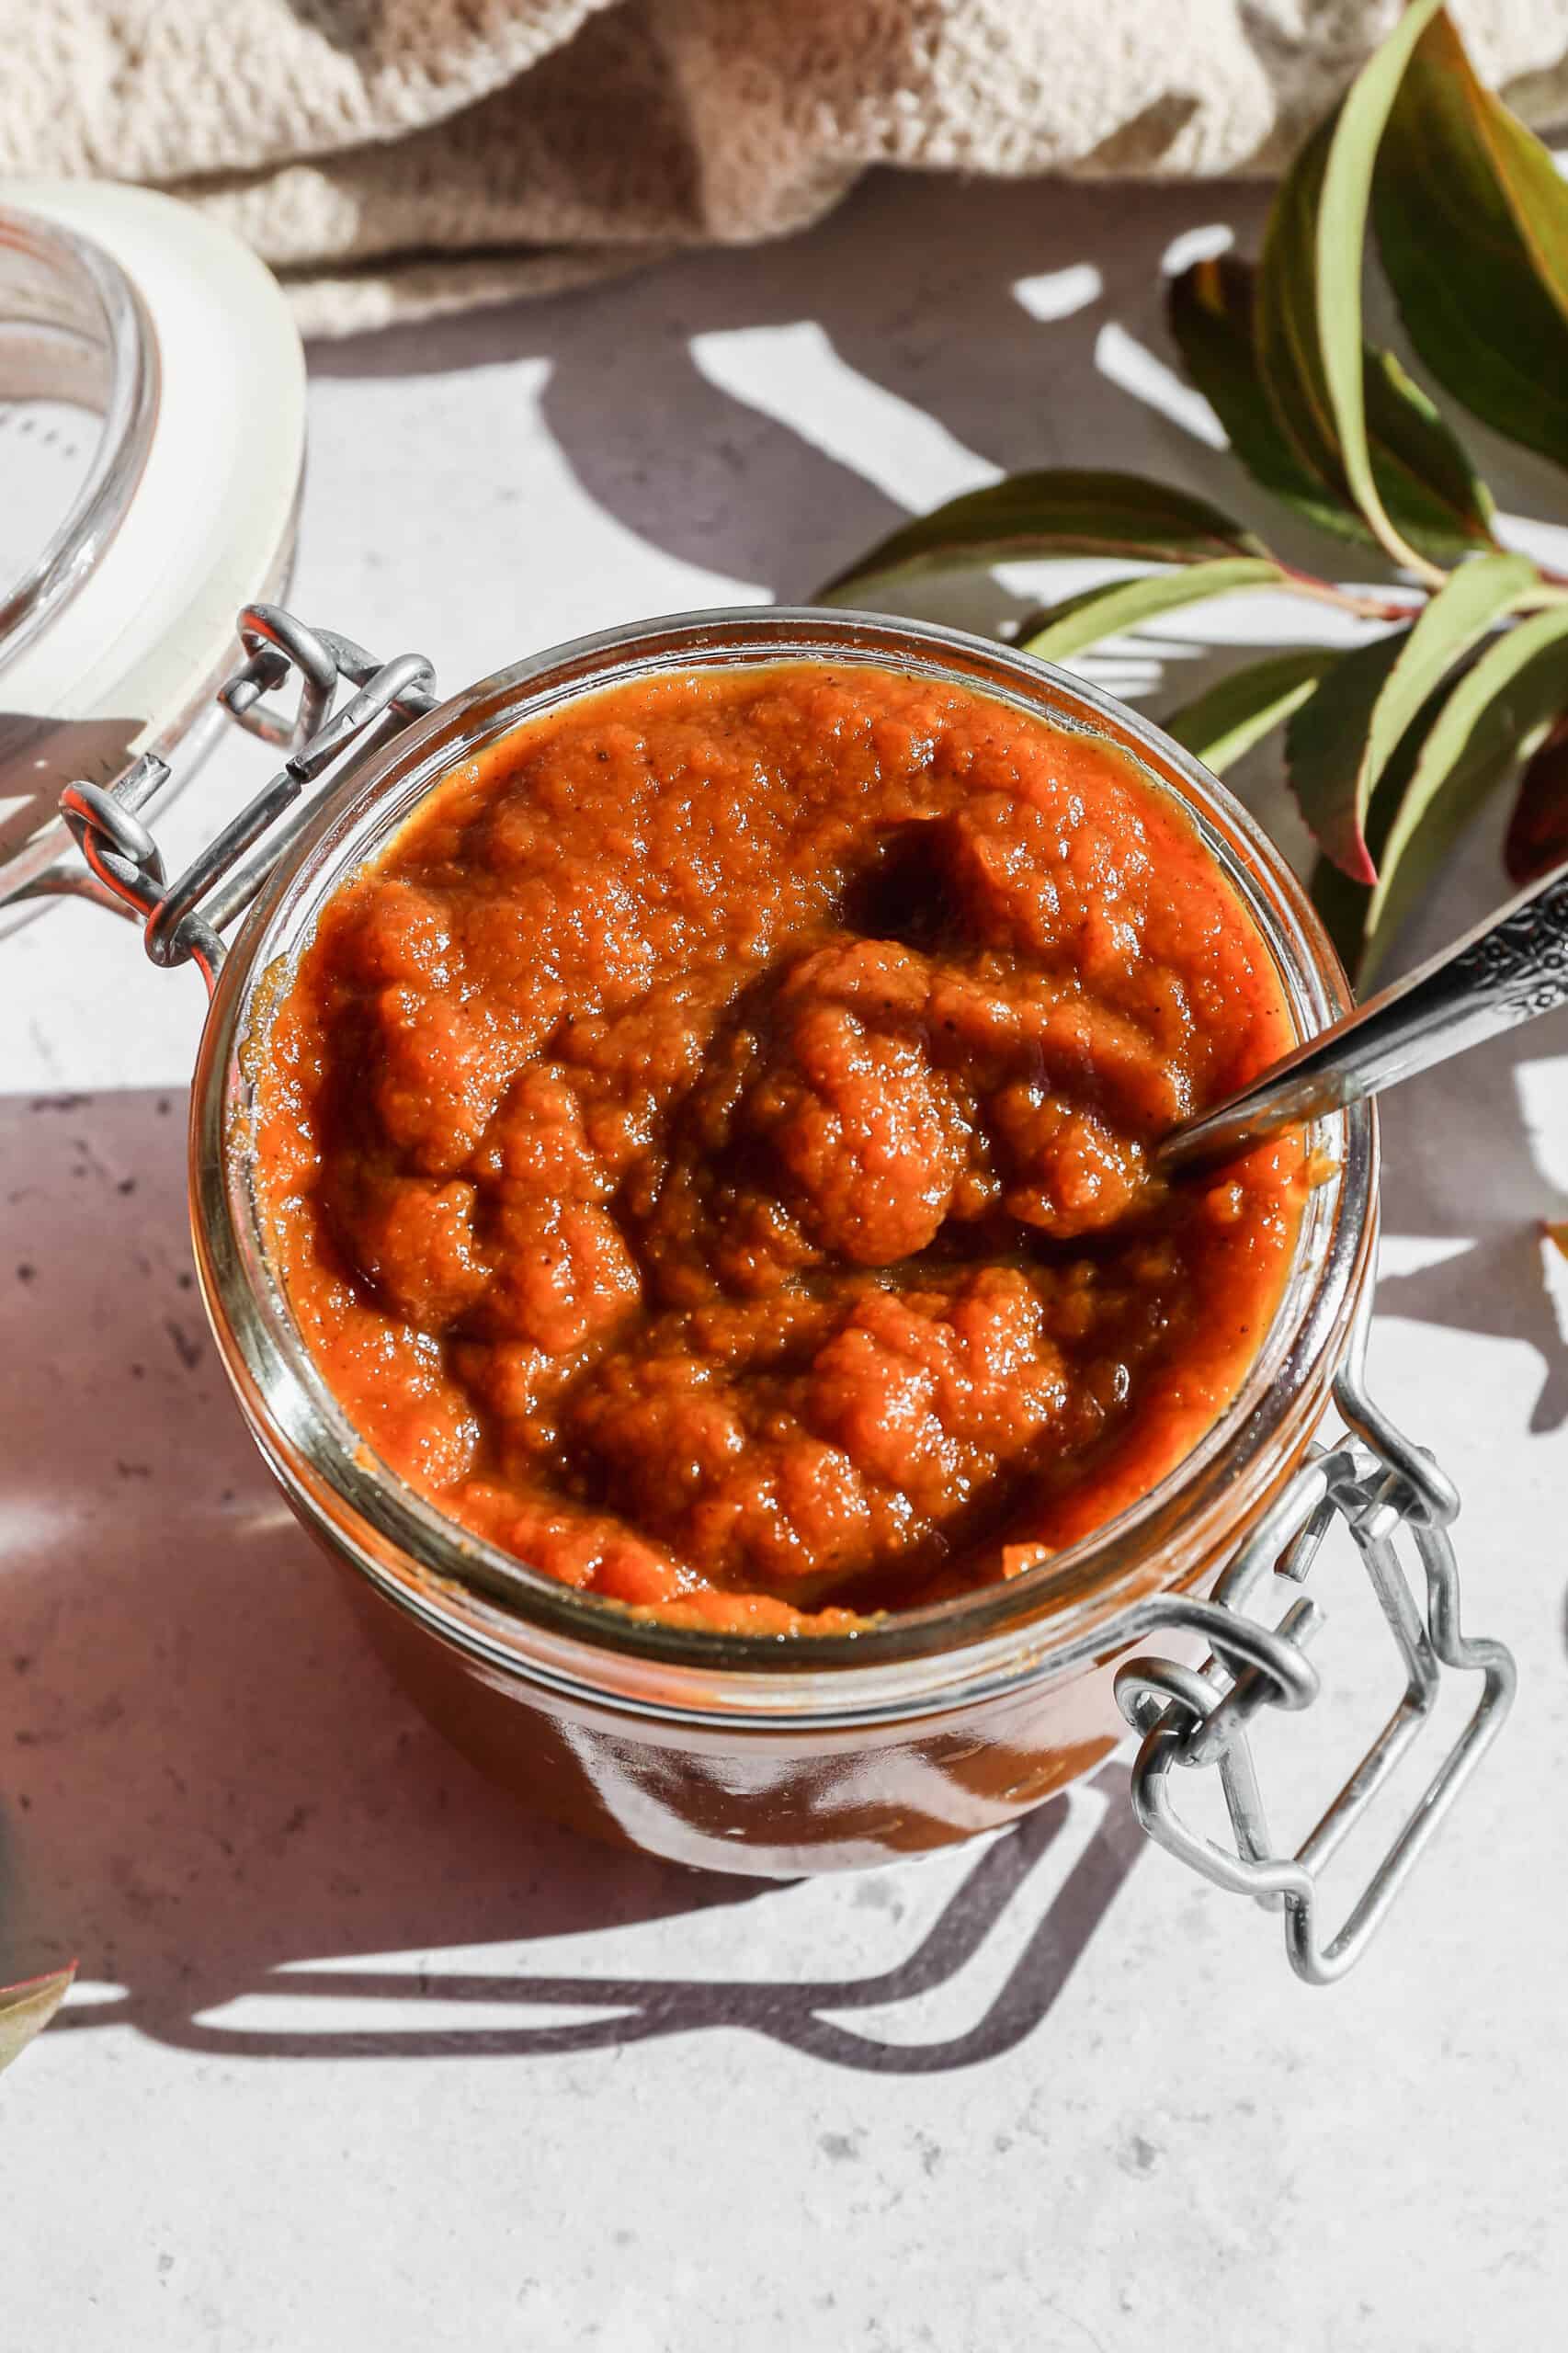
Pumpkin Butter - Trader Joe's Copycat Recipe
This easy Trader Joe's copycat recipe for pumpkin butter is so simple to make from scratch on the stovetop! Using pumpkin puree and pumpkin pie spice this recipe makes a creamy homemade spread that is perfect on toast. The pumpkin butter takes under 10 minutes to make and is delicious.
Gluten Free Pumpkin Spice Bundt Cake
This easy recipe for gluten free pumpkin spice bundt cake is made from scratch with a yummy glaze. It's so easy to make the best, moist homemade bundt cake you won't go back to box mixes!
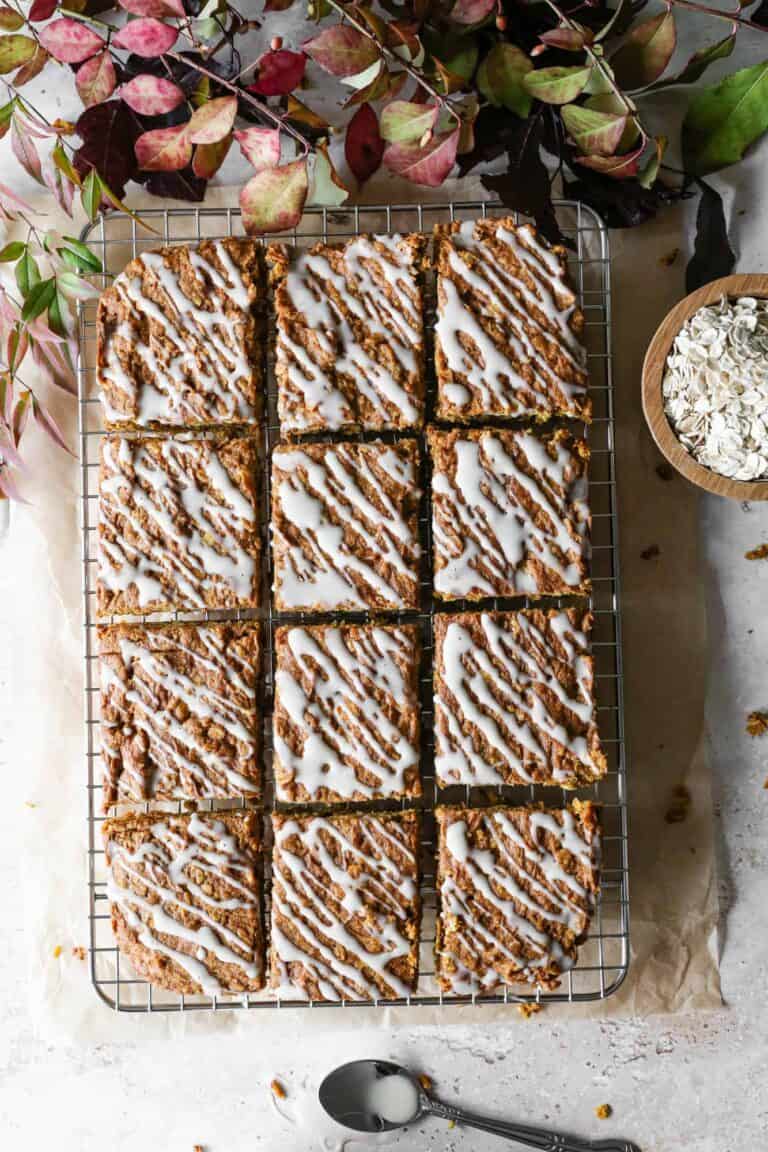
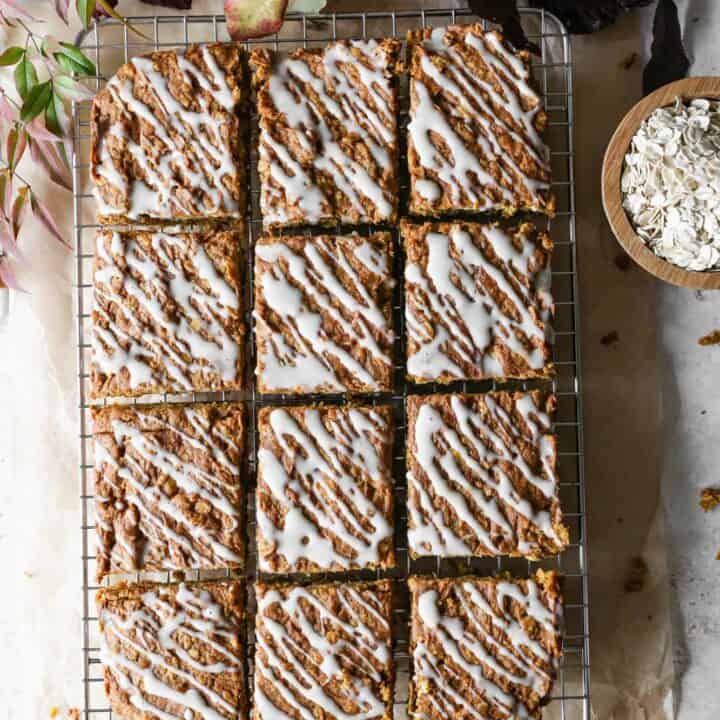
Gluten Free Pumpkin Oatmeal Cake
This easy recipe for gluten free pumpkin oatmeal cake makes a great dessert. It's quick to mix the ingredients together and have a moist cake that tastes like pumpkin spice! This is the best dessert for autumn gatherings.
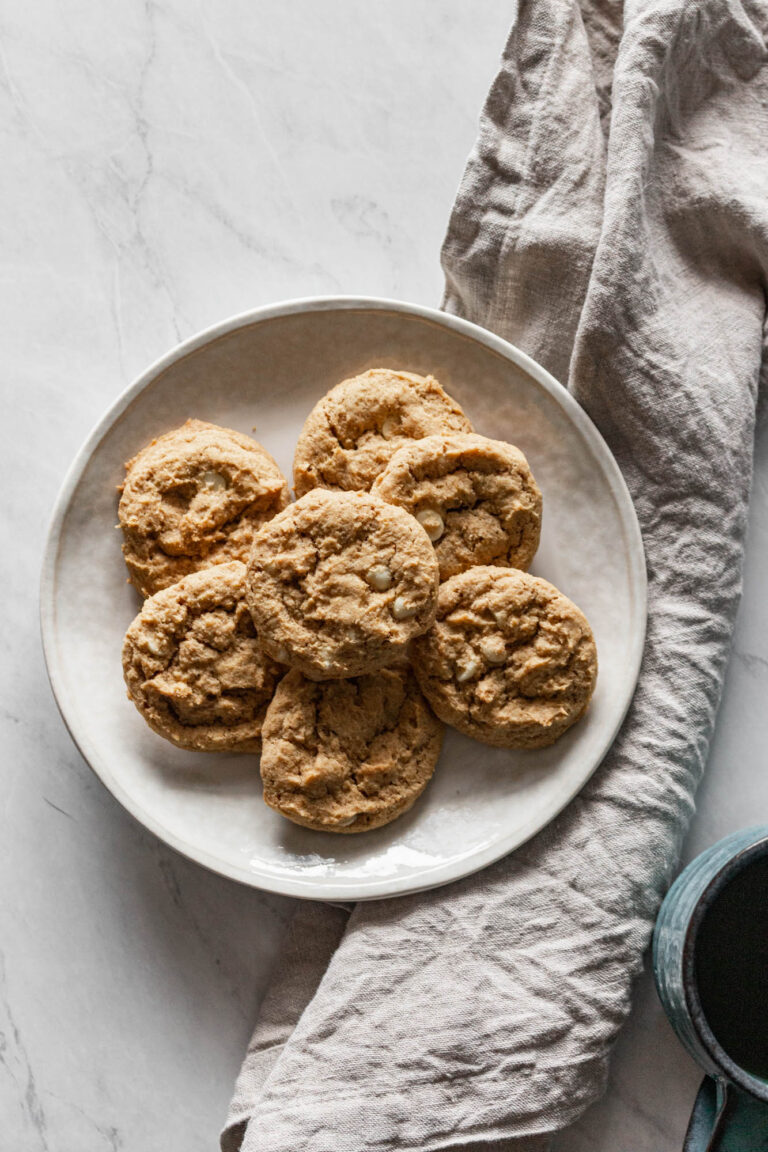
Gluten Free Pumpkin White Chocolate Cookies
These gluten free pumpkin white chocolate cookies are one of my best recipes! They are easy to make and there are no eggs in the recipe.
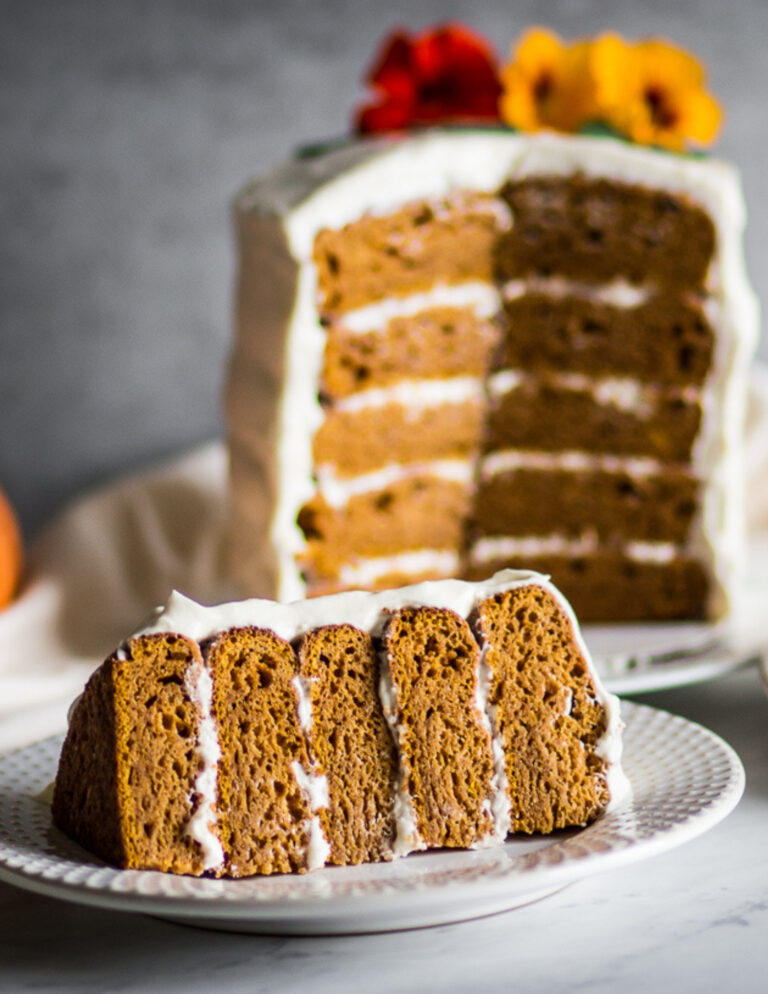
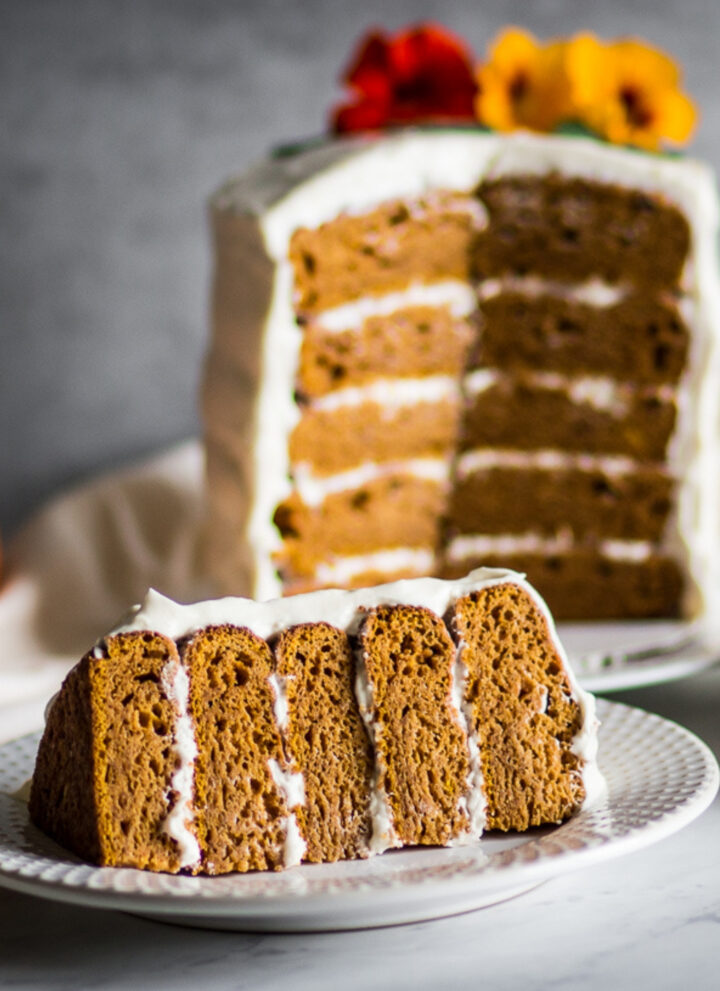
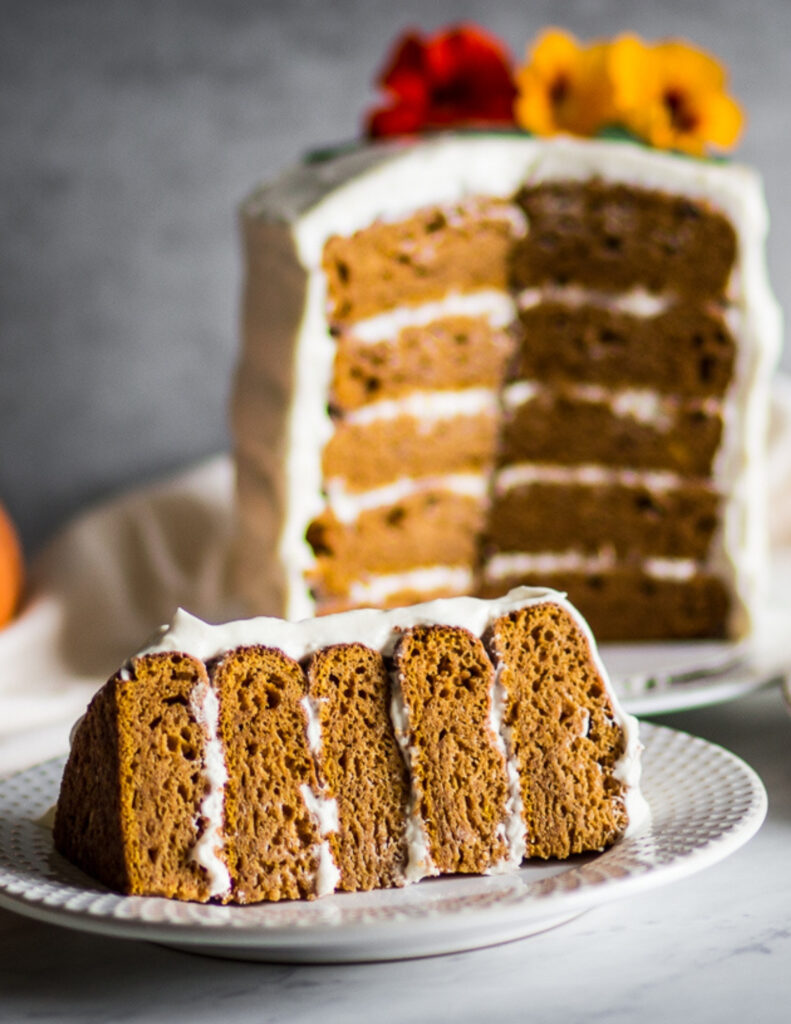
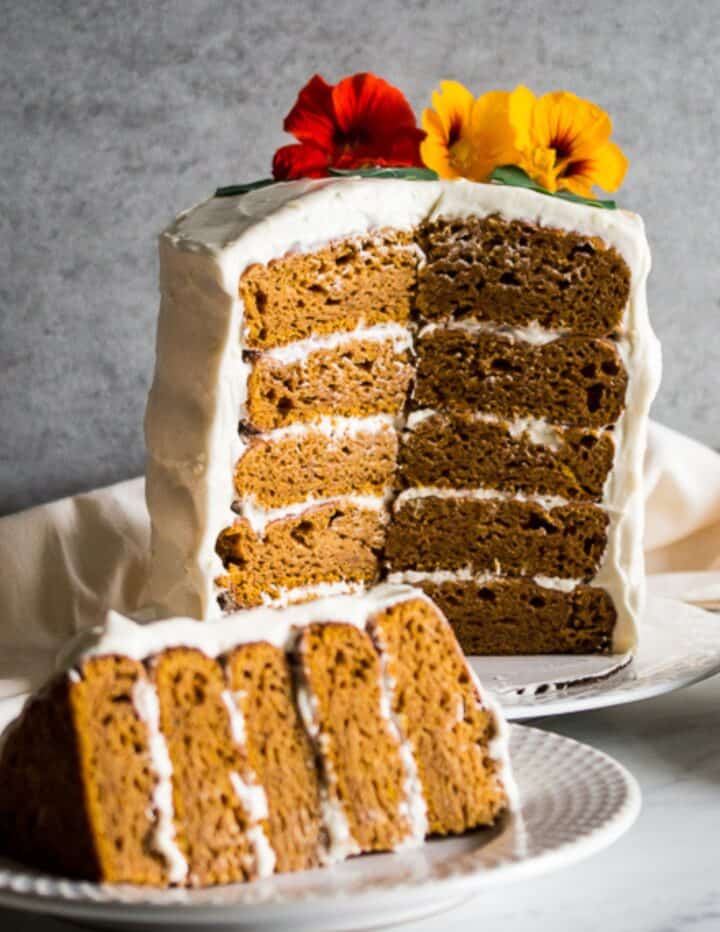
Gluten Free Pumpkin Cake with Cream Cheese Frosting
This gluten free Pumpkin Cake with Cream Cheese Frosting is an easy made from scratch treat. It is perfect for a birthday or gathering!
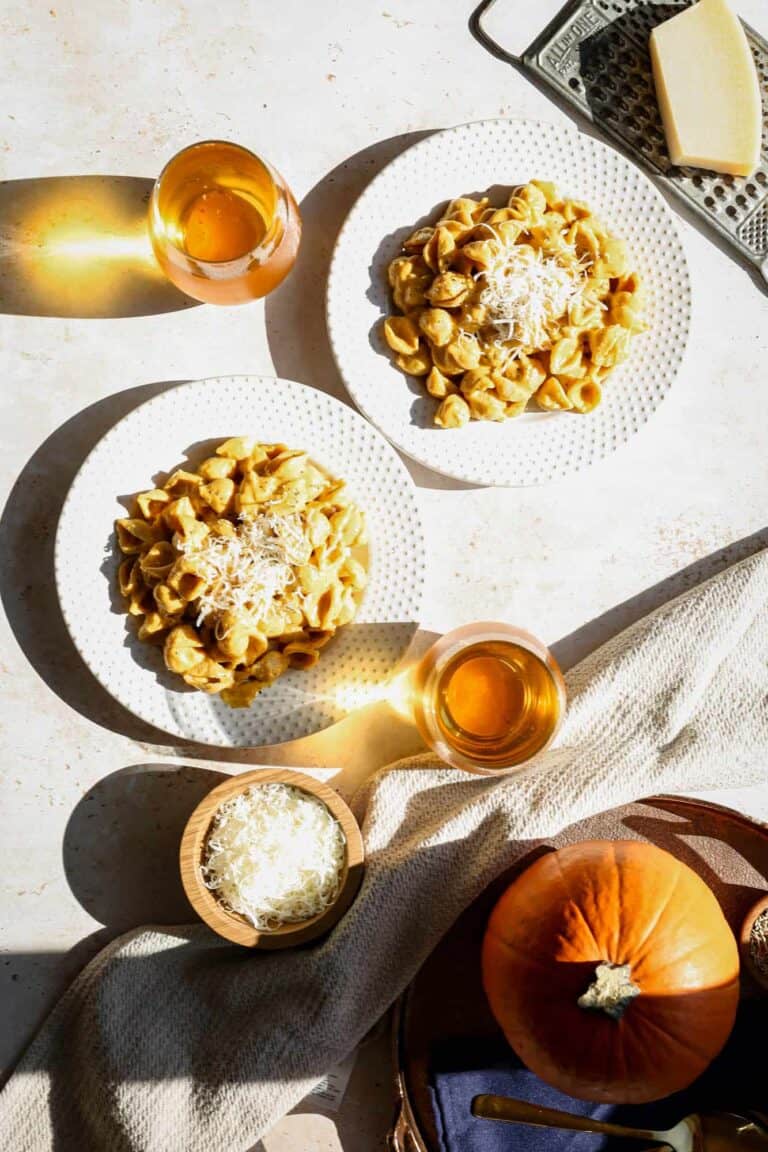
Gluten Free Creamy Pumpkin Pasta Sauce
This healthy recipe for gluten free creamy pumpkin pasta sauce is so easy to make! You can have a simple homemade sauce ready for dinner quickly. With a few healthy ingredients and gluten free pasta you can have a weeknight meal on the table in no time!

Dairy Free Pumpkin Pie Smoothie
This healthy dairy free pumpkin pie smoothie recipe is a great breakfast or dessert idea. The simple recipe is a great way to use leftover canned pumpkin puree. It is also gluten free, vegan and so easy to make!
Fall Sweets & Treats
These are the fall desserts that don't quite fit into apple or pumpkin, but deserve a spot on your table anyway. From buttery cookies to rich pecan pie bars, this category rounds out the sweeter side of the season.
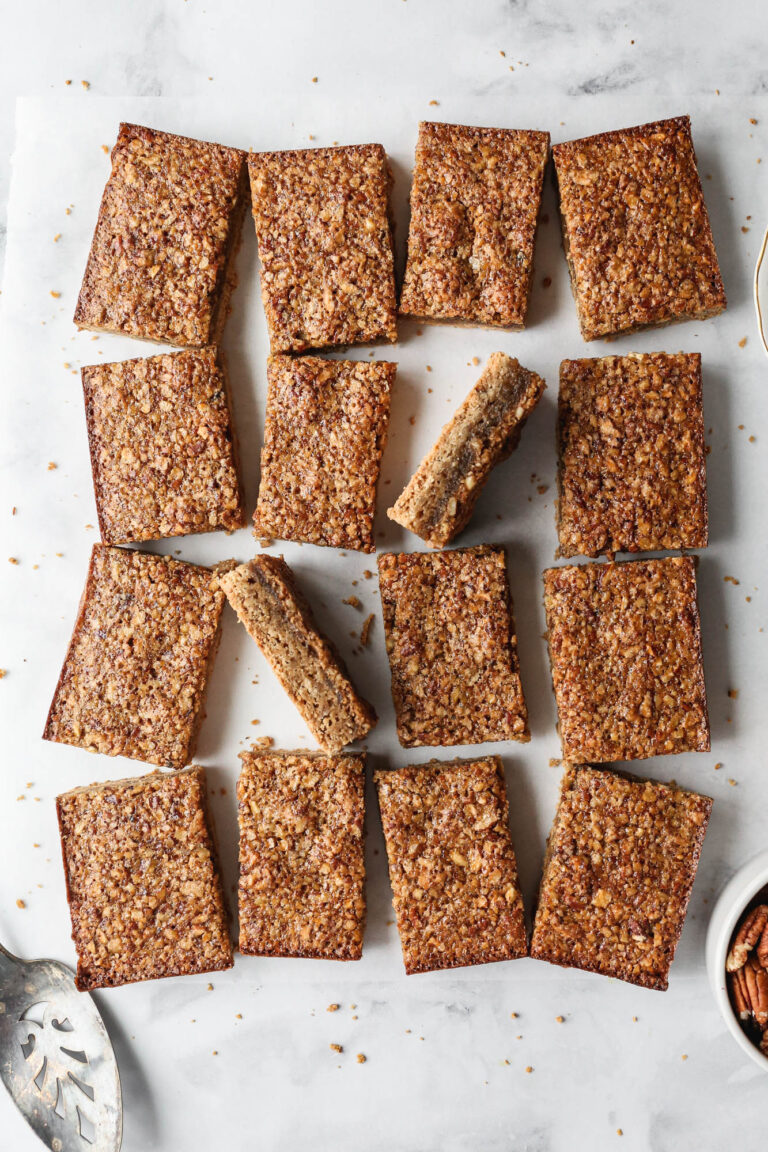
Gluten Free Pecan Pie Bars
This easy recipe for gluten free pecan pie bars is made without corn syrup. The recipe uses pure maple syrup and has a delicious shortbread crust. These dessert bars are perfect for Thanksgiving and fall gatherings!
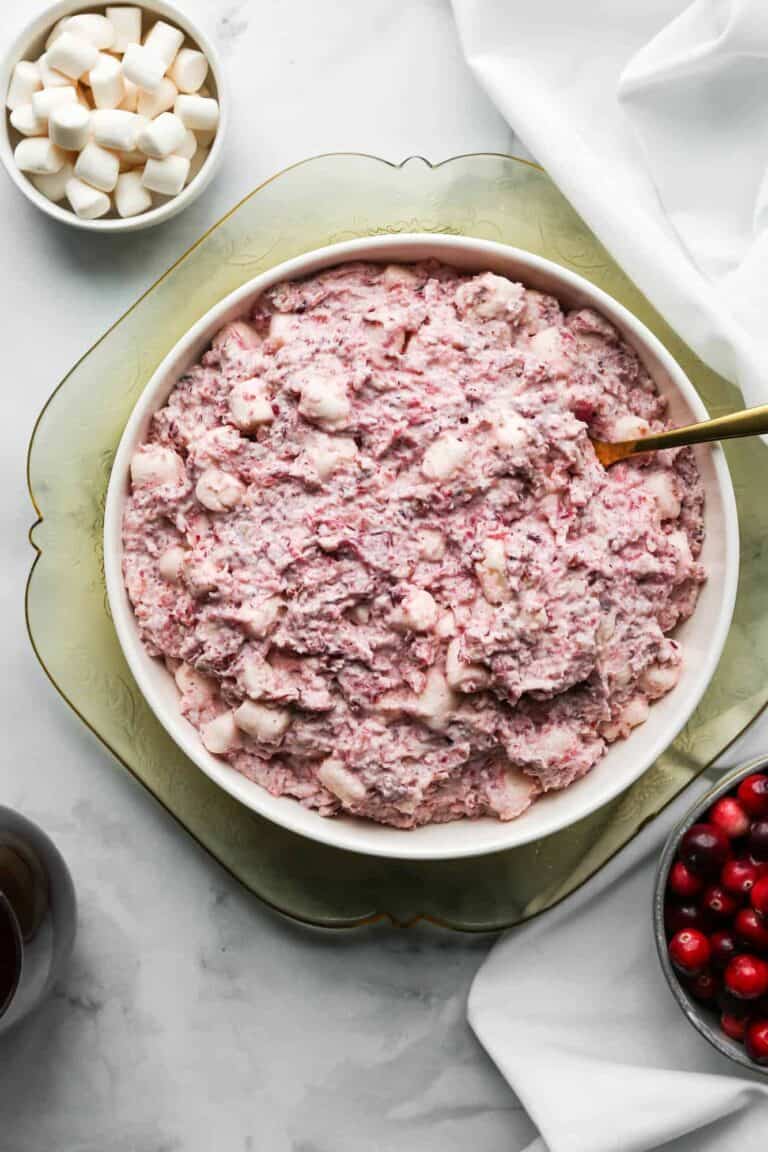
Cranberry Fluff Salad
This easy recipe for cranberry fluff salad is perfect for Thanksgiving! It's made with pineapple, fresh cranberries, marshmallows and whipped cream. This dessert is simple to make and always a hit at gatherings.
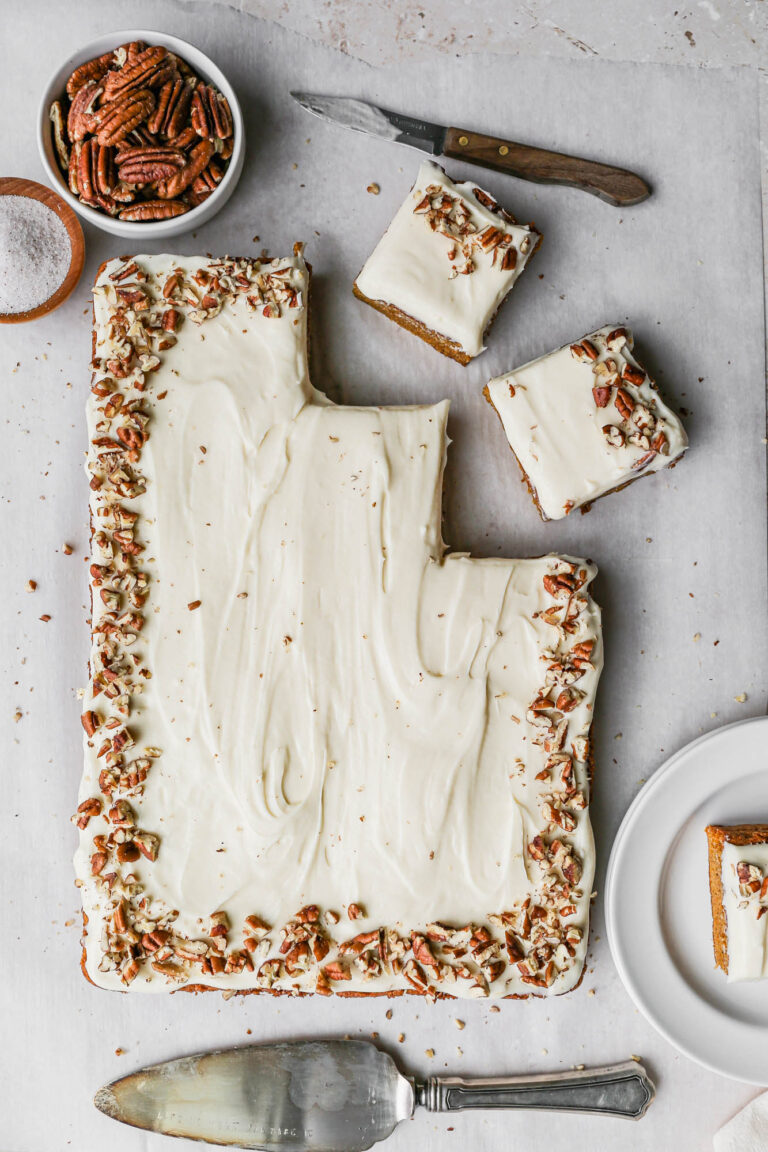
Gluten Free Sweet Potato Cake with Cream Cheese Frosting
This easy recipe for gluten free sweet potato cake with cream cheese frosting is perfect for fall and Thanksgiving. This gluten free take on a classic southern recipe is simple to make in a 9x13 pan or two nine-inch pans. I love the ease of a sheet cake that I can frost and sprinkle some chopped pecans on before serving.
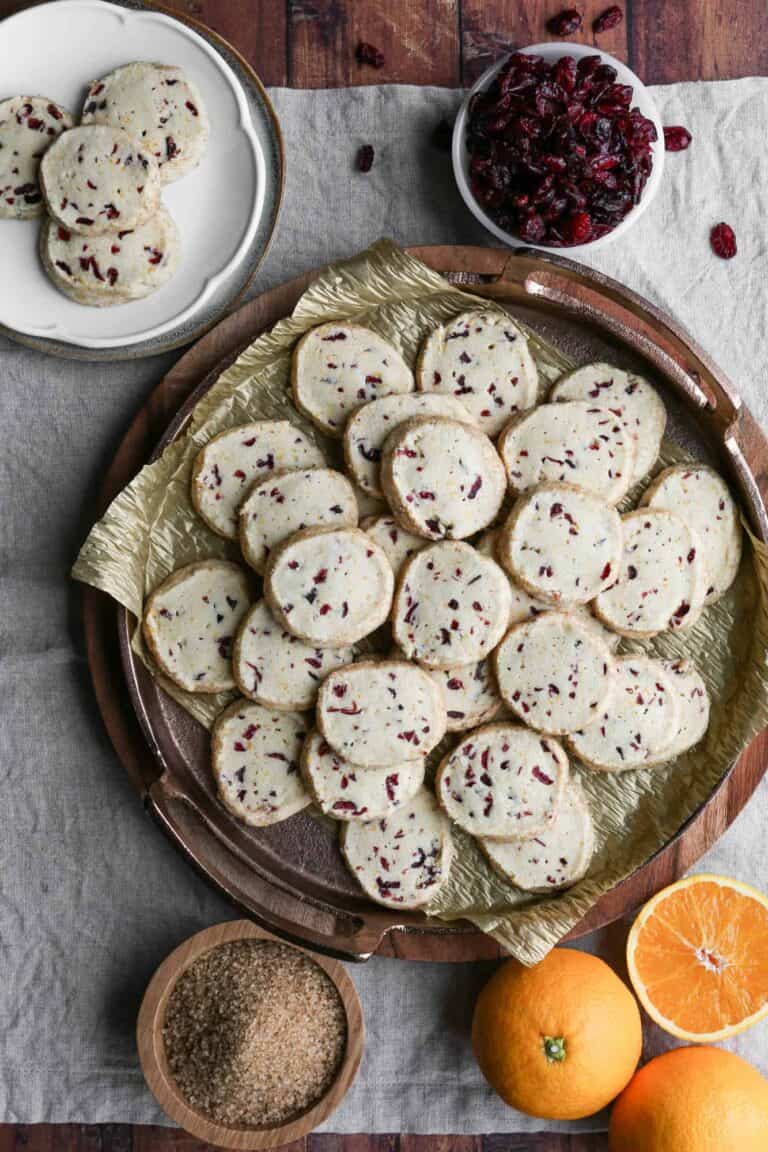
Gluten Free Orange Cranberry Butter Cookies
These easy gluten free orange cranberry butter cookies are perfect for the holidays. This Christmas shortbread recipe makes the best treats. These cookies are eggless and include dried cranberries and orange zest for amazing flavor.
Fall Drinks to Sip On
Whether you want something warm and spiced or a cold brew with fall flavor, these drinks bring the season to your mug or glass.
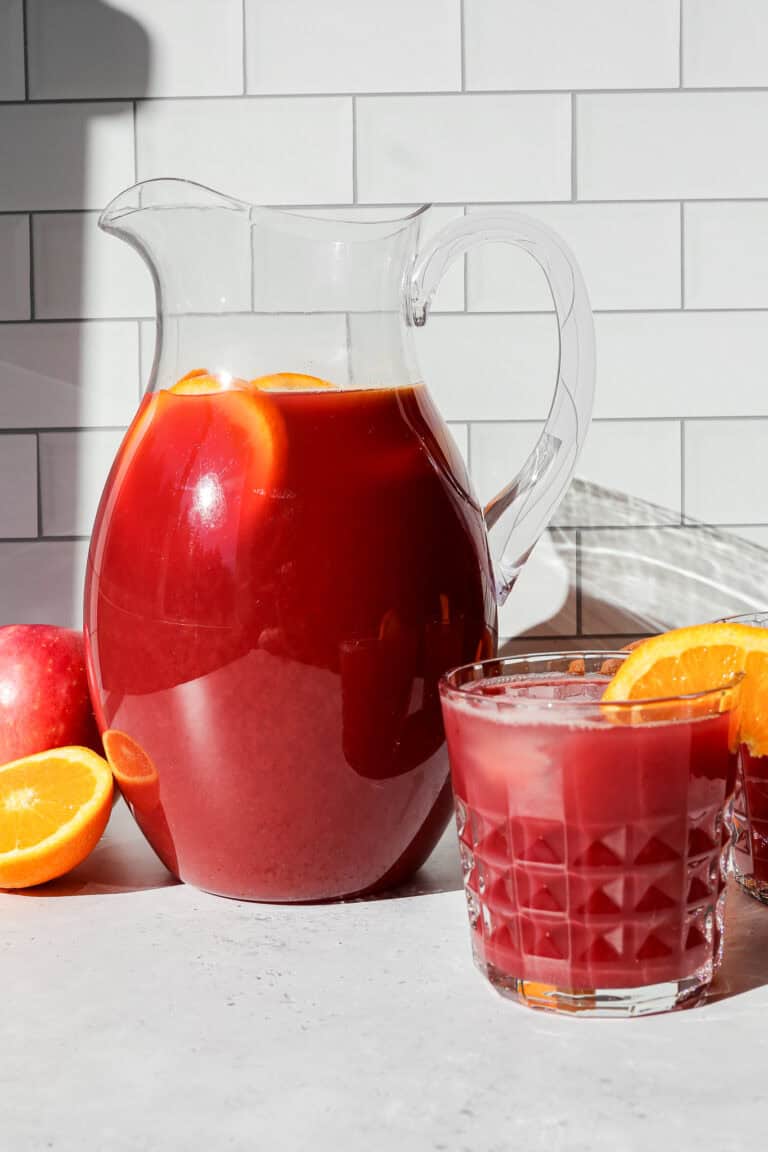
Autumn Harvest Punch
This Autumn Harvest Punch is the perfect non alcoholic fall drink for your next gathering! It combines all the cozy flavors of the season into one refreshing sip. Made with a blend of cranberry juice, apple juice, and orange juice, this fall punch mocktail is bursting with fruit flavor and color.

Easy Pumpkin Spice Hot Chocolate
This recipe for easy pumpkin spice hot chocolate is a fall favorite drink! It's a creamy, rich hot cocoa made with pumpkin puree and chocolate chips. This homemade hot beverage is a quick way to combine pumpkin pie spice with chocolate.
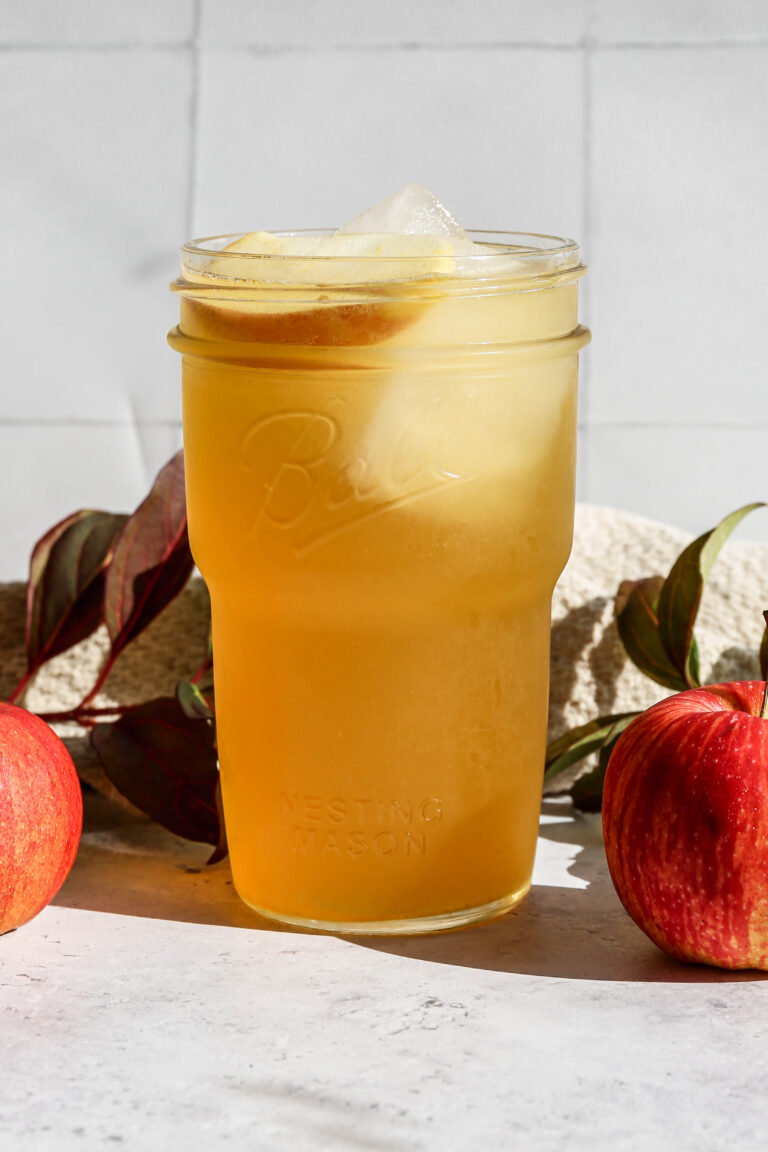
Non Alcoholic Spiced Apple Fizz Drink
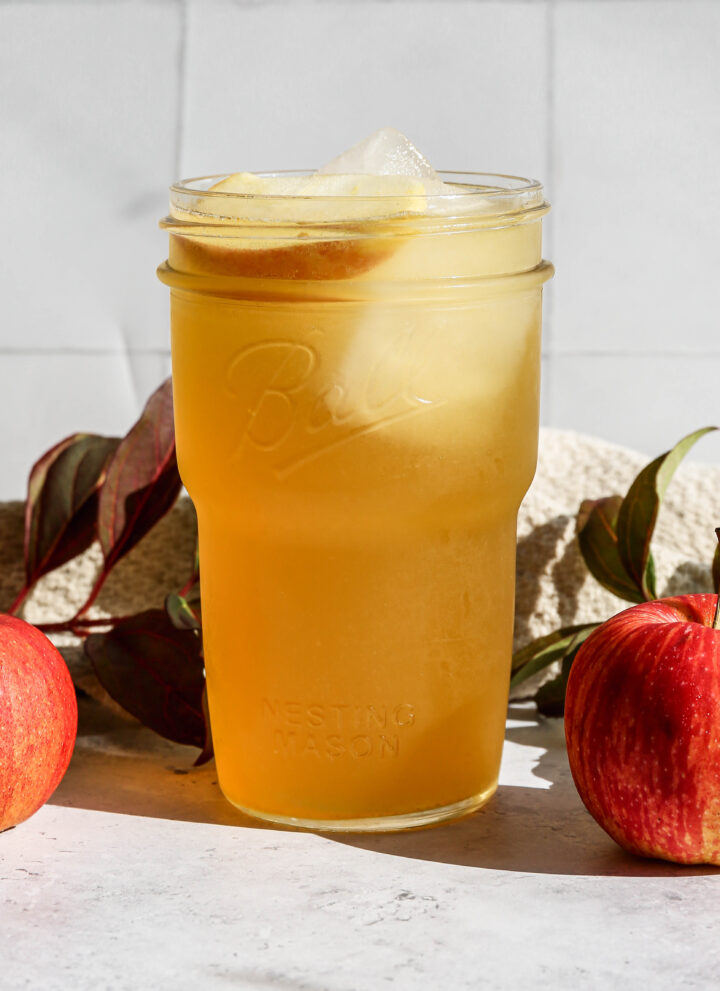
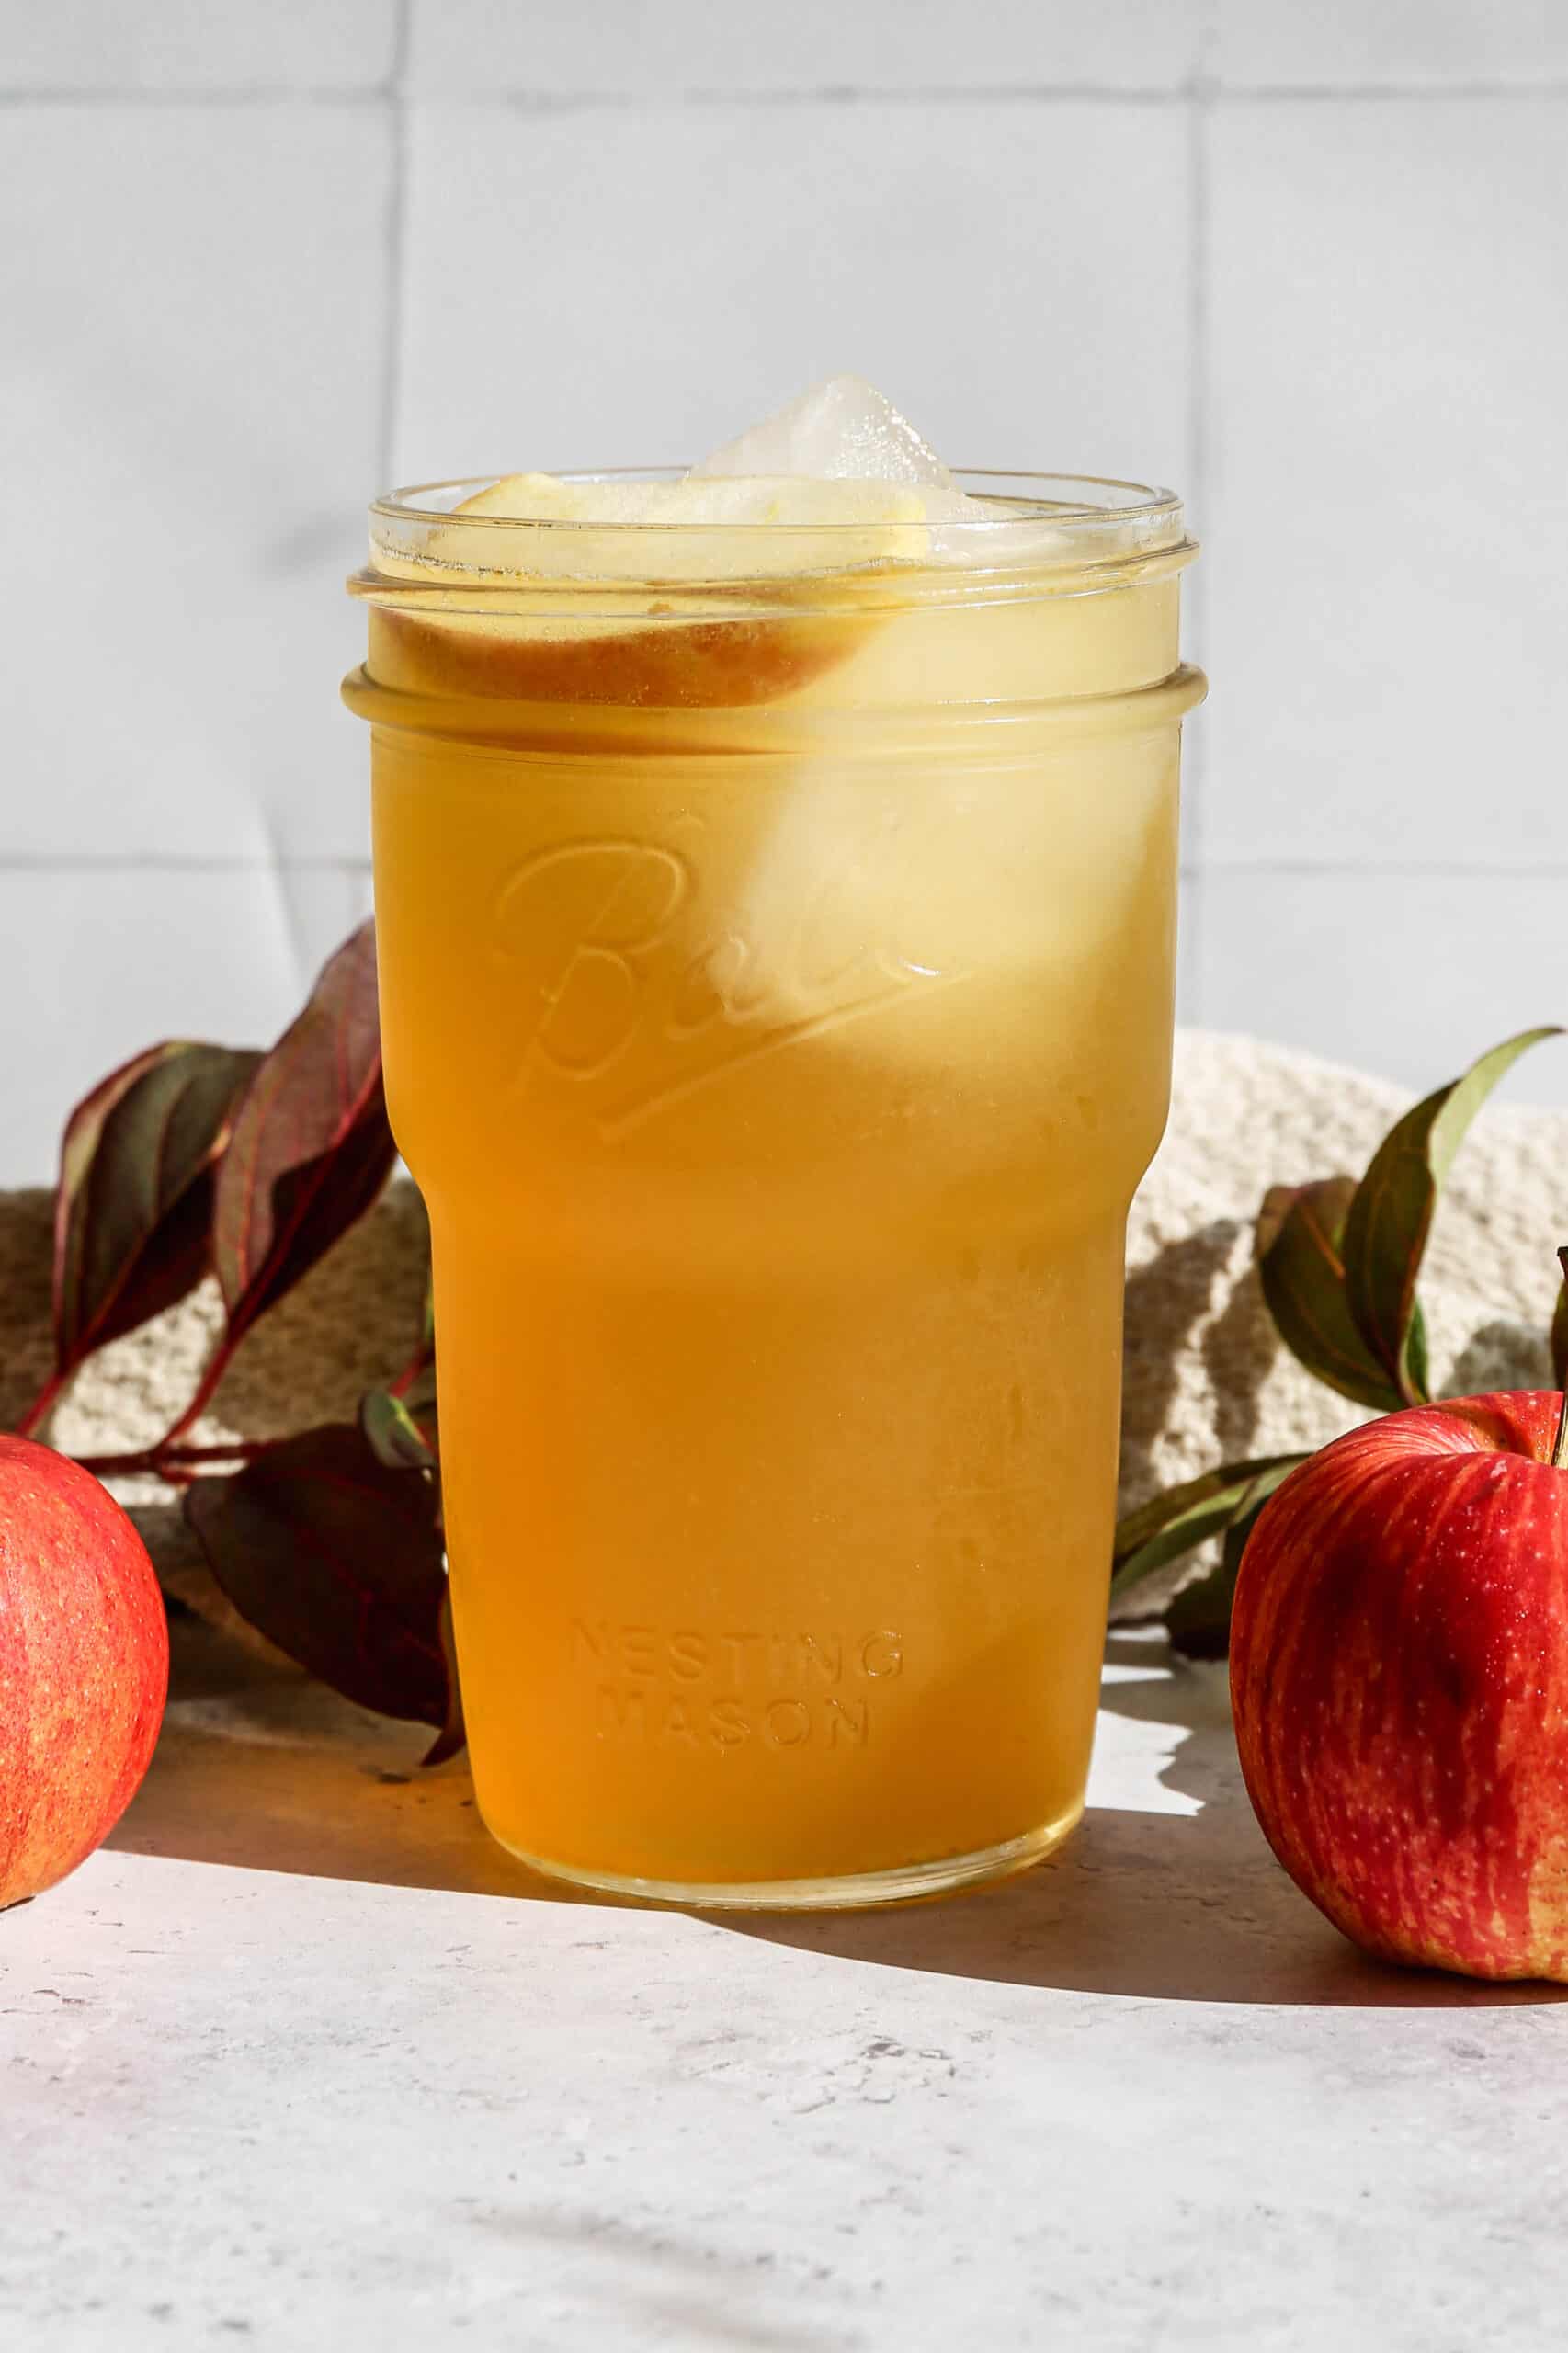
Fall calls for a drink that feels a little festive, and this spiced apple fizz delivers without any alcohol involved. Warm spices simmer right into the apple juice on the stovetop, then get topped with sparkling water for a bubbly, refreshing finish.
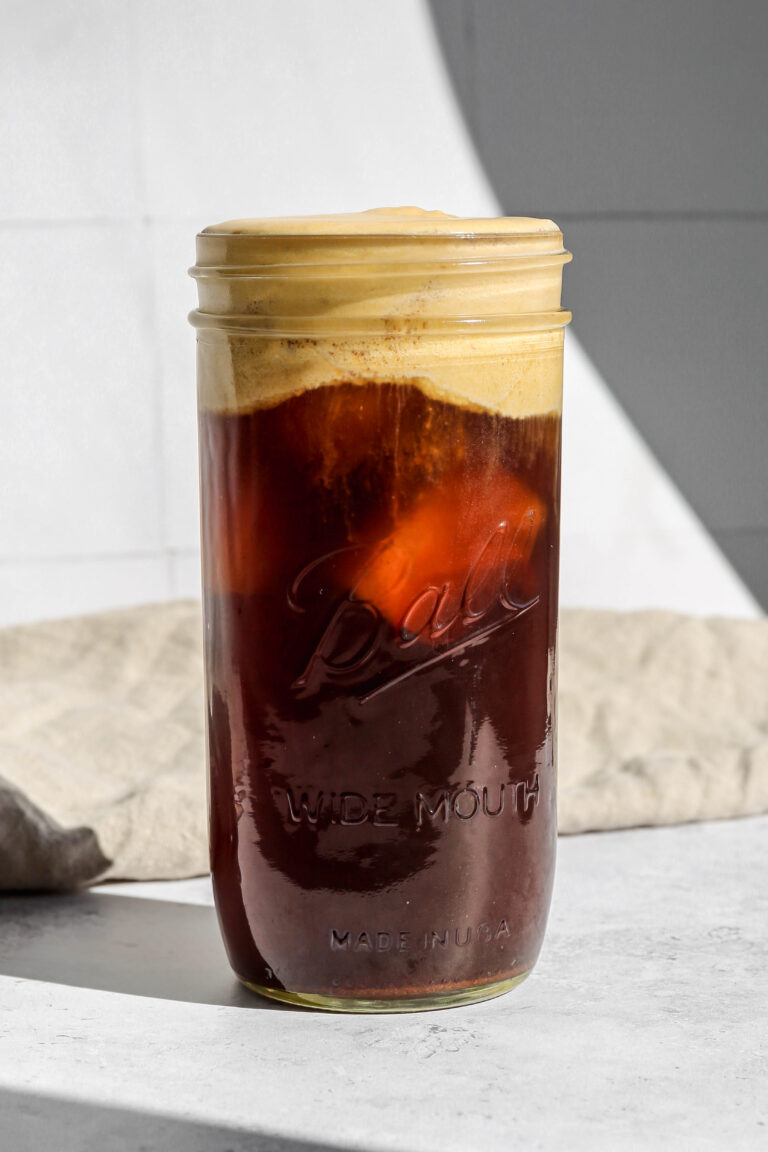
Dunkin Copycat Pumpkin Cream Cold Brew
This easy recipe for Dunkin copycat pumpkin cream cold brew is the perfect fall drink! It's simple to make this iced coffee at home. Using pumpkin puree to make the cold foam and brown sugar cinnamon syrup gives the coffee a delicious pumpkin spice flavor.
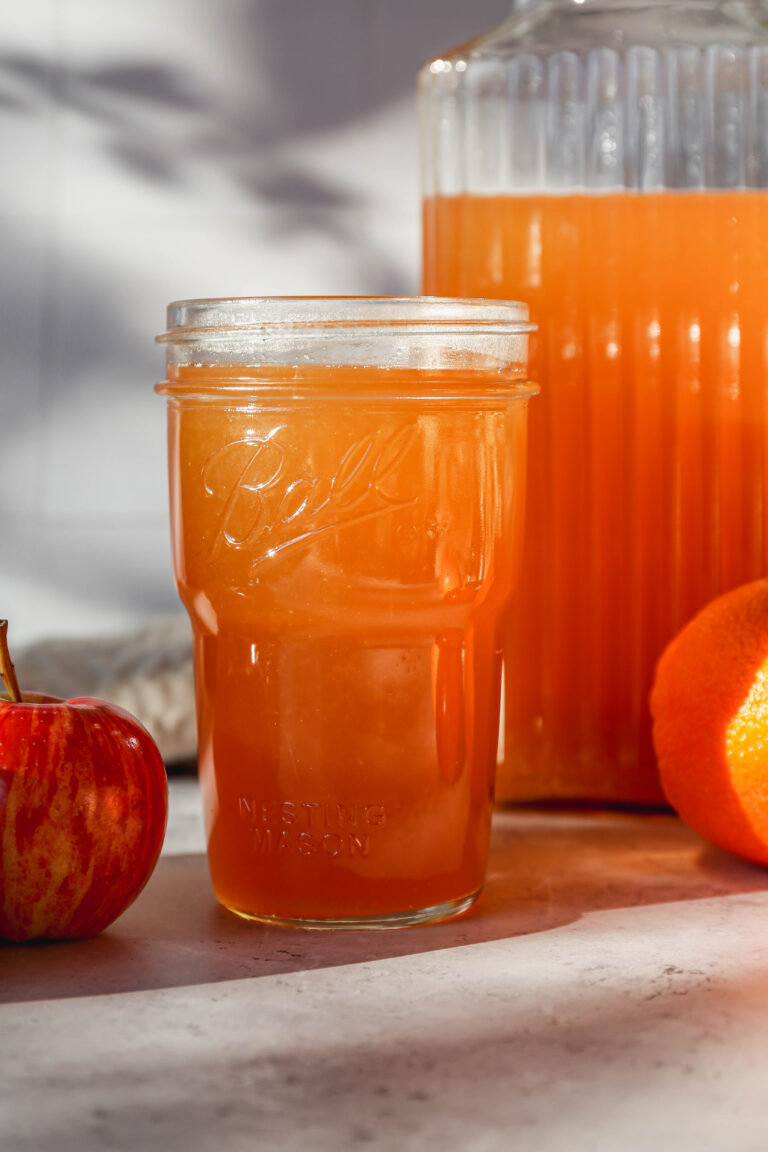
Easy Instant Pot Apple Cider
One of my favorite ways to welcome fall is with a big pot of homemade apple cider simmering away and filling the whole house with the smell of cinnamon and cloves. This easy instant pot apple cider takes all of that cozy flavor and gets you there in a fraction of the time, no hours of watching a pot on the stove required. I like using a sweet apple variety in this recipe, since the lemon already brings plenty of tartness and balance on its own, so there's no need to mix in a tart apple too.
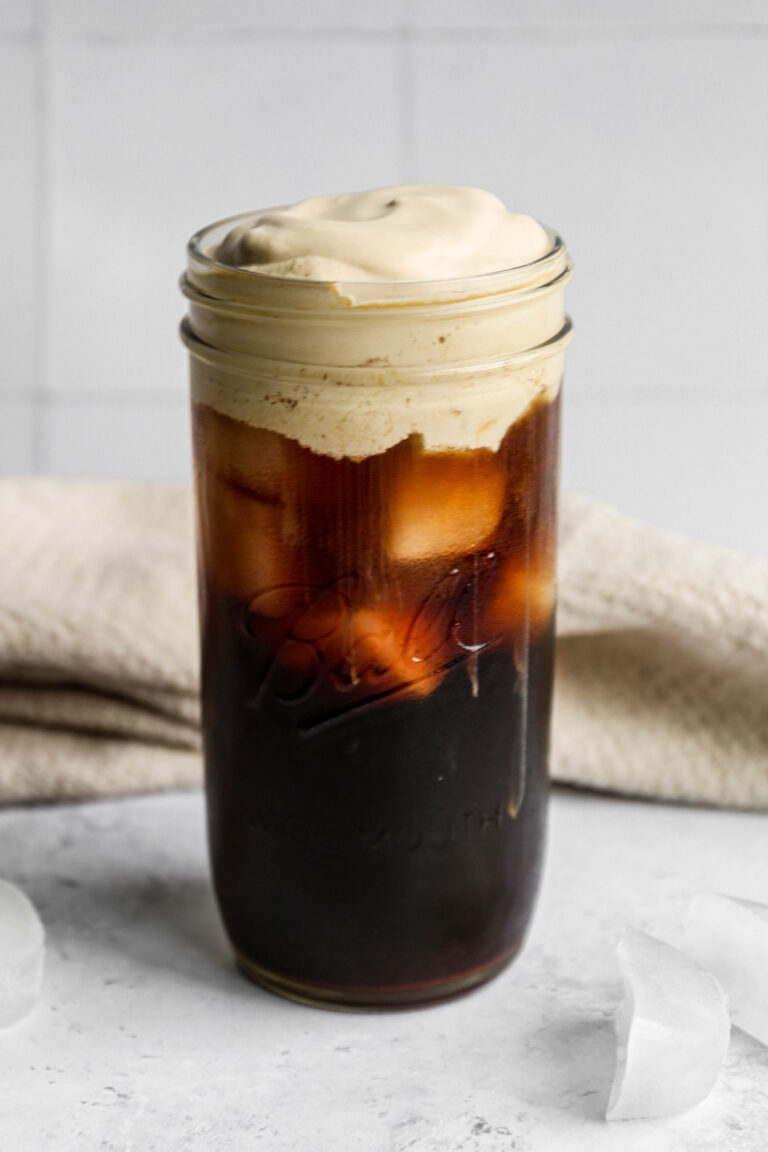
Dunkin Copycat Brown Sugar Cream Cold Brew
This Dunkin Copycat Brown Sugar Cream Cold Brew is one of my favorite summer coffee recipes and one I come back to again and again when I want something that feels like a treat without the drive or the price tag. The combination of smooth cold brew, warm brown sugar cinnamon syrup, and that creamy cold foam on top is everything I want in an iced coffee.
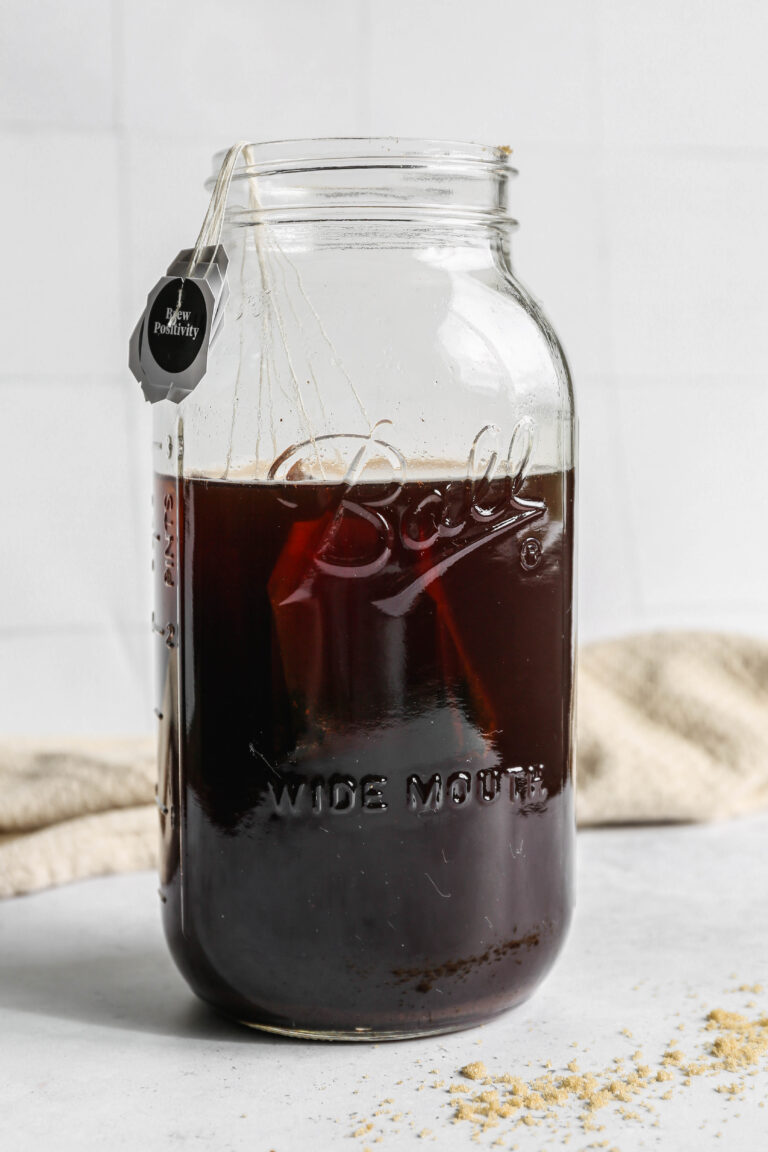
Iced Chai Tea Latte Concentrate
This Homemade Iced Chai Tea Latte Concentrate is one of those recipes that completely changed my daily routine and I am so excited to share it with you. I make a batch of this in my Instant Pot every week and having it ready in the refrigerator means I can pull together a perfect iced chai latte in about two minutes without ever leaving my house or spending coffee shop prices. The concentrate is made with whole spices including fresh ginger, cinnamon sticks, whole cloves, star anise, cardamom, and nutmeg along with black tea bags and it smells absolutely incredible while it is cooking.
My Favorite Kitchen Tools

I get a lot of my ingredients from Thrive Market. Thrive Market has been a game changer for me eating gluten free. They have so many options I can't get at my rural grocery stores! Use this link to get 40% off your first order!
You Might Also Enjoy:


Didn't find the answer you're looking for?
Ask AI to answer based on this recipe: