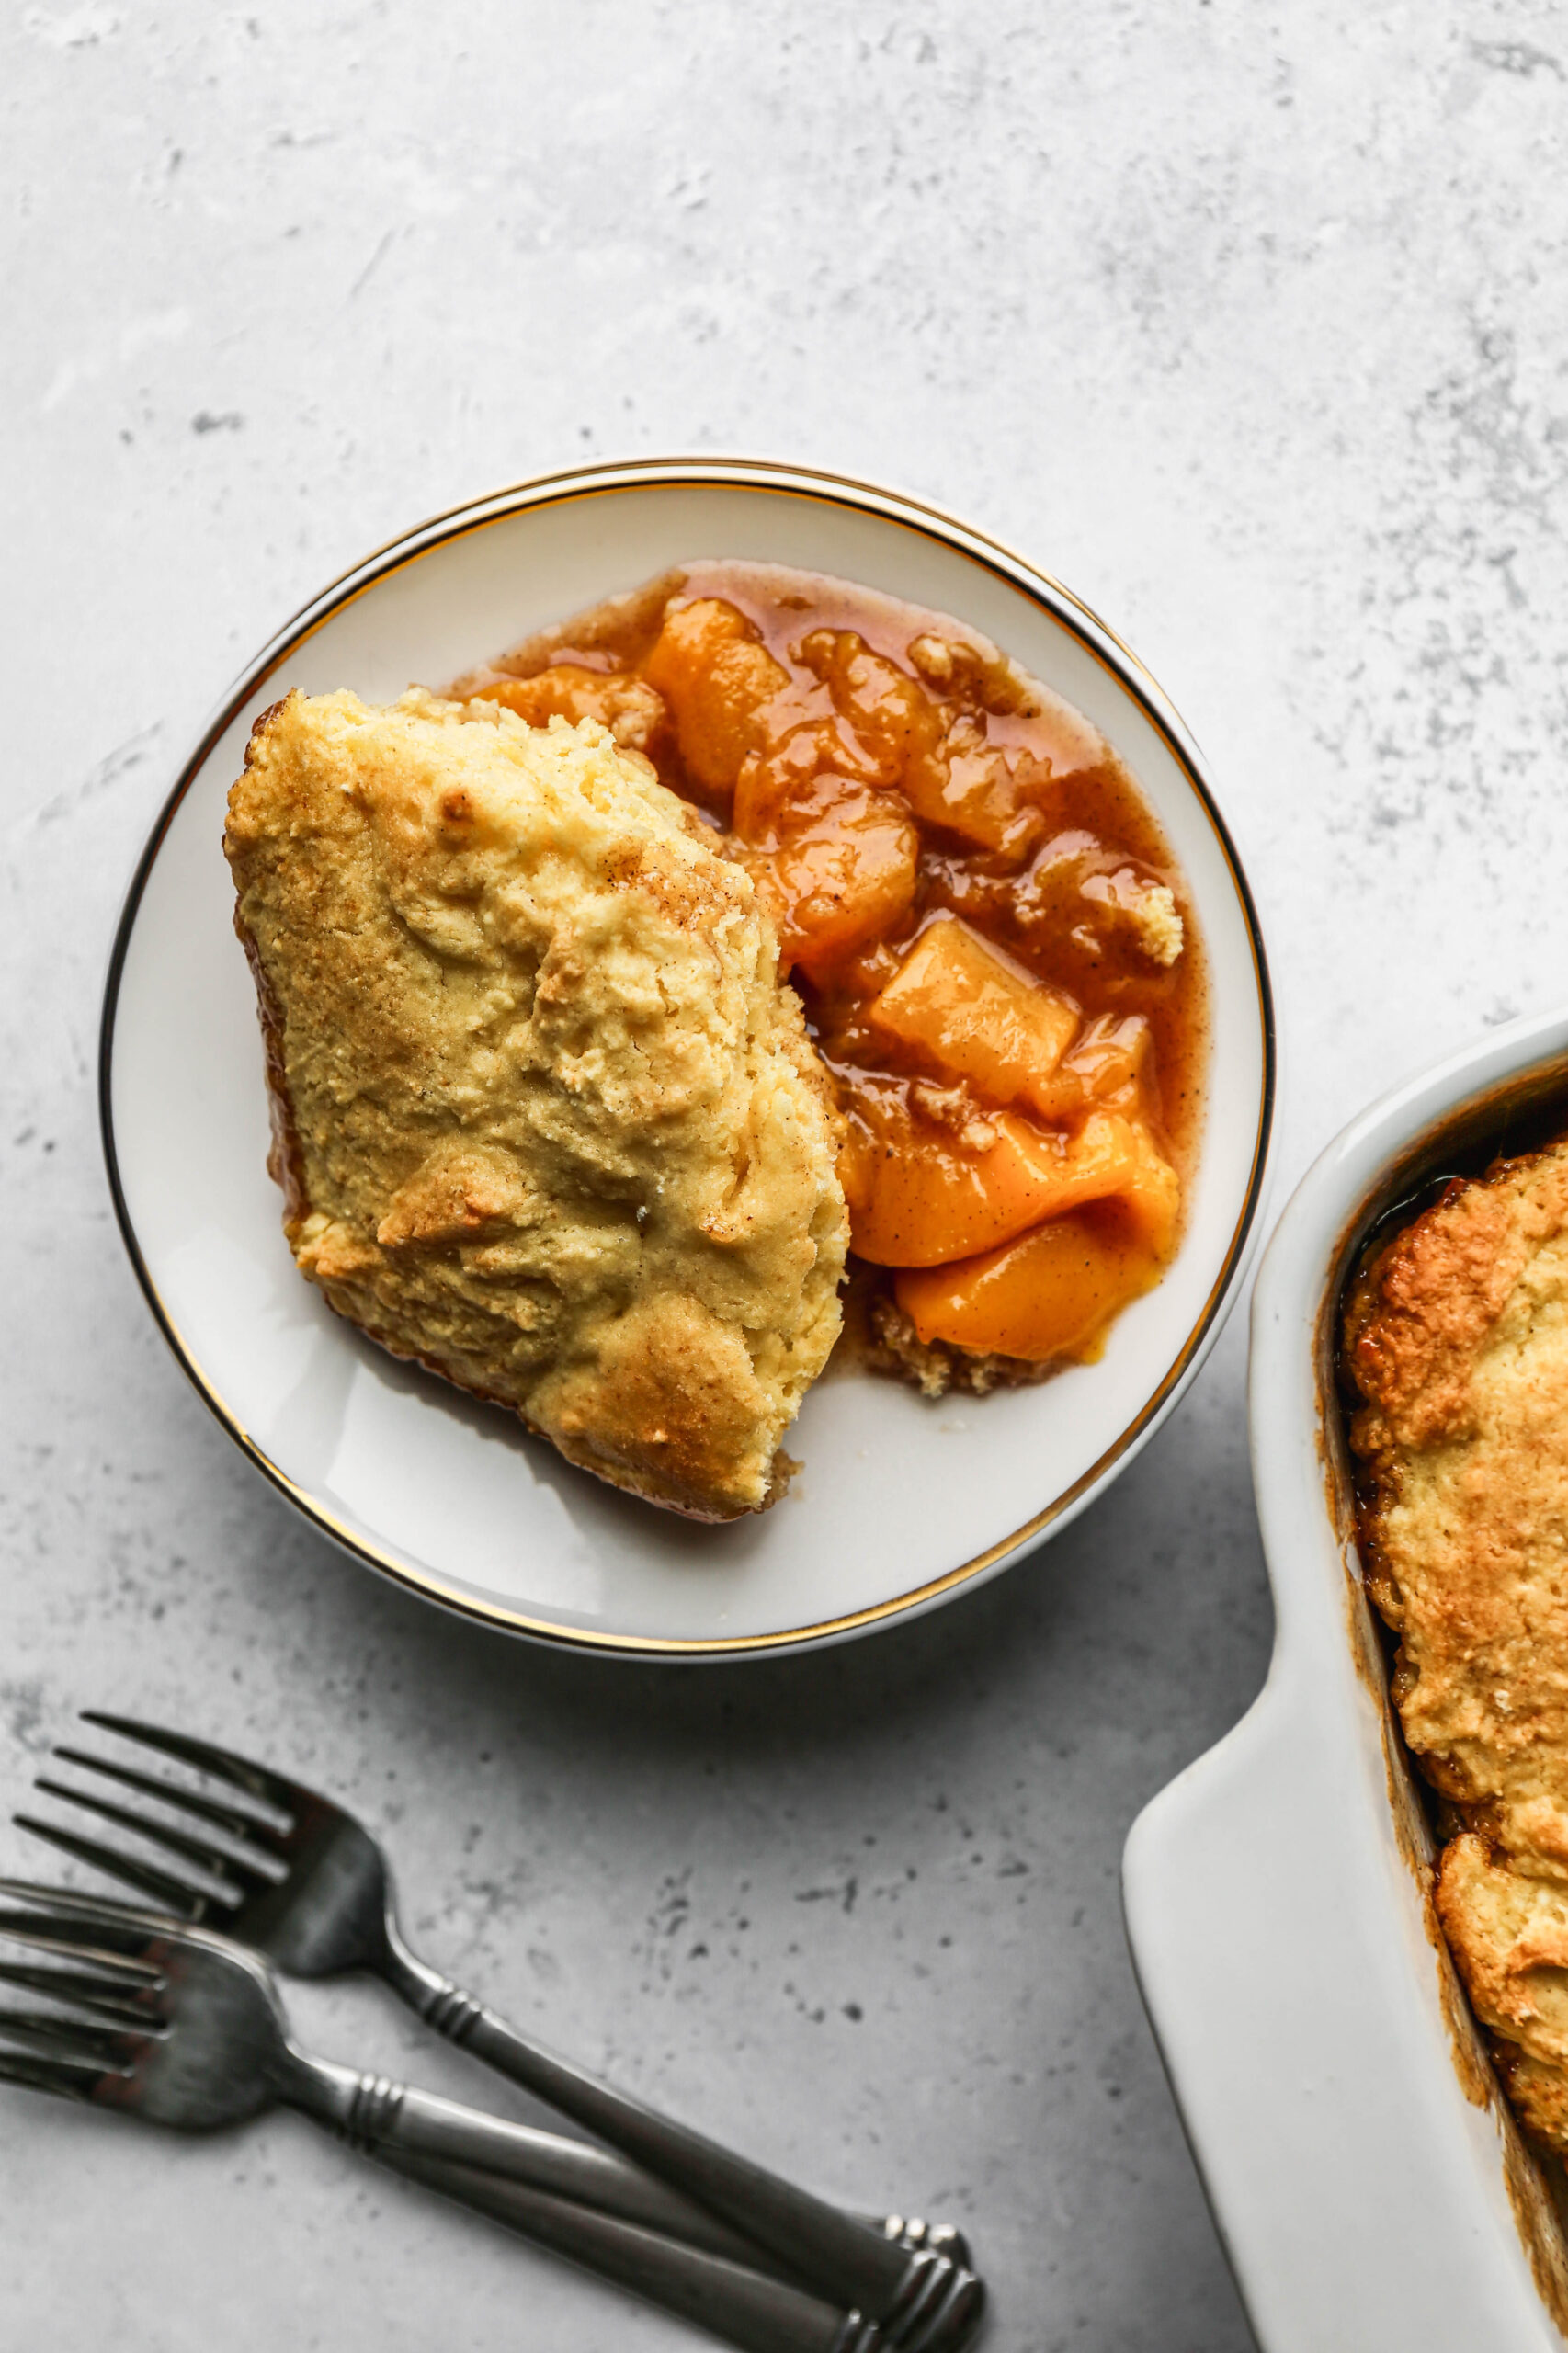
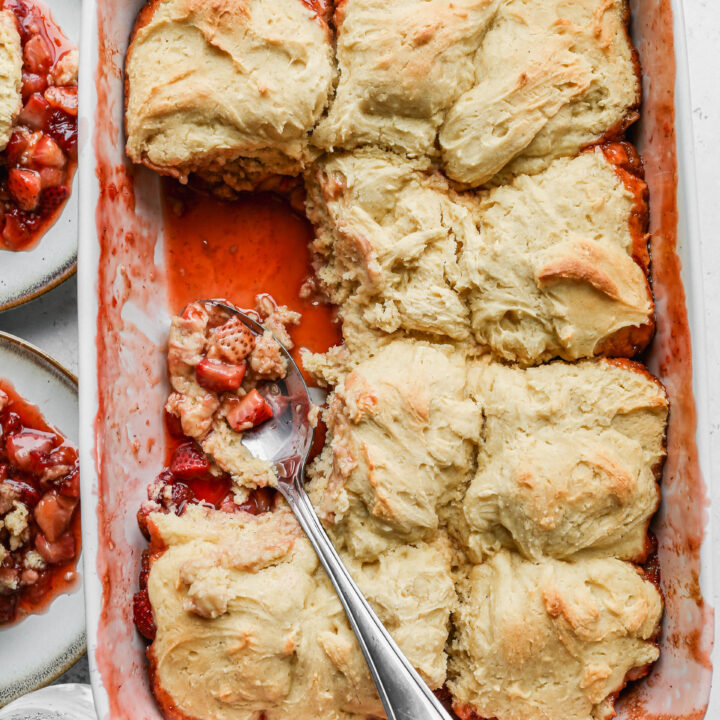
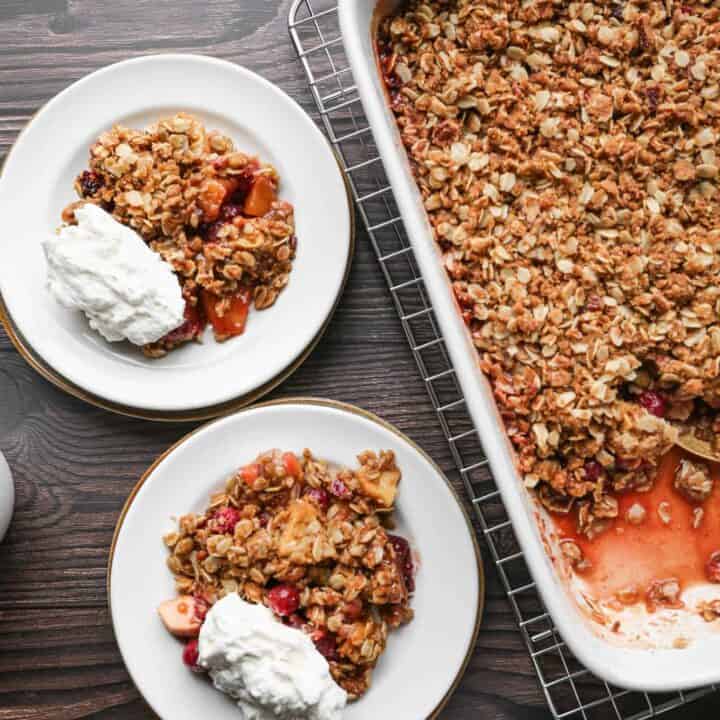
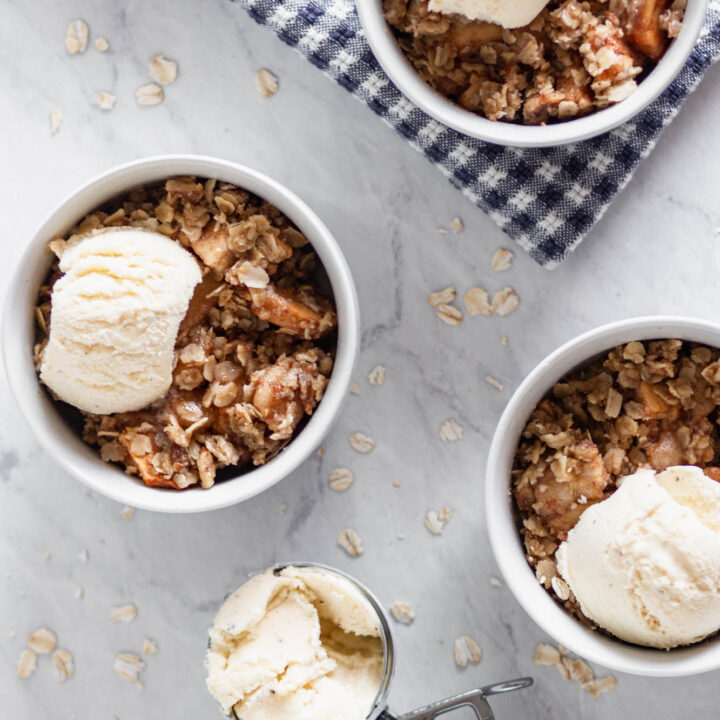
• Skip to primary navigation
  • Skip to main content
  • Skip to primary sidebar
  • Skip to footer
Small Farm Big Life logo
  • Recipe Index
  • Subscribe
  • Resources
  • Home Decor
  • Nav Social Menu

    • Email
    • Facebook
    • Instagram
    • Pinterest
menu icon
go to homepage
subscribe
search icon
Homepage link
  • Home
  • Recipe Index
  • Subscribe
  • My Story
  • Resources
  • Free Guides
  • Home Decor
    • Email
    • Facebook
    • Instagram
    • Pinterest
  • ×

    Gluten Free No Bake Lemon Icebox Pie

    This easy recipe for gluten free no bake icebox pie is the perfect summer dessert! It's an old fashioned recipe with condensed milk, cream cheese and a gingersnap cookie crust. This no bake lemonade icebox pie is creamy and a classic recipe for hot days.

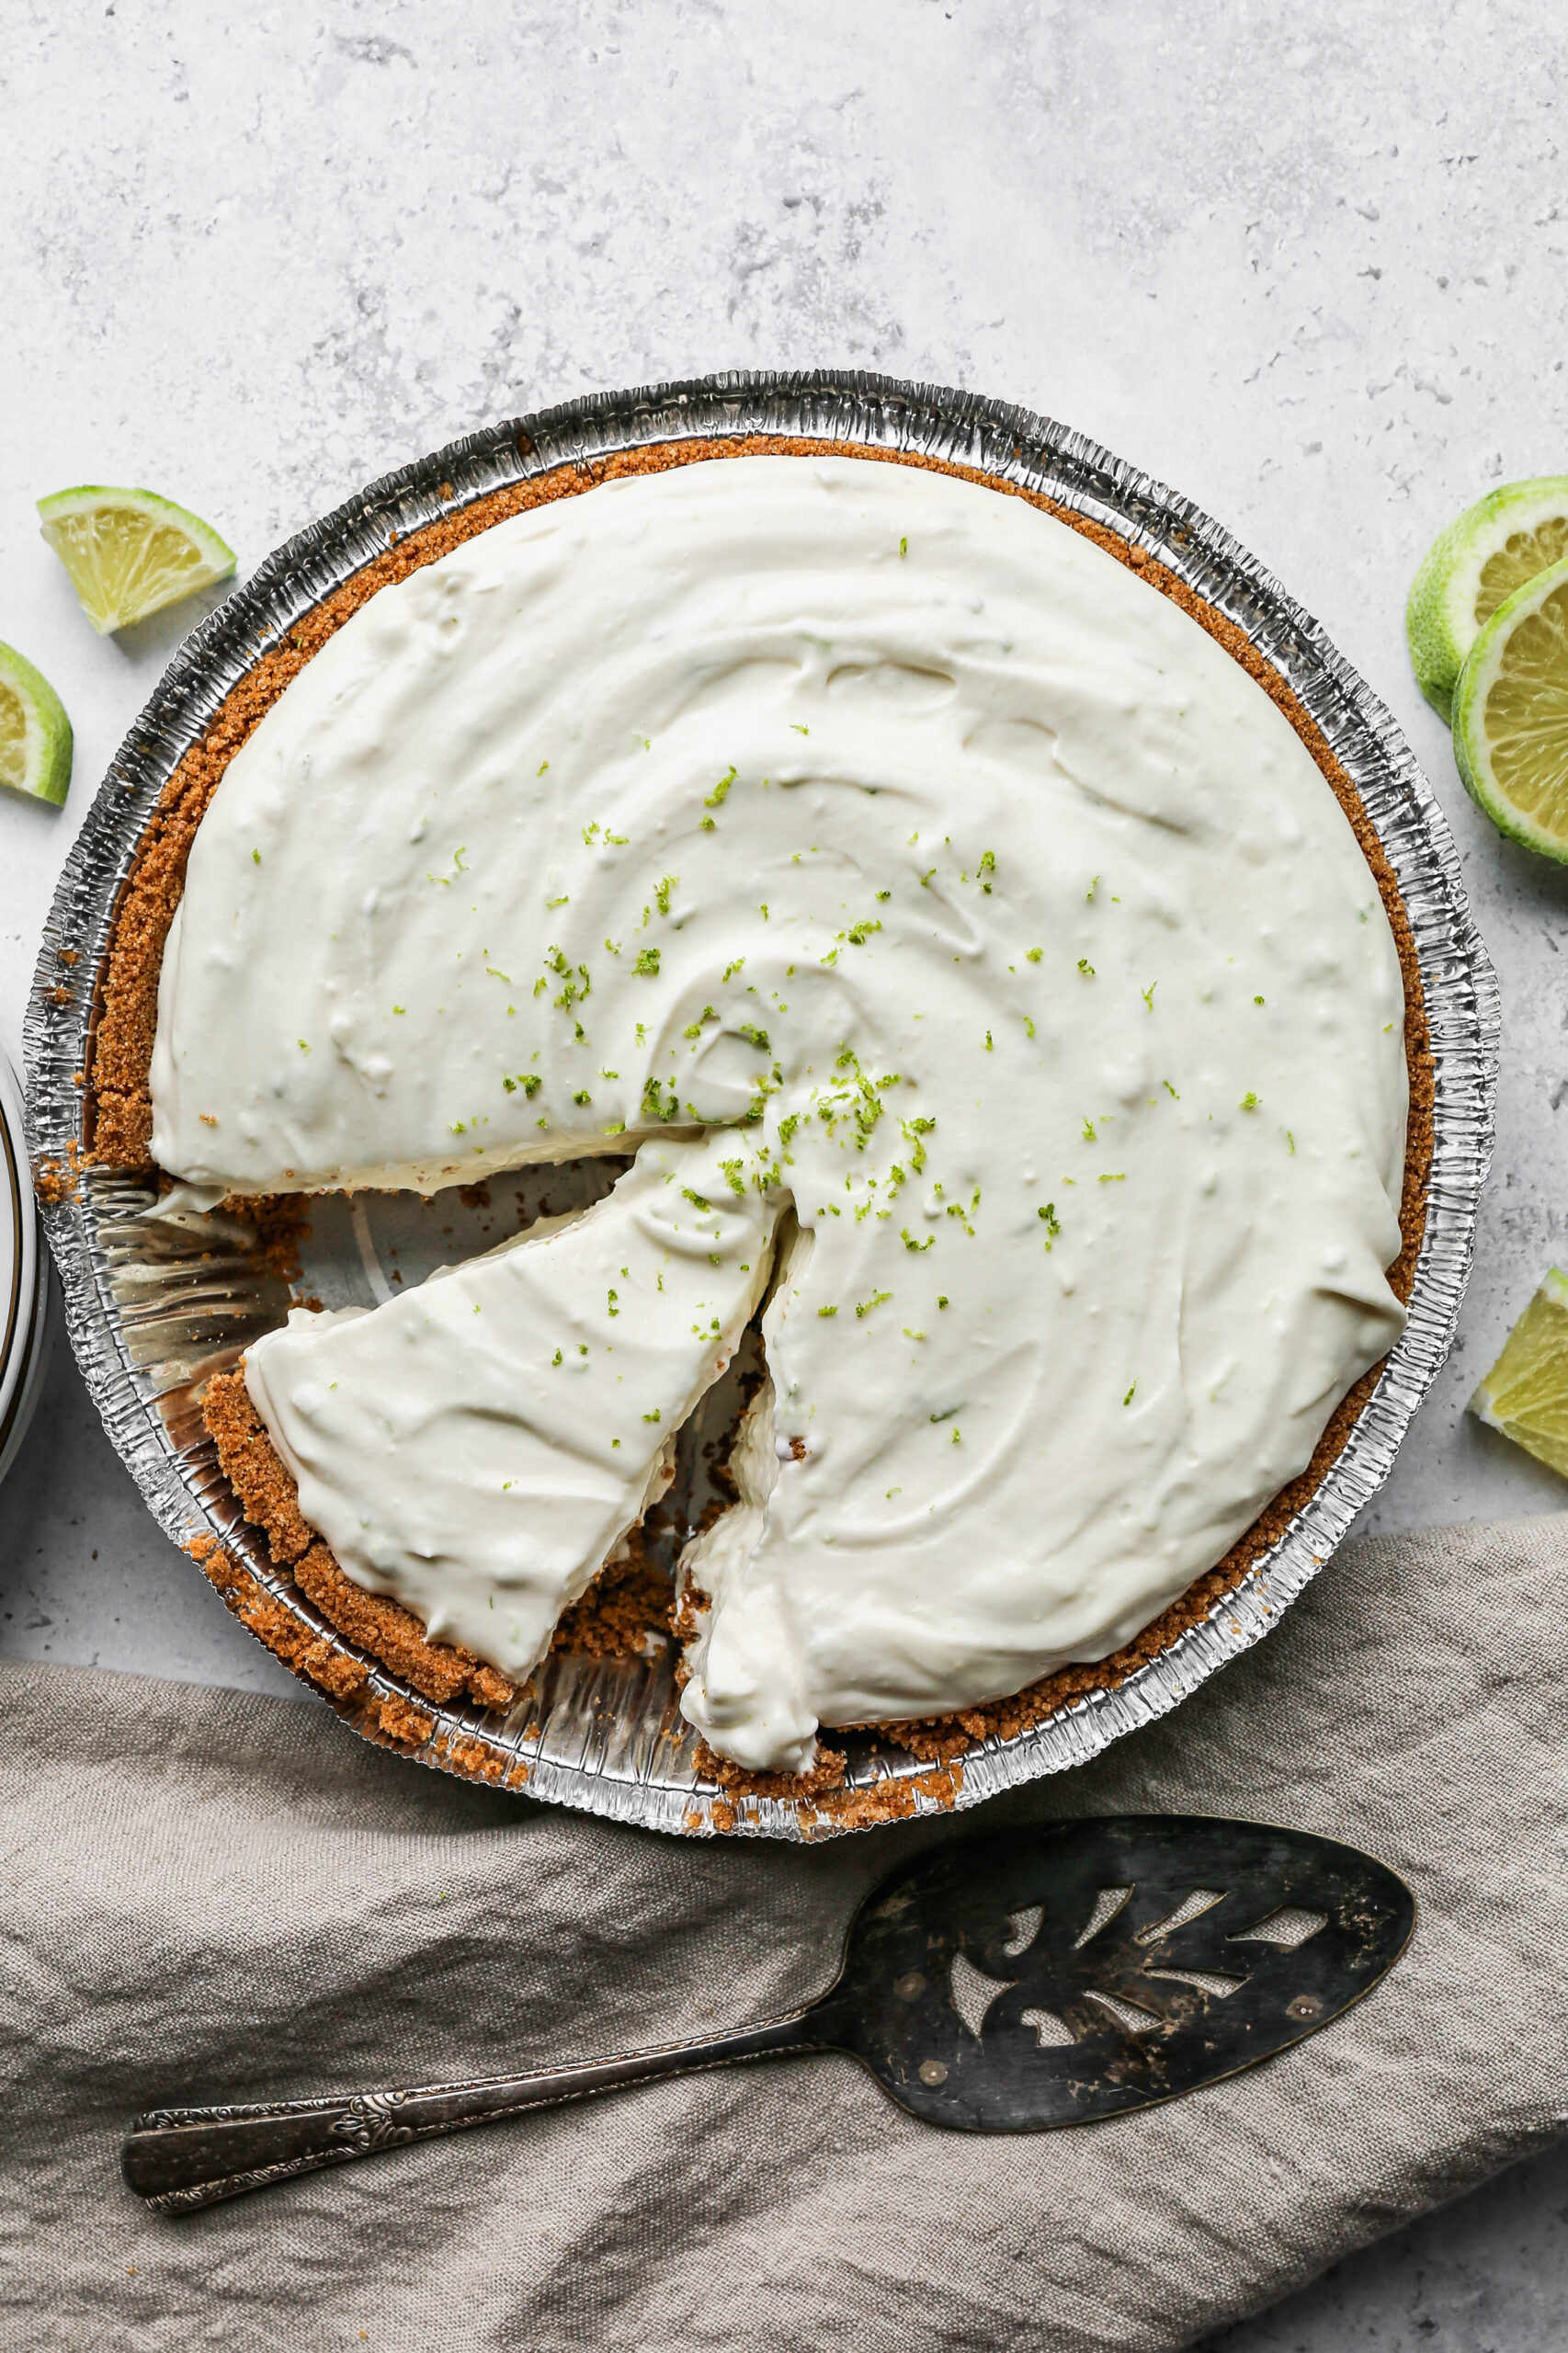
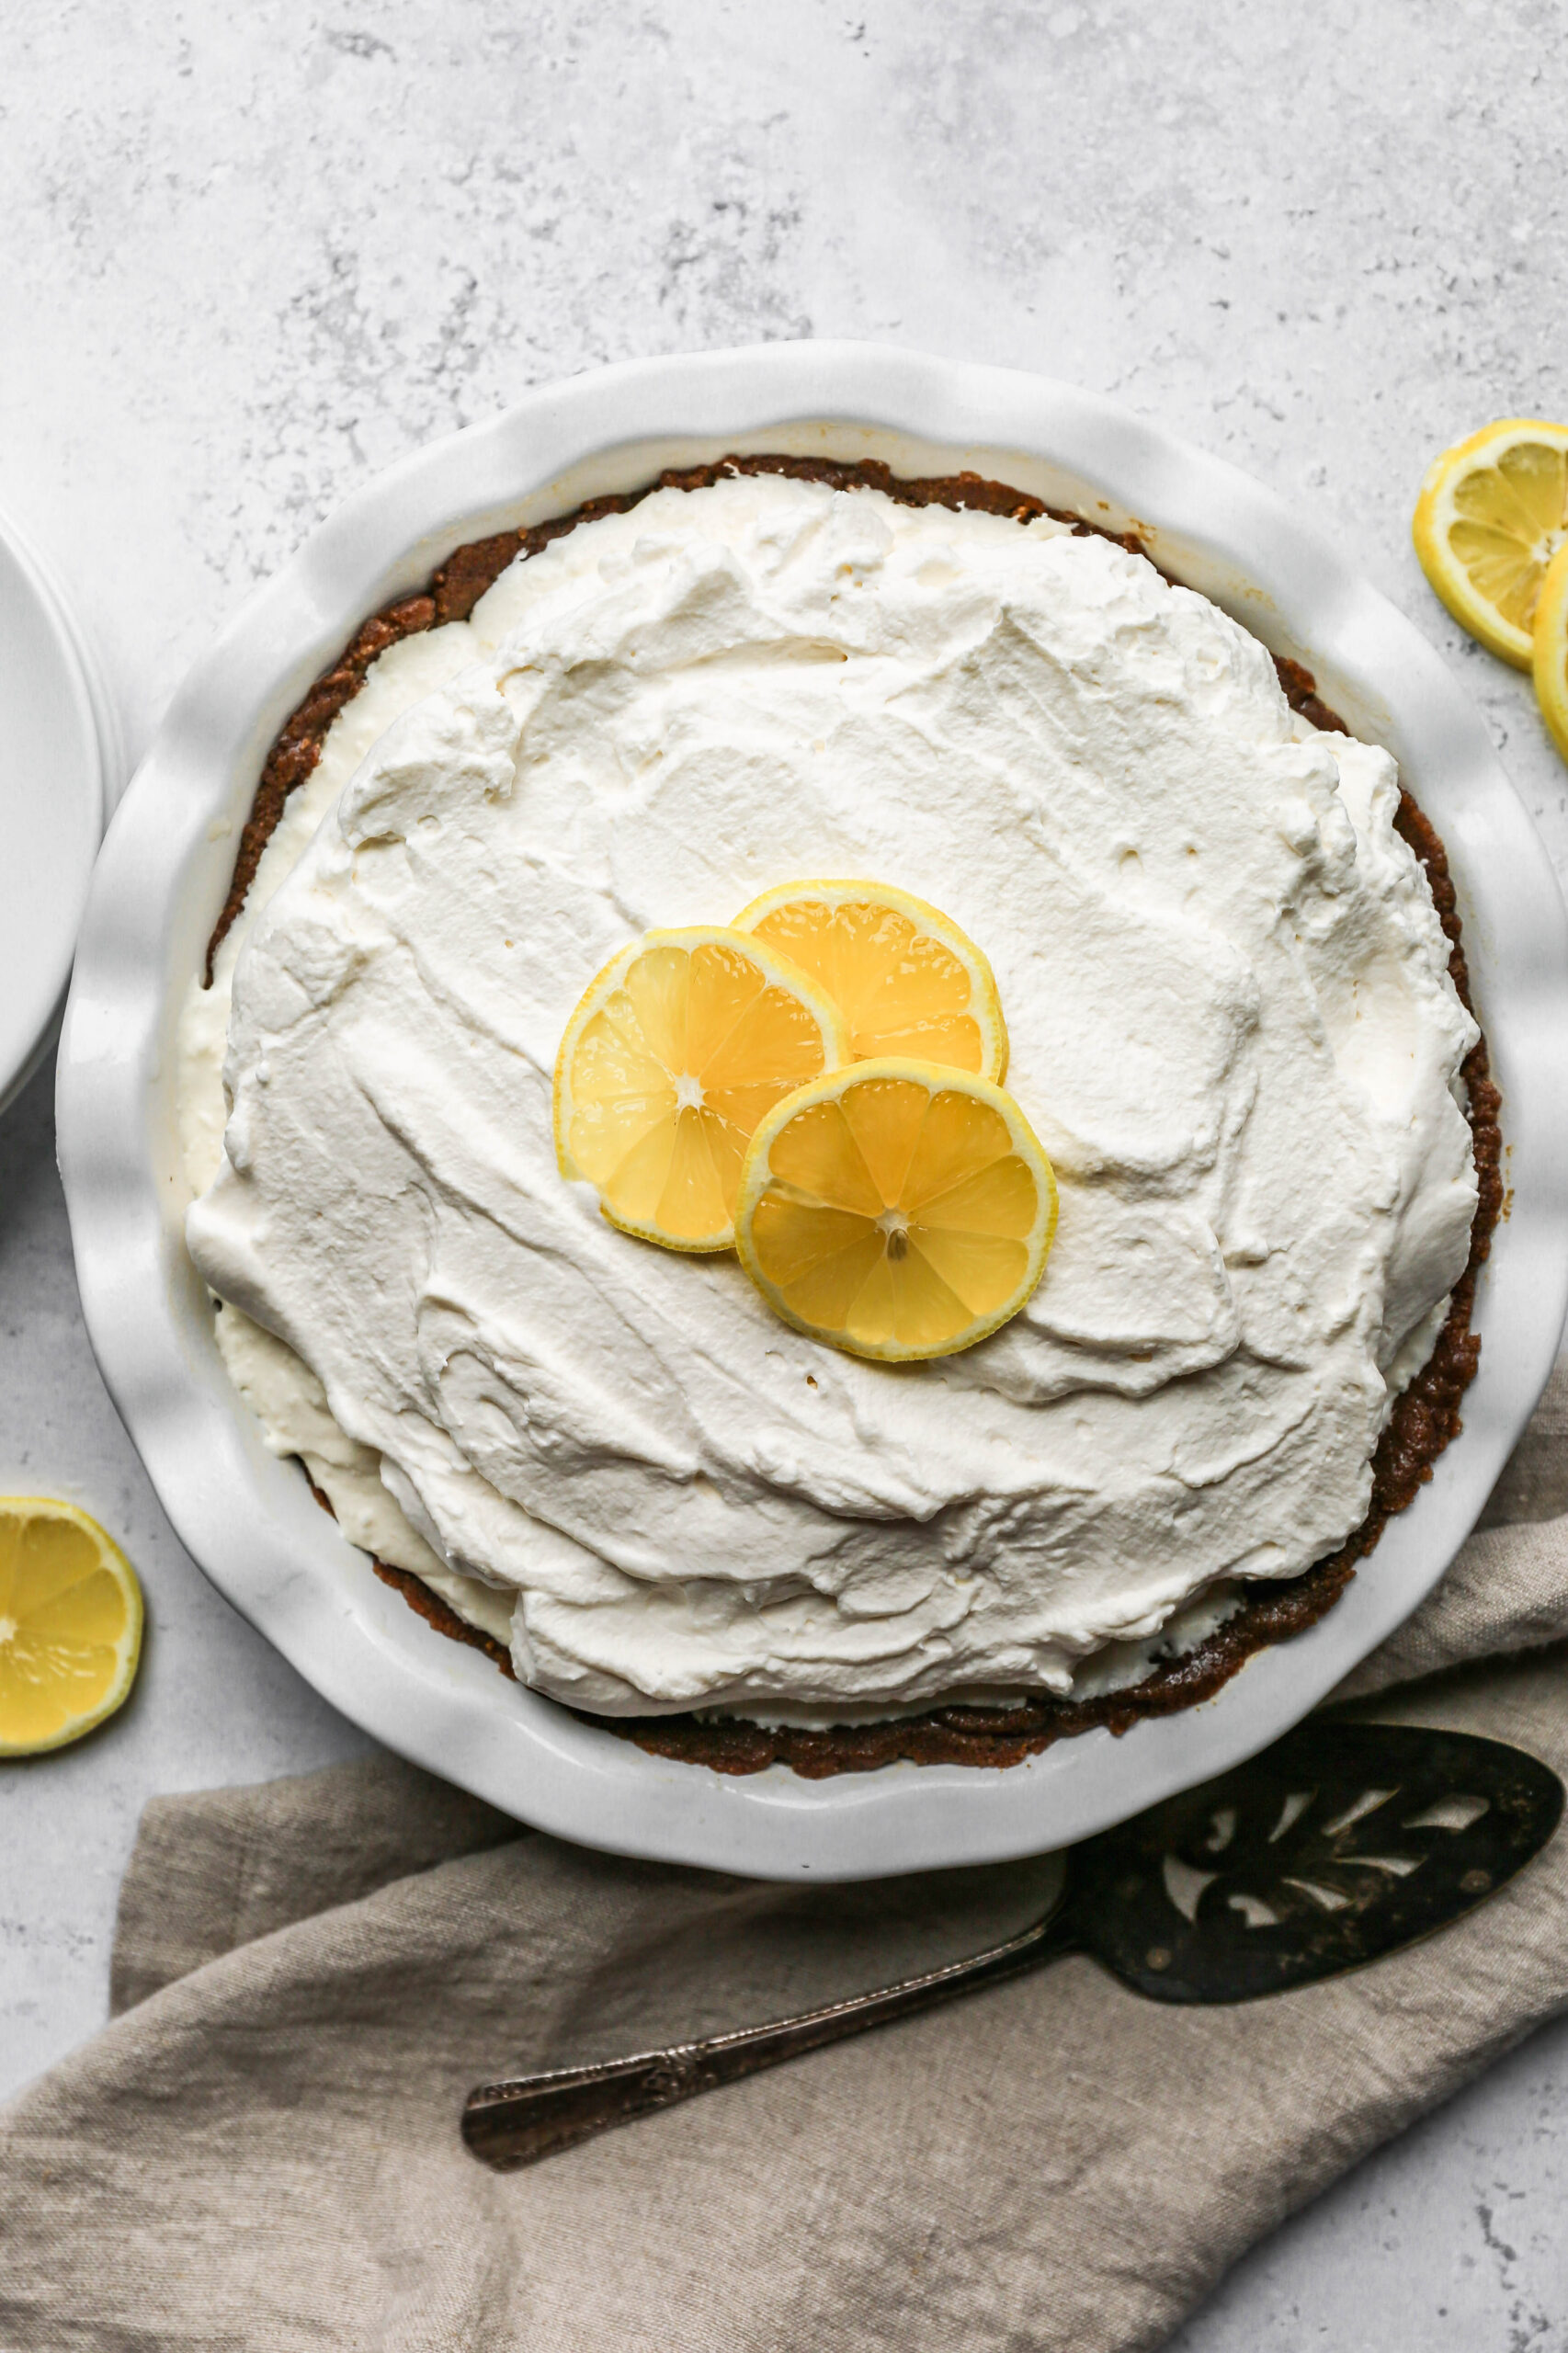
    a white pie plate of gluten free no bake lemon icebox pie next to lemon slices.

    This Gluten Free No Bake Lemon Icebox Pie is a cool, creamy dessert that delivers bright citrus flavor in every bite.

    Perfect for warm weather, this refreshing dessert is a modern twist on the Old Fashioned No Bake Lemon Icebox Pie, making it ideal for summer gatherings, picnics, or anytime you need a quick, no fuss treat.

    Its smooth, lemony filling and chilled texture create a satisfying contrast that's both light and indulgent. It's everything you want in a classic Lemon Dessert Recipe!

    If you are looking for more cold treats to serve on hot days try my Gluten Free Strawberry Icebox Bars, my Gluten Free No Bake S'mores Pie, my Gluten Free No Bake Key Lime Pie, or my Homemade Strawberry Banana Popsicles.

    You can find all of my dessert recipes here: Gluten Free Dessert Recipes

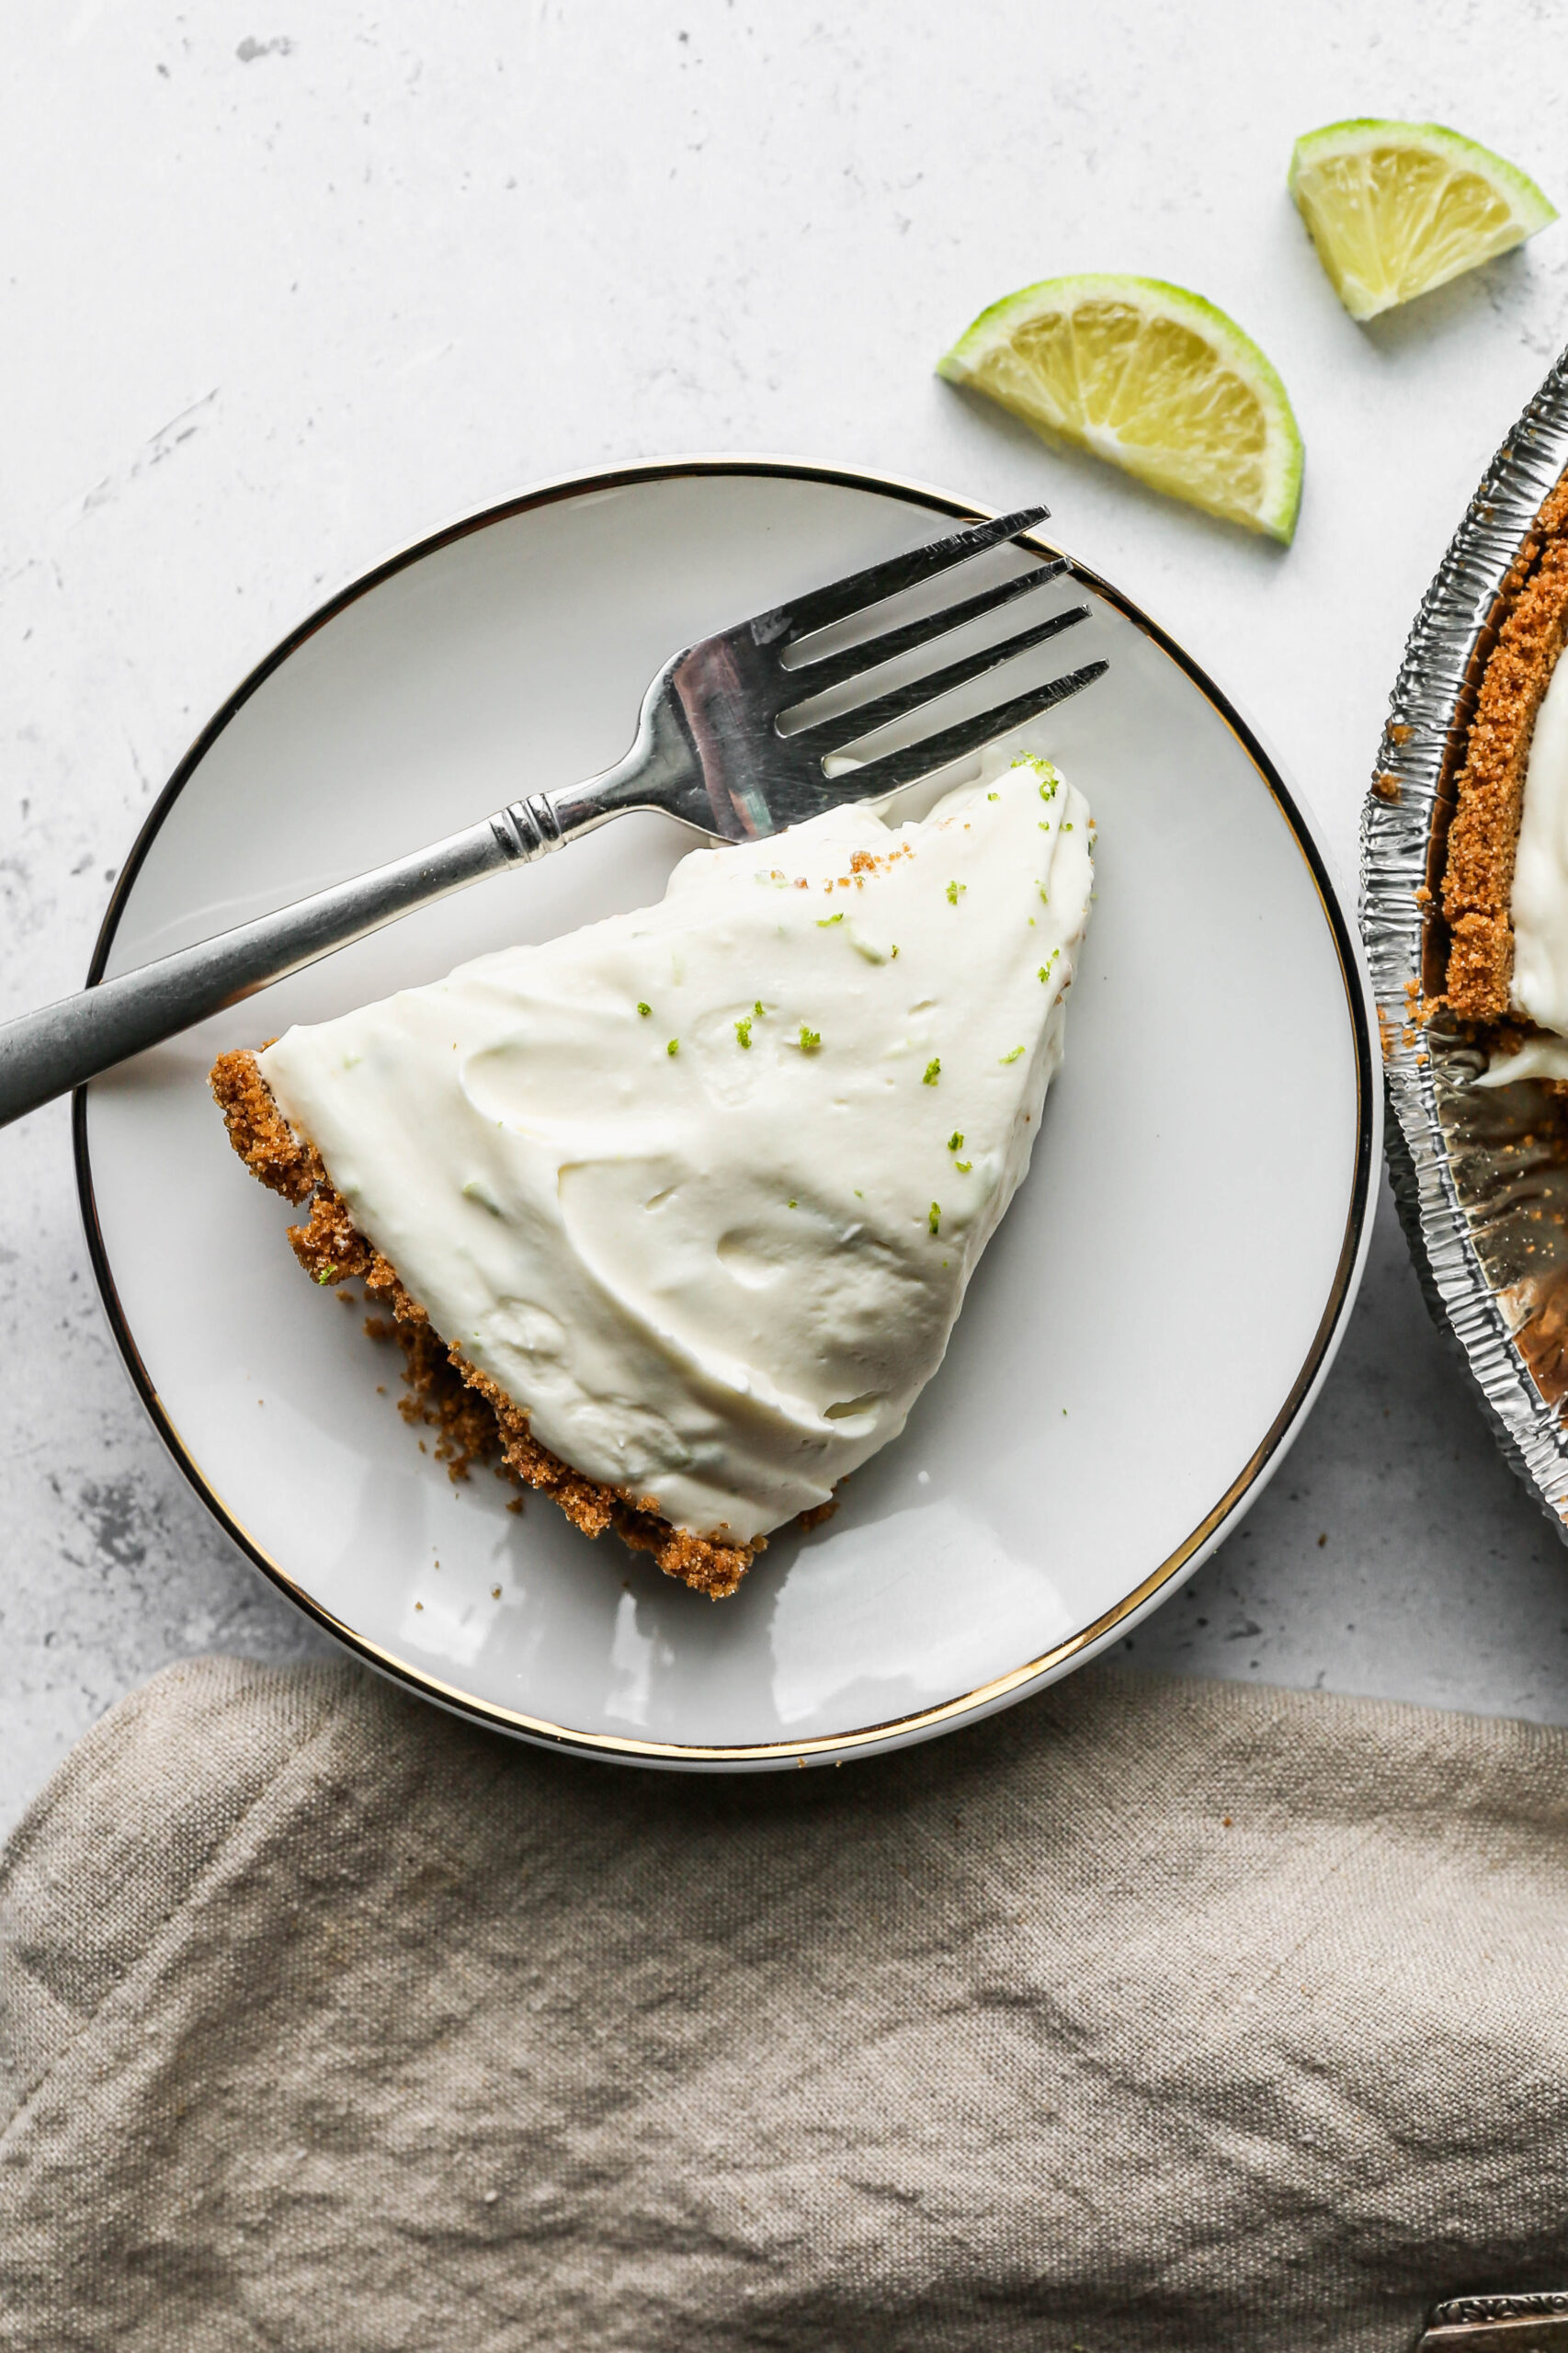
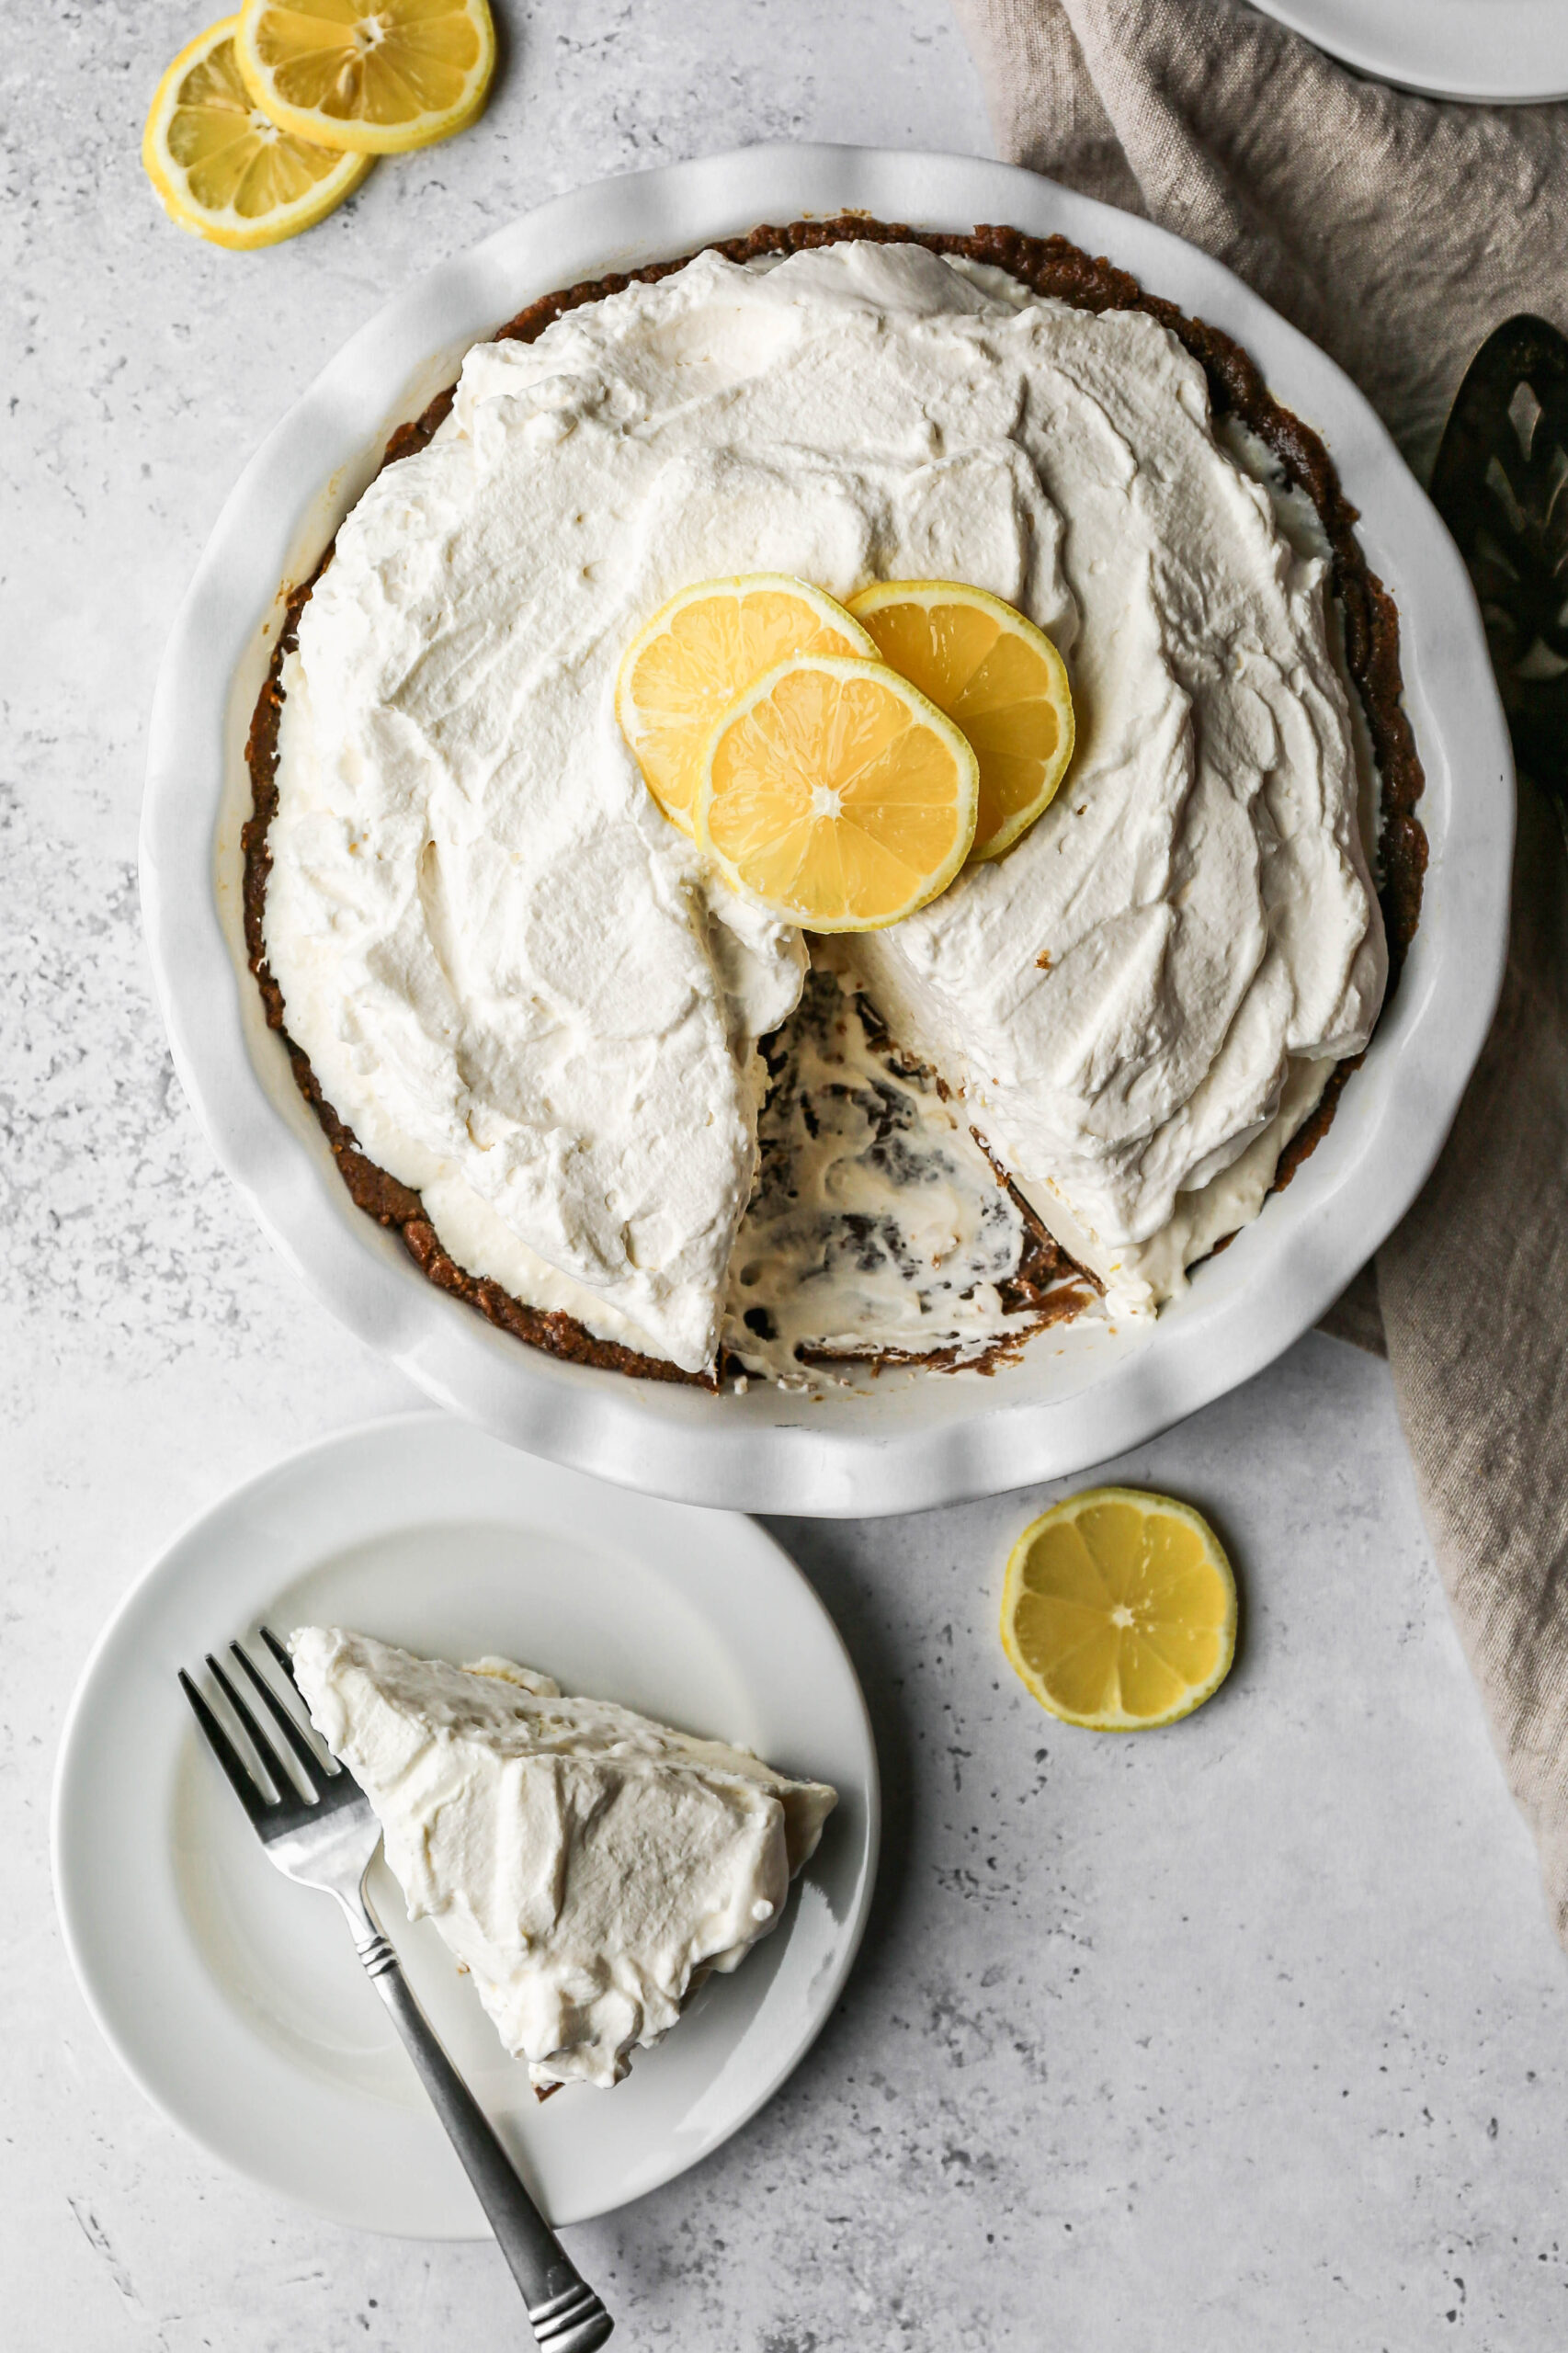
    a white pie plate of gluten free no bake lemon icebox pie next to a slice on a white plate.
    [feast_advanced_jump_to]

    Ingredients

    • Gluten Free Gingersnap Cookies Recipe or Gluten Free Gingersnap Cookies
    • Unsalted Butter
    • Sea Salt
    • Cream Cheese
    • Sweetened Condensed Milk
    • Lemon Juice
    • Lemon Zest
    • Vanilla Extract
    • Unflavored Gelatin
    • Water
    • Heavy Whipping Cream
    • Powdered Sugar

    Instructions

    In a food processor, process the gingersnap cookies until they are crumbled. Add the melted butter and salt. Pulse to combine the ingredients into a paste.

    Pour the cookie mixture into a 9-inch pie plate and press evenly on the bottoms and sides. Place in the freezer while you make the filling.

    In your stand mixer beat the cream cheese 1-2 minutes until creamy. Add the sweetened condensed milk and beat 2 minutes more to combine. Add the lemon juice, lemon zest and vanilla. Beat just until incorporated into the cream cheese mixture.

    Stir together the gelatin packet and water in a small bowl. Let stand 1-2 minutes to dissolve fully. Add to the cream cheese mixture and beat to combine.

    Pour the cream cheese mixture into the pie crust. Freeze for at least 2 hours.

    In the bowl of your stand mixer using the whisk attachment whisk at medium high speed the heavy whipping cream, powdered sugar and vanilla until stiff peaks form.

    Top the icebox pie with the whipped cream before serving.

    Supplies

    Frequently Asked Questions

    Can you freeze no bake lemon icebox pie?

    Yes! This pie is frozen after it is put together. It is perfect for making a day or two in advance and having ready to serve. Simply take the pie out of the freezer 15-20 minutes before you want to serve it.

    How many lemons do I need for ⅓ cup lemon juice?

    You will need 3 medium lemons to get ⅓ cup of lemon juice. If lemons aren't in season or hard to get you can also use bottled lemon juice. Before you use the lemons for juice be sure to zest the outside for this recipe and then you can freeze the leftovers for a future recipe.

    More Recipes You Might Enjoy

    • Gluten Free Lemon Curd
    • Gluten Free Iced Lemon Cookies
    • Gluten Free Lemon Bundt Cake with Lemon Glaze
    • Gluten Free Lemon Shortbread Bars

    I get a lot of my ingredients from Thrive Market. Thrive Market has been a game changer for me eating gluten free. They have so many options I can't get at my rural grocery stores! Use this link to get 40% off your first order!

    Print
    clock clock iconcutlery cutlery iconflag flag iconfolder folder iconinstagram instagram iconpinterest pinterest iconfacebook facebook iconprint print iconsquares squares iconheart heart iconheart solid heart solid icon

    Gluten Free No Bake Lemon Icebox Pie


    5 Stars 4 Stars 3 Stars 2 Stars 1 Star

    No reviews

    • Author: Elaine VanVleck
    • Total Time: 20 minutes
    • Yield: 8 servings 1x
    • Diet: Gluten Free
    Print Recipe
    Pin Recipe

    Description

    This easy recipe for gluten free no bake icebox pie is the perfect summer dessert! It's an old fashioned recipe with condensed milk, cream cheese and a gingersnap cookie crust. This no bake lemonade icebox pie is creamy and a classic recipe for hot days.


    Ingredients

    Units Scale

    Crust:

    • 1 ½ cups Gluten Free Ginger Cookies Recipe or Gluten Free Gingersnap Cookies
    • ¼ cup Unsalted Butter, melted
    • ½ tsp Sea Salt

    Filling:

    • 2 - 8 ounce packages Cream Cheese, at room temperature
    • 14 ounce can Sweetened Condensed Milk
    • ⅓ cup Lemon Juice
    • 2 Tbsp Lemon Zest
    • 1 tsp Vanilla Extract
    • 1 - .75 ounce pouch Unflavored Gelatin
    • ¼ cup Water

    Whipped Cream Topping:

    • 1 ½ cups Heavy Whipping Cream
    • 2 Tbsp Powdered Sugar, sifted
    • 1 tsp Vanilla Extract

    Instructions

    In a food processor, process the gingersnap cookies until they are crumbled. Add the melted butter and salt. Pulse to combine the ingredients into a paste.

    Pour the cookie mixture into a 9-inch pie plate and press evenly on the bottoms and sides. Place in the freezer while you make the filling.

    In your stand mixer beat the cream cheese 1-2 minutes until creamy. Add the sweetened condensed milk and beat 2 minutes more to combine. Add the lemon juice, lemon zest and vanilla. Beat just until incorporated into the cream cheese mixture.

    Stir together the gelatin packet and water in a small bowl. Let stand 1-2 minutes to dissolve fully. Add to the cream cheese mixture and beat to combine.

    Pour the cream cheese mixture into the pie crust. Freeze for at least 2 hours.

    In the bowl of your stand mixer using the whisk attachment whisk at medium high speed the heavy whipping cream, powdered sugar and vanilla until stiff peaks form.

    Top the icebox pie with the whipped cream before serving.

    Notes

    You can make this lemon icebox pie up to 2 days in advance. Take the pie out of the freezer 15-20 minutes before serving so you can cut it.

    You can replace the gingersnap cookies with gluten free graham crackers. Add ½ teaspoon of ground cinnamon to the crumbled mixture for a bit more flavor.

    • Prep Time: 20 minutes
    • Category: Pie, Ice Cream
    • Method: Freezer
    • Cuisine: Gluten Free

    Did you make this recipe?

    Tag @smallfarmbiglife on Instagram and hashtag it #smallfarmbiglife

    Air Fryer Grilled Peaches

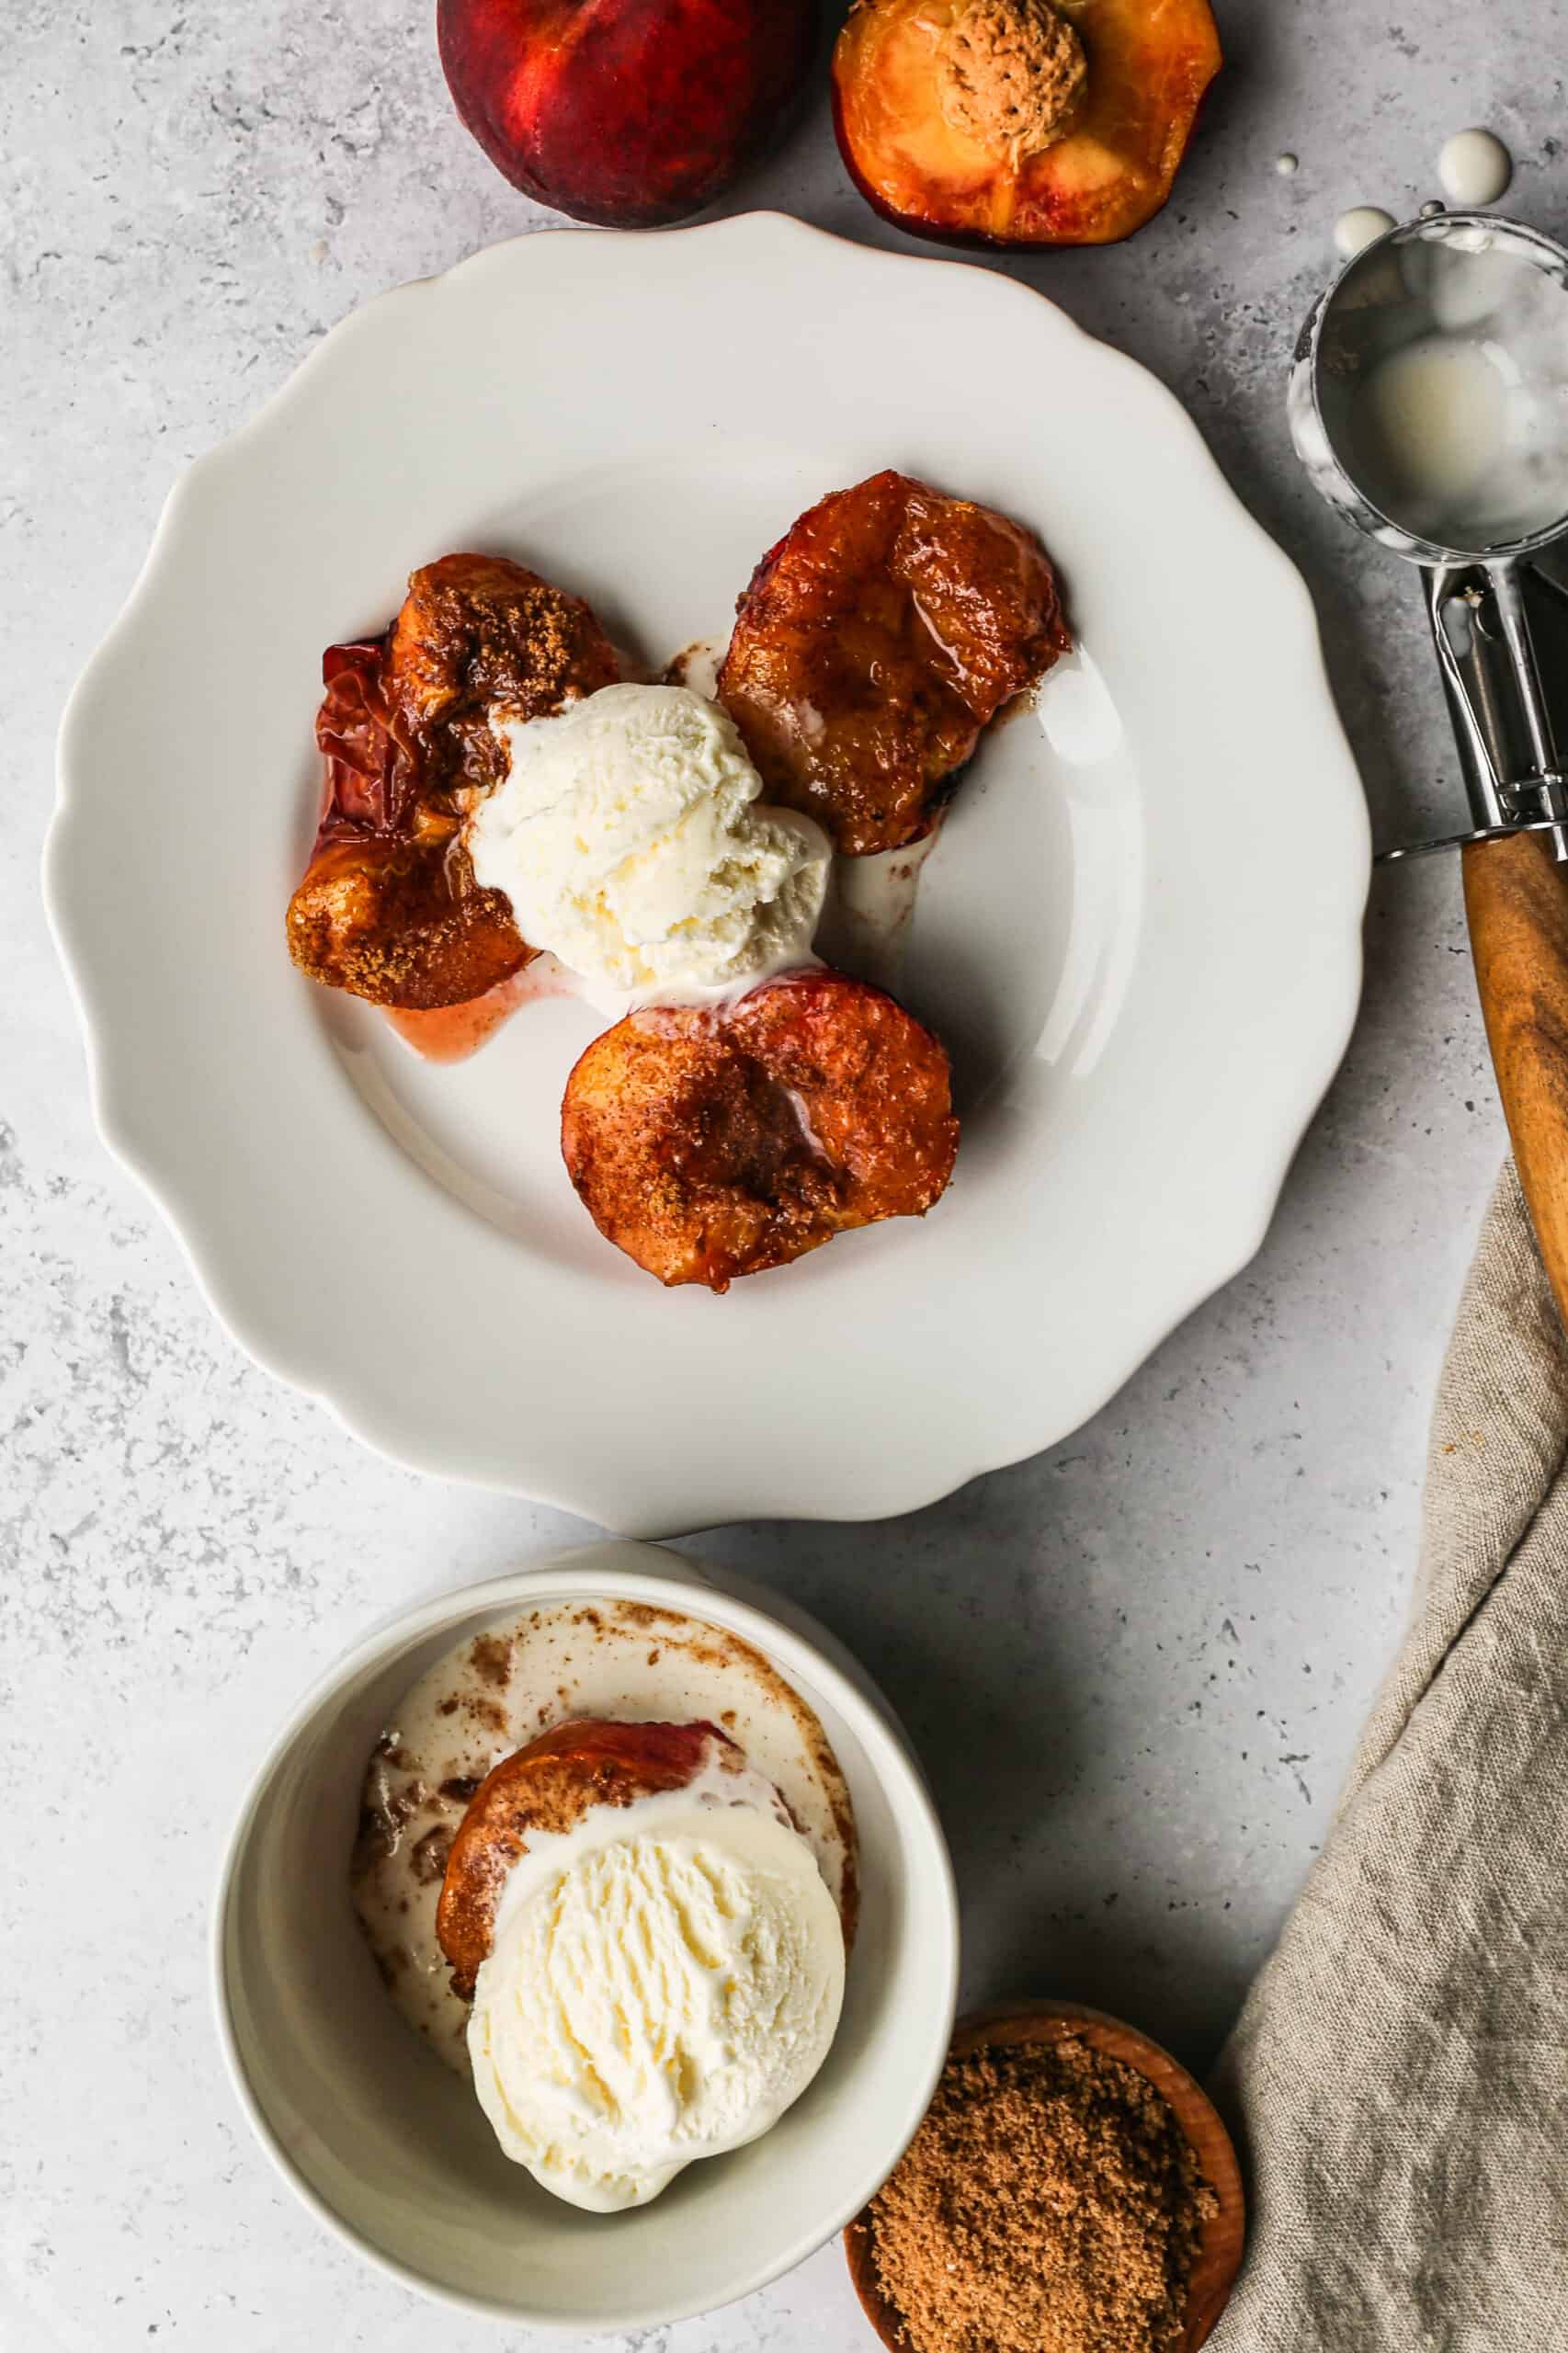
    This easy recipe for air fryer grilled peaches is perfect served with vanilla ice cream. The stone fruit is fried in the air fryer with brown sugar and cinnamon on top. This simple summer dessert is ready to serve in minutes!

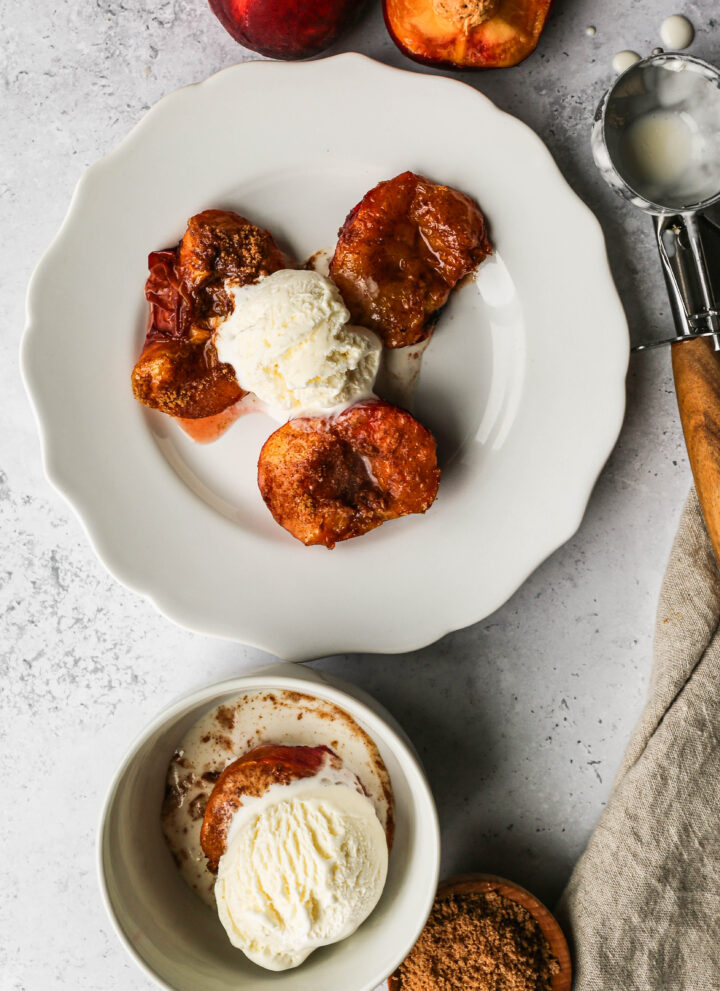
    a white plate of air fryer grilled peaches with vanilla ice cream on top.

    If you are looking for more air fryer recipes try my Air Fryer Grilled Vegetable Orzo Salad, my Air Fryer Pesto Baby Potatoes, my Gluten Free Air Fryer Fajitas or my Gluten Free Air Fryer Apple Fritters.

    You can find all of my air fryer recipes here: My Favorite Gluten Free Air Fryer Recipes

    a white bowl of air fryer grilled peaches with a scoop of vanilla ice cream on top.
    [feast_advanced_jump_to]

    Ingredients

    • Yellow Peaches
    • Brown Sugar
    • Ground Cinnamon
    • Sea Salt
    • Vanilla Ice Cream

    Instructions

    Cut the peaches in half and remove the pit. Leave the skin on the peaches.

    Place the peaches face down with the skin side up in the basket of your air fryer.

    Air fry at 350 degrees for 5 minutes.

    While they're frying in a small bowl whisk together the brown sugar, cinnamon and salt.

    Flip the peaches over and coat the cooked top of the peach with the brown sugar mixture.

    Air fry at 350 degrees for 5 minutes more.

    Serve warm with a scoop of vanilla ice cream on top.

    Supplies

    Frequently Asked Questions

    Can you grill peaches in the air fryer?

    Yes! It's so simple and they turn out perfect. Cut the peaches in half and remove the pit. Place the peaches face down in your air fryer and fry at 350 degrees for 5 minutes. Carefully turn the peaches over, coat with the brown sugar topping and air fry at 350 degrees for another 5 minutes.

    I like to serve the peaches warm with a big scoop of vanilla ice cream on top. You can cut the peaches ahead of time and store in the fridge so you can make this really quickly to serve for dessert.

    Can you cook fruit in the air fryer?

    Yes, you can use this recipe for peaches, nectarines, plums and apricots. Any stone fruit can be cut in half, you can remove the pit and then follow the steps to air fry.

    I like to top with vanilla ice cream, whipped cream or yogurt for breakfast.

    More Recipes You Might Enjoy

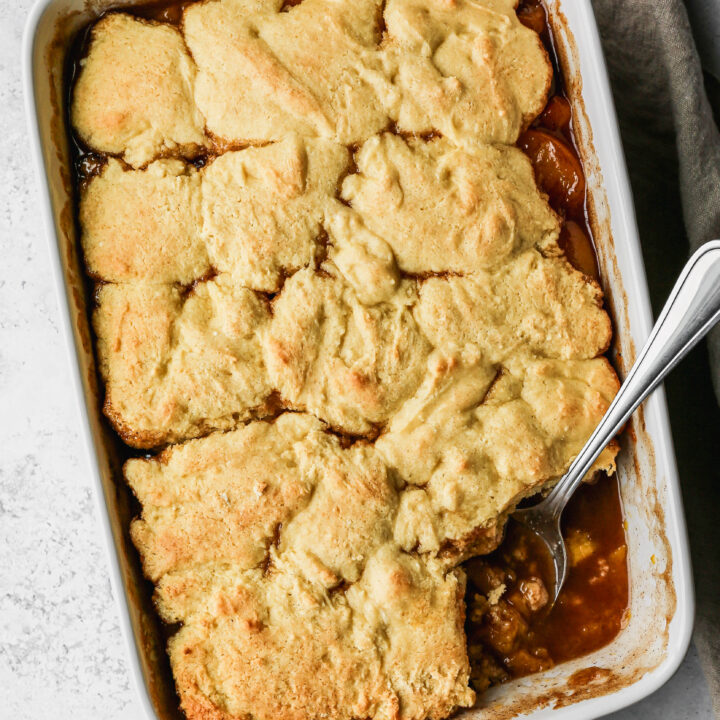
    • Gluten Free Canned Peach Cobbler
    • Gluten Free Peach Crisp
    • Gluten Free Plum Cornmeal Cake
    • Gluten Free Strawberry Cobbler

    I get a lot of my ingredients from Thrive Market. Thrive Market has been a game changer for me eating gluten free. They have so many options I can't get at my rural grocery stores! Use this link to get 40% off your first order!

    Print
    clock clock iconcutlery cutlery iconflag flag iconfolder folder iconinstagram instagram iconpinterest pinterest iconfacebook facebook iconprint print iconsquares squares iconheart heart iconheart solid heart solid icon

    Air Fryer Grilled Peaches


    5 Stars 4 Stars 3 Stars 2 Stars 1 Star

    No reviews

    • Author: Elaine VanVleck
    • Total Time: 15 minutes
    • Yield: 2 servings 1x
    • Diet: Gluten Free
    Print Recipe
    Pin Recipe

    Description

    This easy recipe for air fryer grilled peaches is perfect served with ice cream. The stone fruit is fried in the air fryer with brown sugar and cinnamon on top. This simple summer dessert is ready to serve in minutes!


    Ingredients

    Scale
    • 2 Yellow Peaches, halved with pit removed
    • ¼ cup Brown Sugar
    • 1 tsp. Ground Cinnamon
    • ¼ tsp Sea Salt
      Vanilla Ice Cream

    Instructions

    Cut the peaches in half and remove the pit. Leave the skin on the peaches.

    Place the peaches face down with the skin side up in the basket of your air fryer.

    Air fry at 350 degrees for 5 minutes.

    While they're frying in a small bowl whisk together the brown sugar, cinnamon and salt.

    Flip the peaches over and coat the cooked top of the peach with the brown sugar mixture.

    Air fry at 350 degrees for 5 minutes more.

    Serve warm with a scoop of vanilla ice cream on top.

    • Prep Time: 5 minutes
    • Cook Time: 10 minutes
    • Category: Dessert, Fruit
    • Method: Air Fryer
    • Cuisine: Gluten Free

    Did you make this recipe?

    Tag @smallfarmbiglife on Instagram and hashtag it #smallfarmbiglife

    Gluten Free Strawberry Rhubarb Crumble

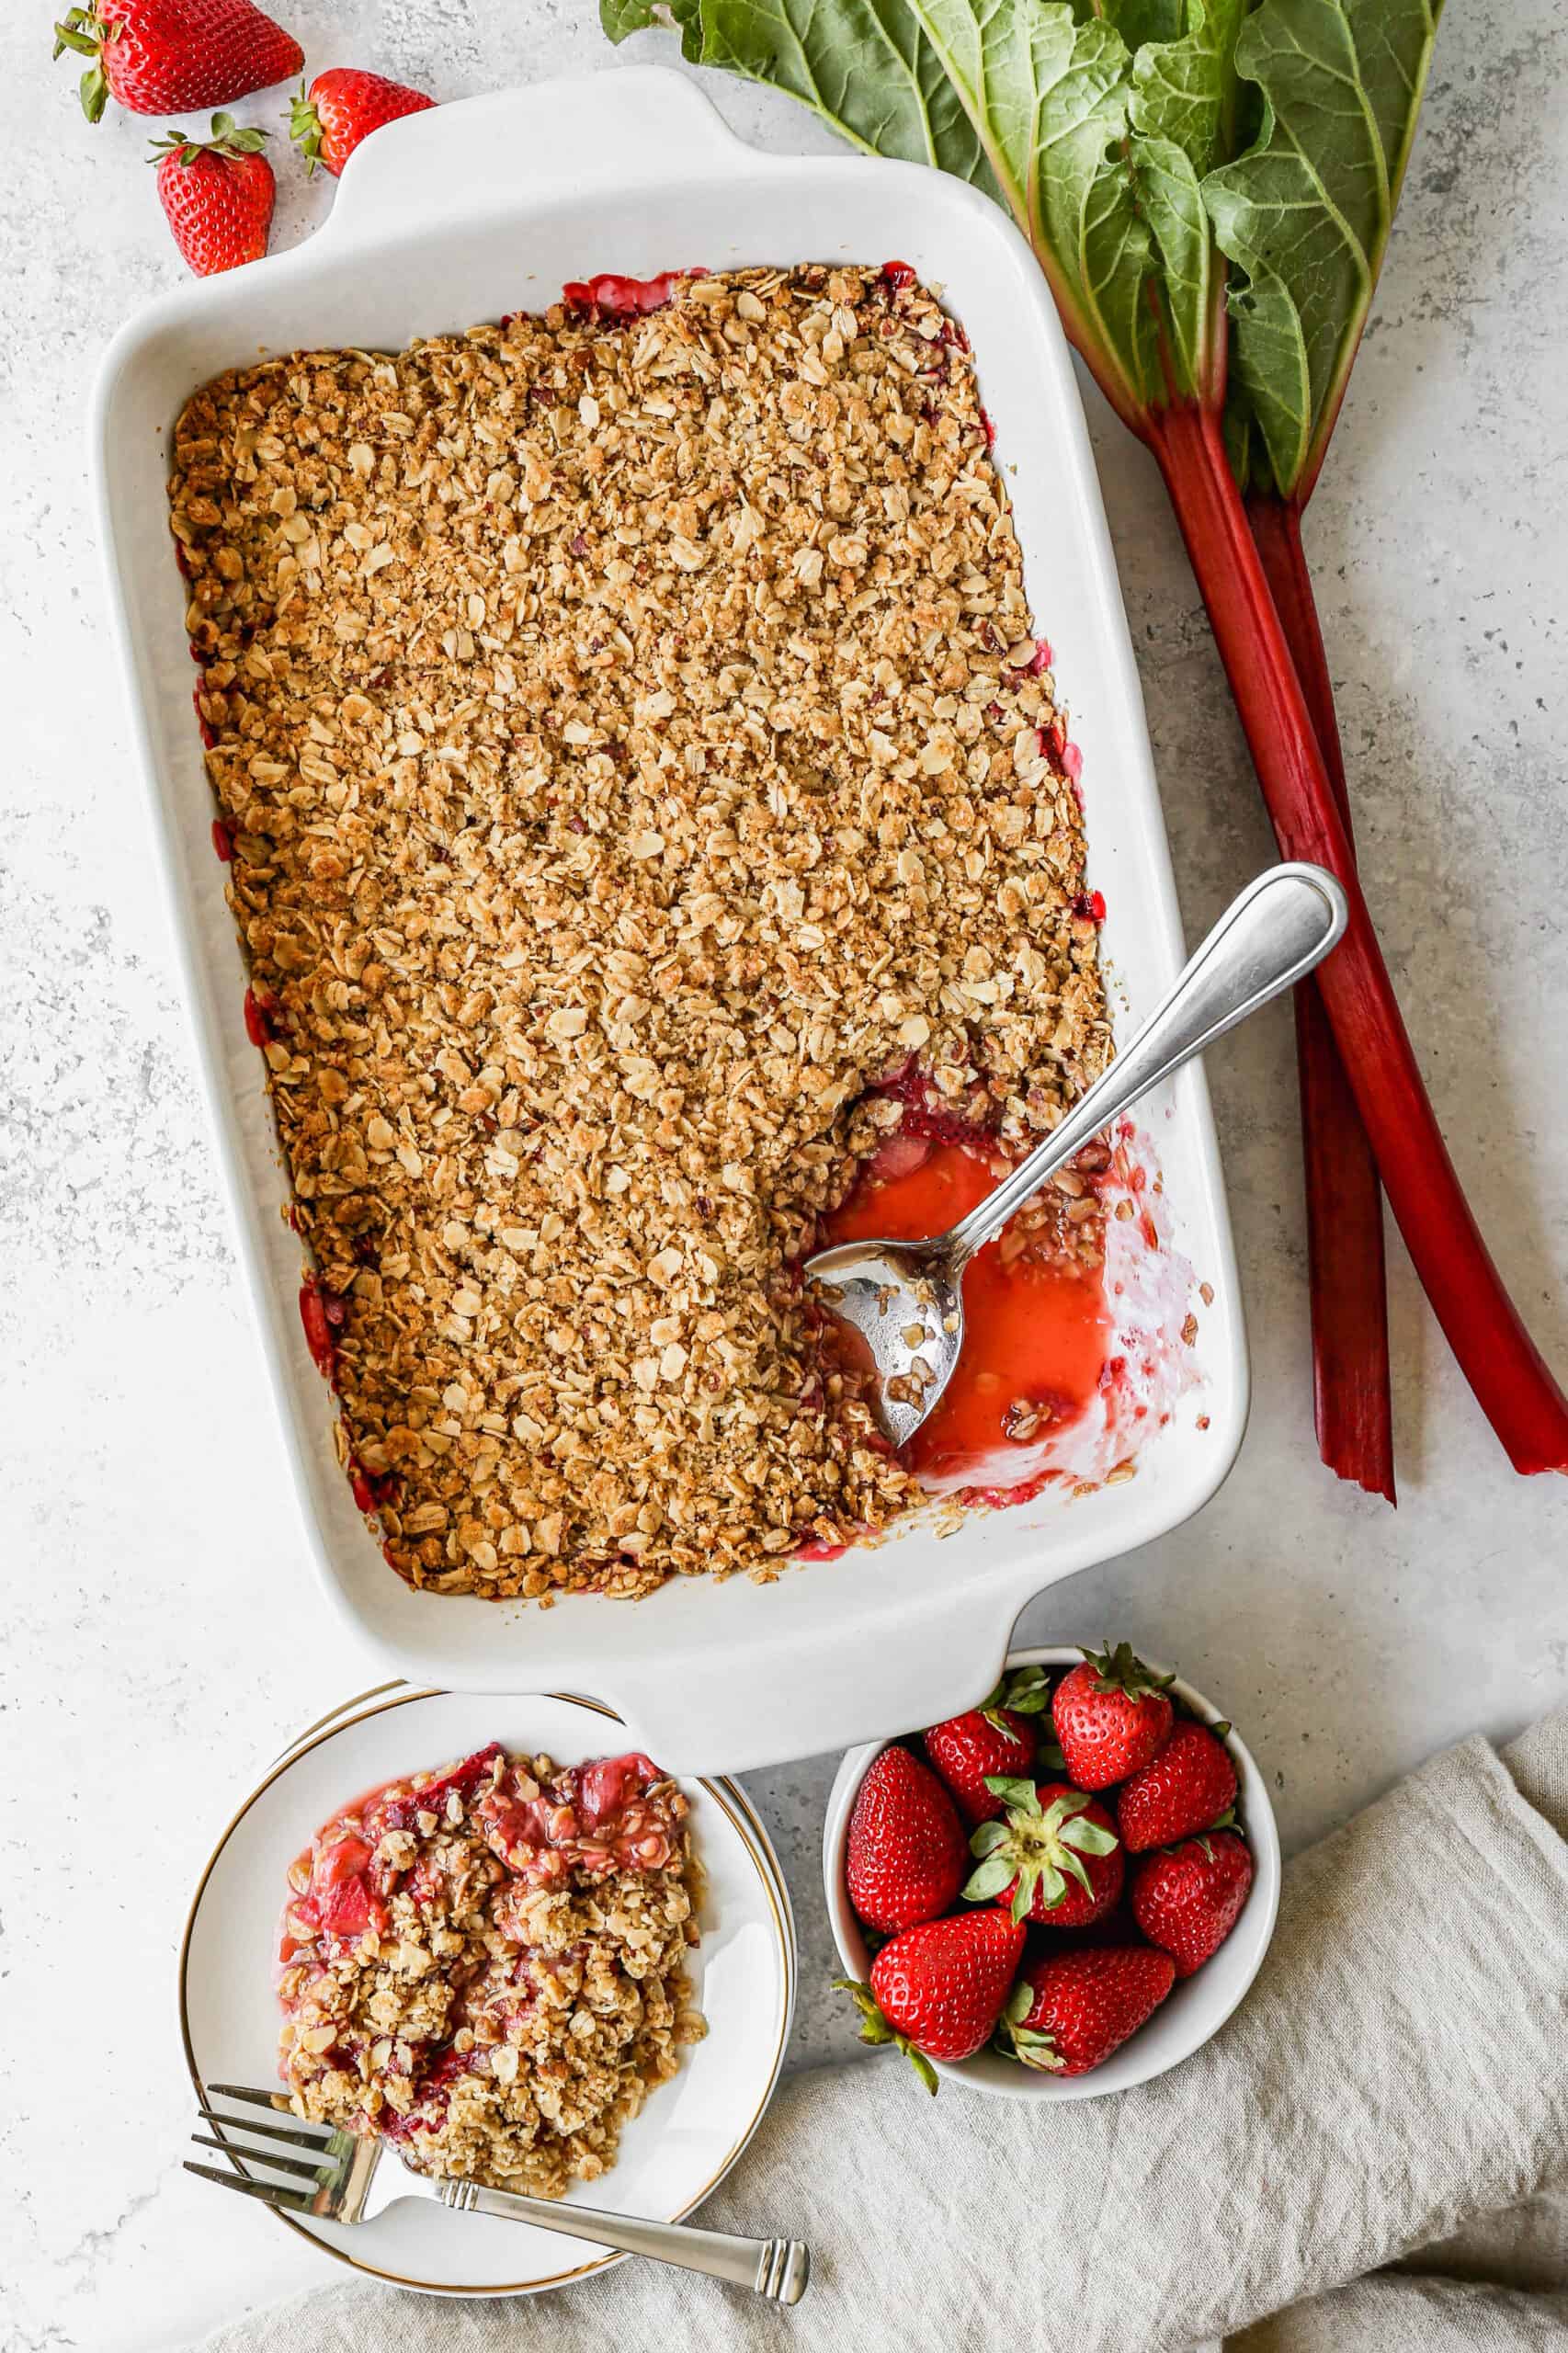
    If you are looking for the perfect spring dessert to make with fresh rhubarb, this gluten free strawberry rhubarb crumble is exactly what you need. Tart rhubarb and sweet strawberries get tossed with sugar and lemon juice and topped with the most buttery and golden oat crumble made with brown rice flour, brown sugar, and toasted pecans. The combination of the jammy bubbling fruit and the crispy crumble topping is absolutely irresistible and the whole thing is ready in just 45 minutes.

    It is completely gluten free from start to finish and one of those desserts that disappears fast every single time.

    a white 9x13 baking dish of gluten free strawberry rhubarb crumble next to stalks of fresh rhubarb and a small bowl of fresh strawberries.

    What makes this gluten free strawberry rhubarb crumble so special is the toasted pecan topping. Taking a few extra minutes to toast the pecans before adding them to the crumble mixture brings out a deep nutty flavor that takes this dessert completely over the top.

    Serve it warm straight from the oven with a generous scoop of vanilla ice cream and you have one of the best spring desserts you will ever eat.

    And because rhubarb freezes beautifully you can make this crumble well beyond rhubarb season by freezing your rhubarb at peak freshness and pulling it out whenever the craving hits.

    If you are looking for more rhubarb recipes try my Gluten Free Strawberry Rhubarb Muffins with Almond Streusel, my Gluten Free Strawberry Rhubarb Sauce, my Gluten Free Strawberry Rhubarb Bars or my Instant Pot Rhubarb Simple Syrup.

    You can find all of my dessert recipes here: Gluten Free Dessert Recipes

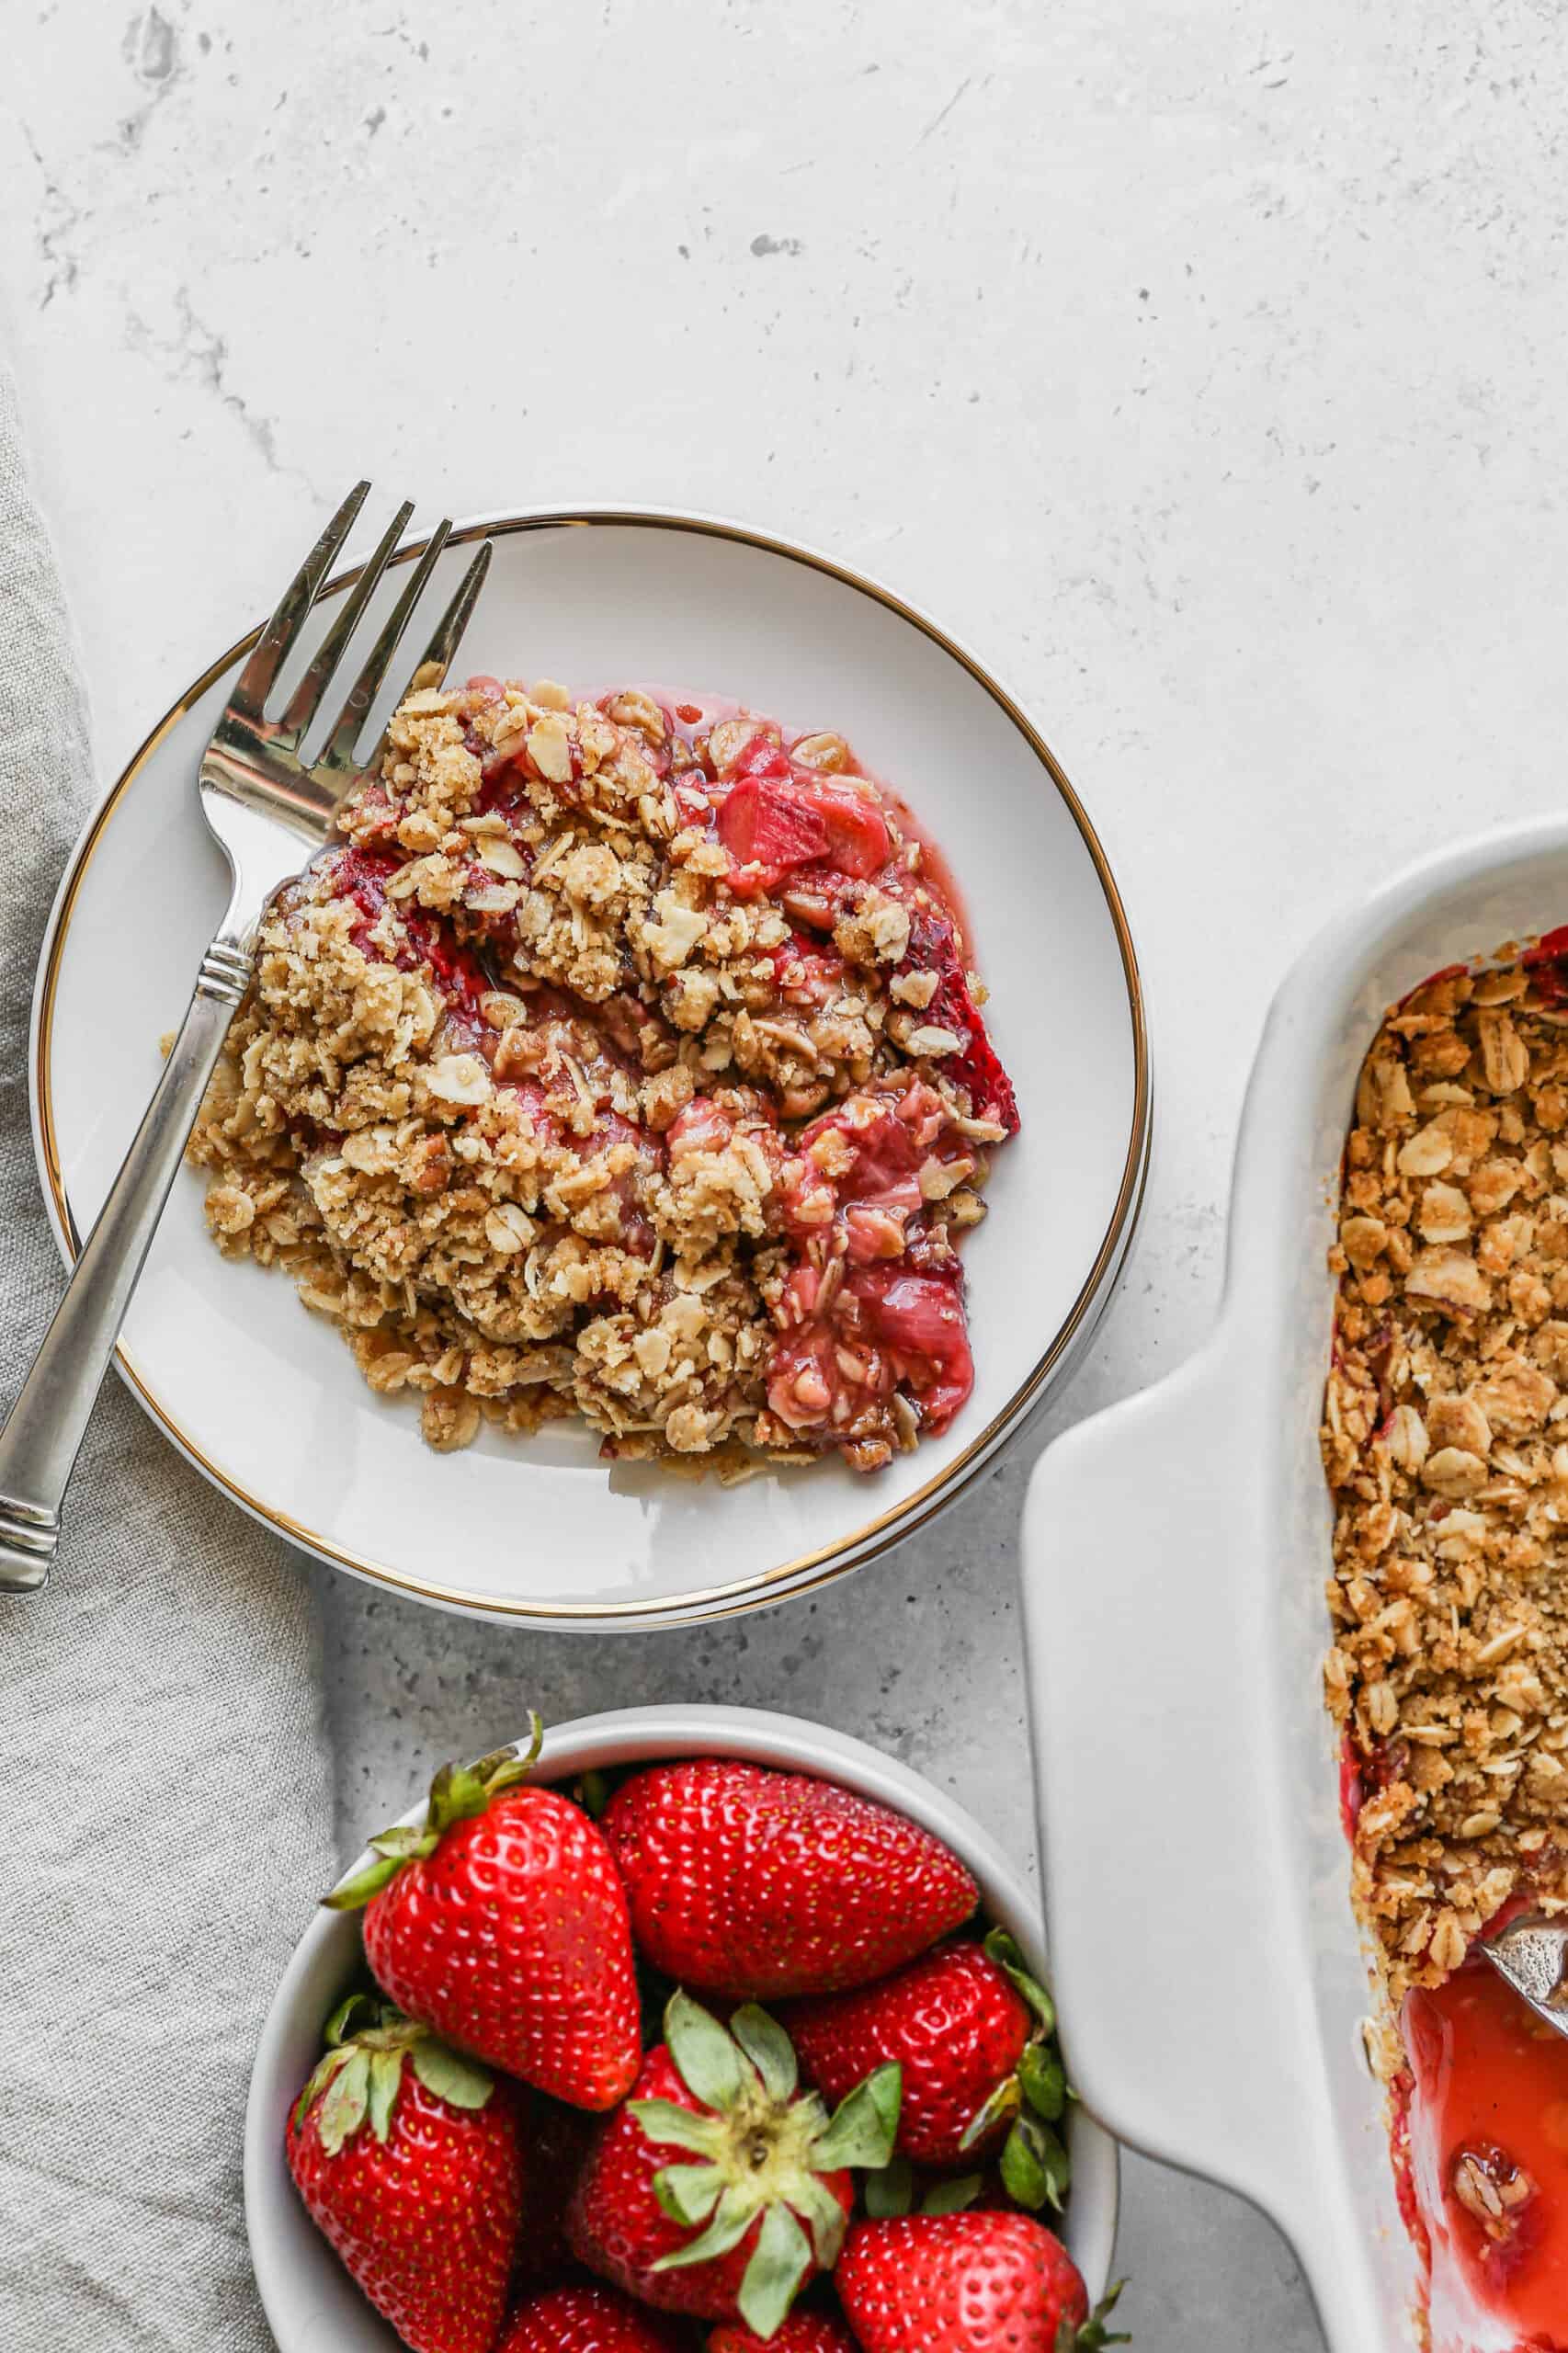
    a white plate of gluten free strawberry rhubarb crumble.

    Ingredients

    • Rhubarb
    • Strawberries
    • Granulated Sugar
    • Arrowroot Powder
    • Lemon Juice
    • Gluten Free Rolled Oats
    • Brown Sugar
    • Brown Rice Flour
    • Sea Salt
    • Unsalted Butter
    • Pecans

    Instructions

    Preheat your oven to 350 degrees.

    Grease a 9x13 baking pan with butter or coconut oil and set aside.

    Toast the pecans for about 10 minutes on medium low heat in a skillet. They will begin to brown and smell really delicious when they are done.

    In a mixing bowl mix rhubarb, strawberries, sugar, arrowroot powder and lemon juice thoroughly. Spread evenly into greased 9x13 baking dish.

    Put butter in a saucepan on the stove at medium high temp to melt. As soon as the butter is melted remove it from the stovetop.

    In a large bowl mix the gluten free rolled oats, brown sugar, rice flour, salt, pecans and melted butter until it forms a crumbly mixture. Pour over top of the fruit mixture and spread evenly in the 9x13 baking dish.

    Bake for 30 minutes or until bubbling and browned around the edges.

    Let cool completely and then store in the refrigerator.

    Supplies

    More Recipes You Might Enjoy

    • Gluten Free Strawberry Rhubarb Muffins with Almond Streusel
    • Strawberry Daiquiri Mocktails
    • Gluten Free Strawberry Cobbler
    • Gluten Free Strawberry Icebox Bars

    I get a lot of my ingredients from Thrive Market. Thrive Market has been a game changer for me eating gluten free. They have so many options I can't get at my rural grocery stores! Use this link to get 40% off your first order!

    Print
    clock clock iconcutlery cutlery iconflag flag iconfolder folder iconinstagram instagram iconpinterest pinterest iconfacebook facebook iconprint print iconsquares squares iconheart heart iconheart solid heart solid icon

    Gluten Free Strawberry Rhubarb Crumble


    5 Stars 4 Stars 3 Stars 2 Stars 1 Star

    No reviews

    • Author: Elaine VanVleck
    • Total Time: 45 minutes
    • Yield: 8 servings 1x
    • Diet: Gluten Free
    Print Recipe
    Pin Recipe

    Description

    This easy gluten free strawberry rhubarb crumble is the perfect spring and summer dessert! Fresh strawberries and tart rhubarb are topped with a buttery oat and toasted pecan crumble made with brown rice flour and brown sugar and baked until bubbly and golden in just 45 minutes. A crowd pleasing gluten free rhubarb dessert that is even better served warm with a scoop of vanilla ice cream!


    Ingredients

    Units Scale
    • 3 cups Rhubarb, chopped
    • 2 cups Strawberries, quartered
    • ⅓ cup Granulated Sugar
    • 2 Tbsp. Arrowroot Powder
    • 1 Tbsp. Lemon Juice

    Topping:

    • 1 ½ cups Gluten Free Rolled Oats
    • ¾ cup Brown Sugar
    • ½ cup Brown Rice Flour
    • 1 tsp. Sea Salt
    • ½ cup Unsalted Butter, melted
    • ½ cup Toasted Pecans, chopped

    Instructions

    Preheat your oven to 350 degrees.

    Grease a 9x13 baking pan with butter or coconut oil and set aside.

    Toast the pecans for about 10 minutes on medium low heat in a skillet. They will begin to brown and smell really delicious when they are done.

    In a mixing bowl mix rhubarb, strawberries, sugar, arrowroot powder and lemon juice thoroughly. Spread evenly into greased 9x13 baking dish.

    Put butter in a saucepan on the stove at medium high temp to melt. As soon as the butter is melted remove it from the stovetop.

    In a large bowl mix the gluten free rolled oats, brown sugar, rice flour, salt, pecans and melted butter until it forms a crumbly mixture. Pour over top of the fruit mixture and spread evenly in the 9x13 baking dish.

    Bake for 30 minutes or until bubbling and browned around the edges.

    Let cool completely and then store in the refrigerator.

    Notes

    You can replace the pecans with almonds or walnuts. I just prefer the taste of the toasted pecans.

    • Prep Time: 15 minutes
    • Cook Time: 30 minutes
    • Category: Dessert
    • Method: Baking
    • Cuisine: American

    Did you make this recipe?

    Tag @smallfarmbiglife on Instagram and hashtag it #smallfarmbiglife

    If you make this Gluten Free Strawberry Rhubarb Crumble I would love to hear what you think! Leave a star rating and a comment below and let me know how you served it.

    Don't forget to save this recipe to your Pinterest boards so you can find it again all rhubarb season long!

    Storage

    Store leftover gluten free strawberry rhubarb crumble covered tightly or in an airtight container in the refrigerator for up to 3 to 4 days. The crumble topping will soften slightly as it sits but the flavor gets even better the next day as the fruit and topping meld together. To reheat individual portions warm in the microwave for 30 to 60 seconds or reheat the whole dish covered with foil in a 350 degree oven for about 15 minutes until warmed through.

    For the best texture uncover the dish for the last 5 minutes of reheating to help crisp up the topping again. While you can freeze this crumble the oat topping tends to get soft and the fruit can become watery once thawed so it is best enjoyed fresh within the first few days of baking.

    Top Tip

    Do not skip toasting the pecans before adding them to the crumble topping. It only takes about 10 minutes on medium low heat in a skillet and it makes a significant difference in the final flavor of the crumble. Raw pecans have a mild flavor that can get lost under the sweetness of the brown sugar and butter. Toasted pecans develop a deep rich nuttiness that adds a whole extra layer of flavor to every bite of the crumble topping.

    You will know they are ready when they start to smell fragrant and turn a light golden brown. Watch them carefully as they can go from perfectly toasted to burnt very quickly.

    Frequently Asked Questions

    What is the difference between a crumble and a crisp?

    A crumble and a crisp are very similar and the terms are often used interchangeably but there is a subtle difference. A crisp typically contains oats in the topping which gives it a crunchier texture. A crumble traditionally uses just flour, butter, and sugar without oats for a sandier more streusel like topping. This recipe falls somewhere in between since it uses both oats and brown rice flour in the topping giving you the best of both worlds with a topping that is buttery, crumbly, and slightly crispy all at the same time.

    Can I use frozen strawberries and rhubarb instead of fresh?

    Yes! Since rhubarb has a short season frozen fruit is a great option for making this crumble year round. Thaw the rhubarb and strawberries completely before using and drain off any excess liquid before mixing them with the sugar and arrowroot powder. Too much extra liquid from frozen fruit can make the filling too runny. I like to freeze my rhubarb at the end of rhubarb season in the exact measurements needed for this recipe so it is easy to pull out and use whenever the craving hits.

    Can I substitute a different nut for the pecans?

    Absolutely! Walnuts and almonds both work beautifully in this crumble topping as a substitute for pecans. Walnuts give you a slightly more bitter and earthy flavor while almonds are milder and a little sweeter. You can also leave the nuts out entirely if you need a nut free version. The crumble topping will still be delicious without them but the toasted pecans do add a wonderful depth of flavor that is worth keeping if you can.

    Can I make this crumble ahead of time?

    Yes! You can assemble the entire crumble up to 24 hours ahead of time and store it covered in the refrigerator before baking. When you are ready to bake simply pull it from the fridge while the oven preheats and add 5 to 10 minutes to the bake time since it will be going in cold. You can also bake it completely ahead of time and reheat it before serving. The flavor is actually wonderful the next day after everything has had time to meld together.

    What can I serve with gluten free strawberry rhubarb crumble?

    This crumble is absolutely incredible served warm with a generous scoop of vanilla ice cream which melts slightly into the hot fruit and creates the most delicious combination. Fresh whipped cream is another wonderful option for a slightly lighter topping. You can also serve it with a drizzle of heavy cream poured straight over the top for a classic and simple presentation. Any way you serve it this crumble is a showstopper.

    Can I make this recipe with just rhubarb and no strawberries?

    Yes you can make a rhubarb only version of this crumble but keep in mind that rhubarb is very tart on its own so you will want to increase the granulated sugar in the fruit filling to compensate for the missing sweetness of the strawberries. Start by adding an extra two to three tablespoons of sugar and taste the mixture before baking to make sure it is sweet enough for your preference. The crumble topping stays exactly the same.

    Gluten Free Lemon Curd

    This lemon curd is a classic, easy dessert recipe that delivers bright citrus flavor with a smooth, creamy texture. Made with simple techniques and cooked gently on the stovetop, it comes together quickly and feels both timeless and indulgent.

    The result is a thick, silky lemon curd that balances sweet and tangy perfectly, making it one of the best easy lemon curd recipes to master at home.

    a white bowl of gluten free lemon curd surrounded by yellow forsythia blooms.

    Perfect for cakes, pies, tarts, or spooning straight from the jar, this homemade lemon curd is incredibly versatile and naturally gluten free. It works beautifully as a filling, topping, or dessert component and adds a fresh pop of lemon to any sweet treat.

    Whether you're learning how to make homemade lemon curd for the first time or looking for a reliable, classic recipe, this version is simple, foolproof, and always delicious.

    If you are looking for more lemon recipes you might also like my Gluten Free No Bake Lemon Icebox Pie, my Gluten Free Iced Lemon Cookies, my Gluten Free Lemon Bundt Cake with Lemon Glaze or my Gluten Free Lemon Shortbread Bars.

    You can find all my dessert recipes here: Gluten Free Dessert Recipes

    a white bowl of gluten free lemon curd surrounded by yellow forsythia blooms.
    [feast_advanced_jump_to]

    Ingredients

    • Eggs
    • Granulated Sugar
    • Lemon Juice
    • Lemon Zest
    • Unsalted Butter

    Instructions

    In your stand mixer whisk together the eggs, sugar, lemon juice and lemon zest until thoroughly combined.

    Place your mixing bowl over a saucepan of simmering water. Cook for 8-10 minutes until the mixture thickens.

    When the mixture thickens add the butter one piece at a time. Stir until the mixture is creamy and all the butter is melted.

    Pour the lemon curd into a bowl and let cool slightly on the counter. Then cover with plastic wrap making sure the plastic wrap touches the surface of the lemon curd so you don't get a crusty layer.

    Chill in your refrigerator overnight or until cold.

    You can store the lemon curd in your refrigerator for a little over a week in a sealed container.

    Supplies

    More Recipes You Might Enjoy
    • Gluten Free No Bake Lemon Icebox Pie
    • Gluten Free Iced Lemon Cookies
    • Gluten Free Lemon Bundt Cake with Lemon Glaze
    • Gluten Free Lemon Shortbread Bars

    I get a lot of my ingredients from Thrive Market. Thrive Market has been a game changer for me eating gluten free. They have so many options I can't get at my rural grocery stores! Use this link to get 40% off your first order!

    Print
    clock clock iconcutlery cutlery iconflag flag iconfolder folder iconinstagram instagram iconpinterest pinterest iconfacebook facebook iconprint print iconsquares squares iconheart heart iconheart solid heart solid icon

    Gluten Free Lemon Curd


    5 Stars 4 Stars 3 Stars 2 Stars 1 Star

    No reviews

    • Author: Elaine VanVleck
    • Total Time: 22 minutes
    • Yield: Approximately 1 cup 1x
    • Diet: Gluten Free
    Print Recipe
    Pin Recipe

    Description

    This recipe for gluten free lemon curd is tart and easy to make. This is the perfect addition to any dessert and works perfectly for cake filling. This homemade meyer lemon curd is made with egg yolks and is a beautiful yellow. 


    Ingredients

    Scale
    • 2 Egg Yolks
    • 1 Whole Egg
    • 5 Tbsp. Granulated Sugar
    • ⅓ cup Lemon Juice
    • 1 tsp. Lemon Zest
    • 5 Tbsp. Unsalted Butter, cut into pieces

    Instructions

    In your stand mixer whisk together the eggs, sugar, lemon juice and lemon zest until thoroughly combined.

    Place your mixing bowl over a saucepan of simmering water. Cook for 8-10 minutes until the mixture thickens.

    When the mixture thickens add the butter one piece at a time. Stir until the mixture is creamy and all the butter is melted.

    Pour the lemon curd into a bowl and let cool slightly on the counter. Then cover with plastic wrap making sure the plastic wrap touches the surface of the lemon curd so you don't get a crusty layer.

    Chill in your refrigerator overnight or until cold.

    You can store the lemon curd in your refrigerator for a little over a week in a sealed container.

    Notes

    You can also freeze lemon curd in a freezer safe container for up to a year.

    • Prep Time: 10 minutes
    • Cook Time: 12 minutes
    • Category: Dessert
    • Method: Stove Top
    • Cuisine: Gluten Free

    Did you make this recipe?

    Tag @smallfarmbiglife on Instagram and hashtag it #smallfarmbiglife

    Frequently Asked Questions

    What is lemon curd made from?

    Gluten free lemon curd is simply eggs, sugar, lemon juice, lemon zest and butter. I like to use farm fresh eggs to get a deeper color, but any eggs will work.

    How do you make lemon curd?

    You whisk together the eggs and sugar and then add the lemon juice and lemon zest. Mix these ingredients together in your metal mixer bowl.

    Then place your mixing bowl over a pot of simmering water. Stir the mixture until it begins to thicken. Then add the butter in a small cube at a time. Continue stirring until the butter is all melted and you have a creamy mixture.

    How long will lemon curd keep?

    It will keep in a sealed container in the refrigerator for a little over a week. If you find you need to use up your lemon curd it is great on toast, pancakes or waffles. It's also a great filling for thumbprint cookies.

    Can I freeze lemon curd?

    Yes! You can freeze gluten free lemon curd for up to one year in a freezer safe container. When you want to thaw it remove it from the freezer and place in your refrigerator to thaw.

    Gluten Free Orange Bundt Cake

    This recipe for gluten free orange bundt cake is easy to make from scratch. This moist cake is citrus infused and delicious. I used a simple, homemade glaze to top it off.

    a gluten free orange bundt cake with orange icing and small orange wedges on top on a sage green plate next to a bowl of sliced oranges.

    This Gluten Free Orange Bundt Cake is the perfect treat for anyone craving a moist, citrus flavored dessert. Made with fresh orange juice, it's a delightful twist on a traditional orange pound cake that's completely gluten free.

    This easy to make cake is perfect for a brunch cake or a gluten free holiday gathering. With a homemade orange glaze made from scratch, this tasty cake is a crowd pleaser.

    The light, zesty flavor of the citrus bundt cake pairs perfectly with a simple powdered sugar glaze, giving it that irresistible finish that will have everyone asking for the recipe.

    If you are looking for more gluten free bundt cakes try my Gluten Free Lemon Bundt Cake with Lemon Glaze, my Gluten Free Eggnog Bundt Cake, my Gluten Free Gingerbread Bundt Cake or my Gluten Free Double Chocolate Bundt Cake.

    You can find more cake recipes here: Gluten Free Cake Recipes

    a slice of gluten free orange bundt cake on a white plate next to a glass of almond milk.
    [feast_advanced_jump_to]

    Ingredients

    • Unsalted Butter
    • Granulated Sugar
    • Eggs
    • Sour Cream
    • Orange Juice
    • Milk
    • Orange Zest or Dried Orange Peel
    • Gluten Free Flour
    • Baking Powder
    • Baking Soda
    • Sea Salt
    • Powdered Sugar
    • Orange Extract or Orange Oil

    Instructions

    Preheat your oven to 350 degrees.

    Grease a bundt pan with butter or coconut oil. Set aside.

    In a mixing bowl whisk together the gluten free flour, baking powder, baking soda and salt. Set aside.

    In the bowl of your stand mixer beat together the butter, sugar and orange zest until smooth, about 2-3 minutes. Add the eggs, sour cream, milk and orange juice. Beat together just until combined.

    Add the dry ingredients to the wet ingredients and beat together until blended and smooth, about 1-2 minutes. 

    Pour the batter into your greased bundt pan.

    Bake at 350 degrees for 45 minutes. The cake will be golden brown and spring back when lightly touched. Let set for 10-15 minutes and then turn the cake out of the pan onto your cake stand or cooling rack.

    After the cake has cooled for at least two hours mix together the glaze and pour evenly over the cake. 

    Supplies

    Frequently Asked Questions

    How do I add orange flavor to the cake?

    To get the best pop of orange flavor it's best to use fresh orange zest and fresh orange juice. You can use two large oranges to get the two teaspoons of zest and half cup of juice that you need.

    This is a great way to use up the last oranges in your fruit bowl. Even if they are starting to get too ripe they will work perfect for this recipe and give a sweet citrus flavor.

    How long should a bundt cake cool before glazing?

    It is best to let your gluten free orange bundt cake cool completely before adding the glaze. I like to let mine set for at least two hours.

    I prefer to make the cake the day before I need it and glaze it the next day before serving or guests arrive. This lets the cake cool completely and allows the glaze to be fresh.

    How can I enhance the orange flavor?

    If you are using orange juice from a carton and/or dried zest you could also add ½ teaspoon of orange extract or orange oil to enhance the orange flavor.
    There is nothing wrong with using juice from a carton or dried zest.

    Sometimes that's all I have access to depending on the season. However, the orange flavor won't be as strong, so adding the orange oil will enhance your cake.

    More Recipes You Might Enjoy

    • Gluten Free Lemon Bundt Cake with Lemon Glaze
    • Gluten Free Eggnog Bundt Cake
    • Gluten Free Pear Bundt Cake
    • Gluten Free Hummingbird Bundt Cake

    I get a lot of my ingredients from Thrive Market. Thrive Market has been a game changer for me eating gluten free. They have so many options I can't get at my rural grocery stores! Use this link to get 40% off your first order!

    Print
    clock clock iconcutlery cutlery iconflag flag iconfolder folder iconinstagram instagram iconpinterest pinterest iconfacebook facebook iconprint print iconsquares squares iconheart heart iconheart solid heart solid icon

    Gluten Free Orange Bundt Cake


    5 Stars 4 Stars 3 Stars 2 Stars 1 Star

    No reviews

    • Author: Elaine VanVleck
    • Total Time: 55 minutes
    • Yield: 8 servings 1x
    • Diet: Gluten Free
    Print Recipe
    Pin Recipe

    Description

    This recipe for gluten free orange bundt cake is easy to make from scratch. This moist cake is citrus infused and delicious. I used a simple, homemade glaze to top it off. 


    Ingredients

    Scale
    • ¾ cup Unsalted Butter, at room temperature
    • 1 cup Granulated Sugar
    • 3 large Eggs
    • 1 cup Sour Cream
    • ⅓ cup Orange Juice
    • ½ cup Milk
    • 2 Tbsp. Orange Zest or Dried Orange Peel
    • 3 cups Gluten Free Flour
    • 2 tsp. Baking Powder
    • 1 tsp. Baking Soda
    • ½ tsp. Sea Salt

    Icing:

    • 1 cup Powdered Sugar
    • 1 tsp. Orange Extract or Orange Oil
    • 1-2 Tbsp. Milk

    Instructions

    Preheat your oven to 350 degrees.

    Grease a bundt pan with butter or coconut oil. Set aside.

    In a mixing bowl whisk together the gluten free flour, baking powder, baking soda and salt. Set aside.

    In the bowl of your stand mixer beat together the butter, sugar and orange zest until smooth, about 2-3 minutes. Add the eggs, sour cream, milk and orange juice. Beat together just until combined.

    Add the dry ingredients to the wet ingredients and beat together until blended and smooth, about 1-2 minutes. 

    Pour the batter into your greased bundt pan.

    Bake at 350 degrees for 45 minutes. The cake will be golden brown and spring back when lightly touched. Let set for 10-15 minutes and then turn the cake out of the pan onto your cake stand or cooling rack.

    After the cake has cooled for at least two hours mix together the glaze and pour evenly over the cake. 

    Notes

    For the cake if you are using dried orange zest and/or orange juice from a carton also add ½ tsp. orange flavoring to the cake batter.

    • Prep Time: 20 minutes
    • Cook Time: 35 minutes
    • Category: Cake
    • Method: Baking
    • Cuisine: Gluten Free

    Did you make this recipe?

    Tag @smallfarmbiglife on Instagram and hashtag it #smallfarmbiglife

    Top Tip

    This cake is a great way to use up those last two oranges that are in your fruit bowl. Fresh orange zest and fresh squeezed orange juice make this cakes flavor pop! If you only have orange juice in a carton and dried zest that will work too.

    This is a great recipe to use with a smaller individual bundt cake pan too. The individual little cakes look so pretty served with the glaze at a gathering or on a dessert table.

    • « Go to Previous Page
    • Page 1
    • Interim pages omitted …
    • Page 4
    • Page 5
    • Page 6
    • Page 7
    • Page 8
    • Interim pages omitted …
    • Page 17
    • Go to Next Page »

    Primary Sidebar

    Welcome! I'm Elaine

    I'm so glad you are here! I share easy gluten free recipes from my small farm in Washington.

    Be sure to sign up for my newsletter to stay up to date on all of my new recipes.

    More about me...
    • Instagram
    • Pinterest
    • Facebook
    • Twitter
    • Mail

    Load up on new recipes, exclusive goodies, + more!
    Sign up below to stay up-to-date on news, events, and special deals.
    Thank you for subscribing!

    Easy Meals Recipes

    • Gluten Free Instant Pot Chili Mac and Cheese
    • Gluten Free Taco Casserole
    • Gluten Free Cowboy Baked Beans
    • Gluten Free Walking Taco Casserole
    • Gluten Free Creamy Beef and Mushroom Pasta
    • Gluten Free Instant Pot Chicken & Dumplings
    • Instant Pot Mexican Style Beef and Rice
    • Gluten Free Chicken Parmesan Pasta Casserole
    • Gluten Free One Pot Hamburger Helper Copycat
    • Gluten Free Salisbury Steak with Mushroom Gravy
    • Gluten Free Air Fryer Fajitas
    • Gluten Free Sloppy Joe Casserole

    Footer

    Disclaimer:

    “We are a participant in the Amazon Services LLC Associates Program, an affiliate advertising program designed to provide a means for us to earn fees by linking to Amazon.com and affiliated sites.”

    Footer

    back to top

    About

    • Privacy Policy
    • Shop my Amazon Page
    • Follow me on LTK

    Newsletter

    • Sign Up! for emails and updates

    Contact

    • Contact
    • Media Kit
    • About Me

    As an Amazon Associate I earn from qualifying purchases.

    I may get commissions for purchases made through links on this site.

    Copyright © 2026 Brunch Pro on the Brunch Pro Theme