• Skip to primary navigation
  • Skip to main content
  • Skip to primary sidebar
  • Skip to footer
Small Farm Big Life logo
  • Recipe Index
  • Subscribe
  • Resources
  • Home Decor
  • Nav Social Menu

    • Email
    • Facebook
    • Instagram
    • Pinterest
menu icon
go to homepage
subscribe
search icon
Homepage link
  • Home
  • Recipe Index
  • Subscribe
  • My Story
  • Resources
  • Free Guides
  • Home Decor
    • Email
    • Facebook
    • Instagram
    • Pinterest
  • ×

    Gluten Free Corn Pudding Skillet

    This easy recipe for gluten free corn pudding skillet makes a great Thanksgiving side dish. This baked casserole is healthy and homemade. This new version of an old fashioned recipe makes the best savory corn pudding.

    a cast iron skillet of gluten free corn pudding skillet

    My version of a classic recipe is a savory pudding. With just one tablespoon of sugar added this dish is great for meals and can be served hot right of the oven. I really enjoy the leftovers the next day for breakfast!

    If you are looking for more corn side dish recipes try my Gluten Free Zucchini Squash and Corn Casserole, my Easy Fried Frozen Corn, Cheesy Slow Cooker Creamed Corn or my Healthy Mexican Street Corn Salad.

    You can find all of my side dishes here: Gluten Free Side Dish Recipes

    two plates of gluten free corn pudding skillet
    [feast_advanced_jump_to]

    Ingredients

    Frozen Whole Kernel Corn
    Sweet Onion
    Dried Thyme
    Olive Oil
    Gluten Free Flour
    Granulated Sugar
    Baking Powder
    Sea Salt
    Eggs
    Heavy Whipping Cream
    Unsalted Butter

    Instructions

    Preheat your oven to 350 degrees.

    Add the olive oil and heat your cast iron skillet over medium heat. 

    Add the corn, onions and thyme to the skillet and cook until the onion is translucent. 

    While the corn mixture is cooking in a small bowl whisk together the gluten free flour, sugar, baking powder and sea salt.

    In a medium bowl whisk together the eggs, heavy cream and melted butter.

    When the corn mixture is done cooking combine the flour and egg mixtures and then pour over the corn mixture in the cast iron skillet.

    Stir the cast iron skillet ingredients together.

    Bake at 350 degrees for 45 minutes. The top and edges will be lightly browned and firm.

    Let cool slightly and serve hot.

    Supplies

    Frequently Asked Questions

    How long will corn pudding last in the refrigerator?

    Gluten free corn pudding skillet will last in the refrigerator for 3-4 days. After it has cooled completely place in a sealed container and refrigerate. You can also place in a freezer safe container and freeze for up to a month.

    Do you eat corn pudding hot or cold?

    I prefer this savory corn pudding casserole hot. I like to serve this as a hearty side dish with meals. It's perfect as a hot side dish for Thanksgiving or other gatherings.

    Some do enjoy corn pudding cold directly from the refrigerator. I however, think it is much tastier hot right out of the oven and then reheated when serving leftovers.

    More Recipes You Might Enjoy

    • Gluten Free Zucchini Squash and Corn Casserole
    • Cheesy Slow Cooker Creamed Corn
    • Gluten Free Cornbread Stuffing
    • Gluten Free Plum Cornmeal Cake

    I get my ingredients from Thrive Market. Thrive Market has been a game changer for me eating gluten free. They have so many options I can't get at my rural grocery stores! Use this link to get 25% off your first order!

    Print
    clock clock iconcutlery cutlery iconflag flag iconfolder folder iconinstagram instagram iconpinterest pinterest iconfacebook facebook iconprint print iconsquares squares iconheart heart iconheart solid heart solid icon

    Gluten Free Corn Pudding Skillet


    5 Stars 4 Stars 3 Stars 2 Stars 1 Star

    5 from 1 review

    • Author: Elaine VanVleck
    • Total Time: 1 hour
    • Yield: 12 servings 1x
    • Diet: Gluten Free
    Print Recipe
    Pin Recipe

    Description

    This easy recipe for gluten free corn pudding skillet makes a great Thanksgiving side dish. This baked casserole is healthy and homemade. This new version of an old fashioned recipe makes the best savory corn pudding.


    Ingredients

    Scale
    • 32 ounces Frozen Whole Kernel Corn
    • 1 small Sweet Onion, chopped
    • 2 tsp. Dried Thyme
    • 2 Tbsp. Olive Oil
    • 4 Tbsp. Gluten Free Flour
    • 1 Tbsp. Granulated Sugar
    • 2 tsp. Baking Powder
    • 2 tsp. Sea Salt
    • 6 large Eggs
    • 2 cups Heavy Whipping Cream
    • ½ cup Unsalted Butter, melted

    Instructions

    Preheat your oven to 350 degrees.

    Add the olive oil and heat your cast iron skillet over medium heat. 

    Add the corn, onions and thyme to the skillet and cook until the onion is translucent. 

    While the corn mixture is cooking in a small bowl whisk together the gluten free flour, sugar, baking powder and sea salt.

    In a medium bowl whisk together the eggs, heavy cream and melted butter.

    When the corn mixture is done cooking combine the flour and egg mixtures and then pour over the corn mixture in the cast iron skillet.

    Stir the cast iron skillet ingredients together.

    Bake at 350 degrees for 45 minutes. The top and edges will be lightly browned and firm.

    Let cool slightly and serve hot.

    Notes

    If you don't have a cast iron skillet you can cook the corn mixture on the stove top and then combine all the ingredients in a greased 9x13 pan.

    • Prep Time: 15 minutes
    • Cook Time: 45 minutes
    • Category: Side Dish
    • Method: Baking
    • Cuisine: Gluten Free
    Did you make this recipe?

    Tag @smallfarmbiglife on Instagram and hashtag it #smallfarmbiglife

    Top Tip

    I love a simple side dish! For this recipe I use frozen corn and dried thyme to make things really simple. It's easy to buy the ingredients ahead of time and have them for when you want to make this side dish.

    Air Fryer Roasted Maple Delicata Squash

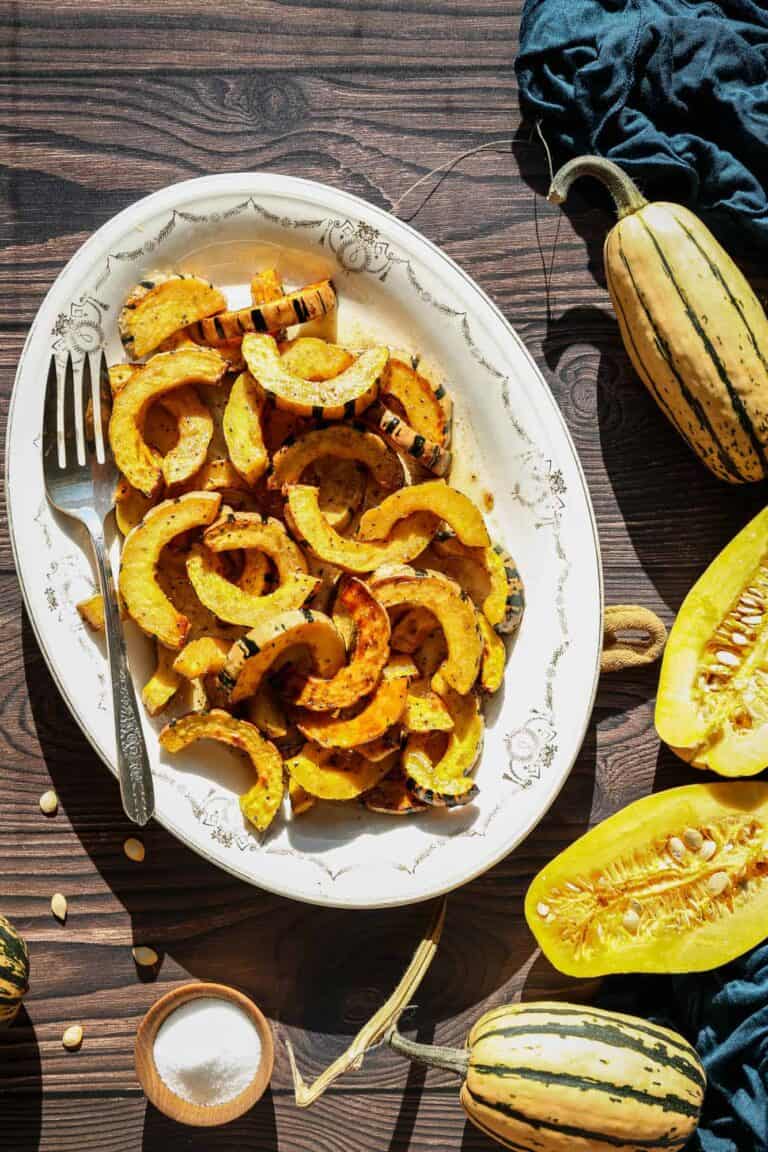
    This simple recipe for air fryer roasted maple delicata squash uses maple syrup and a dash of cinnamon. In this recipe I tell you how to air fry delicious delicata squash. It's so easy!

    This Air Fryer Roasted Maple Delicata Squash is the ultimate blend of savory and sweet, making it a cozy addition to any fall menu. If you've ever wondered how to cook delicata squash, this method is quick, flavorful, and foolproof.

    The result is tender roasted delicata squash with maple syrup that caramelizes beautifully. This recipe creates a dish that feels both comforting and elegant. It's an easy delicata squash recipe that works just as well for weeknight dinners as it does for special holiday gatherings.

    a platter of air fryer roasted maple Delicata squash

    Delicata squash is my favorite winter squash because it's so easy to work with. You don't need to peel it and it's so much easier to cut up than acorn squash. I grow delicata every year in my garden.

    If you are interested in growing Delicata the easiest way that takes up the least amount of space is up wire. I get wire concrete panels from the hardware store and grow my plants up that. The plants are easy to start and very hardy in the garden.

    You can find all of my air fryer recipes here: My Favorite Gluten Free Air Fryer Recipes

    a platter of air fryer roasted maple delicate squash
    [feast_advanced_jump_to]

    Ingredients

    • Delicata Squash
    • Olive Oil
    • Pure Maple Syrup
    • Sea Salt
    • Coarse Ground Black Pepper
    • Ground Cinnamon

    Instructions

    Using a sharp knife, slice the Delicata squash in half. Remove the seeds from the center. Cut the ends off and discard. Slice the squash into ¼ inch thick half rounds.

    Place squash, olive oil, maple syrup, salt, pepper and cinnamon in a large bowl. Stir to coat the squash thoroughly.

    Pour the squash mixture into the basket of your air fryer. Drizzle the sauce from the bowl over the squash.

    Air fry at 400 degrees for 12 minutes.

    After 12 minutes check the squash. It should be cooked through and starting to brown. If there isn't any browning yet cook at 400 degrees for another 2-5 minutes.

    Serve warm as a side dish.

    Supplies

    Frequently Asked Questions

    Can I eat the skin of the Delicata squash?

    Yes! The skin of a Delicata squash is soft after it is cooked. You don't need to peel a Delicate squash at all. It makes this squash one of the easier ones to prepare.

    You will but the squash in half, remove the seeds and cut off the ends. Then cut the winter squash into half rounds. I like to mix this recipe up in a large bowl and then pour into my air fryer.

    How can I tell if a Delicata squash is ripe?

    You should not be able to pierce the skin of a Delicata squash that is ripe with your fingernail. The stem should also be tan instead of bright green. If the stem is still bright green the squash likely isn't ready yet.

    You might also be able to tell by the coloring. If the winter squash is a pale cream color it needs more time to mature. A mature Delicata squash should be more yellow and possibly have some orange spots.

    You Might Also Enjoy These Recipes

    • Air Fryer Roasted Zucchini Squash
    • Cheesy Gluten Free Summer Squash Casserole
    • Air Fryer Pesto Baby Potatoes
    • Gluten Free Zucchini Squash and Corn Casserole

    I get a lot of my ingredients from Thrive Market. Thrive Market has been a game changer for me eating gluten free. They have so many options I can't get at my rural grocery stores! Use this link to get 40% off your first order!

    Print
    clock clock iconcutlery cutlery iconflag flag iconfolder folder iconinstagram instagram iconpinterest pinterest iconfacebook facebook iconprint print iconsquares squares iconheart heart iconheart solid heart solid icon

    Air Fryer Roasted Maple Delicata Squash


    5 Stars 4 Stars 3 Stars 2 Stars 1 Star

    5 from 1 review

    • Author: Elaine VanVleck
    • Total Time: 22 minutes
    • Yield: 5 servings 1x
    • Diet: Gluten Free
    Print Recipe
    Pin Recipe

    Description

    This simple recipe for air fryer roasted maple delicata squash uses maple syrup and a dash of cinnamon. In this recipe I tell you how to air fry delcious delicata squash. It's so easy! 


    Ingredients

    Scale
    • 2 medium Delicata Squash, seeded and sliced ¼" thick
    • 2 Tbsp. Olive Oil
    • 3 Tbsp. Maple Syrup
    • 1 tsp. Sea Salt
    • ½ tsp. Ground Black Pepper
    • ¼ tsp. Ground Cinnamon

    Instructions

    Using a sharp knife, slice the Delicata squash in half. Remove the seeds from the center. Cut the ends off and discard. Slice the squash into ¼ inch thick half rounds.

    Place squash, olive oil, maple syrup, salt, pepper and cinnamon in a large bowl. Stir to coat the squash thoroughly.

    Pour the squash mixture into the basket of your air fryer. Drizzle the sauce from the bowl over the squash.

    Air fry at 400 degrees for 12 minutes.

    After 12 minutes check the squash. It should be cooked through and starting to brown. If there isn't any browning yet cook at 400 degrees for another 2-5 minutes.

    Serve warm as a side dish.

    • Prep Time: 10 minutes
    • Cook Time: 12 minutes
    • Category: Side Dish
    • Method: Air Fryer
    • Cuisine: Gluten Free
    Did you make this recipe?

    Tag @smallfarmbiglife on Instagram and hashtag it #smallfarmbiglife

    Gluten Free Homemade Pasta Sauce

    This easy recipe for gluten free homemade pasta sauce is made with fresh tomatoes. This is a great way to use garden tomatoes and make a simple sauce from scratch. Let me show you how to make a healthy spaghetti sauce at home.

    three plates of gluten free homemade pasta sauce with caserecce gluten free pasta

    This recipe just has one tablespoon of sugar or honey to cut the acidity of the fresh tomatoes. I use carrots to give this sauce a sweet flavor instead. The sauce is loaded with healthy vegetables!

    If you are looking for more sauce recipes try my Simple Stovetop Tomato Pasta Sauce or my Gluten Free Creamy Pumpkin Pasta Sauce.

    You can find all of my meal recipes here: Gluten Free Meal Recipes

    three plates of gluten free homemade pasta sauce over caserecce gluten free pasta
    [feast_advanced_jump_to]

    Ingredients

    Tomatoes
    Yellow Onion
    Carrots
    Minced Garlic
    Olive Oil
    Fresh Basil
    Dried Thyme
    Dried Oregano
    Sea Salt
    Coarse Ground Black Pepper
    Honey or Granulated Sugar

    Instructions

    Preheat your oven to 350 degrees.

    On a baking sheet lay out your chopped tomato chunks. Drizzle with olive oil and sprinkle with sea salt. Roast at 350 degrees for 30-40 minutes. 

    In a dutch oven or heavy pot add olive oil and chopped carrots. Cook 5-8 minutes or until the carrots begin to get tender. 

    Add in the onion and garlic to the carrots. Cook until onion is translucent. 

    Add the roasted tomatoes, basil, thyme, oregano, salt, pepper and honey or sugar. Stir to combine the ingredients.

    Use an emersion blender to puree the sauce to your liking. I like to leave some chunks in my sauce, but you may want the sauce to be smooth. If you don't have an emersion blender let the sauce cool slightly and then do batches in a blender.

    Serve the sauce with pasta or freeze in freezer safe containers for later.

    Supplies

    Frequently Asked Questions

    Do I have to peel tomatoes for this sauce?

    I don't peel my tomatoes for this sauce. I roast the tomatoes in the oven on a baking sheet for 30-40 minutes before using them in this sauce. Roasting the tomatoes makes the peels softer.

    After I've cooked the sauce down I use my emersion blender to roughly puree the sauce. I like some chunks, but you can puree until the sauce is smooth if you prefer. This process can also be done in a blender.

    Tomato peels are full of carotenoids. Carotenoids are antioxidants that protect the body from cellular damage, aging and some chronic diseases. The peels also have flavonols which can support your circulatory system.

    What tomatoes are best for pasta sauce?

    My favorite tomatoes for sauces are San Marzano tomatoes. I love to grow San Marzano's in my garden. I'm also a big fan of Roma tomatoes for sauces. There are many different types of tomatoes that would make a great sauce.

    If you are purchasing tomatoes from the grocery store to make this sauce you should be able to get Roma tomatoes and those will work well. If they are still orange when you purchase them leave them out on the counter for a couple of days to finish ripening.

    I find that best tomatoes for sauces and cooking with have a nice, sweet tomato smell when they are ripe and ready to use. They should still be firm and not mushy. I like to look for tomatoes with healthy peels and no blemishes for my sauces.

    More Recipes You Might Enjoy

    • Gluten Free Ground Beef Pasta Casserole
    • Simple Stovetop Tomato Pasta Sauce
    • Gluten Free Instant Pot Italian Style Pasta and Bean Soup
    • Gluten Free Chicken Parmesan Pasta Casserole

    I get my ingredients from Thrive Market. Thrive Market has been a game changer for me eating gluten free. They have so many options I can't get at my rural grocery stores! Use this link to get 25% off your first order!

    a colander of fresh tomatoes with a jar of fresh basil from my garden
    Print
    clock clock iconcutlery cutlery iconflag flag iconfolder folder iconinstagram instagram iconpinterest pinterest iconfacebook facebook iconprint print iconsquares squares iconheart heart iconheart solid heart solid icon

    Gluten Free Homemade Pasta Sauce


    5 Stars 4 Stars 3 Stars 2 Stars 1 Star

    No reviews

    • Author: Elaine VanVleck
    • Total Time: 0 hours
    • Yield: 4 cups 1x
    • Diet: Gluten Free
    Print Recipe
    Pin Recipe

    Description

    This easy recipe for gluten free homemade pasta sauce is made with fresh tomatoes. This is a great way to use garden tomatoes and make a simple sauce from scratch. Let me show you how to make a healthy spaghetti sauce at home.


    Ingredients

    Scale

    2 pounds Fresh Tomatoes, roasted
    1 medium Yellow Onion, chopped
    2 large Carrots, chopped
    1 Tbsp. Minced Garlic
    2 Tbsp. Olive Oil
    ½ cup Fresh Basil, chopped
    1 tsp. Dried Thyme
    1 tsp. Dried Oregano
    1 tsp. Sea Salt
    ½ tsp. Ground Black Pepper
    1 Tbsp. Honey or Granulated Sugar


    Instructions

    Preheat your oven to 350 degrees.

    On a baking sheet lay out your chopped tomato chunks. Drizzle with olive oil and sprinkle with sea salt. Roast at 350 degrees for 30-40 minutes. 

    In a dutch oven or heavy pot add olive oil and chopped carrots. Cook 5-8 minutes or until the carrots begin to get tender. 

    Add in the onion and garlic to the carrots. Cook until onion is translucent. 

    Add the roasted tomatoes, basil, thyme, oregano, salt, pepper and honey or sugar. Stir to combine the ingredients.

    Use an emersion blender to puree the sauce to your liking. I like to leave some chunks in my sauce, but you may want the sauce to be smooth. If you don't have an emersion blender let the sauce cool slightly and then do batches in a blender.

    Serve the sauce with pasta or freeze in freezer safe containers for later.

    Notes

    In the images above I served my sauce with Jovial's Gluten Free Caserecce Pasta.

    • Prep Time: 20 mintes
    • Cook Time: 60 minutes
    • Category: Sauce
    • Method: Roasting
    • Cuisine: Gluten Free
    Did you make this recipe?

    Tag @smallfarmbiglife on Instagram and hashtag it #smallfarmbiglife

    Stir Fry Sugar Snap Peas

    This easy recipe for stir fry sugar snap peas is a great healthy side dish. I sautee the snap peas and it takes little cooking time to have them on the table. I love a quick weeknight side dish!

    a frying pan of stir fry sugar snap peas

    For this recipe I used sugar snap peas from my garden. You could also purchase the peas at a farmer's market or grocery store. Although I can only grow peas in the spring and fall they can be purchased year round.

    It is best to use tender peas that about the same thickness so that this dish cooks evenly. I like to chop the pea pods into bite size pieces, but you can leave them whole if you like.

    It's important to use the sesame oil this recipe calls for. A lot of the flavor of this dish comes from that sesame oil. You also want to use a high quality minced ginger. Instead of mincing my own ginger I like to get The Ginger People's Minced Ginger. It cuts down on preparation time and tastes wonderful.

    a frying pan of stir fried sugar snap peas

    How do you prepare and cook snap peas?

    First, wash and rinse the snap peas in cold water. Then chop the ends off, remove the stringy seam and chop into bite size pieces. You can enjoy the snap peas raw, but I prefer them sautéed. They make a wonderful side dish with meals.

    What is the difference between snow peas and sugar snap peas?

    There is a slight difference in the sweetness of the peas. The sugar snap peas are a bit sweeter than snow peas. There is a big difference in the size of the peas inside the pod. Sugar snap peas when picked while they are tender should have a small pea inside. While snow peas will have a tender shell and larger peas inside.

    Either would work for this recipe. You will need to adjust the cooking time if you have larger peas inside the pea pod that will need to be sautéed longer.

    If you like this recipe you might also enjoy:

    Easy Pea Salad
    Seven Layer Salad
    Air Fryer Sweet Potato Wedges
    Crispy Garlic and Rosemary Smashed Potatoes
    Gluten Free Cornbread Stuffing

    I get my ingredients from Thrive Market. Thrive Market has been a game changer for me eating gluten free. They have so many options I can't get at my rural grocery stores! Use this link to get 25% off your first order!

    Print
    clock clock iconcutlery cutlery iconflag flag iconfolder folder iconinstagram instagram iconpinterest pinterest iconfacebook facebook iconprint print iconsquares squares iconheart heart iconheart solid heart solid icon

    Stir Fry Sugar Snap Peas


    5 Stars 4 Stars 3 Stars 2 Stars 1 Star

    No reviews

    • Author: Elaine VanVleck
    • Total Time: 25 minutes
    • Yield: 5 servings 1x
    • Diet: Gluten Free
    Print Recipe
    Pin Recipe

    Description

    This easy recipe for stir fry sugar snap peas is a great healthy side dish. I sautee the snap peas and it takes little cooking time to have them on the table. I love a quick weeknight side dish!


    Ingredients

    Scale

    1 pound Sugar Snap Peas, ends removed and chopped
    2 tsp. Olive Oil
    1 tsp. Sesame Oil
    1 Tbsp. Minced Garlic
    1 Tbsp. Coconut Aminos
    1 tsp. Minced Ginger
    1 tsp. Balsamic Vinegar
    2 tsp. Sesame Seeds, toasted
    ½ tsp. Sea Salt


    Instructions

    Rinse the peas under cold water. Chop both ends off and remove the string from the seam. Chop the peas into bite size pieces.

    In a large frying pan pour the olive oil and sesame oil. Add the peas and cook on medium high heat for 3-5 minutes. 

    Reduce the heat to medium low and add the garlic, coconut aminos, ginger, balsamic vinegar and salt. Cook the peas until they are tender and a nice sauce has formed, about 5 minutes. 

    In a smaller frying pan on medium low heat toasted the sesame seeds until they are a golden brown.

    Remove the peas from heat and sprinkle with the toasted sesame seeds. Serve immediately.

    • Prep Time: 10 minutes
    • Cook Time: 15 minutes
    • Category: Side Dish
    • Method: Sautéed
    • Cuisine: Gluten Free

    Did you make this recipe?

    Tag @smallfarmbiglife on Instagram and hashtag it #smallfarmbiglife

    Gluten Free Kale Caesar Salad

    This healthy recipe for gluten free kale caesar salad is keto and low carb friendly. This recipe uses the best homemade caesar salad dressing! I love how quick and easy this salad is to make.

    a large bowl of gluten free kale caesar salad with croutons and parmesan cheese

    I also love this salad as a side with dinner. It's delicious with a grilled chicken breast on top or alongside barbecued steak. The key to a delicious kale salad is removing the stems. Kale stems are coarse and bitter. Removing them before chopping up your kale makes all the difference in the flavor of your salad!

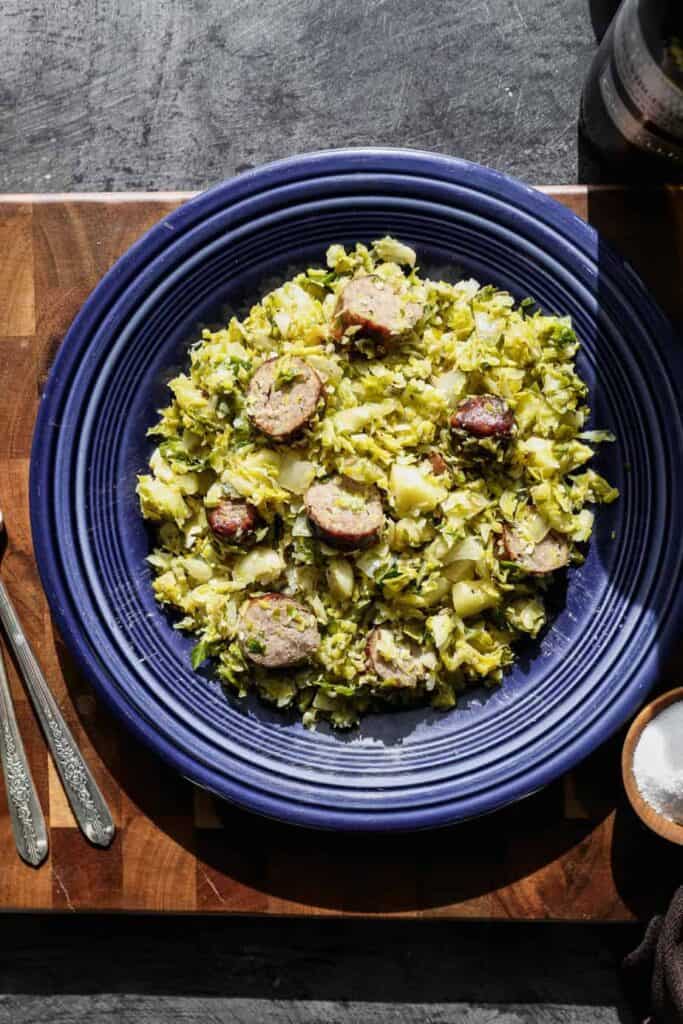
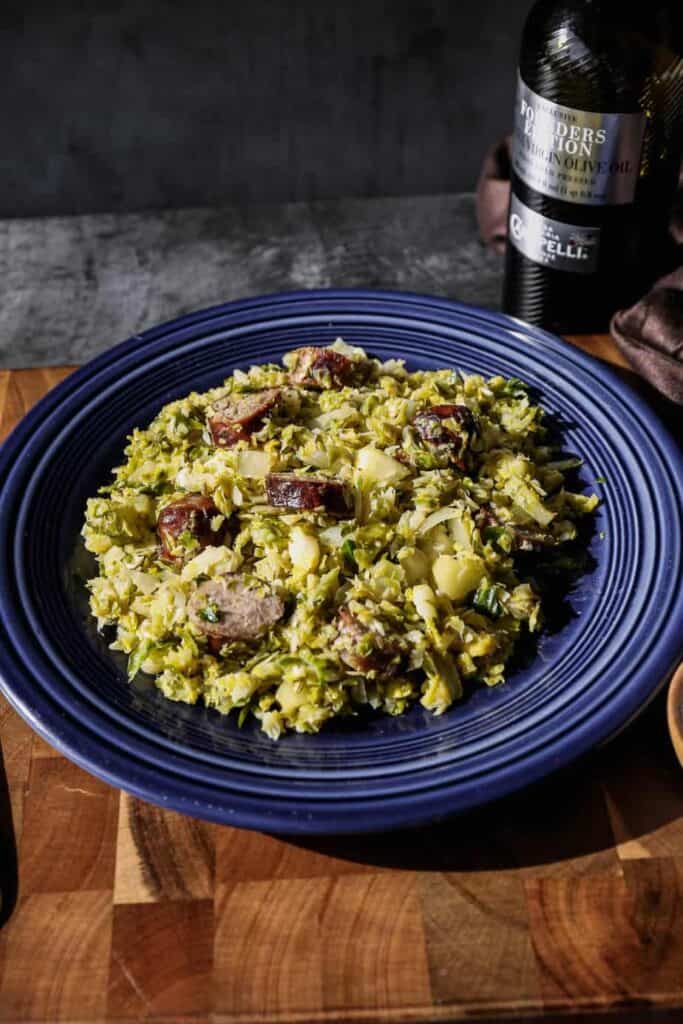
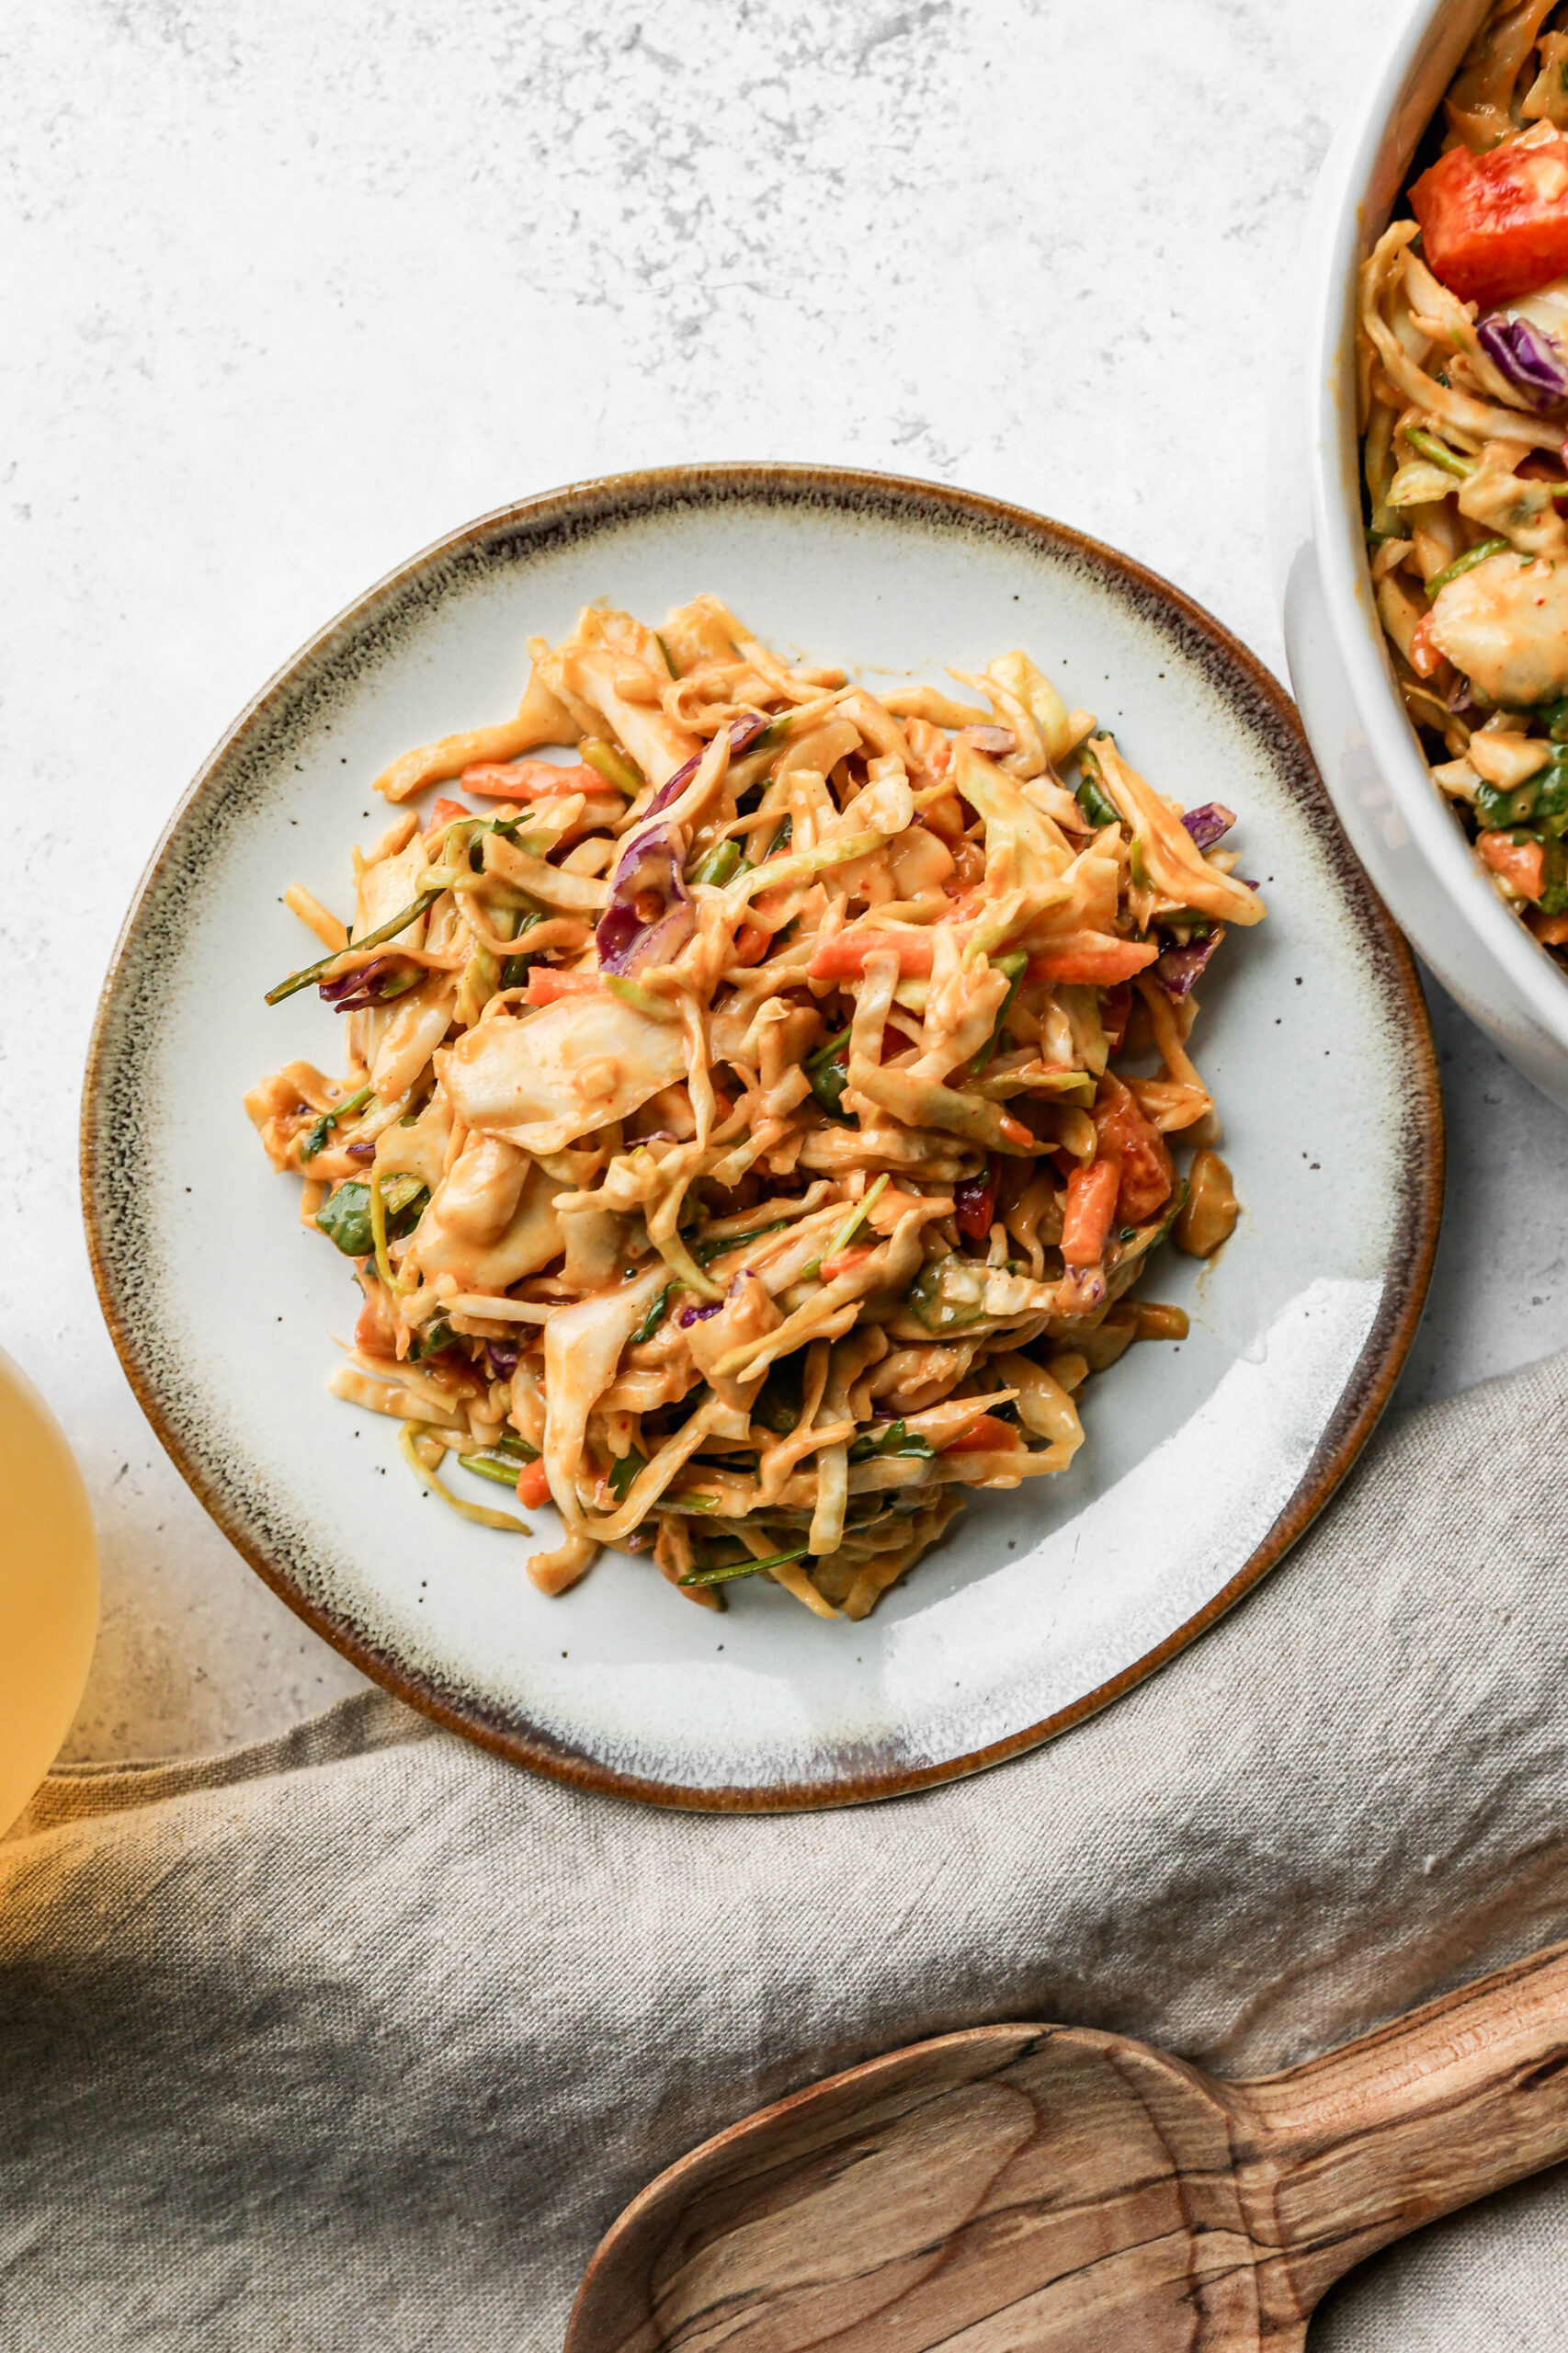
    If you are looking for kale recipes you might also like my Baked Kale and Zucchini Pilaf, my Gluten Free Instant Pot Sausage and Kale Soup, my Gluten Free Sausage, Kale and Potato Skillet or my Gluten Free Kale Salad with Peanut Dressing.

    You can find all of my salad recipes here: Gluten Free Salad Recipes

    a large bowl of gluten free kale caesar salad with croutons and parmesan cheese on top
    [feast_advanced_jump_to]

    Ingredients

    Kale
    Parmesan Cheese
    Gluten Free Caesar Dressing
    Gluten Free Sourdough Croutons

    Instructions

    If you are going to include Gluten Free Sourdough Croutons on your salad be sure to make them the day before so they have time to cool completely.

    Prepare your gluten free caesar dressing using my recipe.

    Remove the coarse stems from your kale. The stems are bitter and need to be removed.

    Coarsely chop the kale leaves and place in a large bowl. Pour your desired amount of gluten free caesar dressing over the kale leaves. Toss to thoroughly coat the kale leaves.

    Top the salad with gluten free sourdough croutons and 2 tablespoons of finely grated parmesan cheese.

    Place the salad in the refrigerator to chill and serve cold. 

    If you have leftover salad you can store it in the refrigerator for up to 3 days. Store the croutons separately so they don't get soggy.

    Supplies

    Frequently Asked Questions

    Is kale caesar salad healthy?

    Yes! Kale is a cruciferous vegetable with a ton of healthy vitamins and minerals. It's loaded with Vitamins A, K and C. Kale is also a great source of minerals that many of use are deficient in. It is a great plant based source of calcium, magnesium and potassium.

    What is in kale caesar salad?

    Gluten free kale caesar salad is mostly just kale with caesar dressing and croutons if you like them. You can also add a protein like a grilled chicken breast. I like to top my salad with extra finely grated parmesan cheese.

    More Recipes You Might Enjoy

    • Gluten Free Caesar Dressing
    • Gluten Free Sourdough Croutons
    • Seven Layer Salad
    • Gluten Free Green Goddess Pasta Salad

    I get my ingredients from Thrive Market. Thrive Market has been a game changer for me eating gluten free. They have so many options I can't get at my rural grocery stores! Use this link to get 25% off your first order!

    Print
    clock clock iconcutlery cutlery iconflag flag iconfolder folder iconinstagram instagram iconpinterest pinterest iconfacebook facebook iconprint print iconsquares squares iconheart heart iconheart solid heart solid icon

    Gluten Free Kale Caesar Salad


    5 Stars 4 Stars 3 Stars 2 Stars 1 Star

    No reviews

    • Author: Elaine VanVleck
    • Total Time: 10 minutes
    • Yield: 8 cups 1x
    • Diet: Gluten Free
    Print Recipe
    Pin Recipe

    Description

    This healthy recipe for gluten free kale caesar salad is keto and low carb friendly. This recipe uses the best homemade caesar salad dressing! I love how quick and easy this salad is to make. 


    Ingredients

    Scale

    8 cups Kale, chopped
    2 Tbsp. Parmesan Cheese, finely grated

    Gluten Free Caesar Dressing
    Gluten Free Sourdough Croutons


    Instructions

    If you are going to include Gluten Free Sourdough Croutons on your salad be sure to make them the day before so they have time to cool completely.

    Prepare your gluten free caesar dressing using my recipe.

    Remove the coarse stems from your kale. The stems are bitter and need to be removed.

    Coarsely chop the kale leaves and place in a large bowl. Pour your desired amount of gluten free caesar dressing over the kale leaves. Toss to thoroughly coat the kale leaves.

    Top the salad with gluten free sourdough croutons and 2 tablespoons of finely grated parmesan cheese.

    Place the salad in the refrigerator to chill and serve cold. 

    If you have leftover salad you can store it in the refrigerator for up to 3 days. Store the croutons separately so they don't get soggy.

    • Prep Time: 10 minutes
    • Category: Salads
    • Method: Chopped
    • Cuisine: Gluten Free

    Did you make this recipe?

    Tag @smallfarmbiglife on Instagram and hashtag it #smallfarmbiglife

    • « Go to Previous Page
    • Page 1
    • Interim pages omitted …
    • Page 10
    • Page 11
    • Page 12
    • Page 13
    • Page 14
    • Page 15
    • Go to Next Page »

    Primary Sidebar

    Welcome! I'm Elaine

    I'm so glad you are here! I share easy gluten free recipes from my small farm in Washington.

    Be sure to sign up for my newsletter to stay up to date on all of my new recipes.

    More about me...
    • Instagram
    • Pinterest
    • Facebook
    • Twitter
    • Mail

    Load up on new recipes, exclusive goodies, + more!
    Sign up below to stay up-to-date on news, events, and special deals.
    Thank you for subscribing!

    Easy Meals Recipes

    • Gluten Free Instant Pot Chili Mac and Cheese
    • Gluten Free Taco Casserole
    • Gluten Free Cowboy Baked Beans
    • Gluten Free Walking Taco Casserole
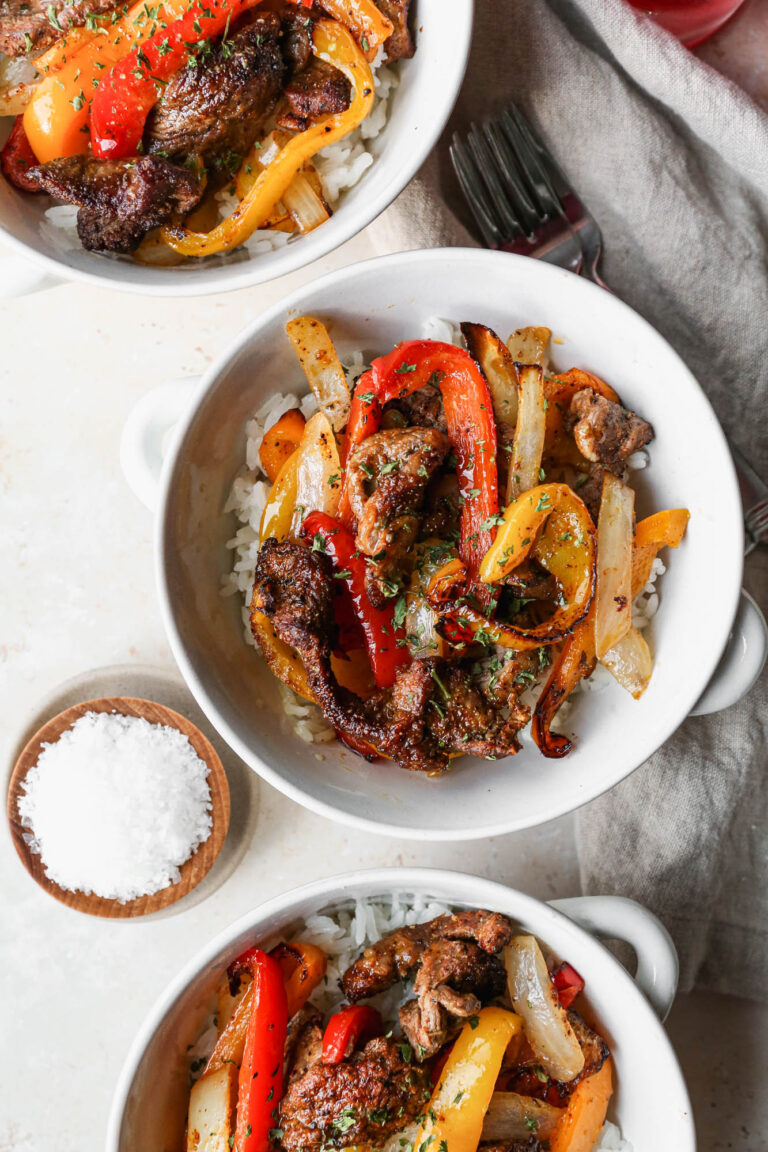
    • Gluten Free Creamy Beef and Mushroom Pasta
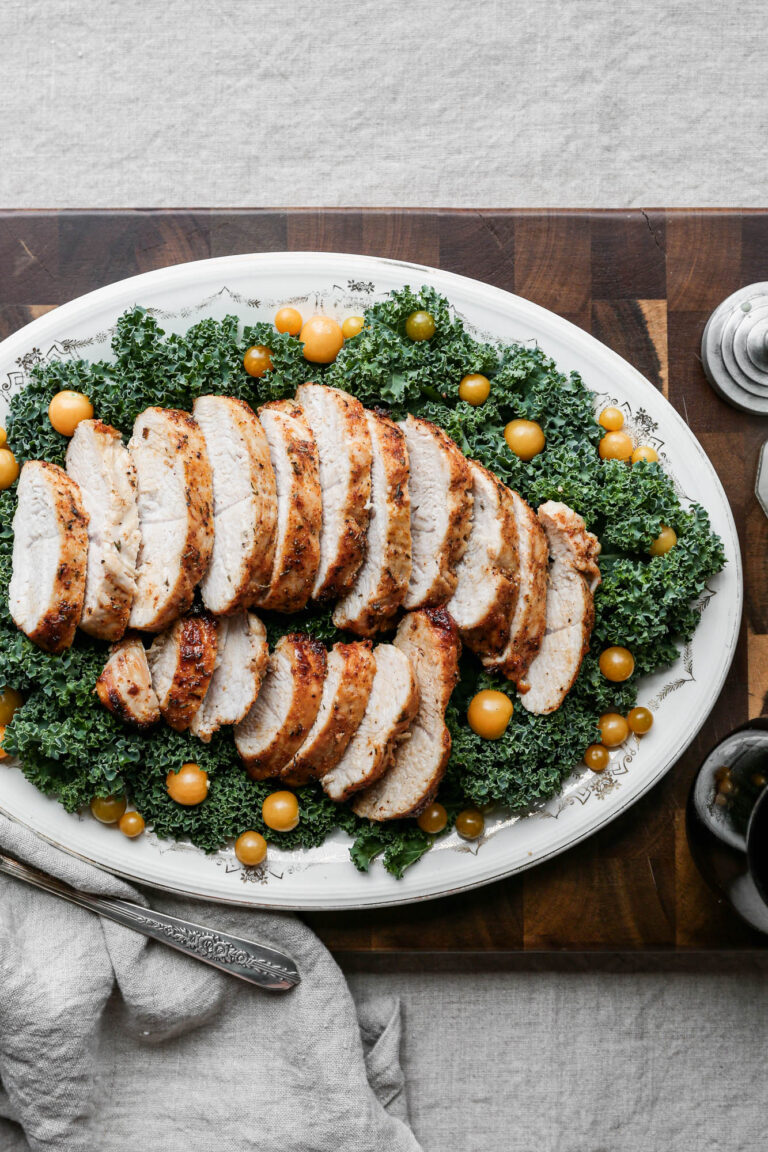
    • Gluten Free Instant Pot Chicken & Dumplings
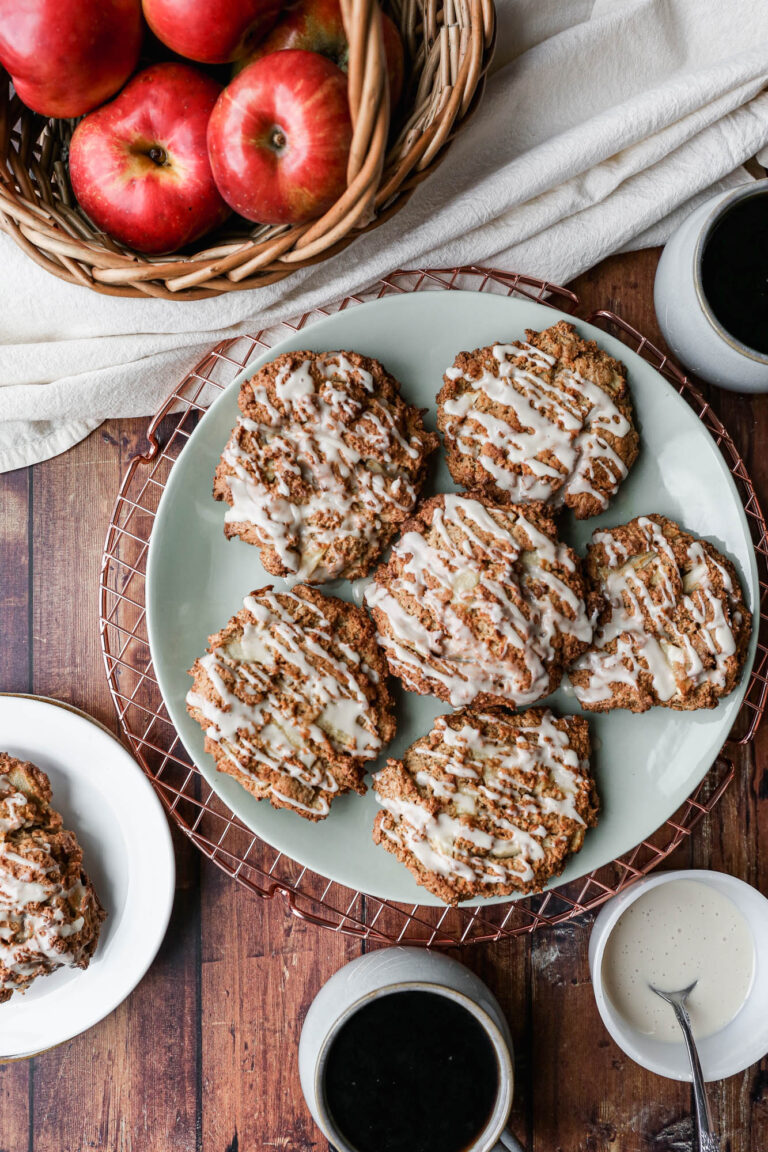
    • Instant Pot Mexican Style Beef and Rice
    • Gluten Free Chicken Parmesan Pasta Casserole
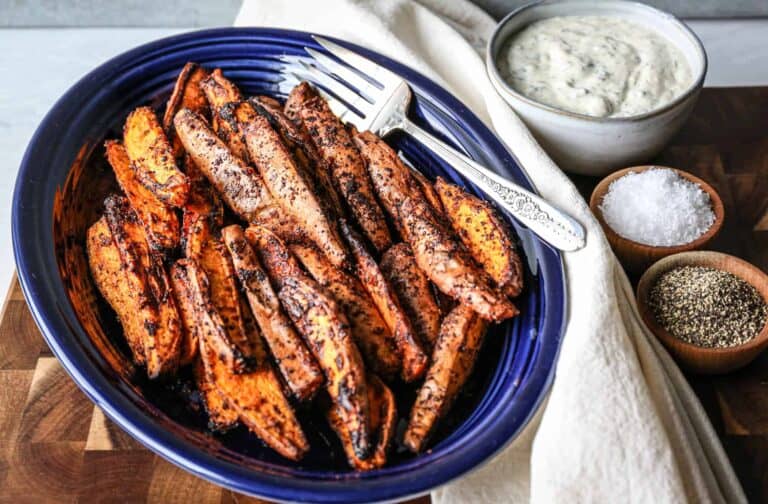
    • Gluten Free One Pot Hamburger Helper Copycat
    • Gluten Free Salisbury Steak with Mushroom Gravy
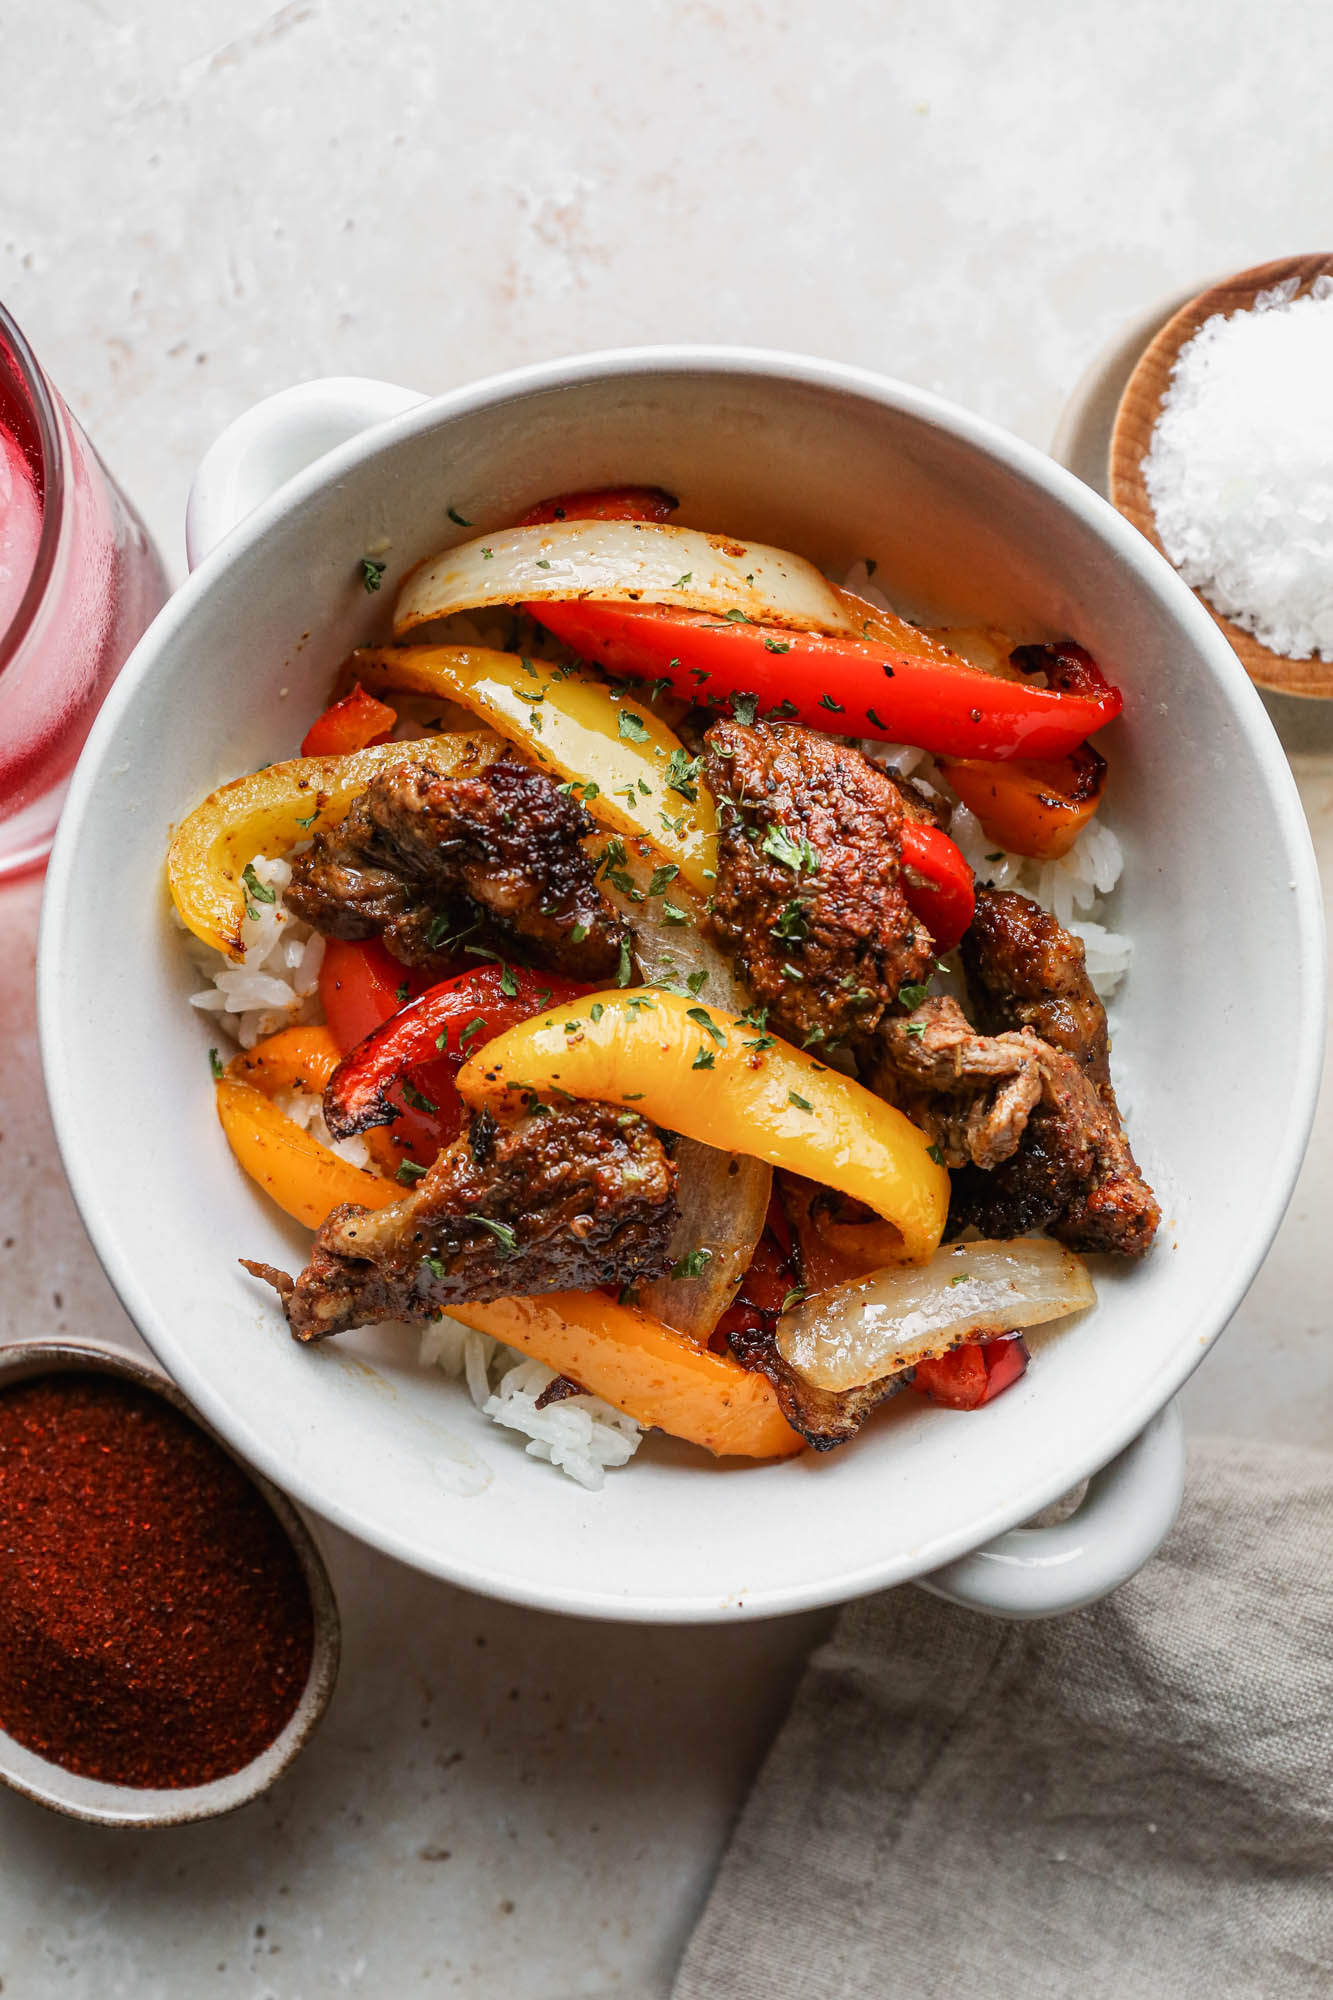
    • Gluten Free Air Fryer Fajitas
    • Gluten Free Sloppy Joe Casserole
    Footer

    Disclaimer:

    “We are a participant in the Amazon Services LLC Associates Program, an affiliate advertising program designed to provide a means for us to earn fees by linking to Amazon.com and affiliated sites.”

    Footer

    back to top

    About

    • Privacy Policy
    • Shop my Amazon Page
    • Follow me on LTK

    Newsletter

    • Sign Up! for emails and updates

    Contact

    • Contact
    • Media Kit
    • About Me

    As an Amazon Associate I earn from qualifying purchases.

    I may get commissions for purchases made through links on this site.

    Copyright © 2026 Brunch Pro on the Brunch Pro Theme