Small Farm Big Life

  • Gluten Free Recipe Index
  • Subscribe
  • Resources
menu icon
go to homepage
  • Home
  • Gluten Free Recipe Index
  • Subscribe
  • My Story
  • Resources
  • Free Guides
    • Email
    • Facebook
    • Instagram
    • Pinterest
  • subscribe
    search icon
    Homepage link
    • Home
    • Gluten Free Recipe Index
    • Subscribe
    • My Story
    • Resources
    • Free Guides
    • Email
    • Facebook
    • Instagram
    • Pinterest
  • ×

    Gluten Free Pizza Crust

    This easy recipe for gluten free pizza crust is a staple recipe for Friday night pizza. The recipe uses yeast and is a basic pizza crust that you can top with anything. I like to go classic with lots of meats and veggies, but you would also make a dessert pizza with cinnamon and sugar.

    a gluten free pizza crust topped with sauce, cheese, mushrooms, black olives, basil and turkey chorizo on top

    My gluten free pizza crust recipe is a simple and versatile solution for creating a delicious pizza base at home, perfect for those with gluten sensitivities or anyone following a gluten free lifestyle.

    This easy to follow recipe ensures that you can enjoy a homemade pizza from scratch, with the flexibility to adapt for additional dietary preferences like egg free, dairy-free, or vegan options.

    Whether you're making pizza for kids or preparing a quick weeknight dinner, this recipe is designed to be hassle-free while delivering great results every time.

    I also have a gluten free sourdough pizza crust recipe that is delicious too.

    a slice of gluten free pizza crust topped with sauce, cheese, mushrooms, black olives, basil and turkey chorizo on top
    [feast_advanced_jump_to]

    Ingredients

    • Gluten Free Flour
    • Sea Salt
    • Xanthan Gum
    • Granulated Sugar
    • Dry Active Yeast
    • Warm Water
    • Olive Oil

    Instructions

    Preheat your oven to 400 degrees.

    In a food processor or your stand mixer add the gluten free flour, salt, xanthan gum, sugar and yeast. Pulse or beat until ingredients are mixed together. 

    Add the warm water and olive oil to the dry ingredients. Turn the food processor or stand mixer on and process the dough until it begins to stick to the sides. This will be past the dough ball stage.

    Place the dough in an oiled and sealed container in a warm spot to rise for 1-2 hours.

    If the dough is sticky and hard to work with refrigerate it for 20 minutes.

    Roll out the dough on a lightly floured surface or between two sheets of parchment paper.

    Bake the crust at 400 degrees for 5-7 minutes or until dough begins to crisp underneath.

    Add your toppings to the crust and bake at 400 degrees for another 10-15 minutes or until the cheese is melted and the edges of the crust are browned.

    Let your pizza cool slightly and then cut to serve.

    Supplies

    Frequently Asked Questions

    Do I have to use yeast in this recipe?

    Yes. The dough will not rise if you don't use yeast for this recipe. You will make the dough in your food processor or mixer and then put it in a sealed container. The gluten free pizza dough will stay in the sealed container for 1-2 hours where it will rise.

    What should I do if the dough is hard to work with?

    If you find the dough sticky or too hard to work with, put it in the refrigerator for 20 minutes. Cooling the dough should help so you can roll out your crust easily. Be sure you are using a surface lightly dusted with flour and add a bit of flour to your rolling pin also.

    If neither of these options work for you I would roll the dough out between two pieces of parchment paper. Be sure to peel both sheets of parchment off the crust before baking it.

    Is yeast gluten free?

    Most yeast is gluten free. I use Fleischmann's Active Dry Yeast for this recipe. This brand says on the bottle that it is gluten free. Always check ingredient lists and containers to make sure they state they are gluten free.

    More Recipes You Might Enjoy

    • Gluten Free Sourdough Pizza Crust
    • Gluten Free Taco Pasta Bake
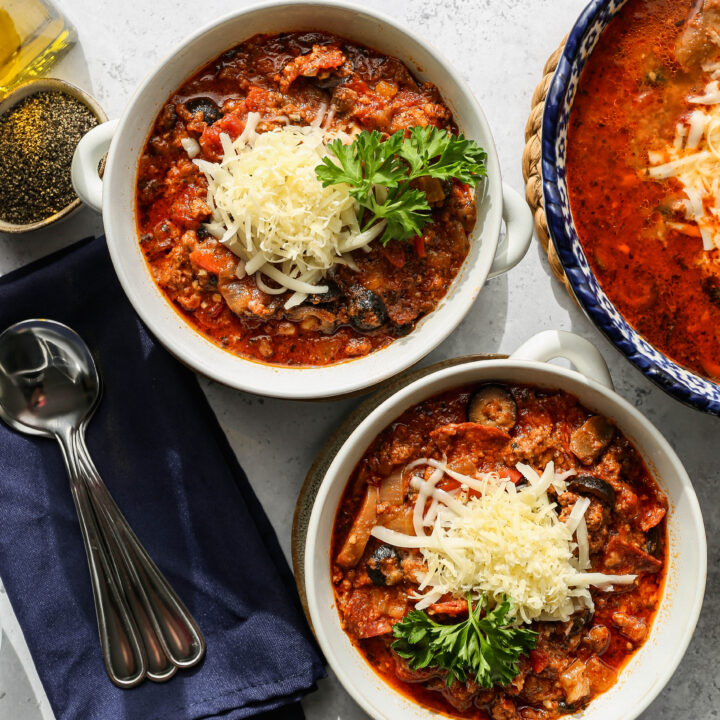
    • Gluten Free Instant Pot Pizza Soup
    • 10 Easy Gluten Free Beef Recipes

    I get a lot of my ingredients from Thrive Market. Thrive Market has been a game changer for me eating gluten free. They have so many options I can't get at my rural grocery stores! Use this link to get 40% off your first order!

    Print
    clock clock iconcutlery cutlery iconflag flag iconfolder folder iconinstagram instagram iconpinterest pinterest iconfacebook facebook iconprint print iconsquares squares iconheart heart iconheart solid heart solid icon

    Gluten Free Pizza Crust


    5 Stars 4 Stars 3 Stars 2 Stars 1 Star

    No reviews

    • Author: Elaine VanVleck
    • Total Time: 37 minutes
    • Yield: 8 slices 1x
    • Diet: Gluten Free
    Print Recipe
    Pin Recipe

    Description

    This easy recipe for gluten free pizza crust is a staple recipe for Friday night pizza. The recipe uses yeast and is a basic pizza crust that you can top with anything. I like to go classic with lots of meats and veggies, but you would also make a dessert pizza with cinnamon and sugar.


    Ingredients

    Units Scale
    • 3 cups Gluten Free Flour
    • 1 tsp. Sea Salt
    • 2 tsp. Xanthan Gum
    • 2 Tbsp. Granulated Sugar
    • 1 Tbsp. Dry Active Yeast
    • 1 ¾ cup Warm Water
    • ¼ cup Olive Oil

    Instructions

    Preheat your oven to 400 degrees.

    In a food processor or your stand mixer add the gluten free flour, salt, xanthan gum, sugar and yeast. Pulse or beat until ingredients are mixed together. 

    Add the warm water and olive oil to the dry ingredients. Turn the food processor or stand mixer on and process the dough until it begins to stick to the sides. This will be past the dough ball stage.

    Place the dough in an oiled and sealed container in a warm spot to rise for 1-2 hours.

    If the dough is sticky and hard to work with refrigerate it for 20 minutes.

    Roll out the dough on a lightly floured surface or between two sheets of parchment paper.

    Bake the crust at 400 degrees for 5-7 minutes or until dough begins to crisp underneath.

    Add your toppings to the crust and bake at 400 degrees for another 10-15 minutes or until the cheese is melted and the edges of the crust are browned.

    Let your pizza cool slightly and then cut to serve.

    Notes

    I made one thick crust with this recipe. If you want a thinner crust you could divide the dough into two parts.

    • Prep Time: 15 minutes
    • Cook Time: 22 minutes
    • Category: Meals
    • Method: Baking
    • Cuisine: Gluten Free

    Did you make this recipe?

    Tag @smallfarmbiglife on Instagram and hashtag it #smallfarmbiglife

    Top Tip

    I use this recipe to make one thick crust pizza, however you could split this dough in half and make two thin crust pizzas. You can also divide the dough into smaller pieces and make personal pizzas. This is great for making everyone exactly what they want!

    Gluten Free Strawberry Rhubarb Sauce

    This recipe for gluten free strawberry rhubarb sauce is simple to make and is delicious on cakes, waffles or pancakes. This sauce can be used for dessert or breakfast with its sweet and tart flavor. It's perfect to make with fresh or frozen fruit.

    a glass jar with a sealing lid of gluten free strawberry rhubarb sauce setting on a white plate with a spoon next to it

    I know rhubarb can be hard to find some seasons, so I grow plants in my garden. The plants are really easy to grow, take very little care and come back each season. I have three plants now of two different varieties of rhubarb. I use what I want fresh and then I slice the stems into chunks and freeze them in freezer safe bags so I have rhubarb year round.

    I serve this sauce most often with my gluten free angel food cake.

    a slice of gluten free angel food cake with gluten free strawberry rhubarb sauce over it sitting on a white plate
    [feast_advanced_jump_to]

    Ingredients

    • Rhubarb
    • Strawberries
    • Water
    • Granulated Sugar
    • Sea Salt
    • Lemon Zest
    • Lemon Juice

    Instructions

    In a 2 quart saucepan combine the rhubarb, strawberries, water, sugar, salt and lemon zest. Cook uncovered over medium heat until rhubarb is soft, about 10-15 minutes.

    Remove from heat and stir in the lemon juice.

    Cool before serving over cake, pancake, waffles or ice cream.

    Store in a sealed container in the refrigerator for 7-10 days. 

    Supplies

    Frequently Asked Questions

    Can this recipe be made with frozen fruit?

    Yes, fresh or frozen fruit work great for this recipe. Since the sauce is going to be cooked down it doesn't matter which you use. However, the frozen fruit will take longer to cook so you will need to add time to how long the sauce is on the stovetop.

    Do I have to use rhubarb in this recipe?

    If you want the tart flavor that rhubarb adds, yes you will need to use rhubarb in this recipe. However, if you don't have rhubarb and still want to make a sauce you could substitute another fruit for the rhubarb. Blackberries would be a good substitution that would still give you a bit of tart flavor.

    How should I store this sauce?

    It is best to store this sauce in a sealed jar or container in the refrigerator after it has cooled completely. The sauce is best if used within the 7-10 days. If you aren't going to use the sauce right away you can freeze it for up to four months in a freezer safe container or bag.

    I love to use half of the sauce and then freeze the second half for later. It's amazing on a day that I'm rushing to have sauce for breakfast pancakes or waffles to get out of the freezer!

    More Recipes You Might Like

    • Gluten Free Angel Food Cake
    • Gluten Free Cream Cheese Pound Cake
    • Gluten Free Buttermilk Drop Biscuits
    • Gluten Free Millet Drop Biscuits

    I get a lot of my ingredients from Thrive Market. Thrive Market has been a game changer for me eating gluten free. They have so many options I can't get at my rural grocery stores! Use this link to get 25% off your first order!

    Print
    clock clock iconcutlery cutlery iconflag flag iconfolder folder iconinstagram instagram iconpinterest pinterest iconfacebook facebook iconprint print iconsquares squares iconheart heart iconheart solid heart solid icon

    Gluten Free Strawberry Rhubarb Sauce


    5 Stars 4 Stars 3 Stars 2 Stars 1 Star

    No reviews

    • Author: Elaine VanVleck
    • Total Time: 30 minutes
    • Yield: 3 cups, approximately 1x
    • Diet: Gluten Free
    Print Recipe
    Pin Recipe

    Description

    This recipe for gluten free strawberry rhubarb sauce is simple to make and is delicious on cakes, waffles or pancakes. This sauce can be used for dessert or breakfast with its sweet and tart flavor. It's perfect to make with fresh or frozen fruit. 


    Ingredients

    Scale

    3 cups Rhubarb, chopped to ½ inch pieces
    2 cups Strawberries, chopped (16 ounce container)
    ½ cup Water
    ½ cup Granulated Sugar
    ¼ tsp. Sea Salt
    1 Tbsp. Lemon Zest
    ¼ cup Lemon Juice


    Instructions

    In a 2 quart saucepan combine the rhubarb, strawberries, water, sugar, salt and lemon zest. Cook uncovered over medium heat until rhubarb is soft, about 10-15 minutes.

    Remove from heat and stir in the lemon juice.

    Cool before serving over cake, pancake, waffles or ice cream.

    Store in a sealed container in the refrigerator for 7-10 days. 

    • Prep Time: 15 minutes
    • Cook Time: 15 minutes
    • Category: Sauces
    • Method: Stovetop
    • Cuisine: Gluten Free

    Did you make this recipe?

    Tag @smallfarmbiglife on Instagram and hashtag it #smallfarmbiglife

    Favorite Things August 20, 2021

    some of my favorite things are dahlias. These lovely orange hued dahlias on a white background are perfect for late summer.

    This a collection of things I'm loving right now. I've included recipes that are perfect for this season and some of my favorite things. Grab a cup of your favorite beverage and scroll through all the stuff I've enjoyed this week.

    New for Fall in the Kitchen

    I love adding a few updated pieces each season for my kitchen and dining room. Adding plaid for fall is a must and this apron is absolutely perfect. I also like to get a new serving board and plate for the upcoming holidays. There are so many lovely options to choose from!

    Recipe Ideas for the Week

    Gluten Free Angel Food Cake

    Gluten Free Instant Rice Pudding

    Gluten Free Plum Cake

    Stuff I Love

    What I'm Listening to - I just listened to Dr. Will Cole's podcast The Art of Being Well with Jorge Cruise about the Science + Spirituality of Stopping Sugar and Carb Cravings. It's an interesting listen and something I struggle with at times. Sometimes I just want to eat my feelings and that means sugar and carbs for me.

    What I'm Watching - I've been on a kick of rewatching shows and movies from the 90's. I just rewatched the movie Mallrats and I'm rewatching Friends too. Watching the cast of Friends in the first season laugh as each other delivers lines makes my heart happy.

    What I'm Reading - I just got the latest issue of The Magnolia Journal and the cover is so good! I love the dark and moody look. I couldn't wait to dive right in. I'm so ready for Fall.

    What I'm Loving - I struggle to find comfortable bras. I can't be the only one, right?! I just got this lightly lined wireless bra from Calvin Klein and I'm loving it!

    What I Want to Get - I don't really need new lights for by our bed, but I'm in love with this glass globe and brass wall sconce. It's so simple and pretty. Makes me want to update our bedroom!

    What I'm Loving - My old air fryer finally broke and needed to be replaced. I got this Instant Vortex Air Fryer and I love it so much! The roast setting makes amazing roasted potatoes and the air fry setting cooks a perfect steak or burger. It's so good!

    New Fall Denim

    Favorites From Around the Web

    I love to have functional and pretty items in my kitchen. This set of rose gold whisks are so lovely! I think I need them.

    I love these black wire baskets for pantry storage. They would be perfect for snacks and extra baking supplies.

    I love ankle boots for fall with my jeans. This tan pair, this cognac pair and this taupe pair are under $35 and perfect for fall.

    Speaking of fall, bring on all the warm and cozy socks! I love these textured crew socks and these tie dye ribbed crew socks.

    I know that white sneakers are back in style, but I remember how hard they were to keep clean in the 90s. So I'm opting for these cream sneakers or these tan sneakers that I may actually be able to keep looking nice.

    I have this sweater pullover and joggers in my cart right now in cream. They look so comfortable! These cozy slip on clogs are also in my cart to go with them.

    I love all the things from Acure that I've tried. I want to try this Resurfacing Overnight Glycolic Treatment to keep my skin glowing as we change seasons. My skin tends to get dull as we head into fall and winter.

    I love having ramekins to bake single serving desserts or to make french onion soup in. This set of 8 ramekins for $15 is a good deal! They are a must have for fall and winter in my kitchen.

    Gluten Free Angel Food Cake

    This Gluten Free Angel Food Cake is one of the most impressive things I make in my kitchen and one of the recipes I am most proud of. Angel food cake has a reputation for being intimidating but once you understand the technique it is actually very approachable and the result is a light and airy cake so delicious that nobody at the table will suspect it is gluten free.

    I make this with Bob's Red Mill 1 to 1 Gluten Free Baking Flour or King Arthur Measure for Measure Gluten Free Flour and both produce a beautiful cake with a soft white crumb and a perfectly golden crust.

    a gluten free angel food cake on a white cake stand next to white plates, a silver serving knife and a glass jar of strawberry rhubarb sauce

    As someone with celiac disease I spent years missing out on angel food cake because the store bought versions and the mixes all contain gluten. Making it from scratch with the right gluten free flour blend completely solved that problem.

    The secret to getting that classic light and fluffy texture is all in the egg whites. They need to be at room temperature, whipped to stiff peaks, and folded gently into the flour mixture without deflating them. Take your time with those steps and the cake will reward you with a texture that rivals any traditional version.

    Serve it with fresh strawberries and whipped cream and it becomes one of the most beautiful and crowd pleasing desserts you can put on a table.

    I topped the cake in these photos with my gluten free strawberry rhubarb sauce.

    You can find all of my cake recipes here: Gluten Free Cake Recipes
    a gluten free angel food cake on a white cake stand next to white plates, a silver serving knife and a glass jar of strawberry rhubarb sauce
    [feast_advanced_jump_to]

    Why Angel Food Cake Is Actually Easy to Make Gluten Free

    Angel food cake barely needs any flour and the only flour a traditional version uses is cake flour which has the least amount of gluten of any traditional flour type. This is why it is a surprise to no one that a gluten free angel food cake looks and tastes just like the classic version.

    The structure and lift of angel food cake comes almost entirely from whipped egg whites rather than from gluten. This means that switching to a gluten free flour blend has very little impact on the final texture compared to other baked goods like bread or pizza dough where gluten is doing most of the structural work. For celiac disease baking angel food cake is genuinely one of the most forgiving recipes to convert.

    The Most Important Technique: Whipping Egg Whites

    Getting the egg whites right is the single most important step in this recipe. Here is everything you need to know.

    • Start with room temperature egg whites. Cold egg whites do not whip up as well as room temperature ones. Separate your eggs while they are still cold since cold eggs separate more easily, then let the whites sit at room temperature for 30 minutes before whipping.
    • Use a completely clean bowl and whisk. Any trace of fat, oil, or egg yolk in your bowl or on your whisk will prevent the egg whites from whipping properly. Wipe your bowl and whisk attachment with a paper towel dipped in white vinegar before you begin.
    • Whip to stiff peaks. The egg whites should be whipped until they hold firm glossy peaks that stand straight up when you lift the whisk. Under whipped egg whites produce a dense cake. Over whipped egg whites become dry and clumpy and are also difficult to fold without breaking down.
    • You can use carton egg whites as a time saving shortcut. Carton egg whites are pasteurized and sometimes do not whip up as much as fresh egg whites but many bakers have had success with them in this recipe. Fresh egg whites are still the recommended option for the best volume and texture.
    • Fold gently. Once the egg whites are whipped fold the flour mixture into them using a large rubber spatula with slow and deliberate strokes. The goal is to combine the flour and egg whites without deflating the air you just whipped in. Do not stir or mix aggressively.

    The Critical Cooling Step

    The most important post baking step is inverting the cake immediately after it comes out of the oven and propping it upside down. Without this step the cake will sink as it cools and you will lose all the beautiful height and airy texture you worked for.

    Most tube pans have small feet on the rim that allow you to invert the pan on a flat surface and let air circulate under the cake. If your pan does not have feet insert a bottle through the center tube and let the pan hang upside down over the bottle.

    The cake must cool completely in this inverted position for at least one hour before you attempt to remove it from the pan. Running a thin knife or offset spatula around the edges of the pan helps release the cake cleanly once it has cooled.

    Troubleshooting Common Problems

    A sticky or gummy texture usually means there was too much moisture or the cake was not baked long enough. It can happen if the egg whites were over whipped, the air was humid, or the flour blend had too much starch. Bake until the top is golden and springs back when touched and always let the cake cool completely upside down so the crumb sets properly.

    • My cake sank in the middle. This almost always means the cake was not cooled upside down or was removed from the pan before it had cooled completely. Always invert immediately after baking and wait the full cooling time before removing.
    • My cake is dense rather than airy. This usually means the egg whites were not whipped to stiff peaks or were deflated during the folding step. Take extra time on the whipping step and fold as gently as possible.
    • My cake browned too quickly on top. Place the pan on the lower rack of your oven rather than the middle or lower middle rack to prevent the top from browning before the inside is fully cooked.

    Which Gluten Free Flour Works Best

    Not all gluten free flour blends perform equally in angel food cake. This recipe is specifically tested with Bob's Red Mill 1 to 1 Gluten Free Baking Flour and King Arthur Measure for Measure Gluten Free Flour. Both are one to one flour blends that already contain xanthan gum which is important for the structure of this cake.

    Avoid flour blends that are primarily made from bean flours since they can produce an off flavor in delicate baked goods like angel food cake where the flour is meant to be a neutral background to the egg white and vanilla flavors.

    Do not use almond flour or coconut flour as a substitute since neither has the right starch and protein content to support the egg white structure in this recipe.

    Serving Suggestions

    This gluten free angel food cake is a blank canvas for beautiful summer desserts. Here are my favorite ways to serve it.

    • Classic strawberries and whipped cream. Slice the cake and serve with a generous spoonful of fresh sliced strawberries macerated in a little sugar and a cloud of freshly whipped cream. This is the quintessential angel food cake serving and it is perfect for a reason.
    • Summer berry topping. Use a mix of fresh strawberries, blueberries, raspberries, and blackberries for a colorful and impressive presentation that works beautifully for summer entertaining and Fourth of July gatherings.
    • As strawberry shortcake. Split the cake horizontally into two layers and fill with whipped cream and sliced strawberries for a stunning layered shortcake that serves a crowd beautifully.
    • As a trifle. Cut the cake into cubes and layer with vanilla pudding, fresh berries, and whipped cream in a trifle bowl for one of the most impressive and easy desserts you can make for a potluck or party.
    • Plain with coffee. A slice of this cake with a cup of coffee is a genuinely wonderful breakfast or afternoon treat that does not need any additional toppings at all.

    Storage Instructions

    Store leftover gluten free angel food cake in an airtight container or covered with plastic wrap at room temperature for up to three days. For longer storage wrap individual slices in plastic wrap and store in a freezer safe bag for up to three months. Thaw at room temperature for an hour before serving. The cake freezes beautifully and is a great make ahead option for summer entertaining.

    Top Tip

    Do not grease your tube pan. This is the most counterintuitive but most critical instruction in this entire recipe. The egg white batter needs to grip the sides of the pan as it rises in the oven. A greased pan causes the batter to slide down rather than climb up the sides which results in a flat and dense cake rather than a tall and airy one. Use an ungreased tube pan every time and the cake will release cleanly after cooling when you run a knife around the edges.

    Frequently Asked Questions

    Are store bought angel food cakes gluten free?

    No, store bought angel food cakes typically contain wheat flour and are not gluten free. Always read the ingredient label carefully and check for shared facility or shared equipment warnings since cross contamination is a real concern for anyone with celiac disease. This recipe is simple to make from scratch and gives you a light and fluffy cake that is completely safe and genuinely delicious.

    Can I use a bundt pan to make this gluten free angel food cake?

    I do not suggest using a bundt pan for this recipe. An angel food cake pan is inexpensive and completely worth having. You will need to run a knife around the edge of the pan to release the cake and a bundt pan with its intricate edges makes that really hard and frustrating.

    I prefer a two piece angel food cake pan. They cost a little more but it is worth it since you can run a knife around the sides to release them and then run a knife along the bottom to remove the second piece. You are left with a nice clean edge and no fighting to get the cake out.

    How should I store my angel food cake?

    Gluten free angel food cake can dry out easily. As soon as the cake has cooled wrap it in plastic wrap or cut it into pieces and store in a sealed bag or airtight container. It can sit on the countertop for up to two to three days and then should move to the refrigerator for up to one week. To freeze wrap individual pieces in foil and place in a sealed freezer bag for up to three months. Thaw at room temperature for about an hour before serving.

    Do I need cream of tartar for angel food cake?

    Cream of tartar is an important ingredient in angel food cake because it stabilizes the whipped egg whites and helps them hold their volume during baking. It also helps keep the cake bright white inside rather than yellowing. Do not skip it or substitute it since it plays a structural role in the recipe that other ingredients cannot replicate.

    Why do you invert angel food cake while it cools?

    Inverting the cake immediately after baking and letting it cool upside down is the most important step in the entire recipe. Angel food cake is so light and airy that gravity will cause it to collapse and sink if it cools right side up before the crumb has fully set.

    Cooling it upside down lets the cake maintain its full height and airy texture as it firms up. Most tube pans have small feet on the rim for this purpose. If yours does not simply invert the pan over a bottle inserted through the center tube and let it hang until completely cool.

    Didn't find the answer you're looking for?

    Ask AI to answer based on this recipe:

    ChatGPT
    Google AI
    Perplexity
    Grok
    Claude

    Supplies

    More Recipes You Might Enjoy

    • Gluten Free Cream Cheese Pound Cake
    • Gluten Free Vanilla Cake
    • Easy Gluten Free White Cake
    • Gluten Free Pina Colada Cake

    I get a lot of my ingredients from Thrive Market. Thrive Market has been a game changer for me eating gluten free. They have so many options I can't get at my rural grocery stores! Use this link to get 40% off your first order!

    Print
    clock clock iconcutlery cutlery iconflag flag iconfolder folder iconinstagram instagram iconpinterest pinterest iconfacebook facebook iconprint print iconsquares squares iconheart heart iconheart solid heart solid icon

    Gluten Free Angel Food Cake


    5 Stars 4 Stars 3 Stars 2 Stars 1 Star

    No reviews

    • Author: Elaine VanVleck
    • Total Time: 1 hour 10 minutes
    • Yield: 8 slices 1x
    • Diet: Gluten Free
    Print Recipe
    Pin Recipe

    Description

    A light and airy gluten free angel food cake made with whipped egg whites, Bob's Red Mill 1 to 1 or King Arthur Measure for Measure gluten free flour, and pure vanilla extract. This celiac safe angel food cake bakes up beautifully golden on the outside with a soft white crumb inside. Serve with fresh strawberries and whipped cream for a stunning summer dessert.


    Ingredients

    Scale
    • 1 cup Gluten Free Flour
    • 1 cup Confectioner's Sugar, sifted
    • 2 Tbsp. Arrowroot Powder
    • 11 large Egg Whites
    • 1 ½ tsp. Cream of Tartar
    • ¼ tsp. Sea Salt
    • 1 ½ tsp. Vanilla Extract
    • ½ tsp. Almond Extract
    • 1 cup Confectioner's Sugar, sifted

    Instructions

    Move your oven racks to the lowest height. Preheat your oven to 350 degrees. Do not grease your tube pan!

    Sift and then whisk together gluten free flour, 1 cup confectioner's sugar and arrowroot powder in a mixing bowl. Set aside.

    In the bowl of your stand mixer on medium speed whisk together egg whites, cream of tartar and sea salt until light and foamy. Add the vanilla and almond extracts. Increase the speed of your mixer to medium-high and whisk the mixture until the egg whites have increased in volume and are thickened.

    Add 1 cup of confectioner's sugar gradually and whisk until a stiff meringue forms. You can check this by removing your whisk attachment and seeing if you have peaks that don't fall.

    Fold in the flour mixture using a spatula.

    Spoon the cake batter into your tube pan. Do not grease your tube pan!

    Bake at 350 degrees for 40-45 minutes. The cake will be lightly browned, the top of the cake will look dry and slightly cracked and will spring back when you touch it when it's done.

    Remove the cake from the oven and invert the tube pan either on its legs or over a bottle.

    Cool your cake for at least one hour and then using a knife go around the edges of the pan to remove the cake from the tube pan.

    Serve your cake with whipped cream and berries or my Strawberry Rhubarb Sauce.

    If you made this recipe please leave a star rating and comment below. It helps other readers find this recipe and means so much to me.

    • Prep Time: 30 minutes
    • Cook Time: 40 minutes
    • Category: Cake
    • Method: Baking
    • Cuisine: American

    Did you make this recipe?

    Tag @smallfarmbiglife on Instagram and hashtag it #smallfarmbiglife

    If you make this Gluten Free Angel Food Cake I would love to hear how it turned out! Leave a comment below and let me know or tag me on Instagram so I can see your beautiful cake.

    This is one of those gluten free baking achievements that feels so rewarding when it comes out perfectly. Save this recipe to your favorite Pinterest board so you always have it ready for summer entertaining, holiday gatherings, or any occasion that calls for something light and special!

    Ingredients

    • Gluten Free Flour
    • Confectioner's Sugar
    • Arrowroot Powder
    • Egg Whites
    • Cream of Tartar
    • Sea Salt
    • Vanilla Extract
    • Almond Extract

    Instructions

    Move your oven racks to the lowest height. Preheat your oven to 350 degrees. Do not grease your tube pan!

    Sift and then whisk together gluten free flour, 1 cup confectioner's sugar and arrowroot powder in a mixing bowl. Set aside.

    In the bowl of your stand mixer on medium speed whisk together egg whites, cream of tartar and sea salt until light and foamy. Add the vanilla and almond extracts. Increase the speed of your mixer to medium-high and whisk the mixture until the egg whites have increased in volume and are thickened.

    Add 1 cup of confectioner's sugar gradually and whisk until a stiff meringue forms. You can check this by removing your whisk attachment and seeing if you have peaks that don't fall.

    Fold in the flour mixture using a spatula.

    Spoon the cake batter into your tube pan. Do not grease your tube pan!

    Bake at 350 degrees for 40-45 minutes. The cake will be lightly browned, the top of the cake will look dry and slightly cracked and will spring back when you touch it when it's done.

    Remove the cake from the oven and invert the tube pan either on its legs or over a bottle.

    Cool your cake for at least one hour and then using a knife go around the edges of the pan to remove the cake from the tube pan.

    Serve your cake with whipped cream and berries or my Strawberry Rhubarb Sauce.

    Gluten Free Instant Rice Pudding

    a white bowl of gluten free instant rice pudding with fresh blueberries and strawberries on top.

    This easy recipe for gluten free instant rice pudding is made with cooked rice. You can make this creamy dessert quickly on your stovetop. The recipe includes cinnamon, vanilla, and sweetened condensed milk.

    I love using this recipe for leftover rice or microwave rice so it's really quick to make. I usually serve this with fresh berries, but you could also serve it the classic way with raisins. This is a really rich and creamy dessert that is always a hit!

    a white bowl of gluten free instant rice pudding with fresh blueberries and strawberries on top.

    Is there gluten in rice pudding?

    There shouldn't be any gluten in rice pudding. Rice should be gluten free, but if it's processed with other ingredients that include gluten it can be contaminated. Always be sure to check the package to see if it is gluten free. There should either be the gluten free seal or the ingredient section should disclose if there could be gluten.

    Do I have to use cooked rice for this recipe?

    Yes! This recipe will not turn out properly with these short cooking times if the rice isn't precooked. This is a great recipe to use leftover rice or to use Lotus Foods Microwave Jasmine Rice.

    I like to use Jasmine Rice. I add two cups of rice to four cups of water in a large stockpot. Using medium high heat I bring the ingredients to a boil and then I turn the heat to low and let the rice cook for 14 minutes. When the rice is done remove the lid and fluff the rice with a fork.

    Gluten Free Instant Rice Pudding Supplies

    What rice is best for rice pudding?

    I like white rice best for making rice pudding. I think having the husk removed allows the rice to soak up the creamy sauce better. My favorite white rice is Jasmine rice because I think it holds together the best and has a nice texture. For gluten free be sure that the packaging states the rice is gluten free and that the rice is not cross contaminated.

    Gluten Free Instant Rice Pudding Ingredients

    • Lotus Foods Microwave Jasmine Rice
    • Sweetened Condensed Milk
    • Heavy Cream
    • Unsalted Butter
    • Vanilla Extract
    • Egg
    • Sea Salt
    • Ground Cinnamon
    • Ground Nutmeg
    • Fresh berries for serving

    If you like this recipe you might also enjoy:

    Gluten Free Strawberry Pretzel Dessert
    Gluten Free Strawberry Jam Bars
    10 Gluten Free Chocolate Desserts
    Gluten Free Raspberry Cornmeal Cake
    Gluten Free Cream Cheese Pound Cake

    I get a lot of my ingredients from Thrive Market. Thrive Market has been a game changer for me eating gluten free. They have so many options I can't get at my rural grocery stores! Use this link to get 25% off your first order!
    Print
    clock clock iconcutlery cutlery iconflag flag iconfolder folder iconinstagram instagram iconpinterest pinterest iconfacebook facebook iconprint print iconsquares squares iconheart heart iconheart solid heart solid icon

    Gluten Free Instant Rice Pudding


    5 Stars 4 Stars 3 Stars 2 Stars 1 Star

    No reviews

    • Author: Elaine VanVleck
    • Total Time: 15 minutes
    • Yield: approximately 3 cups 1x
    • Diet: Gluten Free
    Print Recipe
    Pin Recipe

    Description

    This easy recipe for gluten free instant rice pudding is made with cooked rice. You can make this creamy dessert quickly on your stovetop. The recipe includes cinnamon, vanilla, and sweetened condensed milk.


    Ingredients

    Scale

    2 - 8 ounce packages Lotus Foods Microwave Jasmine Rice or leftover cooked rice
    1 - 8 ounce can Sweetened Condensed Milk
    2 Tbsp. Heavy Cream
    1 Tbsp. Unsalted Butter
    2 tsp. Vanilla Extract
    1 Egg, beaten
    1 tsp. Ground Cinnamon
    ¼ tsp. Ground Nutmeg
    ¼ tsp. Sea Salt
    Fresh berries for serving


    Instructions

    In a saucepan combine the sweetened condensed milk, heavy cream, butter and salt. Bring mixture to a simmer. Turn off heat and add the vanilla extract.

    Place the egg in a bowl and beat until frothy. Add ¼ of the mixture to the beaten egg and whisk together. 

    Add the egg mixture to the saucepan and whisk to combine. Add the cinnamon and nutmeg to the egg mixture and whisk to combine.

    Cook the Lotus Foods Microwave Jasmine Rice per the package or use leftover cooked rice. 

    Add the rice to the sauce in the saucepan. Put the saucepan back on medium heat and heat through. Remove from heat.

    Serve rice pudding warm with fresh berries or raisins.

    Notes

    The rice for the recipe must be cooked.

    • Prep Time: 5 minutes
    • Cook Time: 10 minutes
    • Category: Dessert
    • Method: Stovetop
    • Cuisine: Gluten Free

    Did you make this recipe?

    Tag @smallfarmbiglife on Instagram and hashtag it #smallfarmbiglife

    • « Previous Page
    • 1
    • …
    • 67
    • 68
    • 69
    • 70
    • 71
    • …
    • 100
    • Next Page »

    Welcome! I'm Elaine

    I'm so glad you are here! I share easy gluten free recipes from my small farm in Washington.

    Be sure to sign up for my newsletter to stay up to date on all of my new recipes.

    More about me...
    • Instagram
    • Pinterest
    • Facebook
    • Twitter
    • Mail

    Load up on new recipes, exclusive goodies, + more!
    Sign up below to stay up-to-date on news, events, and special deals.
    Thank you for subscribing!

    Easy Meals Recipes

    • Gluten Free Instant Pot Chili Mac and Cheese
    • Gluten Free Taco Casserole
    • Gluten Free Cowboy Baked Beans
    • Gluten Free Walking Taco Casserole
    • Gluten Free Creamy Beef and Mushroom Pasta
    • Gluten Free Instant Pot Chicken and Dumplings
    • Instant Pot Mexican Style Beef and Rice
    • Gluten Free Chicken Parmesan Pasta Casserole
    • Gluten Free One Pot Hamburger Helper Copycat
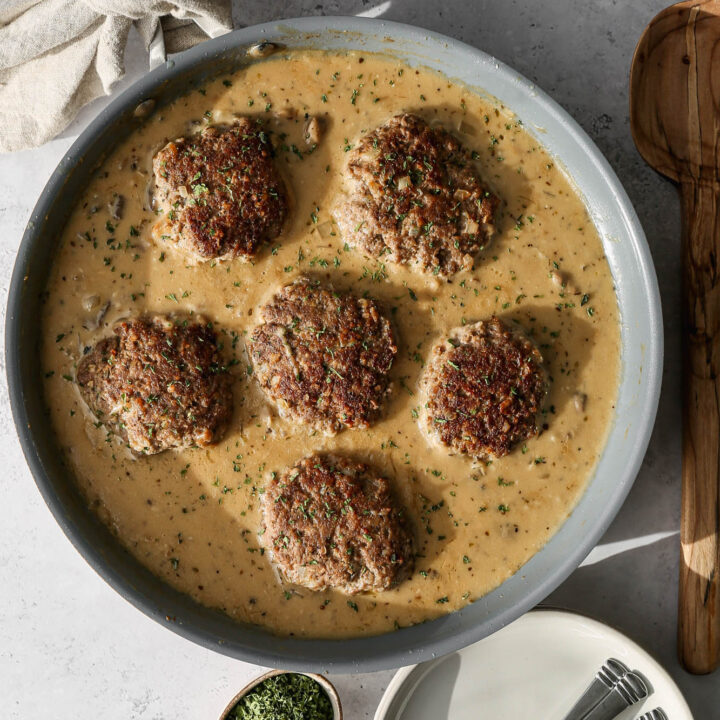
    • Gluten Free Salisbury Steak with Mushroom Gravy
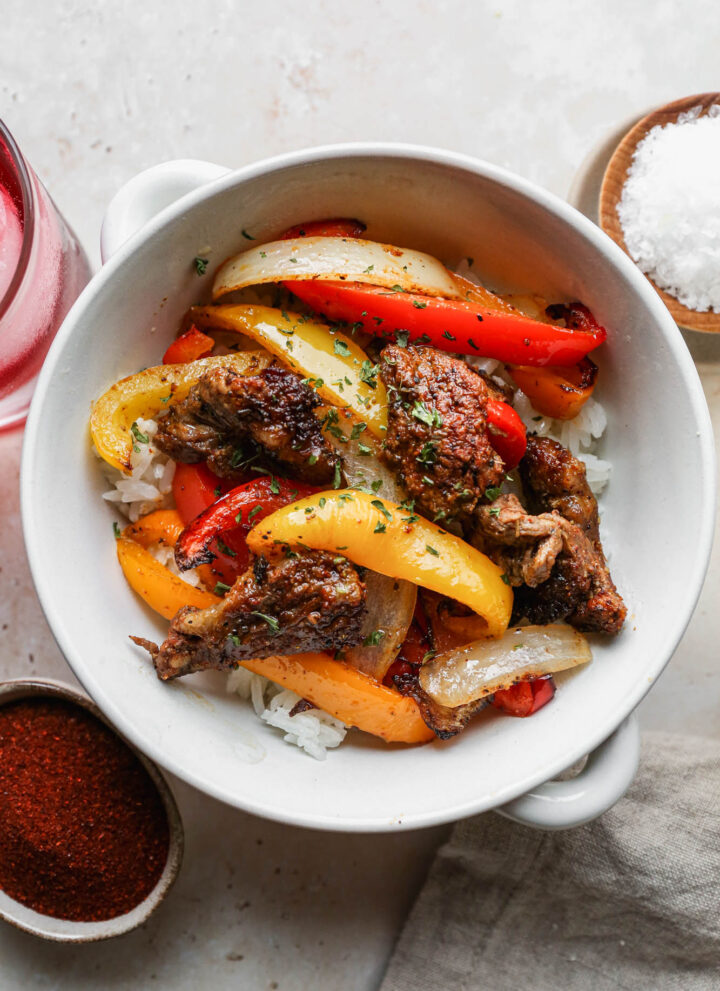
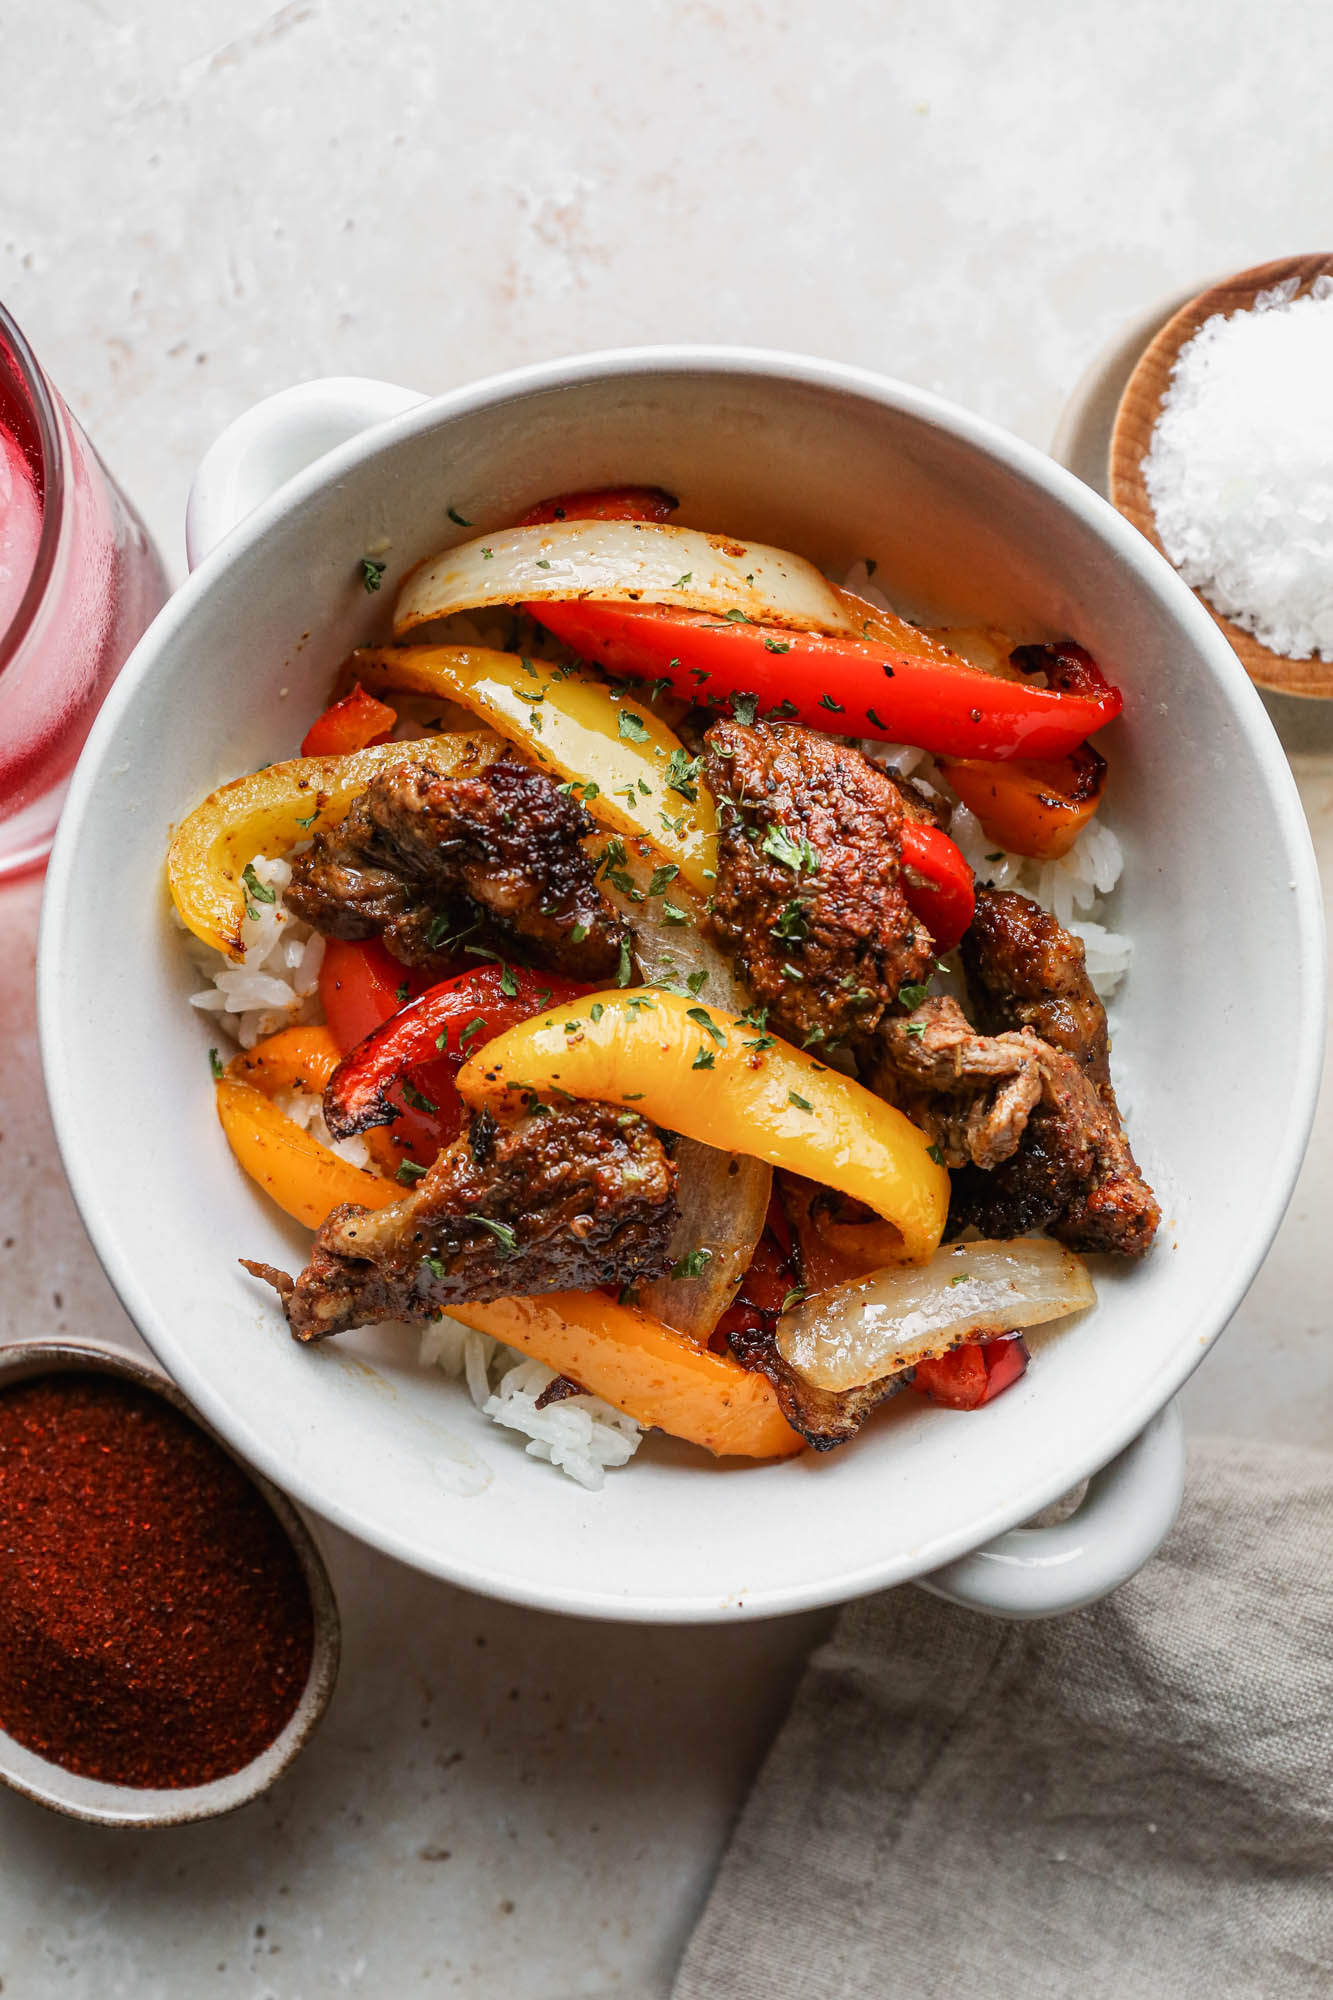
    • Gluten Free Air Fryer Fajitas
    • Gluten Free Sloppy Joe Casserole

    Footer

    back to top

    About

    • Privacy Policy
    • Shop my Amazon Page
    • Follow me on LTK

    Newsletter

    • Sign Up! for emails and updates

    Contact

    • Contact
    • Media Kit
    • About Me

    As an Amazon Associate I earn from qualifying purchases.

    I may get commissions for purchases made through links on this site.

    Copyright © 2026 Brunch Pro on the Brunch Pro Theme