Small Farm Big Life

  • Gluten Free Recipe Index
  • Subscribe
  • Resources
menu icon
go to homepage
  • Home
  • Gluten Free Recipe Index
  • Subscribe
  • My Story
  • Resources
  • Free Guides
    • Email
    • Facebook
    • Instagram
    • Pinterest
  • subscribe
    search icon
    Homepage link
    • Home
    • Gluten Free Recipe Index
    • Subscribe
    • My Story
    • Resources
    • Free Guides
    • Email
    • Facebook
    • Instagram
    • Pinterest
  • ×

    Cheesy Slow Cooker Creamed Corn

    This easy recipe for cheesy slow cooker creamed corn is perfect for a side dish or a meal. Using your crockpot you add frozen corn, bacon, heavy cream and parmesan cheese for a loaded cream corn. You will never want canned cream corn again after making this homemade version!

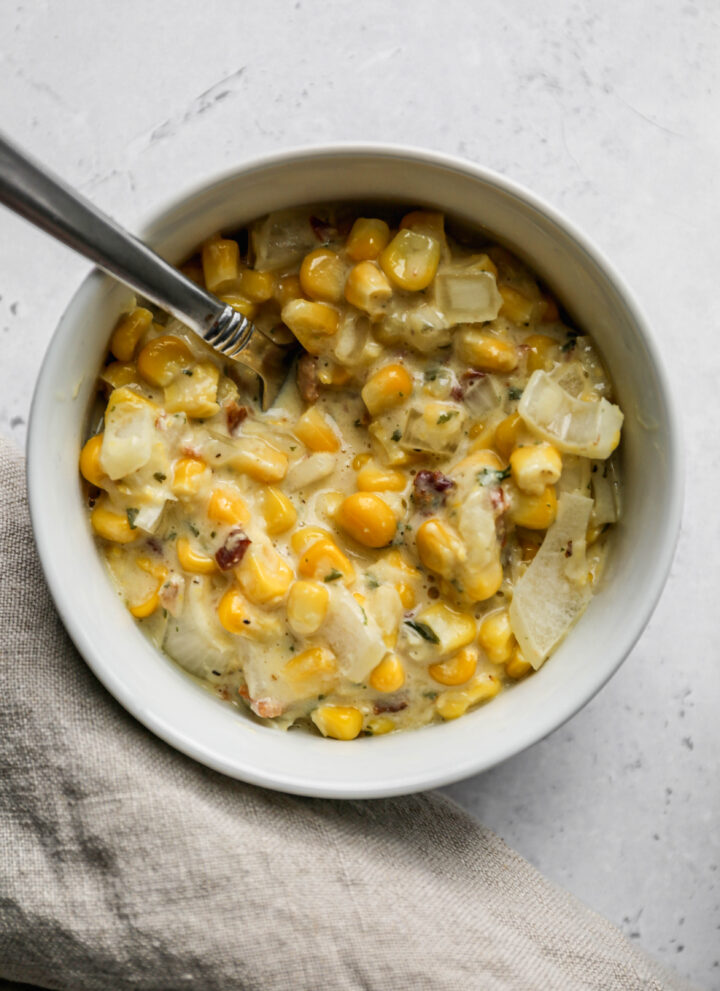
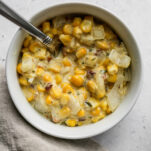
    a small white bowl of cheesy slow cooker creamed corn next to a linen napkin.

    This homemade creamed corn is an easy, fuss free dish that's perfect for busy cooks. The combination of frozen or canned corn, butter, and cheese creates a deliciously rich and satisfying veggie side dish.

    Whether you're preparing for a holiday meal or just need a comforting addition to dinner, this slow cooker cheesy corn casserole is a must try. It's the best corn recipe for a flavorful side, and it can easily be made ahead, leaving you more time to enjoy your meal.

    With its creamy texture and cheesy flavor, this is one corn dish that will never go out of style!

    If you are looking for more slow cooker recipes you might also enjoy my Slow Cooker Hawaiin Meatballs, this Gluten Free Slow Cooker Meatloaf, my Gluten Free Slow Cooker Lasagna Soup, these Slow Cooker Cranberry Meatballs or my Slow Cooker Spaghetti recipes.

    [feast_advanced_jump_to]
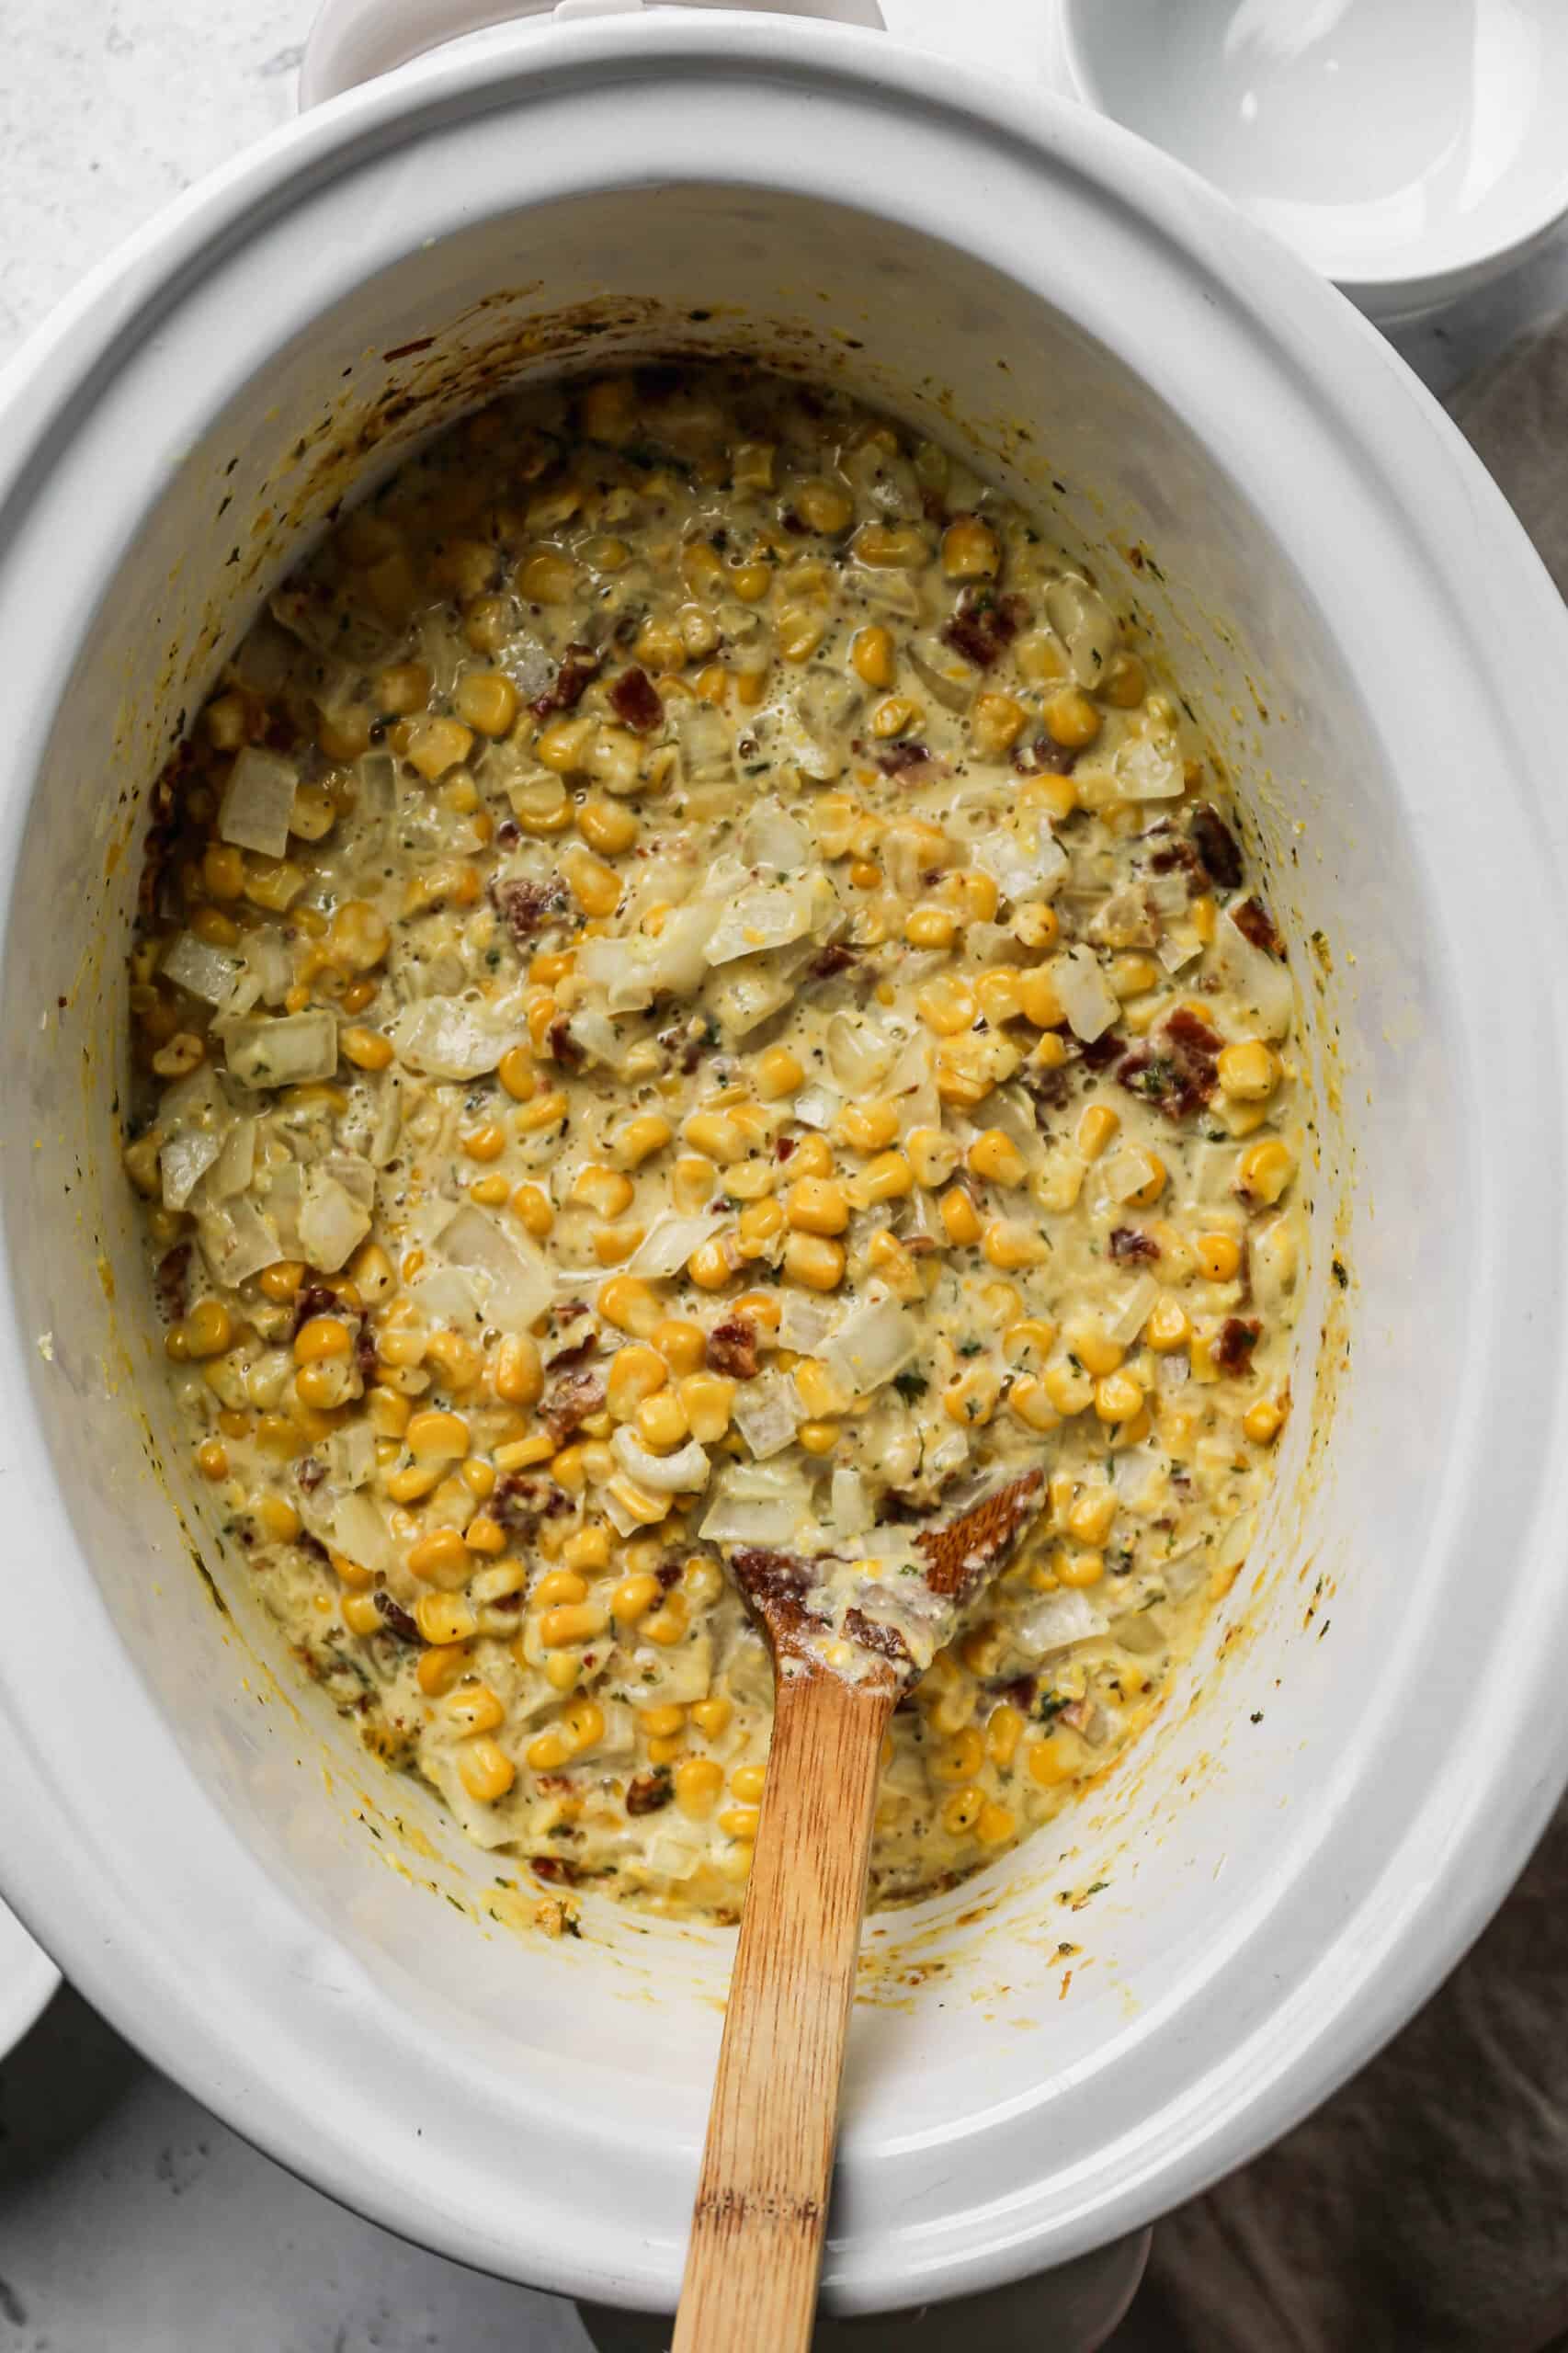
    a white crockpot of cheesy slow cooker creamed corn with a wooden spoon.

    Ingredients

    • Frozen Corn
    • Heavy Whipping Cream
    • Yellow Onion
    • Parmesan Cheese
    • Unsalted Butter
    • Bacon
    • Sea Salt
    • Dried Parsley
    • Coarse Ground Black Pepper
    • Monterey Jack Cheese

    Instructions

    In a blender or food processor add 1 ½ cups frozen corn and the heavy whipping cream. Blend until smooth.

    In the bowl of your crockpot add the rest of the frozen corn, the blended corn mixture, onion, parmesan cheese, butter, bacon, parsley, salt and pepper. Stir to combine.

    Put the lid on your slow cooker and cook on high for about 1 hour. It will be bubbly and starting to brown around the sides when it's done.

    Remove the lid and add the monterey jack cheese. Stir to combine all of the ingredients.

    Serve immediately while hot.

    Variations

    • Spicy - add a 4 ounce can of diced green peppers for a bit of a kick
    • Cheddar Cheese - replace the monterey cheese with cheddar or add a bit of both
    • Meat Free - don't add the bacon (but I highly suggest keeping the bacon)

    Supplies

    More Recipes You Might Enjoy

    • Easy Fried Frozen Corn
    • Gluten Free Zucchini Squash and Corn Casserole
    • Healthy Mexican Street Corn Salad
    • Black Beans and Corn Salad

    I get a lot of my ingredients from Thrive Market. Thrive Market has been a game changer for me eating gluten free. They have so many options I can't get at my rural grocery stores! Use this link to get 40% off your first order!

    Print
    clock clock iconcutlery cutlery iconflag flag iconfolder folder iconinstagram instagram iconpinterest pinterest iconfacebook facebook iconprint print iconsquares squares iconheart heart iconheart solid heart solid icon

    Cheesy Slow Cooker Creamed Corn


    5 Stars 4 Stars 3 Stars 2 Stars 1 Star

    No reviews

    • Author: Elaine VanVleck
    • Total Time: 1 hour 15 minutes
    • Yield: 8 servings 1x
    • Diet: Gluten Free
    Print Recipe
    Pin Recipe

    Description

    This easy recipe for cheesy slow cooker creamed corn is perfect for a side dish or a meal. Using your crockpot you add frozen corn, bacon, heavy cream and parmesan cheese for a loaded cream corn. You will never want canned cream corn again after making this homemade version!


    Ingredients

    Units Scale
    • 32 ounce bag Frozen Corn
    • 1 cup Heavy Whipping Cream
    • 1 large Yellow Onion, chopped
    • ½ cup Parmesan Cheese, finely grated
    • ¼ cup Unsalted Butter, cut into cubes
    • 8 slices Bacon, cooked and chopped
    • 1 tsp Sea Salt
    • 1 Tbsp Dried Parsley
    • ½ tsp. Coarse Ground Black Pepper
    • 1 cup Monterey Jack Cheese, shredded

    Instructions

    In a blender or food processor add 1 ½ cups frozen corn and the heavy whipping cream. Blend until smooth.

    In the bowl of your crockpot add the rest of the frozen corn, the blended corn mixture, onion, parmesan cheese, butter, bacon, parsley, salt and pepper. Stir to combine.

    Put the lid on your slow cooker and cook on high for about 1 hour. It will be bubbly and starting to brown around the sides when it's done.

    Remove the lid and add the monterey jack cheese. Stir to combine all of the ingredients.

    Serve immediately while hot.

    • Prep Time: 15 minutes
    • Cook Time: 1 hour
    • Category: Side Dish, Vegetables
    • Method: Slow Cooker, Crockpot
    • Cuisine: Gluten Free

    Did you make this recipe?

    Tag @smallfarmbiglife on Instagram and hashtag it #smallfarmbiglife

    FAQ

    Is cream style corn the same as creamed corn?

    Yes! Cream style corn and creamed corn (or cream corn) are the same thing. There are some variations in recipes, but ultimately they are all just cream corn.

    Top Tip

    I love homemade creamed corn and thought why not make it loaded creamed corn by adding bacon, parmesan cheese and monterey jack cheese! This amazing side dish is made in your crockpot so it doesn't take up any oven space.

    Storage

    Store the leftovers in a sealed container in the refrigerator for up to 5 days. This recipe freezes well too! Store in a freezer safe container for up to one month.

    Top tip

    This recipe is great for meal prepping! Cook the bacon and let cool. Cut up the bacon, shred the cheese and chop the onion so everything is ready to toss into the crockpot and be ready to serve in an hour.

    Easy Instant Pot Apple Cider

    One of my favorite ways to welcome fall is with a big pot of homemade apple cider simmering away and filling the whole house with the smell of cinnamon and cloves. This easy instant pot apple cider takes all of that cozy flavor and gets you there in a fraction of the time, no hours of watching a pot on the stove required.

    I like using a sweet apple variety in this recipe, since the lemon already brings plenty of tartness and balance on its own, so there's no need to mix in a tart apple too.

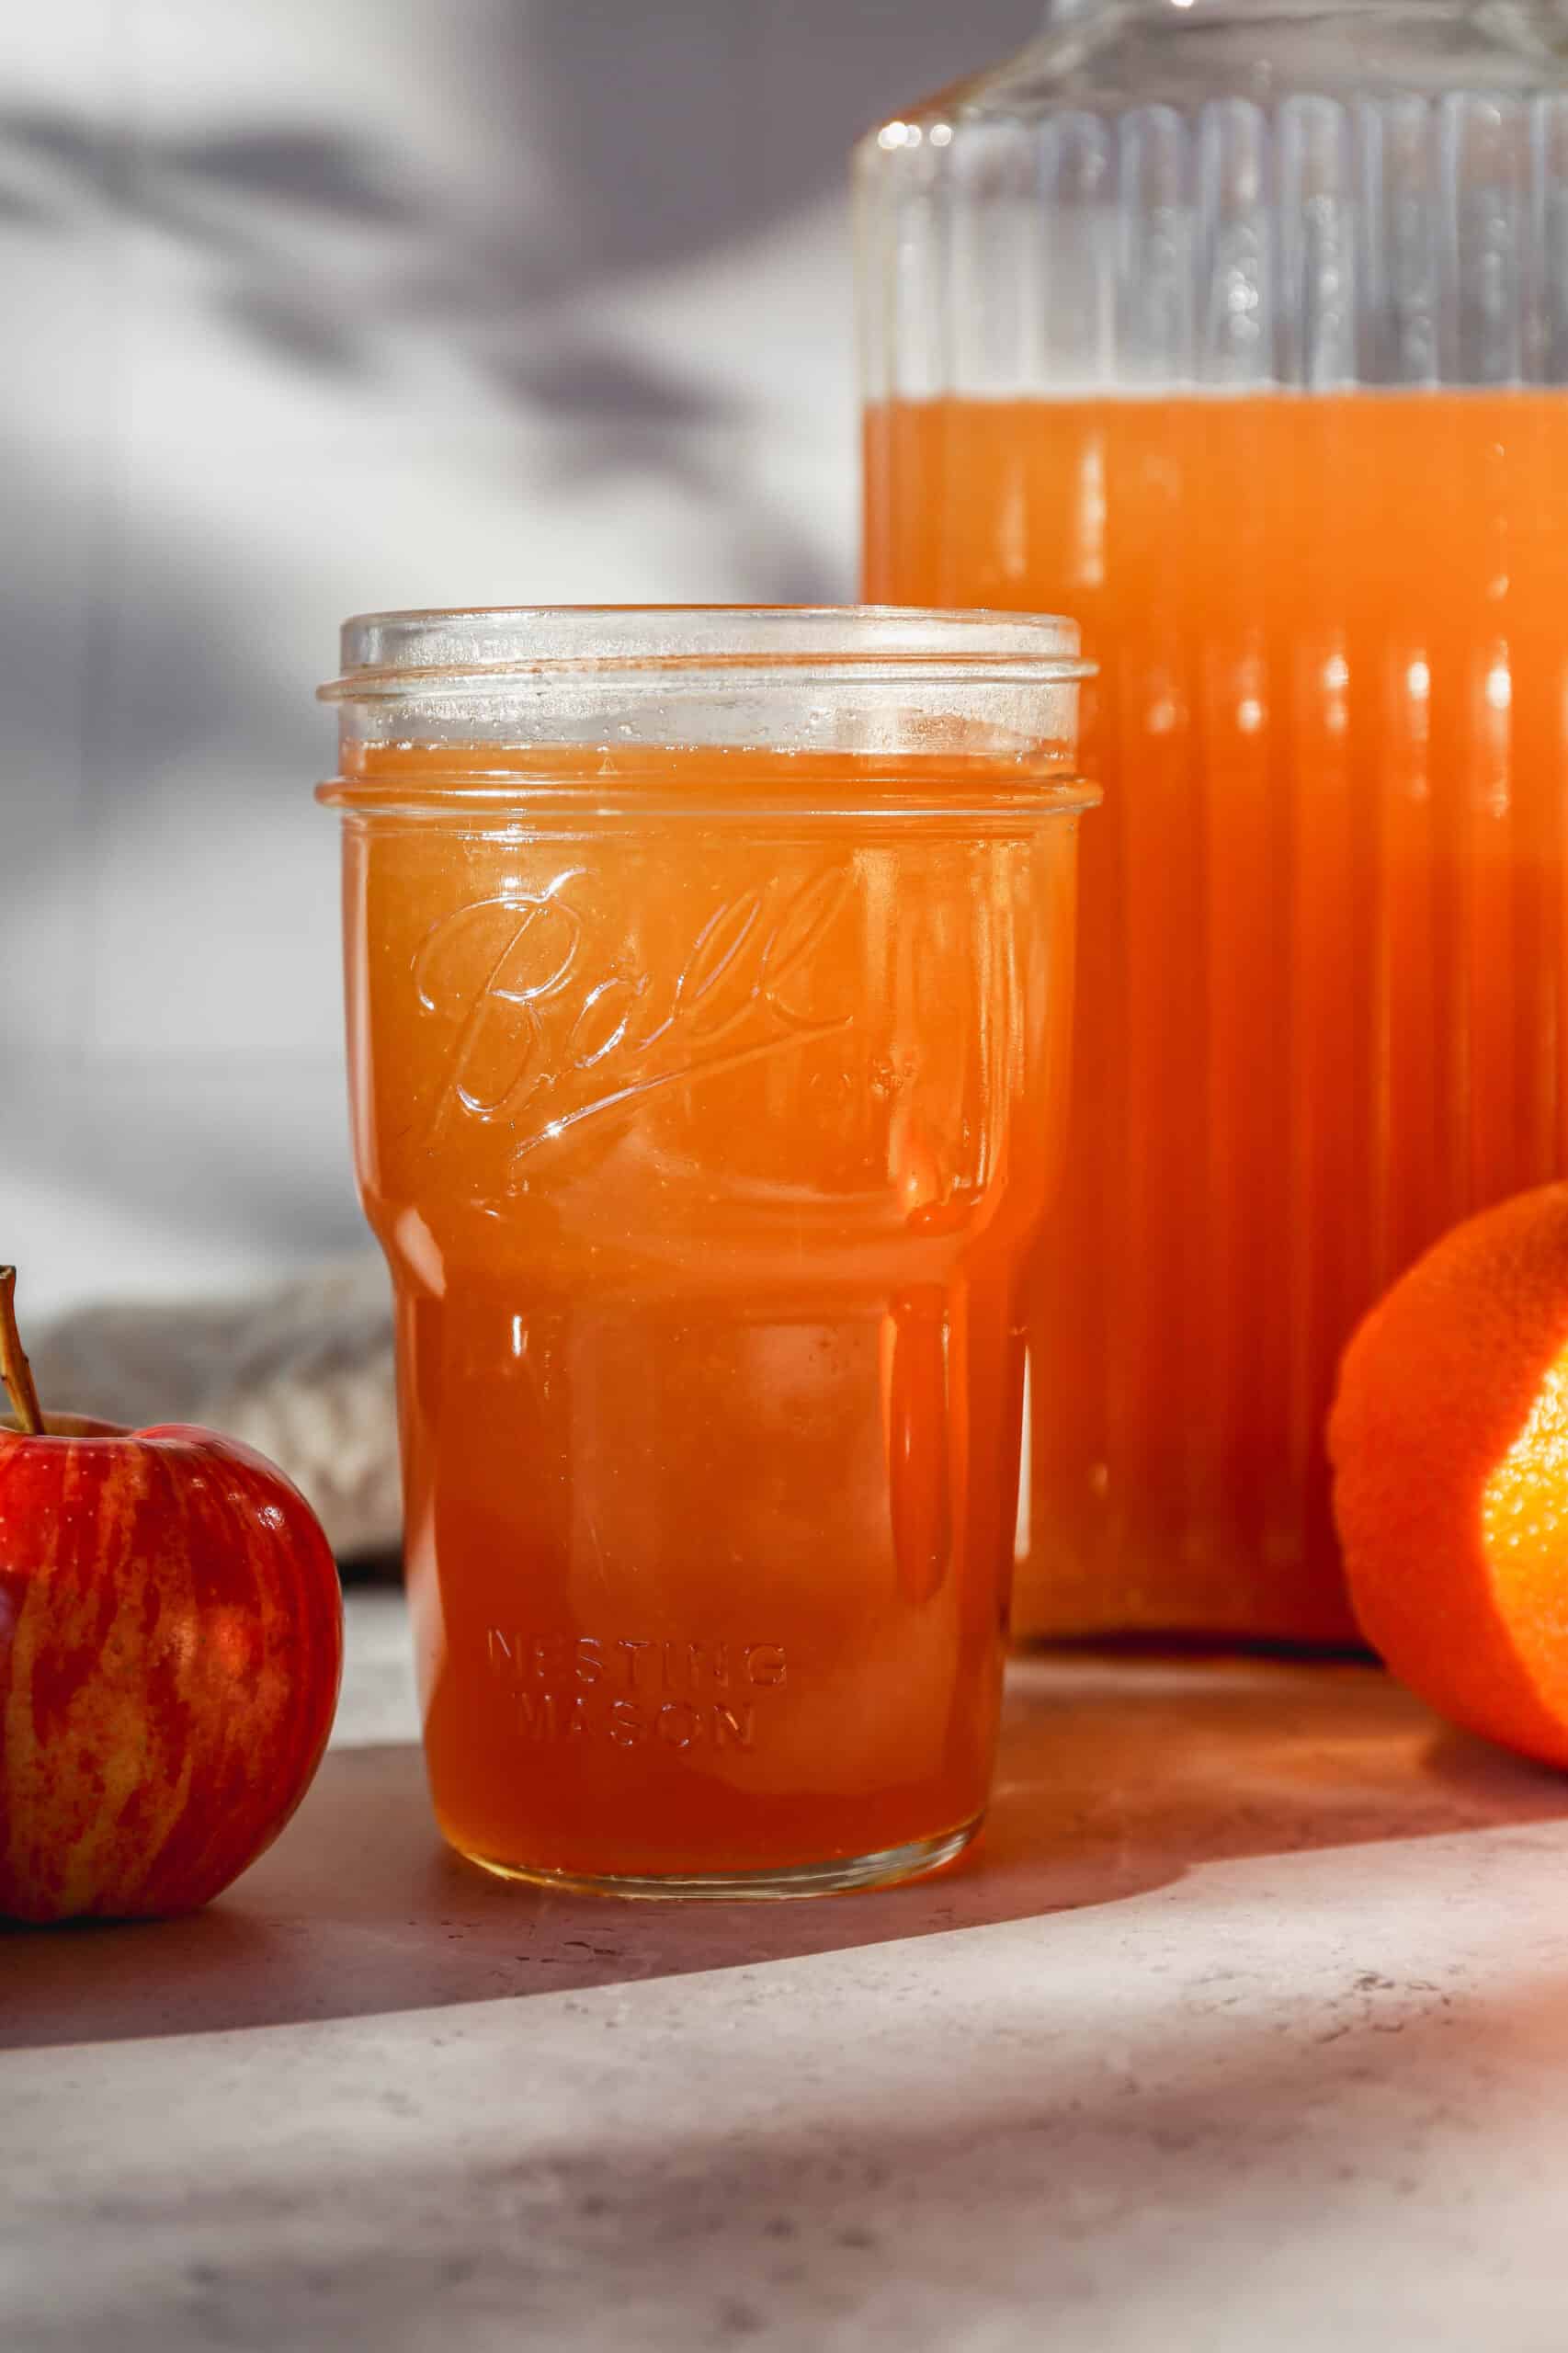
    a ball canning jar of easy instant pot apple cider next to a glass pitcher of cider.

    This is a non alcoholic spiced apple drink that comes together with real fruit, warm spices, and just a touch of brown sugar and maple syrup.

    Whether you are hosting a fall gathering or just want a cozy drink to enjoy on a chilly evening, this cider is ready to serve hot or cold in about 25 minutes.

    I love making a big batch to keep in the fridge all week, it tastes just as good chilled as it does steaming hot in a mug.

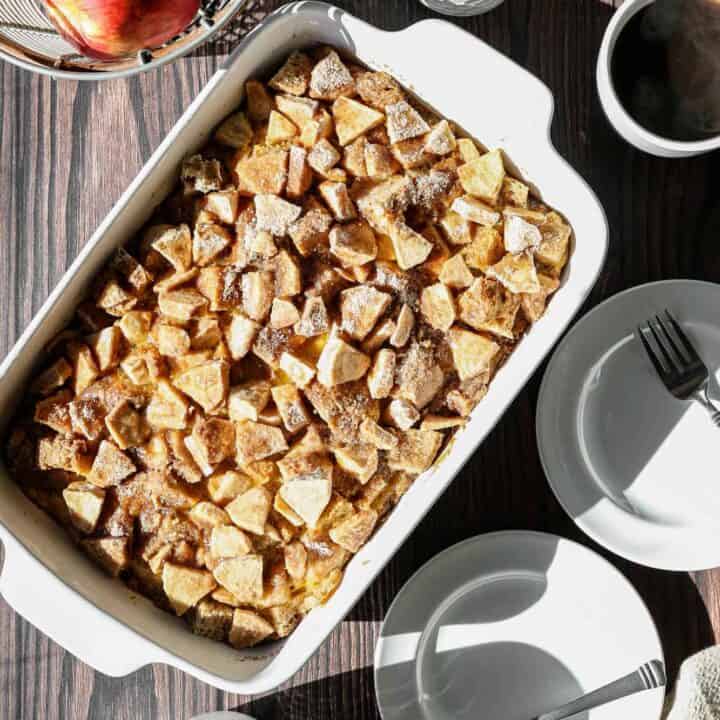
    If you are looking for more apple recipes you might also enjoy my Easy Apple Slaw with Poppyseed Dressing, these Gluten Free Air Fryer Apple Fritters, my Gluten Free Apple Almond Cake, these Gluten Free Apple Spice Cookies or my Gluten Free Apple Cinnamon French Toast Casserole recipes.

    You can find all of my drink recipes here: Gluten Free Drink Recipes

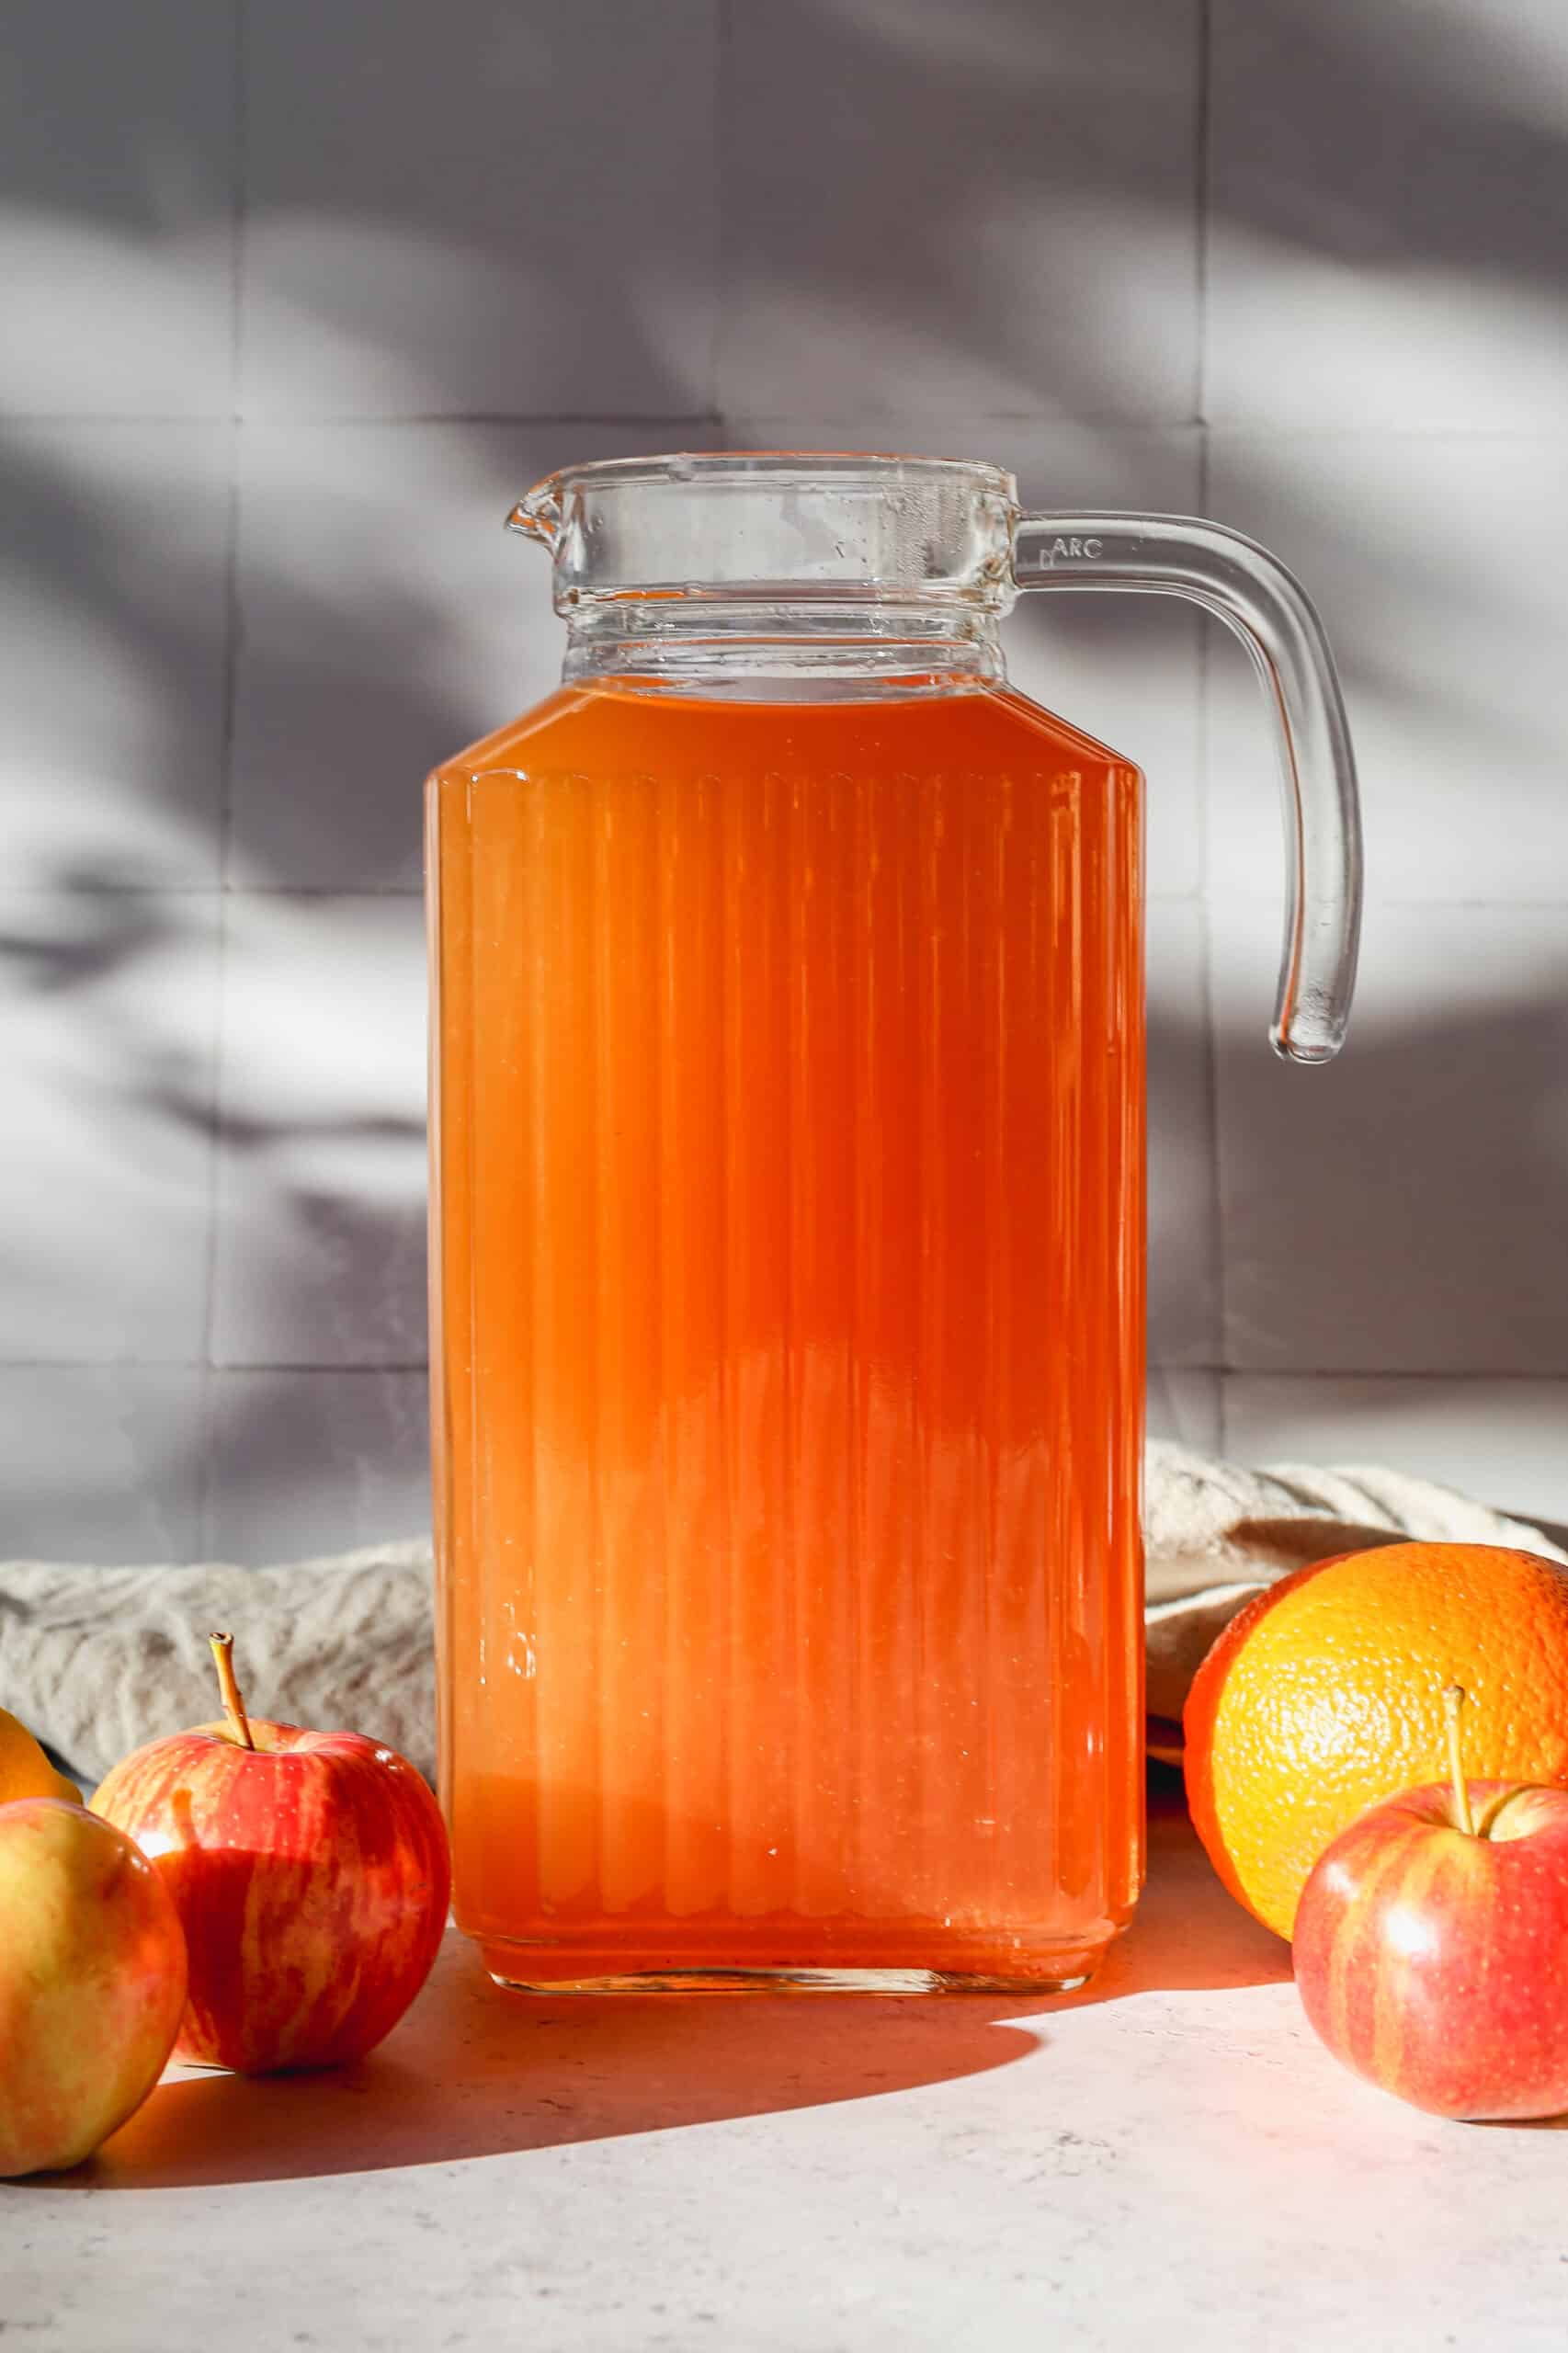
    a glass pitcher of easy instant pot apple cider surrounded by fresh apples, oranges and lemon.
    [feast_advanced_jump_to]

    What Apples to Use

    I recommend using a sweet apple variety like Honeycrisp, Gala, or Fuji for this recipe. Since the lemon already adds plenty of tartness and brightness to the cider, there's no need to mix in a tart apple. A sweet variety gives you the best balance once the lemon is added.

    Why Peel and Core the Apples

    Some apple cider recipes skip peeling and coring since the pressure cooking breaks the fruit down either way, but I prefer to peel and core mine for a few reasons.

    • Peeled, cored apples mash much more easily once they're cooked, which makes straining through a fine mesh strainer faster and cleaner.
    • It also means I'm not cooking the seeds into the cider, since apple seeds contain a compound that converts to trace amounts of cyanide, not something I want simmering in a drink.
    • Peeling is also an easy way to reduce pesticide residue if you're not using organic apples, since apples are one of the more heavily sprayed conventional crops.

    Storage

    Store this instant pot apple cider in a sealed bottle or jar in the refrigerator for up to one week. For longer storage, freeze it in a freezer safe container or bag for up to 3 months, leaving a little room at the top for expansion. Thaw in the refrigerator before reheating or serving cold.

    Top tip

    After straining, taste the cider before serving and adjust the sweetness if needed. The apples release different amounts of natural sugar depending on ripeness and variety. A splash more maple syrup can help balance things out if your batch turns out more tart than expected.

    Frequently Asked Questions

    What is the difference between mulled cider and apple cider?

    Apple cider is unfiltered pressed apple juice, and it can be served either hot or cold. Mulled cider is apple cider that has been warmed with spices like cinnamon and cloves, often with other fruits added, for a richer, more festive flavor.

    Can you put apple cider in an instant pot?

    Yes, and it's actually one of the best ways to make it. The instant pot extracts flavor from the apples and spices in just 15 minutes, compared to hours of simmering on the stovetop. You can also use it to quickly reheat store bought or leftover cider using the manual setting for 1 minute.

    Can I use ground spices instead of whole cinnamon sticks and cloves?

    Yes, ground spices work in a pinch. Use about 1 teaspoon of ground cinnamon in place of the cinnamon sticks and a pinch of ground cloves in place of the whole cloves. Keep in mind the cider may turn out slightly cloudier since ground spices don't strain out as cleanly as whole ones.

    Can I double this recipe?

    You can, but check your instant pot's max fill line first. Apple cider needs room for the fruit to move around as it cooks, so doubling the recipe usually only works in an 8 quart or larger pot. If you have a 6 quart, it's best to stick with the recipe as written or cook it in two batches.

    Didn't find the answer you're looking for?

    Ask AI to answer based on this recipe:

    ChatGPT
    Google AI
    Perplexity
    Grok
    Claude

    Instant Pot Apple Cider Supplies

    More Recipes You Might Enjoy

    • Non Alcoholic Spiced Apple Fizz Drink
    • Overnight Apple Pie Chia Pudding
    • Gluten Free Air Fryer Apple Fritters
    • Gluten Free Apple Cinnamon French Toast Casserole

    You can find all of my instant pot recipes here: Gluten Free Instant Pot Recipes

    I get a lot of my ingredients from Thrive Market. Thrive Market has been a game changer for me eating gluten free. They have so many options I can't get at my rural grocery stores! Use this link to get 40% off your first order!

    Print
    clock clock iconcutlery cutlery iconflag flag iconfolder folder iconinstagram instagram iconpinterest pinterest iconfacebook facebook iconprint print iconsquares squares iconheart heart iconheart solid heart solid icon

    Easy Instant Pot Apple Cider


    5 Stars 4 Stars 3 Stars 2 Stars 1 Star

    No reviews

    • Author: Elaine VanVleck
    • Total Time: 25 minutes
    • Yield: 8 servings 1x
    • Diet: Gluten Free
    Print Recipe
    Pin Recipe

    Description

    This homemade mulled cider is made with fresh apples, citrus, and warm spices, all cooked together in the instant pot for a fraction of the usual time. Serve it hot for a cozy fall drink, or chill it and serve cold.


    Ingredients

    Scale
    • 8 cups Water
    • 10 small Sweet Apples, peeled, cored and cut into quarters
    • 1 large Orange, cut into quarters
    • 1 Lemon, cut into quarters
    • 1 inch piece of Fresh Ginger, peel and sliced into rounds
    • 3 Cinnamon Sticks
    • 1 tsp Whole Cloves
    • ½ cup Brown Sugar
    • ¼ cup Maple Syrup

    Instructions

    In your instant pot add the cored, peeled and quartered apples, quartered orange, quartered lemon, peeled and slice fresh ginger, cinnamon sticks, whole cloves, brown sugar and maple syrup. Top with water and stir to combine.

    Put the lid on your pressure pot and using manual cook for 15 minutes. Let the steam release naturally.

    Carefully remove the lid from your instant pot and let the mixture cool slightly.

    Using a potato masher, mash the ingredients to release all of the juices.

    Pour the mixture through a fine mesh strainer or cheese cloth. Serve hot immediately or store the apple cider in a sealed container in the refrigerator for up to one week.

    If you made this recipe please leave a star rating and comment below. It helps other readers find this recipe and means so much to me.

    Notes

    Want to switch things up? A star anise pod or a pinch of ground nutmeg both make a nice addition to the spice mix here for an even warmer, more layered flavor.

    • Prep Time: 10 minutes
    • Cook Time: 15 minutes
    • Category: Drinks
    • Method: Instant Pot
    • Cuisine: American

    Did you make this recipe?

    Tag @smallfarmbiglife on Instagram and hashtag it #smallfarmbiglife

    Give this easy instant pot apple cider a try this fall, and let me know how it turns out in the comments below.

    Ingredients

    • Water
    • Apples
    • Orange
    • Lemon
    • Fresh Ginger
    • Cinnamon Sticks
    • Whole Cloves
    • Brown Sugar
    • Maple Syrup

    Instructions

    In your instant pot add the cored, peeled and quartered apples, quartered orange, quartered lemon, peeled and slice fresh ginger, cinnamon sticks, whole cloves, brown sugar and maple syrup. Top with water and stir to combine.

    Put the lid on your pressure pot and using manual cook for 15 minutes. Let the steam release naturally.

    Carefully remove the lid from your instant pot and let the mixture cool slightly.

    Using a potato masher, mash the ingredients to release all of the juices.

    Pour the mixture through a fine mesh strainer or cheese cloth. Serve hot immediately or store the apple cider in a sealed container in the refrigerator for up to one week.

    Hint: I also love this apple cider cold after the drink has been refrigerated for at least a couple of hours.

    Easy Apple Slaw with Poppyseed Dressing

    This easy apple slaw with poppyseed dressing is a quick side dish salad recipe! The healthy cabbage coleslaw includes sweet apples and a tangy dressing with apple cider vinegar. This is the best creamy salad to use with pork, tacos or on it's own.

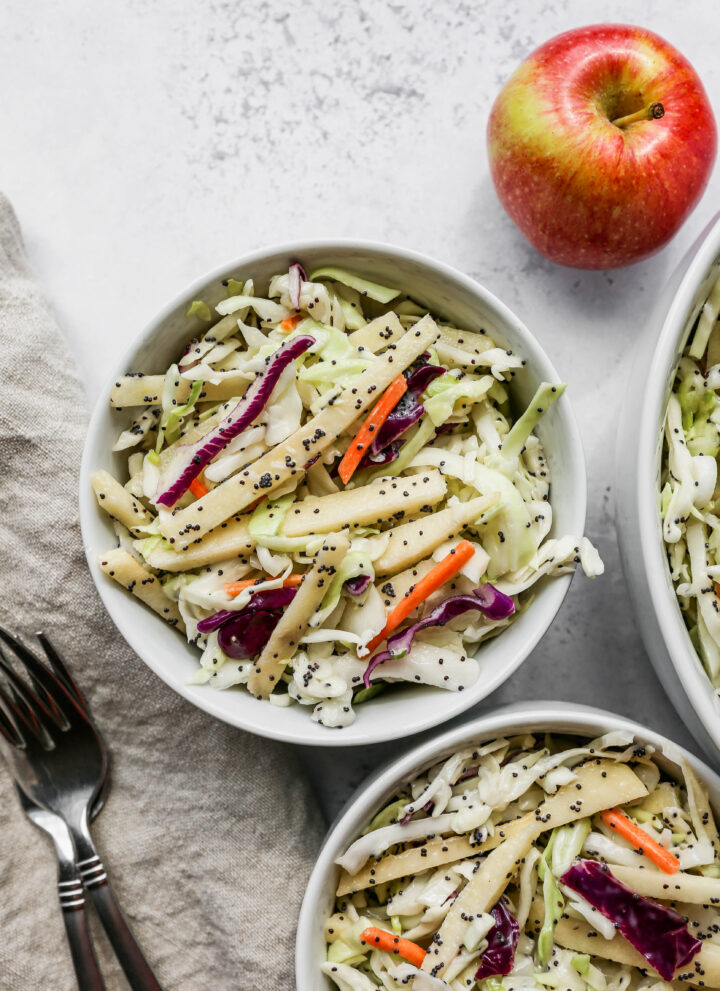
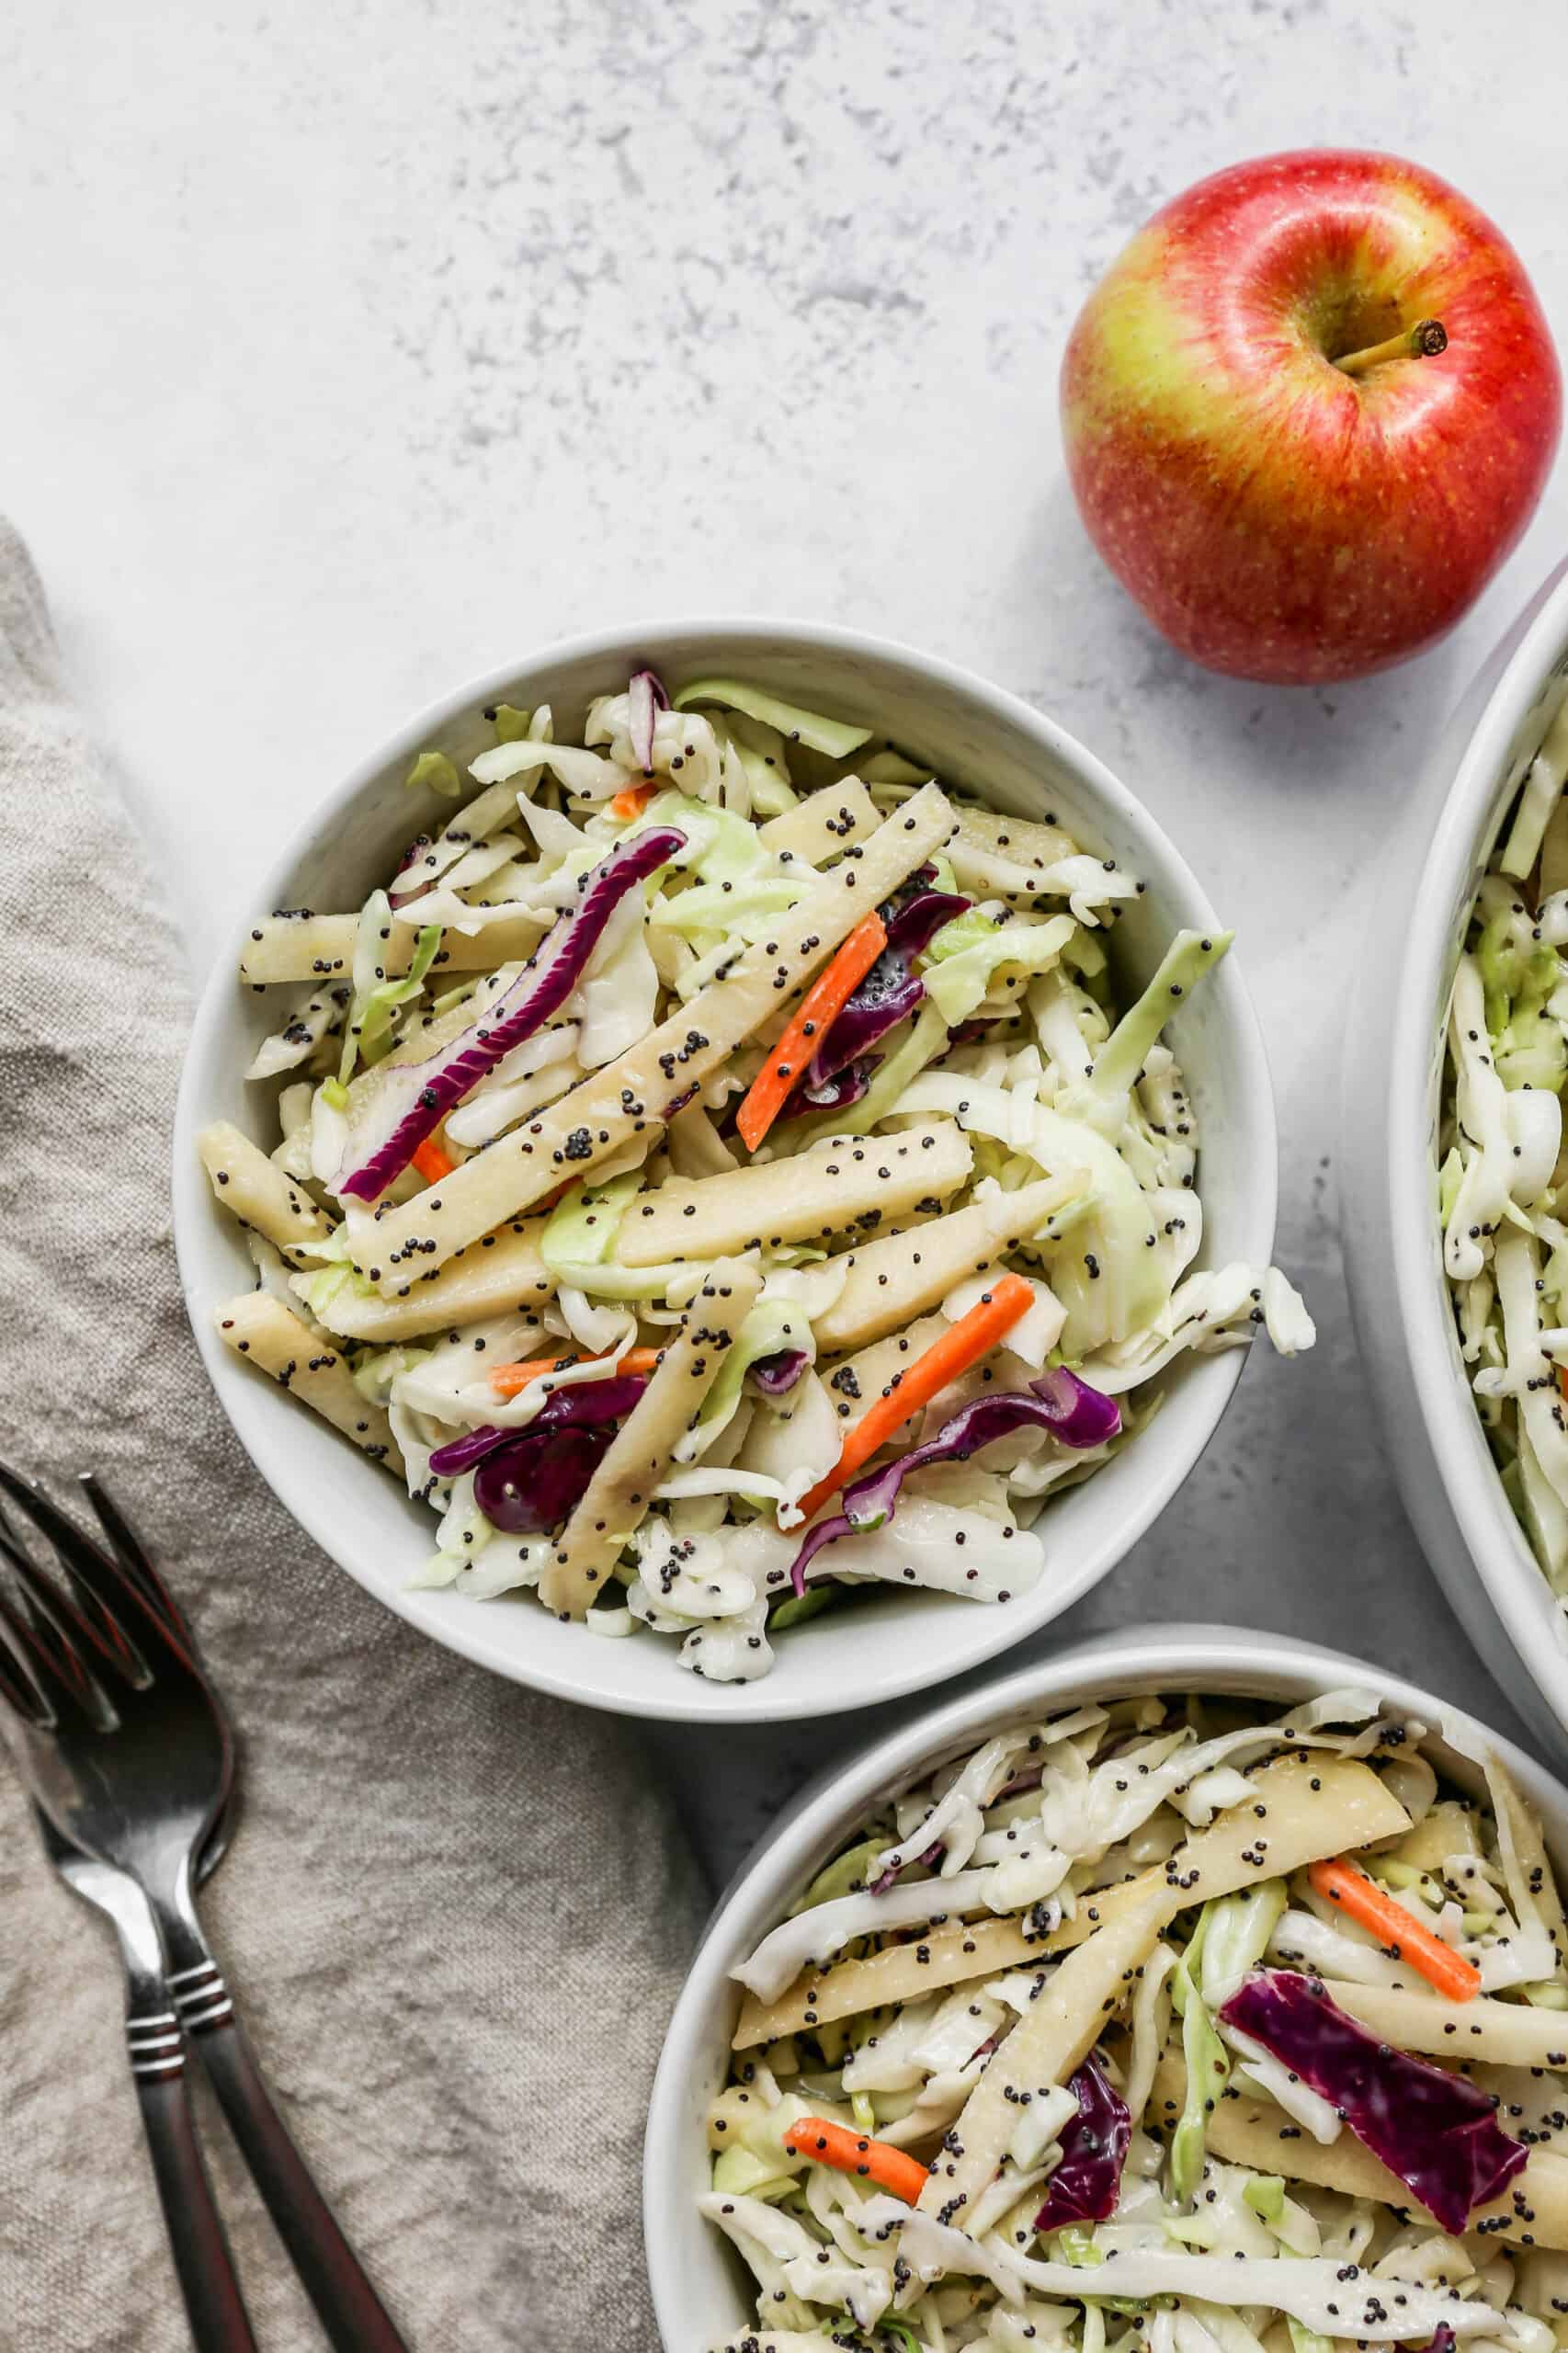
    a small white bowl of easy apple slaw with poppyseed dressing next to a big white bowl of the salad.

    This Easy Apple Slaw with Poppyseed Dressing is a crunchy, sweet-and-tangy twist on classic coleslaw that pairs perfectly with pulled pork or fish tacos.

    The blend of cabbage and apples creates a zesty salad that's refreshing and vibrant, making it an ideal autumn side dish or light lunch.

    Simple to prepare yet full of flavor, this apple cabbage slaw recipe is a healthy and versatile option for weeknight meals or seasonal gatherings.

    If you are looking for more apple recipes you might also enjoy my Gluten Free Air Fryer Apple Fritters, this Gluten Free Apple Cinnamon French Toast Casserole, my Gluten Free Apple Almond Cake, these Gluten Free Apple Spice Cookies or my classic Gluten Free Apple Crisp recipes.

    You can find all of my salad recipes here: Gluten Free Salad Recipes

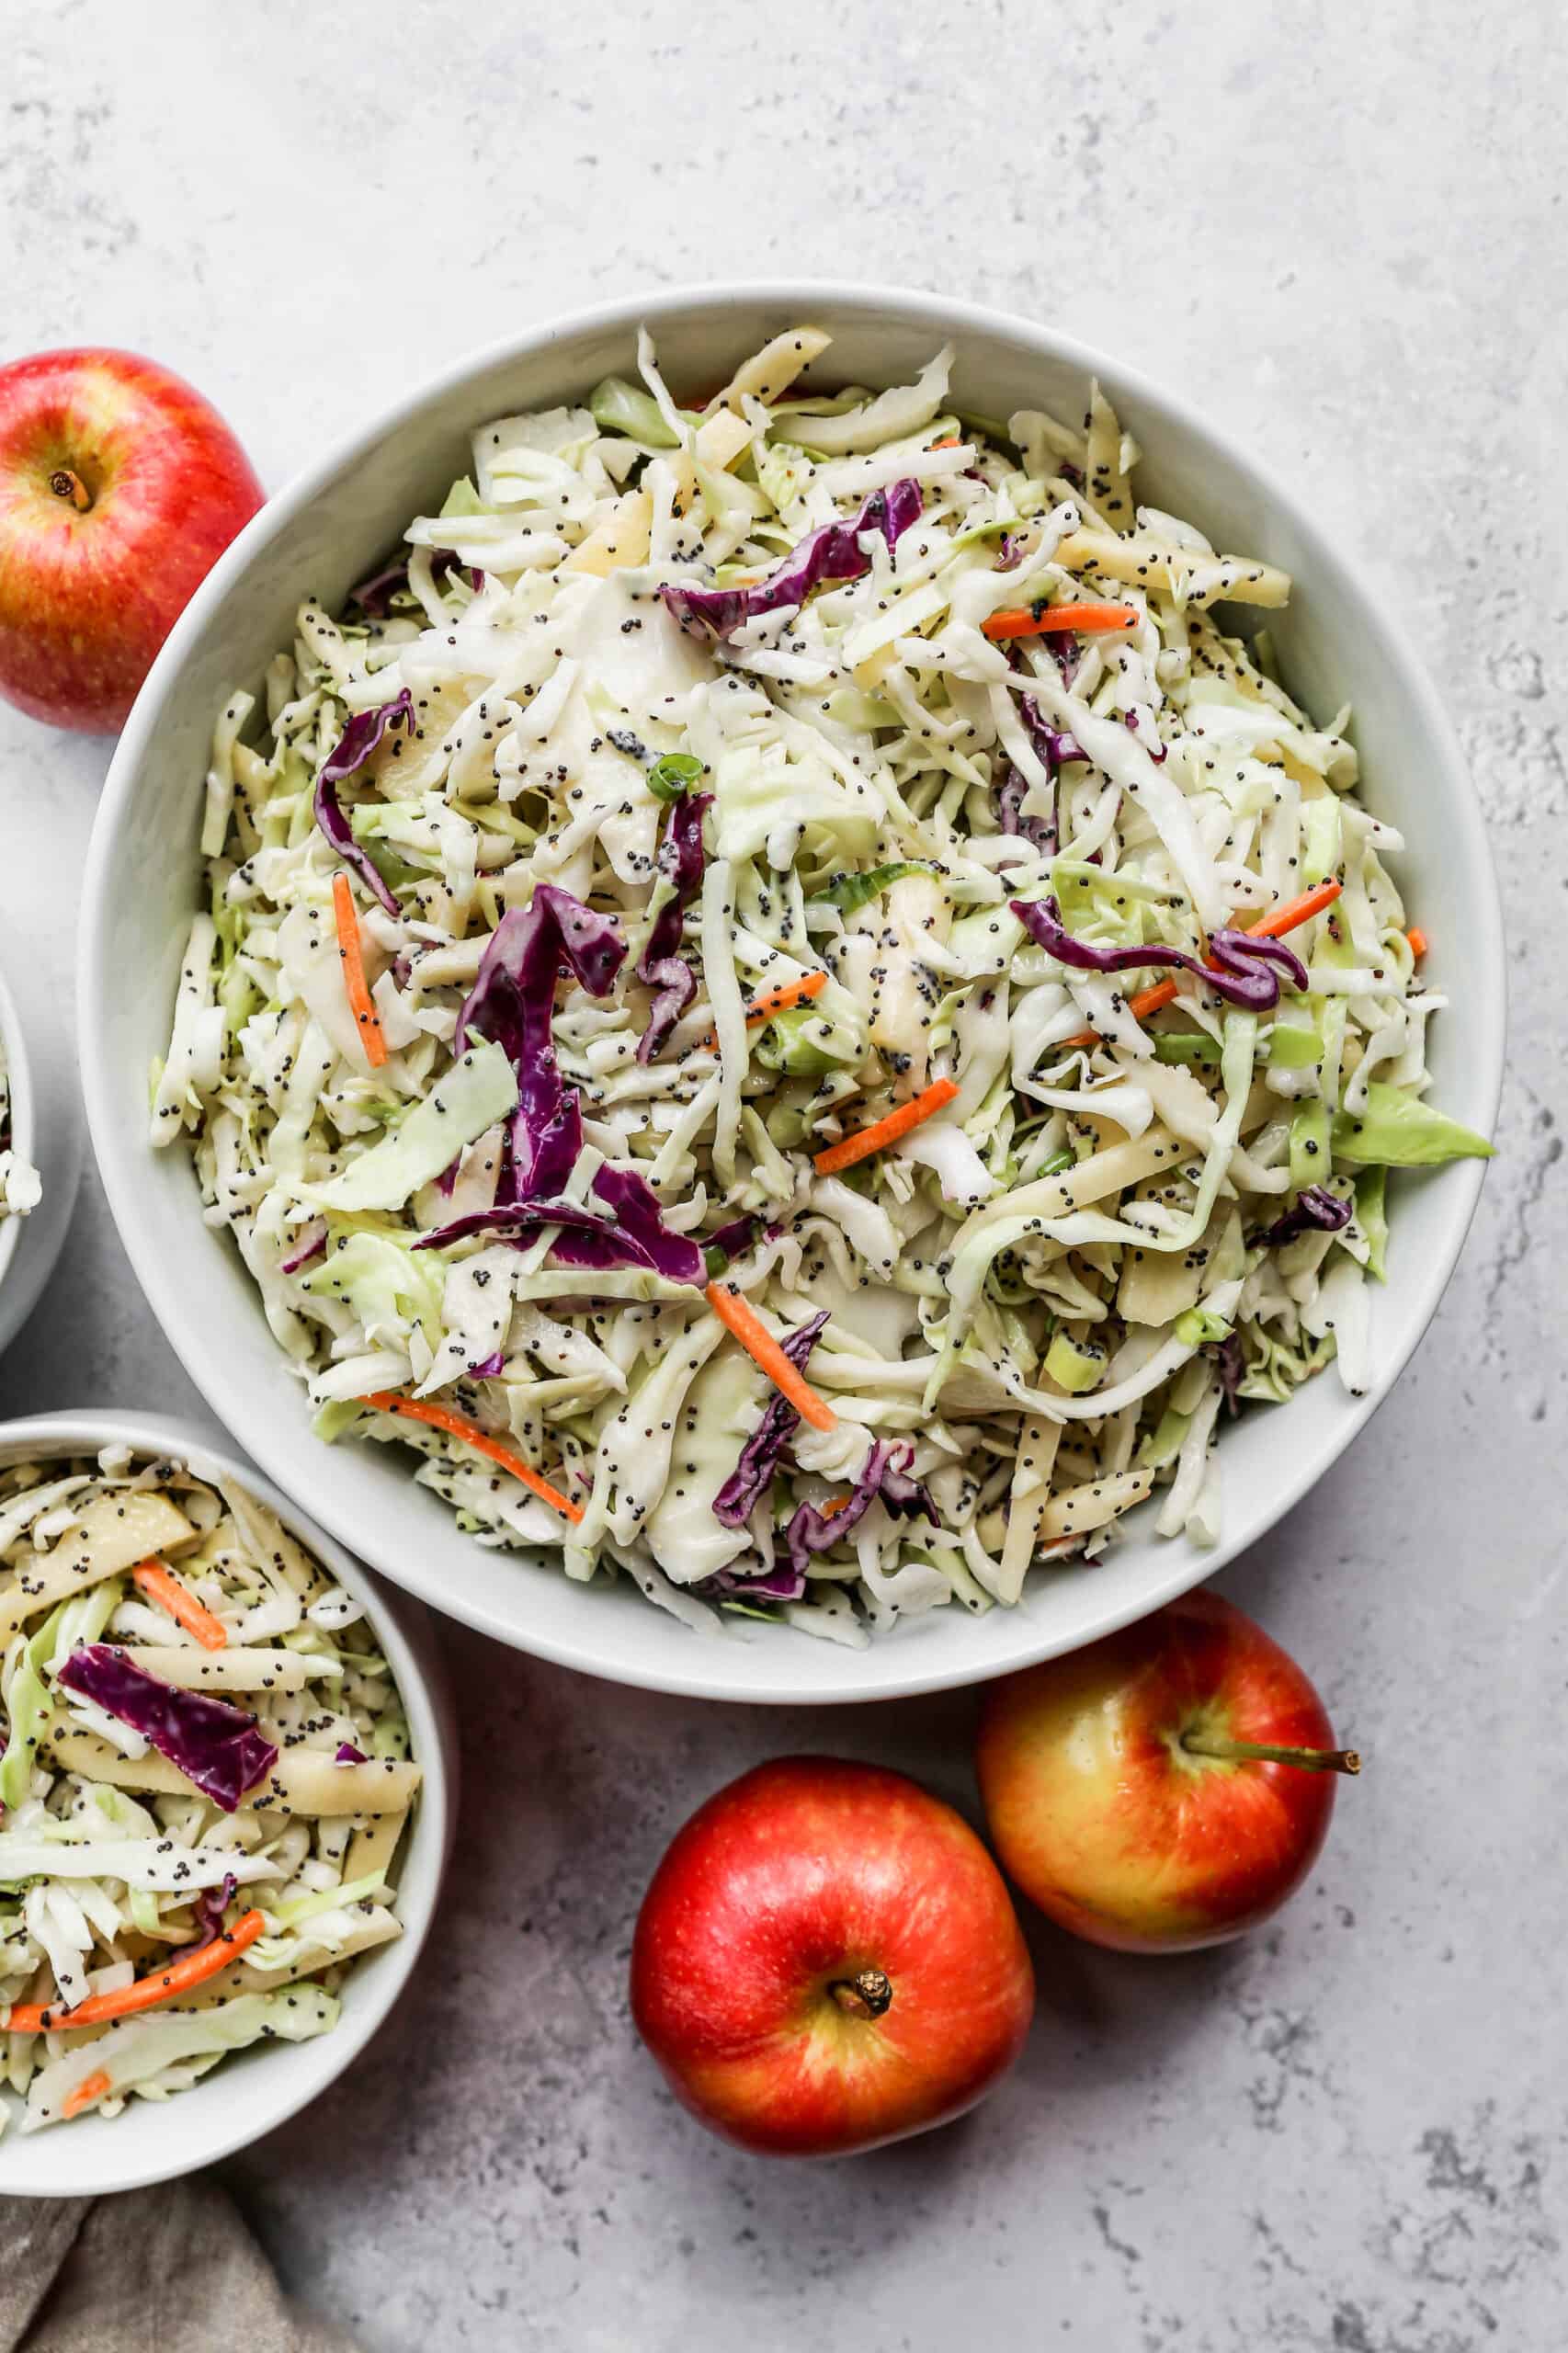
    a white serving bowl of easy apple slaw with poppyseed dressing next to a red apple.
    [feast_advanced_jump_to]

    Ingredients

    • Mayonnaise
    • Apple Cider Vinegar
    • Poppyseeds
    • Honey
    • Sea Salt
    • Coarse Ground Black Pepper
    • Coleslaw Mix
    • Green Onions
    • Sweet Apples

    Instructions

    In a small bowl add the mayonnaise, apple cider vinegar, poppyseeds, honey, salt and pepper. Stir to combine and set aside.

    In a large serving bowl add the coleslaw mix, thinly sliced green onions and julienned apple. Pour the dressing mixture over top. Stir to coat the salad.

    Refrigerate for at least 30 minutes and serve cold.

    Hint: This creamy coleslaw salad gets better the longer it marinates in the dressing! I like to make this salad the day before and store in an air tight container in the refrigerator.

    Substitutions

    • Cabbage - instead of bags of coleslaw mix you can use finely chopped cabbage
    • Maple Syrup - you can replace the honey with maple syrup or use a mixture of both
    • Shallots - the green onions can be replaced with one finely diced shallot

    Supplies

    More Recipes You Might Enjoy
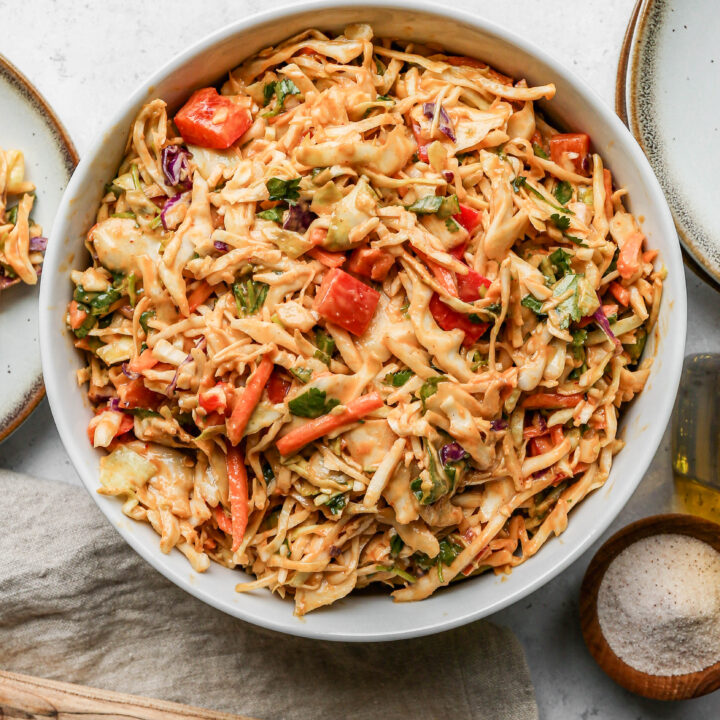
    • Southwestern Style Coleslaw
    • Gluten Free Coleslaw
    • Pineapple Coleslaw
    • Thai Style Cabbage Salad

    I get a lot of my ingredients from Thrive Market. Thrive Market has been a game changer for me eating gluten free. They have so many options I can't get at my rural grocery stores! Use this link to get 40% off your first order!

    Print
    clock clock iconcutlery cutlery iconflag flag iconfolder folder iconinstagram instagram iconpinterest pinterest iconfacebook facebook iconprint print iconsquares squares iconheart heart iconheart solid heart solid icon

    Easy Apple Slaw with Poppyseed Dressing


    5 Stars 4 Stars 3 Stars 2 Stars 1 Star

    No reviews

    • Author: Elaine VanVleck
    • Total Time: 10 minutes
    • Yield: 6 servings 1x
    • Diet: Gluten Free
    Print Recipe
    Pin Recipe

    Description

    This easy apple slaw with poppyseed dressing is a quick side dish salad recipe! The healthy cabbage coleslaw includes sweet apples and a tangy dressing with apple cider vinegar. This is the best creamy salad to use with pork, tacos or on it's own.


    Ingredients

    Scale

    Dressing:

    • 1 cup Mayonnaise
    • ¼ cup Apple Cider Vinegar
    • 3 Tbsp. Poppyseeds
    • ¼ cup Honey
    • 1 tsp Sea Salt
    • ½ tsp Coarse Ground Black Pepper

    Salad:

    • 2 - 16 ounce bags Coleslaw Mix
    • 5 Green Onions, finely chopped
    • 2 cups Sweet Apples, cored, peeled and julienned

    Instructions

    In a small bowl add the mayonnaise, apple cider vinegar, poppyseeds, honey, salt and pepper. Stir to combine and set aside.

    In a large serving bowl add the coleslaw mix, thinly sliced green onions and julienned apple. Pour the dressing mixture over top. Stir to coat the salad.

    Refrigerate for at least 30 minutes and serve cold.

    • Prep Time: 10 minutes
    • Category: Side Dish, Salads
    • Method: Chopped
    • Cuisine: Gluten Free

    Did you make this recipe?

    Tag @smallfarmbiglife on Instagram and hashtag it #smallfarmbiglife

    Storage

    Store this easy apple slaw in an air tight container for up to 5 days in the refrigerator. Be sure to stir before serving to mix the salad and dressing again.

    I think this creamy salad gets better the next day after it has had time to marinate in the poppyseed dressing!

    FAQ

    What should I serve with apple slaw?

    This easy apple slaw with poppyseed dressing is perfect with pulled pork, on tacos or as a side dish at a barbecue. It is a super versatile recipe that is quick to make.

    What is apple slaw made of?

    This apple slaw salad uses bags of coleslaw mix, thinly sliced green onions, julienned sweet apples and a homemade creamy poppyseed dressing. It's a quick and easy side dish for weeknight meals!

    Cucumber Salad with Vinegar Dressing

    When cucumbers are coming in from the garden or piled high at the farmers market, this is the first recipe I make. This Cucumber Salad with Vinegar Dressing is one of those simple side dishes that tastes far better than its short ingredient list suggests. Thinly sliced cucumbers and sweet onion are tossed in a tangy apple cider vinegar dressing made with olive oil and fresh garlic, then left to marinate until cold and flavorful.

    It is crisp, refreshing, and the kind of salad that goes with almost everything.

    a white bowl of cucumber salad with vinegar dressing next to fresh cucumbers and a small wooden bowl of coarse ground black pepper.

    What makes this version stand apart from other cucumber vinegar salads is the garlic and olive oil in the dressing.

    Most recipes skip both, but the garlic adds a savory depth and the olive oil gives the dressing a richness that makes every bite feel more satisfying.

    I serve this salad all summer long alongside grilled chicken, burgers, tacos, and barbecued ribs. Make it in the morning and let it chill all day for the best flavor.

    If you are looking for more cold salads you may also enjoy my Watermelon Cucumber and Feta Salad, this Seven Layer Salad, my Gluten Free BLT Pasta Salad or this Thai Style Cabbage Salad recipes.

    You can find all of my salad recipes here: Gluten Free Salad Recipes

    a white bowl of cucumber salad with vinegar dressing next to fresh cucumbers.
    [feast_advanced_jump_to]

    Which Cucumbers Work Best

    Not all cucumbers are created equal for this recipe. Here is a quick guide to help you choose.

    • English cucumbers are my top pick. They have thin skin, small seeds, and a mild flavor. No peeling required.
    • Persian cucumbers are a close second. They are smaller and slightly crunchier than English cucumbers. They work beautifully sliced thin.
    • Mini cucumbers are a great option too. They have thin skin and almost no seeds. Slice them into coins for a fun presentation.
    • Garden cucumbers work well but have thicker skin and larger seeds. Peel them first and scoop out the seeds with a spoon before slicing for the best texture.

    Which Vinegar Should You Use

    Apple cider vinegar is my first choice for this salad. It has a mild tang and a subtle sweetness that pairs perfectly with the garlic and olive oil dressing. Here is how other vinegars compare if you want to experiment.

    • White vinegar is sharper and more acidic. It gives the salad a more pungent pickle like flavor.
    • White wine vinegar is lighter and slightly fruity. It makes a more delicate dressing.
    • Red wine vinegar is bold and tangy. It adds a deeper flavor and gives the dressing a slight pink tint.
    • Rice vinegar is the mildest option. It is slightly sweet and makes a very gentle dressing.

    How to Prevent a Watery Salad

    Cucumbers release a lot of water as they sit. This is completely normal but can make the dressing watery over time. Here is how to prevent it.

    Before adding the dressing, spread the sliced cucumbers in a single layer on a paper towel lined baking sheet. Sprinkle lightly with salt and let them sit for 15 to 20 minutes. The salt draws out the excess moisture. Pat them dry with paper towels before adding them to the bowl and tossing with the dressing.

    This keeps the salad crisp and the dressing flavorful even after a few hours in the refrigerator.

    Serving Suggestions

    This cucumber salad goes with just about everything. Here are some of my favorite pairings.

    • With grilled chicken. The cool and tangy salad is the perfect contrast to warm and smoky grilled chicken.
    • With burgers. Serve it alongside your favorite gluten free burgers as a refreshing alternative to a heavier side dish.
    • With tacos. This salad pairs beautifully with taco night. It adds a crisp and cool element that balances bold taco flavors.
    • With barbecued ribs or pulled pork. The tangy vinegar dressing cuts right through the richness of slow cooked BBQ.
    • At a cookout or potluck. This salad travels well and holds up in the refrigerator for hours. It is always a welcome addition to any summer spread.
    • With grilled hot dogs or brats. A simple and refreshing side that rounds out a classic summer meal.

    Substitutions

    • Red Onion - if you can't get a sweet onion this salad is also delicious using red onion
    • Mini Cucumbers - this salad is also delicious using thinly sliced mini cucumbers
    • Avocado Oil - you can substitute avocado oil for the olive oil in this recipe

    Variations

    • Spicy - add a pinch of chili pepper flakes for a bit of spice
    • Creamy - add ½ cup mayonnaise to make a creamy version of this salad
    • Tomato - add cherry tomatoes cut in half for more veggies

    I love all the fresh cucumbers available in the garden, grocery and farmer's market right now! This salad is a great use for fresh cucumbers and sweet onions.

    Storage

    Store in a sealed container in the refrigerator for up to 5 days. Stir the salad before serving to coat with dressing.

    Top tip

    Use a mandoline slicer if you have one to get perfectly thin and even cucumber slices that absorb the vinegar dressing beautifully and create the most consistent texture throughout the salad. If you do not have a mandoline a sharp knife works great too. Just try to slice as thinly and evenly as possible. The thinner the slices the more dressing they will absorb and the more flavorful your salad will be after chilling.

    Frequently Asked Questions

    How much vinegar do you put in a cucumber salad?

    I use a combination of 2 tablespoons oil and 1 tablespoon vinegar then add the seasoning for even more flavor.

    Can I use a different vinegar?

    Yes. Apple cider vinegar is my recommendation for the best flavor, but white vinegar, white wine vinegar, red wine vinegar, and rice vinegar all work. Each one changes the flavor slightly. White vinegar is sharper, rice vinegar is milder, and red wine vinegar is the boldest of the group.

    How long do cucumbers in vinegar last in the refrigerator?

    Store it in an airtight container in the refrigerator for up to three days. The cucumbers will soften slightly over time. Stir before serving and drain off any excess liquid that has accumulated.

    Can I make this cucumber salad ahead of time?

    Yes and I actually recommend it! This cucumber salad gets more flavorful the longer it sits in the refrigerator as the cucumbers absorb the tangy apple cider vinegar dressing. Make it at least an hour before serving and ideally a few hours ahead or even the night before for the best flavor. Give it a good stir before serving as the dressing will settle to the bottom as it sits.

    Why is my cucumber salad watery?

    Cucumbers release water naturally as they sit in the dressing. To prevent this, salt your sliced cucumbers and let them rest for 15 to 20 minutes before adding the dressing. Pat them dry with paper towels first. This removes excess moisture and keeps the salad crisp.

    Can I add other vegetables to this salad?

    Absolutely. Cherry tomatoes, thinly sliced bell peppers, and fresh dill are all great additions. A handful of fresh herbs like parsley or chives also works well and adds a bright finish.

    Didn't find the answer you're looking for?

    Ask AI to answer based on this recipe:

    ChatGPT
    Google AI
    Perplexity
    Grok
    Claude

    Supplies

    More Recipes You Might Enjoy
    • Watermelon Cucumber and Feta Salad
    • The Best Gluten Free Summer Salads (25+ Recipes)
    • Pineapple Coleslaw
    • Refrigerator Bread and Butter Pickles

    I get a lot of my ingredients from Thrive Market. Thrive Market has been a game changer for me eating gluten free. They have so many options I can't get at my rural grocery stores! Use this link to get 40% off your first order!

    Print
    clock clock iconcutlery cutlery iconflag flag iconfolder folder iconinstagram instagram iconpinterest pinterest iconfacebook facebook iconprint print iconsquares squares iconheart heart iconheart solid heart solid icon

    Cucumber Salad with Vinegar Dressing


    5 Stars 4 Stars 3 Stars 2 Stars 1 Star

    No reviews

    • Author: Elaine VanVleck
    • Total Time: 10 minutes
    • Yield: 5 servings 1x
    • Diet: Gluten Free
    Print Recipe
    Pin Recipe

    Description

    This Cucumber Salad with Vinegar Dressing is a crisp, refreshing, and incredibly flavorful cold side dish made with thinly sliced cucumbers and sweet onion marinated in a simple homemade dressing of apple cider vinegar, olive oil, minced garlic, salt, and pepper. It comes together in just 10 minutes and gets even more flavorful as it sits in the refrigerator making it the perfect make ahead side dish for barbecues, picnics, potlucks, and easy weeknight dinners. Naturally gluten free and one of the most refreshing summer salads you will ever make!


    Ingredients

    Scale
    • 2 medium English Cucumbers, thinly sliced
    • 1 medium Sweet Onion, thinly sliced
    • 2 Tbsp Olive Oil
    • 1 Tbsp Apple Cider Vinegar
    • 1 Tbsp Minced Garlic
    • ½ tsp Sea Salt
    • ¼ tsp Coarse Ground Black Pepper

    Instructions

    Thinly slice the cucumbers and sweet onion with a knife or using a mandoline slicer. Place into a serving bowl.

    In a small bowl or jar mix together the olive oil, apple cider vinegar, minced garlic, salt and pepper.

    Pour the dressing over the cucumber and onion. Stir to coat them.

    Place in the refrigerator for at least one hour for the salad to be cold and for the cucumbers to absorb some of the oil and vinegar dressing flavor.

    • Prep Time: 10 minutes
    • Cook Time: 0 minutes
    • Category: Side Dish, Salads
    • Method: Chopped
    • Cuisine: American

    Did you make this recipe?

    Tag @smallfarmbiglife on Instagram and hashtag it #smallfarmbiglife

    If you made this Cucumber Salad with Vinegar Dressing I would love to hear what you thought! Please leave a star rating and a comment below. This is one of my favorite easy summer side dishes and I hope it becomes a staple in your kitchen too!

    Ingredients

    • Cucumbers
    • Sweet Onion
    • Olive Oil
    • Apple Cider Vinegar
    • Minced Garlic
    • Sea Salt
    • Coarse Ground Black Pepper

    Instructions

    Thinly slice the cucumbers and sweet onion with a knife or using a mandoline slicer. Place into a serving bowl.

    In a small bowl or jar mix together the olive oil, apple cider vinegar, minced garlic, salt and pepper.

    Pour the dressing over the cucumber and onion. Stir to coat them.

    Place in the refrigerator for at least one hour for the salad to be cold and for the cucumbers to absorb some of the oil and vinegar dressing flavor.

    Watermelon Cucumber and Feta Salad

    This healthy recipe for watermelon cucumber and feta salad is a summer favorite! It's a refreshing salad with a zesty dressing that uses feta cheese. I love to make this side dish the day before so it's cold and ready to serve.

    a light blue bowl of watermelon cucumber and feta salad with a wooden serving spoon.

    One of my favorite parts of summer is fresh watermelon! This recipe combines the watermelon, the delicious cucumbers that are in season and has a zesty dressing that makes it a sweet and savory side dish option.

    If you are looking for watermelon recipes you might also enjoy my Watermelon Lemonade or this Easy Frozen Watermelon Margarita Mocktail recipes.

    [feast_advanced_jump_to]
    a small white bowl of watermelon cucumber feta salad next to a small wooden bowl of salt.

    Ingredients

    • Seedless Watermelon
    • English Cucumbers
    • Feta Cheese
    • Shallot
    • Apple Cider Vinegar
    • Lemon Juice
    • Lemon Zest
    • Olive Oil
    • Dried Thyme
    • Sea Salt
    • Coarse Ground Black Pepper

    Instructions

    In a large serving bowl combine the cubed watermelon, chopped cucumber, feta cheese and finely diced shallot.

    In a small bowl or pint jar add the apple cider vinegar, lemon juice, lemon zest, olive oil, thyme, salt and pepper. Stir to combine.

    Pour the dressing over the watermelon mixture. Stir to combine.

    Refrigerate for 1 hour and serve cold.

    Hint: I like to make this salad the day before so it's really cold and ready to serve with our meal. Store it in an air tight container in the refrigerator overnight or up to 5 days.
    Substitutions

    • Honey Dew Melon - you can also make this salad with honey dew melon or a mixture with the watermelon
    • Lime Juice - you can substitute lime juice for the lemon juice in this recipe
    • Lime Zest - you can substitute lime zest for the lemon zest in this recipe
    • Avocado Oil - you can replace the olive oil with avocado oil or a mixture of that's what you have
    • Queso Fresco Cheese - you can crumble queso fresco into the salad rather than using feta cheese

    Variations

    • Spicy - add a pinch of cayenne pepper to give this salad a little kick
    • Deluxe - add a mixture watermelon, honey dew and golden melon

    Supplies

    Storage

    Store in an air tight container in the refrigerator for up to 5 days.

    Top tip

    The salad will get more juice from the watermelon and cucumber in the mixture as you store it. Use a slotted spoon to serve rather than pouring the juice out so the salad doesn't lose any flavor.

    Print
    clock clock iconcutlery cutlery iconflag flag iconfolder folder iconinstagram instagram iconpinterest pinterest iconfacebook facebook iconprint print iconsquares squares iconheart heart iconheart solid heart solid icon

    Watermelon Cucumber and Feta Salad


    5 Stars 4 Stars 3 Stars 2 Stars 1 Star

    No reviews

    • Author: Elaine VanVleck
    • Total Time: 15 minutes
    • Yield: 8 servings 1x
    • Diet: Gluten Free
    Print Recipe
    Pin Recipe

    Description

    This healthy recipe for watermelon cucumber and feta salad is a summer favorite! It's a refreshing salad with a zesty dressing that uses feta cheese. I love to make this side dish the day before so it's cold and ready to serve.


    Ingredients

    Scale

    1 small Seedless Watermelon, rind removed and cubed (about 6 cups)
    2 English Cucumbers, peeled and chopped
    2 cups crumbled Feta Cheese
    1 small Shallot, finely diced
    ¼ cup Apple Cider Vinegar
    2 tablespoon Lemon Juice
    1 tablespoon Lemon Zest
    ⅓ cup Olive Oil
    ½ teaspoon Dried Thyme
    ½ teaspoon Sea Salt
    ¼ teaspoon Coarse Ground Black Pepper


    Instructions

    In a large serving bowl combine the cubed watermelon, chopped cucumber, feta cheese and finely diced shallot.

    In a small bowl or pint jar add the apple cider vinegar, lemon juice, lemon zest, olive oil, thyme, salt and pepper. Stir to combine.

    Pour the dressing over the watermelon mixture. Stir to combine.

    Refrigerate for 1 hour and serve cold.

    • Prep Time: 15 minutes
    • Category: Side Dish, Salads
    • Method: Mixing
    • Cuisine: Gluten Free

    Did you make this recipe?

    Tag @smallfarmbiglife on Instagram and hashtag it #smallfarmbiglife

    FAQ

    What goes with watermelon feta salad?

    This recipe for watermelon cucumber and feta salad is a great side dish with steak, burgers or chicken. It is a really versatile summer side dish!

    How long will watermelon salad last in the fridge?

    Store this salad in the refrigerator for up to 5 days.

    How do I choose a ripe watermelon?

    You want a watermelon that has deep colored stripes and a dull rind. A yellow spot is ideal for getting a sweet flavor to your watermelon. It's best if it has a hollow sound when you knock on the rind with your hand.

    Do watermelon continue to ripen after picked?

    No, watermelon are not like cantaloupe that will continue to ripen on your counter. With a watermelon you want to get a sweet and ripe melon at the store. You can not count on it ripen up some at home.

    • « Previous Page
    • 1
    • …
    • 13
    • 14
    • 15
    • 16
    • 17
    • …
    • 30
    • Next Page »

    Welcome! I'm Elaine

    I'm so glad you are here! I share easy gluten free recipes from my small farm in Washington.

    Be sure to sign up for my newsletter to stay up to date on all of my new recipes.

    More about me...
    • Instagram
    • Pinterest
    • Facebook
    • Twitter
    • Mail

    Load up on new recipes, exclusive goodies, + more!
    Sign up below to stay up-to-date on news, events, and special deals.
    Thank you for subscribing!

    Easy Meals Recipes

    • Gluten Free Instant Pot Chili Mac and Cheese
    • Gluten Free Taco Casserole
    • Gluten Free Cowboy Baked Beans
    • Gluten Free Walking Taco Casserole
    • Gluten Free Creamy Beef and Mushroom Pasta
    • Gluten Free Instant Pot Chicken and Dumplings
    • Instant Pot Mexican Style Beef and Rice
    • Gluten Free Chicken Parmesan Pasta Casserole
    • Gluten Free One Pot Hamburger Helper Copycat
    • Gluten Free Salisbury Steak with Mushroom Gravy
    • Gluten Free Air Fryer Fajitas
    • Gluten Free Sloppy Joe Casserole

    Footer

    back to top

    About

    • Privacy Policy
    • Shop my Amazon Page
    • Follow me on LTK

    Newsletter

    • Sign Up! for emails and updates

    Contact

    • Contact
    • Media Kit
    • About Me

    As an Amazon Associate I earn from qualifying purchases.

    I may get commissions for purchases made through links on this site.

    Copyright © 2026 Brunch Pro on the Brunch Pro Theme