Small Farm Big Life

  • Gluten Free Recipe Index
  • Subscribe
  • Resources
menu icon
go to homepage
  • Home
  • Gluten Free Recipe Index
  • Subscribe
  • My Story
  • Resources
  • Free Guides
    • Email
    • Facebook
    • Instagram
    • Pinterest
  • subscribe
    search icon
    Homepage link
    • Home
    • Gluten Free Recipe Index
    • Subscribe
    • My Story
    • Resources
    • Free Guides
    • Email
    • Facebook
    • Instagram
    • Pinterest
  • ×

    Autumn Harvest Punch

    This Autumn Harvest Punch is the perfect non alcoholic fall drink for your next gathering! It combines all the cozy flavors of the season into one refreshing sip. Made with a blend of cranberry juice, apple juice, and orange juice, this fall punch mocktail is bursting with fruit flavor and color.

    It makes a beautiful addition to any Thanksgiving punch bowl or fall party. Garnished with fresh orange slices and apple slices, it looks just as festive as it tastes. This punch is a true seasonal celebration in a glass.

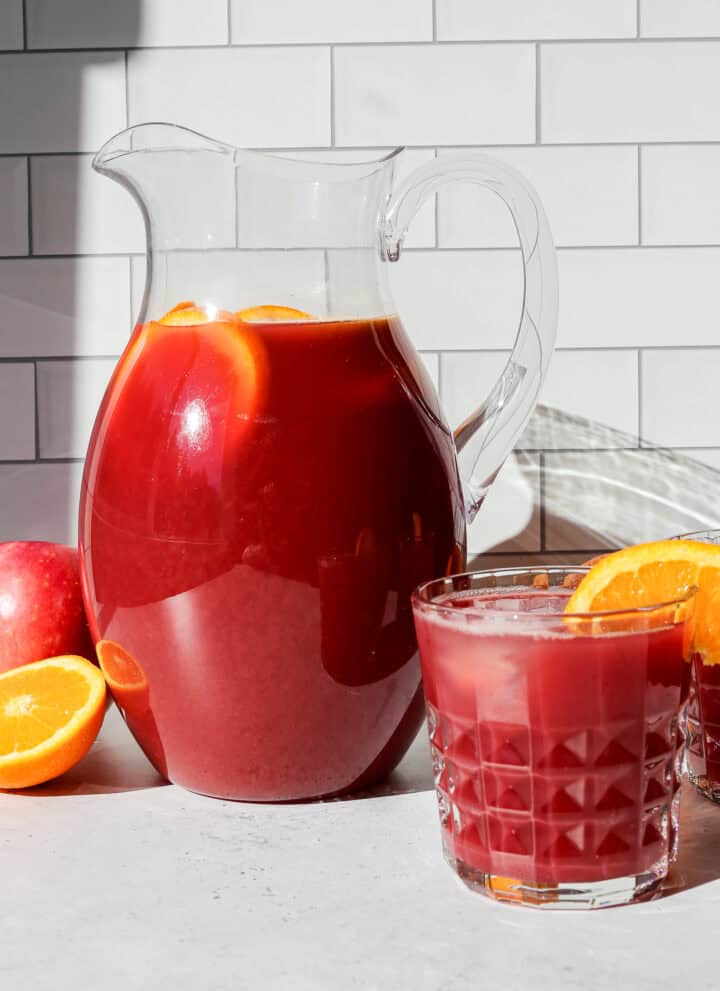
    a clear pitcher of autumn harvest punch sitting next a drinking glass of the punch with an orange wedge on the rim

    Whether you're hosting a holiday party or planning a Thanksgiving family dinner, this easy fall punch recipe is a crowd-pleaser everyone can enjoy. It's light, refreshing, and brimming with the cozy flavors of autumn!

    It is the best fall punch recipe for any occasion. This homemade punch is also a great fall refreshment idea for anyone looking for a fall drink non alcoholic recipe that's as simple to make as it is beautiful to serve.

    If you are looking for more drink recipes try my Non Alcoholic Spiced Apple Fizz Drink, my Homemade Blueberry Lemonade made with Frozen Blueberries, my Frozen Cranberry Margarita Mocktail or my Homemade Raspberry Lemonade.

    You can find all of my drink recipes here: Drink Recipes

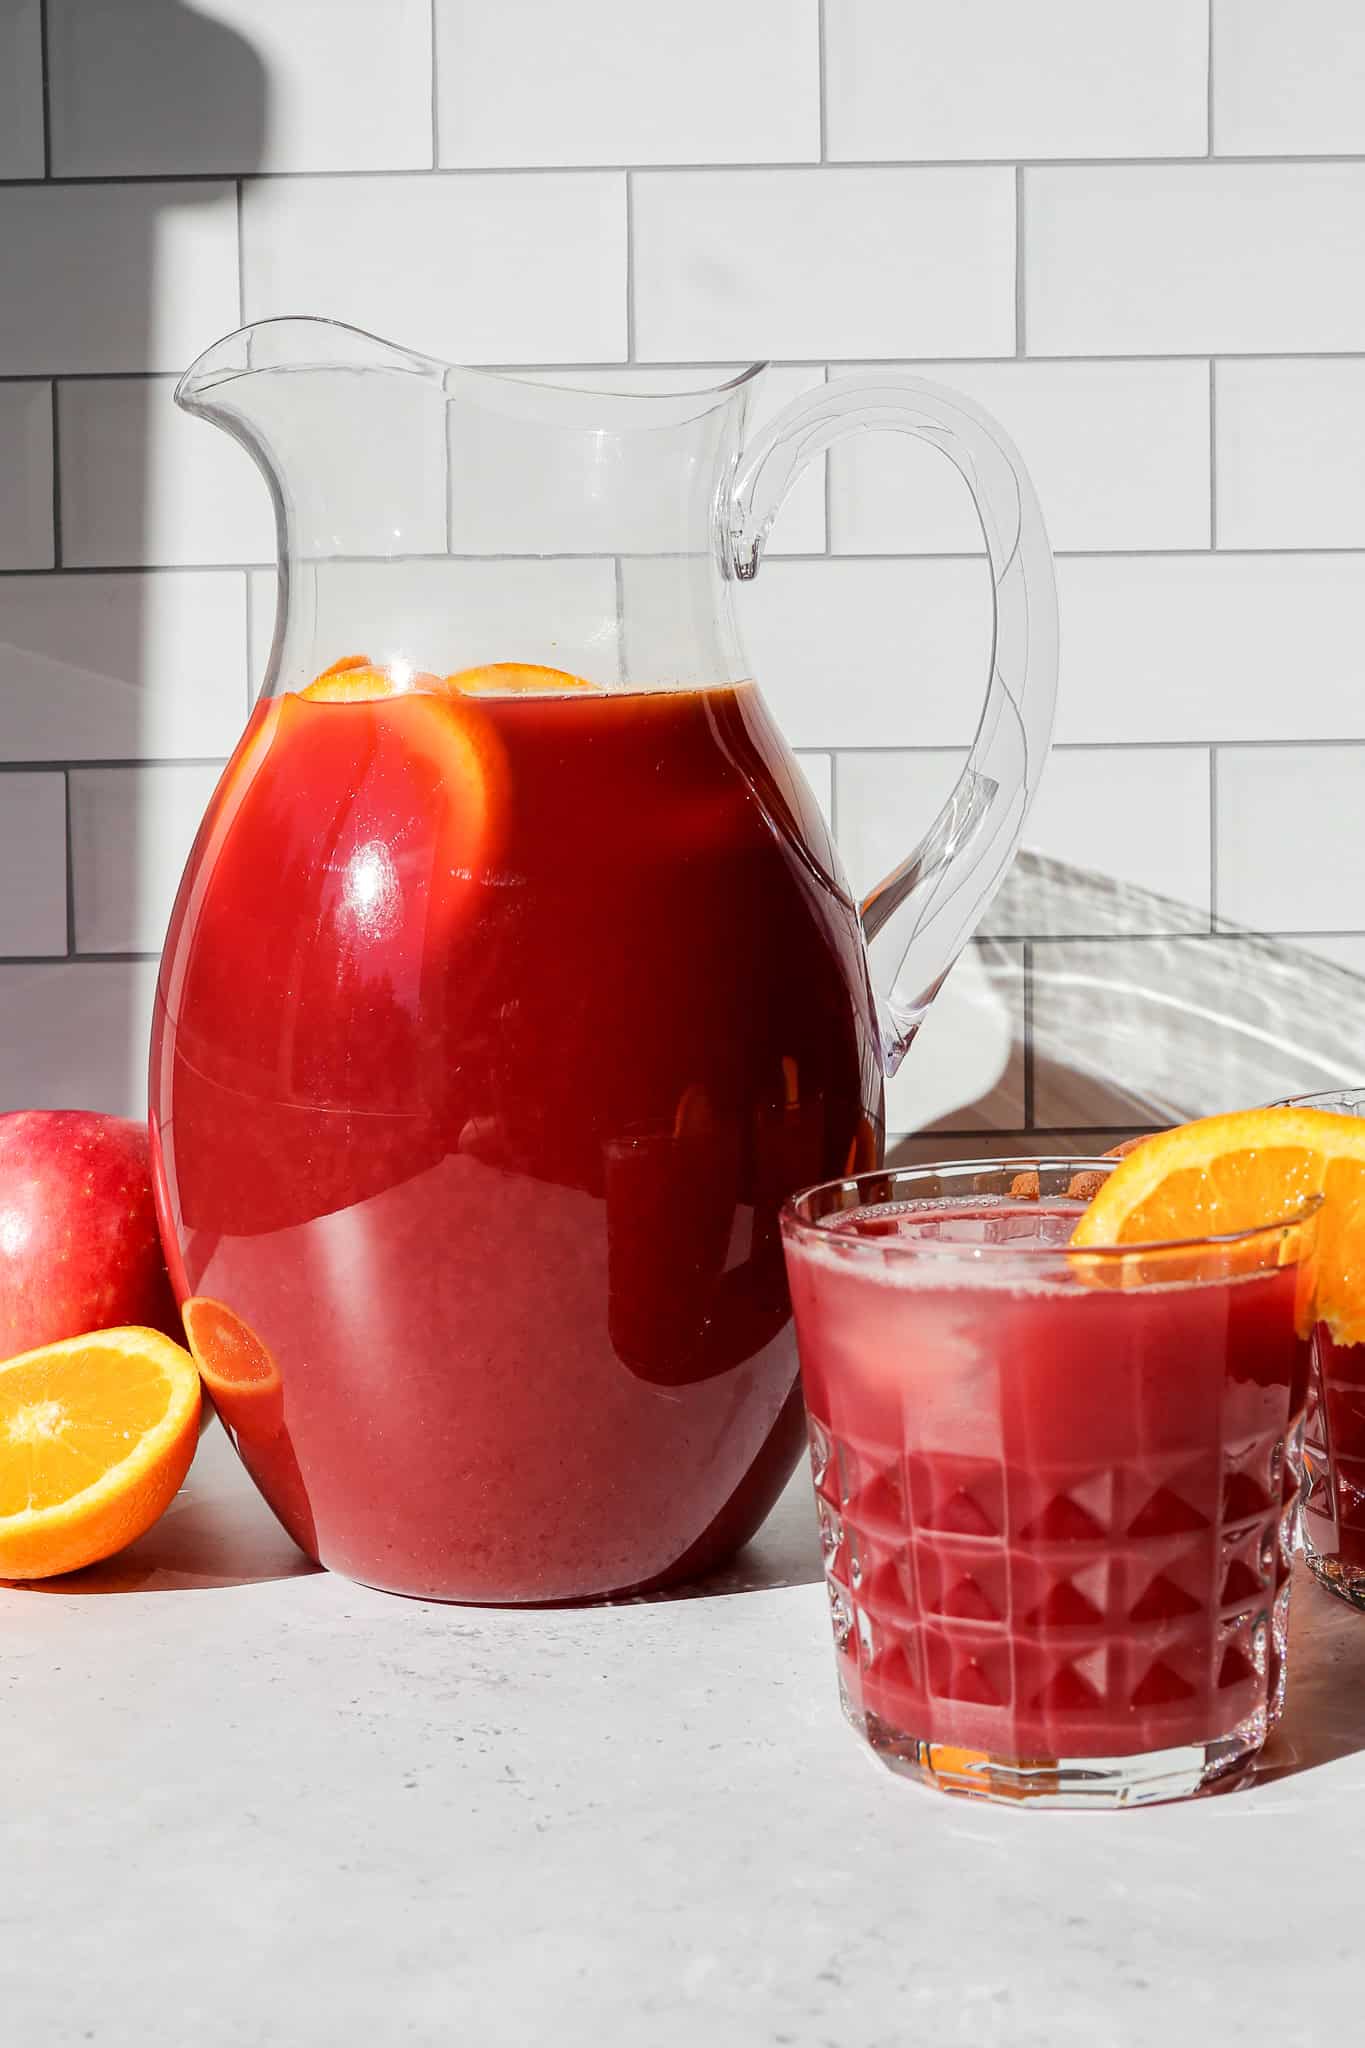
    an overhead view of the autumn harvest punch in a clear pitcher with apple and orange slices on top
    [feast_advanced_jump_to]

    Ingredients

    • Apple Juice
    • Frozen Pulp Free Orange Juice or Pulp Free Bottled Orange Juice
    • Unsweetened Cranberry Juice
    • Ginger Beer
    • Sugar
    • Water
    • Apples and Oranges (optional)

    Instructions

    In a medium sized saucepan on the stovetop or a 4-cup microwave safe measuring cup in the microwave mix together the water and sugar and heat until it dissolves into a simple syrup.

    In a large punch bowl or drink dispenser mix together the simple syrup, apple juice, orange juice, cranberry juice and ginger beer. Top with slices of oranges and apples for a festive look if you like.

    You can also mix this together in a large bowl and then transfer to a pitcher for serving.

    Store any leftover punch in the refrigerator for up to one week.

    Supplies


    More Recipes You Might Enjoy

    • Easy Instant Pot Apple Cider
    • Homemade Blueberry Lemonade made with Frozen Blueberries
    • Frozen Cranberry Margarita Mocktail
    • Homemade Raspberry Lemonade

    I get a lot of my ingredients from Thrive Market. Thrive Market has been a game changer for me eating gluten free. They have so many options I can't get at my rural grocery stores! Use this link to get 40% off your first order!

    Print
    clock clock iconcutlery cutlery iconflag flag iconfolder folder iconinstagram instagram iconpinterest pinterest iconfacebook facebook iconprint print iconsquares squares iconheart heart iconheart solid heart solid icon

    Autumn Harvest Punch


    5 Stars 4 Stars 3 Stars 2 Stars 1 Star

    No reviews

    • Author: Elaine VanVleck
    • Total Time: 10 minutes
    • Yield: 13 servings 1x
    • Diet: Gluten Free
    Print Recipe
    Pin Recipe

    Description

    This Autumn Harvest Punch is the perfect non alcoholic fall drink for your next gathering! It combines all the cozy flavors of the season into one refreshing sip. Made with a blend of cranberry juice, apple juice, and orange juice, this fall punch mocktail is bursting with fruit flavor and color. 


    Ingredients

    Units Scale
    • 1 - 64 ounce bottle Apple Juice
    • 1 - 12 ounce can Frozen Pulp Free Orange Juice or 1 - 46 ounce bottle Orange Juice
    • 2 cups Pure Unsweetened Cranberry Juice
    • 2 - 12 ounce cans Ginger Beer
    • 1 cup Granulated Sugar
    • 1 cup Water
      Apple and Orange slices to garnish, optional

    Instructions

    In a medium sized saucepan on the stovetop or a 4-cup microwave safe measuring cup in the microwave mix together the water and sugar and heat until it dissolves into a simple syrup.

    In a large punch bowl or drink dispenser mix together the simple syrup, apple juice, orange juice, cranberry juice and ginger beer. Top with slices of oranges and apples for a festive look if you like.

    You can also mix this together in a large bowl and then transfer to a pitcher for serving.

    Store any leftover punch in the refrigerator for up to one week.

    • Prep Time: 10 minutes
    • Category: Drinks
    • Method: Mixing
    • Cuisine: Gluten Free

    Did you make this recipe?

    Tag @smallfarmbiglife on Instagram and hashtag it #smallfarmbiglife

    Top Tip

    I cut around the seeds of the apples for the garnish, but it would be really easy and cute to use star shaped cookie cutters to cut perfect stars in the apples.

    Didn't find the answer you're looking for?

    Ask AI to answer based on this recipe:

    ChatGPT
    Google AI
    Perplexity
    Grok
    Claude

    Frequently Asked Questions

    Can I use apple cider instead of apple juice?

    Yes, you can substitute the apple juice for apple cider, but the punch will have more of an apple flavor. Apple cider also usually has some pulp in it so you will need to be sure to stir the punch before serving.

    How far in advance can I make the punch?

    You can make the simple syrup and mix it with the juices 24-48 hours in advance. Do not add the ginger beer or garnishes until you are ready to serve the punch.

    What's the best way to chill the punch?

    Do not add ice directly to the punch or you will dilute the flavor. Store the punch in the fridge right up until you want to serve it and then you can serve over ice in drinking glasses.

    Alternatively you could freeze part of the punch in ice cube trays and add the frozen punch cubes in to keep the punch cold without diluting the flavor.

    Gluten Free Cinnamon Raisin Sourdough Bread

    This Gluten Free Cinnamon Raisin Sourdough Bread is a cozy, homemade sourdough recipe that's both easy and made same day. It's perfect for any baker who wants that fresh from the oven taste without the wait.

    Made with gluten free sourdough starter discard and measured in cups for simplicity, this no knead sourdough bread recipe delivers a soft, tender crumb filled with sweet raisins and warm cinnamon flavor.

    It's a sourdough cinnamon raisin bread recipe that feels comforting and familiar! This bread is ideal for mornings when you want a slice of homemade goodness with your coffee.

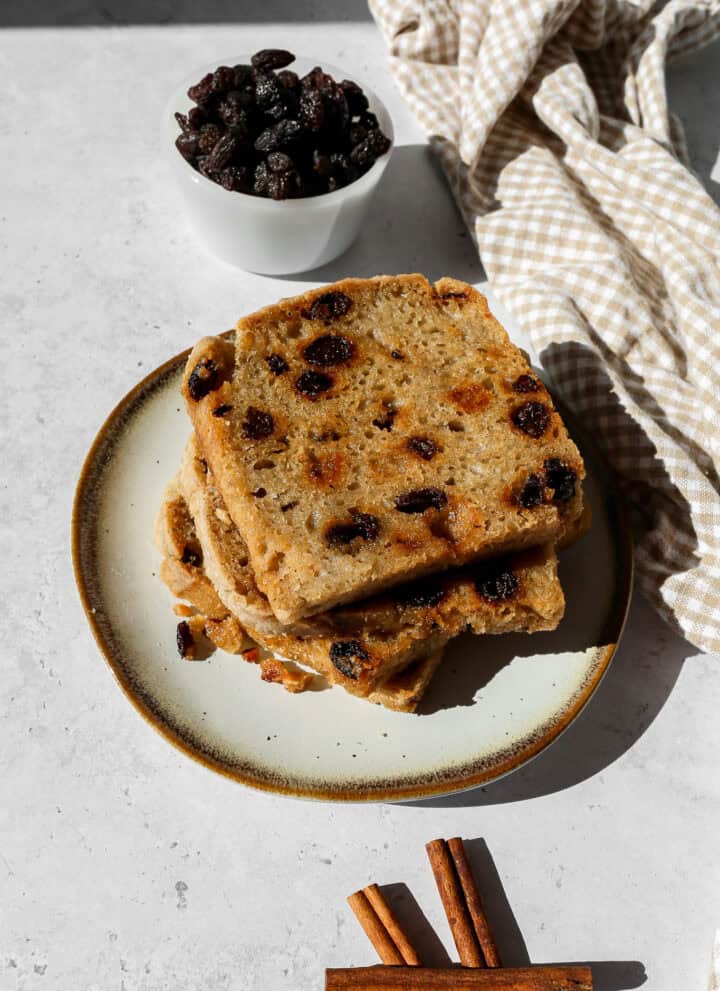
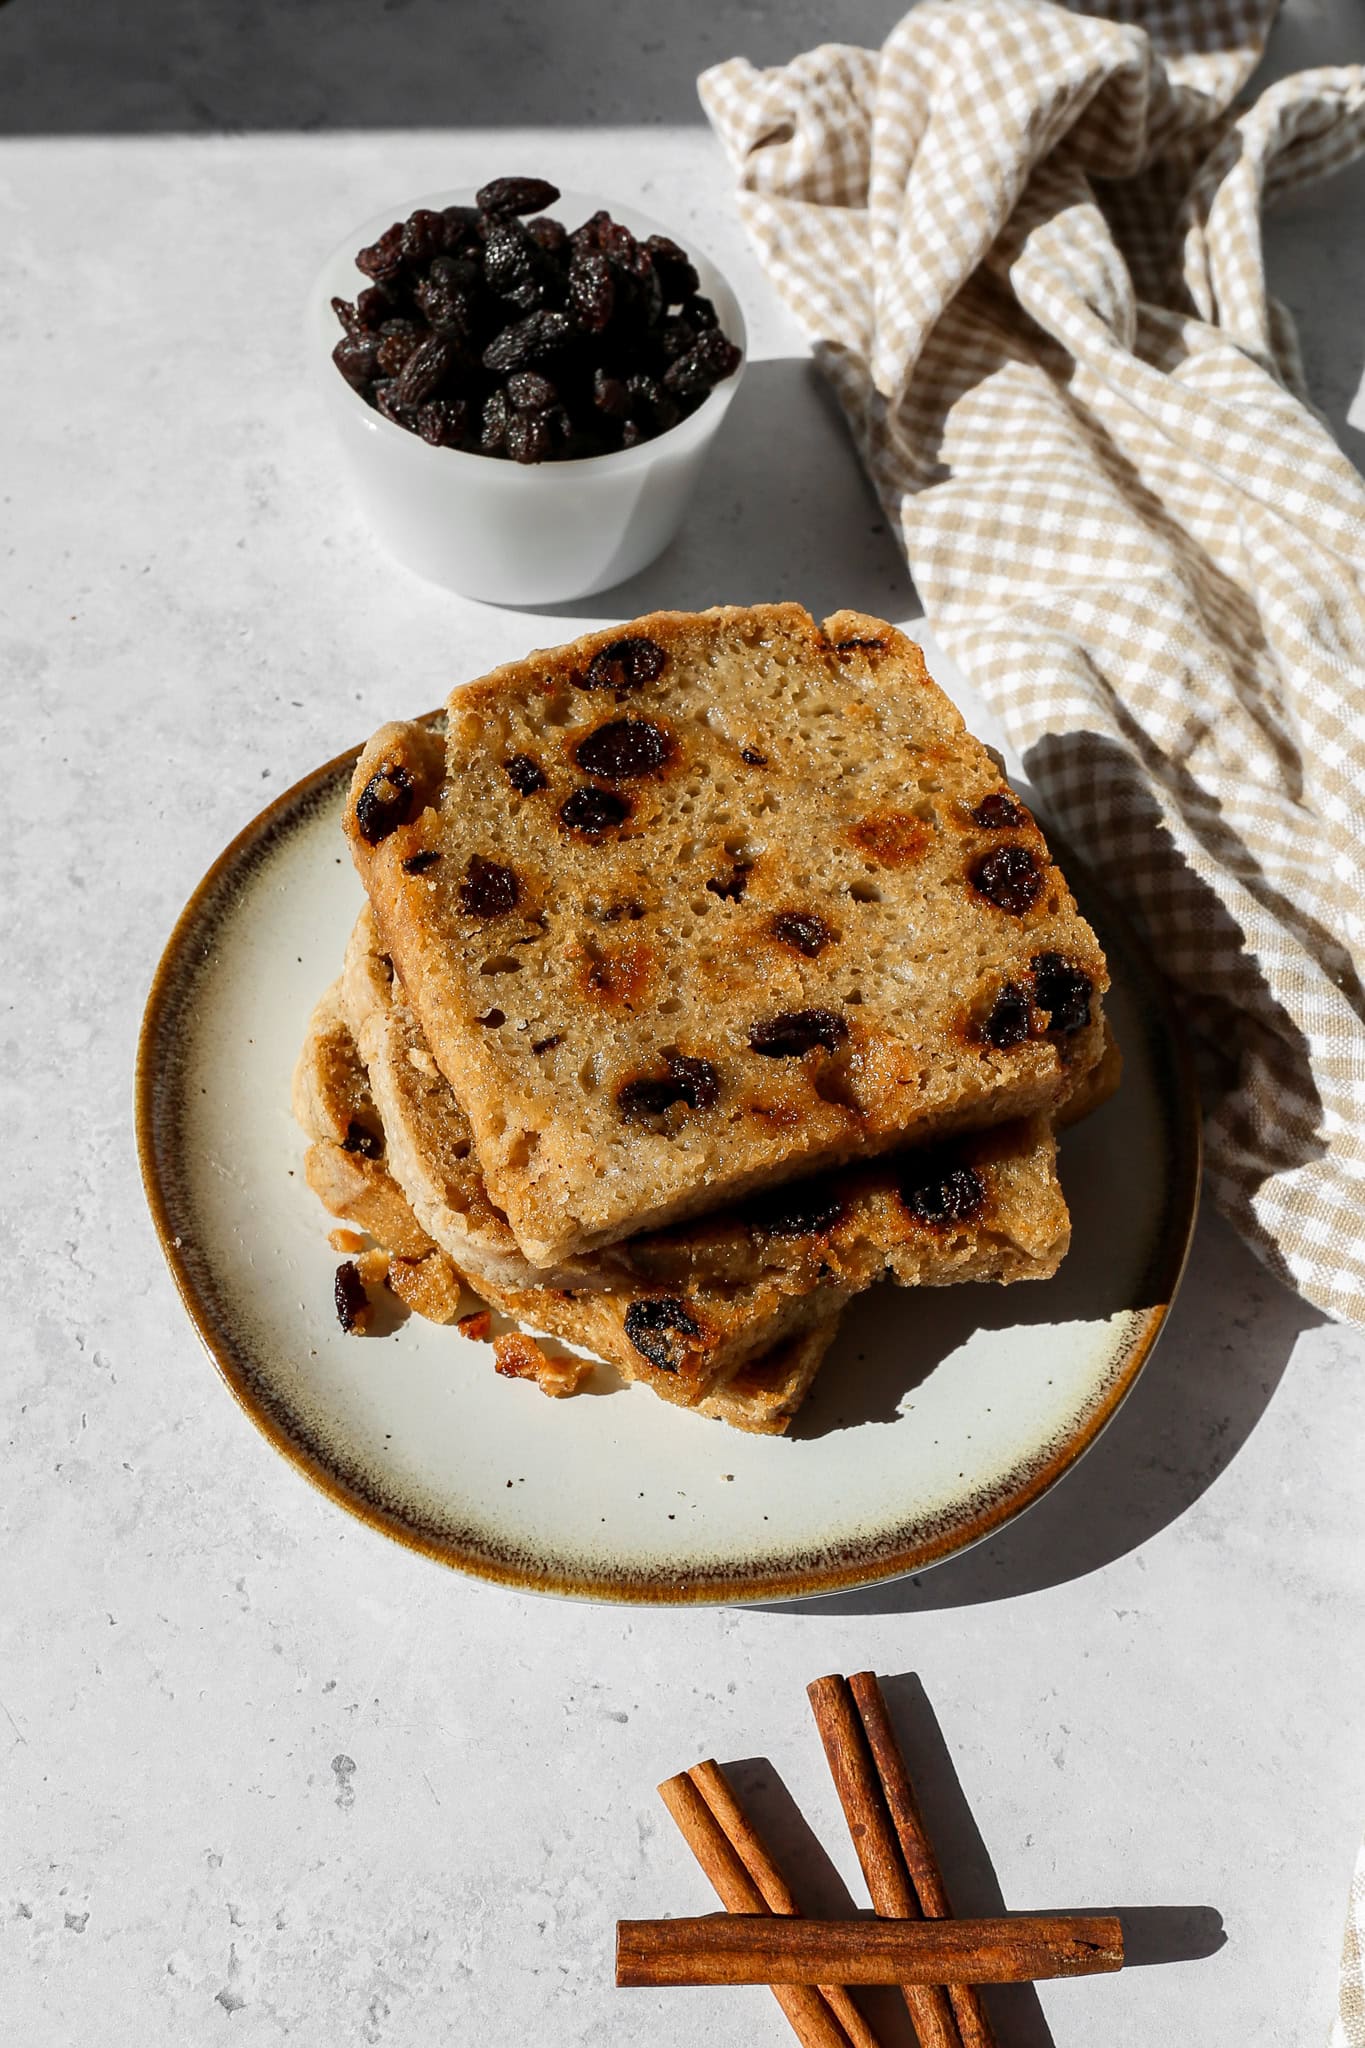
    A plate with three slices of toasted gluten free cinnamon raisin sourdough bread next to a small bowl of raisins, cinnamon sticks and a tan and white gingham kitchen towel

    This gluten free raisin bread is an easy gluten free bread recipe that proves sourdough baking can be simple and delicious. Whether you're making it as a sweet sourdough bread recipe for weekend brunch or adding it to your list of family breakfast favorites, this loaf is perfect for toasting, buttering, and enjoying warm.

    It's one of the best gluten free sourdough bread recipes to try if you're craving that classic artisan sourdough texture with a touch of sweetness from cinnamon and raisins.

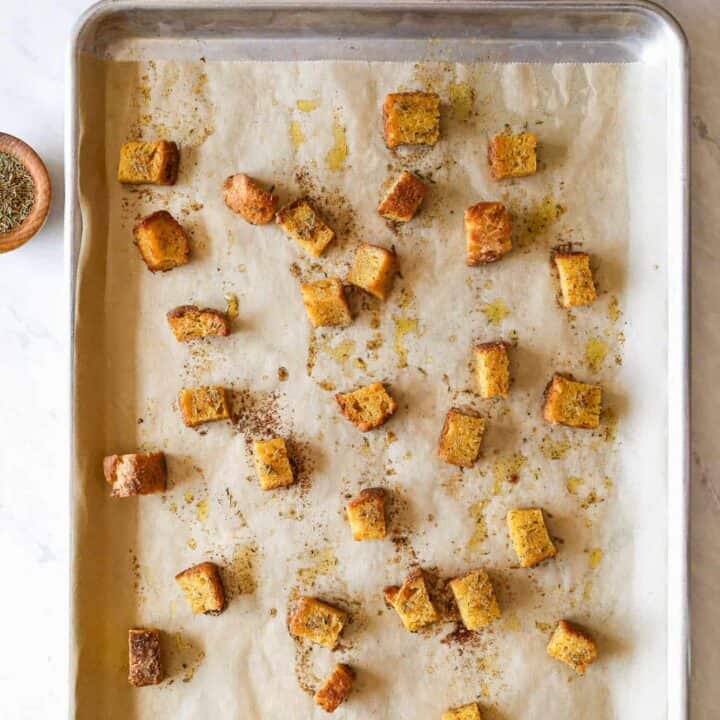
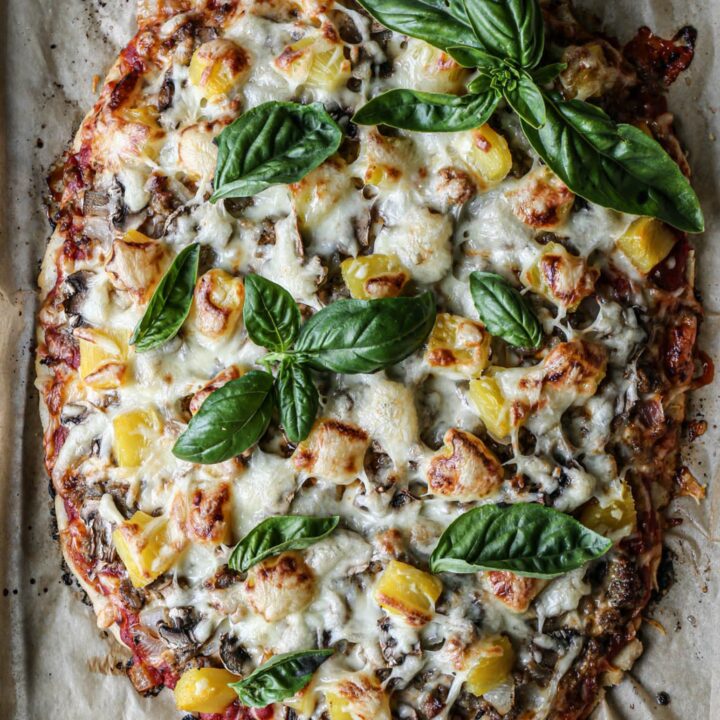
    If you are looking for more sourdough recipes try my Gluten Free Sourdough Sandwich Bread, my Gluten Free Sourdough Croutons, my Gluten Free Sourdough Pizza Crust or my Gluten Free Sourdough Starter.

    You can find all of my bread recipes here: Gluten Free Side Dishes

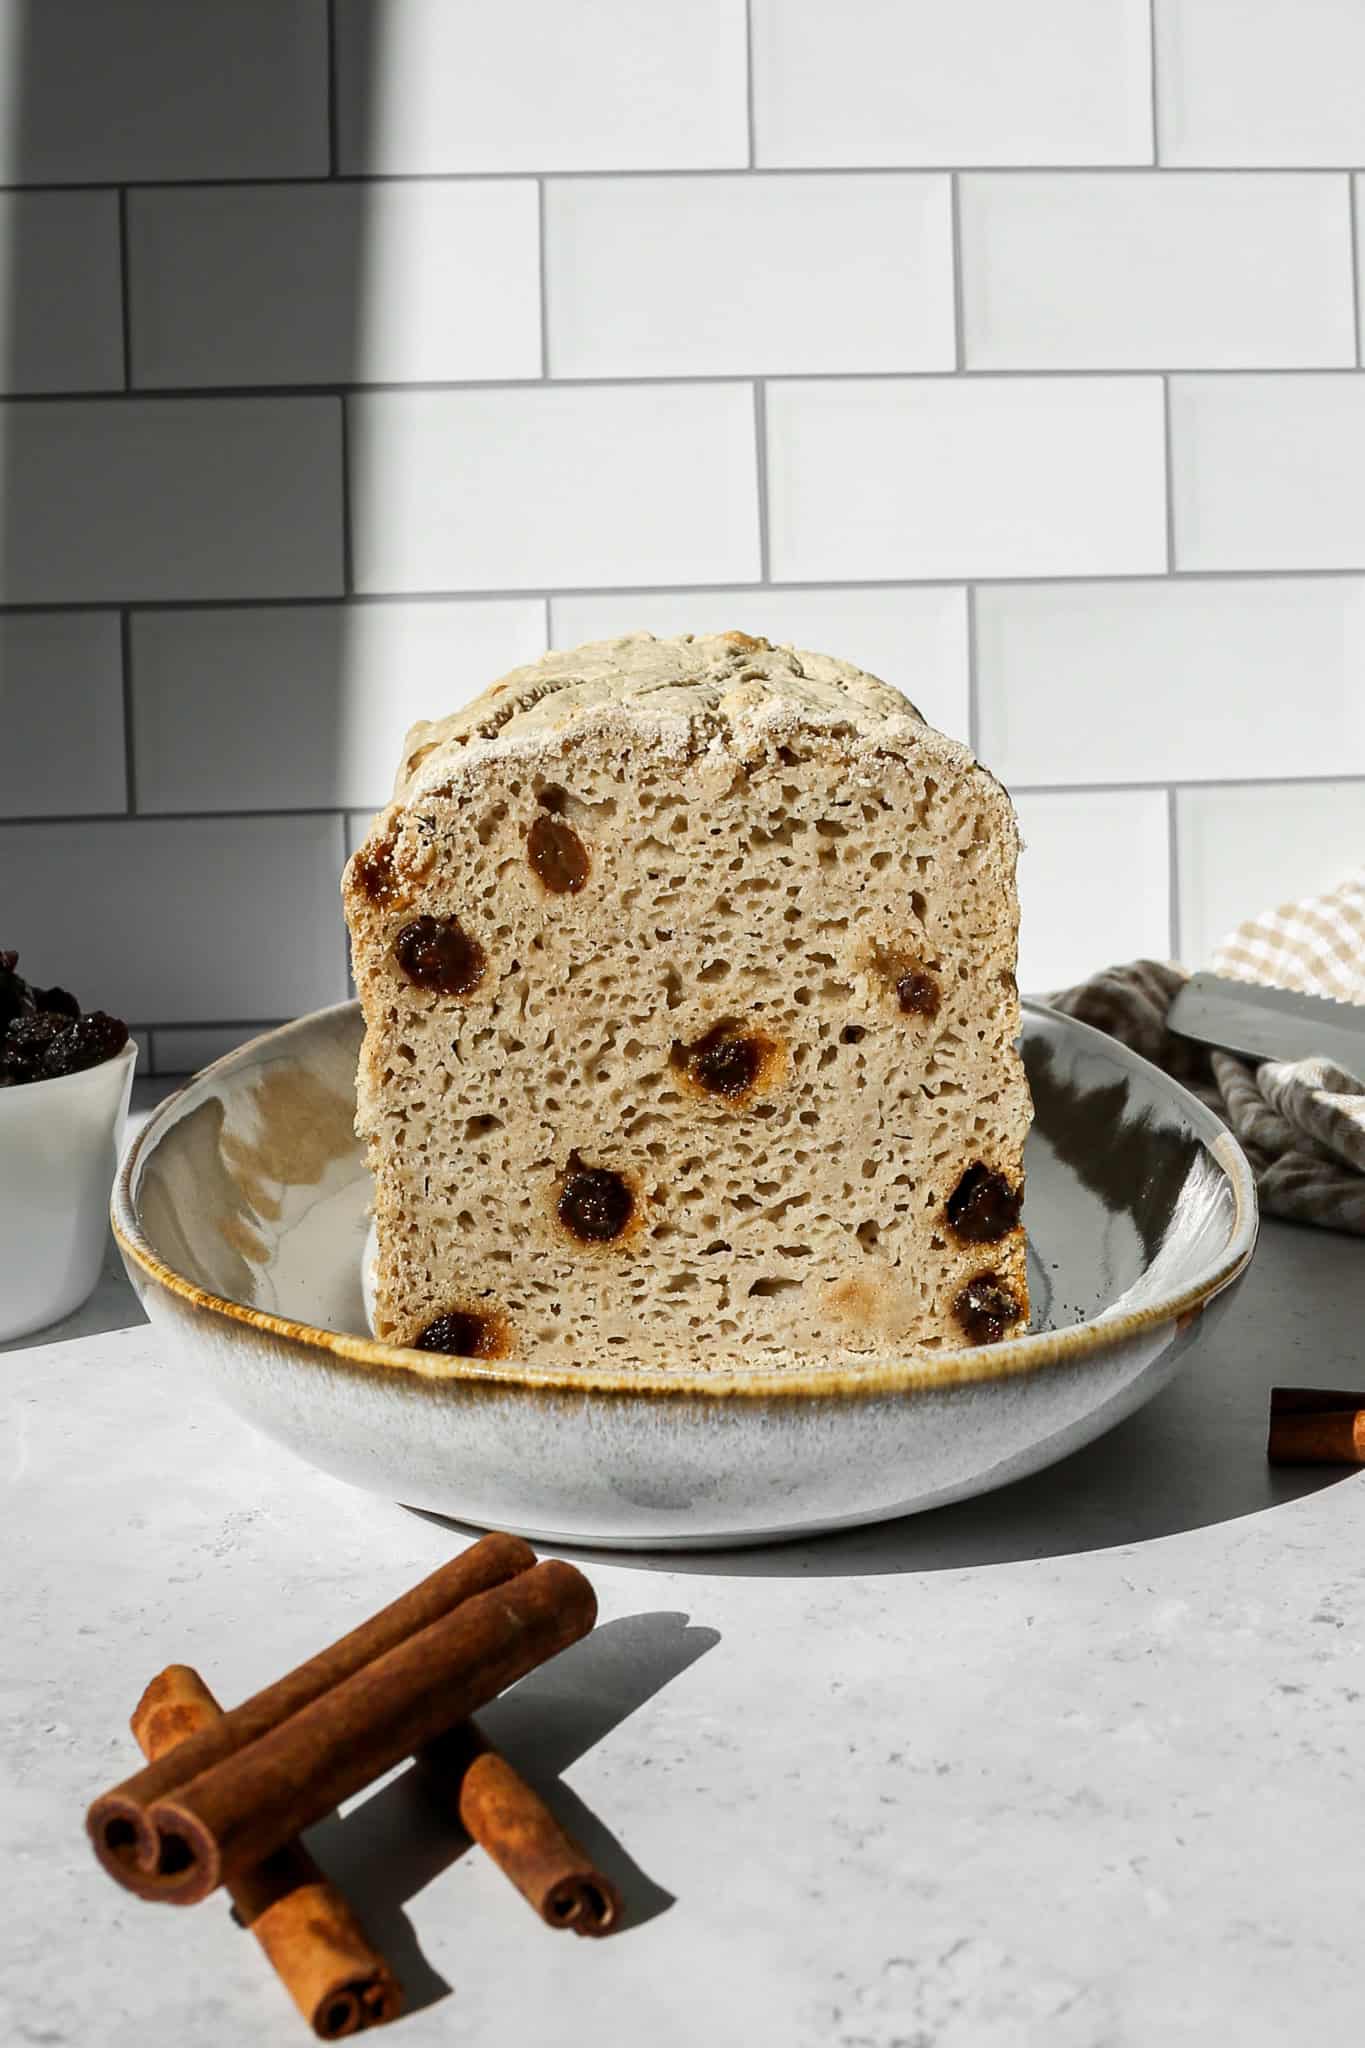
    a loaf of gluten free cinnamon raisin sourdough bread on an oval platter next to a small white bowl of raisins, cinnamon sticks and a tan and white gingham kitchen towel
    [feast_advanced_jump_to]

    Ingredients

    • Sourdough Starter
    • Unsalted Butter
    • Honey
    • Milk
    • Gluten Free Flour
    • Potato Starch or Tapioca Flour
    • Baking Powder
    • Salt
    • Ground Cinnamon
    • Vanilla Extract
    • Ground Nutmeg
    • Raisins

    Instructions

    Grease your bread pan with coconut oil or butter. Set aside.

    In the microwave or on the stovetop heat your milk just until it's warm to the touch. You don't want it too hot!

    In the bowl of your stand mixer add the sourdough starter, melted butter, honey and warm milk. Blend together.

    Add the potato starch or tapioca starch, gluten free flour, baking powder, salt, cinnamon, vanilla, nutmeg and raisins. Blend just until ingredients begin to mix together. Remove from the stand mixer and gently fold any ingredients left on the bottom of the bowl into the mixture with a spatula.

    The dough will be very sticky. You don't want to knead or overwork the dough. This sticky texture will let the bread rise nicely.

    Spoon the dough into your greased bread pan. Cover the bread pan with a plate or platter and let it rest in a warm area for 6-8 hours. I like to mix my dough up at night before I go to bed and let it proof overnight and then bake in the morning.

    Preheat your oven to 350 degrees.

    Bake the bread for 1 hour 10 minutes to 1 hour 15 minutes. The top will be very lightly browned and the sides will be a little darker brown. This is a light bread and will not get really brown on top.

    Let the bread stand in the pan for at least 10 minutes to cool before you turn it out onto a plate or platter to finish cooling.

    Once the bread has completely cooled slice it into pieces and store it in a sealed container.

    Depending on how warm your house is it will last on the counter for 3-4 days. If you aren't going to use it in that amount of time place it in the fridge where it should last 5-7 days.

    Supplies


    More Recipes You Might Enjoy

    • Gluten Free Sourdough Sandwich Bread
    • Gluten Free Sourdough Croutons
    • Gluten Free Sourdough Pizza Crust
    • Gluten Free Sourdough Bread

    I get a lot of my ingredients from Thrive Market. Thrive Market has been a game changer for me eating gluten free. They have so many options I can't get at my rural grocery stores! Use this link to get 40% off your first order!

    Print
    clock clock iconcutlery cutlery iconflag flag iconfolder folder iconinstagram instagram iconpinterest pinterest iconfacebook facebook iconprint print iconsquares squares iconheart heart iconheart solid heart solid icon

    Gluten Free Cinnamon Raisin Sourdough Bread


    5 Stars 4 Stars 3 Stars 2 Stars 1 Star

    No reviews

    • Author: Elaine VanVleck
    • Total Time: 9 hours 10 minutes
    • Yield: 1 loaf 1x
    • Diet: Gluten Free
    Print Recipe
    Pin Recipe

    Description

    This Gluten Free Cinnamon Raisin Sourdough Bread is a cozy, homemade sourdough recipe that's both easy and made same day. It's perfect for any baker who wants that fresh from the oven taste without the wait. 


    Ingredients

    Scale
    • 1 ½ cups Sourdough Starter
    • 4 Tbsp Unsalted Butter, melted
    • 2 Tbsp Honey
    • 1 ¾ cup Milk, warm
    • 2 ½ cups Gluten Free Flour
    • ½ cup Potato Starch or Tapioca Flour
    • 1 Tbsp. Baking Powder
    • 2 tsp Salt
    • 2 tsp Ground Cinnamon
    • Pinch Ground Nutmeg
    • 1 tsp Vanilla Extract
    • ¾ cup Raisins

    Instructions

    Grease your bread pan with coconut oil or butter. Set aside.

    In the microwave or on the stovetop heat your milk just until it's warm to the touch. You don't want it too hot!

    In the bowl of your stand mixer add the sourdough starter, melted butter, honey and warm milk. Blend together.

    Add the potato starch or tapioca starch, gluten free flour, baking powder, salt, cinnamon, vanilla, nutmeg and raisins. Blend just until ingredients begin to mix together. Remove from the stand mixer and gently fold any ingredients left on the bottom of the bowl into the mixture with a spatula.

    The dough will be very sticky. You don't want to knead or overwork the dough. This sticky texture will let the bread rise nicely.

    Spoon the dough into your greased bread pan. Cover the bread pan with a plate or platter and let it rest in a warm area for 6-8 hours. I like to mix my dough up at night before I go to bed and let it proof overnight and then bake in the morning.

    Preheat your oven to 350 degrees.

    Bake the bread for 1 hour 10 minutes to 1 hour 15 minutes. The top will be very lightly browned and the sides will be a little darker brown. This is a light bread and will not get really brown on top.

    Let the bread stand in the pan for at least 10 minutes to cool before you turn it out onto a plate or platter to finish cooling.

    Once the bread has completely cooled slice it into pieces and store it in a sealed container.

    Depending on how warm your house is it will last on the counter for 3-4 days. If you aren't going to use it in that amount of time place it in the fridge where it should last 5-7 days.

    • Prep Time: 8 hours
    • Cook Time: 1 hour, 10 minutes
    • Category: Breads
    • Method: Baking
    • Cuisine: Gluten Free

    Did you make this recipe?

    Tag @smallfarmbiglife on Instagram and hashtag it #smallfarmbiglife

    Top Tip

    This gluten free sourdough recipes texture is much different than baking with wheat flour. You want a very sticky dough and you won't be kneading it. You want to spoon the dough into your greased pan and not press it down.

    Didn't find the answer you're looking for?

    Ask AI to answer based on this recipe:

    ChatGPT
    Google AI
    Perplexity
    Grok
    Claude

    Frequently Asked Questions

    Is regular sourdough bread safe for a gluten free diet?

    No. Regular sourdough is made with gluten based wheat flour. The fermenting process of sourdough does not change that there is gluten in the recipe. Only gluten free sourdough is safe for people with Celiacs or gluten allergies.

    Why isn't my gluten free sourdough bread rising?

    It could be that your starter is weak. This means it hasn't fermented enough. It may need more time or moved to a warmer spot.

    It could also be over proofing. This means you've left the dough out in the pan covered for too long. I proof for 6-8 hours and have good results with that. If you're proofing longer the dough may be raising and deflating before it makes it to the oven.

    Gluten Free Easy Ground Beef Shepherd's Pie

    This Gluten Free Easy Ground Beef Shepherd's Pie is the ultimate comfort food for chilly nights! It combines savory ground beef and creamy mashed potatoes in one cozy casserole dish.

    Inspired by the classic cottage pie, this easy beef recipe delivers a hearty and satisfying meal that's perfect for busy weeknights or lazy weekends. Every bite is rich, flavorful, and sure to become one of your family dinner favorites.

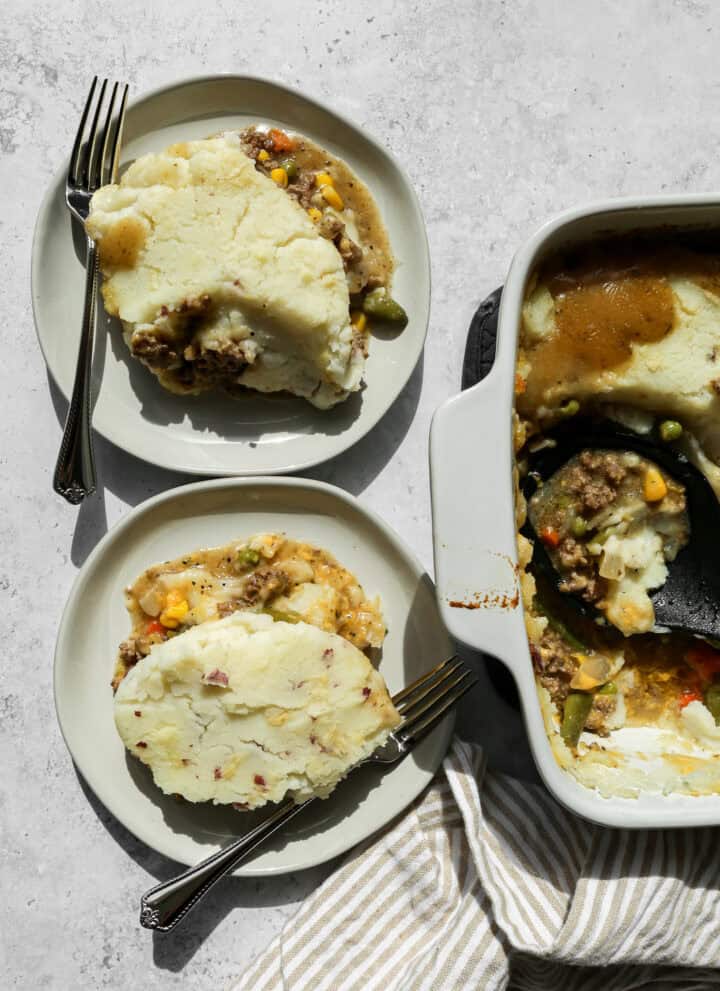
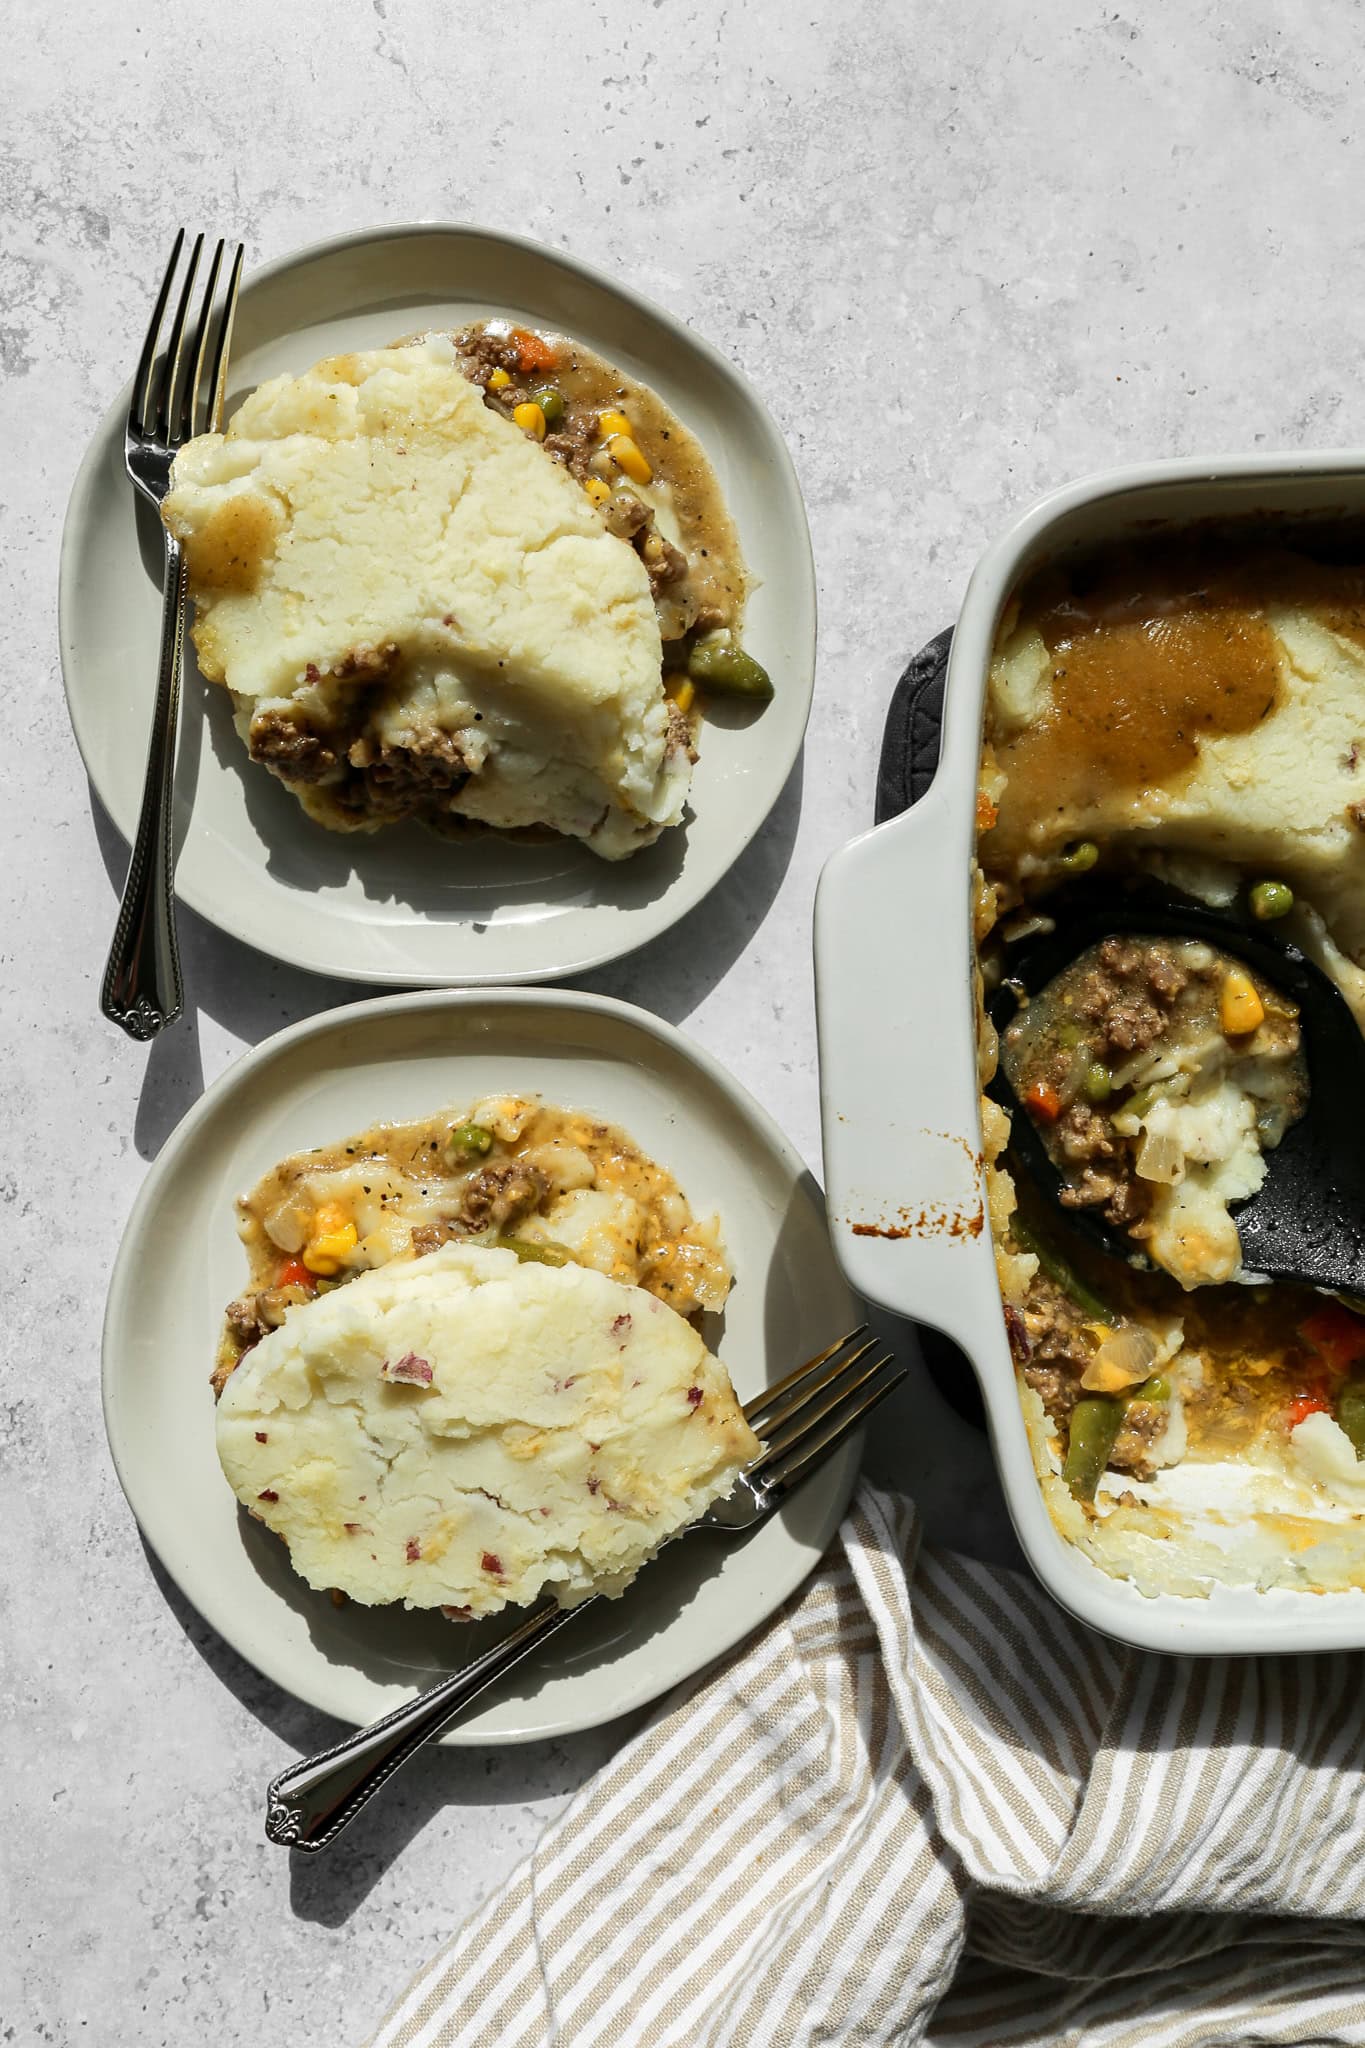
    Two cream plates of gluten free easy ground beef shepherd's pie next to a cream 9x13 baking dish of the casserole

    Perfect as a weeknight meal or winter comfort dish, this Shepherd's Pie recipe is a simple way to enjoy a gluten free beef casserole without sacrificing taste.

    It's wholesome, delicious, and so easy to make! It's a quick dinner that turns humble beef and potatoes into the best Shepherd's Pie recipe you'll crave again and again.

    Whether you call it Shepherd's Pie or Cottage Pie, it's pure, creamy, classic comfort in every layer.

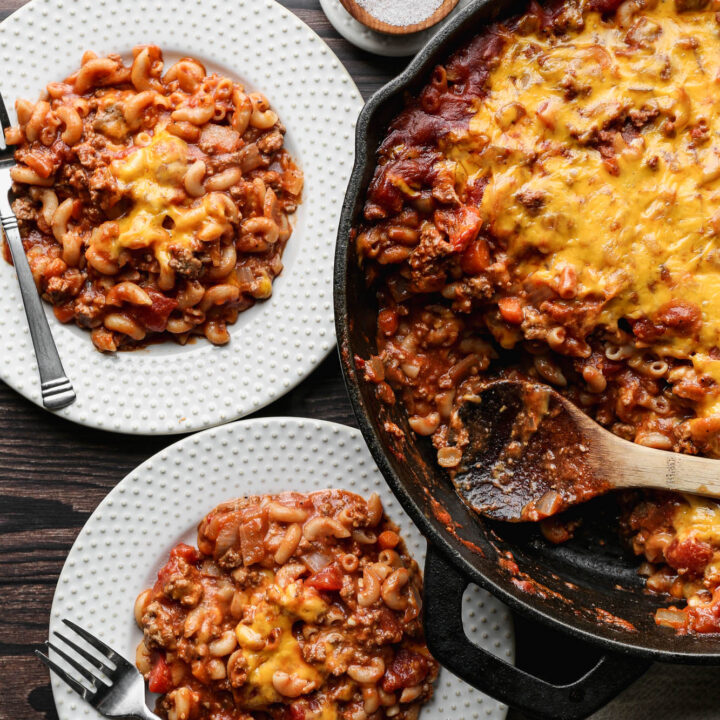
    If you are looking for more hearty meal recipes try my Gluten Free One Pot Hamburger Helper Copycat, my Gluten Free Taco Pasta Bake, my Gluten Free Taco Casserole or my Gluten Free Classic Tater Tot Casserole.

    You can find all of my dinner recipes here: Gluten Free Meal Recipes

    Two cream plates of gluten free easy ground beef shepherd's pie next to a cream 9x13 baking dish of the casserole
    [feast_advanced_jump_to]

    Ingredients

    • Ground Beef
    • Onion
    • Frozen Mixed Vegetables
    • Gluten Free Flour
    • Beef Broth
    • Worcestershire Sauce
    • Salt
    • Pepper
    • Dried Thyme
    • Dried Oregano
    • Idahoan Baby Reds Instant Potatoes
    • Boiling Water
    • Cheddar Cheese

    Instructions

    Preheat your oven to 375 degrees. Set out a 9x13 baking pan.

    In a large skillet over medium heat cook the ground beef and chopped onion until no pink remains and the meat is done.

    Sprinkle the gluten free flour over the beef mixture and then stir until it's dissolved into the beef mixture. This takes 2-3 minutes for the flour to soak up the grease.

    Add beef broth, frozen vegetables, worcestershire sauce, salt, pepper, thyme and oregano. Stir together and bring the mixture to a boil and then lower the stovetop temperature to medium low and let the mixture simmer for 5-6 minutes until the sauce thickens.

    While the beef mixture is simmering prepare the instant potatoes according to the instructions on the packet.

    Pour the meat mixture into the 9x13 baking dish. Cover this with the shredded cheddar cheese. Top that with the an even layer of the prepared instant potatoes.

    Bake at 375 degrees for 20-25 minutes until the filling is bubbling and the potatoes are very lightly browned.

    Let cool slightly and then serve.

    Supplies


    More Recipes You Might Enjoy

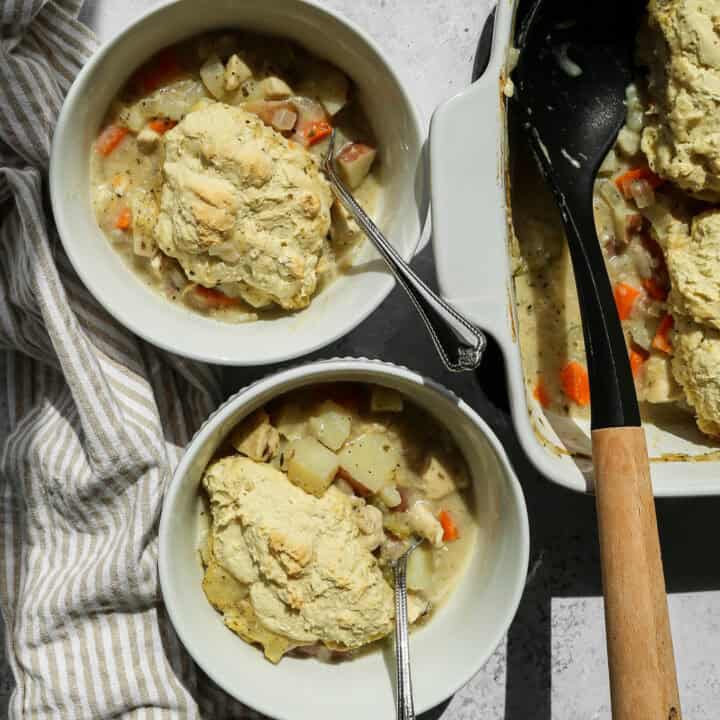
    • Gluten Free Chicken Pot Pie Casserole
    • Gluten Free Classic Tater Tot Casserole
    • 25 Inexpensive Gluten Free Dinners Your Family Will Love
    • Gluten Free Sloppy Joe Casserole

    I get a lot of my ingredients from Thrive Market. Thrive Market has been a game changer for me eating gluten free. They have so many options I can't get at my rural grocery stores! Use this link to get 40% off your first order!

    Print
    clock clock iconcutlery cutlery iconflag flag iconfolder folder iconinstagram instagram iconpinterest pinterest iconfacebook facebook iconprint print iconsquares squares iconheart heart iconheart solid heart solid icon

    Gluten Free Easy Ground Beef Shepherd's Pie


    5 Stars 4 Stars 3 Stars 2 Stars 1 Star

    No reviews

    • Author: Elaine VanVleck
    • Total Time: 40 minutes
    • Yield: 6 servings 1x
    • Diet: Gluten Free
    Print Recipe
    Pin Recipe

    Description

    This Gluten Free Easy Ground Beef Shepherd's Pie is the ultimate comfort food for chilly nights! It combines savory ground beef and creamy mashed potatoes in one cozy casserole dish.


    Ingredients

    Units Scale
    • 1 pound Ground Beef
    • 1 medium Yellow Onion, chopped
    • 2 Tbsp Gluten Free Flour
    • 1 - 12 ounce bag Frozen Mixed Vegetables
    • 1 - 14.5 ounce can Beef Broth
    • 2 Tbsp Worcestershire Sauce
    • 1 tsp Salt
    • 1 tsp Ground Black Pepper
    • 1 tsp Dried Thyme
    • ½ tsp Dried Oregano
    • 1 - 8.2 ounce package Idahoan Baby Red Instant Potatoes
    • 4 cups Boiling Water
    • 1 cup Cheddar Cheese, shredded

    Instructions

    Preheat your oven to 375 degrees. Set out a 9x13 baking pan.

    In a large skillet over medium heat cook the ground beef and chopped onion until no pink remains and the meat is done.

    Sprinkle the gluten free flour over the beef mixture and then stir until it's dissolved into the beef mixture. This takes 2-3 minutes for the flour to soak up the grease.

    Add beef broth, frozen vegetables, worcestershire sauce, salt, pepper, thyme and oregano. Stir together and bring the mixture to a boil and then lower the stovetop temperature to medium low and let the mixture simmer for 5-6 minutes until the sauce thickens.

    While the beef mixture is simmering prepare the instant potatoes according to the instructions on the packet.

    Pour the meat mixture into the 9x13 baking dish. Cover this with the shredded cheddar cheese. Top that with the an even layer of the prepared instant potatoes.

    Bake at 375 degrees for 20-25 minutes until the filling is bubbling and the potatoes are very lightly browned.

    Let cool slightly and then serve.

    • Prep Time: 20 minutes
    • Cook Time: 20 minutes
    • Category: Meals
    • Method: Baking, Stovetop
    • Cuisine: Gluten Free

    Did you make this recipe?

    Tag @smallfarmbiglife on Instagram and hashtag it #smallfarmbiglife

    Top Tip

    I love the Idahoan Baby Reds Instant Potatoes, but you could use what ever flavor instant potatoes you have.

    Didn't find the answer you're looking for?

    Ask AI to answer based on this recipe:

    ChatGPT
    Google AI
    Perplexity
    Grok
    Claude

    Frequently Asked Questions

    Can you use ground beef for shepherd's pie?

    Yes! Using ground beef in your shepherd's pie makes a hearty delicious meal with meat you can easily get at your local grocery store.

    What's the difference between shepherd's pie and cottage pie?

    Shepherd's pie is traditionally made with lamp. A cottage pie is usually made with beef. You could also call this recipe a cottage pie. Either way it's a easy casserole for weeknight meals.

    Gluten Free Chicken and Broccoli Pasta Bake

    This gluten free chicken and broccoli pasta bake is the ultimate comfort dish that's both creamy and satisfying. Made with tender chicken, frozen broccoli, and penne pasta, it's coated in a rich alfredo sauce and baked to perfection for a cozy homemade dinner.

    Whether you call it a chicken broccoli pasta casserole or a creamy baked pasta recipe, this dish delivers on flavor and makes the perfect pasta dinner recipe for busy weeknights.

    a plate of gluten free chicken and broccoli pasta bake with a fork next to it and the 9x13 baking dish behind it

    This chicken pasta bake is easy to prepare and full of cheesy goodness. It is a family favorite that doubles as an affordable food option for meal planning. It's the perfect chicken broccoli bake for weeknight meals or a simple dinner idea for gatherings.

    It's one of the best chicken and broccoli recipes to keep on hand! With its balance of creamy chicken, broccoli alfredo flavors, and baked casserole comfort, this pasta bake is a reliable go-to for easy family dinners.

    If you're looking for more meal ideas using chicken try my Gluten Free Chicken Pot Pie Casserole, my Gluten Free Chicken Parmesan Pasta Casserole, my Gluten Free Instant Pot Chicken & Dumplings or my Instant Pot Pesto Chicken Soup.

    You can find all of my meal recipes here: Gluten Free Meal Recipes

    a 9x13 baking dish of gluten free chicken and broccoli pasta bake with a couple of scoops taken out and the cheese covered spoon sitting in it
    [feast_advanced_jump_to]

    Ingredients

    • Gluten Free Penne Pasta
    • Frozen Broccoli Florets
    • Olive Oil
    • Skinless Boneless Chicken Breast
    • Cream Cheese
    • Heavy Cream
    • Salt
    • Dried Thyme
    • Black Pepper
    • Garlic Powder
    • Onion Powder
    • Mozzarella Cheese

    Instructions

    Preheat your oven to 350 degrees. Set out a 9x13 baking pan.

    Cook the pasta following the instructions on the box. Add the frozen broccoli 2 minutes before the pasta is done. When it's done drain into a strainer.

    While the pasta is cooking in a dutch oven over medium heat to add the olive oil and cook the cubed chicken breast until it's lightly browned and no pink remains.

    Add the cream cheese, heavy cream, salt, thyme, pepper, garlic powder and onion powder to the dutch oven. Simmer and cook until cream cheese is melted and the mixture is creamy.

    Add the pasta and broccoli mixture to the dutch oven. Add 1 cup of the shredded mozzarella cheese and stir to combine.

    Pour the mixture into your 9x13 baking dish. Top with the remaining shredded mozzarella cheese.

    Bake at 350 degrees for 10-12 minutes to melt the cheese on top.

    Serve immediately while the dish is warm and creamy.

    Supplies


    More Recipes You Might Enjoy

    • Gluten Free Chicken Pot Pie Casserole
    • Gluten Free Chicken Parmesan Pasta Casserole
    • Gluten Free Instant Pot Chicken and Dumplings
    • The Best Old Fashioned Chicken Salad

    I get a lot of my ingredients from Thrive Market. Thrive Market has been a game changer for me eating gluten free. They have so many options I can't get at my rural grocery stores! Use this link to get 40% off your first order!

    Print
    clock clock iconcutlery cutlery iconflag flag iconfolder folder iconinstagram instagram iconpinterest pinterest iconfacebook facebook iconprint print iconsquares squares iconheart heart iconheart solid heart solid icon

    Gluten Free Chicken and Broccoli Pasta Bake


    5 Stars 4 Stars 3 Stars 2 Stars 1 Star

    No reviews

    • Author: Elaine VanVleck
    • Total Time: 25 minutes
    • Yield: 6 servings 1x
    • Diet: Gluten Free
    Print Recipe
    Pin Recipe

    Description

    This gluten free chicken and broccoli pasta bake is the ultimate comfort dish that's both creamy and satisfying. Made with tender chicken, frozen broccoli, and penne pasta, it's coated in a rich alfredo sauce and baked to perfection for a cozy homemade dinner. 


    Ingredients

    Scale
    • 12 ounce box Gluten Free Penne Pasta, cooked
    • 12 ounce bag Frozen Broccoli Florets
    • 1 Tbsp Olive Oil
    • 1 pound Skinless Boneless Chicken Breast, cut into 1-inch cubes
    • 8 ounce package Cream Cheese
    • 1 ½ tsp Salt
    • 1 tsp Dried Thyme
    • ½ tsp Black Pepper
    • ½ tsp Garlic Powder
    • ½ tsp Onion Powder
    • 2 cups Mozzarella Cheese, shredded

    Instructions

    Preheat your oven to 350 degrees. Set out a 9x13 baking pan.

    Cook the pasta following the instructions on the box. Add the frozen broccoli 2 minutes before the pasta is done. When it's done drain into a strainer.

    While the pasta is cooking in a dutch oven over medium heat to add the olive oil and cook the cubed chicken breast until it's lightly browned and no pink remains.

    Add the cream cheese, heavy cream, salt, thyme, pepper, garlic powder and onion powder to the dutch oven. Simmer and cook until cream cheese is melted and the mixture is creamy.

    Add the pasta and broccoli mixture to the dutch oven. Add 1 cup of the shredded mozzarella cheese and stir to combine.

    Pour the mixture into your 9x13 baking dish. Top with the remaining shredded mozzarella cheese.

    Bake at 350 degrees for 10-12 minutes to melt the cheese on top.

    Serve immediately while the dish is warm and creamy.

    • Prep Time: 15 minutes
    • Cook Time: 10 minutes
    • Category: Meals, Chicken
    • Method: Stove Top, Baking
    • Cuisine: Gluten Free

    Did you make this recipe?

    Tag @smallfarmbiglife on Instagram and hashtag it #smallfarmbiglife

    Top Tip

    I like to undercook my pasta just a little so it doesn't get mushy after it's baked. I usually cut a minute or two from the cooking time and then also adding the frozen broccoli slows the cooking.

    This depends on the type of gluten free pasta also. I like to test a piece a couple of minutes before it's cook time is up.

    Didn't find the answer you're looking for?

    Ask AI to answer based on this recipe:

    ChatGPT
    Google AI
    Perplexity
    Grok
    Claude

    Frequently Asked Questions

    How can I prevent a dry, hard pasta bake?

    Make sure all of the pasta is coated in sauce when you stir the ingredients before pouring them into your baking pan. It can also help if they pasta is el dente and not completely cooked before baking so it can continue to cook while baking.

    How do I prevent the chicken from drying out?

    Make sure you don't overcook the chicken. Cook it in the olive oil and then only cook it long enough to be done. Immediately add the rest of the ingredients so the chicken is submerged in sauce and stays moist.

    Gluten Free Sourdough Sandwich Bread

    If you have already made my gluten free sourdough bread and love it, this gluten free sourdough sandwich bread is the softer, lighter version you are going to want for everyday use. My original sourdough bread has a thicker crust and a coarser crumb that is wonderful for toast and French toast.

    This sandwich bread is specifically designed to be soft and flexible enough to hold up to sandwich fillings without falling apart.

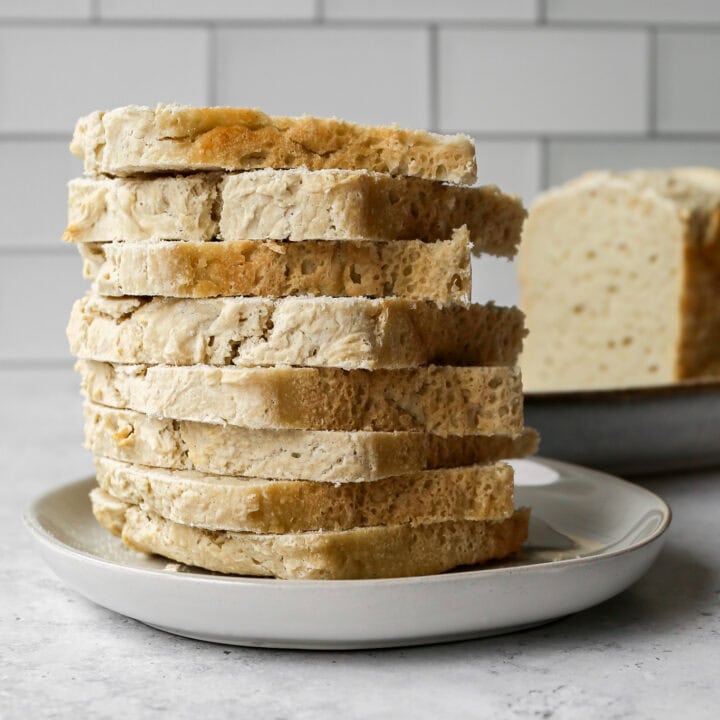
    a stack of gluten free sourdough sandwich bread slices on a white plate

    I developed this recipe because I wanted a gluten free bread I could pack for lunch and actually eat without it crumbling all over the place and this is it. It is one of the most requested recipes I have shared in a long time and after making it myself I completely understand why.

    If you're looking for more gluten free sourdough recipes try my Gluten Free Sourdough Starter, my Gluten Free Sourdough Pizza Crust, my Gluten Free Sourdough Croutons or my Gluten Free Sourdough Bread.

    You can find all of my meal recipes here: Gluten Free Meal Recipes

    a grilled cheese sandwich made out of gluten free sourdough sandwich bread on a white plate
    [feast_advanced_jump_to]

    Ingredients

    • Sourdough Starter
    • Unsalted Butter
    • Honey
    • Milk
    • Potato Starch or Tapioca Flour
    • Gluten Free Flour
    • Baking Powder
    • Salt

    Instructions

    Grease your bread pan with coconut oil or butter. Set aside.

    In the microwave or on the stovetop heat your milk just until it's warm to the touch. You don't want it too hot!

    In the bowl of your stand mixer add the sourdough starter, melted butter, honey and warm milk. Blend together.

    Add the potato starch or tapioca starch, gluten free flour, baking powder and salt. Blend just until ingredients begin to mix together. Remove from the stand mixer and gently fold any ingredients left on the bottom of the bowl into the mixture with a spatula.

    The dough will be very sticky. You don't want to knead or overwork the dough. This sticky texture will let the bread raise nicely.

    Spoon the dough into your greased bread pan. Cover the bread pan with a plate or platter and let it rest in a warm area for 6-8 hours. I like to mix my dough up at night before I go to bed and let it proof overnight and then bake in the morning.

    Preheat your oven to 350 degrees.

    Bake the bread for 1 hour 10 minutes to 1 hour 15 minutes. The top will be very lightly browned and the sides will be a little darker brown. This is a light bread and will not get really brown on top.

    Let the bread stand in the pan for at least 10 minutes to cool before you turn it out onto a plate or platter to finish cooling.

    Once the bread has completely cooled slice it into pieces and store it in a sealed container.

    Depending on how warm your house is it will last on the counter for 3-4 days. If you aren't going to use it in that amount of time place it in the fridge where it should last 5-7 days.

    Supplies


    More Recipes You Might Enjoy

    • Gluten Free Sourdough Bread
    • How to Feed and Maintain a Gluten Free Sourdough Starter
    • Gluten Free Sourdough Croutons
    • Gluten Free Sourdough Pizza Crust

    I get a lot of my ingredients from Thrive Market. Thrive Market has been a game changer for me eating gluten free. They have so many options I can't get at my rural grocery stores! Use this link to get 40% off your first order!

    Print
    clock clock iconcutlery cutlery iconflag flag iconfolder folder iconinstagram instagram iconpinterest pinterest iconfacebook facebook iconprint print iconsquares squares iconheart heart iconheart solid heart solid icon

    Gluten Free Sourdough Sandwich Bread


    5 Stars 4 Stars 3 Stars 2 Stars 1 Star

    5 from 2 reviews

    • Author: Elaine VanVleck
    • Total Time: 9 hours 10 minutes
    • Yield: 12 servings 1x
    • Diet: Gluten Free
    Print Recipe
    Pin Recipe

    Description

    This gluten free sourdough sandwich bread is softer and lighter than a traditional artisan sourdough loaf, making it the perfect everyday bread for sandwiches, toast, and grilled cheese. Made with a gluten free sourdough starter and a simple blend of gluten free flour and potato starch or tapioca flour, this no knead loaf proofs overnight and bakes up with a beautiful tender crumb that holds together perfectly for sandwiches. It is one of the closest things to real bread you will find in a gluten free recipe!


    Ingredients

    Scale
    • 1 ½ cups Gluten Free Sourdough Starter
    • 4 Tbsp Unsalted Butter, melted
    • 2 Tbsp Honey
    • 1 ¾ cups Milk, warm
    • ½ cup Potato Starch or Tapioca Flour
    • 2 ½ cups Gluten Free Flour
    • 1 Tbsp Baking Powder
    • 2 tsp Salt

    Instructions

    Grease your bread pan with coconut oil or butter. Set aside.

    In the microwave or on the stovetop heat your milk just until it's warm to the touch. You don't want it too hot!

    In the bowl of your stand mixer add the sourdough starter, melted butter, honey and warm milk. Blend together.

    Add the potato starch or tapioca starch, gluten free flour, baking powder and salt. Blend just until ingredients begin to mix together. Remove from the stand mixer and gently fold any ingredients left on the bottom of the bowl into the mixture with a spatula.

    The dough will be very sticky. You don't want to knead or overwork the dough. This sticky texture will let the bread raise nicely.

    Spoon the dough into your greased bread pan. Cover the bread pan with a plate or platter and let it rest in a warm area for 6-8 hours. I like to mix my dough up at night before I go to bed and let it proof overnight and then bake in the morning.

    Preheat your oven to 350 degrees.

    Bake the bread for 1 hour 10 minutes to 1 hour 15 minutes. The top will be very lightly browned and the sides will be a little darker brown. This is a light bread and will not get really brown on top.

    Let the bread stand in the pan for at least 10 minutes to cool before you turn it out onto a plate or platter to finish cooling.

    Once the bread has completely cooled slice it into pieces and store it in a sealed container.

    Depending on how warm your house is it will last on the counter for 3-4 days. If you aren't going to use it in that amount of time place it in the fridge where it should last 5-7 days.

    • Prep Time: 8 hours
    • Cook Time: 1 hour, 10 minutes
    • Category: Breads
    • Method: Baking
    • Cuisine: American

    Did you make this recipe?

    Tag @smallfarmbiglife on Instagram and hashtag it #smallfarmbiglife

    Storage

    Store your completely cooled gluten free sourdough sandwich bread in a sealed airtight container at room temperature for 3 to 4 days. If your house runs warm store it in the refrigerator where it will last 5 to 7 days. You can also freeze this bread! Slice it first and freeze in an airtight freezer safe container for up to one month. Frozen slices can go straight from the freezer to the toaster which makes this a great option for meal prep.

    Top Tips

    It is very important for the structure of this bread that you use either potato starch or tapioca flour. I tried this recipe without it and it turns out hard and more like a biscuit.

    For milk I liked regular dairy milk, but I usually use unsweetened almond milk in my recipe because that's what I keep in my fridge.

    Didn't find the answer you're looking for?

    Ask AI to answer based on this recipe:

    ChatGPT
    Google AI
    Perplexity
    Grok
    Claude

    Frequently Asked Questions

    Can you eat sourdough bread on a gluten free diet?

    I know that some people who have an intolerance to gluten can eat sourdough that is made from regular wheat flour. That isn't the case for me and may not be the case for you. If you can't tolerate any gluten I wouldn't suggest eating regular sour dough bread.

    This recipe shows you how to make your own gluten free sourdough starter. I love that you are in control of everything that goes into the starter and the environment it is processed in. You will know for sure that it's gluten free and safe for you.

    How does gluten free sourdough work?

    What makes this recipe truly gluten free is that the sourdough starter is made strictly with gluten free flour. There isn't any gluten in the process of making the starter or in the bread recipe.

    This sourdough bread is made from a fermented sourdough starter and doesn't need gluten to work. The bread rises because of the fermentation. The process of making the bread is different from a gluten sourdough starter, but you still get delicious bread with this recipe.

    Do I remove the covering before baking the bread?

    Yes! The plate or pan you use to cover the bread pan during proofing is only there to trap warmth and help the dough rise. Remove it completely before placing the bread in the oven. Bake uncovered for the full 1 hour 10 minutes to 1 hour 15 minutes.

    How do I know when this gluten free sourdough sandwich bread is done baking?

    The top will be very lightly browned and the sides will be a slightly darker brown when the bread is done. This is a lighter bread than traditional sourdough and will not get deeply brown on top so do not wait for that. Bake for the full time at 350 degrees and let it cool completely in the pan for at least 10 minutes before turning out. Unlike wheat sourdough you will not get a hollow sound when you tap the bottom. Gluten free bread is much denser and that test does not apply here.

    What is the difference between this sandwich bread and your original gluten free sourdough bread?

    My original gluten free sourdough bread has a thicker crust and a coarser, chewier crumb that is wonderful for toast, French toast, and croutons. This sandwich bread is specifically formulated to be softer and more flexible, making it better suited for everyday sandwiches and packed lunches. If you want a hearty artisan style loaf go with the original. If you want an everyday sandwich bread that holds together without crumbling this is the one.

    If you made this gluten free sourdough sandwich bread I would love to hear what you thought! Please leave a star rating and a comment below. It truly means so much to hear how this recipe is working for you.

    • « Previous Page
    • 1
    • …
    • 14
    • 15
    • 16
    • 17
    • 18
    • …
    • 100
    • Next Page »

    Welcome! I'm Elaine

    I'm so glad you are here! I share easy gluten free recipes from my small farm in Washington.

    Be sure to sign up for my newsletter to stay up to date on all of my new recipes.

    More about me...
    • Instagram
    • Pinterest
    • Facebook
    • Twitter
    • Mail

    Load up on new recipes, exclusive goodies, + more!
    Sign up below to stay up-to-date on news, events, and special deals.
    Thank you for subscribing!

    Easy Meals Recipes

    • Gluten Free Instant Pot Chili Mac and Cheese
    • Gluten Free Taco Casserole
    • Gluten Free Cowboy Baked Beans
    • Gluten Free Walking Taco Casserole
    • Gluten Free Creamy Beef and Mushroom Pasta
    • Gluten Free Instant Pot Chicken and Dumplings
    • Instant Pot Mexican Style Beef and Rice
    • Gluten Free Chicken Parmesan Pasta Casserole
    • Gluten Free One Pot Hamburger Helper Copycat
    • Gluten Free Salisbury Steak with Mushroom Gravy
    • Gluten Free Air Fryer Fajitas
    • Gluten Free Sloppy Joe Casserole

    Footer

    back to top

    About

    • Privacy Policy
    • Shop my Amazon Page
    • Follow me on LTK

    Newsletter

    • Sign Up! for emails and updates

    Contact

    • Contact
    • Media Kit
    • About Me

    As an Amazon Associate I earn from qualifying purchases.

    I may get commissions for purchases made through links on this site.

    Copyright © 2026 Brunch Pro on the Brunch Pro Theme