• Skip to primary navigation
  • Skip to main content
  • Skip to primary sidebar
  • Skip to footer
Small Farm Big Life logo
  • Recipe Index
  • Subscribe
  • Resources
  • Home Decor
  • Nav Social Menu

    • Email
    • Facebook
    • Instagram
    • Pinterest
menu icon
go to homepage
subscribe
search icon
Homepage link
  • Home
  • Recipe Index
  • Subscribe
  • My Story
  • Resources
  • Free Guides
  • Home Decor
    • Email
    • Facebook
    • Instagram
    • Pinterest
  • ×

    Gluten Free Creamy Peas and Pasta

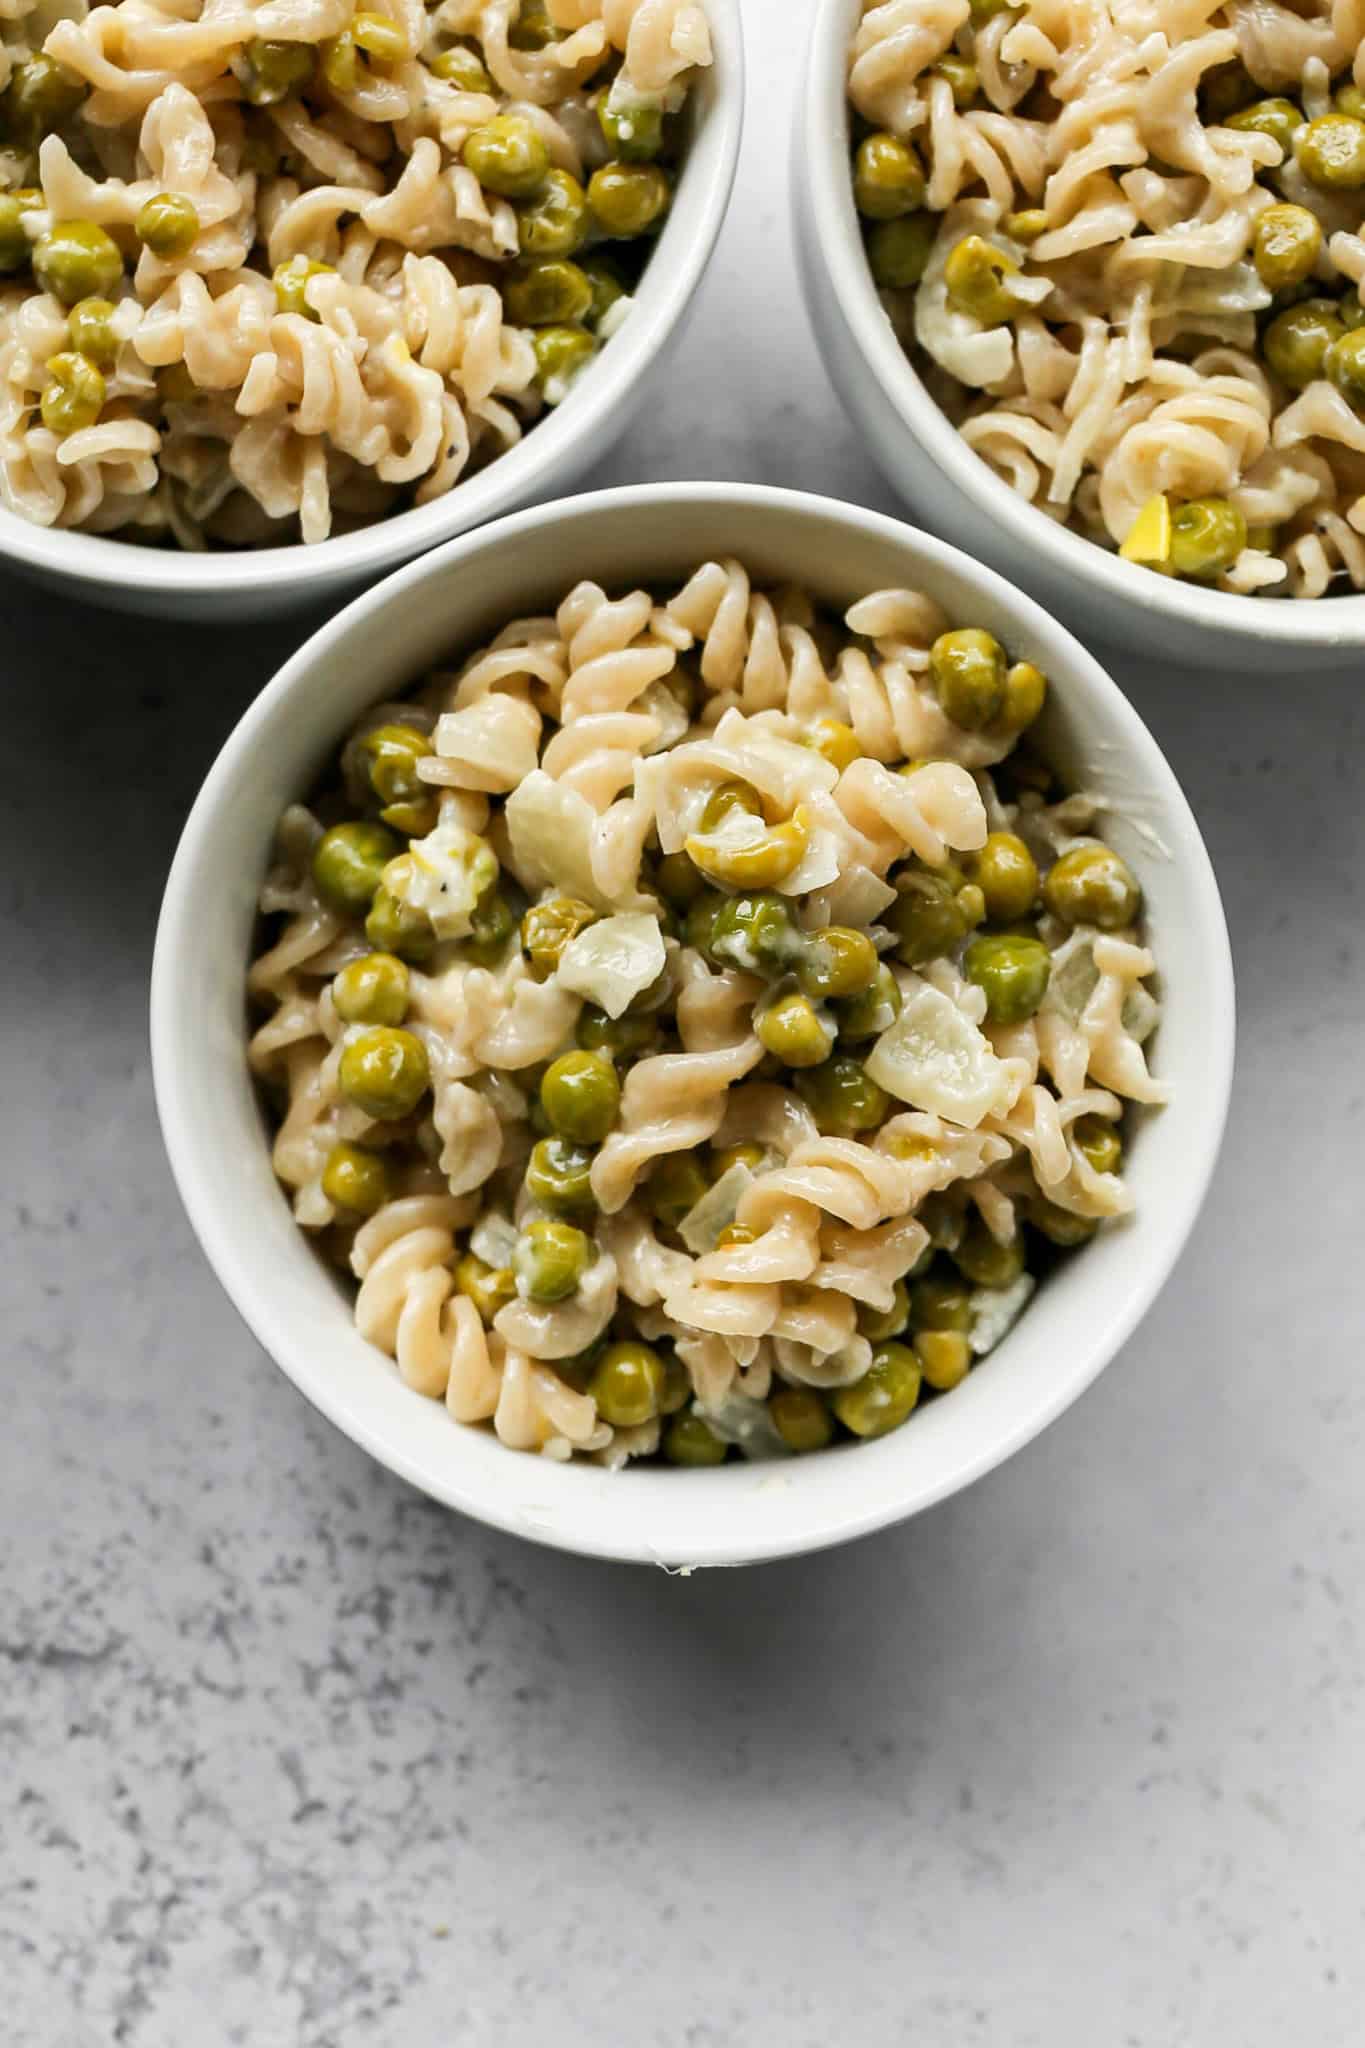
    This gluten free creamy peas and pasta is the kind of simple and satisfying weeknight dinner that comes together in about 30 minutes with ingredients you probably already have on hand. Gluten free fusilli pasta gets tossed in a rich and velvety cream sauce loaded with sweet peas, sautéed onion, minced garlic, and bright lemon zest for a dish that is fresh, comforting, and completely gluten free from start to finish.

    A generous handful of finely grated parmesan and a squeeze of fresh lemon juice finish the sauce and give it a bold and savory flavor that makes this one of those easy gluten free pasta recipes you will want to make on repeat all spring and summer long.

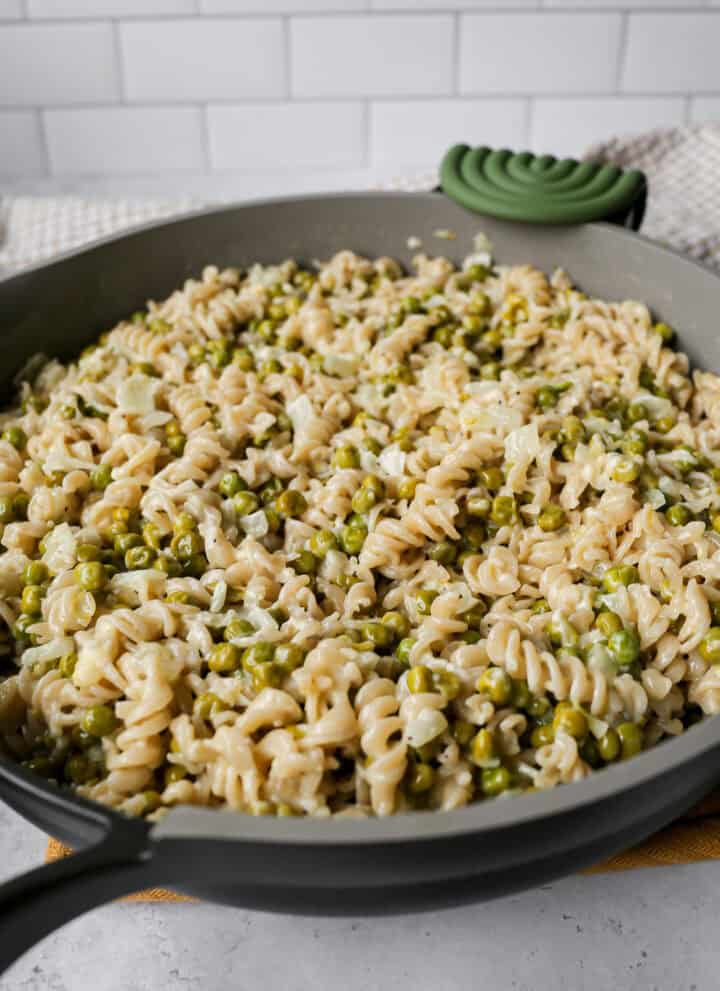
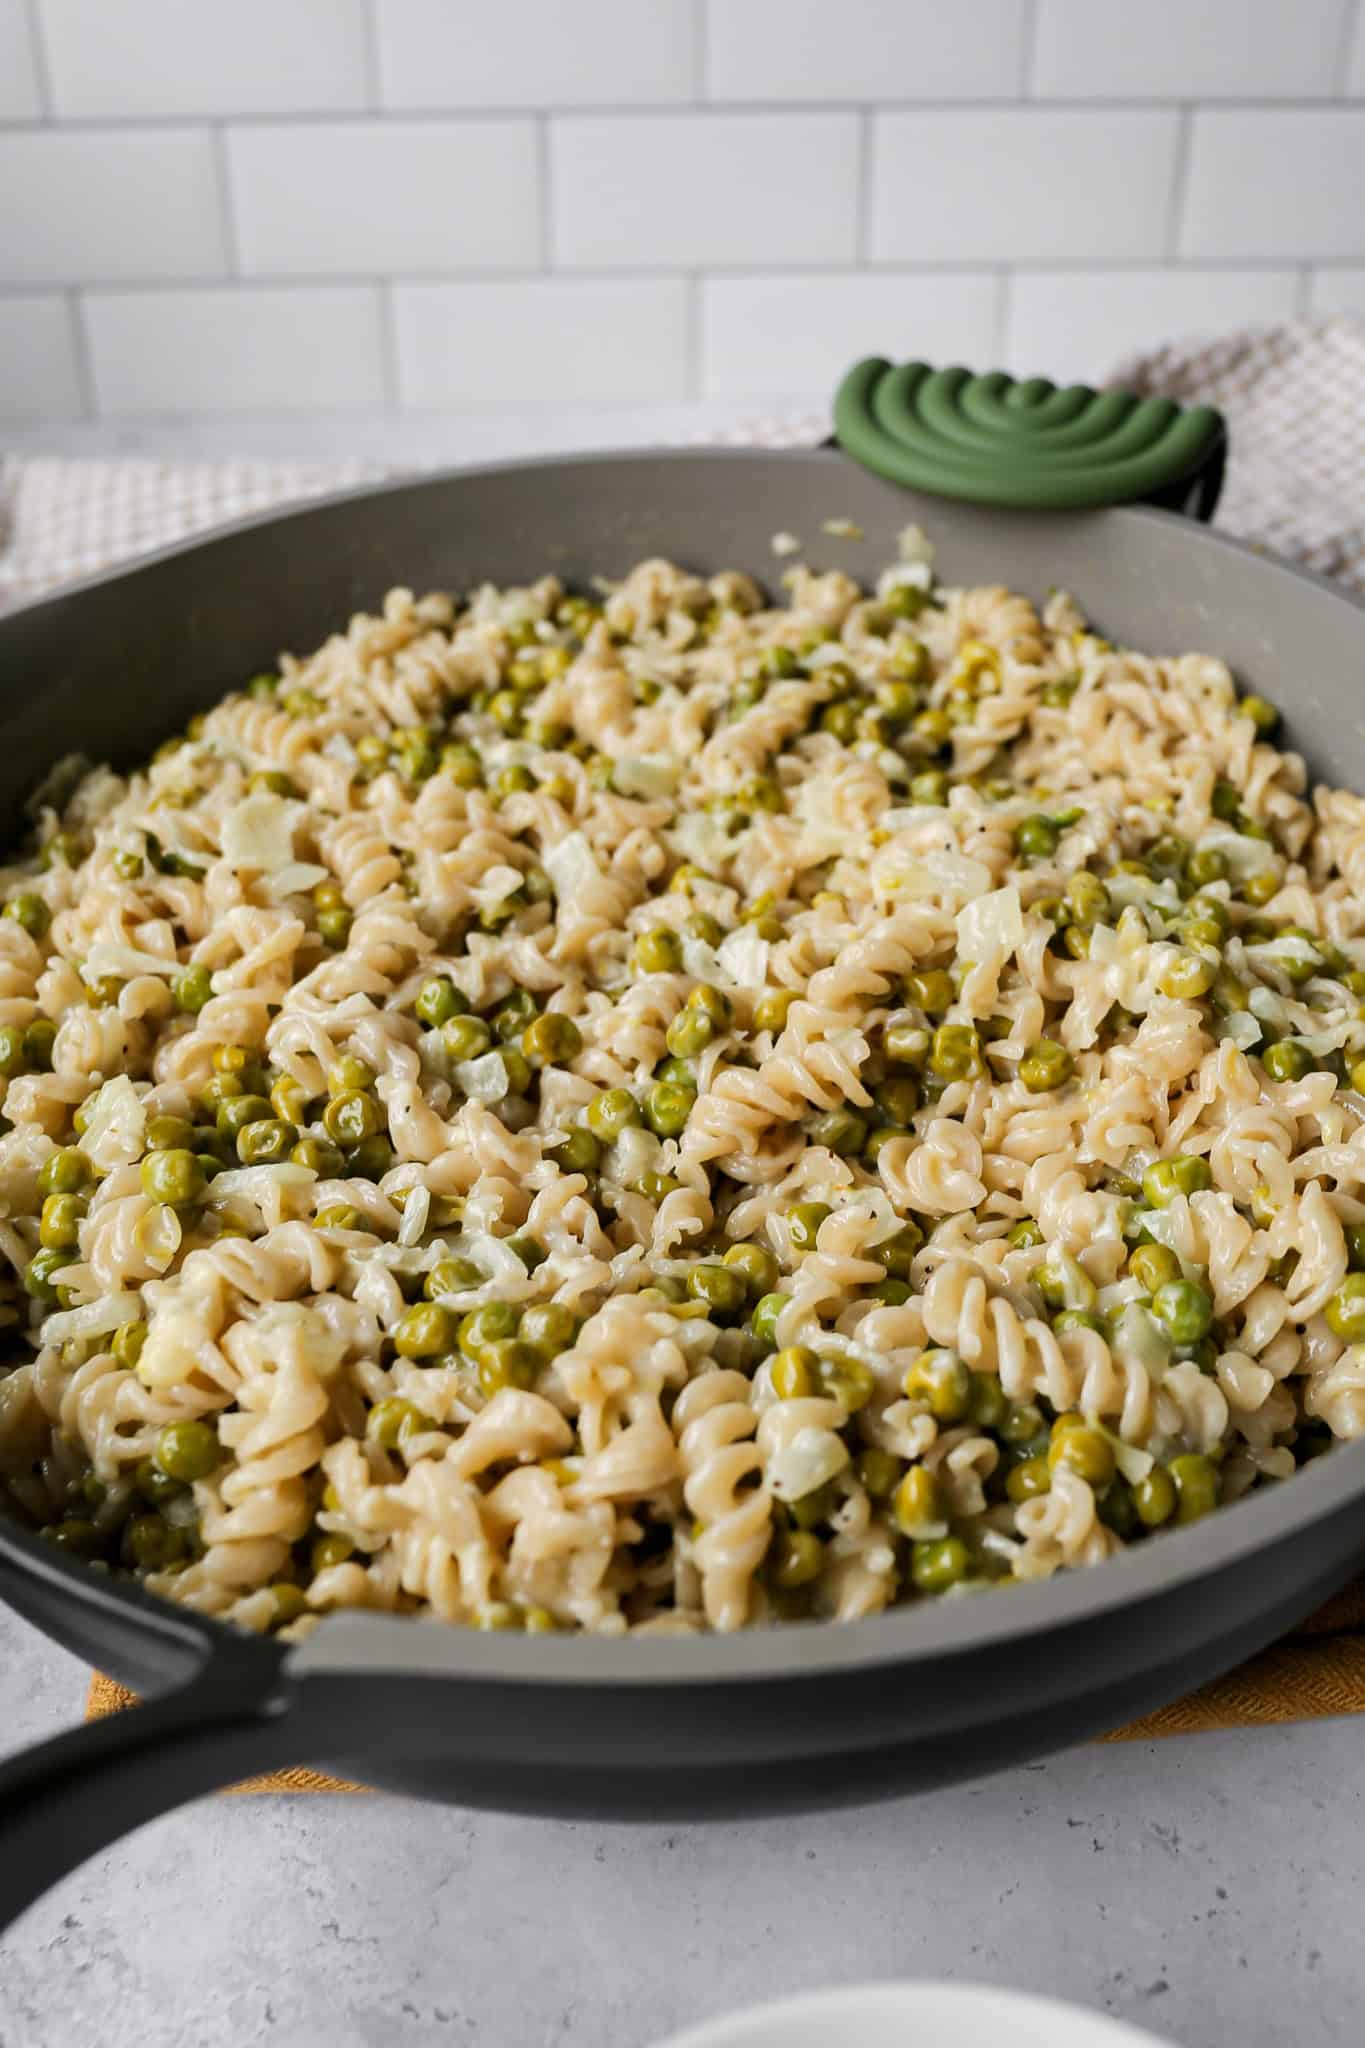
    a pan of gluten free creamy peas and past next to a tan gingham kitchen towel

    What makes this gluten free peas and pasta so special is how the cream sauce comes together. Sautéing the peas with the onion, garlic, and lemon zest before adding the cream gives the sauce a deep and layered flavor that tastes like you spent a lot more time on it than you actually did.

    The sauce reduces down into the most luxurious and creamy coating that clings to every piece of gluten free fusilli pasta beautifully. It is light enough to feel fresh and seasonal for spring but rich and hearty enough to satisfy the whole family at the dinner table.

    Serve it as a simple main dish or pair it alongside grilled chicken or shrimp for a more substantial gluten free dinner.

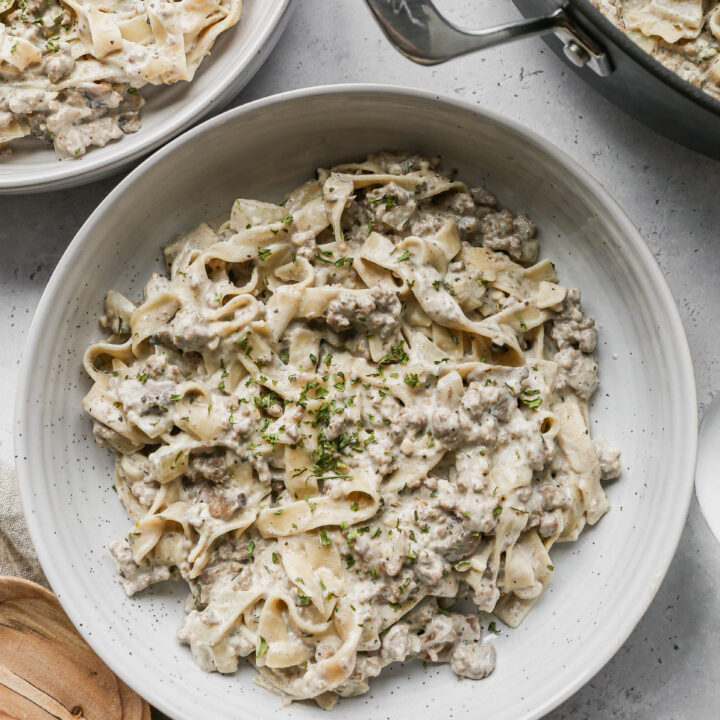
    If you're looking for more creamy gluten free pasta recipes try my Gluten Free Chicken Carbonara Pasta Bake, my Gluten Free Chicken and Broccoli Pasta Bake, my Gluten Free Creamy Beef and Mushroom Pasta or my Gluten Free One Pot Hamburger Helper Copycat.

    You can find all my meal recipes here: Gluten Free Meal Recipes

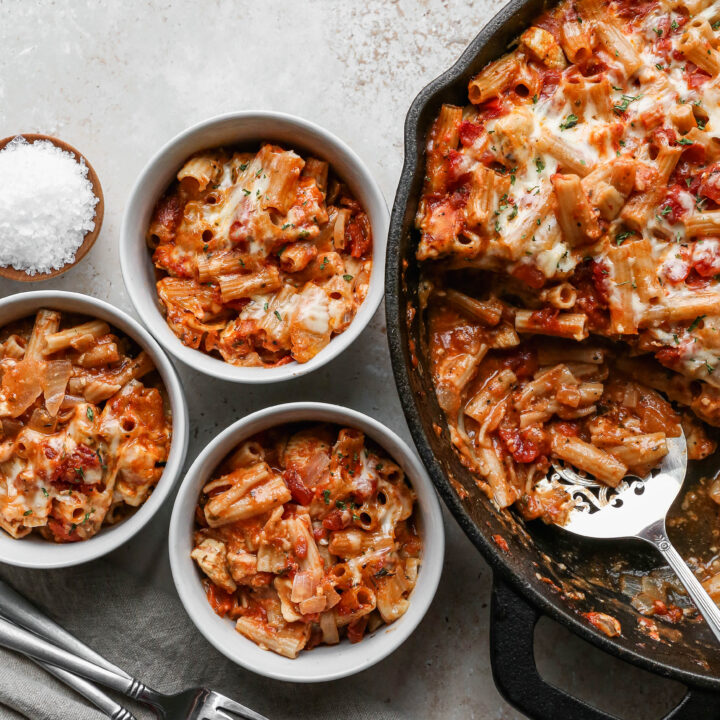
    three white bowls of gluten free creamy peas and pasta
    [feast_advanced_jump_to]

    Ingredients

    • Frozen Peas
    • Yellow Onion
    • Minced Garlic
    • Butter
    • Olive Oil
    • Lemon Zest
    • Heavy Cream
    • Lemon Juice
    • Parmesan Cheese
    • Salt
    • Black Pepper
    • Gluten Free Fusilli Pasta

    Instructions

    In a stock pot cook the gluten free fusilli pasta per the package instructions. When the pasta is done, strain it and then return the pasta to the pot you cooked it in.

    While the pasta is cooking, in a saute pan over medium heat melt the butter with the olive oil. Add the peas, onion, minced garlic and lemon zest. Saute until onions are translucent and the peas are cooked through.

    Pour the cream into the pea mixture and bring to a boil. Lower the temperature and simmer for 5-7 minutes to reduce the sauce.

    Add the lemon juice, cheese, salt and pepper. Stir to combine.

    Add the cooked and drained gluten free pasta to the pea mixture. Stir to coat the pasta and serve immediately.

    Supplies


    More Recipes You Might Enjoy
    • Gluten Free Chicken Carbonara Pasta Bake
    • Gluten Free Chicken and Broccoli Pasta Bake
    • Gluten Free Creamy Beef and Mushroom Pasta
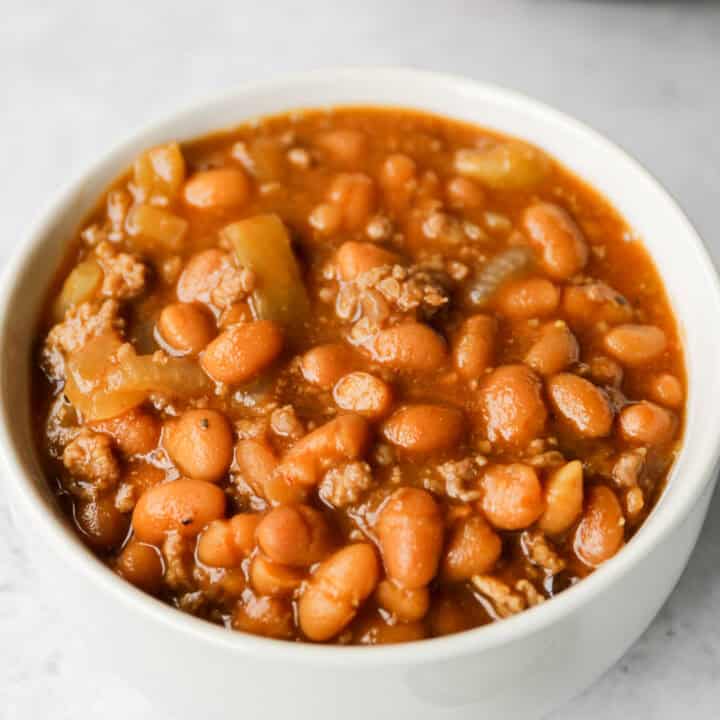
    • Gluten Free One Pot Hamburger Helper Copycat

    I get a lot of my ingredients from Thrive Market. Thrive Market has been a game changer for me eating gluten free. They have so many options I can't get at my rural grocery stores! Use this link to get 40% off your first order!

    Print
    clock clock iconcutlery cutlery iconflag flag iconfolder folder iconinstagram instagram iconpinterest pinterest iconfacebook facebook iconprint print iconsquares squares iconheart heart iconheart solid heart solid icon

    Gluten Free Creamy Peas and Pasta


    5 Stars 4 Stars 3 Stars 2 Stars 1 Star

    No reviews

    • Author: Elaine VanVleck
    • Total Time: 30 minutes
    • Yield: 6 servings 1x
    • Diet: Gluten Free
    Print Recipe
    Pin Recipe

    Description

    This easy gluten free creamy peas and pasta is a fresh and satisfying weeknight dinner ready in just 30 minutes! Gluten free fusilli pasta is tossed in a rich and velvety cream sauce loaded with sweet peas, sautéed onion, minced garlic, lemon zest, and finely grated parmesan for a bright and comforting gluten free pasta recipe the whole family will love. Perfect for spring and summer weeknight dinners!


    Ingredients

    Scale
    • 2 - 12 ounce bags Frozen Peas
    • 1 Yellow Onion, finely chopped
    • 2 Tbsp Minced Garlic
    • 2 Tbsp Butter
    • 1 Tbsp Olive Oil
    • 1 Tbsp Lemon Zest
    • 1 cup Heavy Cream
    • 2 Tbsp Lemon Juice
    • ½ cup Parmesan Cheese, finely grated
    • ½ tsp Salt
    • ¼ tsp Black Pepper
    • 12 ounce package Jovial Gluten Free Brown Rice Fusilli Pasta

    Instructions

    In a stock pot cook the gluten free fusilli pasta per the package instructions. When the pasta is done, strain it and then return the pasta to the pot you cooked it in.

    While the pasta is cooking, in a saute pan over medium heat melt the butter with the olive oil. Add the peas, onion, minced garlic and lemon zest. Saute until onions are translucent and the peas are cooked through.

    Pour the cream into the pea mixture and bring to a boil. Lower the temperature and simmer for 5-7 minutes to reduce the sauce.

    Add the lemon juice, cheese, salt and pepper. Stir to combine.

    Add the cooked and drained gluten free pasta to the pea mixture. Stir to coat the pasta and serve immediately.

    If you made this recipe please leave a star rating and comment below. It helps other readers find this recipe and means so much to me.

    • Prep Time: 15 minutes
    • Cook Time: 15 minutes
    • Category: Meals, Pasta
    • Method: Stove Top
    • Cuisine: American

    Did you make this recipe?

    Tag @smallfarmbiglife on Instagram and hashtag it #smallfarmbiglife

    If you make this Gluten Free Creamy Peas and Pasta I would love to hear what you think! Leave a star rating and a comment below and let me know what you served it with.

    Don't forget to save this recipe to your Pinterest boards so you can find it again on busy weeknights all spring and summer long!

    Storage

    Store leftover gluten free creamy peas and pasta in an airtight container in the refrigerator for up to 3 to 4 days. Keep in mind that gluten free pasta tends to absorb the cream sauce as it sits so the leftovers will be thicker and denser than when freshly made.

    To reheat add a splash of heavy cream or milk to the pasta and warm gently on the stovetop over medium low heat stirring frequently until heated through and the sauce is creamy again. You can also reheat individual portions in the microwave in a covered bowl with a splash of cream stirred in to help loosen the sauce.

    This pasta dish is not suitable for freezing as the cream sauce will separate and the gluten free pasta will become mushy and lose its texture once thawed.

    Top Tip

    Do not drain all of the pasta cooking water before returning the pasta to the pot. Reserve about half a cup of the starchy pasta water before straining and set it aside before adding the pasta to the pea and cream sauce. If the sauce feels too thick or the pasta starts to clump together as you stir everything together you can add a splash of the reserved pasta water to loosen the sauce and help it coat every piece of fusilli evenly. The starch in the pasta water also helps the cream sauce cling to the gluten free pasta better than plain water would and gives the finished dish a silkier and more cohesive texture.

    Frequently Asked Questions

    Can I use fresh peas instead of frozen?

    Yes! Fresh peas work beautifully in this recipe during spring and early summer when they are in season and at their sweetest. Use the same amount as the frozen peas called for in the recipe and add them to the pan at the same time as you would the frozen peas. Fresh peas may cook slightly faster than frozen so keep an eye on them and taste as you go to make sure they do not get overdone. Frozen peas are a great year round option and are just as delicious and nutritious as fresh so use whatever is most convenient for you.

    Can I make this recipe dairy free?

    Yes! To make this recipe dairy free substitute full fat canned coconut cream for the heavy cream and use a dairy free parmesan alternative or nutritional yeast in place of the parmesan cheese. The flavor will be slightly different but the sauce will still be rich and creamy. Use a dairy free butter alternative in place of the regular butter as well. Keep in mind that coconut cream can add a subtle coconut flavor to the sauce so if you want a more neutral dairy free option look for an unsweetened cashew cream or oat cream instead.

    Can I add protein to this recipe to make it a more complete meal?

    Absolutely! This creamy peas and pasta is wonderful as a simple main dish but it is also delicious with added protein. Grilled or pan seared chicken breast or chicken thighs sliced over the top is a classic pairing. Sautéed shrimp is another beautiful option that works especially well with the lemon and pea flavors in the sauce. You can also stir in cooked crispy bacon or pancetta for a richer and more indulgent version of this dish.

    Can I use a different pasta shape for this recipe?

    Yes! While gluten free fusilli works beautifully because the spiral shape holds onto the creamy sauce so well you can substitute any short gluten free pasta shape you have on hand. Gluten free penne, rotini, rigatoni, or shells all work well in this recipe. Avoid long pasta shapes like spaghetti or fettuccine as they do not hold the creamy pea sauce as well and are harder to mix and serve evenly.

    Can I use half and half instead of heavy cream?

    You can but keep in mind that the sauce will be thinner and less rich than when made with heavy cream. Heavy cream is what gives the sauce its luxurious and velvety texture that coats the pasta so beautifully. If you use half and half you may need to simmer the sauce for a few extra minutes to help it reduce and thicken to the right consistency. Do not substitute whole milk as it does not have enough fat content to create a stable and creamy sauce and may curdle when brought to a boil.

    Can I make this recipe ahead of time?

    This pasta dish is best made fresh and served immediately for the creamiest texture and best flavor. However you can make the pea and cream sauce up to 24 hours ahead of time and store it in a sealed container in the refrigerator. When you are ready to serve simply cook the gluten free pasta fresh, warm the sauce gently on the stovetop, and toss everything together. This is a great option for busy weeknights when you want to get some of the prep work done ahead of time.

    Gluten Free Chicken Carbonara Pasta Bake

    If you love the rich and creamy flavors of a classic carbonara but want something hearty enough to feed the whole family, this gluten free chicken carbonara pasta bake is exactly what you need. Tender chunks of chicken, crispy bacon, sweet peas, and gluten free penne pasta are tossed in the most luxurious cream, egg, and three cheese sauce made with ricotta, mozzarella, and parmesan and then baked in a 9x13 dish until perfectly set with a golden crispy breadcrumb and parmesan topping.

    It has all the indulgent flavors of traditional carbonara in an easy baked pasta format that is completely gluten free from start to finish.

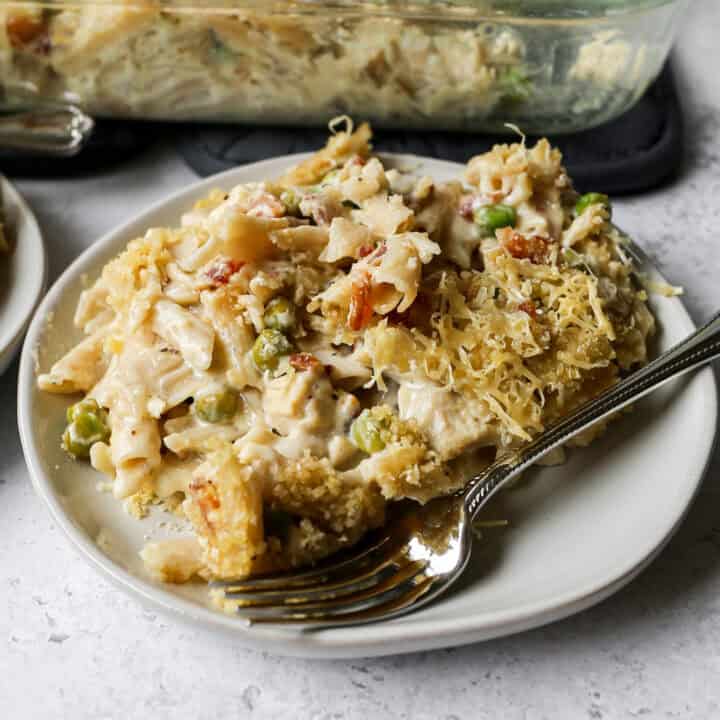
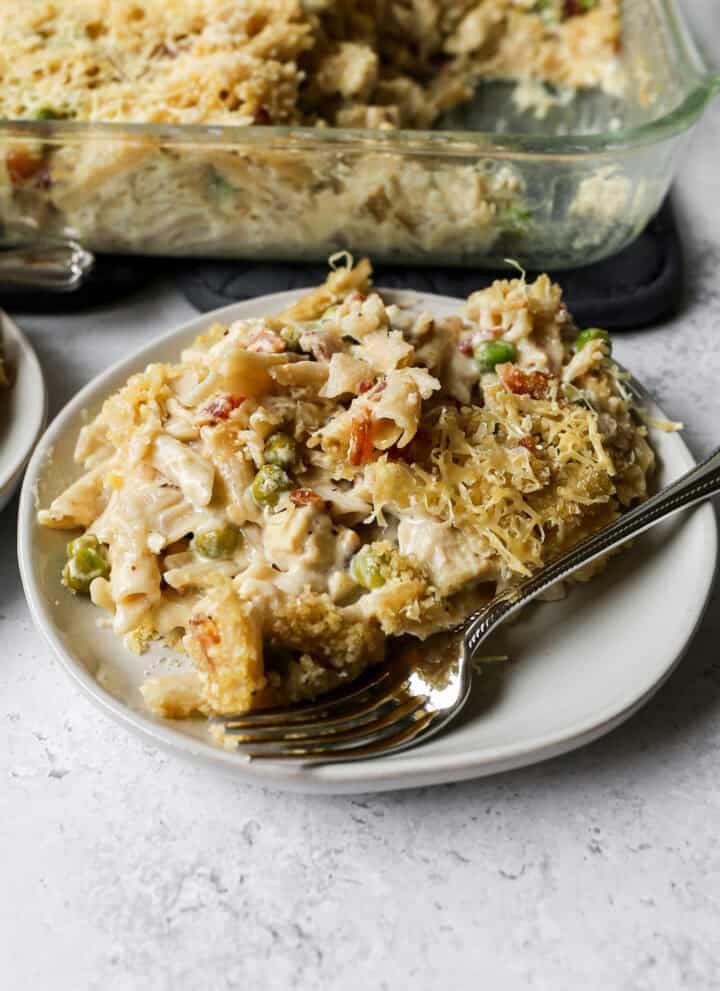
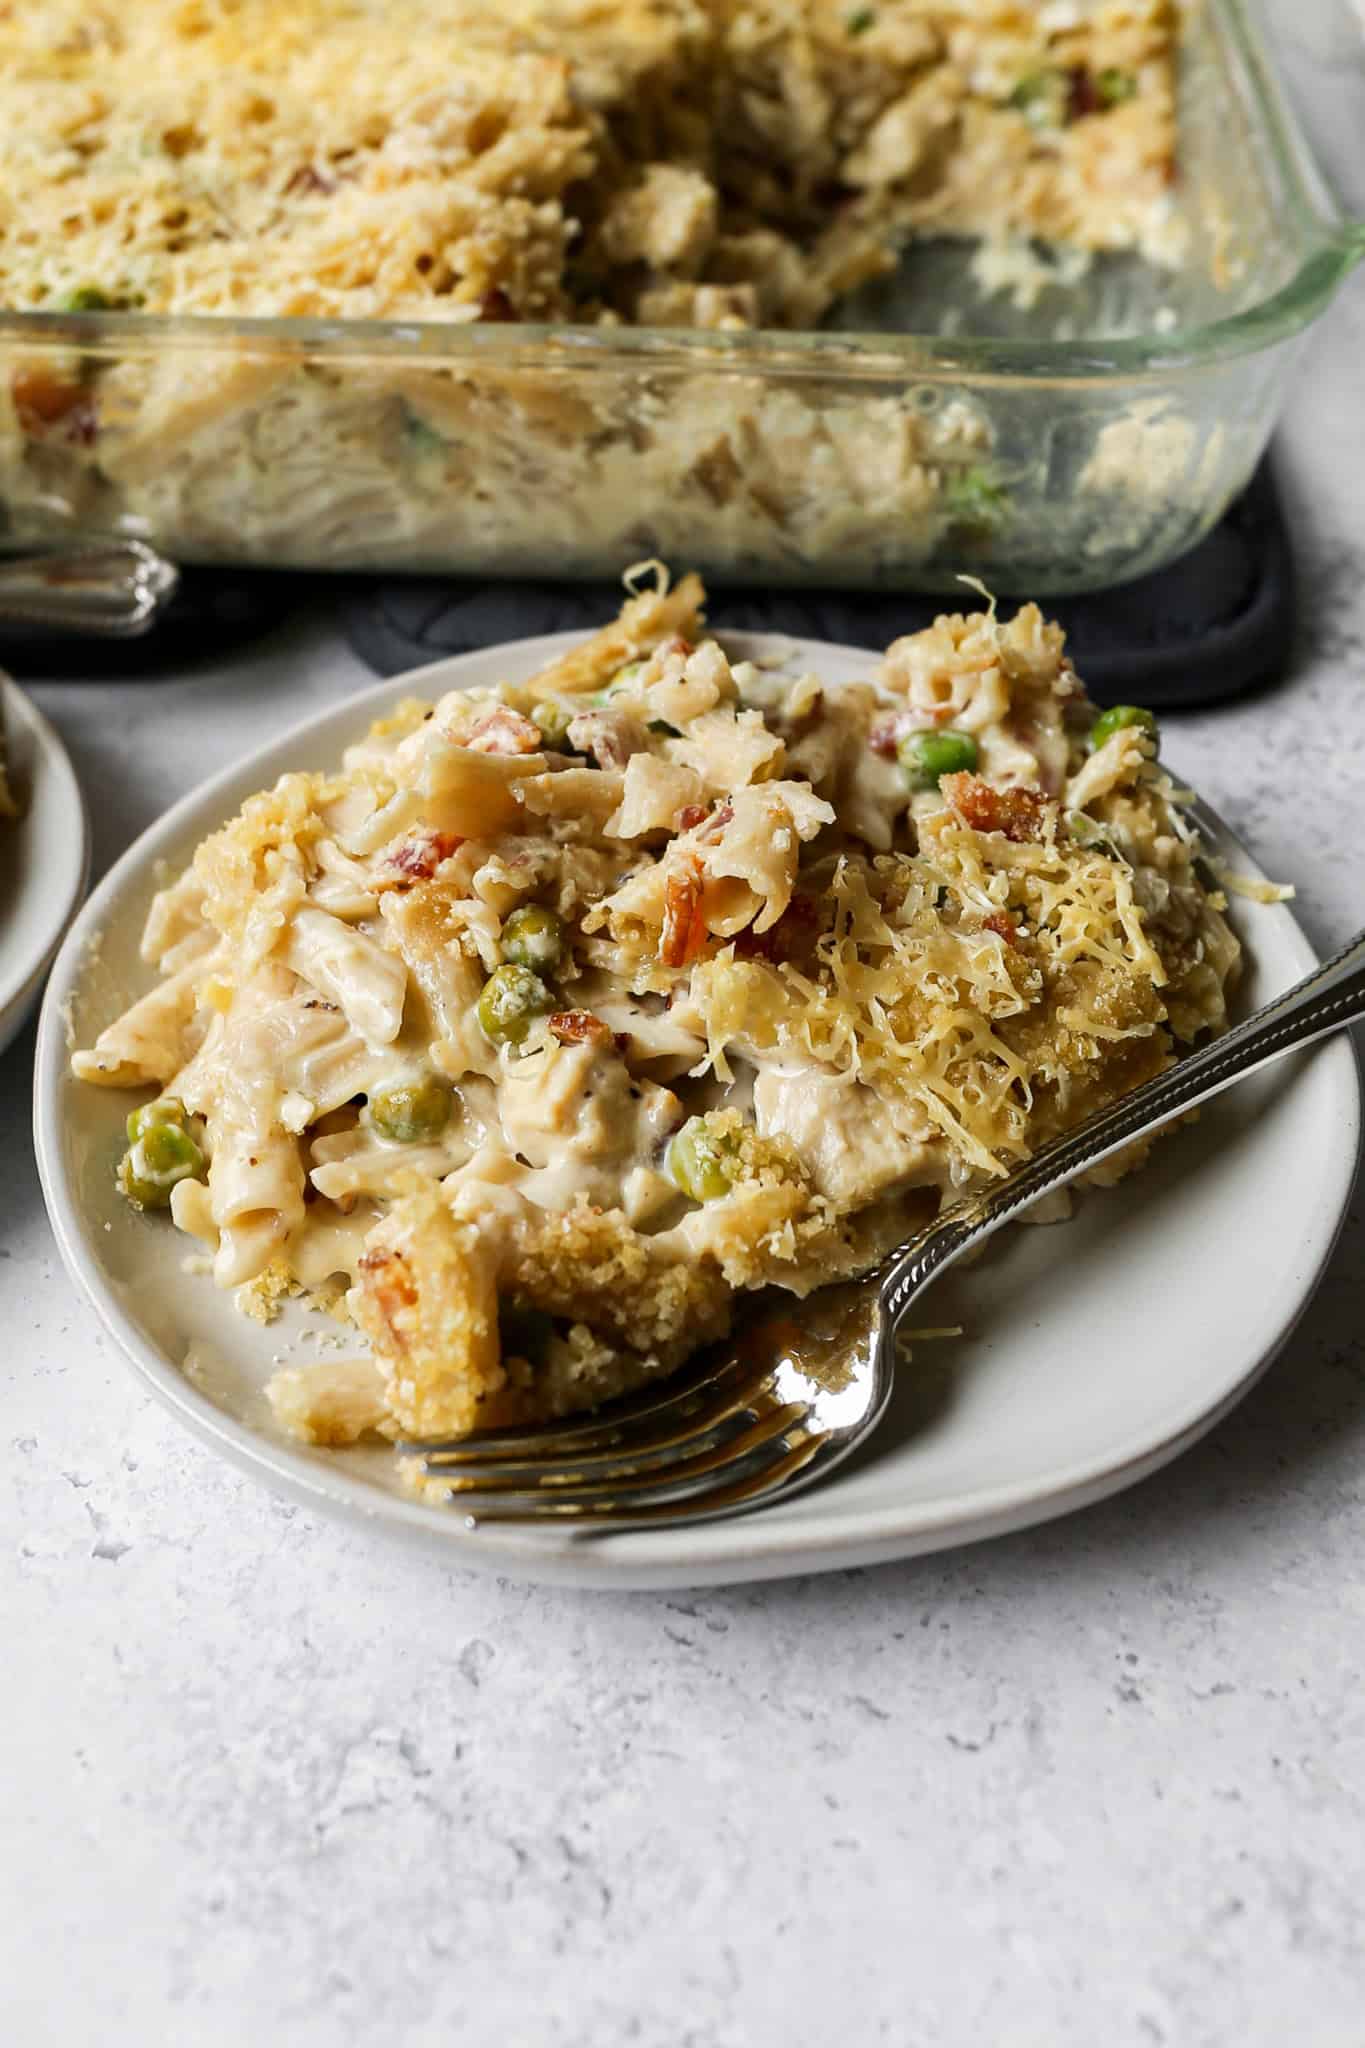
    a serving on a white plate of gluten free chicken carbonara pasta cake in front of the clear 9x13 pan it came from

    This easy gluten free pasta bake comes together with simple steps that anyone can follow and is ready to go into the oven in about 30 minutes.

    It is the kind of hearty and satisfying gluten free dinner recipe that the whole family will love and it is impressive enough to serve to guests without requiring a lot of extra effort.

    Perfect for busy weeknights when you need a filling meal on the table fast, holiday gatherings where you need a crowd pleasing dish everyone can enjoy, or any time you are craving the ultimate gluten free comfort food dinner.

    Leftovers reheat beautifully which makes it a great option for meal prep too.

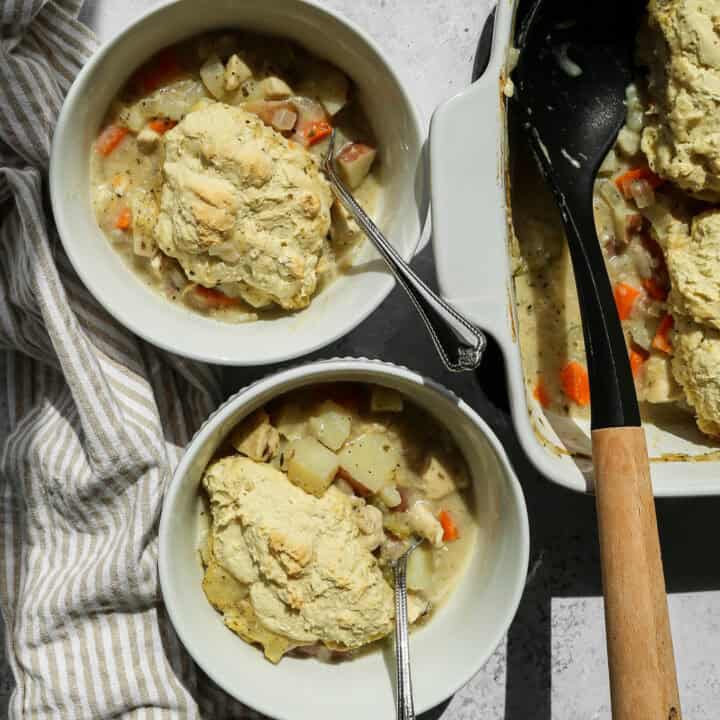
    If you are looking for more chicken meal recipes try my Gluten Free Chicken Parmesan Pasta Casserole, my Gluten Free Chicken Pot Pie Casserole, my Gluten Free Chicken and Broccoli Pasta Bake or my Gluten Free Instant Pot Chicken & Dumplings.

    You can find all my meal recipes here: Gluten Free Meal Recipes

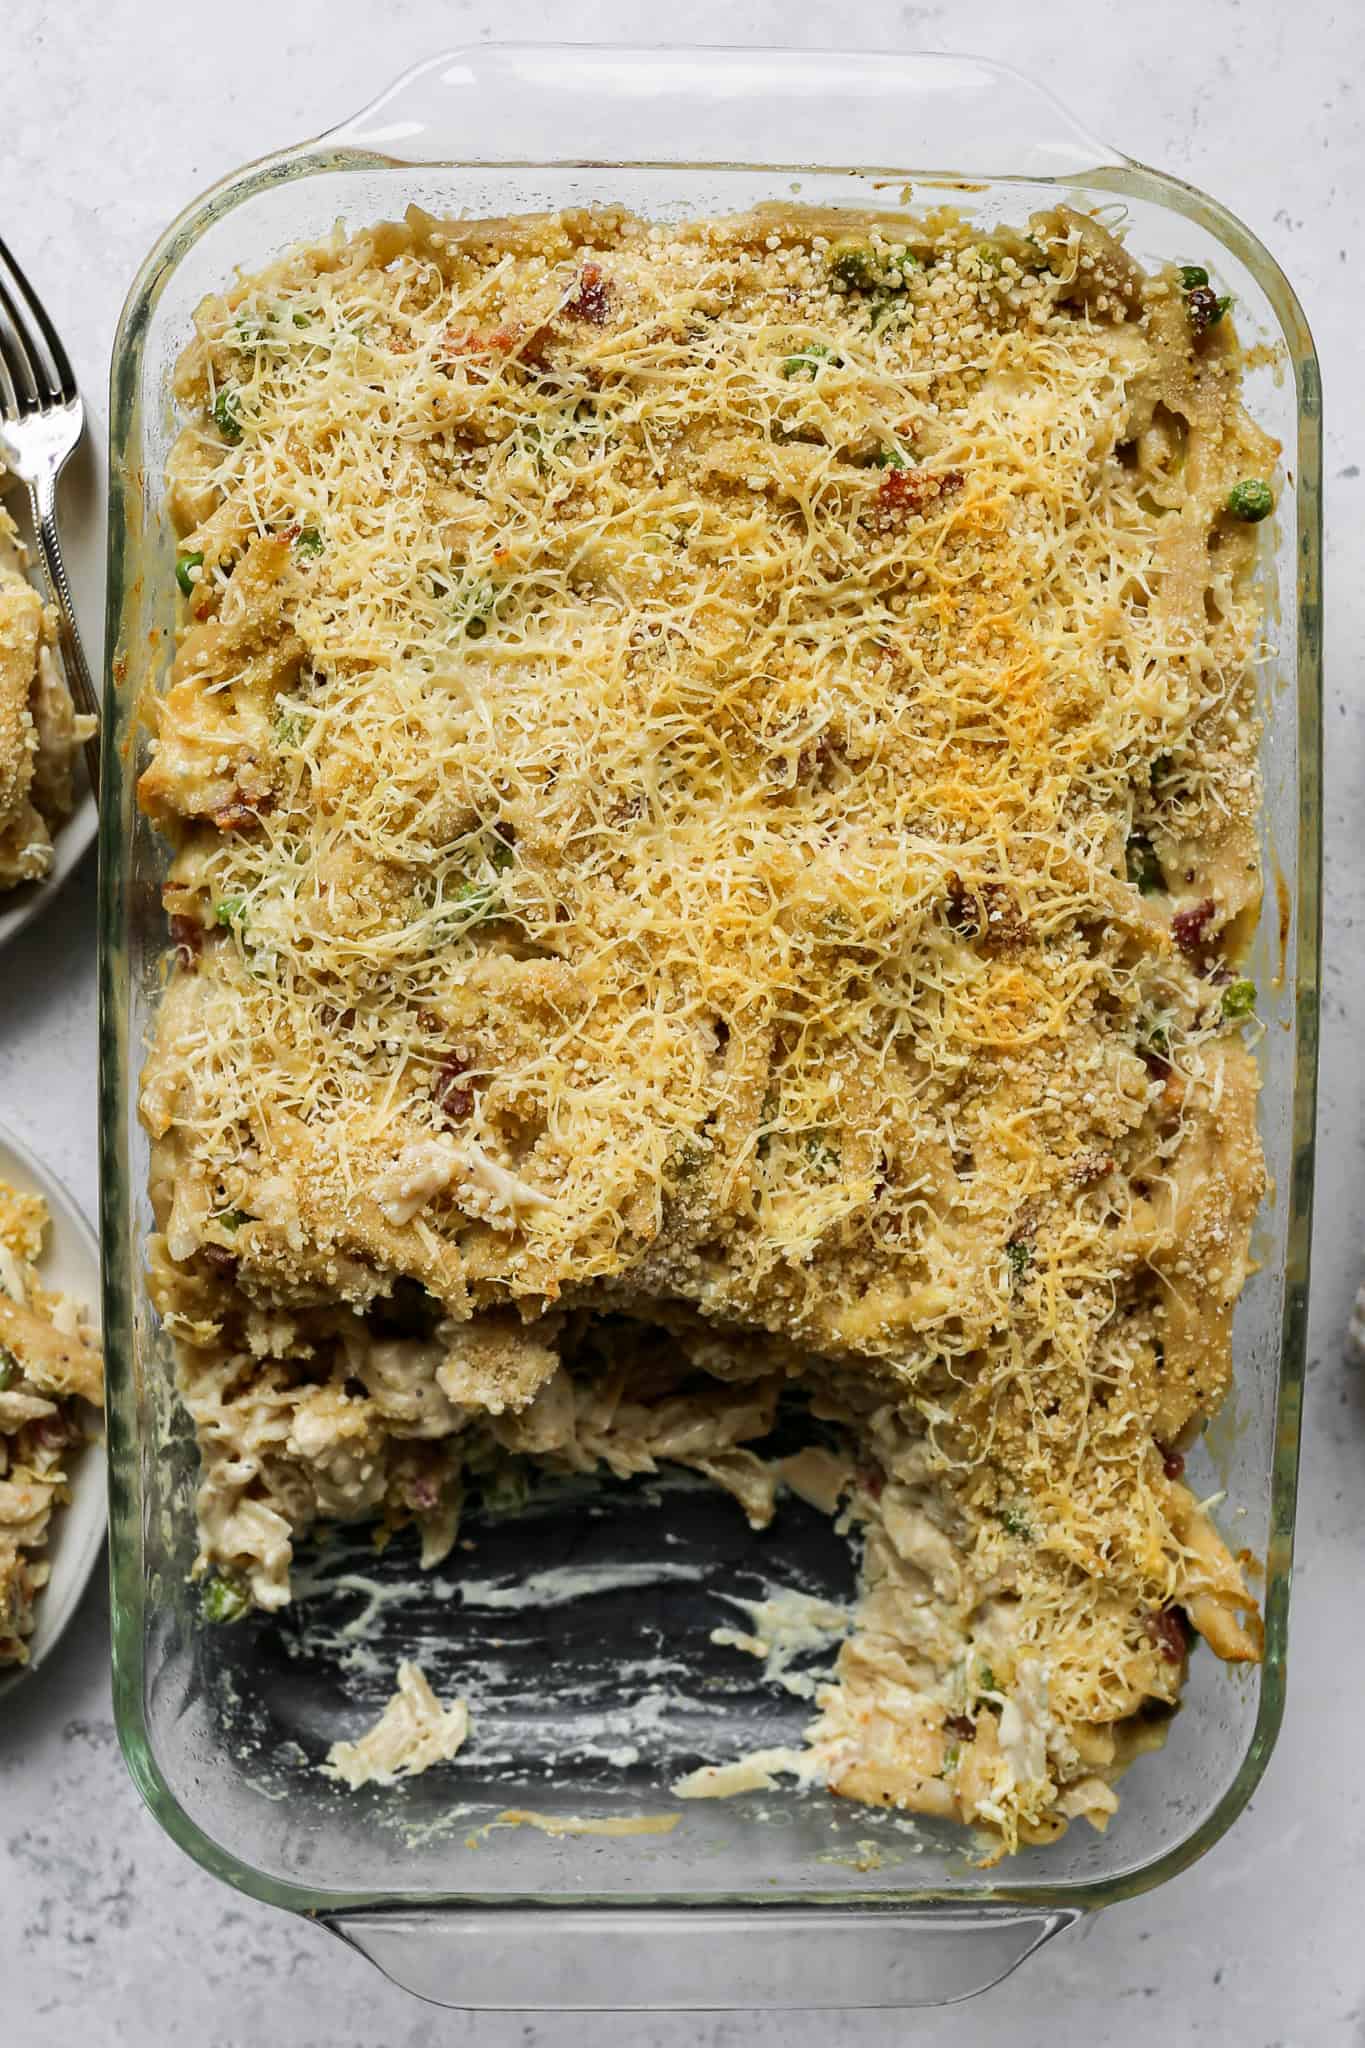
    a clear glass 9x13 baking pan of gluten free chicken carbonara pasta bake
    [feast_advanced_jump_to]

    Ingredients

    • Gluten Free Penne Pasta
    • Boneless Skinless Chicken Breast
    • Olive Oil
    • Minced Garlic
    • Frozen Peas
    • Bacon
    • Heavy Cream
    • Eggs
    • Ricotta Cheese
    • Mozzarella Cheese
    • Parmesan Cheese
    • Salt
    • Black Pepper
    • Gluten Free Bread Crumbs

    Instructions

    Preheat your oven to 350 degrees.

    Cook your gluten free pasta per the instructions on the package.

    While the pasta is cooking, cut your chicken breast into bite size chunks and cook the chicken in olive oil until lightly browned and cooked through. Add the garlic, peas and bacon. Heat through 2-3 minutes.

    Whisk together the cream, eggs, ricotta cheese. Add the shredded mozzarella cheese, ¼ cup parmesan cheese, salt and pepper. Stir to combine.

    When your gluten free pasta is done, strain it from the water and add the cooked noodles back to the pot.

    Add the cheese mixture and chicken mixture to the pot with the noodles. Stir to combine.

    Pour the noodle mixture into your 9x13 baking dish. Top with a the gluten free bread crumbs and ½ cup finely grated parmesan cheese.

    Bake at 350 degrees for 15-20 minutes. If you would like the top to be crunchy turn your oven to broil and carefully broil the top until it's lightly browned. Watch this process carefully as the top will brown quickly.

    Serve immediately.

    Supplies


    More Recipes You Might Enjoy
    • Gluten Free Chicken Parmesan Pasta Casserole
    • Gluten Free Chicken Pot Pie Casserole
    • Gluten Free Chicken and Broccoli Pasta Bake
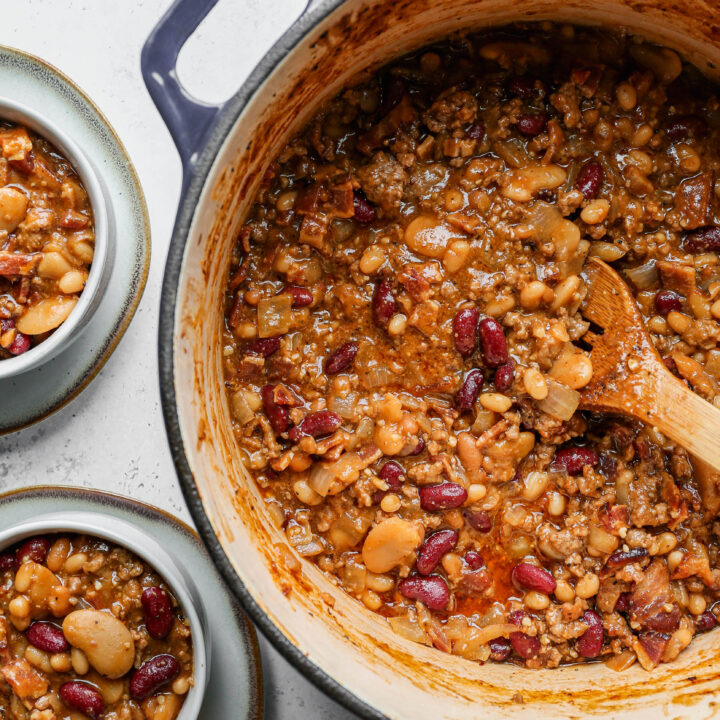
    • Gluten Free Instant Pot Chicken & Dumplings

    I get a lot of my ingredients from Thrive Market. Thrive Market has been a game changer for me eating gluten free. They have so many options I can't get at my rural grocery stores! Use this link to get 40% off your first order!

    Print
    clock clock iconcutlery cutlery iconflag flag iconfolder folder iconinstagram instagram iconpinterest pinterest iconfacebook facebook iconprint print iconsquares squares iconheart heart iconheart solid heart solid icon

    Gluten Free Chicken Carbonara Pasta Bake


    5 Stars 4 Stars 3 Stars 2 Stars 1 Star

    No reviews

    • Author: Elaine VanVleck
    • Total Time: 40 minutes
    • Yield: 6 servings 1x
    • Diet: Gluten Free
    Print Recipe
    Pin Recipe

    Description

    This easy gluten free chicken carbonara pasta bake is the ultimate comfort food dinner! Tender chicken, crispy bacon, sweet peas, and gluten free penne pasta are tossed in a rich and creamy three cheese sauce made with ricotta, mozzarella, and parmesan and baked until perfectly set with a golden crispy breadcrumb topping. A hearty and crowd pleasing gluten free baked pasta recipe the whole family will love!


    Ingredients

    Scale
    • 12 ounce package Gluten Free Penne Pasta, cooked
    • 1 pound Boneless, Skinless, Chicken Breast, cubed and cooked
    • 1 Tbsp Olive Oil
    • 1 Tbsp Minced Garlic
    • 1 cup Frozen Peas
    • 8 slices Bacon, cooked and chopped
    • 1 cup Heavy Cream
    • 3 large Eggs
    • 8 ounces Ricotta Cheese
    • 1 cup Mozzarella Cheese, shredded
    • ¾ cup Parmesan Cheese, finely grated (divided)
    • 1 tsp Salt
    • ½ tsp Black Pepper
    • ½ cup Gluten Free Bread Crumbs

    Instructions

    Preheat your oven to 350 degrees.

    Cook your gluten free pasta per the instructions on the package.

    While the pasta is cooking, cut your chicken breast into bite size chunks and cook the chicken in olive oil until lightly browned and cooked through. Add the garlic, peas and bacon. Heat through 2-3 minutes.

    Whisk together the cream, eggs, ricotta cheese. Add the shredded mozzarella cheese, ¼ cup parmesan cheese, salt and pepper. Stir to combine.

    When your gluten free pasta is done, strain it from the water and add the cooked noodles back to the pot.

    Add the cheese mixture and chicken mixture to the pot with the noodles. Stir to combine.

    Pour the noodle mixture into your 9x13 baking dish. Top with a the gluten free bread crumbs and ½ cup finely grated parmesan cheese.

    Bake at 350 degrees for 15-20 minutes. If you would like the top to be crunchy turn your oven to broil and carefully broil the top until it's lightly browned. Watch this process carefully as the top will brown quickly.

    Serve immediately.

    • Prep Time: 20 minutes
    • Cook Time: 20 minutes
    • Category: Meals, Dinner
    • Method: Baking
    • Cuisine: American

    Did you make this recipe?

    Tag @smallfarmbiglife on Instagram and hashtag it #smallfarmbiglife

    If you make this Gluten Free Chicken Carbonara Pasta Bake I would love to hear what you think! Leave a star rating and a comment below and let me know what you served it with.

    Don't forget to save this recipe to your Pinterest boards so you can find it again on busy weeknights!

    Storage

    Store leftover gluten free chicken carbonara pasta bake in an airtight container in the refrigerator for up to 3 to 4 days. Reheat individual portions in the microwave in a covered bowl with a splash of water or cream stirred in to help loosen the sauce and prevent it from drying out.

    You can also reheat the whole dish covered with foil in a 350 degree oven for about 20 minutes until warmed through. Because this recipe contains eggs and dairy it is important to refrigerate leftovers promptly after serving and not leave the dish sitting out at room temperature for more than two hours.

    This pasta bake can be frozen but the creamy egg based sauce may change in texture slightly once thawed. If freezing store in a freezer safe container for up to 2 months and thaw overnight in the refrigerator before reheating.

    Top Tip

    Do not skip the broiling step at the end if you want a truly impressive golden and crispy topping. The 15 to 20 minutes of baking at 350 degrees sets the carbonara sauce and cooks everything through but it will not give you that deeply golden and crunchy breadcrumb and parmesan crust on top. Just a few minutes under the broiler transforms the topping completely.

    The key is to watch it very carefully because the parmesan and breadcrumbs can go from perfectly golden to burnt in less than a minute under high broiler heat. Stay right at the oven and pull it out the moment the top is golden and bubbling.

    Frequently Asked Questions

    Can I make this gluten free chicken carbonara pasta bake ahead of time?

    Yes! You can assemble the entire pasta bake up to 24 hours ahead of time and store it covered tightly in the refrigerator before baking. When you are ready to bake pull it from the fridge while the oven preheats and add 5 to 10 minutes to the bake time since it will be going in cold. This makes it a great option for holiday entertaining and busy weeknights when you want to get the prep work done ahead of time and just pop it in the oven when you are ready to eat.

    Can I use a different pasta shape for this recipe?

    Yes! While gluten free penne works beautifully in this bake because the tubes hold onto the creamy carbonara sauce so well, you can substitute any short gluten free pasta shape you have on hand. Gluten free rigatoni, rotini, ziti, or shells all work well. Avoid long pasta shapes like spaghetti or fettuccine as they do not hold up as well in a baked pasta dish and are harder to mix and serve.

    Can I leave out the peas?

    Absolutely! The peas add a pop of color and a touch of sweetness that balances the richness of the carbonara sauce beautifully but if you are not a fan you can simply leave them out. You could also substitute frozen corn, chopped spinach, or diced roasted red peppers for a different flavor and color.

    Is this recipe safe to eat with the eggs in the sauce?

    Yes! Unlike traditional carbonara which relies on raw eggs tossed with hot pasta to create a creamy sauce, this recipe bakes the egg and cream mixture in the oven at 350 degrees which fully cooks the eggs through. The baked pasta is completely safe to eat and the eggs are what give the sauce its rich and custardy texture once baked.

    Can I substitute the ricotta cheese in this recipe?

    Yes! If you do not have ricotta on hand you can substitute cottage cheese for a similar creamy texture. Drain the cottage cheese well before using to remove excess liquid. Cream cheese is another option that will give you a slightly richer and denser sauce. Keep in mind that both substitutions will change the flavor slightly but the pasta bake will still be delicious and creamy.

    Can I use store bought rotisserie chicken instead of cooking the chicken from scratch?

    Absolutely and this is actually a great shortcut for busy weeknights! Simply shred or cube your rotisserie chicken and add it directly to the pan with the garlic, peas, and bacon to heat everything through. Using rotisserie chicken cuts down significantly on the prep time and makes this already easy gluten free pasta bake even faster to pull together.

    Air Fryer BBQ Chicken Thighs

    These gluten free air fryer BBQ chicken thighs are about to become your new weeknight dinner staple. Boneless skinless chicken thighs get coated in a rich and smoky homemade BBQ sauce made from scratch with ketchup, brown sugar, apple cider vinegar, gluten free Worcestershire sauce, yellow mustard, and a perfectly balanced blend of spices, then air fried until tender, juicy, and caramelized to perfection.

    The homemade BBQ sauce comes together in just minutes and is so much better than anything from a bottle, making this one of those easy gluten free dinner recipes that feels impressive without requiring a lot of effort.

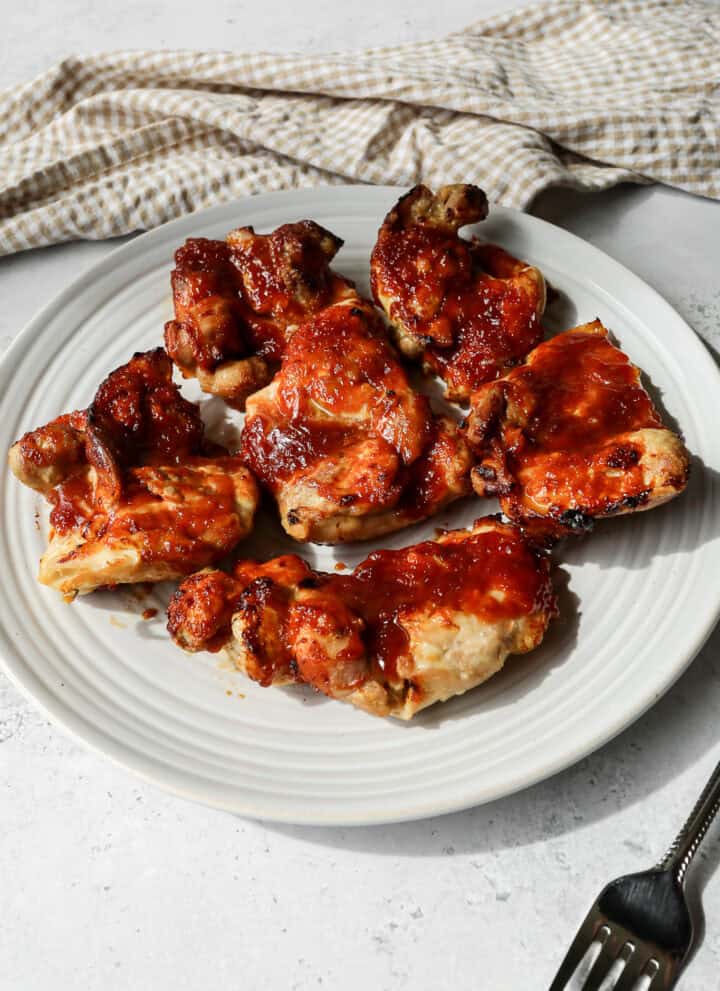
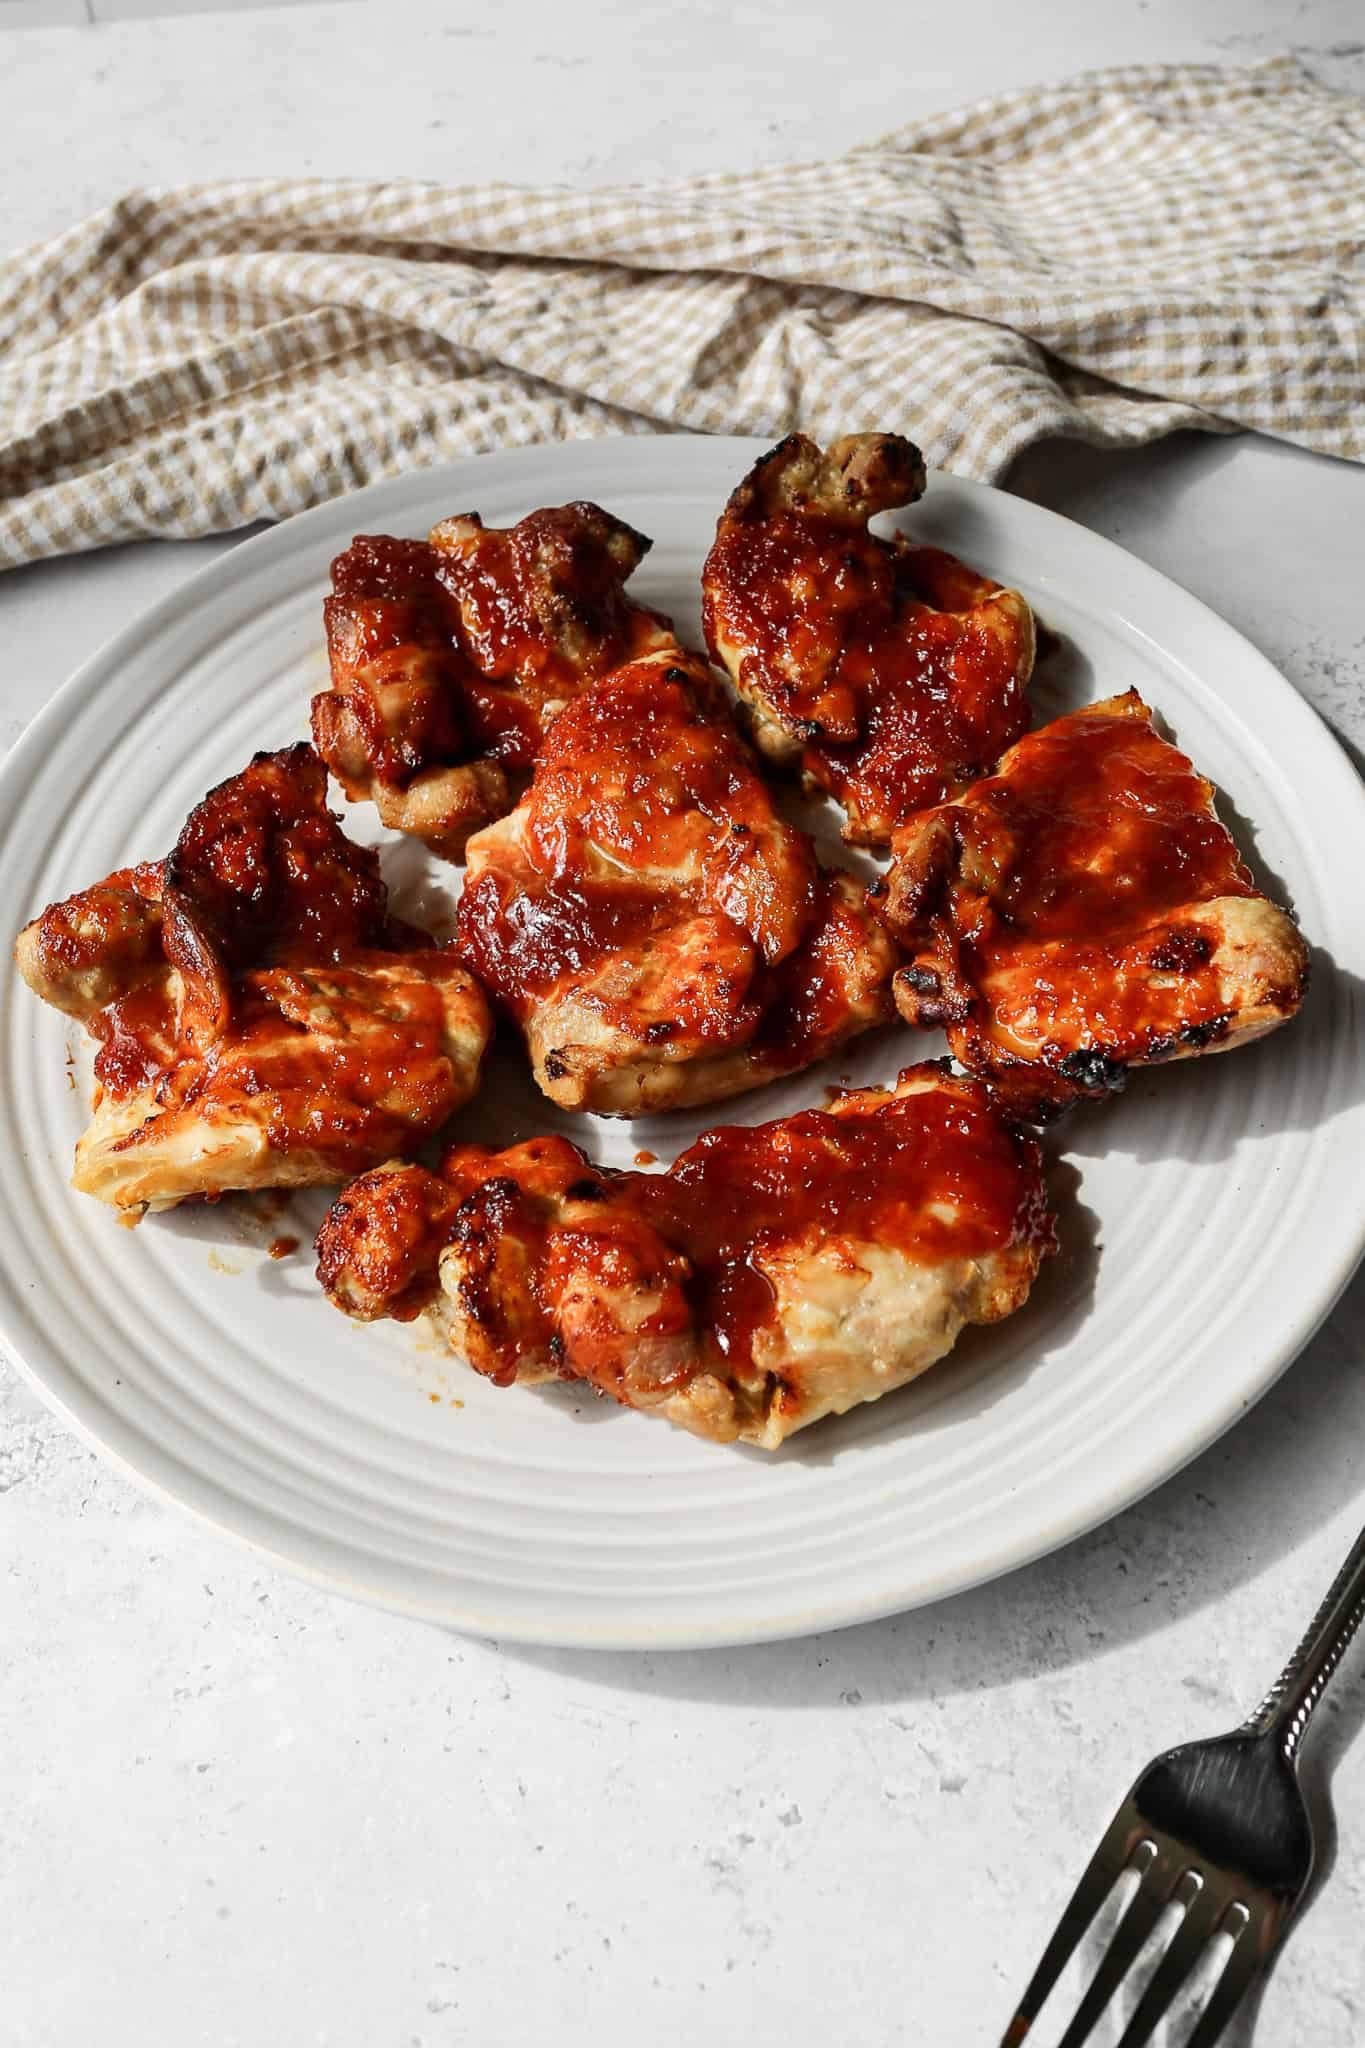
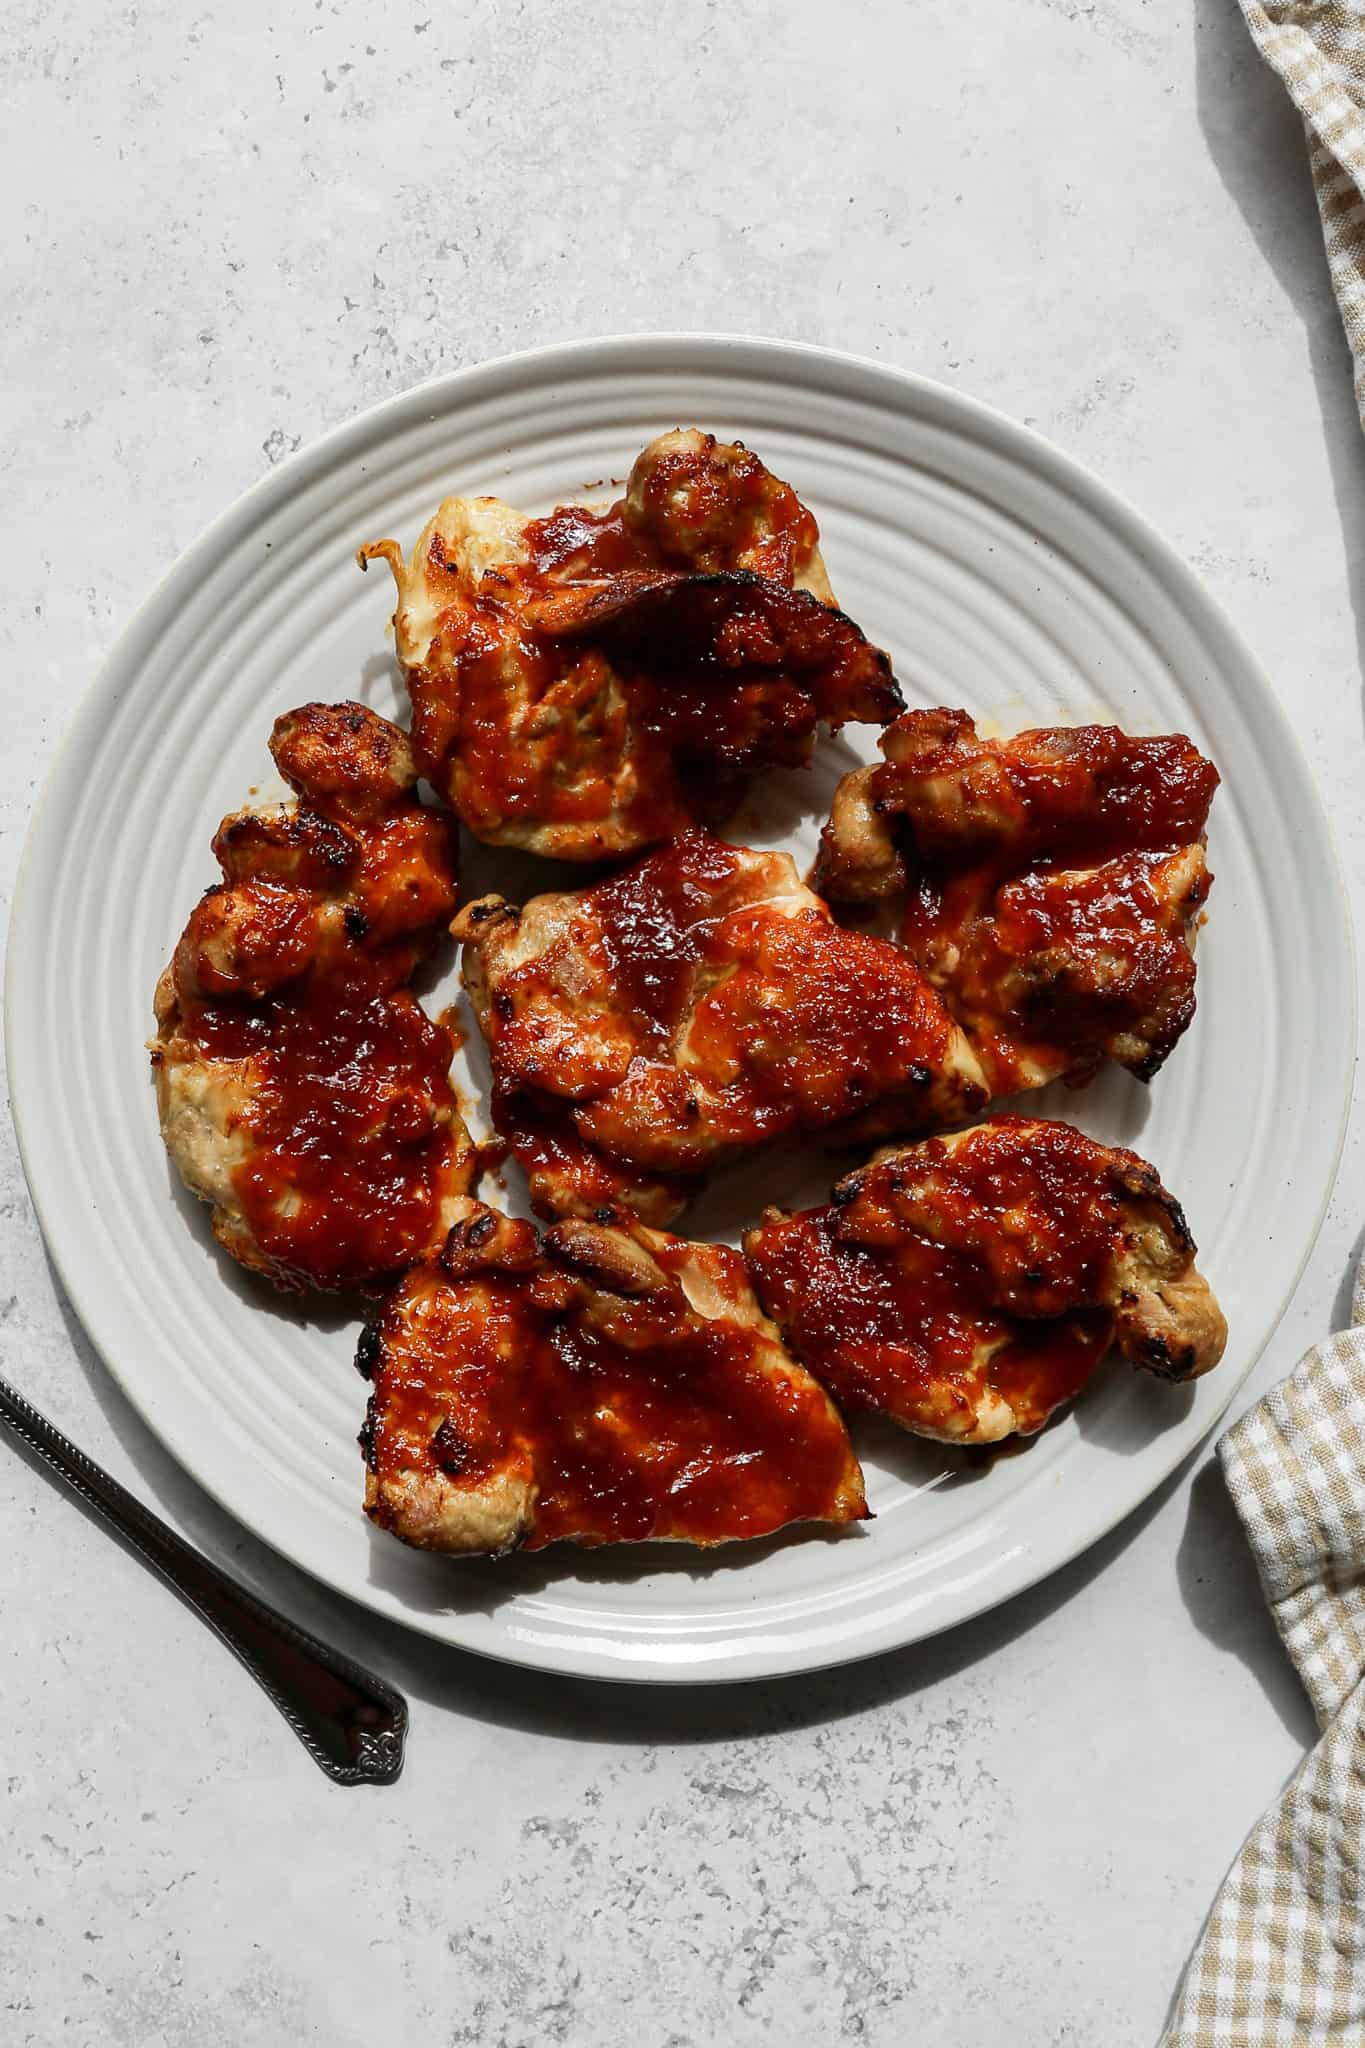
    air fryer barbecue chicken thighs on a white plate next to a tan and white gingham kitchen towel

    The air fryer is the secret weapon here. It cooks the chicken thighs quickly and evenly while creating that gorgeous sticky and caramelized BBQ coating that you normally only get from a grill or oven.

    The whole recipe is ready in under 30 minutes which makes it perfect for busy weeknights when you need a hearty and satisfying gluten free dinner on the table fast.

    Serve these air fryer BBQ chicken thighs with your favorite summer sides like coleslaw, baked beans, or a simple cucumber salad and dinner is done.

    If you are looking for more chicken recipes try my Air Fryer Teriyaki Chicken Thighs, my Air Fryer Honey Mustard Chicken Thighs, my Air Fryer Lemon Garlic Chicken Thighs or my Gluten Free Crispy Air Fryer Chicken Cutlets.

    You can find all my meal recipes here: Gluten Free Meal Recipes

    air fryer barbecue chicken thighs on a white plate next to a tan and white gingham kitchen towel
    [feast_advanced_jump_to]

    Ingredients

    • Boneless Skinless Chicken Thighs
    • Ketchup
    • Brown Sugar
    • Apple Cider Vinegar
    • Gluten Free Worcestershire Sauce
    • Yellow Mustard
    • Salt
    • Onion Powder
    • Ground Cumin
    • Smoked Paprika
    • Garlic Powder

    Instructions

    In a small bowl whisk together the ketchup, brown sugar, apple cider vinegar, gluten free worcestershire sauce, yellow mustard, salt, onion powder, ground cumin, smoked paprika and garlic powder.

    Spray your air fryer basket with some oil to keep the chicken from sticking.

    Place the chicken thighs in a single layer with a little space between each in your air fryer basket.

    Brush half the barbecue sauce over the chicken thighs.

    Air fry at 350 degrees for 14 minutes. At 7 minutes flip the thighs over and brush the other half of the barbecue sauce onto them. Continue to air fry until done.

    Chicken is done when the internal temperature of the thickest part is at least 165 degrees.

    Supplies


    More Recipes You Might Enjoy
    • Air Fryer Teriyaki Chicken Thighs
    • Air Fryer Honey Mustard Chicken Thighs
    • Air Fryer Lemon Garlic Chicken Thighs
    • Gluten Free Crispy Air Fryer Chicken Cutlets

    I get a lot of my ingredients from Thrive Market. Thrive Market has been a game changer for me eating gluten free. They have so many options I can't get at my rural grocery stores! Use this link to get 40% off your first order!

    Print
    clock clock iconcutlery cutlery iconflag flag iconfolder folder iconinstagram instagram iconpinterest pinterest iconfacebook facebook iconprint print iconsquares squares iconheart heart iconheart solid heart solid icon

    Air Fryer BBQ Chicken Thighs


    5 Stars 4 Stars 3 Stars 2 Stars 1 Star

    No reviews

    • Author: Elaine VanVleck
    • Total Time: 19 minutes
    • Yield: 6 servings 1x
    • Diet: Gluten Free
    Print Recipe
    Pin Recipe

    Description

    These gluten free air fryer BBQ chicken thighs are tender, juicy, and coated in a rich homemade BBQ sauce made from scratch with ketchup, brown sugar, apple cider vinegar, and smoky spices. Ready in under 30 minutes and completely gluten free, these easy air fryer chicken thighs are the perfect weeknight dinner served with your favorite summer sides!


    Ingredients

    Scale
    • 6 Boneless Skinless Chicken Thighs
    • ½ cup Ketchup
    • ¼ cup Brown Sugar
    • 2 Tbsp Apple Cider Vinegar
    • 1 Tbsp Gluten Free Worcestershire Sauce
    • 1 Tbsp Yellow Mustard
    • ½ tsp Salt
    • ½ tsp Onion Powder
    • ½ tsp Ground Cumin
    • ½ tsp Smoked Paprika
    • ½ tsp Garlic Powder

    Instructions

    In a small bowl whisk together the ketchup, brown sugar, apple cider vinegar, gluten free worcestershire sauce, yellow mustard, salt, onion powder, ground cumin, smoked paprika and garlic powder.

    Spray your air fryer basket with some oil to keep the chicken from sticking.

    Place the chicken thighs in a single layer with a little space between each in your air fryer basket.

    Brush half the barbecue sauce over the chicken thighs.

    Air fry at 350 degrees for 14 minutes. At 7 minutes flip the thighs over and brush the other half of the barbecue sauce onto them. Continue to air fry until done.

    Chicken is done when the internal temperature of the thickest part is at least 165 degrees.

    • Prep Time: 5 minutes
    • Cook Time: 14 minutes
    • Category: Chicken, Meat
    • Method: Air Fryer
    • Cuisine: American

    Did you make this recipe?

    Tag @smallfarmbiglife on Instagram and hashtag it #smallfarmbiglife

    If you make these Gluten Free Air Fryer BBQ Chicken Thighs I would love to hear what you think! Leave a star rating and a comment below and let me know what you served them with.

    Don't forget to save this recipe to your Pinterest boards so you can find it again on busy weeknights!

    Storage

    Store leftover air fryer BBQ chicken thighs in an airtight container in the refrigerator for up to 3 to 4 days. Reheat individual portions in the air fryer at 350 degrees for 3 to 4 minutes until warmed through and the BBQ sauce is sticky and caramelized again. You can also reheat in the microwave but the air fryer will give you a much better texture and keep the outside from getting rubbery. These chicken thighs also freeze well. Store in a freezer safe container or zip lock bag for up to 3 months and thaw overnight in the refrigerator before reheating.

    Top Tip

    Use a meat thermometer to check the internal temperature of the thickest part of the chicken thigh before pulling it out of the air fryer. Boneless skinless chicken thighs vary in size and thickness which means cooking times can vary slightly from one batch to the next. The chicken is safe to eat when the internal temperature reaches 165 degrees but pulling it out right at 165 degrees and letting it rest for a few minutes will give you the juiciest result every time. Never rely on color alone to determine doneness with chicken thighs as the BBQ sauce can make them look fully cooked before they actually are.

    Frequently Asked Questions

    Can I use bone in chicken thighs instead of boneless?

    Yes but the cooking time will need to be adjusted. Bone in chicken thighs are thicker and take longer to cook through than boneless so plan on adding 5 to 8 additional minutes to the total cook time. Always check the internal temperature of the thickest part of the thigh away from the bone and make sure it reaches at least 165 degrees before serving. The homemade BBQ sauce works beautifully on bone in thighs so the flavor will be just as delicious.

    Can I use store bought BBQ sauce instead of homemade?

    Absolutely! If you are short on time you can substitute your favorite store bought BBQ sauce for the homemade version in this recipe. Just make sure to check the label and use a certified gluten free BBQ sauce as many store bought versions contain gluten. The homemade BBQ sauce comes together in just minutes though and is so much better than anything from a bottle so I always recommend making it from scratch when you have the time.

    Can I make chicken wings with this recipe instead of chicken thighs?

    Yes! This homemade BBQ sauce works beautifully on chicken wings too. If you are using chicken wings air fry at 400 degrees for 20 to 25 minutes flipping halfway through until the skin is crispy and the internal temperature reaches 165 degrees. The cook time and temperature will be different from the chicken thighs so keep that in mind when making the switch.

    How do I keep the chicken from sticking to the air fryer basket?

    Make sure to spray your air fryer basket generously with oil before adding the chicken thighs. A light coating of avocado oil or olive oil spray works best and prevents the chicken and BBQ sauce from sticking to the basket during cooking. Avoid using aerosol cooking sprays like PAM on your air fryer basket as they can damage the nonstick coating over time. A refillable oil mister filled with avocado oil is a great investment for air fryer cooking.

    Can I make the BBQ sauce ahead of time?

    Yes! The homemade BBQ sauce can be made up to a week in advance and stored in a sealed jar or airtight container in the refrigerator until you are ready to use it. Making the sauce ahead of time makes this recipe even faster on busy weeknights. You can also make a double batch of the sauce and use it on other recipes throughout the week like grilled chicken, burgers, or pulled pork.

    What should I serve with air fryer BBQ chicken thighs?

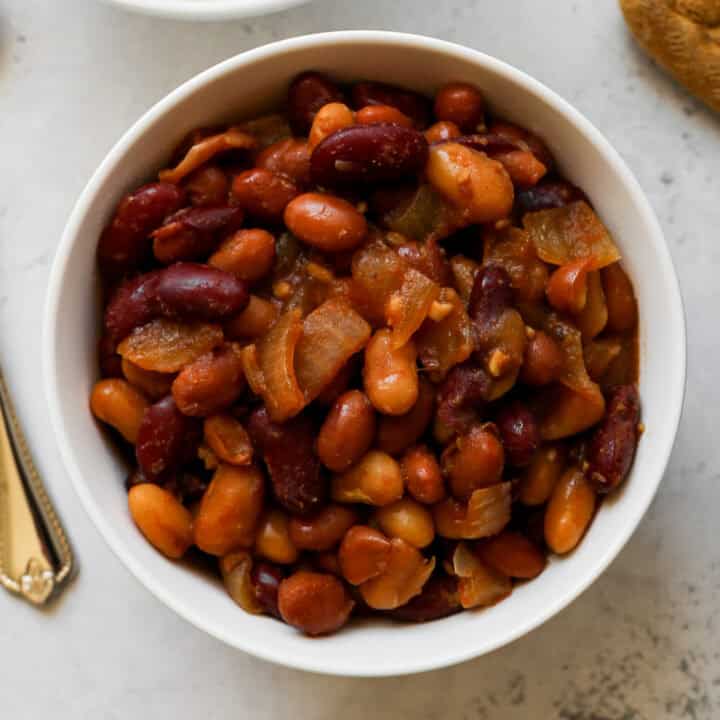
    These BBQ chicken thighs pair beautifully with so many classic sides. My Gluten Free Cowboy Baked Beans, Pineapple Coleslaw, Gluten Free Macaroni Salad, and Gluten Free BLT Pasta Salad are all perfect alongside this recipe for a complete and satisfying gluten free meal. For a lighter option a simple green salad or air fryer roasted vegetables work great too.

    Air Fryer Teriyaki Chicken Thighs

    These Air Fryer Teriyaki Chicken Thighs are about to become your new favorite weeknight dinner! A homemade teriyaki sauce made with coconut aminos instead of soy sauce gives you all of that classic sweet and savory teriyaki flavor in a completely gluten free and soy free version that is so much better than any bottled sauce you have ever tried.

    The sauce is simmered down until thick and glossy, brushed onto the chicken thighs twice during cooking, and the result is the most juicy air fryer chicken thighs with a perfectly caramelized teriyaki glaze that is absolutely irresistible.

    air fryer teriyaki chicken thighs on a white plate next to a tan and white gingham kitchen towel

    This easy air fryer chicken thigh recipe is naturally gluten free, dairy free, and comes together in just about 30 minutes from start to finish making it the perfect quick weeknight dinner for busy nights when you need something fast and delicious on the table.

    The homemade gluten free teriyaki sauce doubles as a marinade and a basting sauce so you get incredible depth of flavor without any complicated steps.

    Whether you are looking for a healthy teriyaki chicken recipe the whole family will love, an easy gluten free dinner to add to your weekly rotation, or simply the best teriyaki chicken thighs you have ever made at home this recipe is going to deliver every single time.

    Serve over rice with steamed broccoli or green beans for a complete and satisfying meal!

    If you are looking for more chicken recipes try my Air Fryer Honey Mustard Chicken Thighs, my Gluten Free Crispy Air Fryer Chicken Cutlets, my Air Fryer Lemon Garlic Chicken Thighs or my Air Fryer Chicken Bites.

    You can find all of my meal recipes here: Gluten Free Meal Recipes

    air fryer teriyaki chicken thighs on a white plate next to a tan and white gingham kitchen towel
    [feast_advanced_jump_to]

    Ingredients

    • Boneless Skinless Chicken Thighs
    • Coconut Aminos
    • Water
    • Maple Syrup
    • Rice Vinegar
    • Minced Garlic
    • Ground Ginger
    • Cornstarch
    • Olive Oil

    Instructions

    In a saucepan over medium heat add the coconut aminos, water, maple syrup, rice vinegar, garlic and ginger. Mix the cornstarch with 2 tablespoons of water and then add to the saucepan. Bring this sauce mixture to a boil.

    Once the sauce is boiling reduce the heat and simmer for 8-10 minutes while whisking to reduce the sauce down.

    You will want the sauce to be thick enough to coat the chicken thighs and not just run off. The sauce should be sticking to the back of a spoon as it gets thick.

    Remove the sauce from heat.

    Spray olive oil in the basket of your air fryer.

    Lay the chicken thighs in a single layer not touching in your air fryer basket.

    Brush half the teriyaki sauce onto the chicken.

    Air fry at 350 degrees for 14 minutes. At 7 minutes flip the thighs over and brush with the rest of the teriyaki sauce.

    Chicken is done when the internal temperature in the thickest part is at least 165 degrees.

    Supplies


    More Recipes You Might Enjoy

    • Air Fryer Honey Mustard Chicken Thighs
    • Gluten Free Crispy Air Fryer Chicken Cutlets
    • Air Fryer Lemon Garlic Chicken Thighs
    • Air Fryer Chicken Bites

    I get a lot of my ingredients from Thrive Market. Thrive Market has been a game changer for me eating gluten free. They have so many options I can't get at my rural grocery stores! Use this link to get 40% off your first order!
    Print
    clock clock iconcutlery cutlery iconflag flag iconfolder folder iconinstagram instagram iconpinterest pinterest iconfacebook facebook iconprint print iconsquares squares iconheart heart iconheart solid heart solid icon

    Air Fryer Teriyaki Chicken Thighs


    5 Stars 4 Stars 3 Stars 2 Stars 1 Star

    No reviews

    • Author: Elaine VanVleck
    • Total Time: 26 minutes
    • Yield: 6 servings 1x
    • Diet: Gluten Free
    Print Recipe
    Pin Recipe

    Description

    These Air Fryer Teriyaki Chicken Thighs are juicy, flavorful, and coated in the most delicious homemade gluten free teriyaki sauce made with coconut aminos, maple syrup, rice vinegar, garlic, and ginger. Boneless skinless chicken thighs are air fried at 350 degrees and basted twice with the thick and glossy teriyaki glaze for incredible sweet and savory flavor in every single bite. This easy gluten free and soy free air fryer chicken recipe comes together in just 30 minutes and is the perfect healthy and delicious weeknight dinner the whole family will love!


    Ingredients

    Units Scale
    • 6 Boneless Skinless Chicken Thighs
    • ¼ cup Coconut Aminos
    • ½ cup and 2 tablespoon Water
    • 2 Tbsp Maple Syrup
    • 2 Tbsp Rice Vinegar
    • 2 Tbsp Minced Garlic
    • 1 tsp Ground Ginger
    • 2 tsp Cornstarch
    • Olive Oil Spray

    Instructions

    In a saucepan over medium heat add the coconut aminos, water, maple syrup, rice vinegar, garlic and ginger. Mix the cornstarch with 2 tablespoons of water and then add to the saucepan. Bring this sauce mixture to a boil.

    Once the sauce is boiling reduce the heat and simmer for 8-10 minutes while whisking to reduce the sauce down.

    You will want the sauce to be thick enough to coat the chicken thighs and not just run off. The sauce should be sticking to the back of a spoon as it gets thick.

    Remove the sauce from heat.

    Spray olive oil in the basket of your air fryer.

    Lay the chicken thighs in a single layer not touching in your air fryer basket.

    Brush half the teriyaki sauce onto the chicken.

    Air fry at 350 degrees for 14 minutes. At 7 minutes flip the thighs over and brush with the rest of the teriyaki sauce.

    Chicken is done when the internal temperature in the thickest part is at least 165 degrees.

    • Prep Time: 12 minutes
    • Cook Time: 14 minutes
    • Category: Meat, Chicken
    • Method: Air Fryer
    • Cuisine: American

    Did you make this recipe?

    Tag @smallfarmbiglife on Instagram and hashtag it #smallfarmbiglife

    If you made these Air Fryer Teriyaki Chicken Thighs I would love to hear what you thought! Please leave a star rating and a comment below. This is one of my favorite easy and flavorful weeknight dinners and I hope it becomes one of yours too!

    Storage

    Store leftover teriyaki chicken thighs in an airtight container in the refrigerator for up to 4 days. To reheat place the chicken thighs back in the air fryer at 350 degrees for 3 to 4 minutes until heated through and the teriyaki glaze is caramelized and sticky again. You can also reheat in the microwave covered with a damp paper towel in 30 second intervals but the air fryer will give you a much better result and keep the outside from getting rubbery.

    These chicken thighs also freeze beautifully! Place cooled leftovers in a freezer safe airtight container for up to 3 months and thaw overnight in the refrigerator before reheating.

    Top Tip

    Do not skip the step of simmering the teriyaki sauce down until it is thick enough to coat the back of a spoon before brushing it onto the chicken. A sauce that is too thin will just run off the chicken and you will not get that beautiful glossy caramelized glaze.

    The sauce should be thick enough that when you lift your whisk or spoon it coats it and drips slowly rather than running right off. This step makes all the difference between a good teriyaki chicken and a truly incredible one!

    Frequently Asked Questions

    Can I use soy sauce instead of coconut aminos in this teriyaki sauce?

    Yes you can use soy sauce as a one to one substitute for the coconut aminos in this recipe if you do not need the recipe to be gluten free or soy free. However coconut aminos are my strong preference for this recipe because they are naturally gluten free, soy free, and have a slightly sweeter and milder flavor than soy sauce that works beautifully in a homemade teriyaki sauce.

    Can I use bone in chicken thighs instead of boneless for this recipe?

    Yes, but you will need to adjust the cooking time. Bone in chicken thighs are thicker and will take longer to cook through so plan on adding 5 to 8 additional minutes to the total cooking time. Always check that the internal temperature of the thickest part of the chicken away from the bone has reached at least 165 degrees before serving. Boneless skinless chicken thighs are my preference for this recipe because they cook faster and more evenly in the air fryer and the teriyaki glaze caramelizes more beautifully on all sides.

    What should I serve with air fryer teriyaki chicken thighs?

    These teriyaki chicken thighs are so delicious served over steamed white rice or brown rice with the extra teriyaki sauce drizzled over the top. Steamed broccoli, green beans, or my Oven Roasted Parmesan Green Beans are all wonderful side dishes that pair beautifully with the sweet and savory teriyaki flavor. You can also slice the chicken thighs and serve them over rice bowls with cucumber, shredded carrots, and sesame seeds for a delicious and colorful meal.

    If you are going to make the rice bowls double the teriyaki sauce recipe so you have extra sauce to drizzle over top.

    Can I marinate the chicken thighs in the teriyaki sauce before cooking?

    Yes and it is a great way to add even more flavor! Make the teriyaki sauce and let it cool completely before using it as a marinade. Place the chicken thighs in an airtight container or zip lock bag, pour half the sauce over them, and marinate in the refrigerator for at least 30 minutes or up to 8 hours. Reserve the other half of the sauce for basting during cooking.

    Do not use the sauce that the raw chicken has been marinating in for basting! Always use fresh reserved sauce for food safety.

    Can I make the teriyaki sauce ahead of time?

    Absolutely! The homemade gluten free teriyaki sauce can be made up to 5 days ahead of time and stored in a sealed jar or airtight container in the refrigerator. Give it a good stir or shake before using as it may thicken further as it sits in the fridge. If it is too thick simply warm it gently in a saucepan over low heat and it will loosen right back up. Having the sauce ready to go makes this already quick and easy recipe even faster to pull together on a busy weeknight.

    Air Fryer Honey Mustard Chicken Thighs

    These Air Fryer Honey Mustard Chicken Thighs are the kind of recipe that makes a weeknight dinner feel a little more special without any extra effort. The homemade honey mustard sauce is made with dijon mustard, yellow mustard, honey, and a splash of apple cider vinegar and it coats every juicy air fryer chicken thigh in the most delicious sweet and tangy flavor.

    The result is crispy air fryer chicken thighs with incredibly tender and juicy meat inside and a caramelized honey mustard glaze on the outside that is absolutely irresistible.

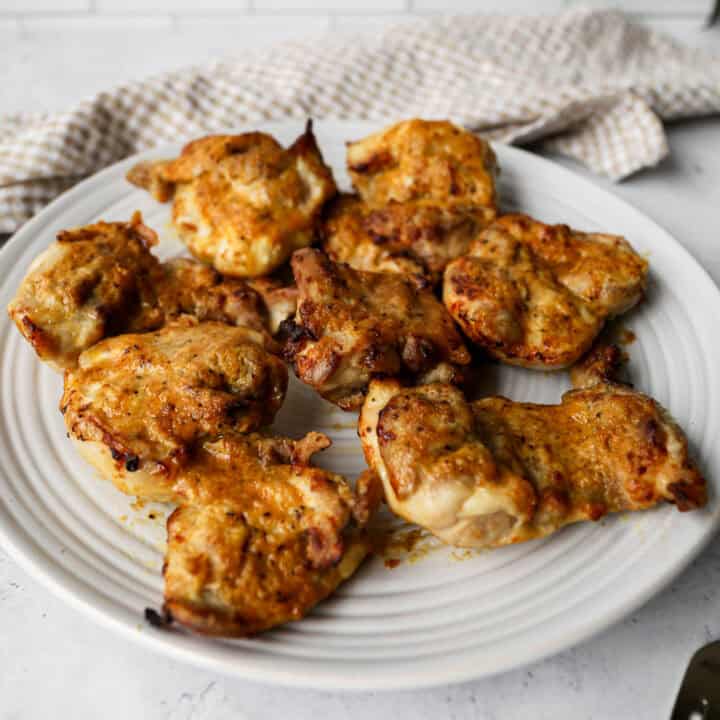
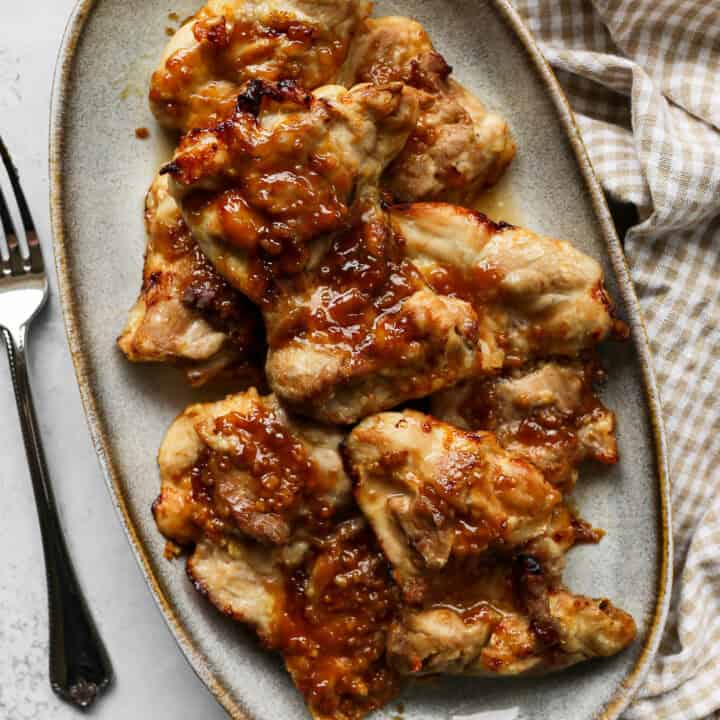
    air fryer honey mustard chicken thighs on a platter next to a silver fork and a tan gingham kitchen towel

    This easy air fryer chicken thigh recipe is naturally gluten free, comes together in just about 20 minutes, and is perfect for busy weeknights when you need a quick chicken dinner on the table fast.

    The honey mustard marinade doubles as a basting sauce so you get incredible flavor in every single bite without any complicated steps or extra dishes.

    Whether you are looking for an easy gluten free dinner the whole family will love, a healthy chicken dinner to add to your weekly rotation, or just the best air fryer chicken thighs you have ever made this recipe is going to become a permanent fixture in your kitchen.

    If you are looking for more chicken recipes try my Air Fryer Lemon Garlic Chicken Thighs, my Gluten Free Crispy Air Fryer Chicken Cutlets, my One Pan Creamy Garlic Chicken or my Air Fryer Chicken Bites.

    You can find all of my meal recipes here: Gluten Free Meal Recipes

    air fryer honey mustard chicken thighs on a platter next to a silver fork and a tan gingham kitchen towel
    [feast_advanced_jump_to]

    Ingredients

    • Boneless Skinless Chicken Thighs
    • Avocado Oil or Olive Oil
    • Dijon Mustard
    • Honey
    • Yellow Mustard
    • Apple Cider Vinegar
    • Salt
    • Onion Powder
    • Smoked Paprika
    • Pepper

    Instructions

    In a small bowl whisk together the oil, dijon mustard, honey, yellow mustard, apple cider vinegar, salt, onion powder, paprika and pepper.

    Spray your air fryer basket with some oil to keep the chicken from sticking.

    Place the chicken thighs in a single layer with a little space between each in your air fryer basket.

    Brush half the oil mixture over the chicken thighs.

    Air fry at 350 degrees for 14 minutes. At 7 minutes flip the thighs over and brush the other half of the oil mixture onto them. Continue to air fry until done.

    Chicken is done when the internal temperature of the thickest part is at least 165 degrees.

    Supplies


    More Recipes You Might Enjoy

    • Air Fryer Lemon Garlic Chicken Thighs
    • Gluten Free Crispy Air Fryer Chicken Cutlets
    • One Pan Creamy Garlic Chicken
    • Air Fryer Chicken Bites

    I get a lot of my ingredients from Thrive Market. Thrive Market has been a game changer for me eating gluten free. They have so many options I can't get at my rural grocery stores! Use this link to get 40% off your first order!

    Print
    clock clock iconcutlery cutlery iconflag flag iconfolder folder iconinstagram instagram iconpinterest pinterest iconfacebook facebook iconprint print iconsquares squares iconheart heart iconheart solid heart solid icon

    Air Fryer Honey Mustard Chicken Thighs


    5 Stars 4 Stars 3 Stars 2 Stars 1 Star

    No reviews

    • Author: Elaine VanVleck
    • Total Time: 19 minutes
    • Yield: 6 servings 1x
    • Diet: Gluten Free
    Print Recipe
    Pin Recipe

    Description

    These Air Fryer Honey Mustard Chicken Thighs are juicy, crispy, and coated in the most delicious homemade honey mustard sauce made with dijon mustard, honey, and apple cider vinegar. Boneless skinless chicken thighs are air fried at 350 degrees and basted twice with the sweet and tangy honey mustard glaze for incredible flavor in every single bite. This easy gluten free air fryer chicken recipe comes together in just 20 minutes and is the perfect quick and healthy weeknight dinner the whole family will love!


    Ingredients

    Scale
    • 6 Boneless Skinless Chicken Thighs
    • ¼ cup Avocado Oil or Olive Oil
    • 2 Tbsp Dijon Mustard
    • 2 Tbsp Honey
    • 1 Tbsp Yellow Mustard
    • 1 tsp Apple Cider Vinegar
    • ½ tsp Salt
    • ½ tsp Onion Powder
    • ¼ tsp Smoked Paprika
    • ¼ tsp Coarse Ground Black Pepper

    Instructions

    In a small bowl whisk together the oil, dijon mustard, honey, yellow mustard, apple cider vinegar, salt, onion powder, paprika and pepper.

    Spray your air fryer basket with some oil to keep the chicken from sticking.

    Place the chicken thighs in a single layer with a little space between each in your air fryer basket.

    Brush half the oil mixture over the chicken thighs.

    Air fry at 350 degrees for 14 minutes. At 7 minutes flip the thighs over and brush the other half of the oil mixture onto them. Continue to air fry until done.

    Chicken is done when the internal temperature of the thickest part is at least 165 degrees.

    • Prep Time: 5 minutes
    • Cook Time: 14 minutes
    • Category: Meat, Chicken
    • Method: Air Fryer
    • Cuisine: American

    Did you make this recipe?

    Tag @smallfarmbiglife on Instagram and hashtag it #smallfarmbiglife

    If you made these Air Fryer Honey Mustard Chicken Thighs I would love to hear what you thought! Please leave a star rating and a comment below. This is one of my favorite easy weeknight dinners and I hope it becomes one of yours too!

    Top Tip

    Do not skip the step of flipping the chicken thighs at the halfway point and brushing the second half of the honey mustard sauce on at that time. This two step basting process is what gives these chicken thighs that beautiful caramelized glaze and incredible flavor on both sides.

    Always use a meat thermometer to check that the internal temperature of the thickest part has reached at least 165 degrees before serving.

    Storage

    Store leftover honey mustard chicken thighs in an airtight container in the refrigerator for up to 4 days. To reheat place the chicken thighs back in the air fryer at 350 degrees for 3 to 4 minutes until heated through and the outside is crispy again.

    You can also reheat in the microwave covered with a damp paper towel in 30 second intervals but the air fryer will give you a much better result. These chicken thighs also freeze well! Place cooled leftovers in a freezer safe container for up to 3 months and thaw overnight in the refrigerator before reheating.

    Frequently Asked Questions

    Can I use bone in chicken thighs instead of boneless for this recipe?

    Yes you can use bone in chicken thighs but the cooking time will need to be adjusted. Bone in chicken thighs are thicker and will take longer to cook through so plan on adding 5 to 8 additional minutes to the cooking time. Always check that the internal temperature of the thickest part away from the bone has reached at least 165 degrees before serving.

    Boneless skinless chicken thighs are my preference for this recipe because they cook faster and more evenly in the air fryer.

    Can I make the honey mustard sauce ahead of time?

    Absolutely! The homemade honey mustard sauce can be made up to 3 days ahead of time and stored in a sealed jar or airtight container in the refrigerator. Give it a good whisk or shake before using as it may separate slightly as it sits. Having the sauce ready to go makes this already quick and easy recipe even faster to pull together on a busy weeknight.

    What should I serve with honey mustard chicken thighs?

    These air fryer honey mustard chicken thighs pair beautifully with so many side dishes. My favorites are roasted vegetables, mashed potatoes, rice, or a simple green salad. My Oven Roasted Parmesan Green Beans and my Honey Dijon Carrot Salad are both delicious alongside this recipe and complement the honey mustard flavor beautifully.

    How do I know when my air fryer chicken thighs are done?

    The most reliable way to know your chicken thighs are fully cooked is to use a meat thermometer. The internal temperature of the thickest part of the chicken should reach at least 165 degrees before serving. The outside of the chicken will be golden brown and caramelized from the honey mustard glaze when it is done. Every air fryer runs slightly differently so checking the temperature is always the best way to make sure your chicken is perfectly cooked every time.

    • Page 1
    • Page 2
    • Page 3
    • Interim pages omitted …
    • Page 19
    • Go to Next Page »

    Primary Sidebar

    Welcome! I'm Elaine

    I'm so glad you are here! I share easy gluten free recipes from my small farm in Washington.

    Be sure to sign up for my newsletter to stay up to date on all of my new recipes.

    More about me...
    • Instagram
    • Pinterest
    • Facebook
    • Twitter
    • Mail

    Load up on new recipes, exclusive goodies, + more!
    Sign up below to stay up-to-date on news, events, and special deals.
    Thank you for subscribing!

    Easy Meals Recipes

    • Gluten Free Instant Pot Chili Mac and Cheese
    • Gluten Free Taco Casserole
    • Gluten Free Cowboy Baked Beans
    • Gluten Free Walking Taco Casserole
    • Gluten Free Creamy Beef and Mushroom Pasta
    • Gluten Free Instant Pot Chicken & Dumplings
    • Instant Pot Mexican Style Beef and Rice
    • Gluten Free Chicken Parmesan Pasta Casserole
    • Gluten Free One Pot Hamburger Helper Copycat
    • Gluten Free Salisbury Steak with Mushroom Gravy
    • Gluten Free Air Fryer Fajitas
    • Gluten Free Sloppy Joe Casserole

    Footer

    Disclaimer:

    “We are a participant in the Amazon Services LLC Associates Program, an affiliate advertising program designed to provide a means for us to earn fees by linking to Amazon.com and affiliated sites.”

    Footer

    back to top

    About

    • Privacy Policy
    • Shop my Amazon Page
    • Follow me on LTK

    Newsletter

    • Sign Up! for emails and updates

    Contact

    • Contact
    • Media Kit
    • About Me

    As an Amazon Associate I earn from qualifying purchases.

    I may get commissions for purchases made through links on this site.

    Copyright © 2026 Brunch Pro on the Brunch Pro Theme