This gluten free chocolate glaze is easy to make and so delicious! It's great on donuts, cookies and other baked goods. Preparing your glaze from scratch is simple and allows you to control the consistency for each dessert you use it with.
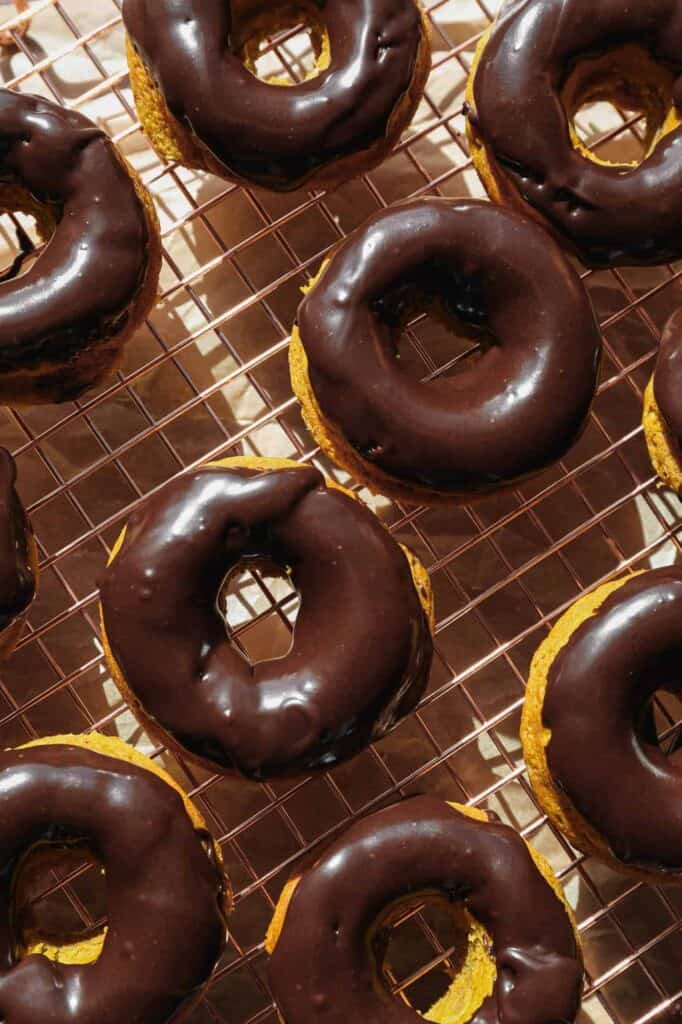
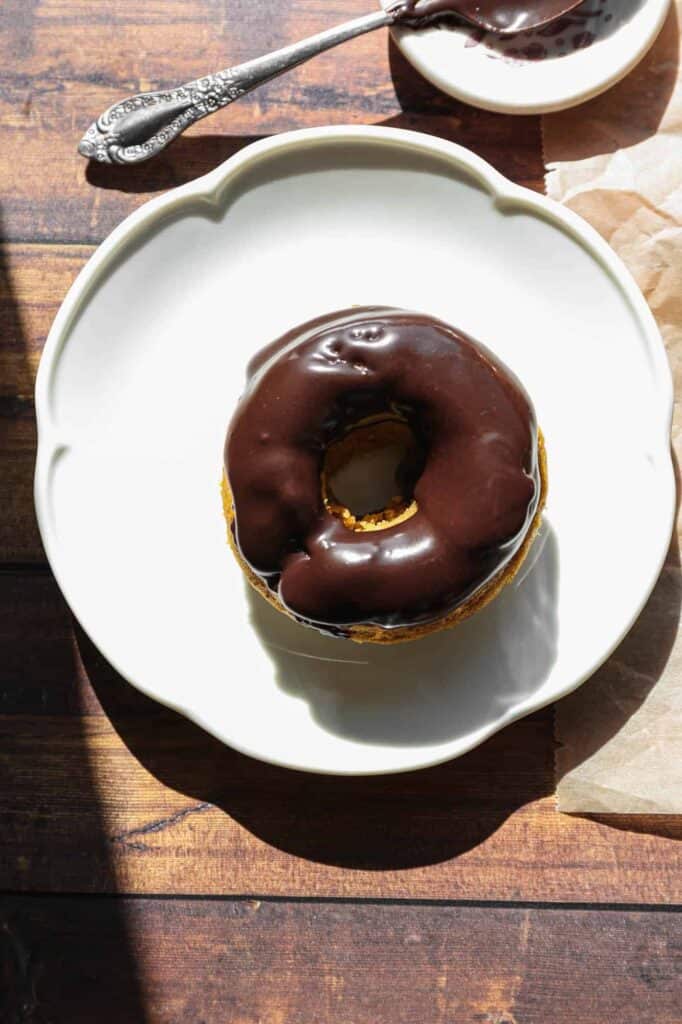
I like to dip the donuts in it and then swirl them as I lift them out to making frosting them with the gluten free chocolate glaze easy and less messy. You will still get some drips, so you will want to have parchment paper under the cooling rack for easy clean up.
This gluten free chocolate glaze is also really easy to frost on sugar cookies. If the glaze is too runny for frosting add a tablespoon of confectioner's sugar at a time until you get the right consistency.
The amazing dark brown color of this glaze comes from using really good cocoa powder. My favorite cocoa powder is Rodelle Gourmet Baking Cocoa Powder. It may be a bit more expensive than other cocoa powders, but it's completely worth the money!
If you are looking for more chocolate recipes try my : 10 Gluten Free Chocolate Desserts
Ingredients
Confectioner's Sugar
Cocoa Powder
Milk
Vanilla Extract
Instructions
Sift the confectioner's sugar and cocoa powder into a bowl to remove any clumps.
Add the milk and vanilla extract. Using a hand whisk or the whisk attachment on your handheld mixer beat the glaze until it's thoroughly mixed and has a nice glossy sheen.
Use immediately before it has a chance to harden. If the frosting does harden before you can use it whisk it again.
Supplies

Frequently Asked Questions
Pure cocoa beans are naturally gluten free. So, what you need to watch for is brands that process their cocoa powder along with other products that may contain gluten. Always check to see if the product says it's gluten free.
I've found with most cocoa powders they don't actually say they are gluten free on the packaging. This means I need to go to the website to see how they process the cocoa powder and if they state online that they are a gluten free facility.
If you can't find the information you are looking for reach out to the company. I've found most companies are happy to let you know whether there may be gluten contamination is their product.
This is all about personal preference. If you want this gluten free chocolate glaze recipe to be vegetarian you can use coconut milk or a nut milk.
I don't typically have dairy milk on hand so I typically use almond milk in my baking and cooking. I love that it's shelf stable before being opened and comes in a smaller container since I don't use very much milk.

More Recipes You Might Enjoy
Gluten Free Chocolate Buttercream
Gluten Free Pumpkin Cake with Cream Cheese Frosting
Easy Vanilla Buttercream Frosting
Gluten Free Chocolate Cake with Cream Cheese Frosting
Gluten Free Pumpkin Oatmeal Cake with Vanilla Glaze
I get my ingredients from Thrive Market. Thrive Market has been a game changer for me eating gluten free. They have so many options I can't get at my rural grocery stores! Use this link to get 25% off your first order!
PrintGluten Free Chocolate Glaze
- Total Time: 10 minutes
- Yield: 1.5 cups 1x
- Diet: Gluten Free
Description
This gluten free chocolate glaze is easy to make and so delicious! It's great on donuts, cookies and other baked goods.
Ingredients
1 ½ cups Confectioner's Sugar
4 Tbsp. Cocoa Powder
2 Tbsp. Milk
2 tsp. Vanilla Extract
Instructions
Sift the confectioner's sugar and cocoa powder into a bowl to remove any clumps.
Add the milk and vanilla extract. Using a hand whisk or the whisk attachment on your handheld mixer beat the glaze until it's thoroughly mixed and has a nice glossy sheen.
Use immediately before it has a chance to harden. If the frosting does harden before you can use it whisk it again.
- Prep Time: 10 minutes
- Category: Dessert
- Method: Whisking
- Cuisine: Gluten Free