Small Farm Big Life

  • Gluten Free Recipe Index
  • Subscribe
  • Resources
menu icon
go to homepage
  • Home
  • Gluten Free Recipe Index
  • Subscribe
  • My Story
  • Resources
  • Free Guides
    • Email
    • Facebook
    • Instagram
    • Pinterest
  • subscribe
    search icon
    Homepage link
    • Home
    • Gluten Free Recipe Index
    • Subscribe
    • My Story
    • Resources
    • Free Guides
    • Email
    • Facebook
    • Instagram
    • Pinterest
  • ×

    Gluten Free Strawberry Icebox Bars

    Summer afternoons on the farm call for desserts that come straight from the freezer. These Gluten Free Strawberry Icebox Bars are exactly that. A buttery gluten free pretzel crust is topped with a creamy strawberry and cream cheese filling, then frozen until firm. The texture is somewhere between cheesecake and ice cream.

    Sweet, salty, and bursting with fresh strawberry flavor, this dessert disappears fast at any summer gathering.
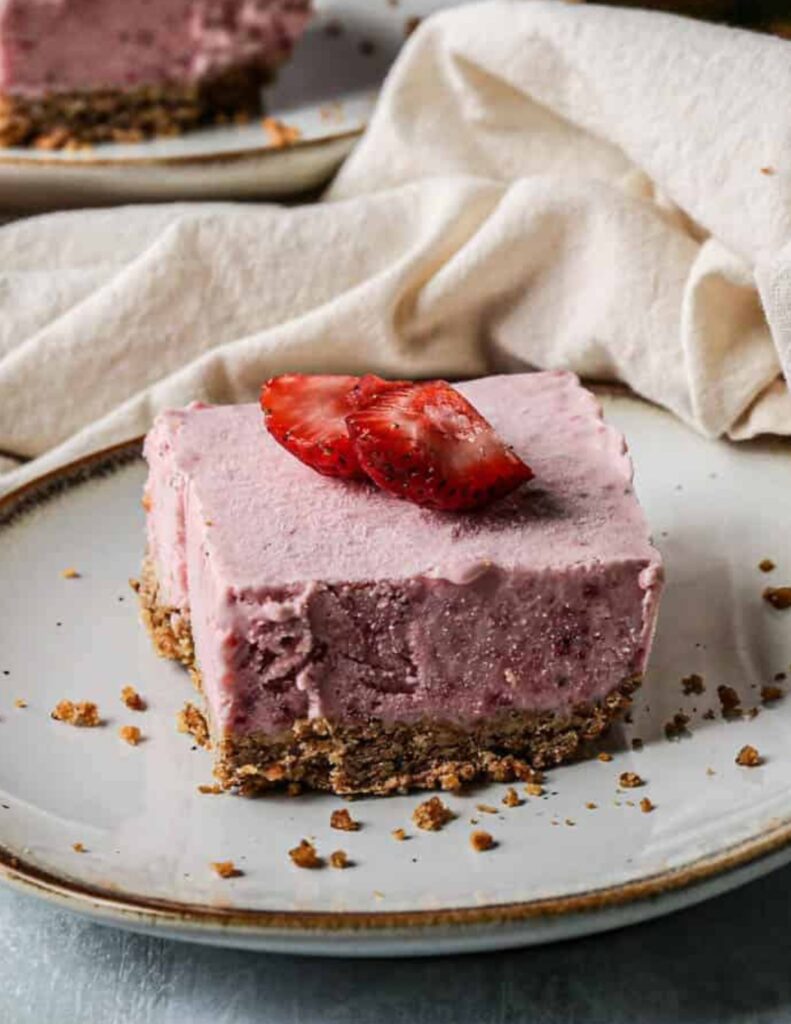
    This is one of my favorite make ahead desserts because it lives in the freezer until you need it. Slice the bars straight from the freezer and top each one with a swirl of fresh whipped cream.

    If you prefer a chilled, layered version of this flavor combination, try my Gluten Free Strawberry Pretzel Dessert. It is a classic potluck favorite.

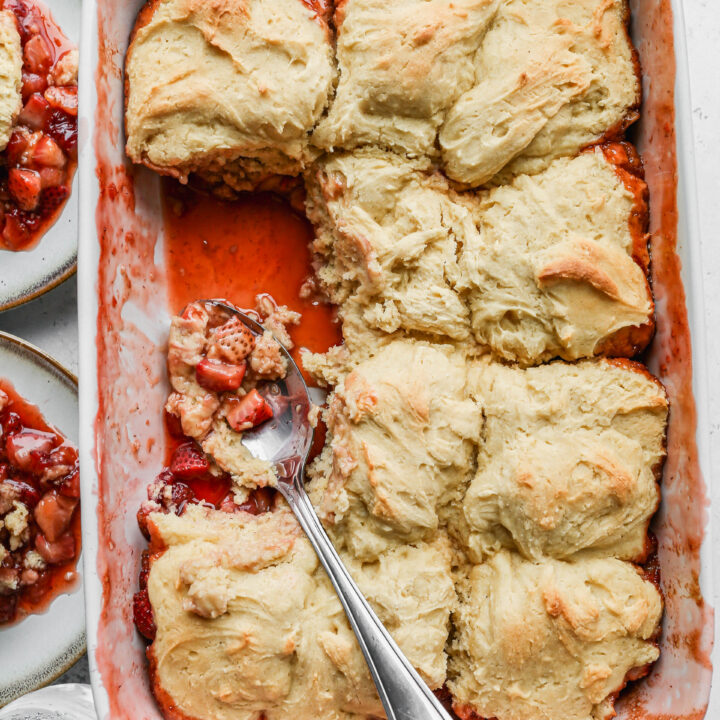
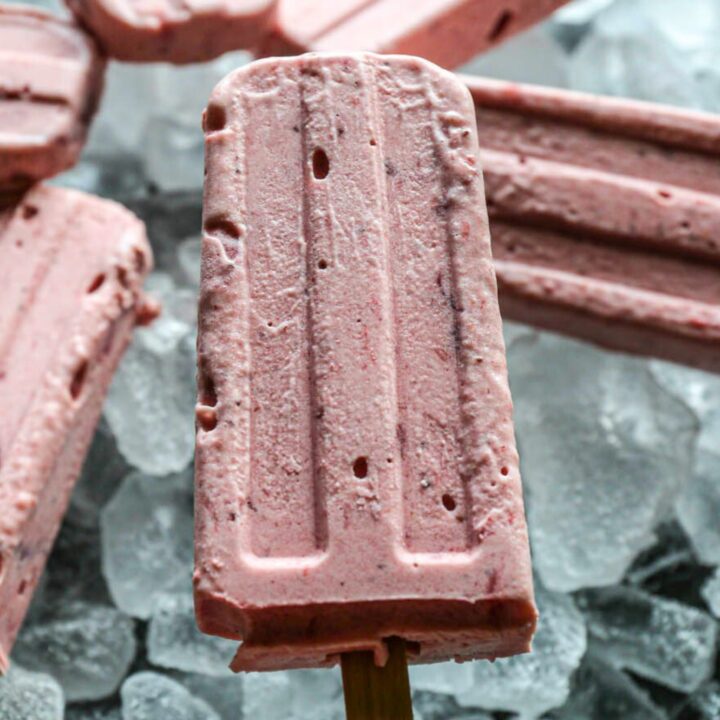
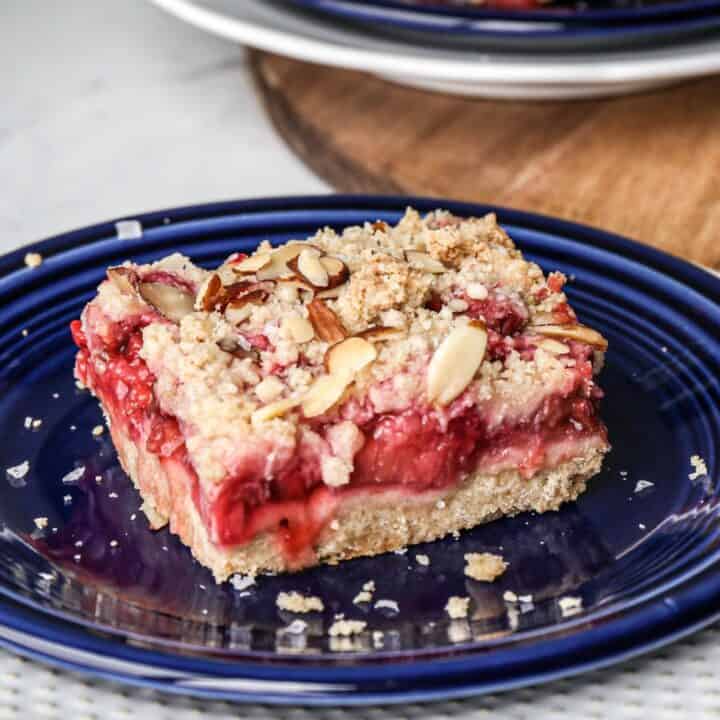
    If you are looking for more strawberry recipes try my Gluten Free Strawberry Cobbler, my Gluten Free Strawberry Jam Bars, my Homemade Strawberry Banana Popsicles or my Strawberry Daiquiri Mocktails.

    You can find all of my dessert recipes here: Gluten Free Dessert Recipes

    [feast_advanced_jump_to]

    Freezing and Serving

    Freeze these bars for at least 8 hours before slicing. The full freeze time allows the creamy filling to set firm enough to hold its shape when sliced. Let the bars sit at room temperature for a few minutes before cutting for the cleanest slices. Make the fresh whipped cream right before serving and add a dollop to each bar.

    Storage

    Store these bars covered in the freezer for up to one month. Slice them ahead of time and store individual portions in an airtight container for easy grab and go desserts. Let frozen bars sit at room temperature for a few minutes before serving.

    Top Tip

    For the smoothest filling, make sure your cream cheese is fully softened before mixing. Cold cream cheese will leave small lumps in the filling that do not blend out, even with a stand mixer. Set it out at room temperature for about 30 minutes before you start, and it will whisk together perfectly smooth with the sweetened condensed milk and gelatin.

    Frequently Asked Questions

    What does "icebox bars" mean?

    Iceboxes were used before electric refrigerators and freezers were invented. They held a block of ice to keep food cold. Icebox desserts traditionally combine fruit, cream, and a wafer or cracker base, and are stored cold or frozen. These bars use fresh strawberries, a creamy filling, and a gluten free pretzel crust. They are stored in the freezer for an ice cream like texture.

    How do I make homemade whipped cream for topping?

    Add 1 cup of heavy whipping cream and 2 tablespoons of granulated sugar to your stand mixer. Whip on medium high for 5 to 8 minutes until stiff peaks form. The whipped cream is ready when it holds its shape and does not flatten when you lift the whisk. Serve a dollop on top of each bar.

    Can I use frozen strawberries instead of fresh?

    Yes, frozen strawberries work well in this recipe. Thaw them first and drain any excess liquid before pureeing. This keeps the filling from becoming too watery once it freezes.

    What if I don't have a food processor for the crust?

    A food processor makes quick work of crushing the pretzels, but it is not required. Place the pretzels in a sealed bag and crush them with a rolling pin until finely crushed. Then mix in the maple syrup and butter by hand.

    Didn't find the answer you're looking for?

    Ask AI to answer based on this recipe:

    ChatGPT
    Google AI
    Perplexity
    Grok
    Claude

    Supplies

    More Recipes You Might Enjoy

    • Strawberry Daiquiri Mocktails
    • Homemade Strawberry Banana Popsicles
    • Gluten Free Strawberry Rhubarb Bars
    • Gluten Free Strawberry Cobbler

    I get a lot of my ingredients from Thrive Market. Thrive Market has been a game changer for me eating gluten free. They have so many options I can't get at my rural grocery stores! Use this link to get 40% off your first order!

    Print
    clock clock iconcutlery cutlery iconflag flag iconfolder folder iconinstagram instagram iconpinterest pinterest iconfacebook facebook iconprint print iconsquares squares iconheart heart iconheart solid heart solid icon

    Gluten Free Strawberry Icebox Bars


    5 Stars 4 Stars 3 Stars 2 Stars 1 Star

    No reviews

    • Author: Elaine VanVleck
    • Total Time: 45 minutes
    • Yield: 12 bars 1x
    • Diet: Gluten Free
    Print Recipe
    Pin Recipe

    Description

    A sweet pretzel crust topped with a creamy strawberry and cream cheese filling, frozen until firm like an ice cream bar. Sliced into squares and served with fresh whipped cream, these gluten free strawberry icebox bars are one of the easiest make ahead desserts for summer.


    Ingredients

    Scale
    • 4 cups Gluten Free Pretzels, crushed
    • 2 Tbsp. Maple Syrup
    • ½ cup Unsalted Butter, cold and cubed
    • 1-2 tablespoon Cold Water
    • 2 cups Strawberries, cored and sliced
    • 1 - 14 ounce can Sweetened Condensed Milk
    • 4 ounces Cream Cheese, softened
    • 1 - 3 ounce package Strawberry Gelatin
    • 1 cup Heavy Whipping Cream
    • ¼ tsp. Sea Salt

    Whipped Cream:

    • 1 cup Heavy Whipping Cream
    • 2 Tbsp. Granulated Sugar

    Instructions

    Preheat your oven to 375 degrees. 

    Grease a 9x13 baking dish with coconut oil or butter. Set aside

    In a food processor pulse the pretzels into crumbles. Add the maple syrup and butter. Pulse into small clumps. Add water 1 tablespoon as a time and pulse until a dough begins to form.

    Press the pretzel mixture into the bottom of the greased 9x13 baking dish. Bake at 375 degrees for 12-15 minutes. The crust will be slightly browned. Set aside to cool.

    Process the strawberries in a blender until they are finely chopped.

    In a stand mixer whisk the sweetened condensed milk, cream cheese and strawberry gelatin using the whisk attachment until they are smooth. Add the pureed strawberries and whisk together until blended.

    In a separate bowl whisk the heavy cream and sea salt on medium high until soft peaks form. Fold the strawberry mixture into the whipped cream mixture until it's folded together. 

    Pour the strawberry and cream mixture over the cooled pretzel crust. Freeze for at least 8 hours before serving. 

    Prior to serving whisk the heavy whipping cream and sugar together on medium high speed until stiff peaks form. Serve over the bars.

    If you made this recipe please leave a star rating and comment below. It helps other readers find this recipe and means so much to me.

    Notes

    When I say fold I mean to pour the whipped cream on top of the strawberry mixture, then take a spatula and gently pull strawberry mixture over the whipped cream until they mix together. You want to keep the airiness of the whipped cream so you don't just want to stir them together.

    • Prep Time: 30 minutes
    • Cook Time: 15 minutes
    • Category: Dessert
    • Method: Frozen
    • Cuisine: American

    Did you make this recipe?

    Tag @smallfarmbiglife on Instagram and hashtag it #smallfarmbiglife

    If you make these Gluten Free Strawberry Icebox Bars, I would love to hear what you think! Leave a comment below and let me know how they turned out, or tag me on Instagram so I can see your bars.

    This is one of those desserts you will want to keep stocked in the freezer all summer long, so save it to your favorite Pinterest board so you always have it ready when you need a frozen treat!

    Ingredients

    Gluten Free Pretzels
    Maple Syrup
    Unsalted Butter
    Cold Water
    Strawberries
    Sweetened Condensed Milk
    Cream Cheese
    Strawberry Gelatin
    Heavy Whipping Cream
    Sea Salt
    Granulated Sugar

    Instructions

    Preheat your oven to 375 degrees. 

    Grease a 9x13 baking dish with coconut oil or butter. Set aside

    In a food processor pulse the pretzels into crumbles. Add the maple syrup and butter. Pulse into small clumps. Add water 1 tablespoon as a time and pulse until a dough begins to form.

    Press the pretzel mixture into the bottom of the greased 9x13 baking dish. Bake at 375 degrees for 12-15 minutes. The crust will be slightly browned. Set aside to cool.

    Process the strawberries in a blender until they are finely chopped.

    In a stand mixer whisk the sweetened condensed milk, cream cheese and strawberry gelatin using the whisk attachment until they are smooth. Add the pureed strawberries and whisk together until blended.

    In a separate bowl whisk the heavy cream and sea salt on medium high until soft peaks form. Fold the strawberry mixture into the whipped cream mixture until it's folded together. 

    Pour the strawberry and cream mixture over the cooled pretzel crust. Freeze for at least 8 hours before serving. 

    Prior to serving whisk the heavy whipping cream and sugar together on medium high speed until stiff peaks form. Serve over the bars.

    Easy Pea Salad

    This easy pea salad is the recipe I make every single Easter, and it is usually gone before anyone gets to the ham. Sweet green peas, crispy bacon, sharp cheddar, and a creamy, tangy dressing come together in one bowl with almost no effort, and it only gets better the longer it sits in the fridge.

    a bowl of easy pea salad with shredded cheddar cheese sprinkled on top next to a little wooden bowl of pepper and a little ceramic bowl of salt

    I love this recipe because it is truly a make ahead salad: put it together the day before your potluck, cookout, or holiday gathering and let the fridge do the work.

    It's a gluten free side dish that never feels like an afterthought, whether you are serving it alongside a spiral ham at Easter or bringing it to a summer cookout.

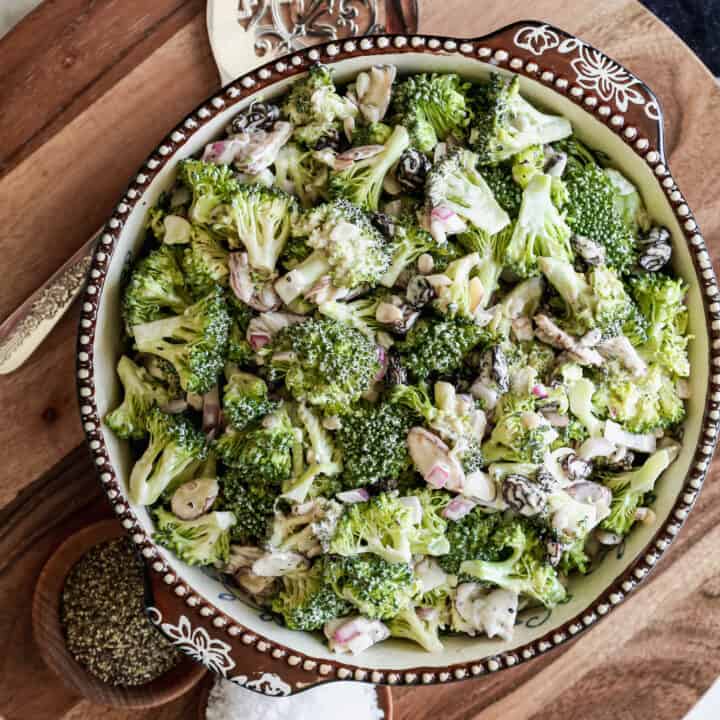
    If you are looking for more easy salads you might also enjoy my Seven Layer Salad, my Thai Style Cabbage Salad, my Sugar Free Broccoli Salad or my Honey Dijon Carrot Salad.

    You can find all of my salad recipes here: Gluten Free Salad Recipes

    If you are looking for more Easter recipes you can find all of them here: Gluten Free Easter Recipes

    a bowl of easy pea salad with shredded cheddar cheese sprinkled on top next to a little wooden bowl of pepper and a little ceramic bowl of salt
    [feast_advanced_jump_to]

    Why You'll Love This Recipe

    • Comes together in one bowl with simple ingredients you likely already have on hand
    • Gets better the longer it chills, so it's an easy make ahead dish for potlucks and holidays
    • A gluten free side dish that fits Easter, cookouts, and everyday dinners alike
    • Easy to customize with add ins like fresh herbs, hard boiled eggs, or a spicier cheese
    • It's a classic that disappears fast at every gathering

    Ingredient Notes and Substitutions for Pea Salad

    This easy pea salad comes together with just a handful of ingredients, but a few small swaps can make it your own. Sharp cheddar is my go to, but a smoked gouda or Colby jack works just as well if that is what you have on hand. If raw onion is too sharp for your taste, soak the chopped onion in cold water for 10 minutes before adding it to mellow the bite.

    • Cheese: sharp cheddar, smoked gouda, or Colby jack all work well.
    • Dressing: swap half the mayonnaise for plain Greek yogurt for a lighter, tangier salad with more protein.
    • Onion: soak in cold water for 10 minutes to mellow the flavor, or use finely chopped green onion instead.
    • Bacon and dressing ingredients: always double check labels since bacon, mayonnaise, and sour cream can vary by brand. Most are gluten free, but it is worth a quick check if you have celiac disease or a severe sensitivity.

    Ways to Customize This Pea Salad

    One of the best things about this salad is how easy it is to make your own. Once you have the base recipe down, try one of these simple additions the next time you make it.

    • Stir in chopped fresh dill or chives for a bright, herby finish.
    • Add two chopped hard boiled eggs for extra protein and richness.
    • Fold in a handful of sliced water chestnuts or diced celery for crunch.
    • Use pepper jack cheese and a dash of hot sauce for a spicy version.
    • Swap the white onion for thinly sliced green onion for a milder bite.

    What to Serve with Pea Salad

    This pea salad is a natural fit anywhere you would serve a potluck or picnic spread. I love setting it out alongside a spiral ham at Easter, but it holds its own next to grilled chicken, burgers, or barbecue ribs at a summer cookout too. For a lighter lunch, spoon it over a bed of greens for a version that does not need any extra dressing.

    Storage

    Store leftover pea salad in an airtight container in the refrigerator for up to three days. Keep in mind that the longer the salad sits the more the dressing will absorb into the peas and other ingredients, so the salad may be a little thicker on day two or three. If you want to freshen it up you can stir in a small spoonful of sour cream or mayonnaise before serving. Do not freeze this salad as the creamy dressing does not hold up well to freezing and the peas will become mushy when thawed.

    Top Tip

    The key to a creamy, not watery, pea salad is making sure your thawed peas are completely dry before you mix everything together. After they thaw, let them drain in a colander for a few minutes or pat them dry with a paper towel. Skipping this step is the number one reason pea salad turns out runny instead of thick and creamy.

    Frequently Asked Questions

    What kind of peas are used in this salad?

    I use frozen green peas in this salad. I purchase a 32 ounce bag and let them thaw before putting together the salad. If you try to put the salad together while the peas are still frozen it is much harder to stir in the dressing and mix the ingredients together.

    Save yourself the headache of a clumped salad and thaw your peas first!

    Do I need to cook the frozen peas for this salad?

    No. You thaw the peas and put them directly into the salad. There is no need to cook them for this salad.

    How long does pea salad last in the refrigerator?

    This easy pea salad can be made a day ahead and will last in your refrigerator for up to three days.

    Does the bacon in this pea salad need to be gluten free and nitrite free?

    Yes to both if you can find it! All of the ingredients in this easy pea salad are naturally gluten free, but you do want to make sure the bacon you purchase is certified gluten free since some bacon is processed in facilities that also handle gluten containing products.

    I also personally prefer bacon that is nitrite and nitrate free. I have found that nitrites and nitrates cause an inflammatory reaction for me that is very similar to a gluten reaction, so it is something worth paying attention to when you are shopping. Look for bacon that is labeled both gluten free and uncured without added nitrites or nitrates for the best result in this recipe.

    Can I use canned peas instead of frozen?

    I don't recommend it. Canned peas are much softer and can turn mushy once mixed with the dressing. Frozen peas hold their shape and give the salad the best texture.

    Can I freeze pea salad?

    No. The mayonnaise and sour cream in the dressing do not freeze well, and the peas will turn mushy once thawed. This salad is best made a day or two ahead and kept in the refrigerator instead.

    How far in advance can I make this pea salad?

    You can make this salad up to a day ahead, which actually makes it taste even better since the dressing has more time to soak in. I do not recommend making it more than a day ahead, since the peas will start to release extra liquid the longer it sits.

    Didn't find the answer you're looking for?

    Ask AI to answer based on this recipe:

    ChatGPT
    Google AI
    Perplexity
    Grok
    Claude

    Pea Salad Supplies

    More Recipes You Might Enjoy
    • Seven Layer Salad
    • Cranberry Fluff Salad
    • Sugar Free Broccoli Salad
    • Gluten Free Coleslaw

    I get a lot of my ingredients from Thrive Market. Thrive Market has been a game changer for me eating gluten free. They have so many options I can't get at my rural grocery stores! Use this link to get 40% off your first order!

    Print
    clock clock iconcutlery cutlery iconflag flag iconfolder folder iconinstagram instagram iconpinterest pinterest iconfacebook facebook iconprint print iconsquares squares iconheart heart iconheart solid heart solid icon

    Easy Pea Salad


    5 Stars 4 Stars 3 Stars 2 Stars 1 Star

    No reviews

    • Author: Elaine VanVleck
    • Total Time: 45 minutes
    • Yield: 9 servings 1x
    • Diet: Gluten Free
    Print Recipe
    Pin Recipe

    Description

    This creamy, tangy pea salad is a spring and potluck favorite that people ask for again and again. It's a gluten free side dish that comes together in minutes and actually tastes better the longer it chills, making it the perfect make ahead recipe for Easter, cookouts, and holiday gatherings.


    Ingredients

    Scale
    • 1 - 32 ounce bag Frozen Peas, thawed
    • 1 pound Bacon, cooked and crumbled
    • 1 small White Onion, finely chopped
    • 1 cup Cheddar Cheese, shredded
    • ½ cup Mayonnaise
    • ½ cup Sour Cream
    • ½ tsp. Sea Salt
    • ½ tsp. Coarse Ground Black Pepper
    • 2 tsp. White Vinegar

    Instructions

    Pour your frozen peas into a bowl and place in the refrigerator the night before to thaw. If you don't have time for that you can thaw them in the microwave using the defrost setting.

    Cook the bacon. I like to place my bacon on a baking sheet and bake at 400 degrees for 30-35 minutes until it is crispy. Once the bacon is cooled crumble it into pieces.

    Once the peas are thawed and the bacon is cooled mix the ingredients together in a bowl.

    Mix together the peas, bacon, onion, cheese, mayonnaise, sour cream, salt, pepper and vinegar until all the ingredients are blended completely.

    Store the salad in and air tight container in the refrigerator until you are ready to serve it.

    If you made this recipe please leave a star rating and comment below. It helps other readers find this recipe and means so much to me.

    Notes

    I like to make this salad the day before so it's cold and ready to serve in the refrigerator.

    • Prep Time: 15 minutes
    • Cook Time: 30 minutes
    • Category: Salad
    • Method: Mixed
    • Cuisine: American

    Did you make this recipe?

    Tag @smallfarmbiglife on Instagram and hashtag it #smallfarmbiglife

    If you make this easy pea salad, I would love to hear how it turned out. Leave a comment and a star rating below, and be sure to tag @smallfarmbiglife on Instagram so I can see your version. Looking for more make ahead sides for your next potluck or holiday table? Check out my full collection of Gluten Free Salad Recipes.

    Pea Salad Ingredients

    • Frozen Peas
    • Bacon
    • White Onion
    • Cheddar Cheese
    • Mayonnaise
    • Sour Cream
    • Sea Salt
    • Coarse Ground Black Pepper
    • White Vinegar

    Instructions

    Pour your frozen peas into a bowl and place in the refrigerator the night before to thaw. If you don't have time for that you can thaw them in the microwave using the defrost setting.

    Cook the bacon. I like to place my bacon on a baking sheet and bake at 400 degrees for 30-35 minutes until it is crispy. Once the bacon is cooled crumble it into pieces.

    Once the peas are thawed and the bacon is cooled mix the ingredients together in a bowl.

    Mix together the peas, bacon, onion, cheese, mayonnaise, sour cream, salt, pepper and vinegar until all the ingredients are blended completely.

    Store the salad in and air tight container in the refrigerator until you are ready to serve it.

    Soft Almond Flour Gingerbread Cookies (Gluten Free)

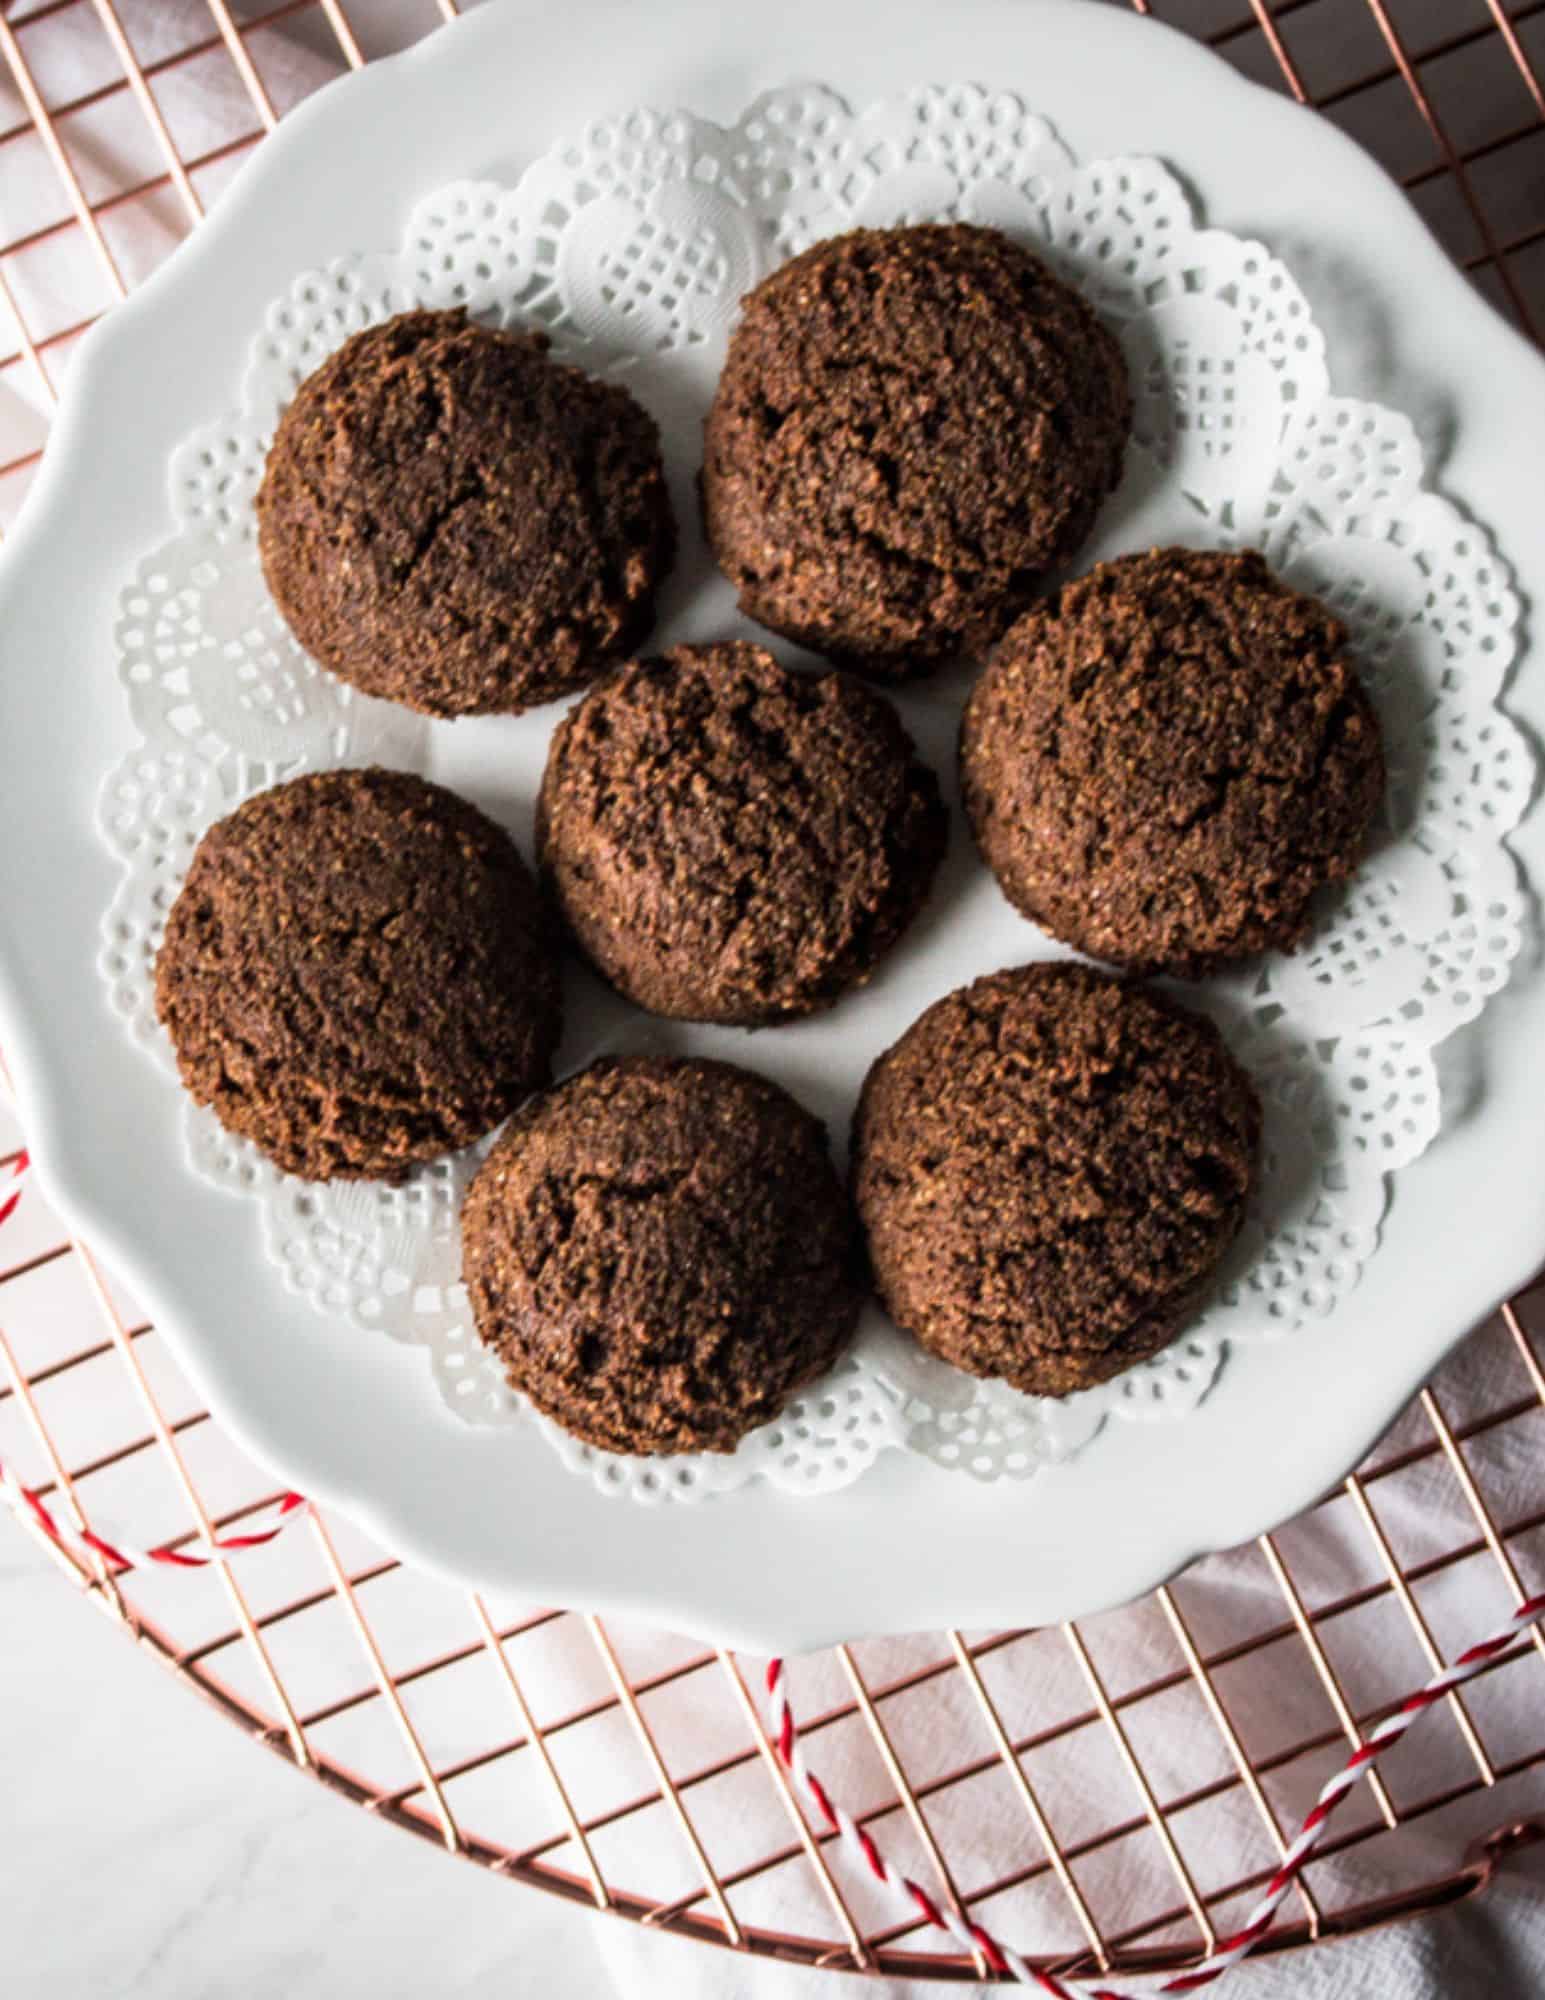
    These soft almond flour gingerbread cookies are my favorite way to get that classic gingerbread flavor in an easy drop cookie. They're drop cookies, so there's no rolling or cutting. Just mix, scoop, and bake.

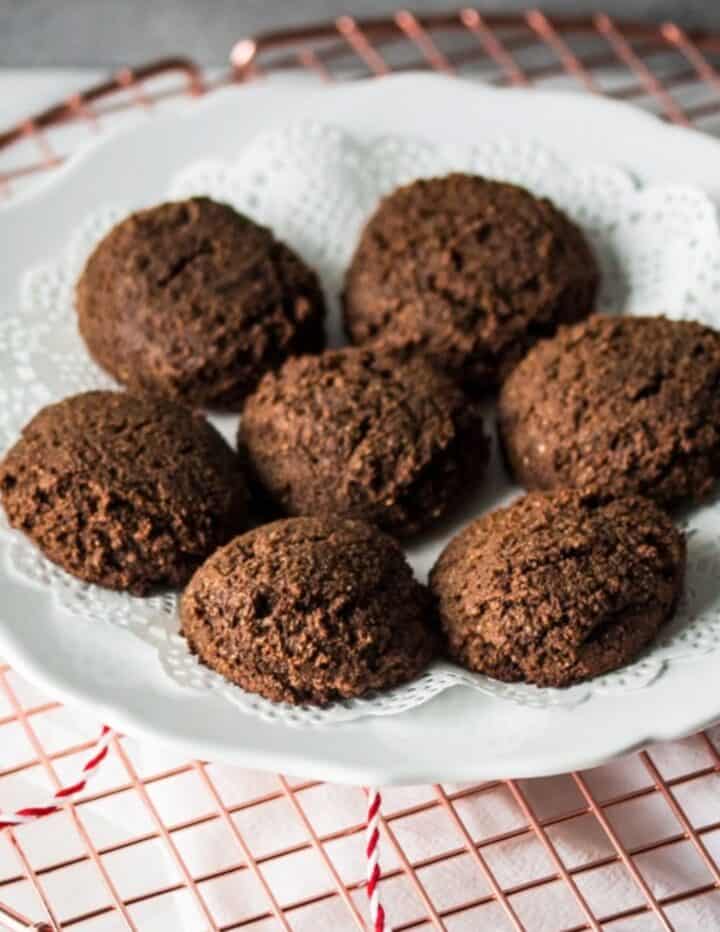
    a white plate of gluten free gingerbread cookies

    I'm a big fan of molasses. I love its rich, almost black licorice flavor, and it does nearly all the sweetening here, with just 1 tablespoon of coconut sugar. Almond flour keeps these gluten free cookies tender and chewy, and warm ginger, cinnamon, and cloves make them taste like the holidays.

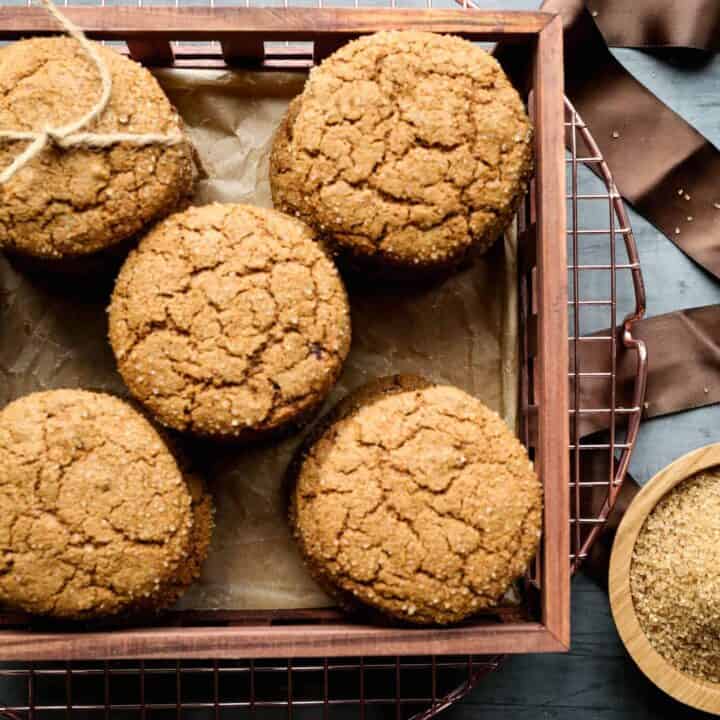
    If you are looking for more ginger recipes try my Gluten Free Ginger Cookies, Gluten Free Gingersnap Cookies, Gluten Free Gingerbread Scones or my Gluten Free Gingerbread Bundt Cake.

    You can find all of my Christmas cookie recipes here: Easy Gluten Free Christmas Cookies for Your Cookie Tray

    a white plate of gluten free gingerbread cookies
    [feast_advanced_jump_to]

    Why You'll Love These Cookies

    • Sweetened mostly with molasses. Molasses does almost all the sweetening, which gives these cookies a deeper, richer flavor than most gingerbread cookies.
    • No rolling or cutting. Just scoop and bake.
    • Soft and chewy. Almond flour keeps them tender for days.
    • Grain free. They're made with almond, coconut, and tapioca flour.

    Sweetened With Molasses

    I love molasses. It has a rich, almost black licorice flavor that makes gingerbread taste like gingerbread. In this recipe, molasses does nearly all the sweetening, with just 1 tablespoon of coconut sugar added. That gives these cookies a deeper, richer molasses flavor than most gingerbread cookies. Use regular unsulphured molasses. Blackstrap molasses is much more bitter and will overpower the spices.

    Why This Recipe Uses Three Flours

    Each flour has its own job:

    • Almond flour makes up most of the dough and keeps the cookies soft and tender. Use blanched almond flour, not almond meal. Almond meal is coarser and will make grainy cookies.
    • Coconut flour absorbs moisture, so the cookies hold their shape instead of spreading too thin. (Coconut flour is very absorbent, so measure it carefully. Even a little extra can make the cookies dry.)
    • Tapioca flour adds chew and helps bind the dough.

    Ingredient Swaps

    • Butter: Use coconut oil to make these dairy free.
    • Coconut sugar: Brown sugar works in the same amount.
    • Almond flour: This recipe doesn't work with a 1 to 1 gluten free flour. If you'd like a gingerbread style cookie made with regular gluten free flour, try my Gluten Free Ginger Cookies.

    Tips for Soft, Chewy Gingerbread Cookies

    • Chill the dough if it's sticky. Almond flour dough is softer than regular cookie dough. A short chill makes it much easier to scoop.
    • Use a cookie scoop. Evenly sized cookies bake evenly.
    • Leave space. Place the cookies 2 inches apart, since they spread a little.
    • Don't wait for them to brown. The molasses makes these cookies dark, so look for tops that are firm to the touch and no longer glossy.
    • Let them rest on the pan. Cool them for 10 minutes on the baking sheet. Almond flour cookies are fragile while they're warm.

    Storage and Freezing

    Store the cookies in an airtight container at room temperature for up to a week. Freeze them for up to 3 months, and thaw them on a towel to absorb any moisture.

    Top Tip

    Almond flour dough is softer than regular cookie dough. If it's too sticky to scoop, chill it in the refrigerator until it firms up.

    Frequently Asked Questions

    How long do almond flour gingerbread cookies stay fresh?

    Store them in an airtight container at room temperature for up to a week. The container keeps them soft and chewy.

    Can you freeze almond flour gingerbread cookies?

    Yes! Freeze them in a freezer safe container for up to 3 months. When you thaw them, take them out of the container and set them on a towel to absorb any extra moisture.

    How do you tell when almond flour gingerbread cookies are done?

    The molasses makes them too dark to judge by color. They're done when the tops are firm to the touch and no longer look glossy.

    Can I use this dough for gingerbread men?

    This dough is soft and made for drop cookies, so it doesn't hold sharp cutout shapes. Scoop it into rounds for the best results.

    Can I use regular gluten free flour instead of almond flour?

    No. This recipe is built around almond, coconut, and tapioca flour, which behave very differently from a 1 to 1 gluten free flour. For a gingerbread flavored cookie made with regular gluten free flour, try my Gluten Free Ginger Cookies.

    Can I make these dairy free?

    Yes. Swap the melted butter for melted coconut oil.

    Didn't find the answer you're looking for?

    Ask AI to answer based on this recipe:

    ChatGPT
    Google AI
    Perplexity
    Grok
    Claude

    More Recipes You Might Enjoy

    • Gluten Free Gingerbread Bundt Cake
    • Gluten Free Gingerbread Pancakes
    • Gluten Free Gingersnap Cookies
    • Gluten Free Ginger Cookies

    I get a lot of my ingredients from Thrive Market. Thrive Market has been a game changer for me eating gluten free. They have so many options I can't get at my rural grocery stores! Use this link to get 40% off your first order!

    Print
    clock clock iconcutlery cutlery iconflag flag iconfolder folder iconinstagram instagram iconpinterest pinterest iconfacebook facebook iconprint print iconsquares squares iconheart heart iconheart solid heart solid icon

    Soft Almond Flour Gingerbread Cookies (Gluten Free)


    5 Stars 4 Stars 3 Stars 2 Stars 1 Star

    No reviews

    • Author: Elaine VanVleck
    • Total Time: 1 hour 25 minutes
    • Yield: 20 cookies 1x
    • Diet: Gluten Free
    Print Recipe
    Pin Recipe

    Description

    Soft, chewy almond flour gingerbread cookies with deep molasses flavor and warm holiday spice. These easy gluten free drop cookies need no rolling or cutting and bake in about 15 minutes.


    Ingredients

    Scale
    • 2 cups Almond Flour
    • ¼ cup Coconut Flour
    • 2 Tbsp. Tapioca Flour
    • 1 Tbsp. Coconut Sugar
    • ½ tsp. Baking Soda
    • ¼ tsp. Sea Salt
    • 2 tsp. Ground Ginger
    • 1 ¼ tsp. Ground Cinnamon
    • ¼ tsp. Ground Cloves
    • 2 large Eggs
    • ¼ tsp. Vanilla Extract
    • ½ cup Molasses
    • 1 Tbsp. Unsalted Butter, melted

    Instructions

    Preheat your oven to 350 degrees. Line two baking sheet pans with parchment paper.

    In the bowl of your stand mixer, mix together the almond flour, coconut flour, tapioca flour, coconut sugar, baking soda, sea salt, ground ginger, ground cinnamon and ground cloves until the dry ingredients are combined.

    Add the eggs, vanilla extract, molasses and butter. Mix until all the ingredients are combined.

    You may need to refrigerate the dough for an hour so it isn't too sticky to work with.

    Using a cookie scoop or tablespoon place the dough on your baking sheets two inches apart. The cookies will spread a little.

    Bake 12-15 minutes or until the cookies are firm when touched.

    Let the cookies cool for 10 minutes on the baking sheet before moving them to a cooling rack. Let the cookies cool completely before you store them in an airtight container.

    If you made this recipe please leave a star rating and comment below. It helps other readers find this recipe and means so much to me.

    Notes

    You can replace the butter with coconut oil if you are dairy free.

    • Prep Time: 1 hour, 10 minutes
    • Cook Time: 15 minutes
    • Category: Cookies
    • Method: Baking
    • Cuisine: American

    Did you make this recipe?

    Tag @smallfarmbiglife on Instagram and hashtag it #smallfarmbiglife

    If you make these almond flour gingerbread cookies, please leave a star rating and a comment below. It helps other readers find the recipe. You can also tag me on Instagram at @smallfarmbiglife so I can see your holiday baking!

    Gluten Free Pumpkin White Chocolate Cookies

    There's something about the combination of warm pumpkin spice and sweet white chocolate that says fall is here. These gluten free pumpkin white chocolate cookies are soft, chewy, and come together in one bowl with no eggs needed. They're the kind of cookie you'll want to make on repeat all season long.

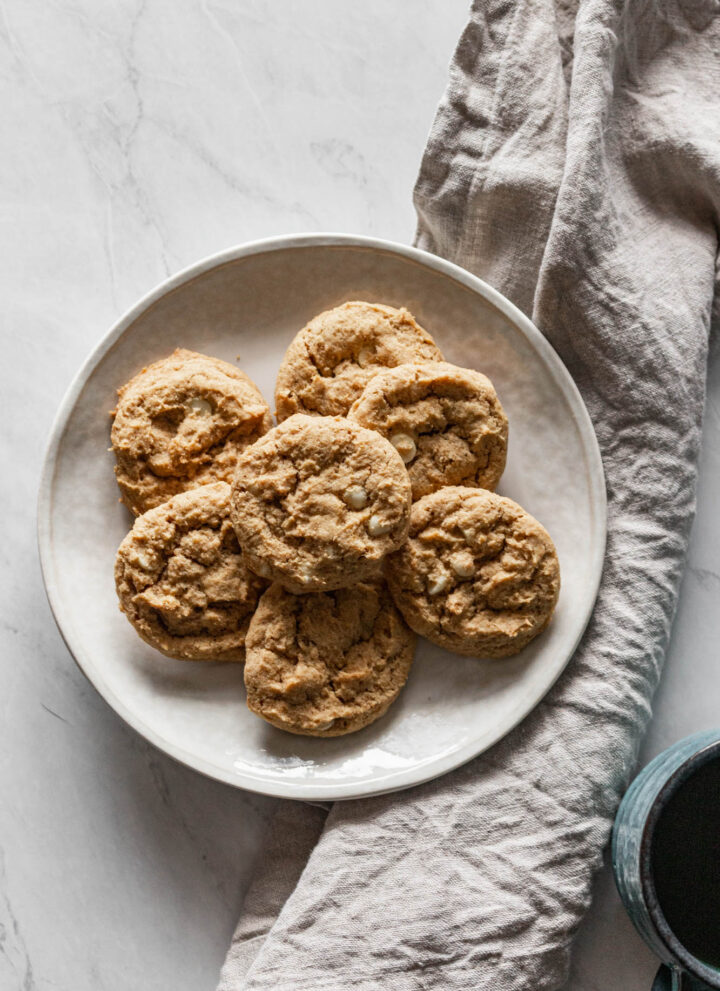
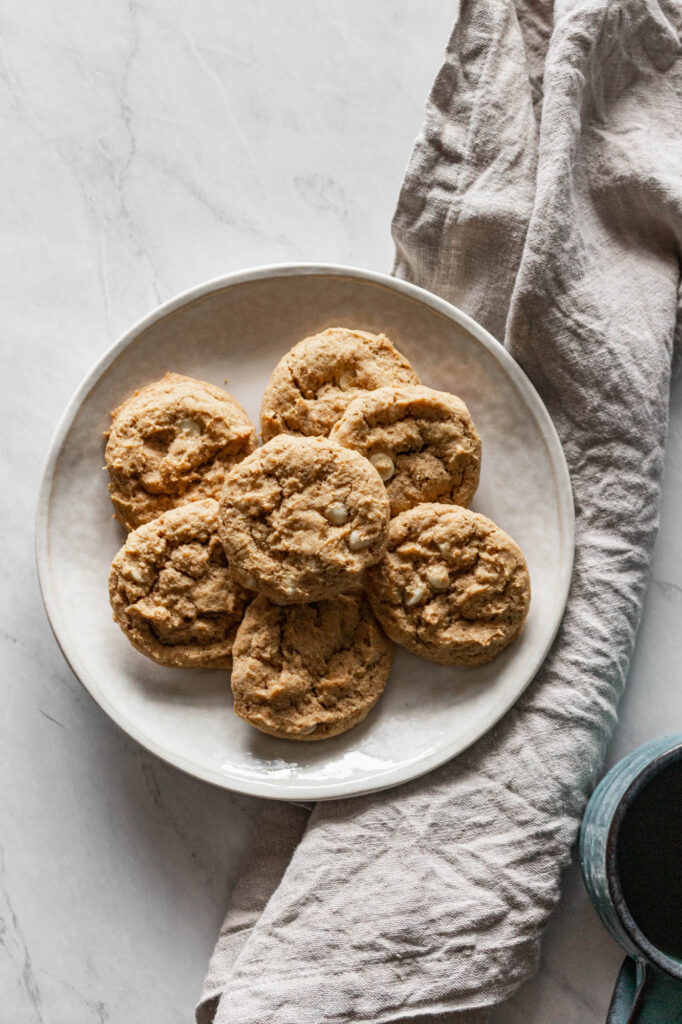
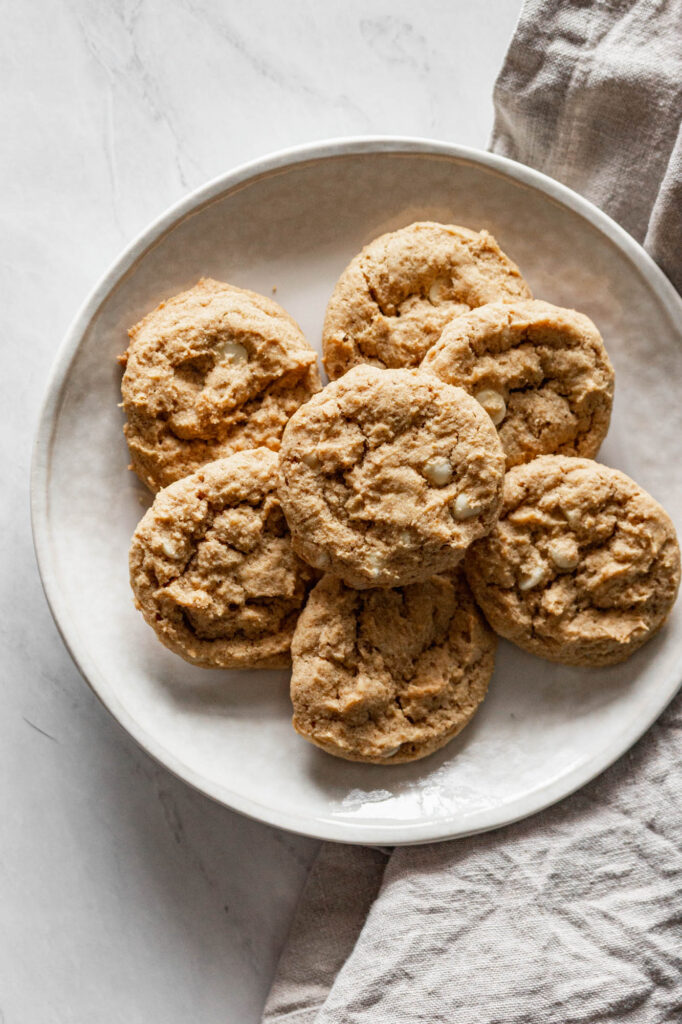
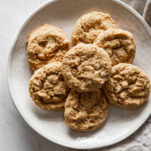
    a cream plate of gluten free white chocolate cookies on a white marble countertop next to a linen napkin

    I love a chewy cookie, and these pumpkin white chocolate cookies have quickly become one of my favorites.

    This is a simple recipe that comes together with no chilling time required, so you can go from mixing bowl to oven in minutes.

    The combination of pumpkin, white chocolate, and a hint of warm spice makes it one of my go to fall treats to bake.

    If you are looking for more cookie recipes try my Gluten Free Apple Pie Cookies, my Gluten Free Ginger Cookies, my Gluten Free Double Chocolate Chip Cookies or my Gluten Free Old Fashioned Iced Oatmeal Cookies.

    You can find all of my cookie recipes here: Gluten Free Cookies Recipes

    You can find all of my pumpkin recipes here: Gluten Free Pumpkin Recipes

    a cream plate of gluten free white chocolate cookies on a white marble countertop next to a linen napkin
    [feast_advanced_jump_to]

    Why You'll Love These Cookies

    • Soft, chewy texture with no eggs needed
    • One bowl, no chilling required
    • Warm blend of cinnamon, clove, and nutmeg instead of a store bought spice mix
    • Ready in under 30 minutes start to finish

    Ingredient Notes

    This recipe skips eggs entirely, which makes it a great option if you're baking for someone with an egg allergy or you're simply out of eggs. The butter and pumpkin puree provide plenty of moisture and structure on their own.

    Rather than a premade pumpkin pie spice blend, this recipe uses cinnamon, cloves, and nutmeg individually so you can control the balance of warmth versus sweetness.

    Be sure to use pure pumpkin puree, not pumpkin pie filling. The filling contains added sugar and spices that will throw off the recipe.

    Tips for Perfectly Chewy Cookies

    The combination of butter and pumpkin puree is what keeps these cookies soft and chewy instead of cakey. Don't overbake them. Pull them from the oven as soon as the edges are firm and just starting to brown, even if the centers look slightly underdone. They'll finish setting up as they cool on the pan.

    Ways to Customize This Recipe

    • Swap the white chocolate chips for semisweet or butterscotch chips if that's more your style.
    • Stir in chopped pecans or walnuts for some crunch.
    • For a stronger spice flavor, add an extra ¼ teaspoon of cinnamon.

    Storage

    Store the cookies in an airtight container at room temperature for up to 2 days, or in the refrigerator for up to a week to keep them fresh longer. To freeze, place cooled cookies in a freezer safe container or bag and freeze for up to 3 months. Let them thaw at room temperature before enjoying.

    Top Tip

    Don't over bake these cookies. Pull them from the oven as soon as the edges are firm and just starting to brown, even if the centers still look a little soft. They'll finish setting up as they cool on the pan, which is what keeps them chewy instead of dry.

    Frequently Asked Questions

    Can you freeze gluten free cookies?

    Yes! These cookies are perfect to freeze for later. I like to have them on hand to defrost and pack in lunches. It's also great to make these cookies ahead of a gathering or event and then freeze them so you don't have to make them right before.

    How do I store gluten free cookies?

    I like to store my gluten free cookies in an air tight container in the fridge. The cookies are fine on the counter for a couple of days too. If they aren't going to get eaten right away storing them in the air tight container in the fridge will keep them fresh longer.

    How do I make gluten free cookies chewy?

    The combination of butter and pumpkin puree is what makes these gluten free pumpkin white chocolate cookies chewy. If you have a recipe that isn't making chewy cookies you can add some more oil (butter, avocado oil, coconut oil, etc.) or you can add pumpkin puree or apple sauce. Try a couple of tablespoons and go from there. A little goes a long way!

    Why doesn't this recipe use eggs?

    This recipe relies on butter and pumpkin puree for moisture and structure, so eggs aren't needed. That makes it a good option if you're baking for someone with an egg allergy or you simply don't have eggs on hand.

    Can I substitute pumpkin pie spice for the individual spices?

    Yes. If you prefer, swap the cinnamon, cloves, and nutmeg for about 1 ¼ teaspoons of pumpkin pie spice. Using the spices individually just gives you more control over the exact flavor balance.

    Didn't find the answer you're looking for?

    Ask AI to answer based on this recipe:

    ChatGPT
    Google AI
    Perplexity
    Grok
    Claude

    Pumpkin White Chocolate Cookies Supplies

    More Recipes You Might Enjoy
    • Gluten Free Pumpkin Cranberry Breakfast Cookies
    • Gluten Free Pumpkin Spice Chocolate Chip Cookies
    • Gluten Free White Chocolate Cranberry Cookies
    • Gluten Free Orange Cranberry Butter Cookies

    I get a lot of my ingredients from Thrive Market. Thrive Market has been a game changer for me eating gluten free. They have so many options I can't get at my rural grocery stores! Use this link to get 40% off your first order!

    Print
    clock clock iconcutlery cutlery iconflag flag iconfolder folder iconinstagram instagram iconpinterest pinterest iconfacebook facebook iconprint print iconsquares squares iconheart heart iconheart solid heart solid icon

    Gluten Free Pumpkin White Chocolate Cookies


    5 Stars 4 Stars 3 Stars 2 Stars 1 Star

    No reviews

    • Author: Elaine VanVleck
    • Total Time: 27 minutes
    • Yield: 32 cookies 1x
    • Diet: Gluten Free
    Print Recipe
    Pin Recipe

    Description

    These soft and chewy gluten free pumpkin white chocolate cookies come together in one bowl with no eggs needed. Warm pumpkin spice flavor meets sweet white chocolate chips for the ultimate fall cookie. They're simple enough for a weeknight bake and good enough for a holiday cookie tray.


    Ingredients

    Scale
    • 2 cups Gluten Free Flour
    • 1 tsp. Baking Soda
    • ½ tsp. Baking Powder
    • 1 tsp. Ground Cinnamon
    • ½ tsp. Sea Salt
    • ¼ tsp. Ground Cloves
    • ¼ tsp. Ground Nutmeg
    • ¾ cup Unsalted Butter, softened
    • ⅓ cup Pumpkin Puree
    • 1 tsp. Vanilla Extract
    • ½ cup Brown Sugar
    • ½ cup Granulated Sugar
    • 1 cup White Chocolate Chips

    Instructions

    Preheat oven to 350 degrees. Line three baking sheets with parchment paper.

    In a mixing bowl whisk together the flour, baking soda, baking powder, cinnamon, sea salt, cloves, and nutmeg.

    In the mixing bowl of your stand mixer place the softened butter, pumpkin puree, vanilla, brown sugar and granulated sugar. Beat until well blended together.

    Add the dry ingredients to the wet ingredients and beat until just blended together. Add the white chocolate chips and beat until just combined.

    Scoop dough onto parchment paper lined baking sheets. I use a cookie scoop, but a heaping tablespoon will also work.

    Bake at 350 degrees for 10-12 minutes or until cookies are firm and starting to brown.

    Cool cookies completely before storing in a container.

    If you made this recipe please leave a star rating and comment below. It helps other readers find this recipe and means so much to me.

    Notes

    Be sure to use pumpkin puree and not pumpkin pie filling.

    • Prep Time: 15 minutes
    • Cook Time: 12 minutes
    • Category: Cookies
    • Method: Baking
    • Cuisine: American

    Did you make this recipe?

    Tag @smallfarmbiglife on Instagram and hashtag it #smallfarmbiglife

    I'd love to hear what you think of these gluten free pumpkin white chocolate cookies! Leave a comment and star rating below, and tag me on Instagram if you bake a batch. Don't forget to pin this recipe so you can find it again all fall long.

    Pumpkin White Chocolate Cookies Ingredients

    • Gluten Free Flour
    • Baking Soda
    • Baking Powder
    • Ground Cinnamon
    • Sea Salt
    • Ground Cloves
    • Ground Nutmeg
    • Unsalted Butter
    • Pumpkin Puree
    • Vanilla Extract
    • Brown Sugar
    • Granulated Sugar
    • White Chocolate Chips

    Instructions

    Preheat oven to 350 degrees. Line three baking sheets with parchment paper.

    In a mixing bowl whisk together the flour, baking soda, baking powder, cinnamon, sea salt, cloves, and nutmeg.

    In the mixing bowl of your stand mixer place the softened butter, pumpkin puree, vanilla, brown sugar and granulated sugar. Beat until well blended together.

    Add the dry ingredients to the wet ingredients and beat until just blended together. Add the white chocolate chips and beat until just combined.

    Scoop dough onto parchment paper lined baking sheets. I use a cookie scoop, but a heaping tablespoon will also work.

    Bake at 350 degrees for 10-12 minutes or until cookies are firm and starting to brown.

    Cool cookies completely before storing in a container.

    Gluten Free Pumpkin Pie

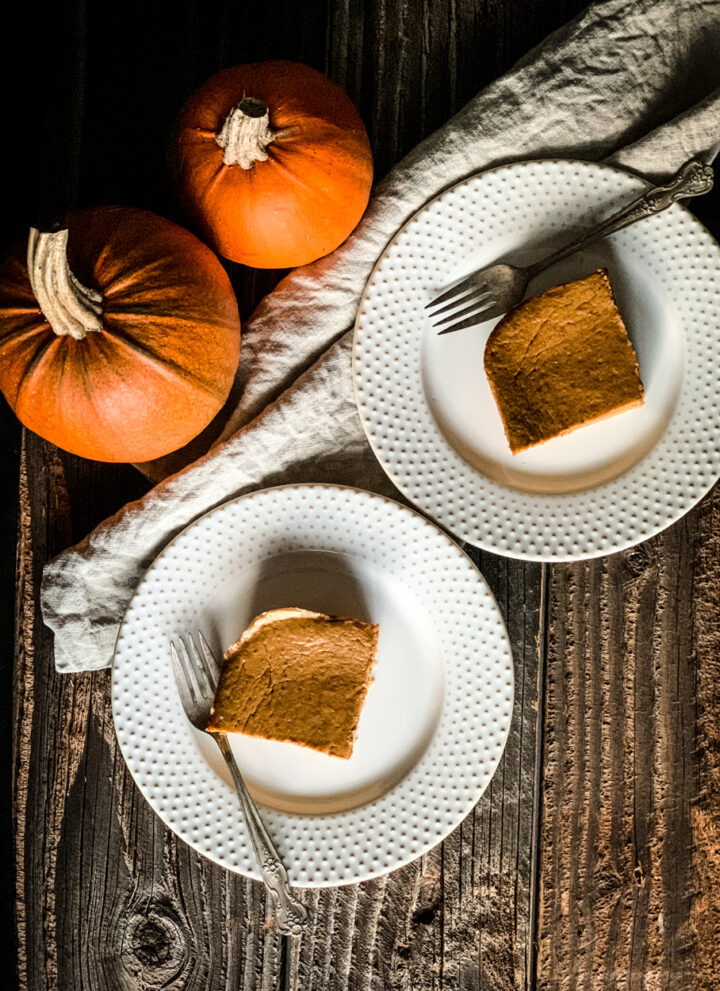
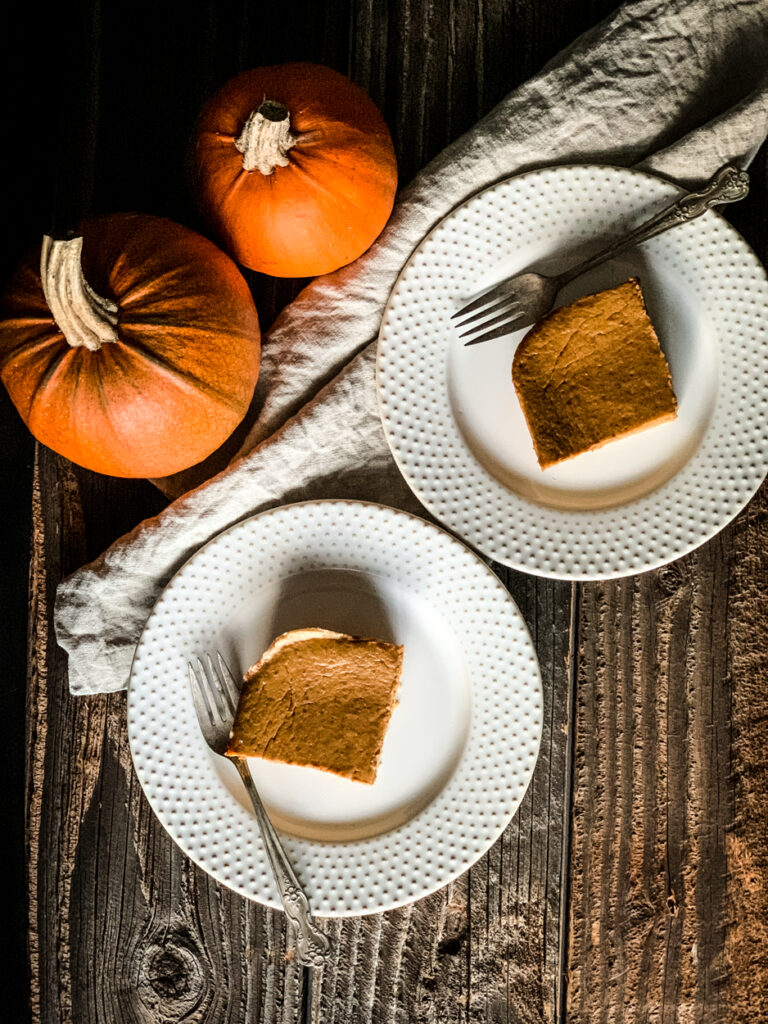
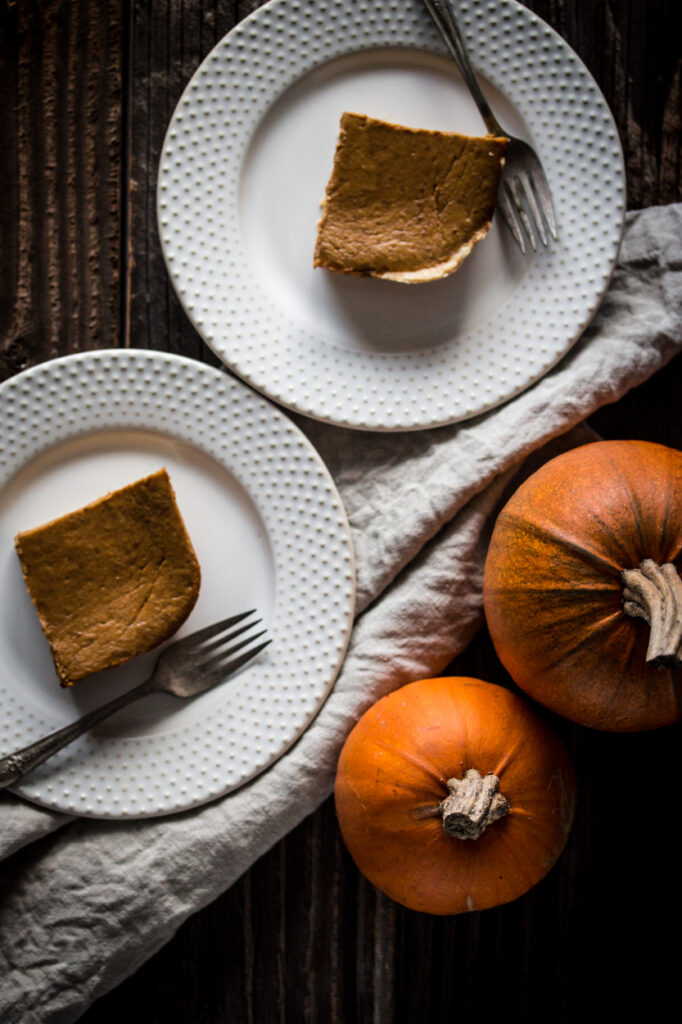
    two slices of gluten free pumpkin pie on cream plates next to two small orange pumpkins

    This gluten free pumpkin pie is a really easy recipe to make from scratch. I like to make mine in a 9x13 pan so I have bars or squares. This is the best recipe to make a quick and easy slab pie or if you prefer two 9 inch pies.

    I'm not always a fan of rolling out gluten free pie crusts. Even between two pieces of parchment paper sometimes it seems difficult. So, I like to press the pie crust into a 9x13 baking dish and make a slab pie.

    two slices of gluten free pumpkin pie on cream plates next to two small orange pumpkins

    If I'm gluten free can I have pumpkin pie?

    Yes, but you must make sure the crust is gluten free. There isn't anything in this recipe for the pumpkin pie that isn't gluten free. You just need to make sure you either make my gluten free pie crust or purchase a gluten free pie crust. Trader Joe's has a yummy gluten free pie crust in their freezer section.

    Gluten Free Pumpkin Pie Supplies

    Can I use a store bought crust with this recipe?

    Yes! There are so many more options in the last year for gluten free pie crusts. There are mixes and pre-made crusts you can purchase. I have a recipe for gluten free pie crust, but I also love the ease of pulling a pie crust out of the freezer to use ready made.

    Here is my recipe for Gluten Free Pie Crust. You can use store bought, but gluten free pie crust is simple to make from scratch.

    Gluten Free Pumpkin Pie Ingredients

    • Pumpkin Puree
    • Vanilla Extract
    • Sea Salt
    • Ground Cinnamon
    • Ground Cloves
    • Ground Ginger
    • Ground Nutmeg
    • Ground Allspice
    • Brown Sugar
    • Whipping Cream
    • Milk
    • Eggs

    If you enjoy this recipe you may also like:

    Gluten Free White Chocolate Blondies
    Gluten Free Apple Crisp
    Gluten Free Lemon Bars
    Gluten Free Pumpkin White Chocolate Cookies
    Gluten Free Pumpkin Cake with Cream Cheese Frosting

    I get a lot of my ingredients from Thrive Market. Thrive Market has been a game changer for me eating gluten free. They have so many options I can't get at my rural grocery stores! Use this link to get 25% off your first order!

    Print
    clock clock iconcutlery cutlery iconflag flag iconfolder folder iconinstagram instagram iconpinterest pinterest iconfacebook facebook iconprint print iconsquares squares iconheart heart iconheart solid heart solid icon

    Gluten Free Pumpkin Pie


    5 Stars 4 Stars 3 Stars 2 Stars 1 Star

    No reviews

    • Author: Elaine VanVleck
    • Total Time: 1 hour
    • Yield: 1 - 9x13 or 2 - 9" 1x
    • Diet: Gluten Free
    Print Recipe
    Pin Recipe

    Description

    This gluten free pumpkin pie is a really easy recipe to make from scratch. I like to make mine in a 9x13 pan so I have bars or squares. This is the best recipe to make a quick and easy slab pie or if you prefer two 9 inch pies. 


    Ingredients

    Scale

    2 - 15 ounce cans Pumpkin Puree
    2 tsp. Vanilla Extract
    1 tsp. Sea Salt
    2 tsp. Ground Cinnamon
    ½ tsp. Ground Cloves
    ½ tsp. Ground Ginger
    ½ tsp. Ground Nutmeg
    ¼ tsp. Ground Allspice
    1 cup Brown Sugar
    1 cup Whipping Cream
    1 cup Milk
    4 large Eggs


    Instructions

    Preheat your oven to 350 degrees.

    Grease a 9x13 baking pan or 2 - 9 inch pie plates.

    In the bowl of your mixer add all the ingredients. Mix until they are well combined. Pour the pie mixture into your pre-baked pie crust.

    Bake at 350 degrees for 45 to 50 minutes.

    Check your pie at 30 minutes. If the crust is getting too dark cover the crust with tin foil and return to the oven. Your pie will be mostly set with possible a slight jiggle to the center when it is done.

    Notes

    Below is a recipe for my gluten free pie crust. You can also use store bought pie crusts.

    • Prep Time: 10 minutes
    • Cook Time: 50 minutes
    • Category: Pies
    • Method: Baking
    • Cuisine: Gluten Free

    Did you make this recipe?

    Tag @smallfarmbiglife on Instagram and hashtag it #smallfarmbiglife

    Here is the link to my recipe for Gluten Free Pie Crust.

    • « Previous Page
    • 1
    • …
    • 28
    • 29
    • 30
    • 31
    • Next Page »

    Welcome! I'm Elaine

    I'm so glad you are here! I share easy gluten free recipes from my small farm in Washington.

    Be sure to sign up for my newsletter to stay up to date on all of my new recipes.

    More about me...
    • Instagram
    • Pinterest
    • Facebook
    • Twitter
    • email

    Free gluten free recipe ebook
    My most loved recipes in one download, plus new recipes every Friday.
    Check your inbox! Your ebook is on its way.

    Easy Meals Recipes

    • Gluten Free Instant Pot Chili Mac and Cheese
    • Gluten Free Taco Casserole
    • Gluten Free Cowboy Baked Beans
    • Gluten Free Walking Taco Casserole
    • Gluten Free Creamy Beef and Mushroom Pasta
    • Gluten Free Instant Pot Chicken and Dumplings
    • Instant Pot Mexican Style Beef and Rice
    • Gluten Free Chicken Parmesan Pasta Casserole
    • Gluten Free One Pot Hamburger Helper Copycat
    • Gluten Free Salisbury Steak with Mushroom Gravy
    • Gluten Free Air Fryer Fajitas
    • Gluten Free Sloppy Joe Casserole

    Footer

    back to top

    About

    • Privacy Policy
    • Shop my Amazon Page
    • Follow me on LTK

    Newsletter

    • Sign Up! for emails and updates

    Contact

    • Contact
    • Media Kit
    • About Me

    As an Amazon Associate I earn from qualifying purchases.

    I may get commissions for purchases made through links on this site.

    Copyright © 2026 Brunch Pro on the Brunch Pro Theme