

This gluten free cranberry pecan sourdough bread is an easy, no knead artisan sourdough bread recipe that's perfect for cozy mornings and holiday gatherings.
Made with a gluten free sourdough starter, this cranberry sourdough bread is soft on the inside with a golden crust and just the right hint of sweetness from dried cranberries and a nutty crunch from pecans. It's a homemade gluten free bread that feels bakery quality yet simple enough for everyday sourdough baking.
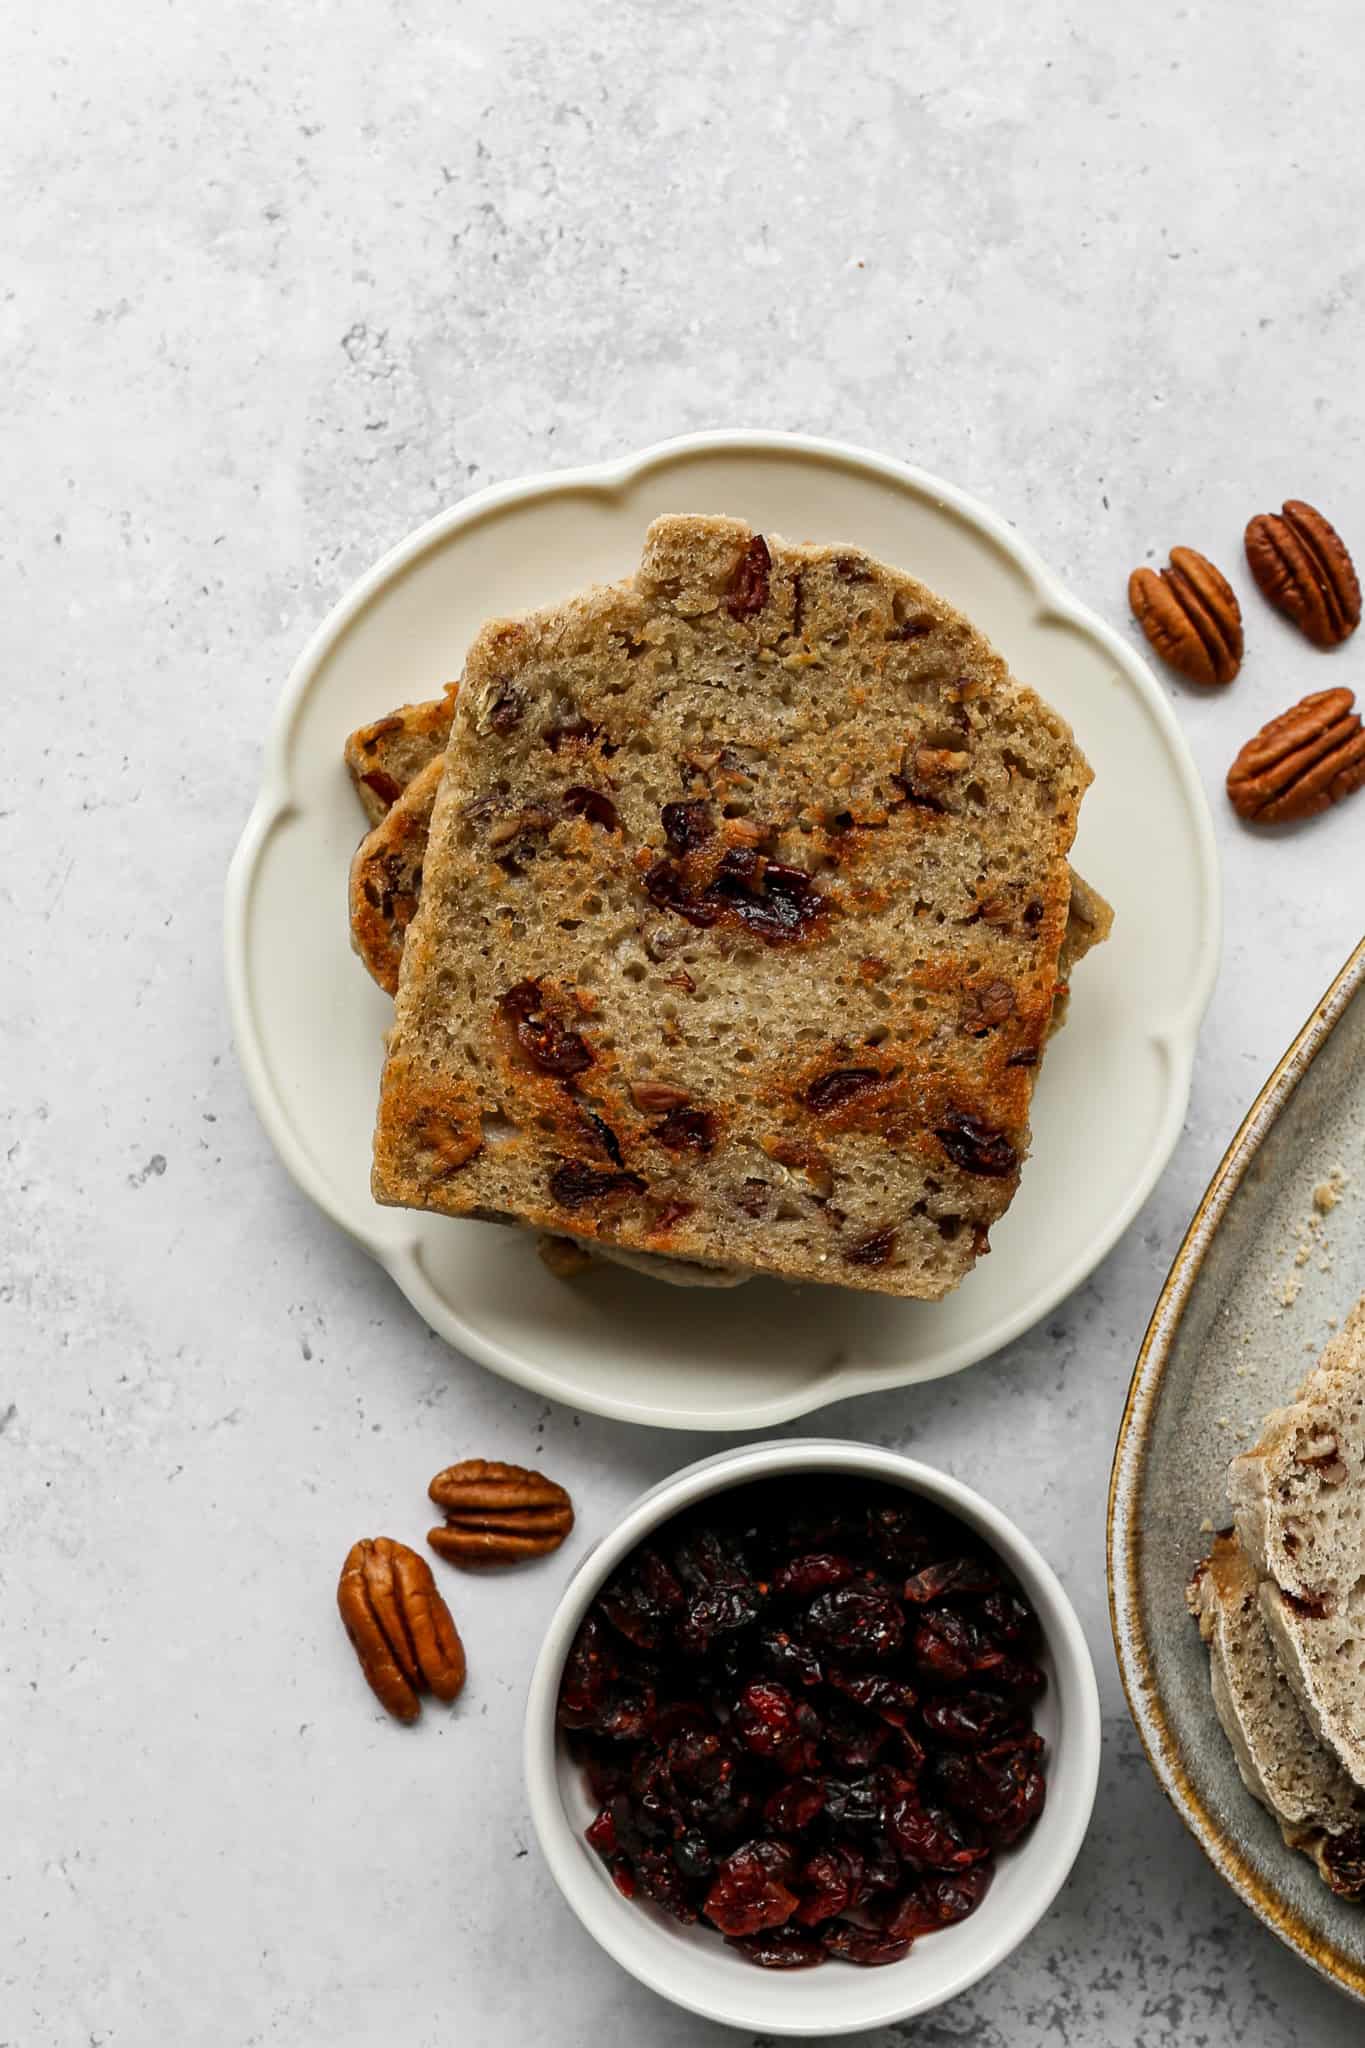
Whether you're serving it for a winter breakfast, a holiday morning treat, or as part of a festive brunch, this cranberry pecan bread recipe delivers that warm, homemade flavor everyone loves.
It's an easy GF sourdough bread recipe that captures the best of artisan bread baking without the fuss of kneading.
It's perfect for gluten free living! This cranberry sourdough bread recipe is as wholesome as it is beautiful and is a true seasonal favorite.
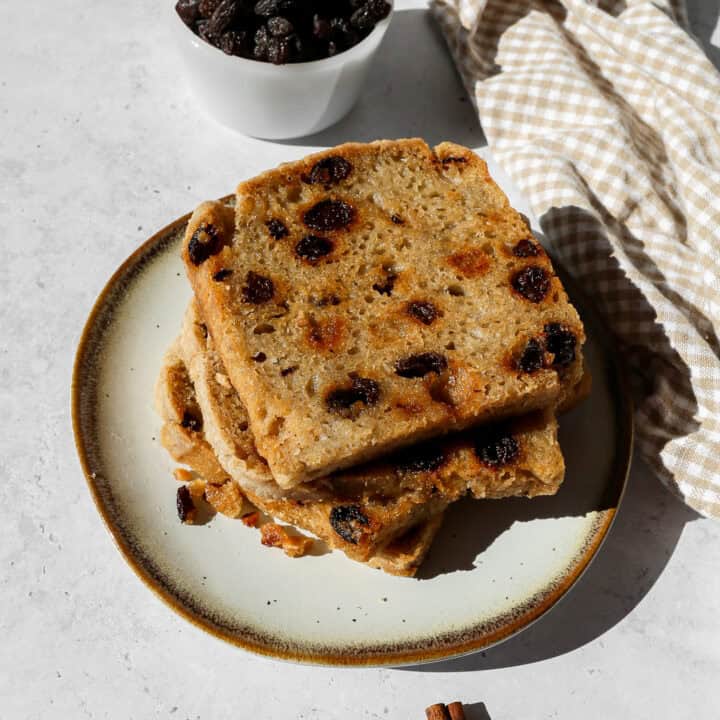
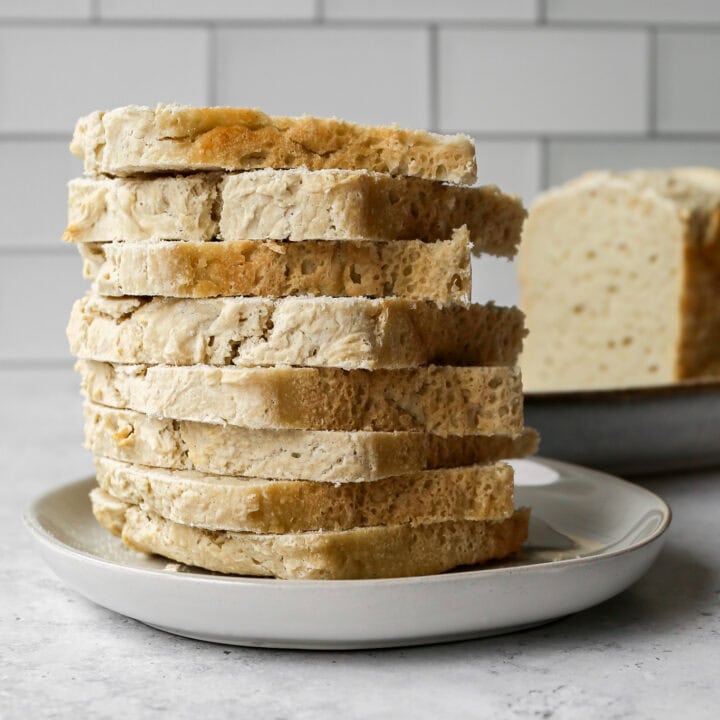
If you are looking for more gluten free sourdough recipes try my Gluten Free Sourdough Sandwich Bread, my Gluten Free Cinnamon Raisin Sourdough Bread, my Gluten Free Sourdough Croutons or my Gluten Free Sourdough Pizza Crust.
You can find more breakfast recipes here: Gluten Free Breakfast Recipes

Jump to:
Instructions
Grease your bread pan with coconut oil or butter. Set aside.
In the microwave or on the stovetop heat your milk just until it's warm to the touch. You don't want it too hot!
In the bowl of your stand mixer add the sourdough starter, melted butter, honey and warm milk. Blend together.
Add the potato starch or tapioca starch, gluten free flour, baking powder, salt, pecans, dried cranberries and cinnamon. Blend just until ingredients begin to mix together. Remove from the stand mixer and gently fold any ingredients left on the bottom of the bowl into the mixture with a spatula.
The dough will be very sticky. You don't want to knead or overwork the dough. This sticky texture will let the bread rise nicely.
Spoon the dough into your greased bread pan. Cover the bread pan with a plate or platter and let it rest in a warm area for 6-8 hours. I like to mix my dough up at night before I go to bed and let it proof overnight and then bake in the morning.
Preheat your oven to 350 degrees.
Bake the bread for 1 hour 10 minutes to 1 hour 15 minutes. The top will be very lightly browned and the sides will be a little darker brown. This is a light bread and will not get really brown on top.
Let the bread stand in the pan for at least 10 minutes to cool before you turn it out onto a plate or platter to finish cooling.
Once the bread has completely cooled slice it into pieces and store it in a sealed container.
Depending on how warm your house is it will last on the counter for 3-4 days. If you aren't going to use it in that amount of time place it in the fridge where it should last 5-7 days.
Supplies


More Recipes You Might Enjoy


I get a lot of my ingredients from Thrive Market. Thrive Market has been a game changer for me eating gluten free. They have so many options I can't get at my rural grocery stores! Use this link to get 40% off your first order!

Gluten Free Cranberry Pecan Sourdough Bread
- Total Time: 9 hours 10 minutes
- Yield: 15 servings 1x
- Diet: Gluten Free
Description
This gluten free cranberry pecan sourdough bread is an easy, no knead artisan sourdough bread recipe that's perfect for cozy mornings and holiday gatherings.
Ingredients
- 1 ½ cups Sourdough Starter
- 4 Tbsp Butter, melted
- 2 Tbsp Honey
- 1 ¾ cups Milk, warm
- 2 ½ cups Gluten Free Flour
- ½ cup Potato Starch or Tapioca Flour
- 1 Tbsp Baking Powder
- 2 tsp Salt
- ¾ cup Pecans, roughly chopped
- ¾ cup Dried Cranberries
- 1 tsp Ground Cinnamon
Instructions
Grease your bread pan with coconut oil or butter. Set aside.
In the microwave or on the stovetop heat your milk just until it's warm to the touch. You don't want it too hot!
In the bowl of your stand mixer add the sourdough starter, melted butter, honey and warm milk. Blend together.
Add the potato starch or tapioca starch, gluten free flour, baking powder, salt, pecans, dried cranberries and cinnamon. Blend just until ingredients begin to mix together. Remove from the stand mixer and gently fold any ingredients left on the bottom of the bowl into the mixture with a spatula.
The dough will be very sticky. You don't want to knead or overwork the dough. This sticky texture will let the bread rise nicely.
Spoon the dough into your greased bread pan. Cover the bread pan with a plate or platter and let it rest in a warm area for 6-8 hours. I like to mix my dough up at night before I go to bed and let it proof overnight and then bake in the morning.
Preheat your oven to 350 degrees.
Bake the bread for 1 hour 10 minutes to 1 hour 15 minutes. The top will be very lightly browned and the sides will be a little darker brown. This is a light bread and will not get really brown on top.
Let the bread stand in the pan for at least 10 minutes to cool before you turn it out onto a plate or platter to finish cooling.
Once the bread has completely cooled slice it into pieces and store it in a sealed container.
Depending on how warm your house is it will last on the counter for 3-4 days. If you aren't going to use it in that amount of time place it in the fridge where it should last 5-7 days.
- Prep Time: 8 hours
- Cook Time: 1 hour, 10 minutes
- Category: Breads
- Method: Baking
- Cuisine: Gluten Free
Top Tip
This recipe needs to be in a warm spot to rise for 6-8 hours. If it's not rising it may not be in a warm enough spot or your sourdough starter might not be ready yet.
Didn't find the answer you're looking for?
Ask AI to answer based on this recipe:
Frequently Asked Questions
No. Regular sourdough is made with gluten based wheat flour. The fermenting process of sourdough does not change that there is gluten in the recipe. Only gluten free sourdough is safe for people with Celiacs or gluten allergies.
It could be that your starter is weak. This means it hasn't fermented enough. It may need more time or moved to a warmer spot.
It could also be over proofing. This means you've left the dough out in the pan covered for too long. I proof for 6-8 hours and have good results with that. If you're proofing longer the dough may be raising and deflating before it makes it to the oven.


Leave a Reply