

Most gluten free banana cream pie recipes reach for a box of instant pudding and a tub of Cool Whip, and while that gets the job done, it isn't really banana cream pie. This recipe skips the shortcuts entirely and builds a true stovetop custard from eggs, whole milk, and vanilla, cooked low and slow until it's thick and silky.
Tempering the eggs is the one step that makes or breaks this method, and once you understand why it matters, you will never look at a box of instant pudding the same way again.
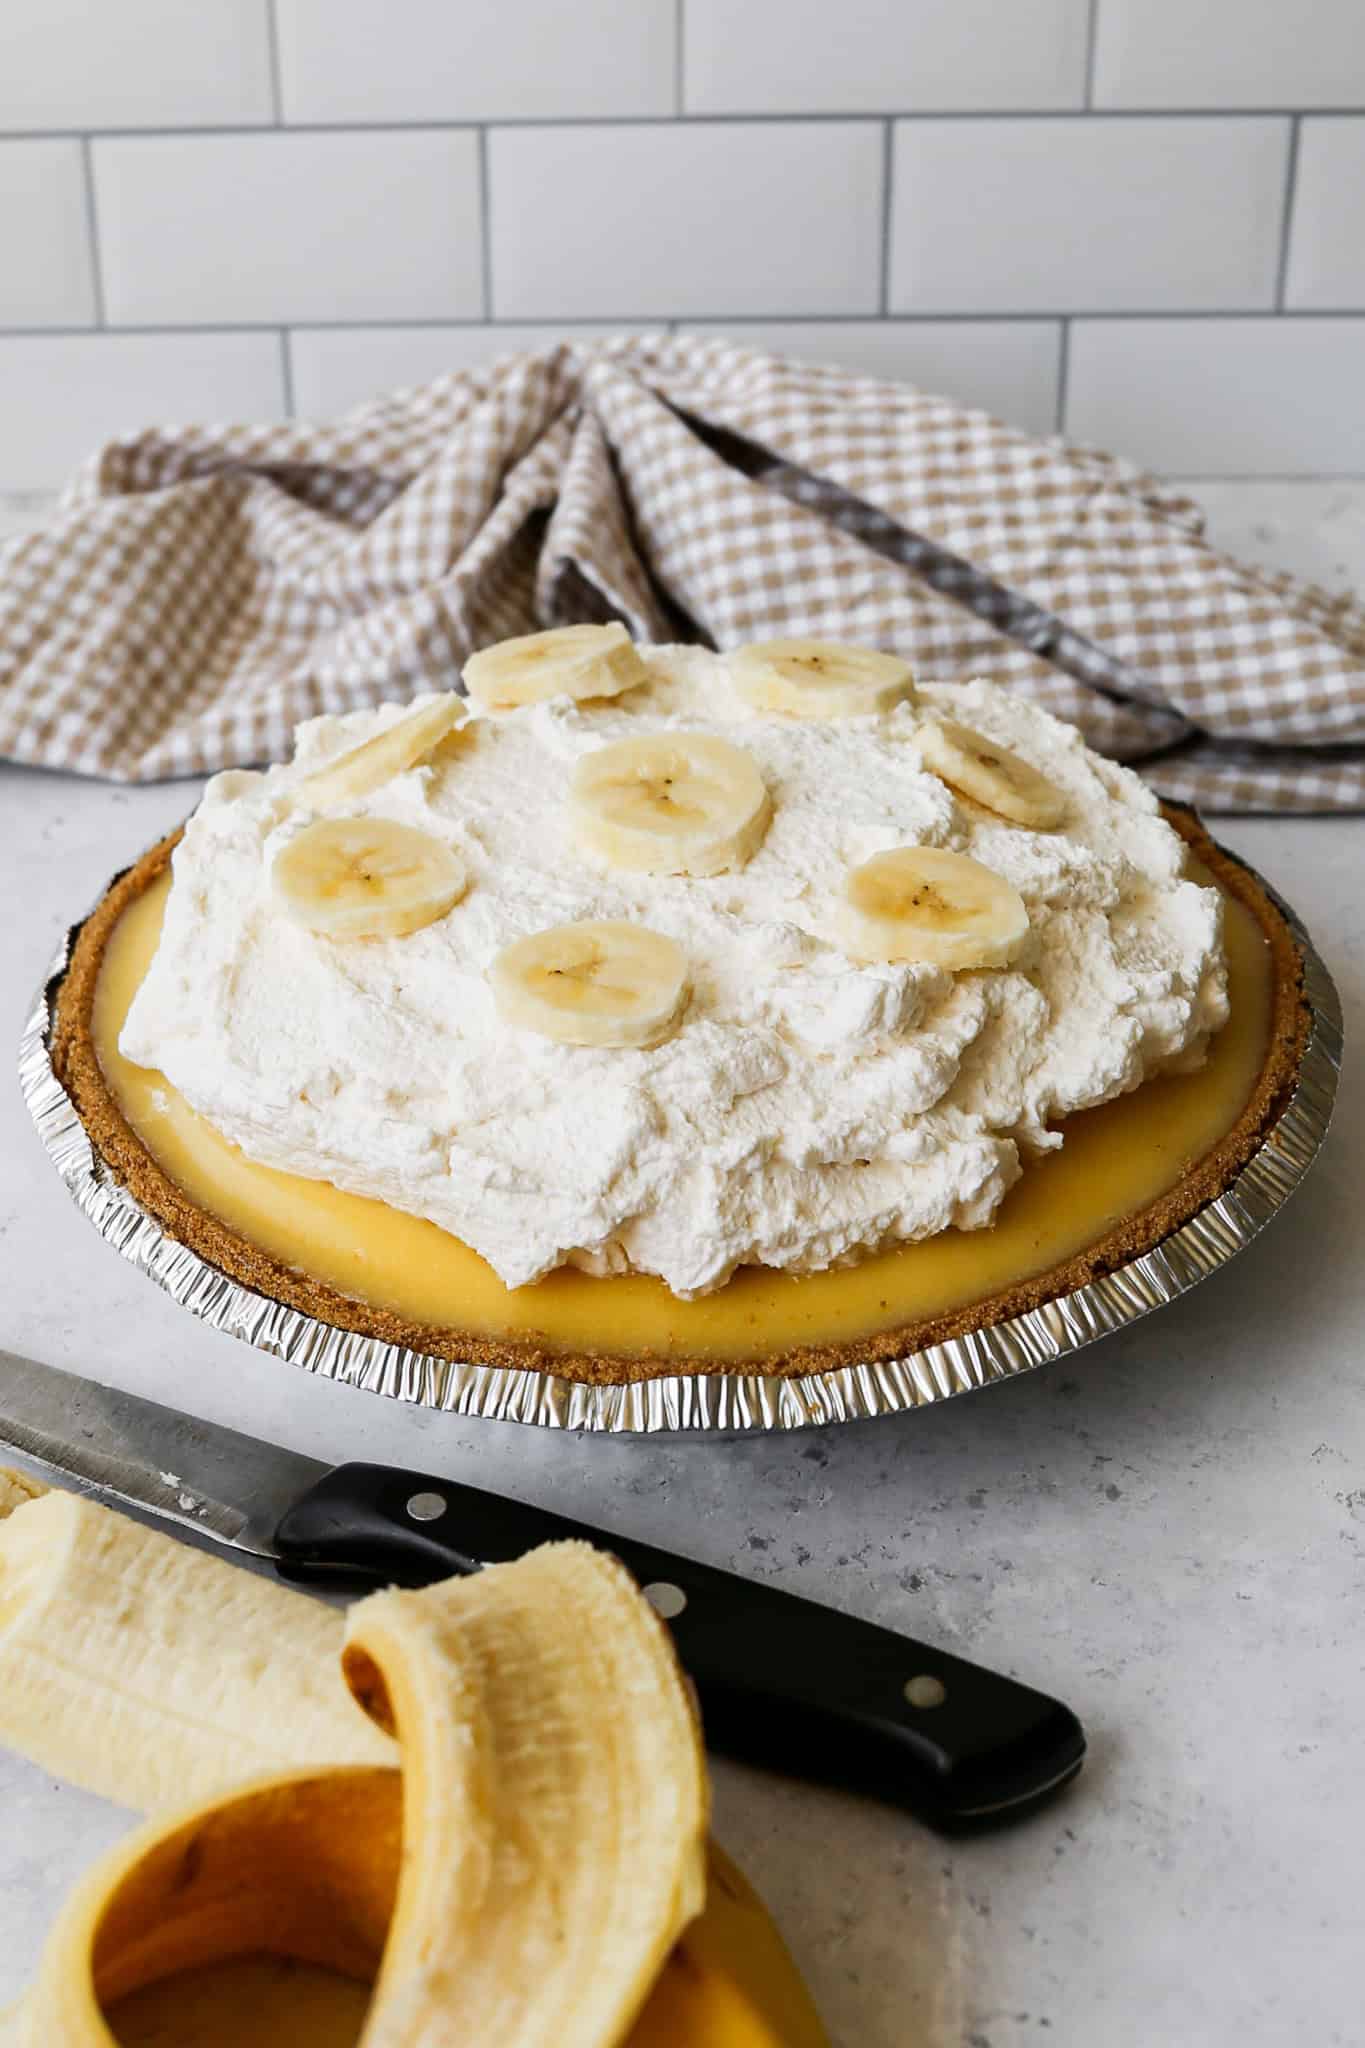
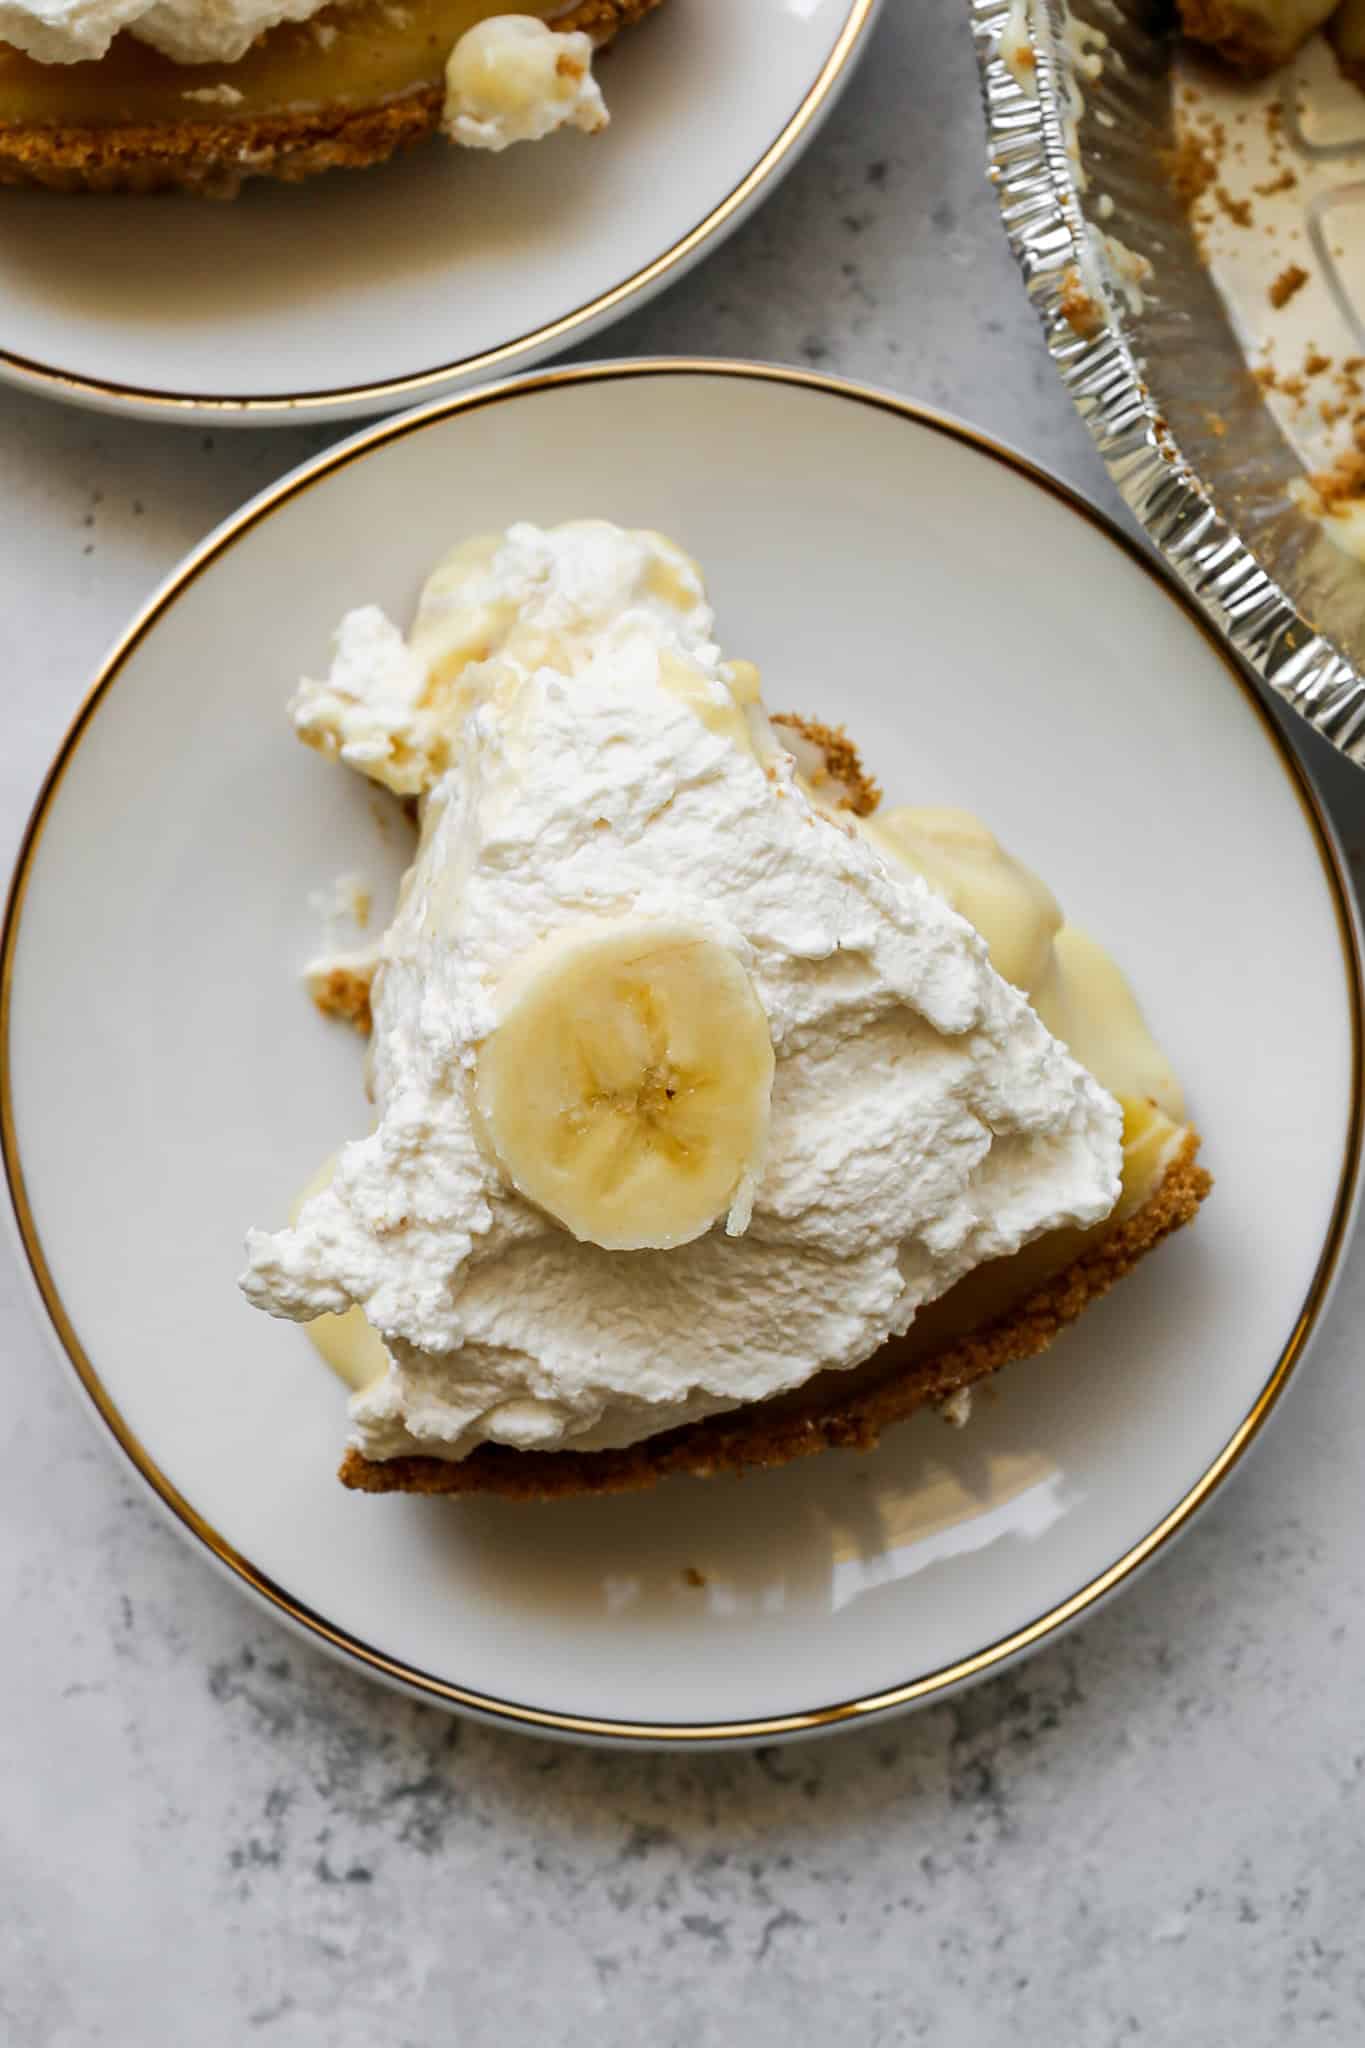
Layered over fresh banana slices in a gluten free graham crust and finished with real homemade whipped cream, this pie tastes like something from a bakery case, not something assembled from a few packages.
It takes a little more patience than the shortcut version, about 15 minutes of active cooking plus a few hours to chill, but the texture and flavor are worth every extra minute.
Make it the day before you need it and let it set up completely in the fridge overnight for the best slice.
If you are looking for more gluten free banana recipes try my Gluten Free Banana Cake, my Gluten Free Banana Bread Muffins, my Gluten Free Chocolate Chip Banana Muffins or my Homemade Strawberry Banana Popsicles.
You can find all my dessert recipes here: Gluten Free Desserts
Jump to:
Why a Real Custard Beats Instant Pudding
Most gluten free banana cream pie recipes lean on instant pudding mix because it's fast and foolproof, but it also means giving up a lot of flavor and texture. A stovetop custard made with real eggs, whole milk, and vanilla has a richness and silkiness that powdered pudding mix simply can't match.
It takes a little more attention on the stove, but the payoff is a pie that tastes like it came from a real bakery instead of a box.
Understanding the Tempering Step
Tempering is the part of this recipe that trips people up, but it's simpler than it sounds. The goal is to slowly raise the temperature of the eggs before they hit direct heat, so they thicken smoothly instead of scrambling.
Pouring about a cup of the hot milk mixture into the eggs first, while whisking constantly, does exactly that. Once the eggs are warmed through, they can go back into the saucepan with the rest of the mixture without any risk of curdling.
Keeping the Bananas Fresh Looking
Because this pie needs a few hours to chill before serving, banana browning is a real concern. Choosing bananas that are ripe but still firm, rather than very soft and spotted, goes a long way toward preventing mushiness.
Slicing the bananas right before you layer them into the crust, instead of prepping them ahead of time, also helps keep them looking fresh by the time the pie is ready to slice.
Top Tip
Don't skip the tempering step or rush through it. Pouring the hot milk mixture into the eggs too quickly, or all at once, is what causes scrambled bits in your custard. Add it slowly in a thin stream while whisking constantly, and your custard will come out perfectly smooth every time.
Supplies

Storage Instructions
This pie needs to be refrigerated since it contains both eggs and dairy, and shouldn't sit at room temperature for more than an hour or two. Store it covered in the refrigerator for up to 3 days. For the best texture and the cleanest slices, make the pie the day before serving so the custard has a full night to set up completely.
Frequently Asked Questions
You can, but the texture and flavor will be noticeably different. The from scratch custard in this recipe has a richer, silkier texture and real vanilla flavor that instant pudding doesn't replicate, which is exactly why this method is worth the extra few minutes.
Pouring hot liquid directly into eggs can cook them too quickly and turn your custard into scrambled eggs. Slowly whisking in a small amount of the hot mixture first raises the temperature of the eggs gradually, so they blend smoothly into the custard instead of curdling.
Use bananas that are ripe but still firm, and slice them right before assembling the pie rather than ahead of time. Layering them directly under the custard also helps protect them from air exposure while the pie chills.
The custard ingredients themselves are naturally gluten free, but as with any recipe, it's worth double checking your specific brands of cornstarch and powdered sugar, since anticaking agents can occasionally vary by manufacturer.
Didn't find the answer you're looking for?
Ask AI to answer based on this recipe:

More Recipes You Might Enjoy


I get a lot of my ingredients from Thrive Market. Thrive Market has been a game changer for me eating gluten free. They have so many options I can't get at my rural grocery stores! Use this link to get 40% off your first order!
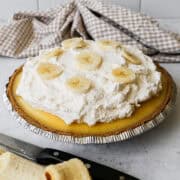
Gluten Free Banana Cream Pie
- Total Time: 3 hours 35 minutes
- Yield: 8 servings 1x
- Diet: Gluten Free
Description
A classic banana cream pie made with a real stovetop egg custard instead of instant pudding, layered over fresh bananas in a gluten free graham crust and topped with homemade whipped cream.
Ingredients
- 2 large Eggs, at room temperature
- 2 large Egg Yolks, at room temperature
- 1 cup Granulated Sugar
- 6 Tbsp Cornstarch
- ¼ tsp Salt
- 2 cups Whole Milk
- 1 Tbsp Vanilla Extract
- ¼ cup Butter, cubed
-
2-3 Bananas
Whipped Cream:
- 2 cups Heavy Whipping Cream
- ¼ cup Powdered Sugar, sifted
- 2 tsp Vanilla Extract
Instructions
In a heat proof bowl for glass measuring cup, whisk together the eggs and egg yolks. Set aside.
In a 2.5 quart saucepan add the granulated sugar, cornstarch and salt. Whisk these ingredients together. Place the saucepan over medium heat and add the milk. Whisk to combine and get rid of any clumps that may form.
Cook this mixture over medium heat 8-10 minutes whisking constantly until the mixture starts to bubble and thicken. (This mixture may get a bit of foam on top, that is not the bubbling. Continuing heating until the mixture bubbles.)
Remove the saucepan from heat.
Slowly pour about 1 cup of the hot mixture into your eggs while whisking to temper the eggs. (This step is very important and will keep the eggs from clumping)
Slowly pour the tempered eggs mixture into your saucepan while whisking.
Return the saucepan to medium heat and whisk constantly until the mixture bubbles again. Cook like this until the mixture thickens, about 6-8 minutes.
Remove the saucepan from heat. Add the butter and vanilla extract and whisk until combined.
Layer round slices for banana onto the bottom of your gluten free graham pie crust. Put the crust on a plate before filling so it's easy to move to your refrigerator.
Pour the custard mixture over the bananas in your pie crust. Let it cool for 30 minutes on your counter. Then move the pie to your refrigerator to cool completely. Refrigerate for at least 3 hours before serving, but I prefer to make this pie the day before so it has plenty of time to chill and set up.
Before serving the pie make your whipped cream. For homemade whipped cream add the heavy whipping cream, powdered sugar and vanilla extract to your stand mixer. Using the whisk attachment beat on medium-high speed until stiff peaks form.
Spread the whipped cream over the top of the pie and this if you like add a few slices of banana for decoration.
If you made this recipe please leave a star rating and comment below. It helps other readers find this recipe and means so much to me.
- Prep Time: 3 hours, 15 minutes
- Cook Time: 20 minutes
- Category: Dessert, Pie
- Method: Stove Top
- Cuisine: American
Give this gluten free banana cream pie a try for your next holiday or family gathering, and let me know how it turns out in the comments below.
Instructions
In a heat proof bowl for glass measuring cup, whisk together the eggs and egg yolks. Set aside.
In a 2.5 quart saucepan add the granulated sugar, cornstarch and salt. Whisk these ingredients together. Place the saucepan over medium heat and add the milk. Whisk to combine and get rid of any clumps that may form.
Cook this mixture over medium heat 8-10 minutes whisking constantly until the mixture starts to bubble and thicken. (This mixture may get a bit of foam on top, that is not the bubbling. Continuing heating until the mixture bubbles.)
Remove the saucepan from heat.
Slowly pour about 1 cup of the hot mixture into your eggs while whisking to temper the eggs. (This step is very important and will keep the eggs from clumping)
Slowly pour the tempered eggs mixture into your saucepan while whisking.
Return the saucepan to medium heat and whisk constantly until the mixture bubbles again. Cook like this until the mixture thickens, about 6-8 minutes.
Remove the saucepan from heat. Add the butter and vanilla extract and whisk until combined.
Layer round slices for banana onto the bottom of your gluten free graham pie crust. Put the crust on a plate before filling so it's easy to move to your refrigerator.
Pour the custard mixture over the bananas in your pie crust. Let it cool for 30 minutes on your counter. Then move the pie to your refrigerator to cool completely. Refrigerate for at least 3 hours before serving, but I prefer to make this pie the day before so it has plenty of time to chill and set up.
Before serving the pie make your whipped cream. For homemade whipped cream add the heavy whipping cream, powdered sugar and vanilla extract to your stand mixer. Using the whisk attachment beat on medium-high speed until stiff peaks form.
Spread the whipped cream over the top of the pie and this if you like add a few slices of banana for decoration.


Leave a Reply