These gluten free eggnog cheesecake bars are my favorite way to use up a carton of eggnog in December. A creamy, spiced eggnog filling bakes on top of a crunchy gingersnap pecan crust. There is no flour in the filling at all, so nothing needs to be swapped or adjusted. Bake them the day before your gathering, let them chill overnight, and they slice into neat squares right when you need them.
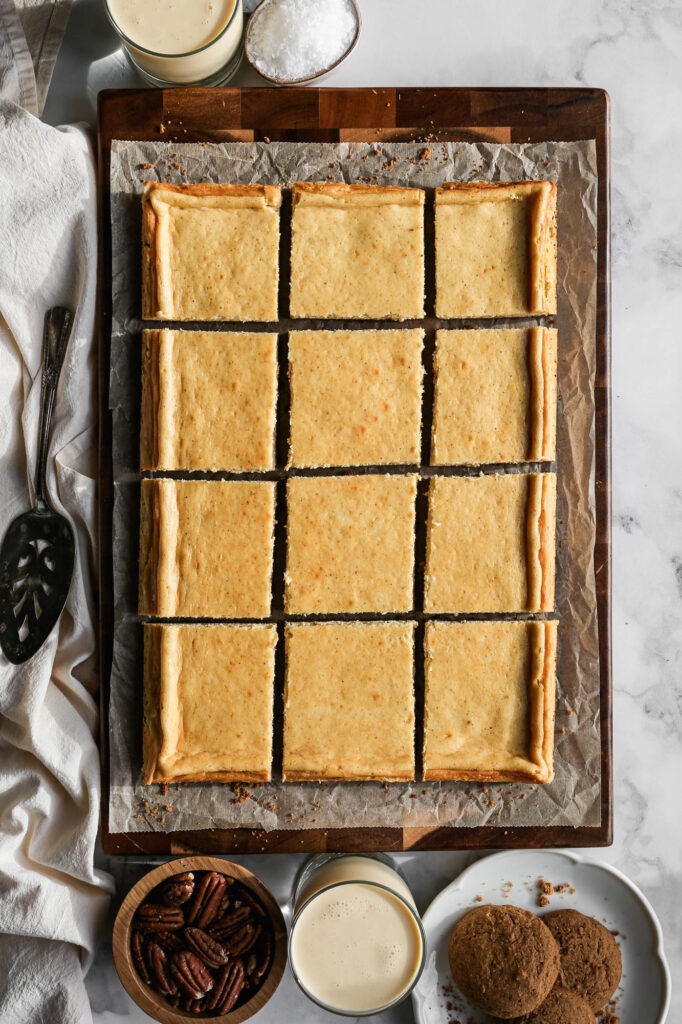
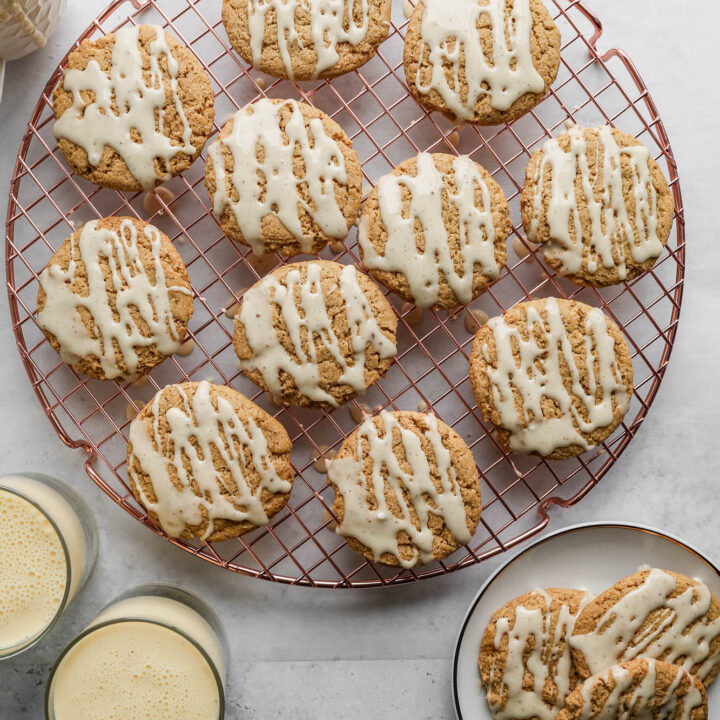
I make the crust with my own gluten free gingersnap cookies, but store bought gluten free gingersnaps work too. Living out here on our small farm, I can't always find gluten free specialty items at my rural grocery stores. So I check eggnog labels every year, and the Darigold carton at our local Walmart says gluten free right on it. These are what I buy eggnog every year to make.
Instead of a fussy water bath, I just set a pan of hot water on the oven rack, which keeps the tops smooth with no foil wrapping.
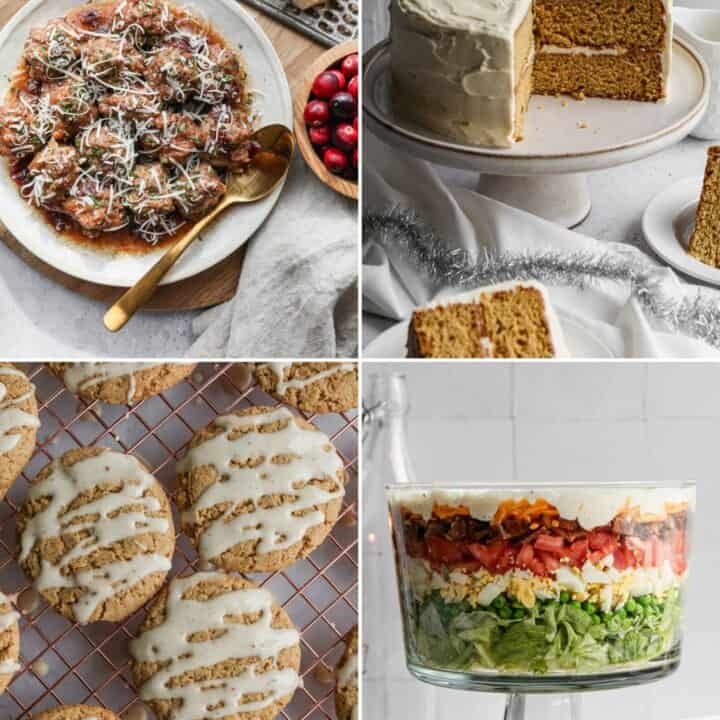
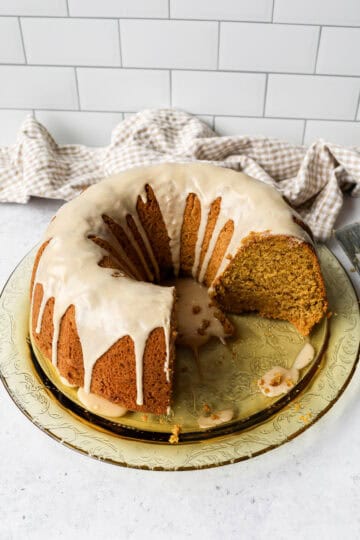
If you are looking for more eggnog recipes try my Gluten Free Eggnog Bundt Cake, my Gluten Free Eggnog Cake with White Chocolate Frosting, or my Gluten Free Eggnog Cookies.
You can find all of my Christmas recipes here: Easy Gluten Free Christmas Recipes
You can find all of my dessert recipes here: Gluten Free Dessert Recipes

Jump to:
- Why You'll Love These Gluten Free Eggnog Cheesecake Bars
- Ingredient Notes
- Tips for Smooth, Crack Free Cheesecake Bars
- Make Ahead and Freezer Instructions
- Storage
- Easy Variations and What to Serve With Them
- Top Tip
- Frequently Asked Questions
- Supplies
- More Recipes You Might Enjoy
- Gluten Free Eggnog Cheesecake Bars with Gingersnap Crust
- Did You Make These Gluten Free Eggnog Cheesecake Bars?
Why You'll Love These Gluten Free Eggnog Cheesecake Bars
- No flour in the filling. The creamy eggnog layer sets with just cream cheese and eggs, so there is nothing to swap and nothing to worry about.
- A crunchy gingersnap pecan crust. Finely chopped pecans make the crust extra buttery and toasty, and it holds together when you slice.
- Real eggnog flavor. Half a cup of eggnog plus cinnamon and nutmeg gives you that holiday taste in every bite.
- No fussy water bath. A pan of hot water on the rack below keeps the oven steamy so the top stays smooth. No wrapping pans in foil.
- Made for make ahead. These bars need to chill anyway, so you bake them the day before and the dessert is done before the party starts.
- Feeds a crowd. One 9x13 pan gives you 12 big bars or 24 small squares for a cookie tray.
Ingredient Notes
- Gluten free gingersnap cookies: I use my Gluten Free Gingersnap Cookies for the crust. You can also use a store bought gluten free gingersnap like Midel Gluten Free Ginger Snaps. Pulse them in a food processor or crush them in a zip top bag with a rolling pin.
- Pecans: Chop them finely so the crust presses flat and cuts clean. Big pieces make the crust crumble when you slice.
- Cream cheese: Use full fat brick cream cheese, not the spreadable tub kind. Let it sit on the counter for about an hour so it beats up smooth with no lumps.
- Eggnog: I use Darigold Old Fashioned Eggnog from my local Walmart because the carton says gluten free on the label. Eggnog brands vary, so always check the label and ingredients on what you find locally. A thick, full fat eggnog gives the creamiest filling.
- Eggs: Room temperature eggs blend into the cream cheese more easily. Add them one at a time and mix just until each one disappears.
- Cinnamon and nutmeg: These bring out the eggnog flavor. Freshly grated nutmeg is a little stronger and smells amazing if you have a whole nutmeg on hand.
Tips for Smooth, Crack Free Cheesecake Bars
- Start with soft cream cheese. Cold cream cheese leaves little lumps that never bake out. Beat it with the sugar first until it is fluffy, then scrape the bowl before adding the eggs.
- Don't overbeat after the eggs go in. Mixing too much whips in air, and those air bubbles puff up in the oven and then crack as the bars cool. Mix on low just until the filling is smooth.
- Use the pan of water. Set a baking dish with about an inch of hot water in the oven while it preheats. The steam keeps the top of the cheesecake moist so it bakes evenly and is less likely to crack.
- Look for a little jiggle. The bars are done when the edges are set and lightly browned and the center still wobbles a little when you nudge the pan. The center firms up as it cools and chills.
- Cool slowly. Let the pan sit undisturbed on the counter until it reaches room temperature. Moving a hot cheesecake straight into the fridge can cause cracks.
- Line the pan for easy lifting. Lining the 9x13 pan with parchment paper, with a little hanging over the sides, lets you lift the whole slab out after chilling. It is so much easier to cut neat squares on a cutting board.
- Cut with a hot, clean knife. Dip a sharp knife in hot water, wipe it dry, and make one cut. Wipe and repeat for every cut so the edges stay clean.
Make Ahead and Freezer Instructions
Make ahead: These bars are best made the day before you plan to serve them. Bake, cool on the counter, then cover and chill overnight. Cut them right before serving for the neatest edges.
Freeze: Chill the bars completely, then cut them into squares. Freeze them in a single layer on a baking sheet until firm, then move them to an airtight freezer container with parchment between the layers. Freeze for up to 1 month. Thaw overnight in the refrigerator before serving.
Storage
Store the bars covered in the refrigerator for up to 5 days. Once they have chilled at least 4 hours, cut them into bars and keep them in an airtight container so they don't pick up other fridge smells. Put a sheet of parchment between layers if you stack them. Serve them cold straight from the fridge.
Easy Variations and What to Serve With Them
- Eggnog whipped cream topping: Whip 1 cup cold heavy whipping cream with 2 tablespoons powdered sugar and ¼ teaspoon ground nutmeg until soft peaks form. Pipe a dollop on each bar right before serving.
- Rum extract for bolder eggnog flavor: Add ½ teaspoon rum extract to the filling with the vanilla. A little goes a long way, so start small.
- White chocolate drizzle: Melt ½ cup white chocolate chips with 1 teaspoon coconut oil and drizzle over the chilled bars. Let it set in the fridge for 10 minutes before cutting.
- Gingerbread spice filling: Add ¼ teaspoon ground ginger and a pinch of cloves to the filling for more gingerbread flavor that matches the crust.
- What to serve with them: These bars are rich, so small squares are perfect on a holiday dessert table next to my gluten free pecan pie bars and gluten free gingerbread bundt cake. Add them to a cookie tray with my gluten free Christmas cookie recipes, or serve them with hot coffee or an iced chai tea latte. They work for Thanksgiving too, with my other gluten free Thanksgiving dessert recipes.
Top Tip
Plan ahead and bake these the day before. Cheesecake bars need at least 4 hours in the fridge after cooling, and they cut much cleaner once they are cold all the way through.
Frequently Asked Questions
Keep them covered in the refrigerator for up to 5 days. They cut cleanest after at least 4 hours of chilling. See the storage section above for freezing.
I used Darigold Eggnog that I got at our local Walmart grocery store. Many store eggnogs don't say gluten free on the label, so always read the ingredients on what you can find locally.
Cracks usually come from overmixing after the eggs go in, overbaking, or cooling too fast. Mix on low just until smooth, take the bars out while the center still jiggles a little, and let them cool on the counter before they go in the fridge. The pan of water in the oven helps too.
They most likely need more chilling time. Cheesecake keeps setting as it cools, so give the bars a full 4 hours in the fridge, or overnight. If the center was still liquid (not just wobbly) when you took them out, bake a few minutes longer next time.
Yes. Use a gingersnap cookie labeled gluten free and crush enough for 3 cups of fine crumbs. Store bought cookies can be crunchier and sweeter than homemade, so press the crust firmly so it holds together.
Yes. Leave out the pecans and use 3 ½ cups gingersnap crumbs and ½ cup melted butter. The crust will be a little less toasty but still holds together.
Yes, as long as it is thick and creamy. Thin or low fat eggnog makes a softer filling that may need a little longer in the oven to set.
Supplies

More Recipes You Might Enjoy


I get a lot of my ingredients from Thrive Market. Thrive Market has been a game changer for me eating gluten free. They have so many options I can't get at my rural grocery stores! Use this link to get 40% off your first order!
Gluten Free Eggnog Cheesecake Bars with Gingersnap Crust
- Total Time: 1 hour 15 minutes
- Yield: 12 bars 1x
- Diet: Gluten Free
Description
These gluten free eggnog cheesecake bars have a silky, spiced eggnog filling on a crunchy gingersnap pecan crust. There is no flour in the filling and no fussy water bath. Bake them the day before so they can chill, then slice and serve for an easy holiday dessert.
Ingredients
Crust:
- 3 cups crushed Gluten Free Gingersnap Cookies
- 1 cup Pecans, finely chopped
- ½ cup Unsalted Butter, melted
Filling:
- 2 - 8 ounce packages Cream Cheese
- ½ cup Granulated Sugar
- 3 large Eggs
- ½ cup Eggnog
- 1 tsp. Vanilla Extract
- ½ tsp. Ground Cinnamon
- ¼ tsp. Ground Nutmeg
- ¼ tsp. Sea Salt
Instructions
Preheat your oven to 350 degrees. Grease a 9x13 baking dish with butter or coconut oil. Set aside.
In the bowl of your stand mixer beat together the crushed gluten free gingersnap cookie, pecans and butter until they are combined and starting to stick together in clumps.
Press the crust mixture evenly in the bottom of the greased 9x13 baking dish.
Bake at 350 degrees for 8-10 minutes.
In the bowl of your stand mixer add the cream cheese and granulated sugar. Beat until combined. Wipe down the edges of your bowl with a spatula and beat until the cream cheese begins to be fluffy. Add the eggs one at a time combining them with the ingredients before adding the next.
Add the eggnog, vanilla, cinnamon, nutmeg and salt to the mixture and beat until these ingredients are mixed into the filling batter.
Fill the bottom of a baking dish with an inch of water. Add this to the oven and let the temperature come back up to 350 degrees. The water will help the cheesecake bars not to crack.
Pour the filling over the crust and bake at 350 degrees for 40 minutes or until the cheesecake is browned around the edges.
Carefully remove the bars from the oven and let them stand undisturbed while they cool.
After they have cooled, store the bars in the refrigerator for at least 4 hours before cutting them to keep the edges from crumbling.
Store the bars in an airtight container in the refrigerator for up to 5 days.
If you made this recipe please leave a star rating and comment below. It helps other readers find this recipe and means so much to me.
Notes
Gingersnaps: I use my homemade gluten free gingersnap cookies, but any store bought gingersnap labeled gluten free works. You need 3 cups of fine crumbs.
Eggnog: Check the label. Not every eggnog is labeled gluten free.
Water pan: The pan of hot water goes on a rack in the oven while it preheats. It keeps the oven steamy so the bars are less likely to crack.
Doneness: The bars are ready when the edges are set and lightly browned and the center still jiggles a little.
Chill time: Plan for about 1 hour of cooling on the counter plus at least 4 hours in the fridge before cutting. The total time above doesn't include this wait.
Cutting: Use a sharp knife dipped in hot water and wiped dry between cuts. Cut 12 large bars or 24 small squares.
Storage: Keep covered in the refrigerator for up to 5 days.
- Prep Time: 25 minutes
- Cook Time: 50 minutes
- Category: Dessert
- Method: Baking
- Cuisine: American
Did You Make These Gluten Free Eggnog Cheesecake Bars?
If you made these eggnog cheesecake bars, I would love to hear how they turned out! Please leave a star rating and a comment at the bottom of this post. Your ratings help other gluten free bakers find the recipe, and I read every comment.
Want more gluten free recipes like this? Sign up for my newsletter to get my free gluten free recipe ebook, plus new recipes in your inbox every Friday.
And don't forget to pin it! Use the Pin button on any photo or at the top of this post to save it to your Christmas dessert board.

Leave a Reply